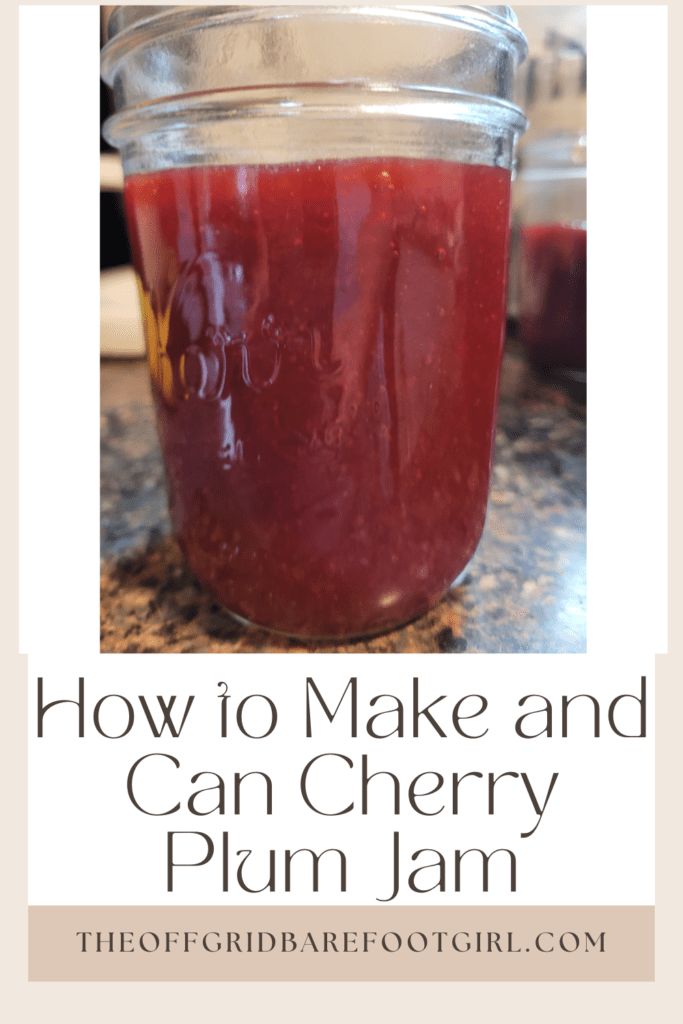
Learn how to make and can cherry plum jam with this simple, foolproof recipe that captures the sweet-tart flavor of summer in every jar. 🍒🍑 Perfect for spreading on toast, pairing with cheese, or gifting to friends, this homemade jam is a delicious way to preserve your cherry plum harvest. Step-by-step instructions make it easy for beginners and seasoned canners alike to create a shelf-stable treat you can enjoy year-round.
Cherry plums might just be one of my favorite little surprises from the orchard. They’re small, bright, and bursting with that perfect mix of tart and sweet — like they can’t quite decide if they want to be cherries or plums, so they settle on being the best of both. Out here, when the branches are heavy with them, I can’t resist filling my basket (and let’s be honest… my pockets too). But as much as I love eating them fresh, there’s something magical about preserving that summertime flavor to enjoy when the snow is falling and the mornings are frosty.
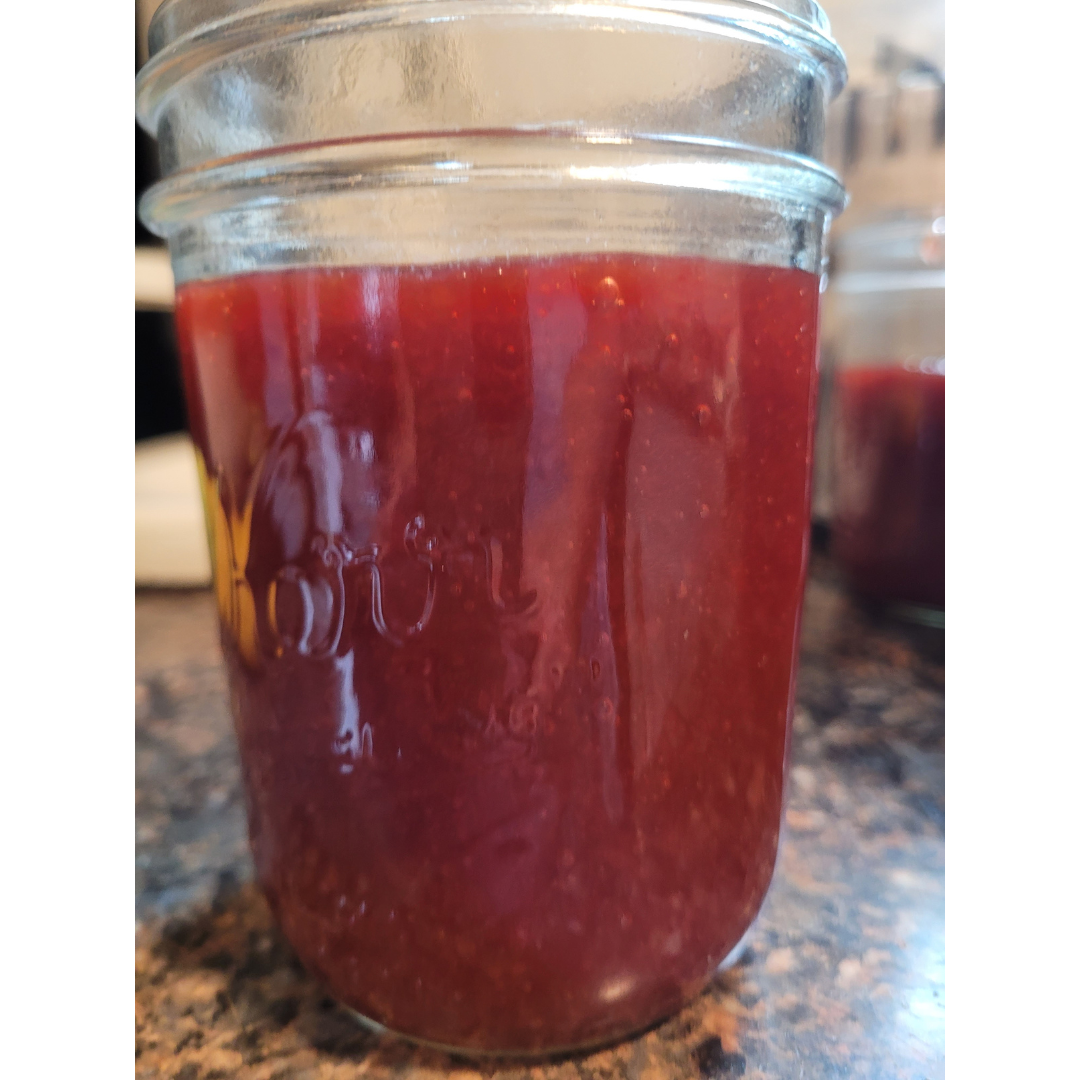
That’s where homemade cherry plum jam comes in. It’s rich, glossy, and just begging to be spread thick on a slice of fresh bread, swirled into yogurt, or gifted to a friend who could use a little sunshine in their day. In this post, I’ll walk you through exactly how I make and can my cherry plum jam so it’s safe, delicious, and ready to enjoy all year long. So grab your jars, roll up your sleeves, and let’s turn that orchard bounty into something beautiful.
By the way, you can check out my gorgeous cherry plum tree that I am growing in my micro orchard, in which these cherry plums are freshly picked just for this recipe, in the following link!
All About Cherry Plum Trees: Ultimate Guide
This is a pinnable post. Tap or hover over any image in this post to pin to your Pinterest Boards.
What are Cherry Plums?
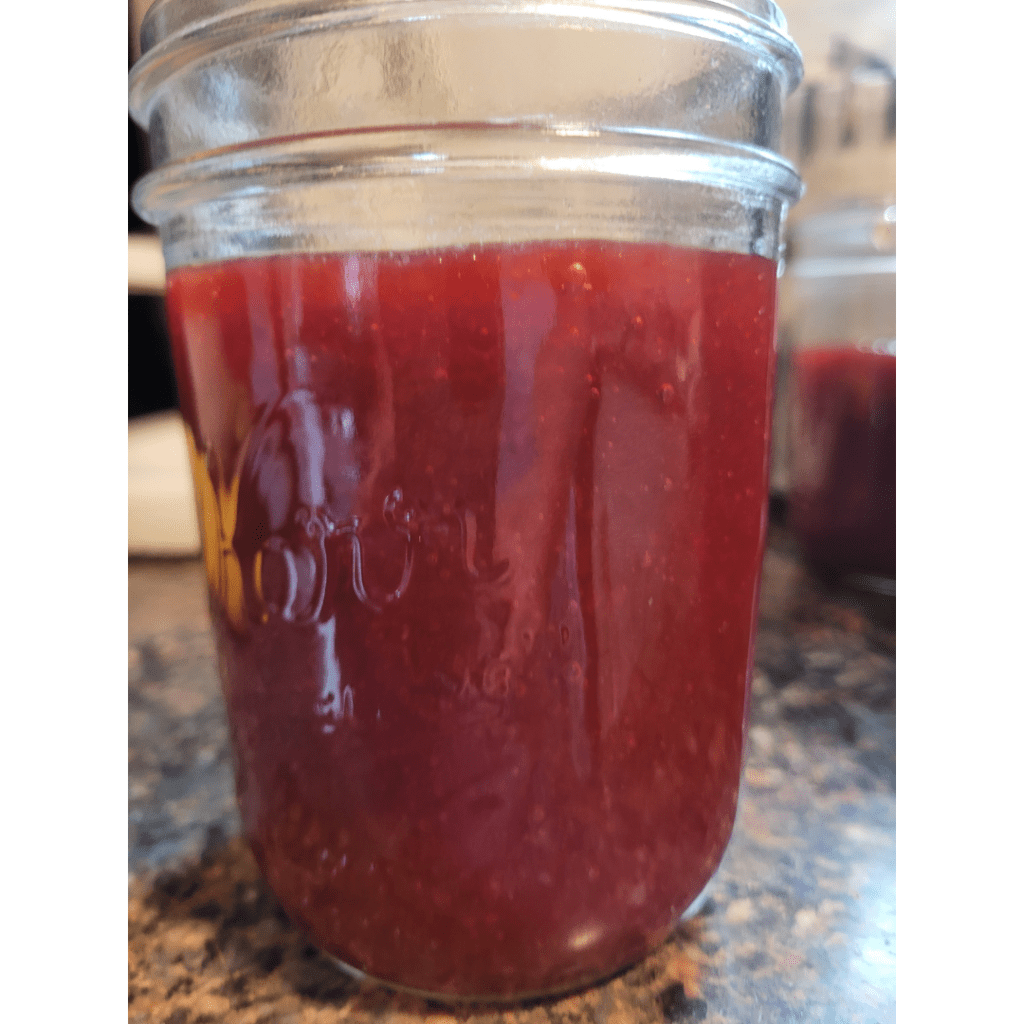
Cherry plums, also known as cherry plums or pit plums, are a unique and delightful fruit that combines the flavors of cherries and plums. These hybrid fruits are the result of cross-pollination between cherry and plum trees, creating a delicious fusion of taste and texture.
What are Cherry Plums?
Cherry plums are small to medium-sized fruits with a round or slightly oblong shape. Their skin can range from deep red to purple, with a slight waxy bloom similar to plums. The flesh inside is juicy and tender, with a sweet-tart flavor that balances the tanginess of cherries with the richness of plums.
Overview of Cherry Plums
These unique fruits are often prized for their versatility in cooking and baking. They can be used in jams, jellies, pies, tarts, and other desserts, adding a distinctive flavor and vibrant color. Cherry plums are also enjoyed fresh, either as a snack or incorporated into salads and savory dishes.
Varieties of Cherry Plums
Several varieties of cherry plums exist, each with its own nuances in size, color, and flavor profile. Some popular varieties include:
- Nadia™: A sweet and juicy variety with deep red skin and amber flesh.
- Mirabelle: A small, golden-yellow fruit with a tangy flavor and firm texture.
- Crimson Candy: A deep crimson-colored variety with a sweet and mild taste (the variety that I grow myself and showcase here).
Seasonality and Availability
Cherry plums have a relatively short growing season, typically ripening in late summer or early fall. Their availability can vary depending on the region and climate, but they are generally found at farmers’ markets, specialty grocery stores, and some supermarkets during their peak season.
While cherry plums may not be as widely known as traditional cherries or plums, they offer a unique and delightful taste experience for adventurous fruit enthusiasts. Their versatility in cooking and baking, combined with their beautiful appearance and flavor, make them a sought-after treat during their brief harvest window.
Ingredients and Equipment Needed
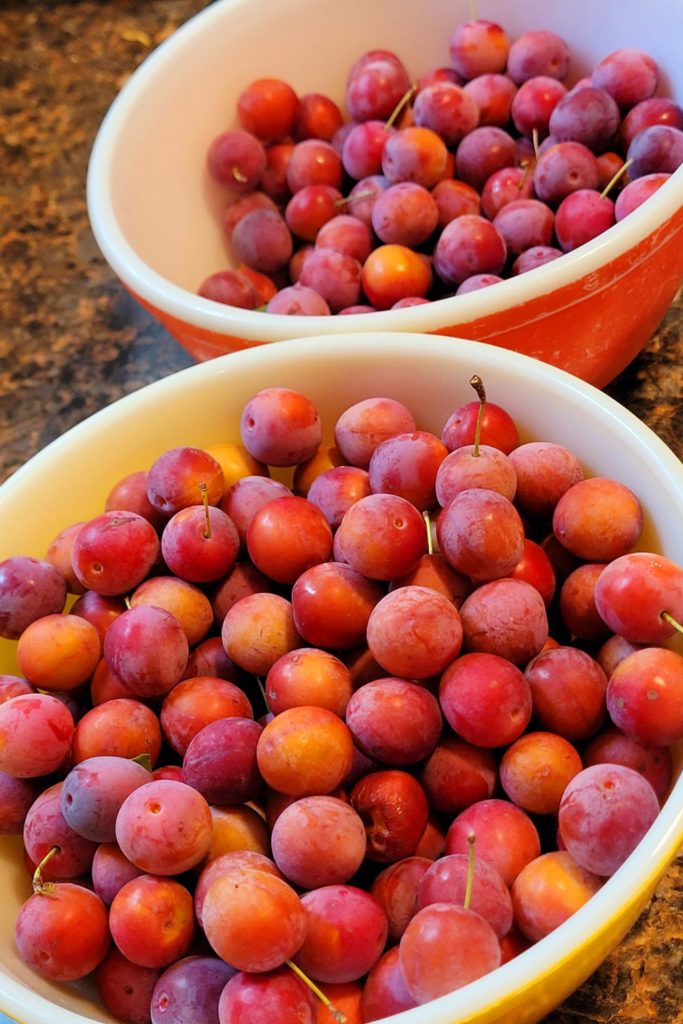
Making delicious cherry plum jam at home is a rewarding experience, but before we begin, it’s essential to gather all the necessary ingredients and equipment. Let’s discuss the details and ensure you have everything you need for a successful canning session.
Ingredients and Equipment Needed
For the jam:
- Ripe cherry plums (about 4 pounds).
- Granulated sugar (amount varies based on the sweetness of the fruit).
- Lemon juice (optional, to enhance flavor).
- Pectin (for thickening, if desired).
Essential Equipment and Tools:
- Large non-reactive pot.
- Canning jars with lids and bands.
- Jar lifter and canning funnel.
- Large spoon or ladle for transferring jam.
- Candy thermometer or digital thermometer (for monitoring temperature).
Note:
Pectin is optional in this recipe. The instructions below follow the cook-down method (no added pectin), which thickens the jam naturally by simmering. If you prefer to use added pectin—either powdered or liquid—follow the instructions on the package, as the timing and method can differ. I included pectin in the ingredient list for flexibility, depending on your preference.
Items for Canning
- Water bath canner or large stockpot with a rack.
- Canning tongs.
- Jar wrench.
- Magnetic lid lifter.
- Headspace tool.
- Canning labels and marker.
While some of these items may seem optional, investing in proper canning equipment can make the process smoother and ensure your jam is safely preserved for long-term storage.
Before you begin, take some time to gather and organize all your ingredients and tools. Having everything within reach will make the jam-making process seamless and enjoyable. Remember, the key to a successful canning project lies in meticulous preparation and attention to detail.
Step-by-Step Guide: Making Cherry Plum Jam
Making homemade jam is a delightful way to capture the flavors of summer in a jar. Cherry plum jam, in particular, offers a tantalizing blend of sweet and tart notes that will elevate your morning toast or desserts. Follow this step-by-step guide to create a batch of delicious cherry plum jam right in your own kitchen.
Preparing the Fruit
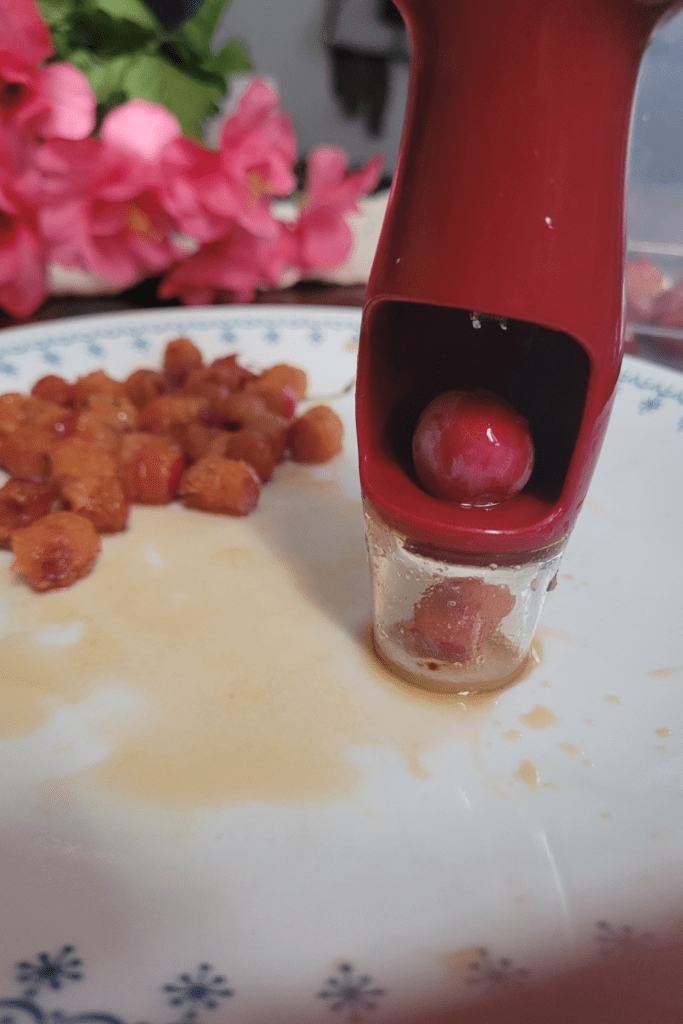
The first step in making cherry plum jam is to prepare the fruit. Select ripe, fresh cherry plums and wash them thoroughly. Remove the pits and stems, then roughly chop or slice the fruit into smaller pieces. The smaller the pieces, the faster they’ll break down during cooking.
Once you’ve prepped the fruit, measure out the desired amount. Most recipes call for around 4 cups of pitted and chopped cherry plums. You can adjust the quantity based on your preferences or the size of your jam batch.
Cooking the Jam

Now it’s time to cook the jam. In a large, wide pot, combine the prepared cherry plums with sugar (about 3/4 cup of sugar per cup of fruit) and a squeeze of lemon juice (to enhance the flavor and help the jam set).
Bring the mixture to a boil over medium-high heat, stirring frequently to prevent scorching. Once it reaches a rolling boil, reduce the heat to medium-low and let it simmer, continuing to stir occasionally.
As the jam cooks, the fruit will break down, and the mixture will thicken. This process can take anywhere from 30 minutes to an hour, depending on the amount of jam you’re making and the desired consistency.
Testing for Doneness
Knowing when your jam is ready is crucial to achieving the perfect texture. There are a few methods you can use to test for doneness:
- Spoon or Plate Test: Dip a cool spoon or plate into the simmering jam and let it cool slightly. If the jam forms skin or wrinkles when you push it with your finger, it’s ready.
- Temperature Test: Use a candy thermometer to check the temperature of the jam. Most jams reach the gel stage between 220°F and 222°F (104°C and 105°C).
- Freezer Test: Place a small amount of jam on a plate and put it in the freezer for a few minutes. If it firms up and holds its shape, it’s done.
Once your cherry plum jam has reached the desired consistency, remove it from the heat and prepare for canning or storage.
Canning the Cherry Plum Jam
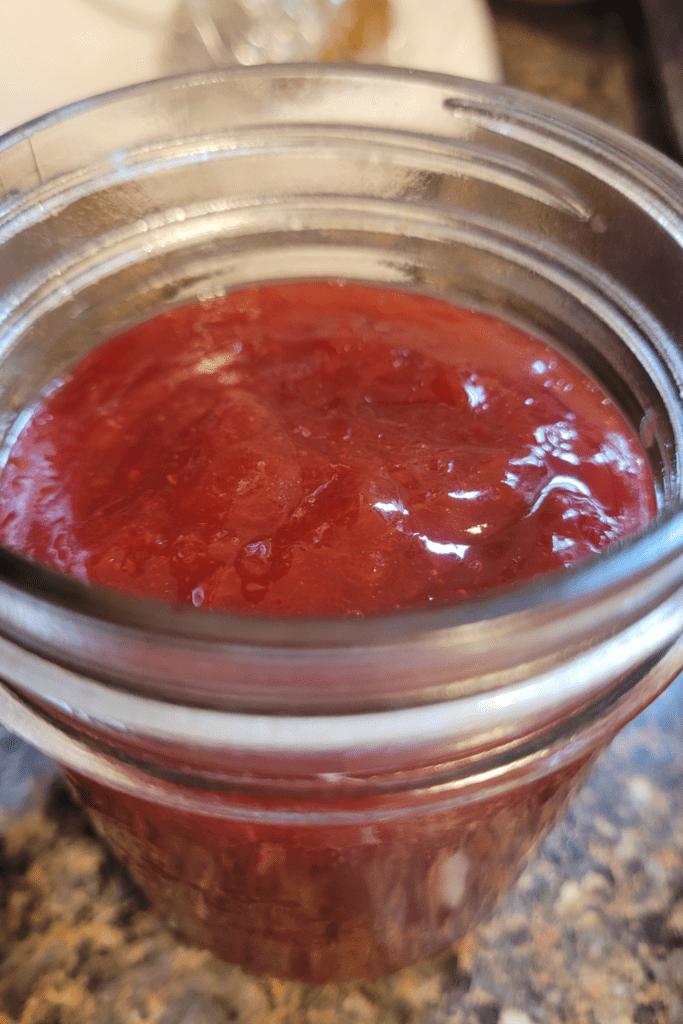
The final step in making delicious cherry plum jam is canning it properly to ensure its longevity and safety. Here’s how you can can your cherry plum jam like a pro:
Sterilizing Jars and Lids
Before you start filling your jars, it’s crucial to sterilize them thoroughly. This process kills any bacteria or microorganisms that could spoil your jam. Here’s how you do it:
- Wash the jars and lids in hot, soapy water, and rinse them well.
- Place the jars and lids in a large pot, cover them with water, and bring to a boil.
- Boil for at least 10 minutes to ensure thorough sterilization.
- Remove the jars and lids from the water using a jar lifter or tongs, and place them on a clean towel to air dry.
Filling and Sealing the Jars
Now that your jars are sterilized, it’s time to fill them with your delicious cherry plum jam:
- Ladle the hot jam into the jars, leaving about 1/4 inch of headspace at the top.
- Run a clean, non-metallic utensil around the inside of the jar to remove any air bubbles.
- Wipe the rim of the jar with a clean, damp cloth to remove any drips or residue.
- Place the lid on the jar, and screw the ring on firmly, but not too tightly.
Processing the Jars
The final step is to process the sealed jars in a water bath canner or a large pot with a rack on the bottom. Here’s how:
- Place the sealed jars in the canner or pot, and cover them with at least 1 inch of water.
- Bring the water to a rolling boil, and process the jars for 10 minutes.
- After processing, remove the jars from the canner or pot using a jar lifter or tongs, and place them on a towel or cooling rack.
- Leave the jars undisturbed for 12-24 hours, and listen for the satisfying “ping” sound as the lids seal.
Pro Tip: If any of the lids don’t seal properly, simply refrigerate those jars and consume the jam within a few weeks.
By following these simple steps, you’ll have perfectly canned cherry plum jam that can be enjoyed for months to come. Enjoy your homemade jam on toast, scones, or even as a topping for ice cream or yogurt!
Tips and Variations
Making and canning cherry plum jam can be a rewarding experience, but it’s not without its challenges. Here are some tips and variations to help you along the way.
Troubleshooting Common Issues
If your jam doesn’t set or appears runny, there could be a few reasons. First, make sure you’re using the right amount of pectin and following the instructions carefully. Undercooking or overcooking the jam can also affect its texture. If it still doesn’t set, you can try adding a little more pectin or boiling it for a bit longer.
Another common issue is the formation of foam or scum on the surface of the jam. To prevent this, skim off any foam with a spoon before canning. You can also add a small amount of butter or margarine to the pot, which helps reduce foaming.
Flavor Variations and Add-ins
While cherry plum jam is delicious on its own, there are plenty of ways to jazz it up. Try adding a splash of vanilla extract, a pinch of cinnamon, or a few drops of almond extract for a flavor twist. You can also experiment with different spices like nutmeg, ginger, or cardamom.
For a boozy kick, consider adding a tablespoon or two of your favorite liquor, such as brandy, rum, or even a fruit-flavored vodka. Just be mindful of the alcohol content and adjust the sugar accordingly.
If you’re feeling adventurous, you can also mix in other fruits like strawberries, raspberries, or peaches. Just adjust the amount of sugar and pectin as needed.
Storage and Shelf Life
Properly canned and sealed, cherry plum jam can last up to a year in a cool, dark place. Once opened, it should be refrigerated and consumed within a few weeks.
For longer storage, consider freezing your jam in airtight containers or freezer-safe jars. Properly frozen, it can last up to a year without compromising quality or flavor.
Remember, the key to preserving your homemade jam is proper canning techniques and sterilization. With a little care and attention, you can enjoy the fruits of your labor for months to come.
Conclusion
You’ve just learned how to make delicious and tangy cherry plum jam at home! We covered everything from selecting the right ingredients to properly canning the jam for long-term storage. By following the step-by-step guide, you can easily recreate this delightful treat in your own kitchen.
Now that you have the knowledge and skills, why not give it a try? Homemade jam is not only incredibly satisfying to make, but also makes a thoughtful and personal gift for loved ones. Imagine the joy on their faces when they taste the burst of flavors from your homemade cherry plum jam!
If you’re feeling adventurous, experiment with different variations by adding spices like cinnamon or vanilla, or even try combining cherry plums with other fruits for unique flavor combinations. The possibilities are endless!
So, go ahead, roll up your sleeves, and indulge in the sweet and tangy goodness of homemade cherry plum jam. Embrace the joy of preserving nature’s bounty and creating something truly special with your own hands. Happy canning!
Resources: Here are some helpful resources for further information.
- Strawberry Jam Recipe – By Allrecipes
- Homemade Blackberry Jam Recipe – By Food.com
- Jams and Jellies Canning Recipes – By Ball Mason Jars
Frequently Asked Questions
1. What ingredients do I need to make cherry plum jam?
You’ll need fresh cherry plums, sugar, lemon juice, and optionally, pectin if you prefer a thicker consistency.
2. How do I know when my jam has reached the right consistency?
To test the jam’s consistency, place a small spoonful on a chilled plate and let it cool for a minute. If it wrinkles slightly when pushed with your finger, it’s ready.
3. Do I need to remove the skins from the cherry plums before making the jam?
No, you don’t need to remove the skins. The skins add flavor, color, and natural pectin to the jam. They will break down during cooking.
4. How long will canned cherry plum jam last?
When properly canned and stored in a cool, dark place, your cherry plum jam can last up to one year. Once opened, it should be refrigerated and used within a few weeks.
Cherry Plum Jam
Equipment
- 1 large non-reactive pot.
- 4 canning jars, lids, and bands.
- 1 set of canning supplies
- 1 water bath canner
Ingredients
- 4 pounds ripe cherry plums.
- 4 cups sugar.
- 2 tbsp lemon juice.
- 1 package pectin (if desired). Note: Pectin is optional in this recipe. The instructions below follow the cook-down method (no added pectin), which thickens the jam naturally by simmering. If you prefer to use added pectin—either powdered or liquid—follow the instructions on the package, as the timing and method can differ. I included pectin in the ingredient list for flexibility, depending on your preference.
Instructions
Preparing the Fruit
- The first step in making cherry plum jam is to prepare the fruit.
- Select ripe, fresh cherry plums and wash them thoroughly.
- Remove the pits and stems, then roughly chop or slice the fruit into smaller pieces. The smaller the pieces, the faster they'll break down during cooking.
- Once you've prepped the fruit, measure out the amount. You can adjust the quantity based on your preferences or the size of your jam batch.
Cooking the Jam
- In a large, wide pot, combine the prepared cherry plums with sugar (about 3/4 cup of sugar per cup of fruit) and a squeeze of lemon juice (to enhance the flavor and help the jam set).
- Bring the mixture to a boil over medium-high heat, stirring frequently to prevent scorching.
- Once it reaches a rolling boil, reduce the heat to medium-low and let it simmer, continuing to stir occasionally.
- As the jam cooks, the fruit will break down, and the mixture will thicken. This process can take anywhere from 30 minutes to an hour, depending on the amount of jam you're making and the desired consistency.
Testing for Doneness
- Spoon or Plate Test: Dip a cool spoon or plate into the simmering jam and let it cool slightly. If the jam forms skin or wrinkles when you push it with your finger, it's ready.
- Temperature Test: Use a candy thermometer to check the temperature of the jam. Most jams reach the gel stage between 220°F and 222°F (104°C and 105°C).
- Freezer Test: Place a small amount of jam on a plate and put it in the freezer for a few minutes. If it firms up and holds its shape, it's done.
- Once your cherry plum jam has reached the desired consistency, remove it from the heat and prepare for canning or storage.
Sterilizing Jars and Lids
- Before you start filling your jars, it's crucial to sterilize them thoroughly. This process kills any bacteria or microorganisms that could spoil your jam. Here's how you do it:
- Wash the jars and lids in hot, soapy water, and rinse them well.
- Place the jars and lids in a large pot, cover them with water, and bring to a boil.
- Boil for at least 10 minutes to ensure thorough sterilization.
- Remove the jars and lids from the water using a jar lifter or tongs, and place them on a clean towel to air dry.
Filling and Sealing the Jars
- Ladle the hot jam into the jars, leaving about 1/4 inch of headspace at the top.
- Run a clean, non-metallic utensil around the inside of the jar to remove any air bubbles.
- Wipe the rim of the jar with a clean, damp cloth to remove any drips or residue.
- Place the lid on the jar, and screw the ring on firmly, but not too tightly.
Processing the Jars
- Place the sealed jars in the canner or pot, and cover them with at least 1 inch of water.
- Bring the water to a rolling boil, and process the jars for 10 minutes.
- After processing, remove the jars from the canner or pot using a jar lifter or tongs, and place them on a towel or cooling rack.
- Leave the jars undisturbed for 12-24 hours, and listen for the satisfying "ping" sound as the lids seal.
- Pro Tip: If any of the lids don't seal properly, simply refrigerate those jars and consume the jam within a few weeks.
- Enjoy!
Summary
I hope I have inspired you to stockpile your pantry for your survival needs.
If you were encouraged by this post, I invite you to check out my FREE Printables Page for fun free printables, planners, and charts.
ENTER MY FREE Printables Page HERE
Here are some more of my canning inspiration posts to check out!
How to Make and Can Apple Butter In Crockpot
Stockpiling Condiments for Survival: Learn How I Do It!
How to Make and Can Vegetable Pot Pie Filling
Easy Canning Applesauce Recipes to Stalk Your Pantry!
How to Make Peach Jalapeno Jam
Cherries: How to Make Cherry Pie Filling
Cherries: How to Make Cherry Syrup
Salsa: How to Make and Can Cherry Salsa
Peaches: How to Make and Can Peach Salsa
Canning Supplies You Need Now for a Successful Canning Season!
How to Make and Can Balsamic Onion Jam
Cranberry Sauce: How to Make and Can Old Fashioned Cranberry Sauce
How to Make and Can Cranberry Merry Jam
How to Make and Can Strawberry Shortcake Jam
Cherry Jam: How to Make and Can Cherry Pie Jam
Carrot Cake Jam: How to Make and Can Carrot Cake Jam
Quince Jam: How to Can a Year’s Supply of Quince Jam
Root Beer Float Jelly: How to Make and Can Root Beer Float Jelly
Blessings,
The Off Grid Barefoot Girl



Love this blog and can’t wait to try out this recipe! Thanks for sharing it with us! <3
https://byjessicachillea.com/
Thanks for the kind words and for visiting!
Your recipe is going to confuse people who are new to jam making. You list pectin as an ingredient, but you don’t mention pectin in the directions. Your directions are for the cook-down method used when you make jam without pectin. Depending on which kind of pectin you use, powder or liquid, it matters WHEN you add it, and the cook time is drastically different from the cook-down method.
Hi Martha, thank you so much for your comment and for pointing that out! You’re absolutely right—there’s a big difference in method depending on whether you’re using pectin or not. In this recipe, pectin is optional, and I used the cook-down method myself (which is why it’s not mentioned in the directions). I included it in the ingredient list for those who prefer a quicker set using added pectin.
I’ll make a note in the post to clarify that the instructions are for the no-pectin version, and that if someone chooses to use pectin—especially liquid or powdered—they should follow the directions on the package for best results. I truly appreciate your feedback and taking the time to help make the recipe clearer for everyone, especially beginners!
Warmly,
Mindy
The Off Grid Barefoot Girl