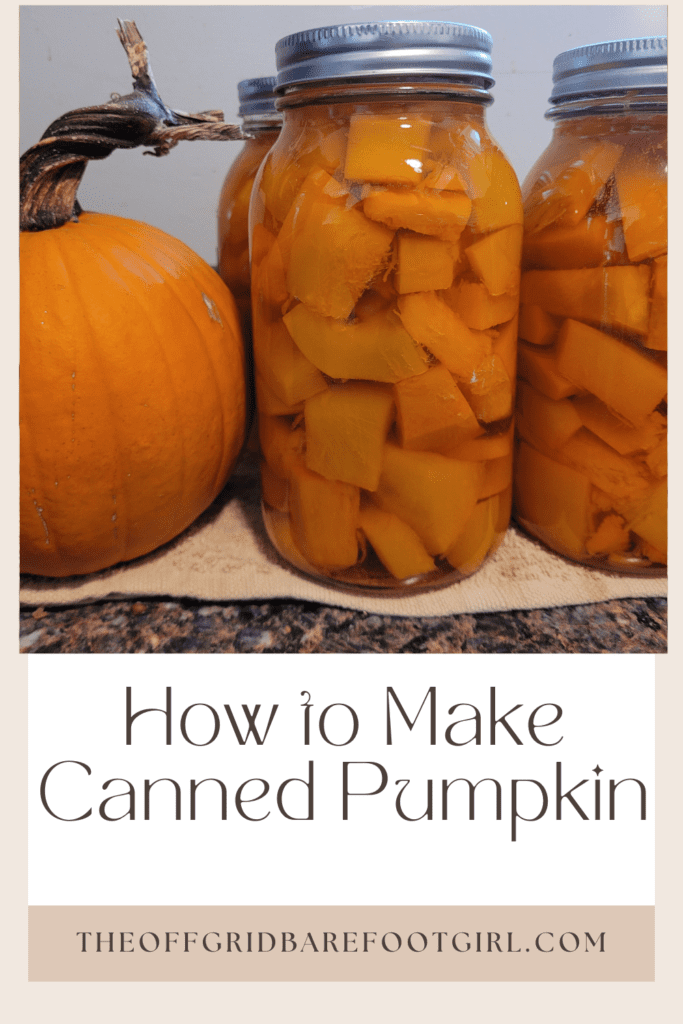
Discover how to make canned pumpkin safely at home with this step-by-step guide. Learn the best methods for preparing, cooking, and pressure canning pumpkin so you can stock your pantry with rich, homemade pumpkin for pies, soups, and fall recipes all year long. Perfect for homesteaders, food preservers, and anyone who loves seasonal cooking.
Brief Overview of the Benefits of Canning Pumpkins at Home
Canning pumpkin at home gives you complete control over freshness, quality, and flavor. Store-bought canned pumpkins can sometimes have additives or just don’t quite match the rich taste of fresh pumpkins. By canning your own, you’re preserving the peak flavor of the season, ready to be enjoyed whenever you like. It’s also a great way to reduce waste if you have a bounty of pumpkins after the fall harvest or if you want to stock up for holiday recipes. Plus, it’s incredibly satisfying to create your own pantry essentials that are both wholesome and cost-effective.
Why Canned Pumpkin is a Versatile Ingredient for Seasonal Recipes
Canned pumpkin is one of those amazing ingredients that can go from sweet to savory effortlessly. Imagine using it in creamy pumpkin pies, spicy fall soups, moist muffins, or even as a flavorful base for sauces and curries. With home-canned pumpkin cubes, you’re set up for endless possibilities in the kitchen, perfect for those cozy, warming recipes we crave as the weather turns cooler. Having jars of canned pumpkin on hand means you can whip up something delicious and seasonal without a trip to the store!
Importance of Safe Canning Practices for Low-Acid Foods Like Pumpkin
Safety is key when it comes to canning low-acid foods like pumpkins. Unlike tomatoes or jams, pumpkin lacks the acidity needed to prevent bacterial growth, meaning it must be canned under higher temperatures. This is why a pressure canner is essential for pumpkin—it reaches the necessary heat levels to safely preserve low-acid foods. Following safe canning practices ensures your pumpkin stays fresh, flavorful, and safe to enjoy in all your seasonal dishes, allowing you to enjoy your hard work worry-free!
This is a pinnable post. Tap or hover over any image in this post to pin to your Pinterest Boards.
Choosing the Right Pumpkins
Best Types of Pumpkin for Canning (Sugar/Pie Pumpkins vs. Carving Pumpkins)
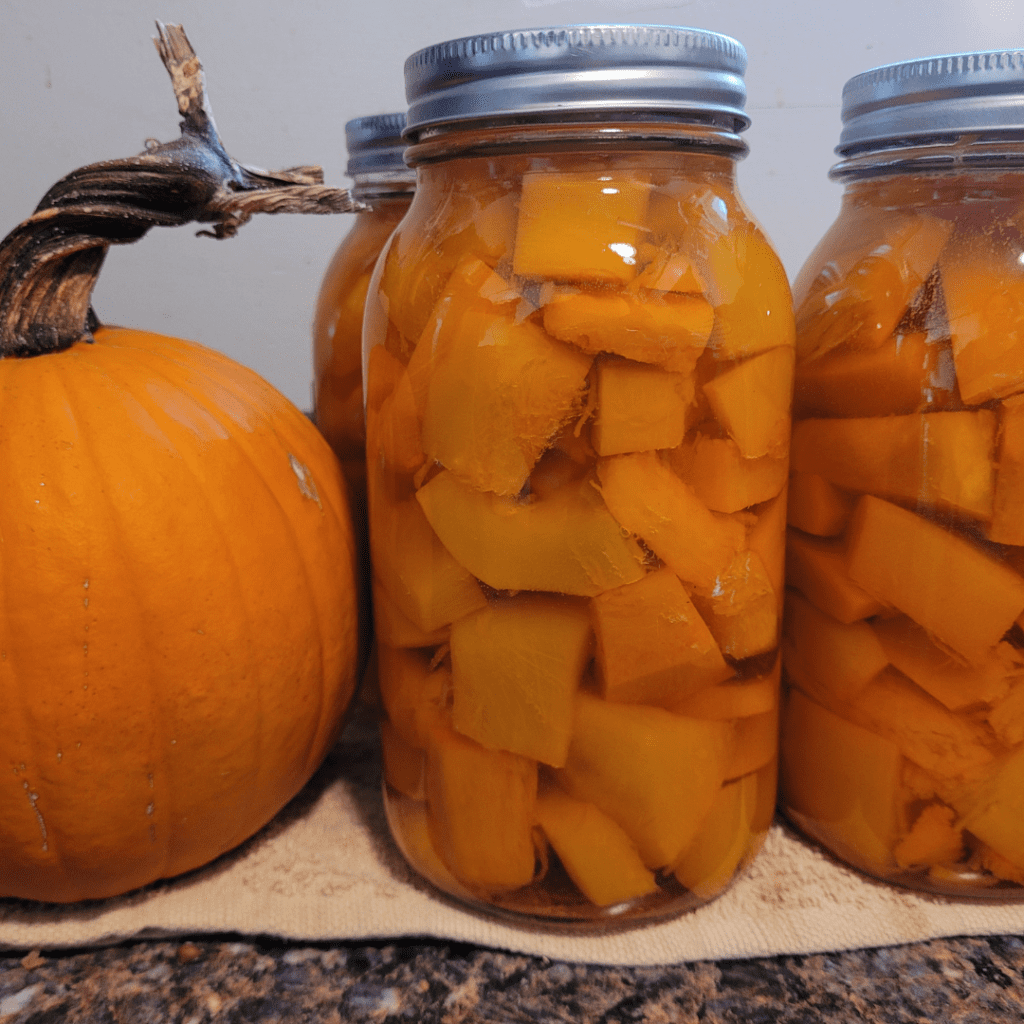
When it comes to canning, sugar pumpkins or pie pumpkins are your best bet! These smaller, sweeter varieties have a smooth texture and rich flavor that makes them perfect for recipes like pies and soups. Unlike the larger carving pumpkins, which are often watery and lack flavor, sugar pumpkins pack a punch in both taste and consistency. Their denser flesh holds up well during the canning process, ensuring you’ll get delicious results every time. So, when you’re at the store or farm, be sure to reach for those small, round pumpkins specifically labeled for cooking.
Tips for Selecting Ripe, High-Quality Pumpkins at the Market or Farm
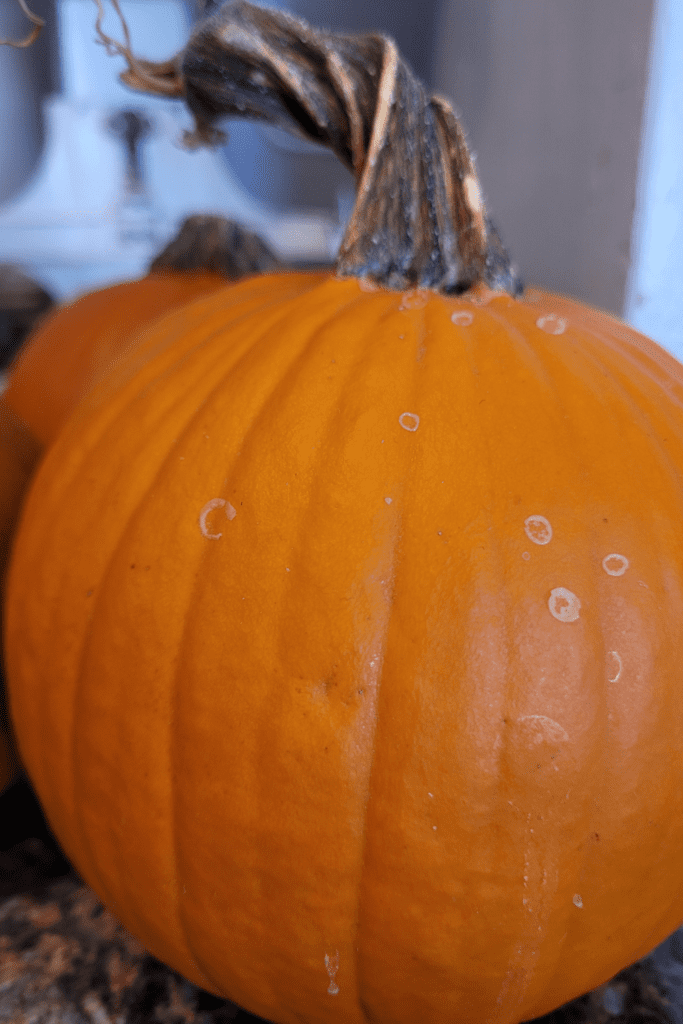
Selecting the right pumpkin is essential for the best canning experience. Look for pumpkins that are firm, with smooth, unblemished skin and rich color—deep orange is ideal! The stem should be sturdy and dry, indicating freshness. Give it a little knock; a ripe pumpkin will produce a hollow sound, signaling that it’s dense and ready for canning. Avoid any soft spots or signs of mold, as these can affect the quality of your canned pumpkin. When you choose a high-quality pumpkin, you’re setting yourself up for success in the kitchen!
Yield Considerations: How Many Pumpkins are Needed for a Batch
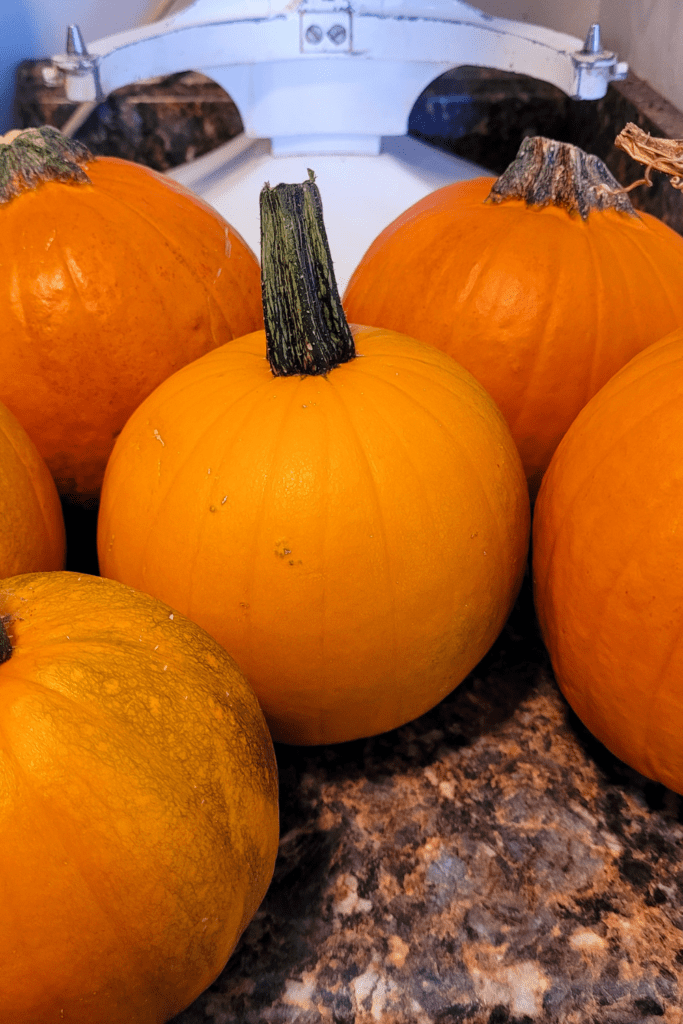
When planning your pumpkin canning project, it’s important to consider how many pumpkins you’ll need to fill your jars. On average, one sugar pumpkin can yield about 2 to 3 cups of canned pumpkin cubes, depending on its size. If you’re looking to can enough for several recipes, aim for 6 to 8 medium-sized pumpkins to fill 7 quart-sized jars. Of course, this can vary based on the size of the pumpkins you choose, so it’s a good idea to have a few extras on hand. That way, you can ensure you have plenty of delicious pumpkins ready for all your favorite fall recipes!
Prepping the Pumpkin for Canning
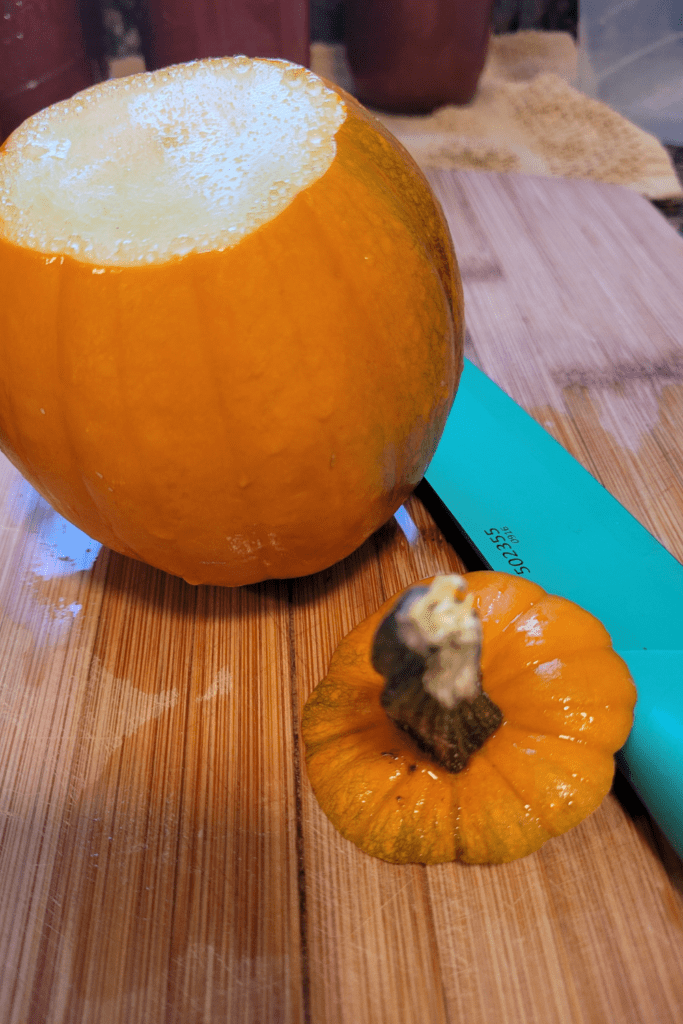
Step-by-Step Guide to Washing, Peeling, and Cubing Pumpkins
Getting your pumpkins ready for canning is an important step that starts with washing them thoroughly.
- Begin by rinsing each pumpkin under cool running water to remove any dirt or pesticides from the surface. Once they’re clean, you can move on to peeling.
- Carefully slice off the stem and base, then cut the pumpkin in half.
- Scoop out the seeds and stringy insides with a sturdy spoon.
- After that, cut the pumpkin into manageable sections to make peeling easier. Using a sharp vegetable peeler, remove the skin, revealing the bright orange flesh underneath.
- Finally, chop the peeled pumpkin into cubes that will be ready for cooking and canning. This step-by-step approach ensures your pumpkins are clean and ready to shine in your home-canned goodies!
Tips and Tools Needed for Peeling and Cubing, with Tips to Make It Easier
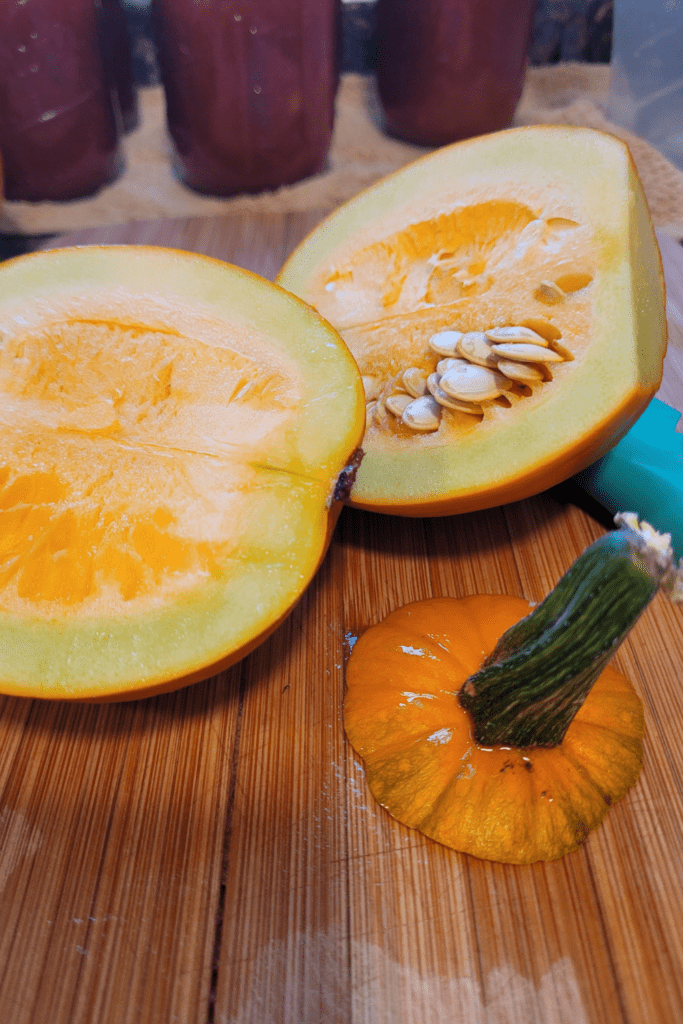
Having the right tools on hand can make peeling and cubing your pumpkins a breeze!
- Start with a sturdy chef’s knife for cutting through the tough skin, along with a sharp vegetable peeler for removing the skin once the pumpkin is cut.
- A sturdy spoon will be essential for scooping out the seeds and stringy insides.
- Consider using a cutting board with a non-slip surface to keep your pumpkins steady as you work.
- For an extra tip, microwave the pumpkin halves for about 2-3 minutes to soften them slightly before cutting; this can make slicing through the tough exterior much easier.
With these tools and tips, you’ll find prepping your pumpkins to be a simple and enjoyable task!
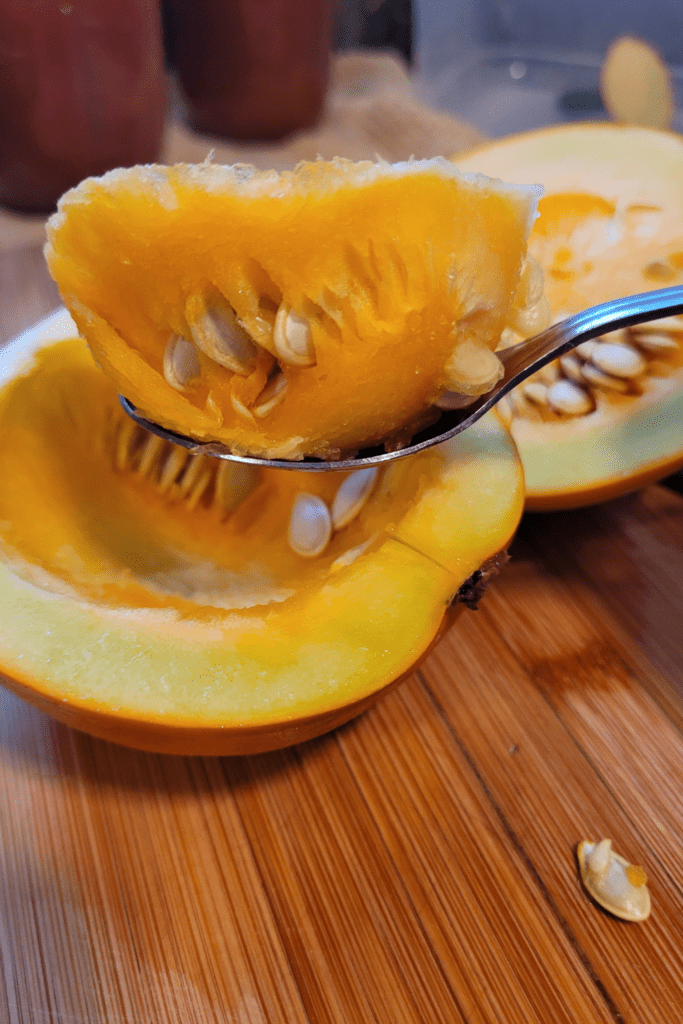
I save my pumpkin seeds from the best sugar pumpkins I have grown to dry for next year’s pumpkin patch. They never disappoint!
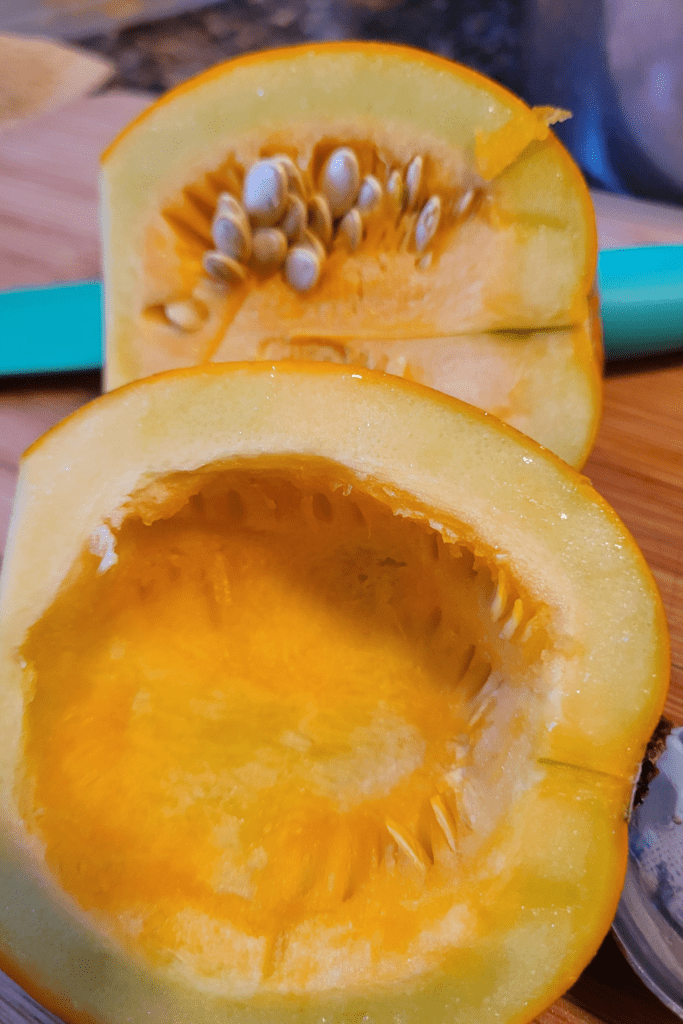
Proper Cube Size for Safe Canning and Even Cooking
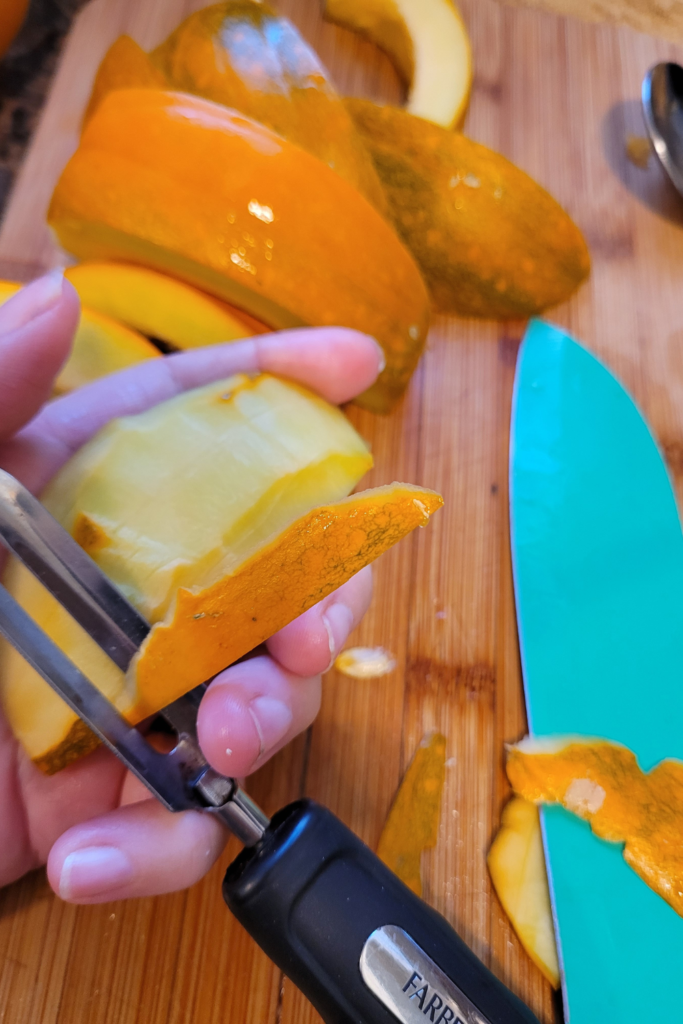
When it comes to cubing your pumpkin for canning, consistency is key. Aim for cubes that are about 1 inch in size. This size allows for even cooking during the pre-canning process and ensures that the heat penetrates thoroughly during the canning phase. Smaller cubes may become mushy and lose their shape, while larger ones might not cook properly, risking food safety. By keeping your cubes uniform, you’ll achieve the best texture and flavor in your final canned product. Plus, it makes for a visually appealing presentation when you open the jars later!
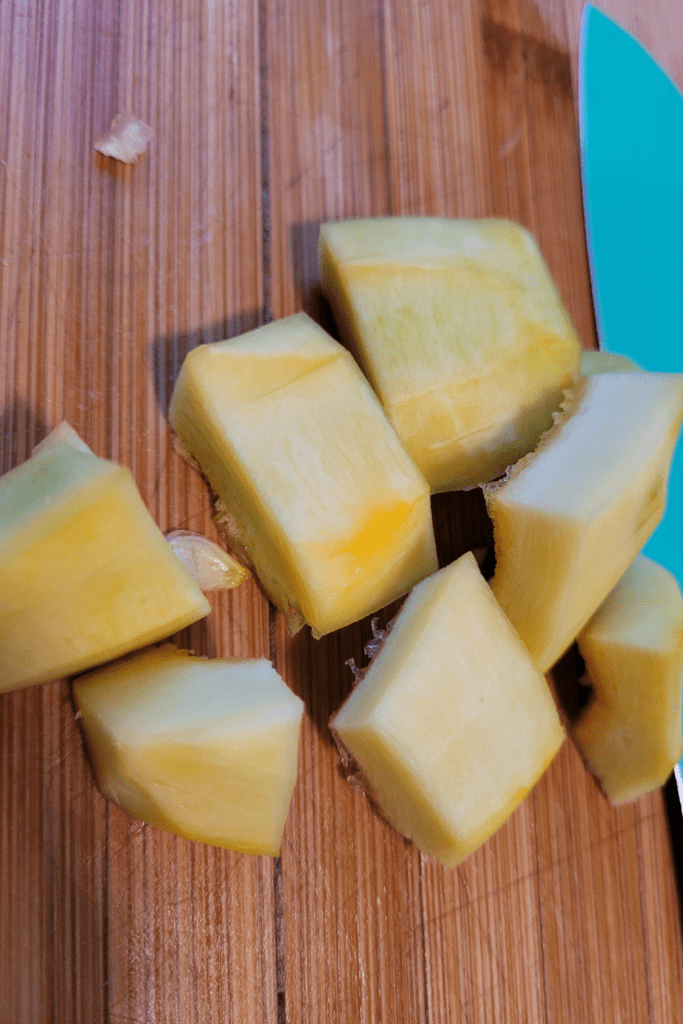
Cooking the Pumpkin Cubes
How to Cook Pumpkin Cubes for Canning: Boiling vs. Steaming
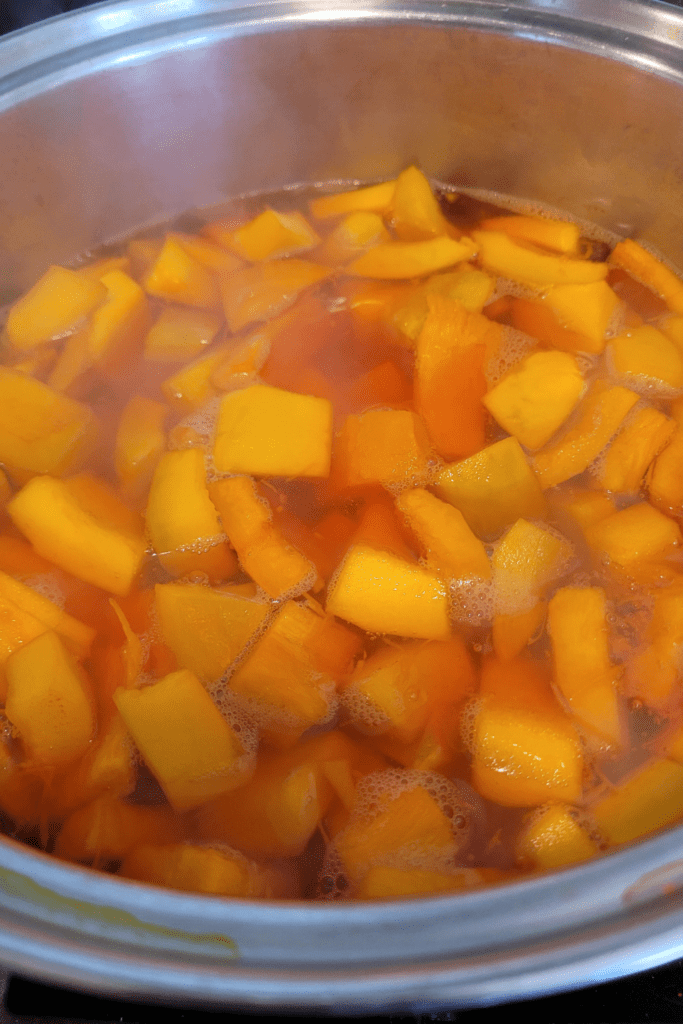
When it comes to cooking pumpkin cubes for canning, you have two excellent methods to choose from: boiling and steaming.
Boiling involves immersing the pumpkin cubes in a pot of boiling water, which cooks them quickly. Just make sure to keep an eye on them to prevent overcooking.
Steaming, on the other hand, allows the pumpkin to retain more nutrients and flavor while preventing it from becoming waterlogged. Using a steamer basket over simmering water is a fantastic way to achieve tender cubes without sacrificing texture.
Both methods are effective, so you can choose whichever fits your kitchen setup best!
Cooking Time Needed to Soften Cubes Without Turning Them Mushy
Timing is crucial when cooking your pumpkin cubes! You want them to soften just enough for canning without turning to mush. For boiling, aim for about 5 to 7 minutes of cooking time; check the cubes frequently to see if they are fork-tender. If you’re steaming, it generally takes around 8 to 10 minutes. Keep in mind that the cubes will continue to cook slightly during the canning process, so you don’t want to overdo it at this stage. The goal is to have them soft enough to fork easily, but still firm enough to hold their shape once canned.
Important Note: Avoid Mashing or Pureeing Pumpkin for Canning
While mashed or pureed pumpkin may sound tempting, it’s essential to avoid this method for canning. Pumpkin puree is too dense and lacks the proper heat penetration required for safe canning, increasing the risk of harmful bacteria developing. Instead, stick to a cubed pumpkin, which allows for proper heat distribution during the canning process. This ensures a safe and delicious end product, ready to enhance your favorite recipes. Trust me, your future self will thank you for this crucial step in preserving the goodness of your home-canned pumpkin!
Safe Canning Methods for Pumpkin
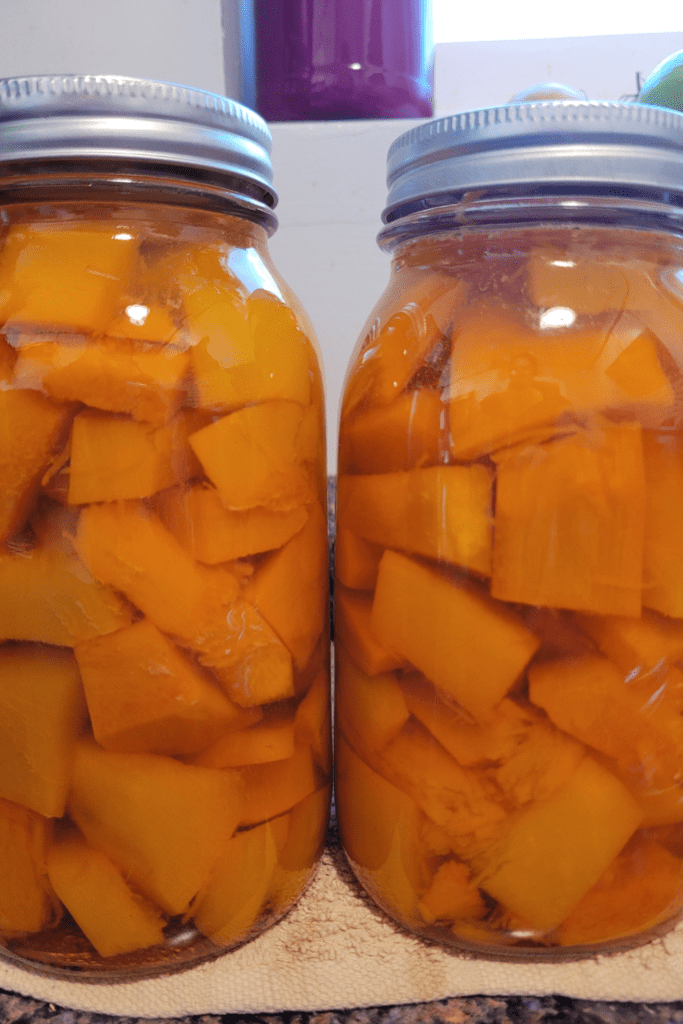
Explanation of Why Pumpkin Requires a Pressure Canner
Canning pumpkin safely requires a pressure canner because pumpkin is classified as a low-acid food. Unlike high-acid foods such as fruits or pickled vegetables, low-acid foods can harbor dangerous bacteria, including Clostridium botulinum, which causes botulism. To eliminate these harmful bacteria, food must be processed at a temperature of 240°F or higher, which can only be achieved with a pressure canner. Water bath canning, while great for high-acid foods, simply doesn’t reach the necessary temperature to ensure the safe preservation of pumpkins. So, investing in a pressure canner is a crucial step for anyone looking to can pumpkin safely and effectively!
Step-by-Step Guide on Using a Pressure Canner for Pumpkin Cubes
Using a pressure canner may seem intimidating at first, but it’s quite straightforward once you get the hang of it!
- Start by filling your pressure canner with about 2 to 3 inches of water, making sure to follow the manufacturer’s instructions.
- Place the prepared pumpkin cubes into clean, hot jars, leaving the recommended headspace.
- Secure the lids tightly, then place the jars in the canner.
- Lock the lid in place and heat the canner on the stovetop until it reaches the desired pressure—typically around 10 to 15 pounds, depending on your altitude.
- Once you’ve achieved the right pressure, begin timing the processing according to your canner’s guidelines, usually around 55 minutes for quart-sized jars.
- When the time is up, allow the canner to cool down completely before carefully releasing the pressure and removing the jars.
Safety Tips and Guidelines for Setting Pressure, Timing, and Venting
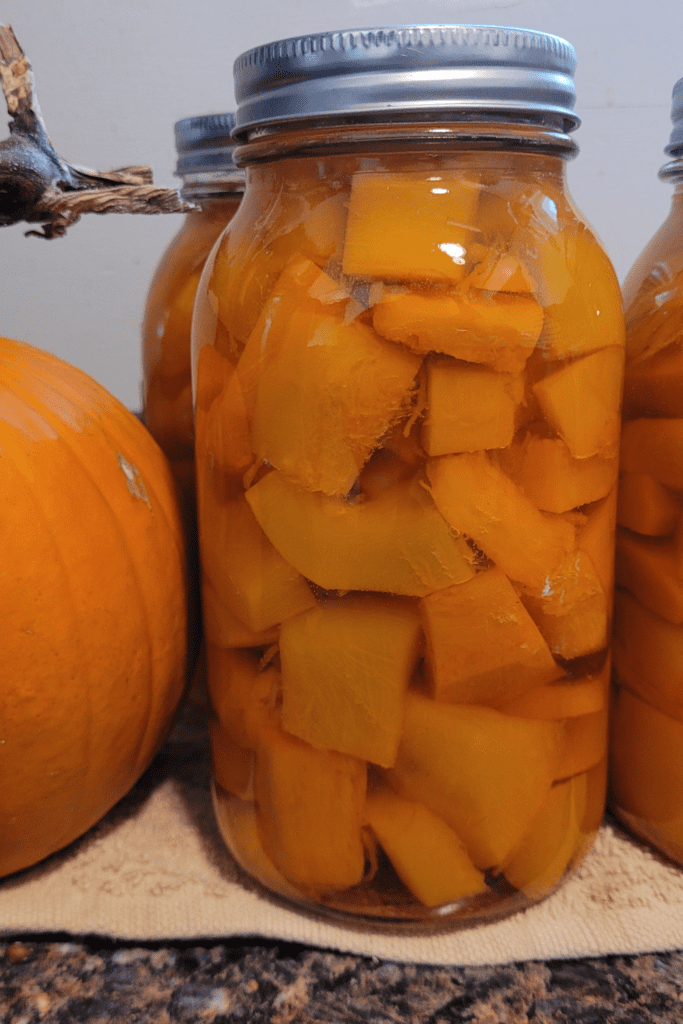
Safety is paramount when using a pressure canner! Always check that your canner’s gasket is clean and in good condition before use to ensure a proper seal. When setting the pressure, adjust according to your elevation—higher altitudes require more pressure. During the canning process, keep an eye on the pressure gauge to make sure it remains stable. Once the processing time is complete, allow the canner to depressurize naturally; never attempt to force it open. Venting is crucial: make sure the steam vent is clear and functioning to prevent any pressure buildup. Following these guidelines will help you achieve a safe and successful canning experience!
Troubleshooting Common Canning Issues (e.g., Siphoning, Lid Failure)
Even experienced canners encounter issues from time to time, so it’s good to be prepared! Siphoning—when liquid escapes from the jars during processing—can happen if the jars are overfilled or if the temperature changes too quickly. To minimize this, always follow recommended headspace guidelines and ensure your jars are hot before filling them. Lid failure can also occur, usually due to poor sealing or improper lid application. Always check your lids for any dents or damage before canning, and ensure they’re secured according to manufacturer’s instructions. If you encounter these issues, don’t be discouraged! Learning from these experiences will only make you a better canner in the long run.
Storing and Using Home-Canned Pumpkin
How to Store Canned Pumpkin for Optimal Freshness and Longevity
Once you’ve successfully canned your pumpkin, proper storage is key to maintaining its freshness and quality. Start by allowing the jars to cool completely at room temperature. After they’ve cooled, store the jars in a cool, dark, and dry place, such as a pantry or cupboard. Avoid direct sunlight, as exposure can degrade the quality of the food inside. Ensure that the lids are sealed properly—if you press down on the center of the lid and it doesn’t pop back, it’s sealed! By taking these steps, you’ll be able to enjoy your home-canned pumpkin at its best.
Signs of Spoilage to Watch for Before Using
Before using your canned pumpkin, it’s important to check for any signs of spoilage. First, inspect the jar for any bulging lids or leaks, as these are red flags that the jar has not been sealed properly. Next, look for any discoloration, such as dark spots or an unusual appearance in the pumpkin itself. When you open the jar, give it a sniff; if there’s an off or foul odor, it’s best to err on the side of caution and discard it. Remember, if something looks or smells off, don’t take chances—safety comes first!
Storage Recommendations: Best Conditions and Shelf Life
For the best storage conditions, aim for a consistent temperature of 50-70°F, which helps maintain the quality of your canned pumpkin. Avoid storing your jars in areas prone to temperature fluctuations, like garages or near stoves. Under these ideal conditions, home-canned pumpkins can last 12 to 18 months. However, it’s always wise to label your jars with the date of canning to keep track of their age. While they may still be safe to eat beyond this period, the flavor and texture may decline over time. So, for the best results, enjoy your canned pumpkin within the first year for delicious seasonal recipes!
Delicious Recipes Using Canned Pumpkin
Pumpkin Pie: How to Make a Classic Pie with Canned Pumpkin Cubes
Nothing says fall quite like a classic pumpkin pie, and using your home-canned pumpkin cubes makes it even more special!
- Start by preheating your oven to 425°F. In a mixing bowl, combine 2 cups of your canned pumpkin, 1 cup of evaporated milk, 3/4 cup of brown sugar, 2 large eggs, and a blend of spices like cinnamon, nutmeg, and ginger.
- Mix until smooth and pour the mixture into a prepared pie crust.
- Bake for 15 minutes, then reduce the temperature to 350°F and continue baking for an additional 40-50 minutes, or until the filling is set.
- Let it cool before serving with a dollop of whipped cream for that perfect autumn dessert!
Pumpkin Soup: Simple Recipe to Transform Canned Pumpkin into Soup
Transforming your canned pumpkin into a comforting soup is quick and easy!
- Begin by sautéing one chopped onion and two cloves of minced garlic in a pot with a bit of olive oil until they’re soft and fragrant.
- Add 2 cups of your canned pumpkin cubes and 3 cups of vegetable or chicken broth, and season with salt, pepper, and a pinch of cayenne for some warmth.
- Bring the mixture to a boil, then reduce the heat and let it simmer for about 15 minutes.
- Use an immersion blender to puree the soup until smooth, or transfer it to a regular blender in batches.
- For a finishing touch, swirl in some cream or a sprinkle of pumpkin seeds, and enjoy this cozy, flavorful dish!
Pumpkin Muffins and Breads: Easy Recipes for Fall Baking with Pumpkin
Baking with pumpkin is a fall favorite, and pumpkin muffins or bread are simple delights to whip up!
- For muffins, combine 1 cup of your canned pumpkin with 1/3 cup of melted butter, 1/2 cup of brown sugar, and 1/4 cup of granulated sugar.
- Stir in 2 eggs, a teaspoon of vanilla extract, and 1 teaspoon of baking soda mixed with 1 teaspoon of cinnamon.
- Add in 1 1/2 cups of flour and mix until just combined.
- Spoon the batter into a muffin tin and bake at 350°F for 20-25 minutes.
- If you prefer pumpkin bread, simply pour the batter into a loaf pan and bake for about 60 minutes.
Either way, you’ll have delicious, moist treats that capture the essence of autumn! Here is one of my favorite pumpkin bread recipes!
How to Make Chocolate Chip Pumpkin Bread
Other Creative Uses for Canned Pumpkin, Like Smoothies or Curries
Canned pumpkin isn’t just for pies and muffins—it’s a versatile ingredient that can elevate a variety of dishes! For a nutritious breakfast or snack, try adding a scoop of canned pumpkin to your morning smoothie along with banana, yogurt, and a dash of cinnamon. It adds a creamy texture and a boost of vitamins.
You can also incorporate canned pumpkin into savory dishes like curries; simply sauté your choice of vegetables and proteins with curry spices, then stir in the pumpkin and some coconut milk for a rich and comforting meal.
With its natural sweetness and robust flavor, canned pumpkin can enhance everything from smoothies to soups, making it a pantry staple year-round!
Conclusion and Final Tips
Closing Thoughts on the Joy of Homemade Pantry Staples
There’s something incredibly rewarding about creating your own pantry staples, and canning pumpkin is no exception! Not only do you get to enjoy the fruits of your labor, but you also have the satisfaction of knowing exactly what goes into your food. Homemade canned pumpkin not only saves you money but also allows you to preserve the vibrant flavors of fall for use throughout the year. Each jar represents the effort you put into selecting, prepping, and canning, and it’s a lovely reminder of the season. Plus, there’s a certain joy in sharing your creations with loved ones, whether it’s a warm pumpkin pie at Thanksgiving or a comforting bowl of pumpkin soup during the chilly months.
Recap of Key Steps for Safe, Successful Pumpkin Canning
To ensure safe and successful pumpkin canning, remember the key steps!
- Start by selecting the right type of pumpkin, ideally sugar or pie pumpkins, and ensure they’re ripe and of high quality.
- After washing, peeling, and cubing, cook the pumpkin cubes using either boiling or steaming methods until they’re fork-tender but not mushy.
- Always use a pressure canner, as pumpkin is a low-acid food that requires higher temperatures to eliminate harmful bacteria. Make sure to follow proper pressure, timing, and venting guidelines for the best results.
- Finally, store your canned pumpkin in a cool, dark place and check for spoilage signs before using. By following these steps, you can enjoy delicious, home-canned pumpkin with confidence!
Encouragement to Experiment with Recipes Using Home-Canned Pumpkin
Now that you’ve mastered the art of canning pumpkin, it’s time to get creative in the kitchen! Don’t hesitate to experiment with a variety of recipes that incorporate your home-canned pumpkin. From classic pumpkin pies to savory soups and delightful baked goods, the possibilities are endless. Try adding pumpkin to your morning smoothies, whipping up a comforting curry, or even creating your own unique muffins. Each time you open a jar, you have the chance to create something new and delicious. So grab your jars of canned pumpkin, unleash your culinary creativity, and enjoy the seasonal flavors that you’ve preserved for yourself and your loved ones!
Resources: Here are some helpful resources for further information.
- Canning Yellow Summer Squash – By Preserved Home
- Canning Butternut Squash the Right Way – By The Frugal Farm Wife
- Pressure Canned Pumpkin or Winter Squash – By Ball Mason Jars
Frequently Asked Questions
1. Can I safely can pumpkin puree at home?
Unfortunately, no. Pureed pumpkin is too dense to can safely at home. It’s best to can cubed pumpkin, which allows heat to penetrate fully during the canning process.
2. What type of pumpkin works best for canning?
Small sugar pumpkins or pie pumpkins are ideal. They have a sweeter flavor and smoother texture compared to larger carving pumpkins.
3. Do I need a pressure canner to can pumpkin?
Yes, a pressure canner is essential for safely canning pumpkins. Water-bath canning does not reach a high enough temperature for low-acid foods like pumpkins.
4. How long does canned pumpkin last?
Properly canned pumpkins can last 12–18 months when stored in a cool, dark place.
5. Can I use my canned pumpkin for pies and soups?
Absolutely! Drain and mash the pumpkin cubes to create a puree, perfect for pies, soups, and more.
Canned Pumpkin
Equipment
- 1 pressure canner.
- 7 quart jars with lids and rings.
- 1 jar lifter.
- 1 large pot for boiling.
- 1 knife and cutting board.
- 1 potato peeler.
- 1 set of measuring cups.
Ingredients
- 6-8 fresh sugar or pie pumpkins (to yield about 7 quarts).
- water for boiling.
Instructions
Selecting and Preparing Pumpkins
- Choose ripe, high-quality sugar or pie pumpkins.
- Wash pumpkins thoroughly, then cut them in half and remove seeds and strings.
Washing, Peeling, and Cubing the Pumpkins
- Peel the pumpkin skin using a potato peeler.
- Cut the pumpkin into even cubes (about 1 inch).
Cooking the Pumpkin Cubes
- Boiling Method: Boil pumpkin cubes for 5-7 minutes until fork-tender.
- Steaming Method: Steam cubes for 8-10 minutes until tender.
Preparing the Pressure Canner
- Fill the pressure canner with 2-3 inches of water.
- Place prepared pumpkin cubes into hot canning jars, leaving 1-inch headspace.
Sealing the Jars
- Wipe rims of jars, place lids, and screw on metal bands until fingertip-tight.
Processing the Jars in the Pressure Canner
- Lock the lid on the canner and heat until reaching the desired pressure (10-15 pounds).
- Process for 55 minutes for quart jars, adjusting for altitude if necessary.
Cooling and Storing the Jars
- Allow the canner to depressurize naturally, then remove jars.
- Let jars cool completely before storing in a cool, dark place.
Summary
I hope I have inspired you to stockpile your pantry for your survival needs.
If you were encouraged by this post, I invite you to check out my FREE Printables Page for fun free printables, planners, and charts.
ENTER MY FREE Printables Page HERE
Here are some more of my canning inspiration posts to check out!
How to Make and Can Pumpkin Butter
How to Make and Can Fall Spiced Quince Chutney
Quince: How to Can Quince
Carrot Cake Butter: How to Make and Can Carrot Cake Butter
Peach Pie Filling: How to Make and Can Peach Pie Filling
Pear Pie Filling: How to Make and Can Pear Pie Filling
The Best Winter Pantry Staples to Stockpile Now!
Grapes: How to Make and Can Grape Jam
Apple Cider: How to Make Homemade Apple Cider Vinegar
How to Make and Can Cherry Plum Jam
How to Make and Can Apple Butter In Crockpot
Stockpiling Condiments for Survival: Learn How I Do It!
How to Make and Can Vegetable Pot Pie Filling
Easy Canning Applesauce Recipes to Stalk Your Pantry!
How to Make Peach Jalapeno Jam
Cherries: How to Make Cherry Pie Filling
Cherries: How to Make Cherry Syrup
Salsa: How to Make and Can Cherry Salsa
Peaches: How to Make and Can Peach Salsa
Canning Supplies You Need Now for a Successful Canning Season!
How to Make and Can Balsamic Onion Jam
Cranberry Sauce: How to Make and Can Old Fashioned Cranberry Sauce
How to Make and Can Cranberry Merry Jam
How to Make and Can Strawberry Shortcake Jam
Cherry Jam: How to Make and Can Cherry Pie Jam
Carrot Cake Jam: How to Make and Can Carrot Cake Jam
Quince Jam: How to Can a Year’s Supply of Quince Jam
Root Beer Float Jelly: How to Make and Can Root Beer Float Jelly
Blessings,
The Off Grid Barefoot Girl



Yum! 😋🎃 Very well written and very thoughtful
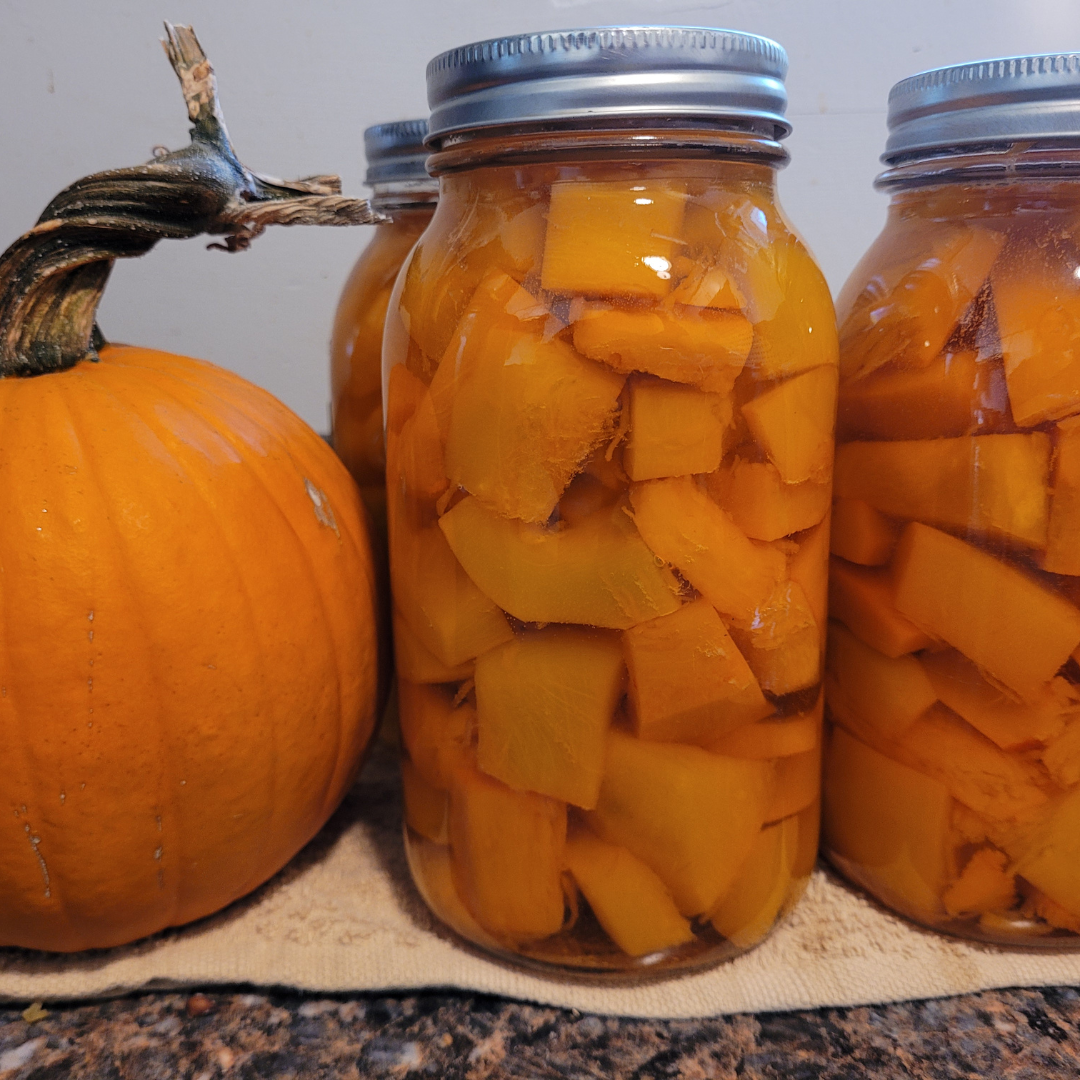
Thanks! I grew a lot of sugar pumpkins this year that gave me pumpkin cubes and pumpkin butter! My pantry is set for the holidays in the pumpkin department!