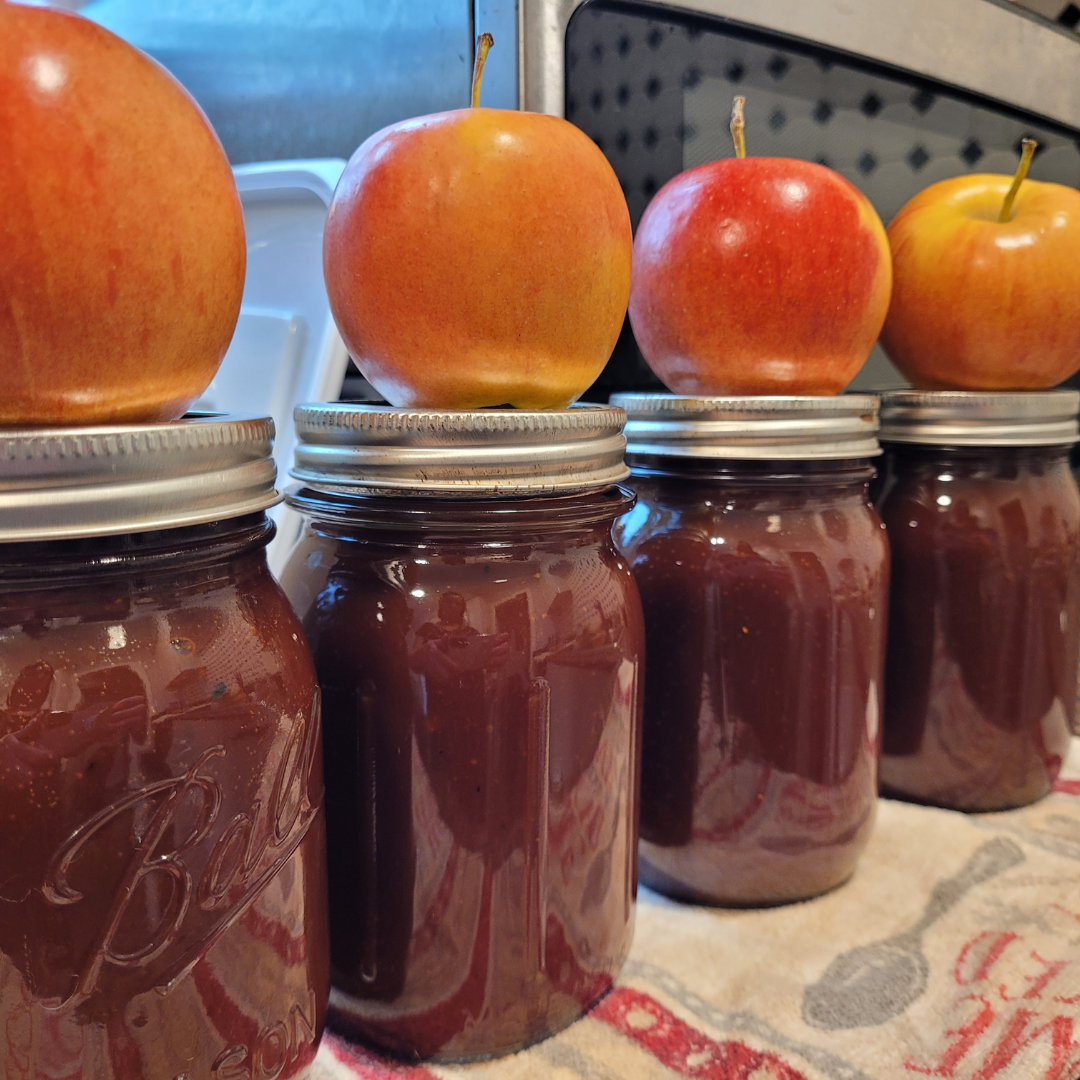
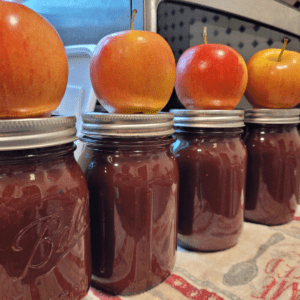
Learn how to make and can apple butter in a crockpot with this simple, hands-off method that fills your home with the warm scent of fall. Using fresh apples, cozy spices, and a slow cooker, you’ll create rich, smooth apple butter that’s perfect for spreading on toast, stirring into oatmeal, or gifting in jars. This step-by-step guide walks you through the entire process—from cooking and blending to water bath canning—so you can enjoy homemade apple butter all year long!
Fall is the perfect time to cozy up with a warm spread of homemade apple butter. Can you imagine the rich, spicy-sweet aroma wafting through your kitchen? Making your own apple butter is easier than you might think, and using a crockpot allows you to simmer it low and slow for that deep, caramelized flavor.
Whether you’re stocking up for the winter months or preparing treats for the holiday season, this crockpot apple butter recipe is a must-try. Not only is it incredibly versatile (hello, toast topping, baked good filling, and more!), but it’s also a delicious way to use up an abundance of apples.
In this blog post, I’ll guide you through the entire process, from understanding what apple butter is to canning your homemade batch for long-term storage. You’ll learn how to effortlessly transform a few simple ingredients into a thick, velvety spread that tastes like autumn in a jar. And don’t worry – I’ll share plenty of tips and variations along the way to help you customize it to your liking.
So grab your crockpot and let’s get started on this cozy, flavorful project together. By the end, you’ll have a stash of homemade apple butter that will make every fall morning a little sweeter!
This is a pinnable post. Tap or hover over any image in this post to pin to your Pinterest Boards.
What is Apple Butter?
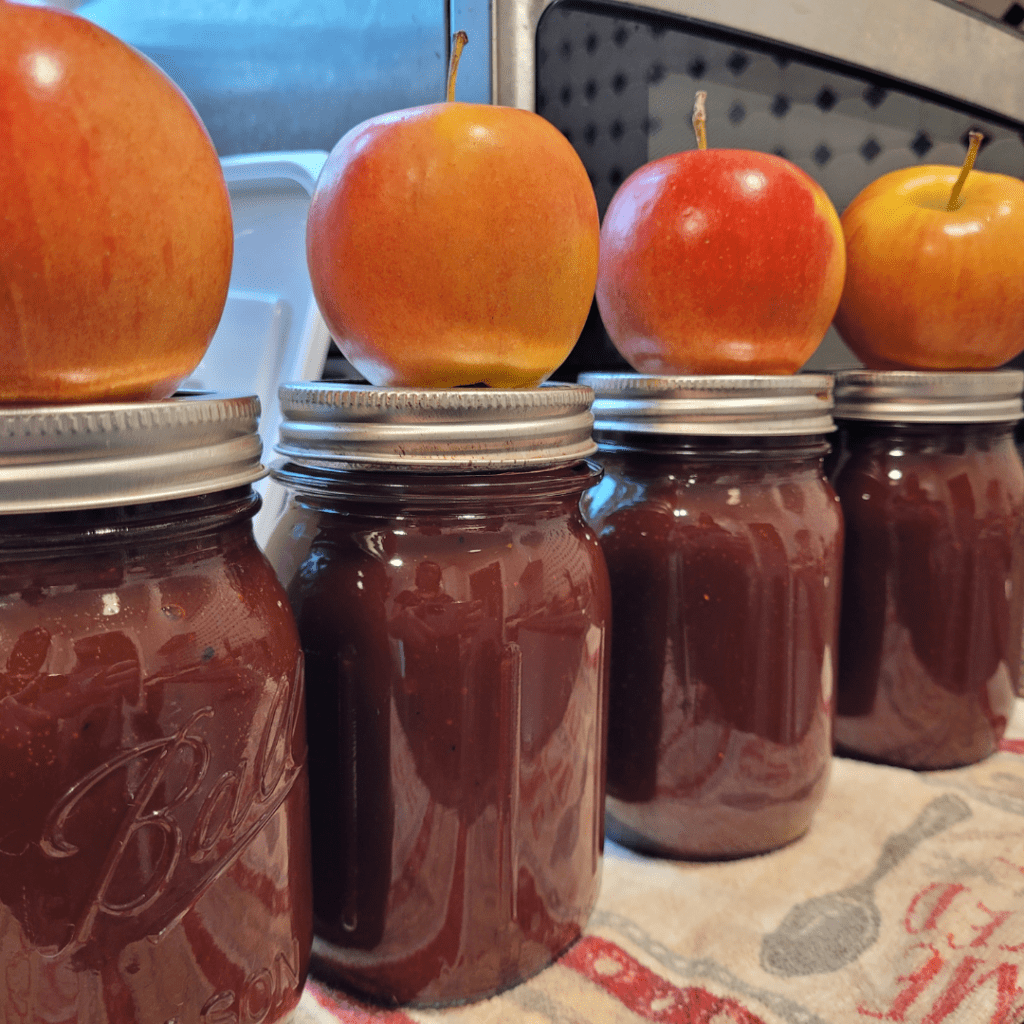
Apple butter is a thick, spreadable condiment made by slowly cooking apples with sugar and spices until they caramelize and turn into a rich, velvety spread. It’s a delicious and versatile treat that can be enjoyed in a variety of ways, from slathering it on toast or biscuits to using it as a filling for cakes or pastries.
Apple butter is a concentrated form of applesauce, where the apples are cooked down for an extended period, allowing the natural sugars to caramelize and the flavors to intensify. Unlike applesauce, which has a chunky texture, apple butter has a smooth, buttery consistency that melts in your mouth!
History and Origins
The origins of apple butter can be traced back to the Middle Ages when it was a common way to preserve apples for the winter months. It was particularly popular in the United States, especially in the Appalachian and Pennsylvania Dutch regions, where it became a beloved tradition to make apple butter in large copper kettles over an open fire.
Difference Between Apple Butter and Applesauce
While both apple butter and applesauce are made from apples, the main difference lies in the cooking process and texture. Applesauce is made by cooking apples with a small amount of water or apple cider until they become soft and pulpy. On the other hand, apple butter is cooked for a much longer period, allowing the natural sugars to caramelize and the water to evaporate, resulting in a thicker, more concentrated, and richer flavor.
Health Benefits of Apple Butter
Apart from its delectable taste, apple butter offers several health benefits:
- Rich in Antioxidants: Apples are a good source of antioxidants like vitamin C and polyphenols, which can help protect your cells from damage caused by free radicals.
- High in Fiber: Apple butter retains the fiber content of apples, promoting healthy digestion and potentially reducing the risk of certain chronic diseases.
- Natural Sweetness: While apple butter contains added sugar, the natural sweetness from the caramelized apples allows you to use less sugar than in other sweetened spreads.
- No Preservatives: Homemade apple butter is free from artificial preservatives, making it a healthier choice compared to many store-bought varieties.
Apple butter is a delightful and versatile treat that combines the sweet and tangy flavors of apples with the richness of caramelization. Whether you enjoy it as a spread, a dessert topping, or an ingredient in baked goods, it’s sure to add a touch of warmth and comfort to your culinary adventures.
Ingredients and Supplies Needed
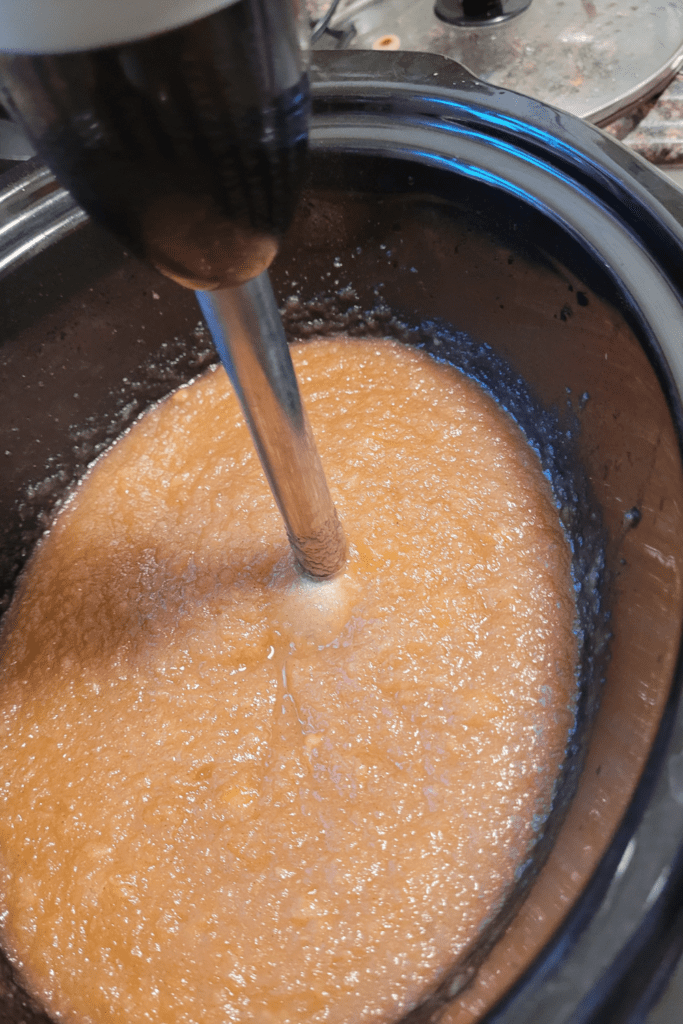
Making and canning apple butter in a crockpot is a simple process, but it requires having the right ingredients and supplies on hand. Here’s what you’ll need to get started:
Ingredients
- Apples (around 5-6 lbs).
- Sugar (1-2 cups both white and brown sugar, depending on your taste preference).
- Spices (cinnamon, nutmeg, allspice, or your favorite blend).
- Vanilla Extract.
Equipment and Canning Supplies
- Crockpot or slow cooker.
- Immersion blender.
- Canning jars and lids.
- Jar lifter and canning funnel.
- Large pot for water bath canning.
Having all the necessary ingredients and equipment on hand will make the process smooth and ensure your apple butter turns out perfectly. Choose your favorite variety of apples, and don’t be afraid to experiment with different spice combinations to find your perfect blend.
When it comes to canning supplies, it’s essential to have the right tools to ensure safe and successful canning. Sterilized jars and lids are a must, and a jar lifter and canning funnel will make filling the jars much easier. A large pot for water bath canning is also necessary to properly seal the jars and preserve your homemade apple butter.
With the right ingredients and supplies, you’ll be well on your way to creating a delicious and shelf-stable batch of apple butter that you can enjoy all year round.
Step-by-Step Instructions for Making Apple Butter in a Crockpot

Making homemade apple butter in a crockpot is a simple and delicious way to preserve the flavors of fall. This section will guide you through the process, from prepping the apples to testing for the perfect consistency.
Preparing the Apples
The first step is to gather your ingredients and prepare the apples. You’ll need:
- 5-6 pounds of apples (a mix of sweet and tart varieties works best).
- Sugar (white or brown, depending on your preference).
- Spices like cinnamon, nutmeg, and cloves.
- Vanilla extract.
Peel, core, and slice the apples into small chunks or wedges. The smaller the pieces, the faster they’ll cook down. Add them to the crockpot along with the desired amount of sugar and spices and vanilla extract.
Cooking the Apple Butter
Once the apples are in the crockpot, it’s time to let the slow cooking process work its magic. Here’s what you need to do:
- Add 1/2 cup of water to help cook down the apples and cover the crockpot with a lid, leaving a small gap for steam to escape.
- Cook on low heat for 10-12 hours, stirring occasionally.
- As the apples break down, use a potato masher or immersion blender to achieve a smooth, spreadable consistency.
Tip: If leaving it on overnight, put the crockpot on the warm setting to prevent burning since you will not be getting out of bed every so often to stir it unless you are that committed!
Testing for Doneness
After several hours of cooking, your apple butter should be thick, spreadable, and deeply flavored. To test if it’s ready:
- Spoon a small amount onto a plate and let it cool slightly.
- Run a finger through the center. If the apple butter doesn’t run back together, it’s done.
- If it’s still too runny, continue cooking and test again in an hour.
Once you’re satisfied with the consistency, remove the apple butter from the heat and let it cool completely before transferring it to airtight containers or canning jars for storage and follow the canning instructions below.
Enjoy your homemade apple butter on toast, pancakes, or even as a glaze for meats and vegetables. The slow cooking process intensifies the natural sweetness and flavors, making it a delicious and versatile fall treat!
Canning the Apple Butter
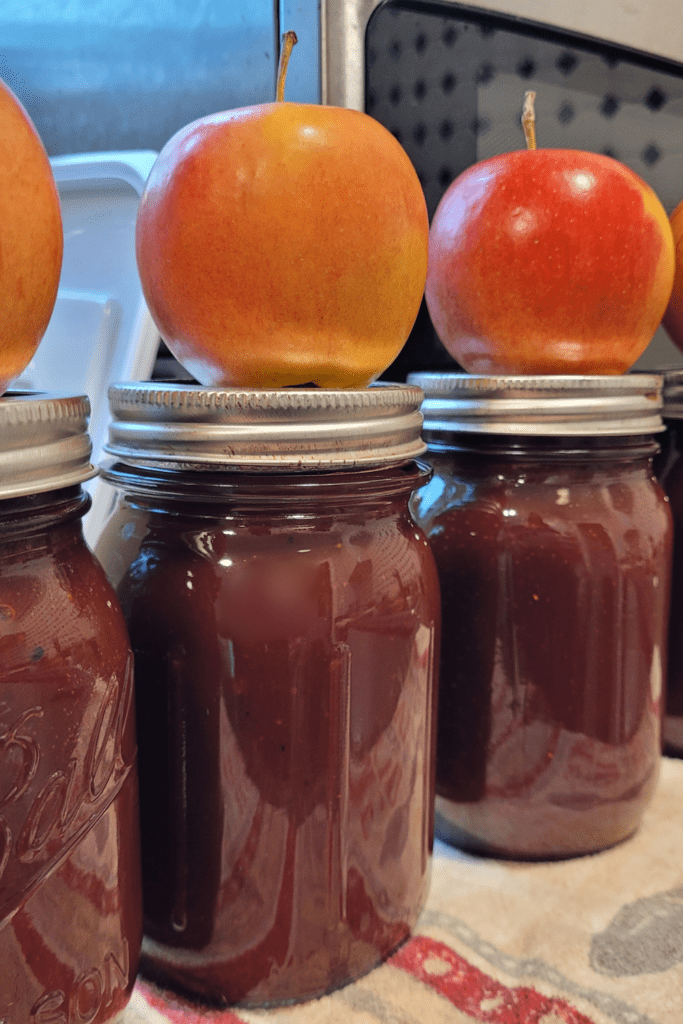
Now that your delicious apple butter is ready, it’s time to preserve it for long-term storage. Canning the apple butter is a straightforward process, but it’s essential to follow the steps carefully to ensure food safety and extend the shelf life of your homemade treat.
Sterilizing the Jars and Lids
Before filling the jars, you’ll need to sterilize them to eliminate any potential bacteria or contaminants. Here’s how:
- Wash the jars and lids in hot, soapy water, and rinse thoroughly.
- Place the jars and lids in a large pot and cover them with water.
- Bring the water to a rolling boil, and let the jars and lids boil for 10 minutes.
- Remove the jars and lids from the hot water using a jar lifter or tongs, and place them on a clean towel to air dry.
Filling the Jars
With your sterilized jars and lids ready, it’s time to fill them with your delicious apple butter:
- Use a funnel to carefully pour the hot apple butter into the jars, leaving about 1/2 inch of headspace at the top.
- Run a clean knife or spatula around the inside of the jar to remove any air bubbles.
- Wipe the rims of the jars with a clean, damp cloth to remove any spills or residue.
- Place the lids on the jars and screw the bands on until they’re fingertip-tight.
Processing the Jars
The final step is to process the filled jars in a water bath canner or a large pot with a rack on the bottom. Here’s how:
- Place the filled jars on the rack in the canner or pot, and cover them with water, ensuring at least 1 inch of water above the tops of the jars.
- Bring the water to a rolling boil, and process the jars for the recommended time based on your altitude,10-15 minutes for pints.
- Once the processing time is up, use a jar lifter to carefully remove the jars from the canner or pot, and place them on a towel or cooling rack to cool completely.
- After the jars have cooled, check the seals by pressing down on the center of each lid. If the lid doesn’t flex, it’s sealed properly.
Congratulations! You’ve successfully canned your homemade apple butter, ensuring it will stay fresh and delicious for months to come. Enjoy the fruits of your labor, and share your creations with friends and family!
Tips and Variations

Making apple butter in a crockpot is a convenient and versatile process. Here are some tips and variations to consider:
Apple Butter Flavor Variations
While classic apple butter is delicious on its own, you can experiment with various flavor combinations to suit your taste buds. Try incorporating citrus zest or flavored extracts for a bright, refreshing note. You can even mix in other fruits like pears or cranberries for a unique twist.
Storage and Shelf Life
Properly canned apple butter can last for up to two years when stored in a cool, dark place. However, once opened, it should be refrigerated and consumed within a few weeks. For optimal freshness, consider freezing apple butter in airtight containers or freezer bags for up to a year.
Using Apple Butter in Recipes
Apple butter is a versatile ingredient that can elevate both sweet and savory dishes. Use it as a spread on toast, biscuits, or scones for a delightful breakfast treat. Incorporate it into baked goods like muffins, breads, or cakes for added moisture and flavor. You can also use apple butter as a glaze for roasted meats or as a condiment for savory dishes like pork or chicken.
Experiment with different combinations and quantities to find your favorite ways to enjoy this delicious, homemade treat. Remember, the beauty of making apple butter in a crockpot is the ability to customize it to your liking and savor the rich, concentrated flavors of fall’s bounty.
Conclusion
Making homemade apple butter in a crockpot is an incredibly rewarding and satisfying experience. By following the step-by-step instructions, you can transform a simple blend of apples, sugar, and spices into a rich, velvety spread bursting with flavor. The slow cooking process allows the natural sugars to caramelize, creating a depth of taste that store-bought varieties simply can’t match.
Canning your homemade apple butter not only preserves its freshness, but also allows you to enjoy a taste of autumn all year round. Whether you choose to savor it on toast, swirl it into oatmeal, or use it as a glaze for meats, the possibilities are endless.
So why not gather your ingredients, dust off your crockpot, and embark on this delicious journey? Embrace the aroma of simmering apples and spices that will fill your home, and take pride in the jars of golden goodness you’ve created with your own hands. After all, there’s nothing quite like the satisfaction of savoring a homemade treat that’s been crafted with love and patience!
Resources: Here are some helpful resources for further information.
- How to Make Fruit Butter – By Creative Canning
- Fresh Fruit Butter – By Eating Well
- Fruit Butters – By Learn To Preserve
Frequently Asked Questions
1. How long does it take to make apple butter in a crockpot?
It typically takes about 10-12 hours on low heat to make apple butter in a crockpot. You’ll cook the apples until they break down and reach a thick, spreadable consistency. Stir occasionally to ensure even cooking.
2. Can I use any type of apple to make apple butter?
Yes, you can use any variety of apple, but a mix of sweet and tart apples, like Fuji and Granny Smith, often yields the best flavor. The choice of apples will influence the sweetness and tartness of your apple butter.
3. How do I know when the apple butter is ready to be canned?
The apple butter is ready to be canned when it has thickened to your desired consistency and no longer runs off a spoon. It should mound slightly and have a deep, rich color.
4. What’s the best way to store canned apple butter?
Canned apple butter should be stored in a cool, dark place, such as a pantry or cupboard. Once opened, keep it in the refrigerator and use it within a few weeks. Properly canned and sealed jars can last up to a year.
Apple Butter In Crockpot
Equipment
- 1 crockpot.
- 1 water bath canner
- 1 set of canning supplies
Ingredients
- 6 ½ pounds peeled, cored, and sliced apples.
- 1 cup white sugar.
- 1 cup brown sugar.
- 1 tbsp cinnamon.
- 1 tsp nutmeg.
- ¼ tsp salt.
- 1 tbsp vanilla extract.
Instructions
Preparing the Apples
- Peel, core, and slice the apples into small chunks or wedges. The smaller the pieces, the faster they'll cook down.
- Add them to the crockpot along with the desired amount of sugar and spices and vanilla extract.
Cooking the Apple Butter
- Add 1/2 cup of water to help cook down the apples and cover the crockpot with a lid, leaving a small gap for steam to escape.
- Cook on low heat for 10-12 hours, stirring occasionally.
- As the apples break down, use a potato masher or immersion blender to achieve a smooth, spreadable consistency.
- Tip: If leaving it on overnight, put the crockpot on the warm setting to prevent burning since you will not be getting out of bed every so often to stir it unless you are that committed!
Testing for Doneness
- Spoon a small amount onto a plate and let it cool slightly.
- Run a finger through the center. If the apple butter doesn't run back together, it's done.
- If it's still too runny, continue cooking and test again in an hour.
- Once you're satisfied with the consistency, remove the apple butter from the heat and let it cool completely before transferring.
Canning the Apple Butter | Sterilizing the Jars and Lids
- Before filling the jars, you'll need to sterilize them to eliminate any potential bacteria or contaminants. Here's how:
- Wash the jars and lids in hot, soapy water, and rinse thoroughly.
- Place the jars and lids in a large pot and cover them with water.
- Bring the water to a rolling boil, and let the jars and lids boil for 10 minutes.
- Remove the jars and lids from the hot water using a jar lifter or tongs, and place them on a clean towel to air dry.
Filling the Jars
- Use a funnel to carefully pour the hot apple butter into the jars, leaving about 1/2 inch of headspace at the top.
- Run a clean knife or spatula around the inside of the jar to remove any air bubbles.
- Wipe the rims of the jars with a clean, damp cloth to remove any spills or residue.
- Place the lids on the jars and screw the bands on until they're fingertip-tight.
Processing the Jars
- Place the filled jars on the rack in the canner or pot, and cover them with water, ensuring at least 1 inch of water above the tops of the jars.
- Bring the water to a rolling boil, and process the jars for the recommended time based on your altitude,10-15 minutes for pints.
- Once the processing time is up, use a jar lifter to carefully remove the jars from the canner or pot, and place them on a towel or cooling rack to cool completely.
- After the jars have cooled, check the seals by pressing down on the center of each lid. If the lid doesn't flex, it's sealed properly.
- Cool on a towel-lined countertop for 24 hours.
Summary
I hope I have inspired you to stockpile your pantry for your survival needs.
If you were encouraged by this post, I invite you to check out my FREE Printables Page for fun free printables, planners, and charts.
ENTER MY FREE Printables Page HERE
Here are some more of my canning inspiration posts to check out!
Stockpiling Condiments for Survival: Learn How I Do It!
How to Make and Can Vegetable Pot Pie Filling
Easy Canning Applesauce Recipes to Stalk Your Pantry!
How to Make Peach Jalapeno Jam
Cherries: How to Make Cherry Pie Filling
Cherries: How to Make Cherry Syrup
Salsa: How to Make and Can Cherry Salsa
Peaches: How to Make and Can Peach Salsa
Canning Supplies You Need Now for a Successful Canning Season!
How to Make and Can Balsamic Onion Jam
Cranberry Sauce: How to Make and Can Old Fashioned Cranberry Sauce
How to Make and Can Cranberry Merry Jam
How to Make and Can Strawberry Shortcake Jam
Cherry Jam: How to Make and Can Cherry Pie Jam
Carrot Cake Jam: How to Make and Can Carrot Cake Jam
Quince Jam: How to Can a Year’s Supply of Quince Jam
Root Beer Float Jelly: How to Make and Can Root Beer Float Jelly
Blessings,
The Off Grid Barefoot Girl
