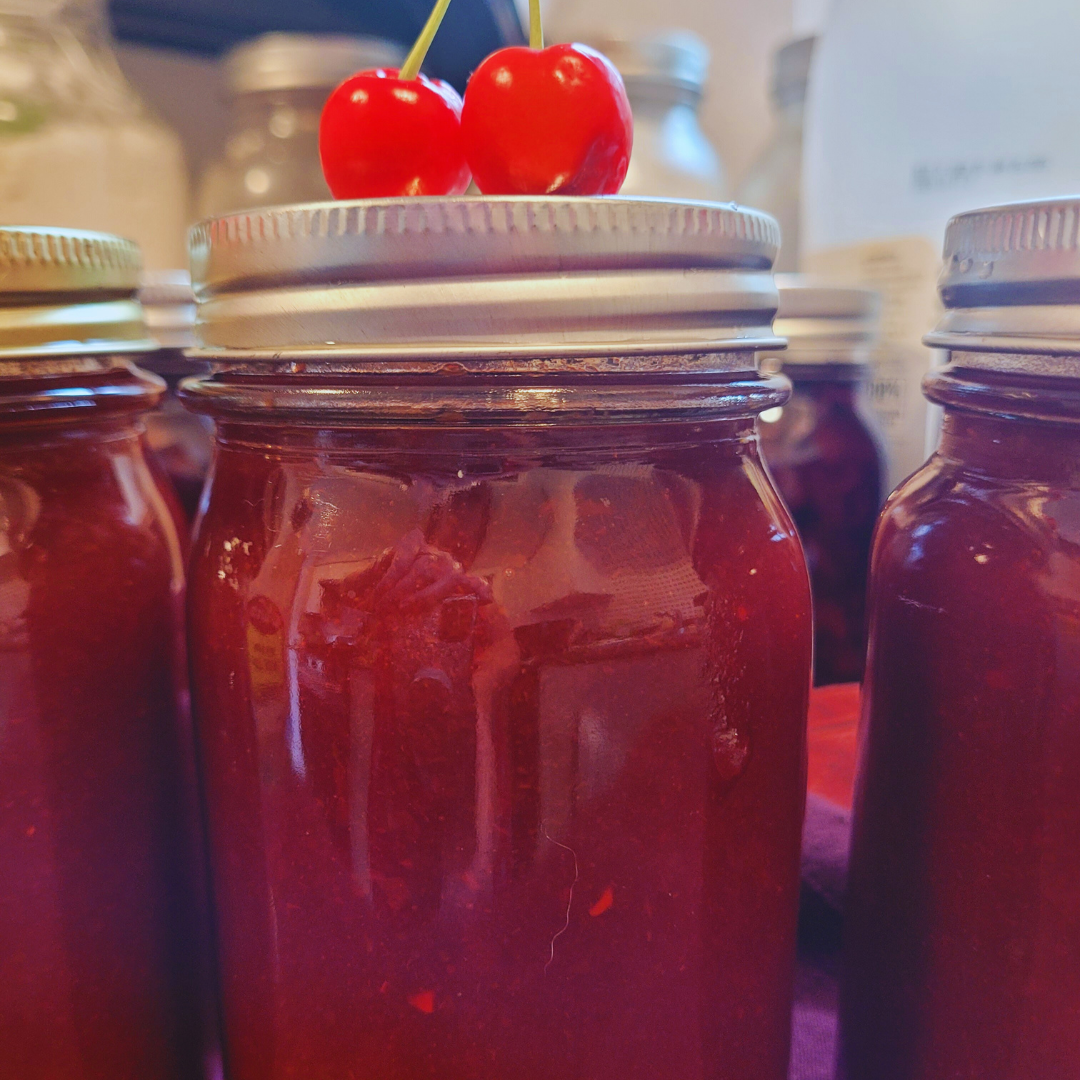
Learn how to make homemade cherry syrup with simple ingredients and easy steps. Perfect for pancakes, waffles, cocktails, or adding a burst of cherry flavor to any treat, this syrup brings the taste of summer into your kitchen.
There’s nothing quite like the rich, sweet taste of fresh cherries, and turning them into syrup is one of my favorite ways to enjoy that flavor year-round. Making cherry syrup at home is surprisingly easy, and it’s so versatile—you can drizzle it over pancakes, stir it into drinks, or even swirl it into desserts. In this guide, I’ll share my step-by-step process for crafting a luscious, homemade cherry syrup that will become a pantry staple in your kitchen.
This is a pinnable post. Tap or hover over any image in this post to pin to your Pinterest Boards.
Cherry Syrup Canning Recipe Tutorial
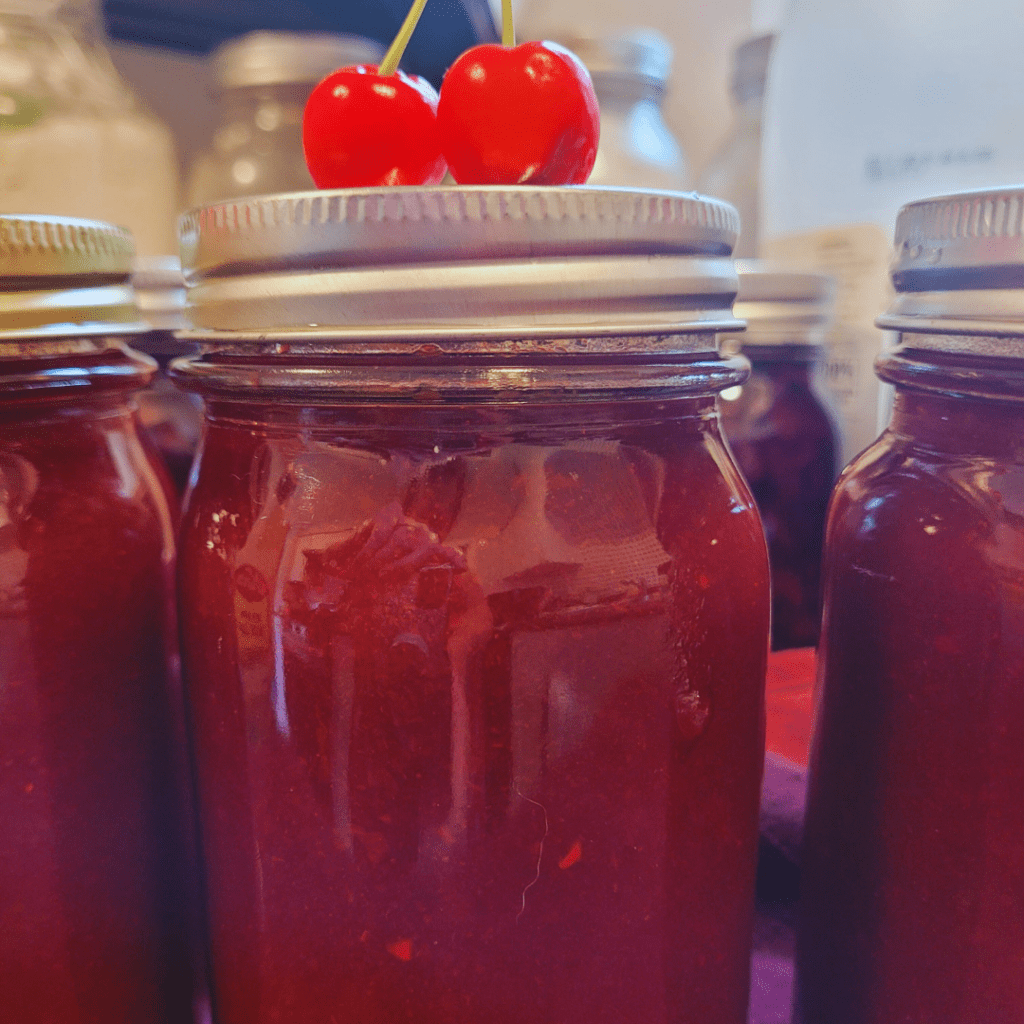
Have you ever imagined that cherries, those small vibrant fruits, could pack such a nutritional punch? Yes, cherries are not only delicious, but also loaded with antioxidants, vitamins, and minerals that are beneficial for your health. But what if I told you that you could elevate the cherry experience even more by making your own tantalizing cherry syrup right at home?
Making cherry syrup is not just about adding flavor to your favorite dishes or drinks; it’s about creating a versatile ingredient that can transform ordinary recipes into extraordinary delights. This simple yet exquisite syrup can be drizzled over pancakes, mixed into cocktails, or used to sweeten yogurt and desserts. The possibilities are endless once you have a jar of homemade cherry syrup in your kitchen arsenal. My family loves to add this cherry syrup to shakes!
In this article, you’ll discover the easy and rewarding process of making cherry syrup from scratch. From selecting the ripest cherries to simmering them into a luscious syrup, each step is a journey towards capturing the essence of this delightful fruit in a bottle. Get ready to learn about cherry-infused creations and unlock the secrets to making your taste buds sing with joy!
Ingredients
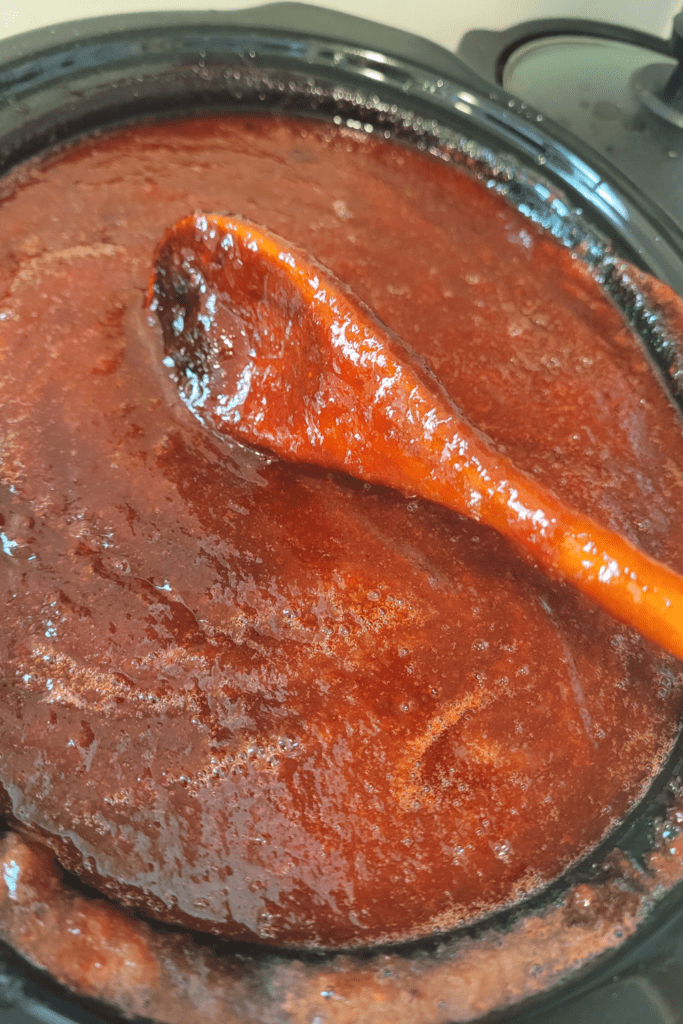
To make delicious cherry syrup, it’s essential to select the right ingredients. This section will cover the common ingredients needed, notable variations in ingredients to customize the syrup, and tips for sourcing quality ingredients for the best results.
Common Ingredients for Cherry Syrup
- Fresh Cherries: Choose ripe, juicy cherries for the best flavor.
- Sugar: Typically granulated white sugar is used to sweeten the syrup.
- Water: Essential for creating the syrup base.
- Lemon Juice: Adds a bright, tangy flavor to balance the sweetness.
- Vanilla Extract: Optional, but enhances the overall taste profile.
Notable Variations in Ingredients
- Sweeteners: You can experiment with alternatives like honey or maple syrup for a different flavor profile.
- Spices: Cinnamon, cloves, or star anise can be added for a spiced cherry syrup variation.
- Alcohol: Adding a splash of rum or bourbon can elevate the syrup for cocktails or desserts.
- Citrus Zest: Besides lemon, try orange or lime zest for a citrus twist.
Sourcing Quality Ingredients
- Fresh Cherries: Opt for seasonal, locally sourced cherries for optimal freshness and flavor.
- Organic Sugar: Choose high-quality sugar to avoid any unwanted chemicals in your syrup.
- Pure Lemon Juice: Use freshly squeezed lemon juice or organic bottled lemon juice for the best results.
- Vanilla Extract: Select pure vanilla extract without artificial additives for a rich flavor.
Making Cherry Syrup
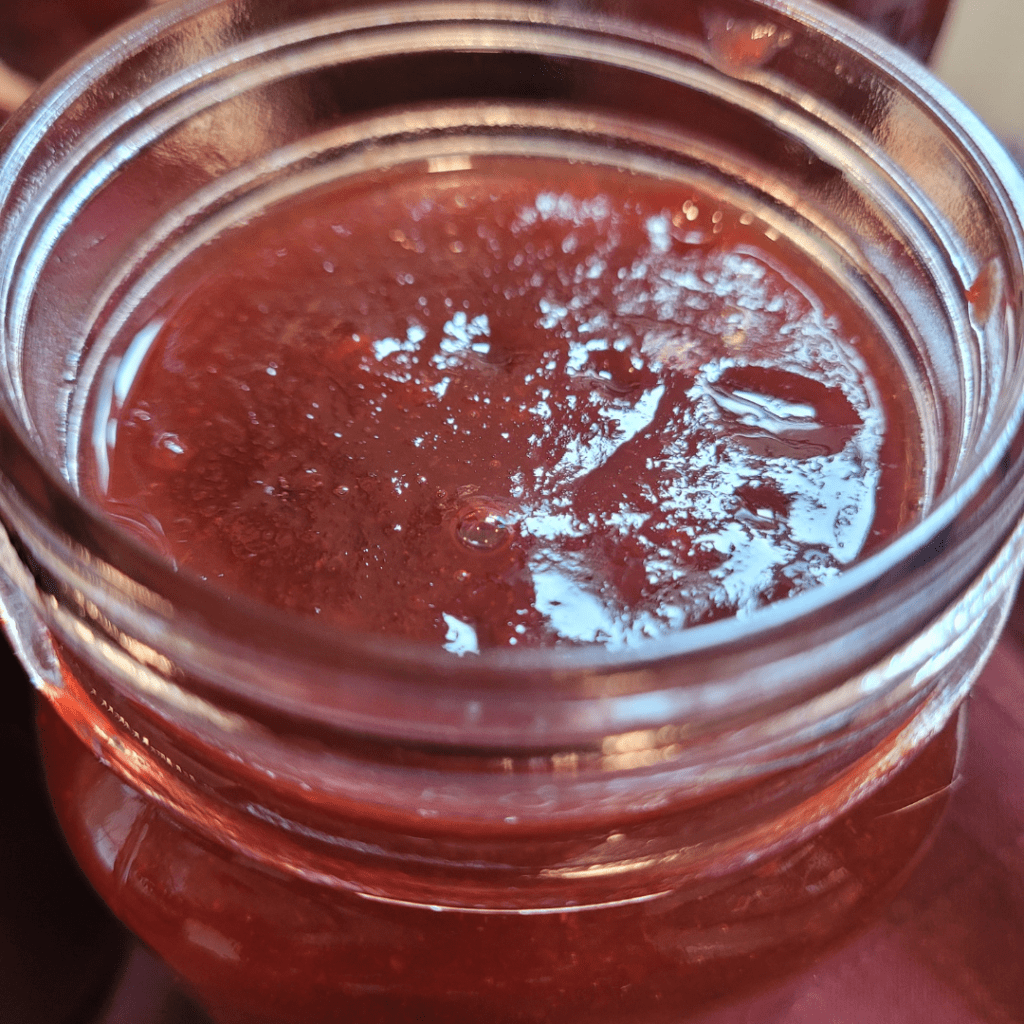
Step-by-Step Instructions for Cherry Syrup
To make cherry syrup at home, you will need to start with a simple syrup base and fresh cherries. Here are the step-by-step instructions:
- Preparation: Pit and chop fresh cherries to extract their flavors effectively. (Very time-consuming task if you own a cherry tree like me, but it’s a blessing in disguise!)
- Cooking: Combine cherries, water, sugar, and a bit of lemon juice in a saucepan and simmer until the fruit softens.
- Mashing: Mash the cherries to release more flavor and continue to simmer until the mixture thickens. I use an immersion blender for a smooth consistency. You can leave cherry chunks if you desire a thicker and chunkier consistency.
- Straining: Strain the mixture through a fine-mesh sieve or cheesecloth to remove any solids and achieve a smooth syrup. This is especially important if you decide not to pit the cherries for an easier route.
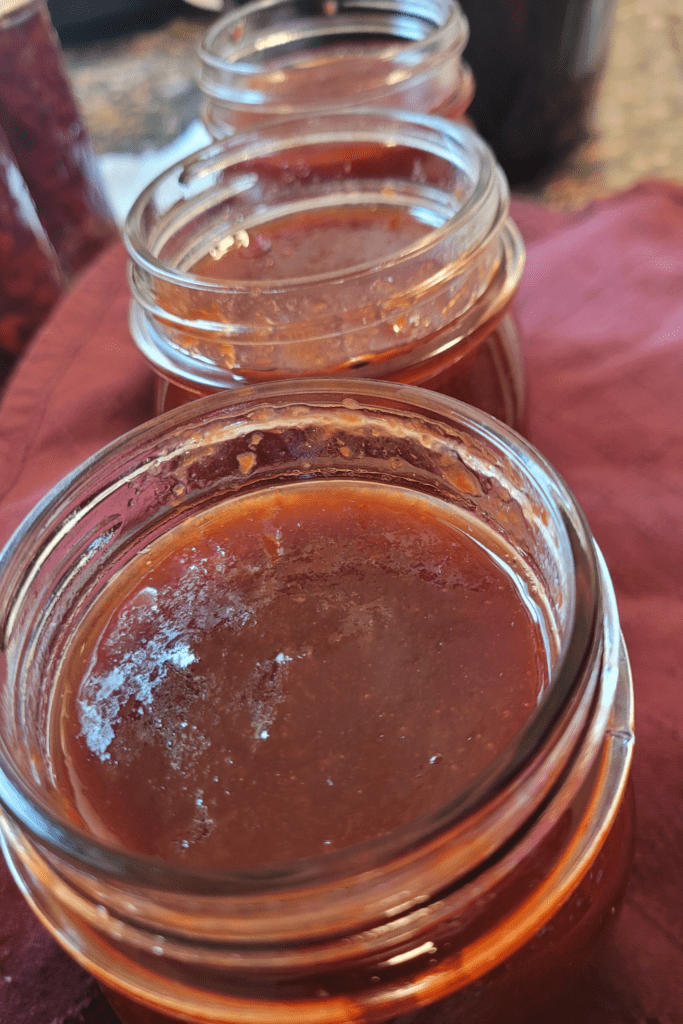
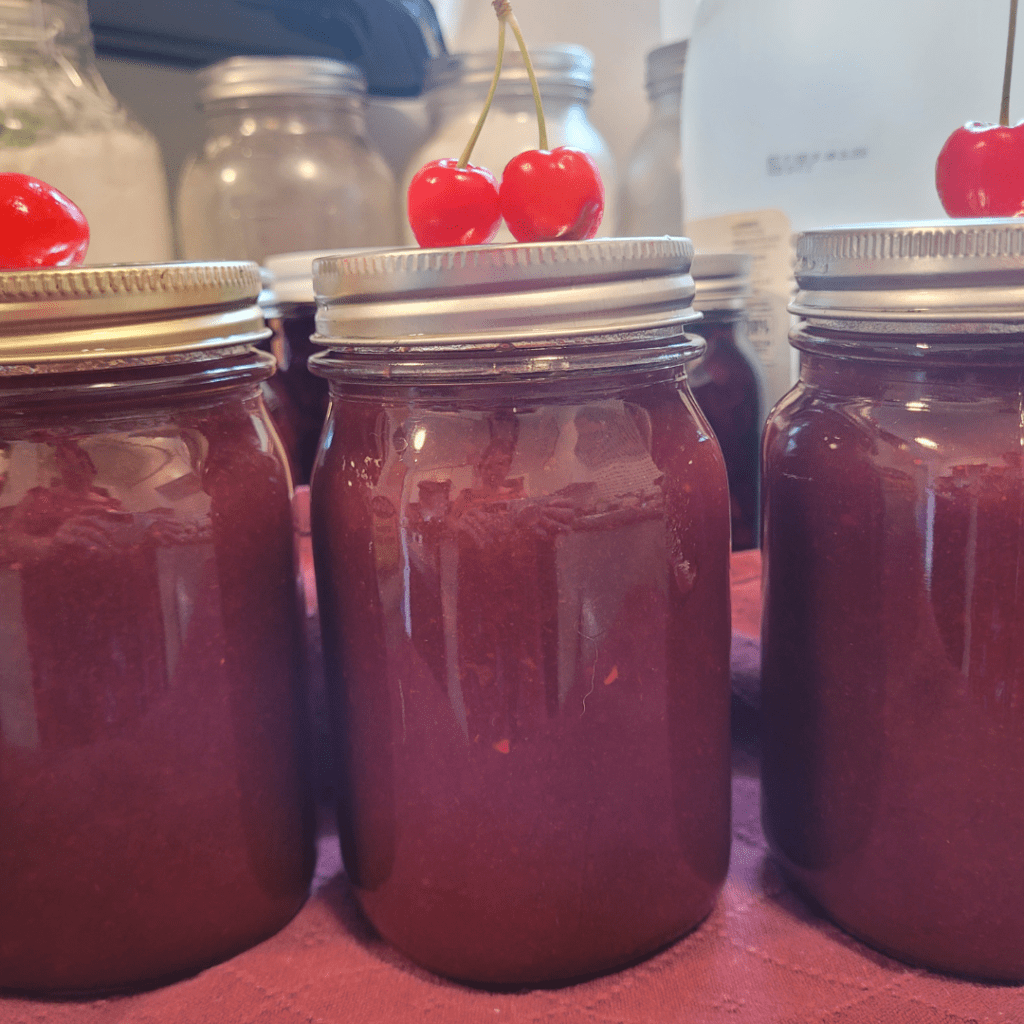
- Canning: Fill the jars leaving 1 inch of headspace, wipe the rims, and add the lids and rings.
- Processing Time: Water bath can your jars for 10 minutes.
- Storing: Allow the jars to cool untouched on a towel on the counter for up to 12 to 24 hours and then store them in the pantry for up to one year.
These simple steps will yield a delightful cherry syrup that can elevate various culinary creations.
Tips for Achieving Desired Consistency
- Sugar Ratio: Adjust the sugar-to-water ratio based on your preferred sweetness level.
- Cooking Time: Longer cooking times result in a thicker consistency, while shorter times create a more liquid syrup.
- Storage: Store in clean, sealed jars away from sunlight to maintain the syrup’s consistency over time.
By considering these tips, you can tailor the consistency of your cherry syrup to suit your recipes and personal taste preferences.
Ways to Enhance Flavor Profiles
- Infusions: Add spices like cinnamon or herbs like mint during cooking for a nuanced flavor profile.
- Alcohol Infusion: Incorporate a splash of liquor like bourbon or amaretto for a sophisticated twist. Use flavored extracts to avoid alcohol content if desired.
- Citrus Zest: Enhance the syrup with grated orange or lemon zest for a citrusy kick.
- Vanilla: Introduce a hint of vanilla extract to complement the cherry’s natural sweetness.
- Temperature Control: Avoid high heat to preserve a fresh cherry taste rather than a caramelized flavor.
Experimenting with these flavor-enhancing techniques will result in a unique and flavorful cherry syrup that can be the star of your dishes.
Benefits and Health Considerations
Nutritional Value of Cherry Syrup
Cherry syrup offers various essential nutrients and health benefits. Some key nutritional components of cherry syrup include vitamins A, C, and K, as well as antioxidants like anthocyanins. These antioxidants help fight inflammation and oxidative stress in the body, promoting overall health. Additionally, cherry syrup is low in calories and fat compared to many other sweeteners, making it a healthier alternative for those watching their weight.
Health Implications of Consuming Cherry Syrup
Consuming cherry syrup in moderation can have several health implications. The antioxidants in cherries may help reduce the risk of chronic conditions like heart disease, arthritis, and certain cancers. Also, cherry syrup can potentially aid in improving sleep quality and reducing muscle soreness due to its natural melatonin content and anti-inflammatory properties. However, excessive consumption of cherry syrup, like any sweet syrup, can lead to increased sugar intake and potentially impact blood sugar levels negatively.
Comparison with Maraschino Cherries
When comparing cherry syrup to maraschino cherries, there are notable differences in terms of health benefits. While this recipe is typically made from fresh or frozen cherries, maraschino cherries undergo a process that involves soaking the cherries in a brine solution and adding artificial colors and flavors. As a result, maraschino cherries contain added sugars and artificial additives that reduce their nutritional value. Opting for cherry syrup over maraschino cherries can thus provide more natural nutrients and fewer artificial ingredients, offering a healthier choice for both culinary and health-conscious purposes.
Usage and Storage
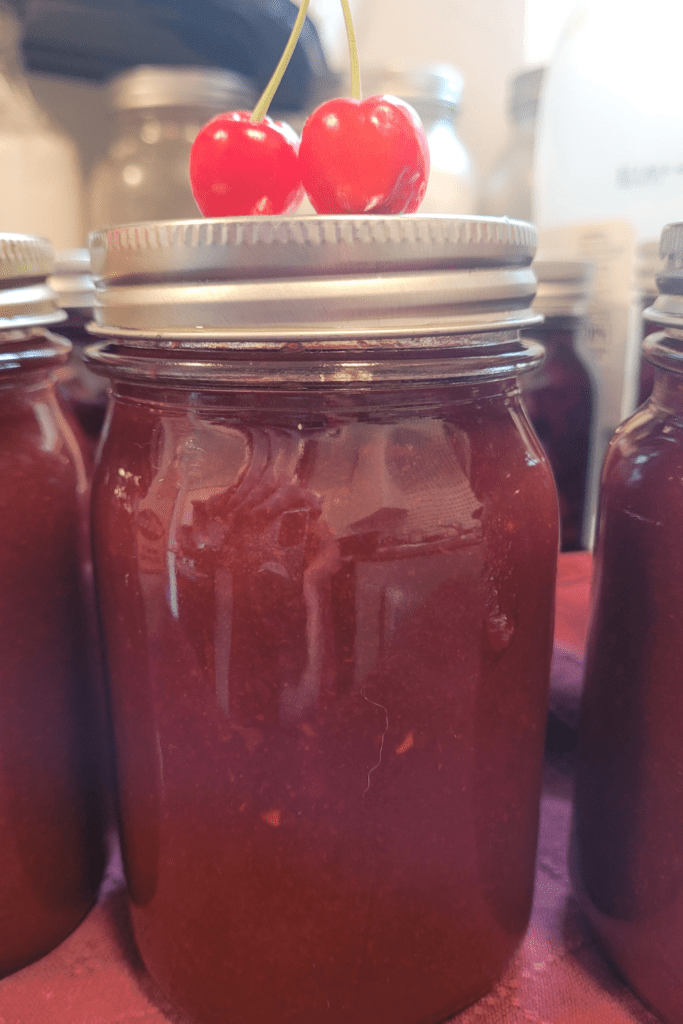
Innovative Ways to Use Cherry Syrup
When it comes to utilizing this recipe, the possibilities are endless. Here are some innovative ways to incorporate cherry syrup into your culinary creations:
- Drizzling over pancakes or waffles for a delightful breakfast treat.
- Mixing into cocktails or mocktails to add a burst of fruity flavor.
- Using as a topping for ice cream, yogurt, or cheesecake for a sweet twist.
- Incorporating into salad dressings for a unique fruity kick.
Proper Storage Techniques
To maintain the freshness and quality of this homemade recipe, follow these proper storage techniques:
- Store the syrup in a clean, airtight glass container to prevent contamination and maintain flavor.
- Keep the container in a cool, dark place away from direct sunlight to preserve the vibrant color of the syrup.
- Refrigerate the cherry syrup after opening to prolong its shelf life and prevent spoilage.
- Check for any signs of spoilage, such as mold growth or off odors, before using the syrup.
Cherry Syrup vs Simple Syrup
Differentiation in Flavor and Consistency
Cherry syrup is characterized by its rich, fruity flavor derived from the essence of cherries, offering a sweet and tangy profile. On the other hand, simple syrup is a basic mixture of sugar and water, providing pure sweetness without added flavors. In terms of consistency, cherry syrup tends to be thicker due to the natural sugars present in cherries, while simple syrup has a thinner and more liquid consistency.
When considering flavor profiles, cherry syrup adds complexity and depth to beverages and dishes, enhancing them with the essence of cherries. Simple syrup, being neutral in taste, primarily serves to sweeten without altering the original flavors of the recipe. Depending on the desired outcome, the choice between cherry syrup and simple syrup can significantly impact the taste of the final product.
Culinary Applications of Each
The cherry syrup is commonly used in cocktails, mocktails, desserts, and as a topping for pancakes or ice cream, adding a burst of cherry flavor to various dishes. It can be a key ingredient in cherry-flavored beverages like Shirley Temples or cherry limeades. Simple syrup, being a versatile sweetener, is widely used in coffee drinks, mixed drinks, and baking recipes to add sweetness and moisture without altering the original flavors.
In culinary applications, the choice between cherry syrup and simple syrup depends on the desired taste profile of the dish or beverage being prepared. Cherry syrup lends a distinct cherry flavor, while simple syrup provides sweetness without additional flavors. Understanding the specific role each syrup plays in a recipe is essential for achieving the intended taste and consistency.
Choosing the Right Type for Recipes
When selecting between cherry syrup and simple syrup for a recipe, consider the following factors:
- Flavor Enhancement: If the goal is to introduce a pronounced cherry taste, cherry syrup is the preferred choice.
- Versatility: Simple syrup can be used across a variety of recipes without overpowering the existing flavors.
- Consistency Requirement: Depending on whether a thicker or thinner consistency is needed, the appropriate syrup should be chosen accordingly.
- Recipe Compatibility: Some recipes may benefit more from the nuanced flavor of cherry syrup, while others might require the straightforward sweetness of simple syrup.
By understanding the nuances of flavor and consistency that cherry syrup and simple syrup bring to recipes, chefs and home cooks can make informed decisions when choosing the right type of syrup to elevate their culinary creations.
Exploring Cherry Syrup’s Versatility
Cherry syrup’s versatility extends beyond the realm of traditional recipes. Here are some innovative ways to explore its potential:
- Glazes: Use cherry syrup as a glaze for roasted meats, and grilled veggies, or as a finishing touch on pastries for a glossy sheen and sweet flavor.
- Flavor Layering: Incorporate cherry syrup into layer cakes, trifles, or parfaits to add a fruity layer between cream or cake for a burst of flavor.
- Infused Beverages: Create infused water by mixing cherry syrup with water, ice, and fresh fruits or herbs for a refreshing and flavored hydration option.
Conclusion
In conclusion, making cherry syrup is a delightful and easy way to elevate your culinary creations. By simmering fresh cherries with sugar and water, you can craft a versatile syrup perfect for drizzling over pancakes, mixing into cocktails, or flavoring desserts. Remember to strain the mixture for a smooth texture and store it in a sealed container for lasting freshness.
This process not only allows you to savor the sweet essence of cherries year-round, but also gives you the freedom to customize the syrup to your taste preferences. So, why not give it a try and add a splash of vibrant flavor to your dishes? Share your syrup-making adventures with me and explore endless possibilities with this homemade treat. Don’t wait—let your creativity infuse every drop of cherry goodness!
Resources: Here are some helpful resources for further information.
- Brown Sugar Butter Syrup – By Barefeet in the Kitchen
- Homemade Pancake Syrup – By Crafty Cooking Mama
- How to Make Homemade Pancake Syrup – By An Off Grid Life
Frequently Asked Questions
1. Can I use frozen cherries to make cherry syrup?
Yes, you can use frozen cherries if fresh ones are not available. Just make sure to thaw them before starting the recipe, and you may need to adjust the cooking time slightly to account for any excess water.
2. How long does homemade cherry syrup last?
Homemade cherry syrup can last up to 2 weeks when stored in an airtight container in the refrigerator. For longer storage, consider freezing the syrup in smaller portions.
3. Can I reduce the amount of sugar in the recipe?
Absolutely! You can adjust the sugar to your taste preference. Keep in mind that sugar not only sweetens the syrup, but also acts as a preservative, so reducing it might affect the syrup’s shelf life.
4. What can I use cherry syrup for?
Cherry syrup is incredibly versatile. Use it to drizzle over pancakes, waffles, or ice cream, mix it into cocktails or mocktails, stir it into yogurt or oatmeal, or use it as a glaze for meats and desserts.

Cherry Pie Filling Recipe
Equipment
- 1 large colander.
- 1 large stock pot.
- cherry pitter tools.
- 8 pint jars, lids, and rings.
- 1 water bath canner
- canning supplies
- 1 emersion blender.
Ingredients
- 15 cups pitted cherries.
- 4 cups sugar.
- 2 cups water.
- ¼ cup lemon juice.
Instructions
- Preparation: Pit and chop fresh cherries to extract their flavors effectively. (Very time-consuming task if you own a cherry tree like me, but it's a blessing in disguise!)
- Cooking: Combine cherries, water, sugar, and a bit of lemon juice in a saucepan and simmer until the fruit softens.
- Mashing: Mash the cherries to release more flavor and continue to simmer until the mixture thickens. I use an immersion blender for a smooth consistency. You can leave cherry chunks if you desire a thicker and chunkier consistency.
- Straining: Strain the mixture through a fine-mesh sieve or cheesecloth to remove any solids and achieve a smooth syrup.
- Canning: Fill the jars leaving 1 inch of headspace, wipe the rims, and add the lids and rings.
- Processing Time: Water bath can your jars for 10 minutes.
- Storing: Allow the jars to cool untouched on a towel on the counter for up to 12 to 24 hours and then store them in the pantry for up to one year.
Summary
I hope I have inspired you to make and can this recipe to enjoy and share with your friends and family.
If you were encouraged by this post, I invite you to check out my FREE Printables Page for fun free printables, planners, and charts.
ENTER MY FREE Printables Page HERE
Here are some more of my jam inspiration posts to check out!
How to Make and Can Peach Salsa
Canning Supplies You Need Now for a Successful Canning Season!
How to Make and Can Balsamic Onion Jam
Cranberry Sauce: How to Make and Can Old Fashioned Cranberry Sauce
How to Make and Can Cranberry Merry Jam
How to Make and Can Strawberry Shortcake Jam
Cherry Jam: How to Make and Can Cherry Pie Jam
Carrot Cake Jam: How to Make and Can Carrot Cake Jam
Quince Jam: How to Can a Year’s Supply of Quince Jam
Root Beer Float Jelly: How to Make and Can Root Beer Float Jelly
Blessings,
The Off Grid Barefoot Girl

