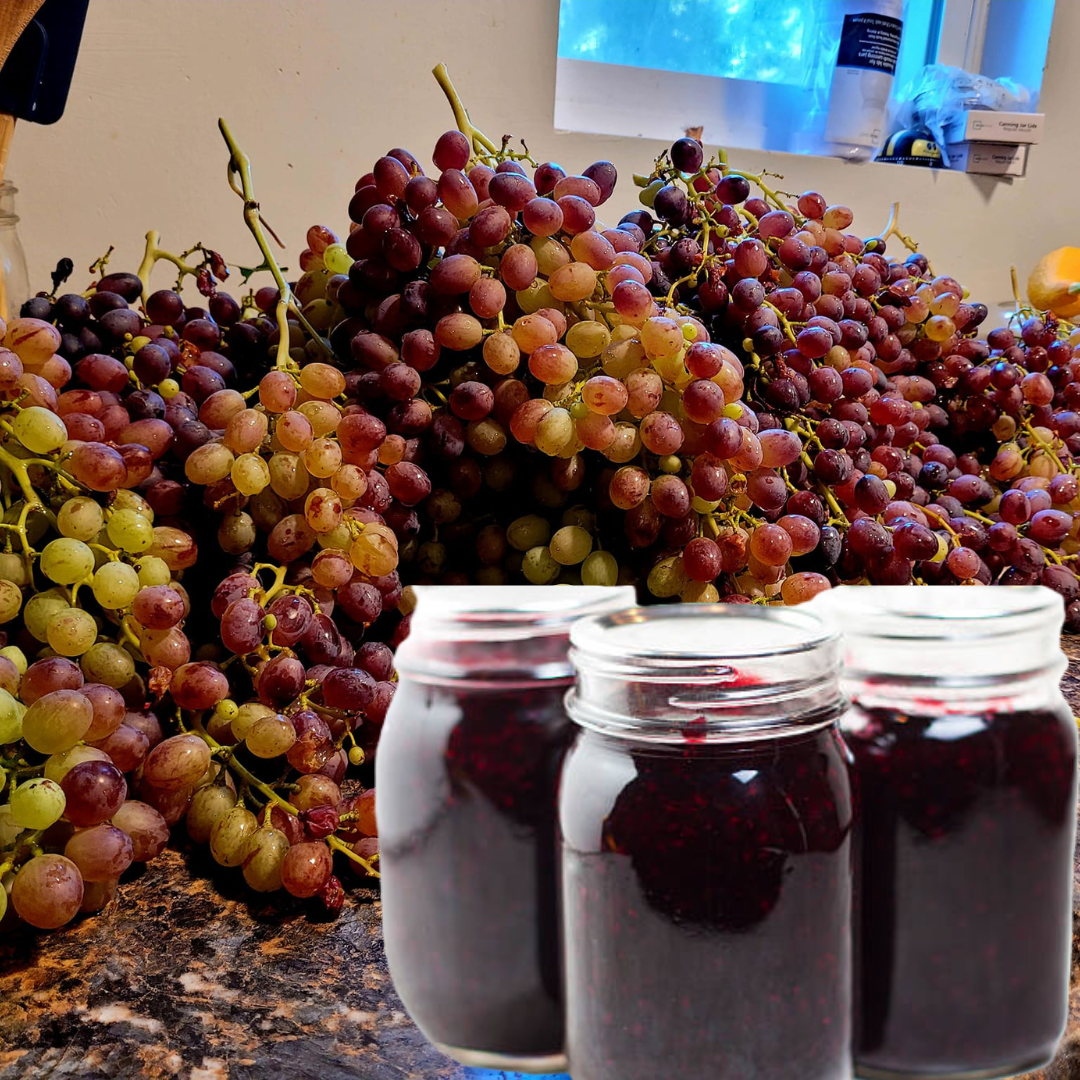
Making and canning grape jam at home is easier than you think—and the flavor is unbeatable when you use fresh, backyard-grown Concord grapes. In this guide, I’ll walk you step by step through preparing, cooking, and preserving your jam so you can enjoy sweet, homemade grape goodness all year long. Perfect for spreading on toast, adding to desserts, or gifting during the holidays, this recipe brings the taste of your orchard straight to your pantry.
There’s something so satisfying about turning fresh fruit from your own backyard orchard into homemade preserves. Every fall, my Concord grape vines produce the juiciest, most flavorful grapes, and I love transforming them into sweet, spreadable jam. Not only does homemade grape jam taste far better than anything you can buy in the store, but it’s also a wonderful way to preserve the harvest and enjoy the fruits of your labor year-round. In this guide, I’ll show you step by step how to make and can grape jam, so you can fill your pantry with jars of sweet, homemade goodness.
This is a pinnable post. Tap or hover over any image in this post to pin to your Pinterest Boards.
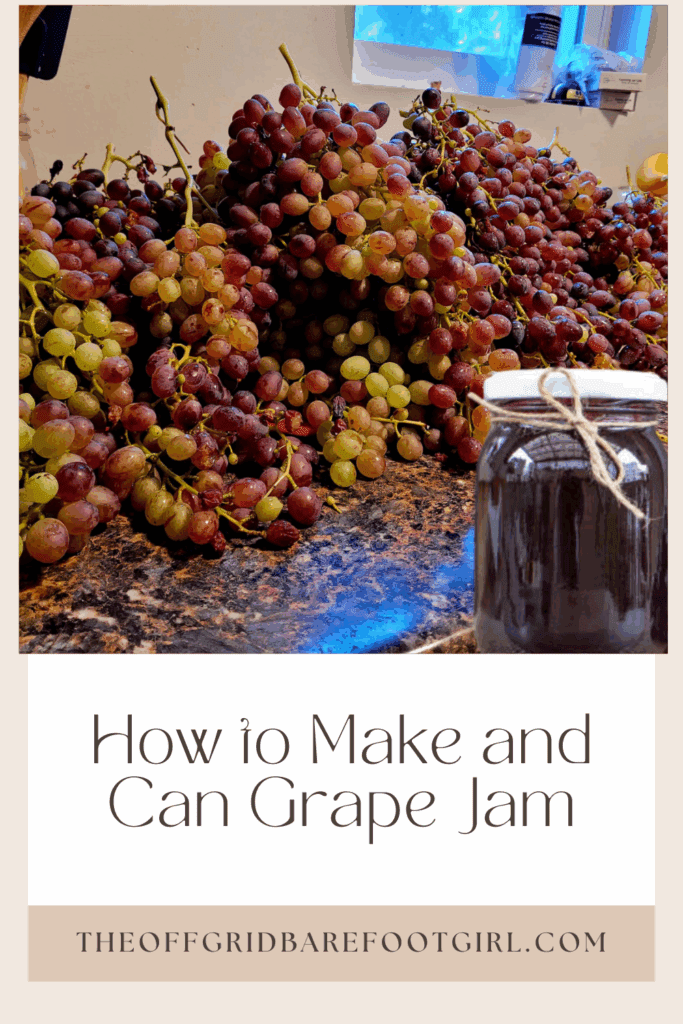
Selecting and Preparing Grapes
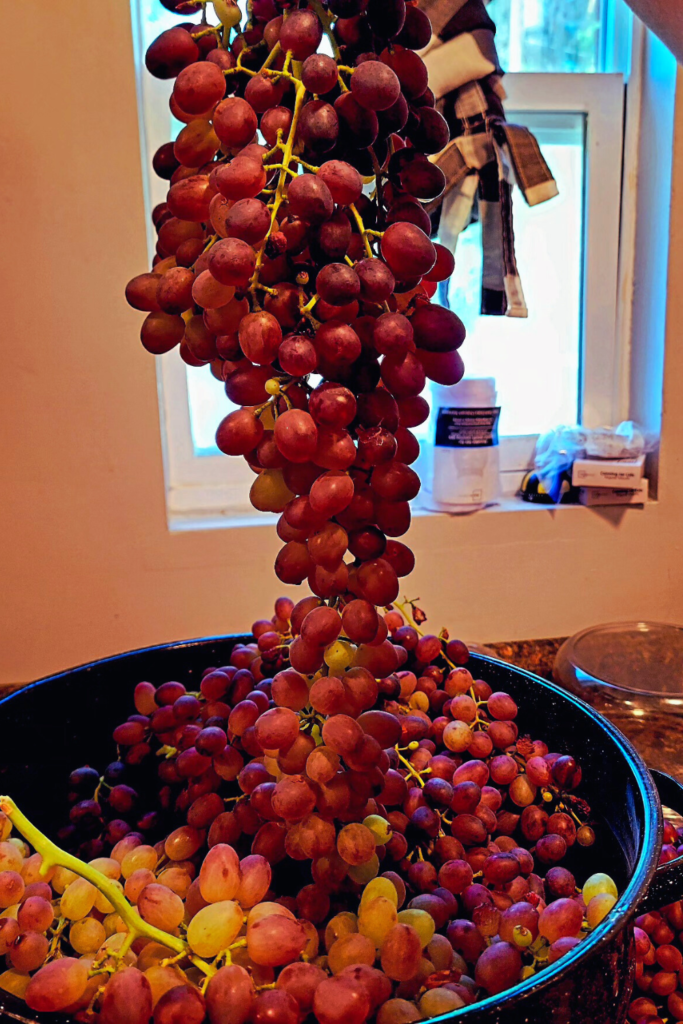
When it comes to making grape jam, the journey begins with selecting and preparing your grapes. This crucial first step sets the foundation for a delicious, homemade preserve that’ll have you savoring the taste of summer all year round.
Choosing the Right Grapes
The key to great grape jam lies in selecting the perfect grapes. While you can use any variety, Concord grapes are often considered the gold standard for jam-making due to their rich flavor and natural pectin content. However, don’t be afraid to experiment with other varieties like Muscadine or even wild grapes if you’re feeling adventurous.
Look for grapes that are:
- Fully ripe and sweet.
- Firm to the touch.
- Free from blemishes or mold.
- Deeply colored (for dark grape varieties).
Remember, the sweeter and riper your grapes, the less sugar you’ll need to add later in the process. If you’re lucky enough to have your own grape vines, you’ll know exactly when they’re at their peak. For those of us relying on store-bought grapes, give them a little taste test before committing to your jam-making session.
Washing and Sorting
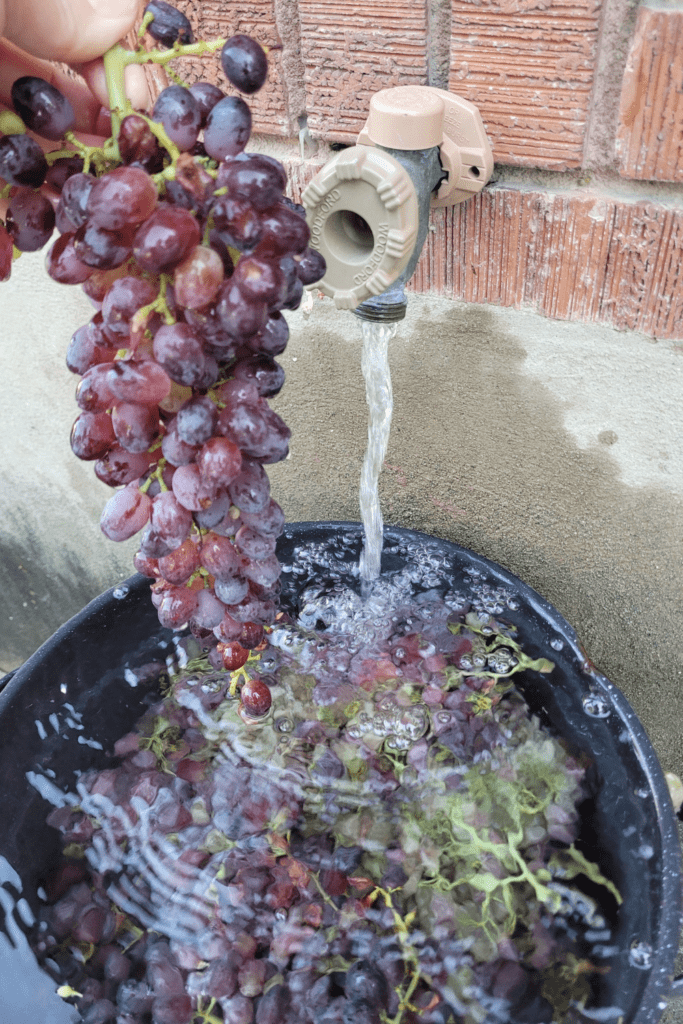
Once you’ve got your grapes, it’s time to give them a good clean. This step is crucial, especially if you’re using homegrown or wild grapes that might have some hitchhikers.
- Fill a large bowl or your sink (preferably outside) with cool water.
- Add the grapes and gently swish them around.
- Remove any debris, leaves, or insects that float to the surface.
- Drain and rinse the grapes under running water.
- Spread them out on a clean towel to dry.
While they’re drying, take this opportunity to sort through your grapes. Remove any that are overripe, underripe, or damaged. Remember, one bad grape can spoil the bunch, and we want our jam to be perfect!
Removing Stems and Crushing
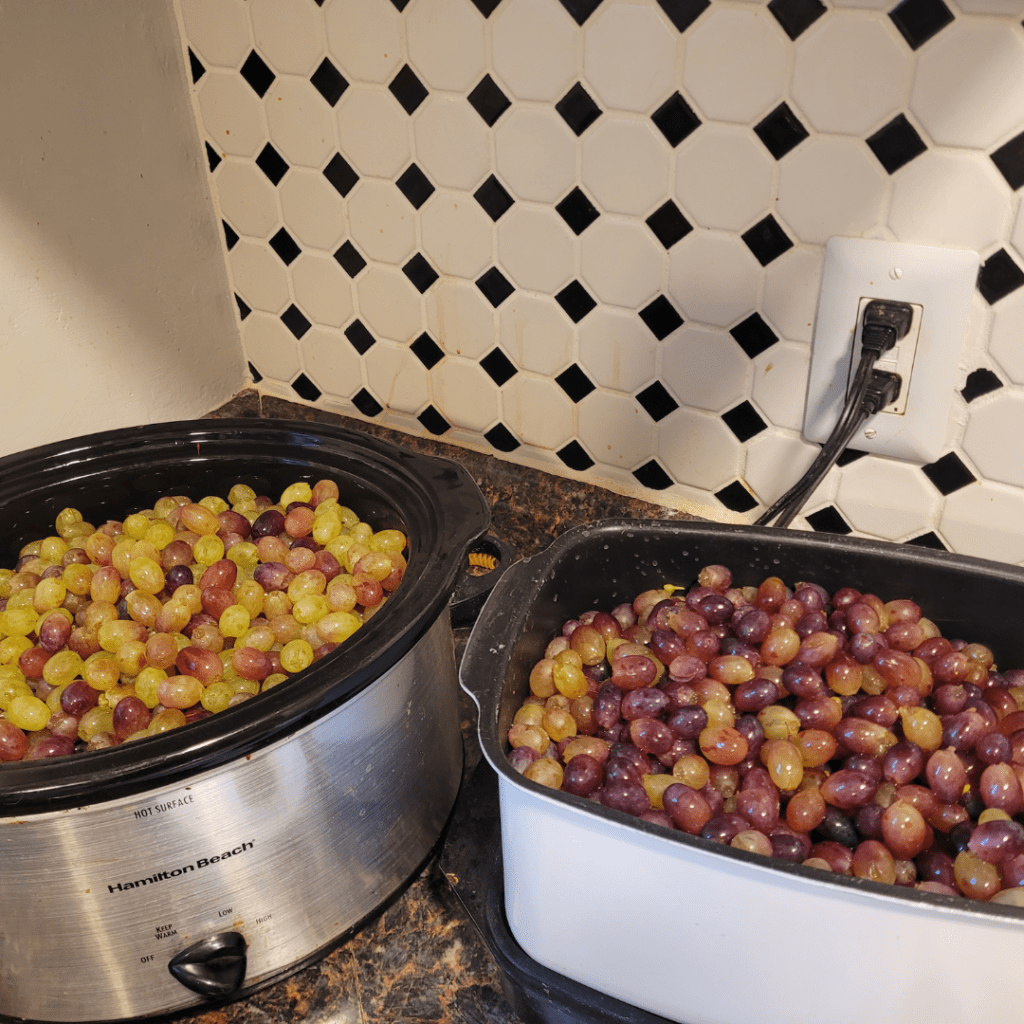
Now comes the fun part – or tedious, depending on how you look at it. It’s time to remove the stems and crush those grapes.
To remove stems:
- Hold a cluster of grapes over a bowl.
- Use your fingers or kitchen scissors to gently separate the grapes from the stem.
- Drop the grapes into the bowl as you go.
For crushing, you have a few options:
- By hand: For small batches, you can simply squeeze the grapes with your clean hands. It’s messy, but oddly satisfying.
- Potato masher: Works well for medium-sized batches.
- Food processor: Ideal for large batches, but be careful not to over-process and crush the seeds.
Whichever method you choose, the goal is to break the grape skins and release the juices. Don’t worry about getting every last grape – a few whole ones will add a nice texture to your final jam. I end up using my immersion blender for a smooth texture, which my family prefers.
As you work through these steps, take a moment to appreciate the process. There’s something deeply satisfying about preparing food with your own hands, knowing exactly what’s going into your preserves. It’s moments like these that remind us of the joy of self-sufficiency and the simple pleasures of working with nature’s bounty.
With your grapes selected, cleaned, and crushed, you’re now ready to move on to the next exciting stage of jam-making. The aroma of fresh grapes filling your kitchen is just a taste of the delicious homemade jam to come!
Cooking the Grape Jam
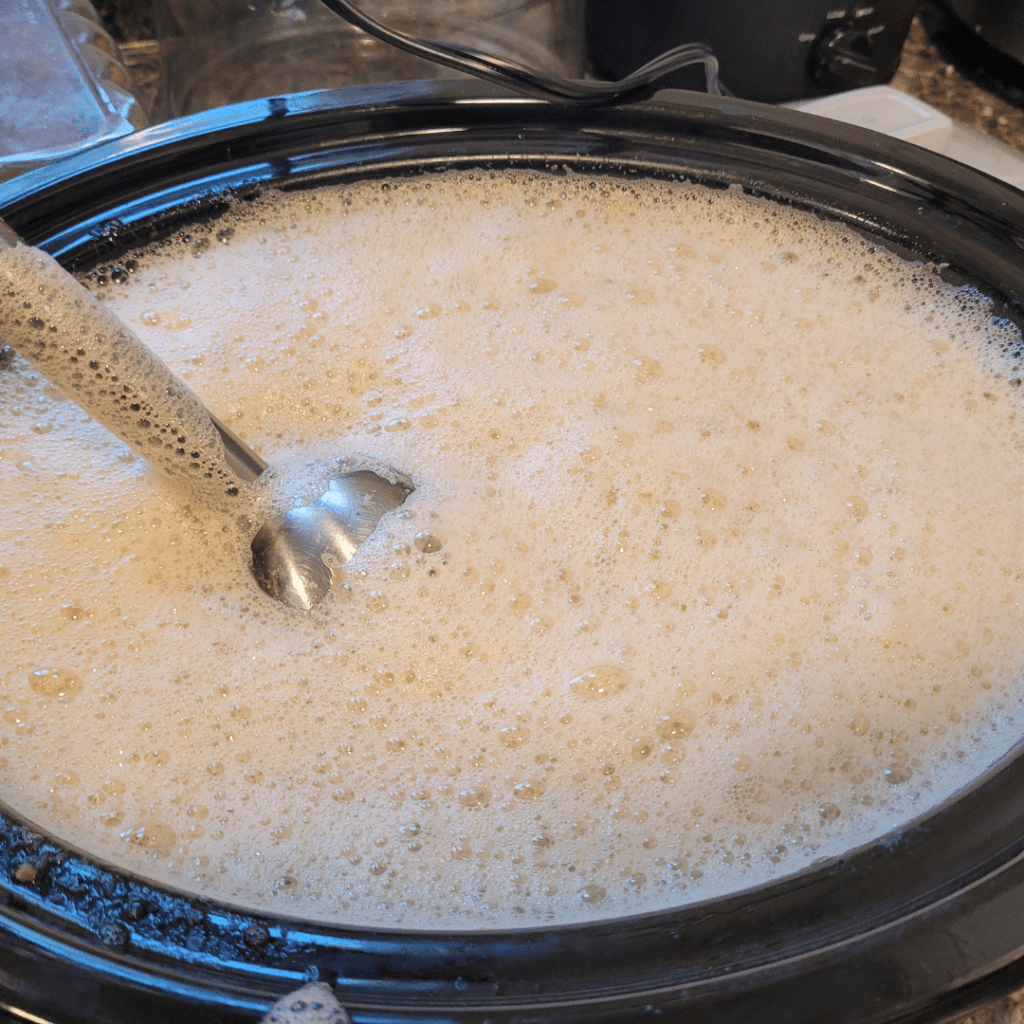
Now that we’ve prepared our grapes, it’s time to discuss the heart of our jam-making adventure: cooking the grape jam. This is where the magic happens, transforming those juicy grapes into a delicious spread that’ll make your taste buds dance. Let’s roll up our sleeves and get started!
Preparing the Cooking Equipment
Before we begin, it’s crucial to have all our equipment ready. You’ll need:
- A large, heavy-bottomed pot (stainless steel or copper works best).
- A long-handled wooden spoon for stirring.
- A candy thermometer.
- Clean jars and lids for canning.
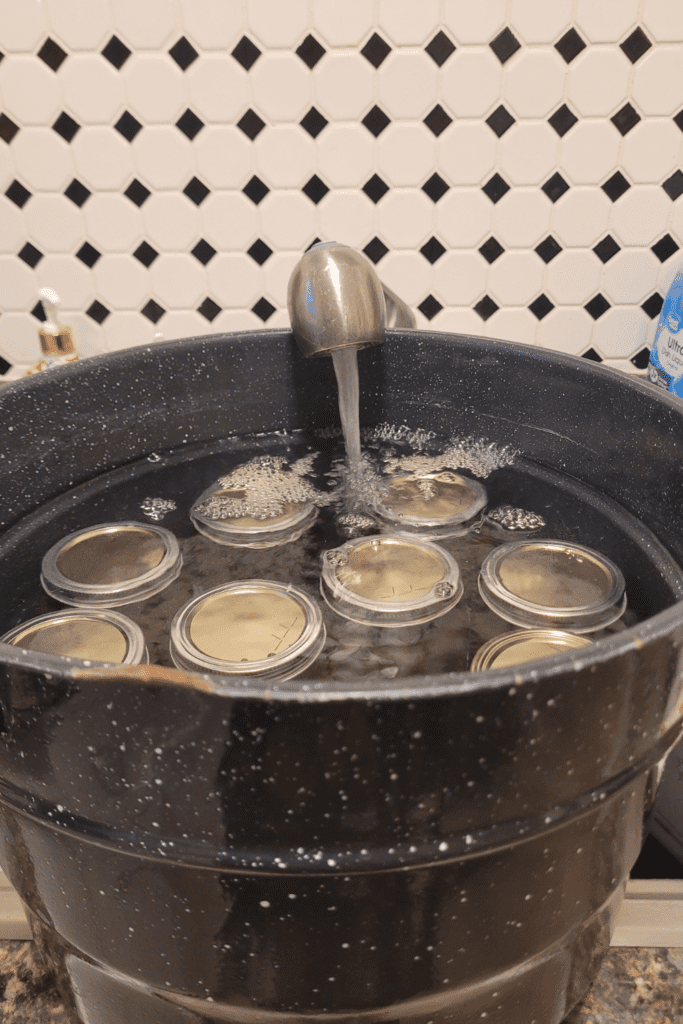
Make sure everything is squeaky clean to prevent any unwanted bacteria from sneaking into our jam. I like to sterilize my jars and lids by boiling them for about 10 minutes. It’s a simple step that goes a long way in ensuring our jam stays fresh for months to come.
Crockpot Method
Using a crockpot to make grape jam is a fantastic hands-off method for busy days when you have other tasks to tackle. Simply add your grapes, sugar, pectin (if using), and lemon juice to the crockpot, set it on low and let it cook slowly while you attend to other chores. This method allows the fruit to break down naturally and thicken over time without constant stirring or monitoring.
You can prepare jars, work on other projects, or relax, knowing your jam will be ready in a few hours with minimal effort. It’s a perfect solution for multitasking while still enjoying homemade jam! My absolute favorite way of making jam.
Adding Sugar and Pectin
Now, let’s talk about the sweet stuff. Pour your prepared grape juice into the pot and add sugar. The general rule of thumb is to use 3/4 cup of sugar for every cup of grape juice. However, feel free to adjust this to your taste. Remember, sugar isn’t just for sweetness – it also helps with preservation and texture.
As for pectin, grapes are naturally high in this thickening agent, so you might not need to add any (I didn’t). But if you prefer a firmer set, a little commercial pectin can help. Follow the instructions on the package, as different types may require different amounts. I find that the long crockpot cook time allows the pectin in the fruit to help thicken any jam I make.
Cooking Process and Temperature Control
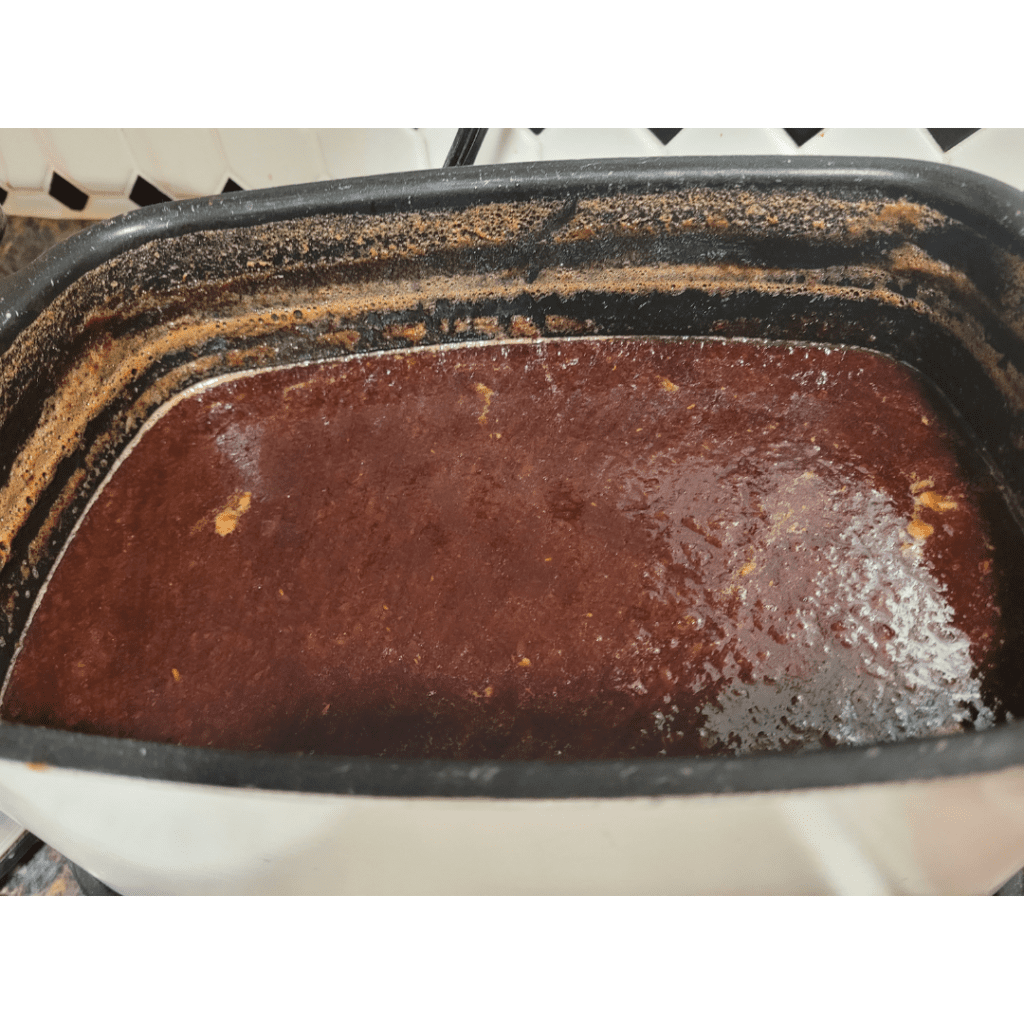
Here’s where things get exciting! Place your pot over medium-high heat and bring the mixture to a rolling boil. This is when the bubbles don’t calm down even when you stir. Stir frequently to prevent sticking and burning.
Now, grab that candy thermometer. We’re aiming for the “gel point” – that magical temperature where the jam will set perfectly. For most jams, this is around 220°F (104°C) at sea level. If you’re at a higher altitude like me, you’ll need to adjust this temperature down by about 2°F for every 1,000 feet above sea level. I am about 4,000 feet above sea level in a high desert area.
Keep a close eye on your thermometer and continue stirring. As the jam cooks, you’ll notice it starting to thicken. The color will deepen, and the bubbles will become slower and more glossy. This process usually takes about 20-30 minutes, but trust your thermometer over the clock.
The Spoon Test
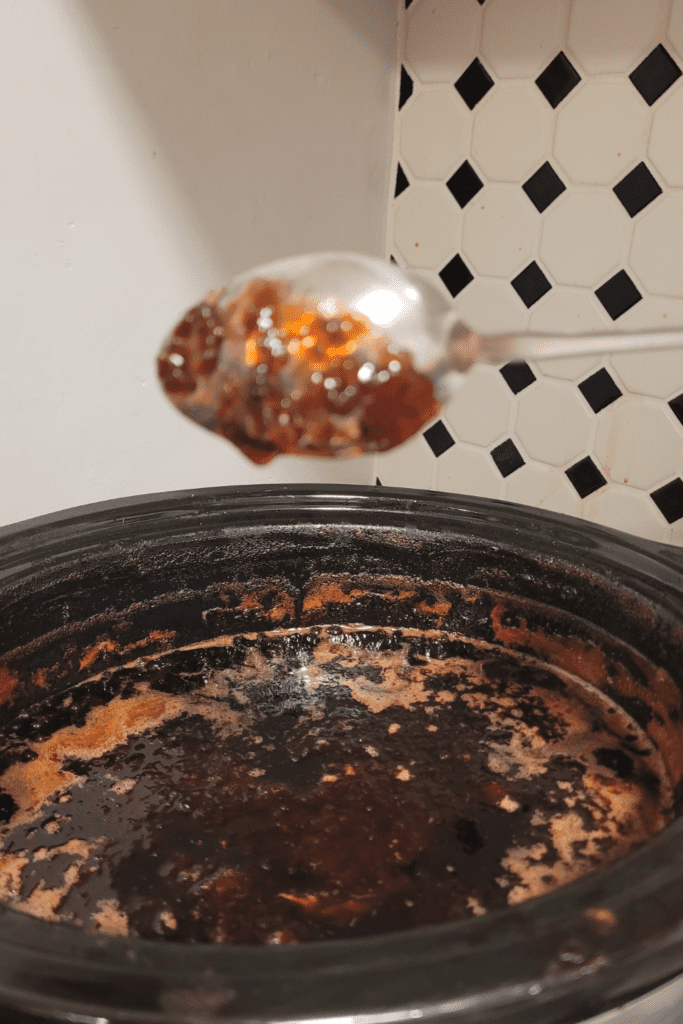
While we wait, let’s talk about the “spoon test.” Dip a spoon into the jam and hold it horizontally. Watch how the jam drips off. If it forms two drops that flow together and “sheet” off the spoon, your jam is likely ready. Mine is ready in this image.
Once you’ve reached the gel point, remove the pot from heat. Skim off any foam that may have formed on the surface – this isn’t harmful, but removing it makes for a clearer jam.
Testing for Doneness
When it comes to making grape jam, one of the most crucial steps is determining when it’s reached the perfect consistency. There’s nothing quite like spreading homemade jam on a slice of freshly baked bread, but getting it just right can be tricky. Let’s explore some reliable methods for testing the doneness of your grape jam.
Testing for Doneness
As your jam bubbles away on the stove, you’ll notice it thickening over time. But how do you know when it’s ready to can? There are two main methods we can use to test for doneness: the gel test and the temperature test.
Gel Test Method
The gel test is a time-honored technique that many home canners swear by. Here’s how to do it:
- Place a small plate in the freezer before you start cooking your jam.
- When you think the jam might be ready, remove the plate from the freezer.
- Put a small spoonful of hot jam on the cold plate.
- Let it sit for about 30 seconds, then gently push the edge with your finger.
- If the jam wrinkles and doesn’t flow back to fill the space, it’s ready!
This method is great because it gives you a visual and tactile way to check the consistency. Plus, it’s how our grandmothers used to do it, which always adds a touch of nostalgia to the process.
Temperature Test Method
For those who prefer a more precise approach, the temperature test is an excellent option:
- Use a candy thermometer or instant-read thermometer.
- Clip it to the side of your pot, ensuring it doesn’t touch the bottom.
- Cook the jam until it reaches 220°F (105°C) at sea level.
- For higher altitudes, subtract 1°F for every 500 feet above sea level.
Remember, temperature can be affected by factors like humidity and the natural pectin content of your grapes, so it’s always good to double-check with the gel test.
Adjusting Consistency if Needed
Sometimes, despite our best efforts, the jam doesn’t set quite right. Don’t worry; it happens to the best of us! If your jam is too runny, you can:
- Continue cooking for a few more minutes and test again.
- Add a bit more pectin (follow package instructions for amounts).
- Use it as a delicious syrup for pancakes or ice cream if all else fails! Nobody will ever complain!
If your jam is too thick:
- Stir in a little grape juice or water while it’s still hot.
- Reheat gently, stirring constantly until you reach the desired consistency.
Remember, practice makes perfect. With each batch of jam you make, you’ll get better at recognizing that perfect consistency. And even if it’s not picture-perfect, homemade jam always tastes better than store-bought.
As you become more experienced, you’ll develop an intuition for when your jam is just right. The satisfying plop as it falls from the spoon, the way it coats the back of a spoon – these are all signs you’ll learn to recognize. And there’s something truly special about preserving the summer’s bounty to enjoy all year round. So keep at it, and soon you’ll be spreading your own perfectly set grape jam on your homemade bread with pride.
Speaking of homemade bread, I have a whole category of homemade bread recipes you can try!
Canning Process
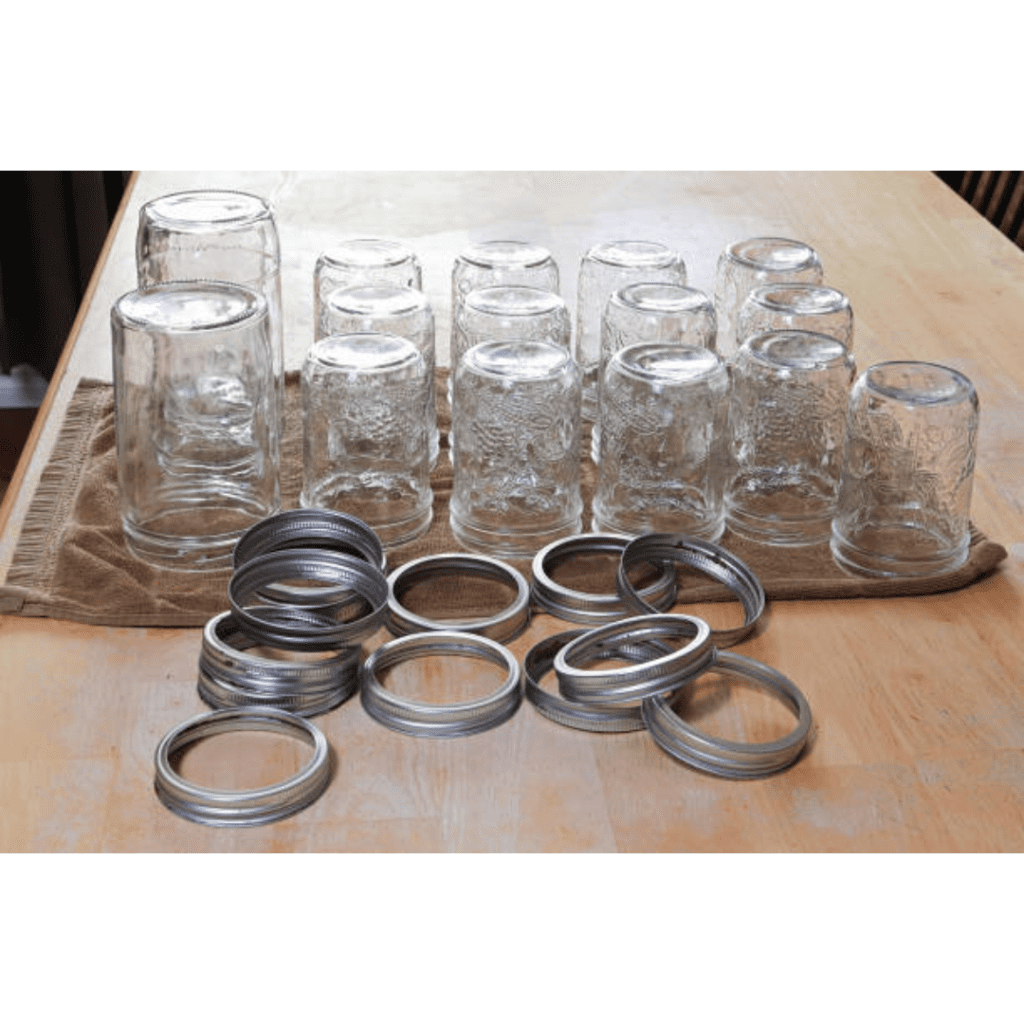
Now that we’ve prepared our delicious grape jam, it’s time to preserve it for long-term enjoyment. Canning is a crucial step in the process, ensuring our jam stays fresh and safe to eat for months to come. Let’s walk through the canning process step by step.
Sterilizing Jars and Lids
Before we begin, it’s essential to sterilize our jars and lids. This step eliminates any harmful bacteria that could spoil our jam. Here’s how to do it:
- Wash jars and lids in hot, soapy water and rinse thoroughly.
- Place clean jars in a large pot of boiling water, ensuring they’re fully submerged.
- Boil for 10 minutes to sterilize.
- For the lids, place them in a separate small pot of hot (not boiling) water for about 5 minutes.
- Keep jars and lids in the hot water until ready to use.
Remember, cleanliness is key when it comes to canning. I always make sure my work area is spotless before starting this process.
Filling Jars with Hot Jam
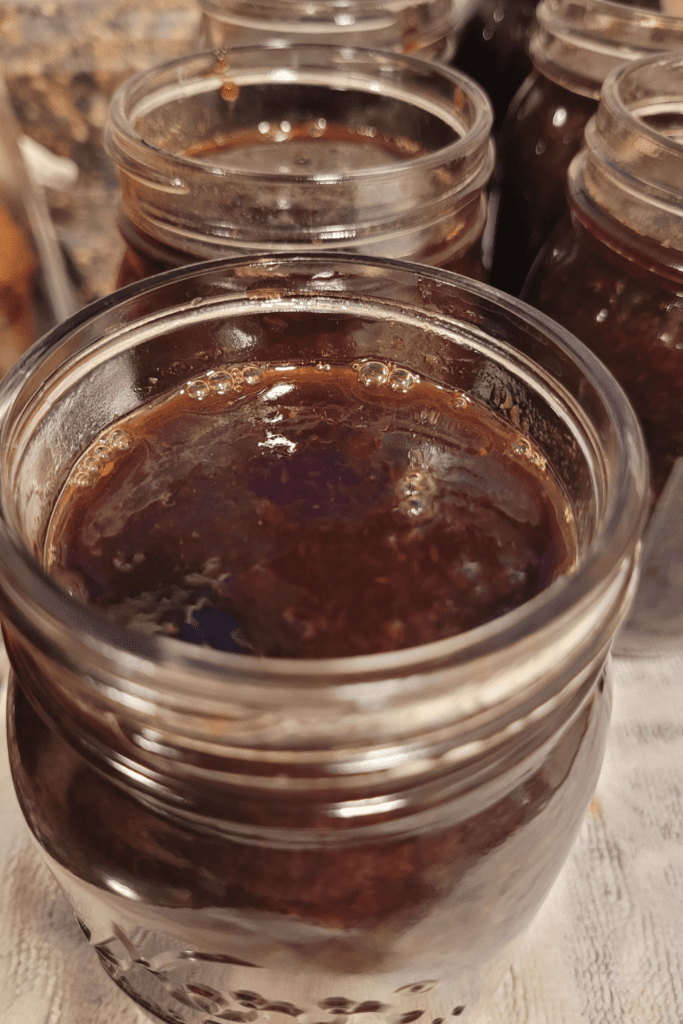
Now comes the exciting part – filling our jars with freshly made grape jam! Here’s what you need to do:
- Remove a jar from the hot water using tongs or a jar lifter.
- Place a clean funnel in the jar mouth to prevent spills.
- Ladle the hot jam into the jar, leaving about 1/4 inch of headspace at the top.
- Use a non-metallic utensil to remove any air bubbles by running it around the inside of the jar.
- Wipe the jar rim with a clean, damp cloth to ensure a good seal.
- Place a lid on the jar and screw on the band until it’s “fingertip tight” – snug but not overly tight.
Repeat this process for each jar until all your jam is bottled up. The smell of fresh grape jam filling the kitchen is one of my favorite parts of this whole process!
Processing in a Water Bath Canner
The final step in our canning journey is processing the filled jars in a water bath canner. This step creates a vacuum seal, ensuring our jam stays fresh and safe. Here’s how to do it:
- Place the filled jars in the canner rack, ensuring they don’t touch each other or the sides of the canner.
- Lower the rack into the canner, which should be filled with hot water.
- Add more hot water if needed to cover the jars by 1-2 inches.
- Cover the canner and bring the water to a rolling boil.
- Start timing once the water is boiling. Process pint jars for 10 minutes, adjusting for altitude if necessary.
- After processing, turn off the heat and remove the canner lid.
- Let the jars sit in the water for 5 minutes before removing them.
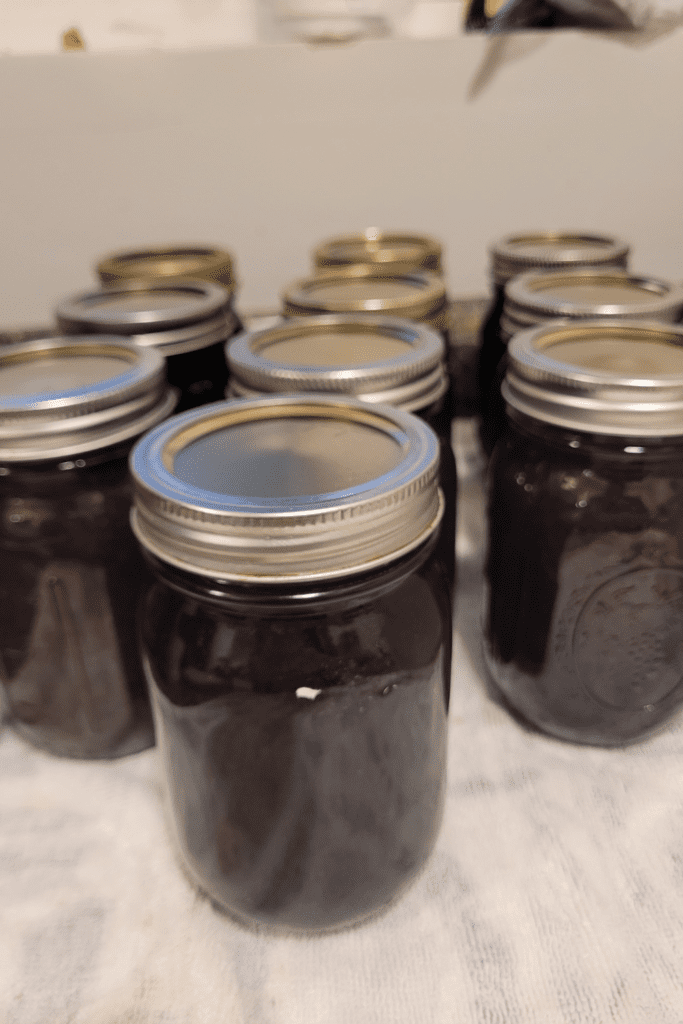
- Use a jar lifter to carefully remove the jars and place them on a towel-covered countertop.
- Leave the jars undisturbed for 12-24 hours to cool and seal properly.
As the jars cool, you’ll hear a satisfying “ping” sound as each lid seals. It’s music to a canner’s ears! After 24 hours, check the seals by pressing down on the center of each lid. If it doesn’t flex, you’ve got a good seal.
By following these steps, you’ll have jars of delicious homemade grape jam that can be stored in a cool, dark place for up to a year. There’s nothing quite like opening a jar of summer sweetness in the depths of winter – it’s one of the joys of preserving your own food!
Storing and Enjoying Your Grape Jam
Now that you’ve put in the hard work to create your delicious grape jam, it’s time to ensure it stays fresh and ready for enjoyment. Let’s explore the best ways to store, preserve, and savor your homemade creations.
Proper Storage Techniques
Storing your grape jam correctly is crucial for maintaining its quality and safety. Here are some tips to keep in mind:
- Cool and dark: Store your sealed jars in a cool, dark place like a pantry or cupboard. Avoid direct sunlight or heat sources, which can affect the jam’s color and texture.
- Upright position: Always store jars standing upright to maintain the seal’s integrity.
- Label and date: Don’t forget to label your jars with the contents and date of canning. This simple step helps you keep track of your inventory and use the oldest jars first.
- Check seals: Before storing, ensure all jar lids are properly sealed. A sealed lid should not flex when pressed in the center.
Shelf Life and Safety
When properly canned and stored, your grape jam can last for quite a while. Here’s what you need to know:
- Unopened jars: Typically, unopened jars of homemade grape jam can last 12-18 months when stored in ideal conditions.
- Opened jars: Once opened, refrigerate the jam and consume within 2-3 weeks for the best quality.
- Safety checks: Before consuming, always inspect your jam. Look for any signs of spoilage such as mold, off-odors, or unusual colors. If in doubt, it’s best to discard the jam.
Remember, these are general guidelines. Factors like the acidity of your grapes and the canning process can affect shelf life. When in doubt, trust your senses and err on the side of caution.
Serving Suggestions
Your homemade grape jam is versatile and can be enjoyed in numerous ways. Here are some ideas to get you started:
- Classic pairings: Spread it on toast, English muffins, or warm biscuits for a timeless breakfast treat.
- Yogurt topping: Swirl a spoonful into plain yogurt for a fruity twist.
- Baking ingredient: Use it as a filling for thumbprint cookies or layer it in homemade cakes.
- Cheese board companion: Pair it with sharp cheddar or creamy brie for a delightful appetizer.
- Savory dishes: Try it as a glaze for roasted meats or as a unique addition to barbecue sauce.
Don’t be afraid to get creative! Your homemade grape jam can add a burst of flavor to both sweet and savory dishes. Experiment with different combinations to find your favorite ways to enjoy the fruits of your labor.
As you savor your homemade grape jam, take a moment to appreciate the satisfaction that comes from creating something delicious from scratch. There’s something special about opening a jar of jam you’ve made yourself, knowing exactly what went into it and the care you took in preserving it. It’s these small joys that make our self-sufficient lifestyle so rewarding. Whether you’re spreading it on your morning toast or sharing it with friends and family, your grape jam is a testament to your skills and a delicious reminder of the harvest season.
Explore More Grape Projects from Your Backyard Orchard
If you love working with Concord grapes, there are plenty of other ways to enjoy your harvest. Check out How to Make Homemade Raisins for a step-by-step guide to turning fresh grapes into chewy, sweet snacks perfect for baking or snacking. You can also explore How to Grow Concord Grapes in Your Backyard to learn the tips and tricks for planting, caring for, and harvesting your own vines. For gardeners interested in expanding their grape collection, How to Propagate and Grow Grapes walks you through starting new grapevines from cuttings to create a thriving backyard orchard year after year. These posts are the perfect companions to your grape jam adventures.
Conclusion
As we’ve journeyed through the process of making and canning grape jam, we’ve covered everything from selecting the perfect grapes to safely storing your finished product. Remember, the key to success lies in using ripe, flavorful grapes and following the canning process carefully to ensure safe preservation. Making your own grape jam is not only a rewarding experience but also a delicious way to enjoy the fruits of your labor throughout the year.
Whether you’re new to canning or a seasoned pro, this grape jam recipe is a fantastic addition to your homesteading skills. It’s a wonderful way to preserve the bounty of your garden or take advantage of seasonal produce. Plus, homemade grape jam makes for a thoughtful gift that’s sure to be appreciated by friends and family.
So, why not give it a try? Grab some fresh grapes, dust off those canning jars, and start on your grape jam adventure. Who knows? This might just become your new favorite homemade treat. Happy jamming, and enjoy spreading a little homemade sweetness on your morning toast!
Resources: Here are some helpful resources for further information.
- Strawberry Jam Recipe – By Allrecipes
- 16 Sweet and Savory Jam Recipes – By Food & Wine
- Stovetop Jam – By Alison Roman
Frequently Asked Questions
1. What type of grapes should I use for grape jam?
You can use any variety of grapes, but Concord grapes are most popular for their rich flavor. Just make sure they are ripe and sweet for the best results.
2. Do I need pectin to make grape jam?
Yes, adding pectin helps the jam set properly. You can use either store-bought pectin or make your own from green apples or citrus peels.
3. How long does homemade grape jam last?
When properly canned and sealed, homemade grape jam can last up to 12-18 months stored in a cool, dark place. Once opened, it should be refrigerated and used within 1-2 months.
4. Can I use less sugar in my grape jam recipe?
Yes, you can reduce the sugar, but keep in mind that sugar helps with preservation and setting the jam. Using a low-sugar pectin can help if you prefer less sweetness.
Grape Jam
Equipment
- 1 large stockpot.
- 1 water bath canner
- 1 set of canning supplies
Ingredients
- 5 lbs grapes, stems removed, washed, and drained.
- 6 cups sugar.
- 6 tbsp lemon juice.
Instructions
Making the Grape Jam
- Add the washed grapes to a stockpot. Mash them down with a potato masher to help release the grape juice.
- Cook the grapes on the stove for 30 minutes, stirring often.
- Use an immersion blender to blend the grapes the the consistency you desire.
- Add the sugar and lemon juice and continue to stir and cook down to the desired consistency using the spoon test as a guide. (Mentioned above). Cook until the consistency you desire.
Sterilizing Jars and Lids
- Before we begin, it's essential to sterilize our jars and lids. This step eliminates any harmful bacteria that could spoil our jam. Here's how to do it:
- Wash jars and lids in hot, soapy water and rinse thoroughly.
- Place clean jars in a large pot of boiling water, ensuring they're fully submerged.
- Boil for 10 minutes to sterilize.
- For the lids, place them in a separate small pot of hot (not boiling) water for about 5 minutes.
- Keep jars and lids in the hot water until ready to use.
Filling Jars with Hot Jam
- Remove a jar from the hot water using tongs or a jar lifter.
- Place a clean funnel in the jar mouth to prevent spills.
- Ladle the hot jam into the jar, leaving about 1/4 inch of headspace at the top.
- Use a non-metallic utensil to remove any air bubbles by running it around the inside of the jar.
- Wipe the jar rim with a clean, damp cloth to ensure a good seal.
- Place a lid on the jar and screw on the band until it's "fingertip tight" – snug but not overly tight.
Processing in a Water Bath Canner
- Place the filled jars in the canner rack, ensuring they don't touch each other or the sides of the canner.
- Lower the rack into the canner, which should be filled with hot water.
- Add more hot water if needed to cover the jars by 1-2 inches.
- Cover the canner and bring the water to a rolling boil.
- Start timing once the water is boiling. Process pint jars for 10 minutes, adjusting for altitude if necessary.
- After processing, turn off the heat and remove the canner lid.
- Let the jars sit in the water for 5 minutes before removing them.
- Use a jar lifter to carefully remove the jars and place them on a towel-covered countertop.
- Leave the jars undisturbed for 12-24 hours to cool and seal properly.
Summary
I hope I have inspired you to stockpile your pantry for your survival needs.
If you were encouraged by this post, I invite you to check out my FREE Printables Page for fun free printables, planners, and charts.
ENTER MY FREE Printables Page HERE
Here are some more of my canning inspiration posts to check out!
Apple Cider: How to Make Homemade Apple Cider Vinegar
How to Make and Can Cherry Plum Jam
How to Make and Can Apple Butter In Crockpot
Stockpiling Condiments for Survival: Learn How I Do It!
How to Make and Can Vegetable Pot Pie Filling
Easy Canning Applesauce Recipes to Stalk Your Pantry!
How to Make Peach Jalapeno Jam
Cherries: How to Make Cherry Pie Filling
Cherries: How to Make Cherry Syrup
Salsa: How to Make and Can Cherry Salsa
Peaches: How to Make and Can Peach Salsa
Canning Supplies You Need Now for a Successful Canning Season!
How to Make and Can Balsamic Onion Jam
Cranberry Sauce: How to Make and Can Old Fashioned Cranberry Sauce
How to Make and Can Cranberry Merry Jam
How to Make and Can Strawberry Shortcake Jam
Cherry Jam: How to Make and Can Cherry Pie Jam
Carrot Cake Jam: How to Make and Can Carrot Cake Jam
Quince Jam: How to Can a Year’s Supply of Quince Jam
Root Beer Float Jelly: How to Make and Can Root Beer Float Jelly
Blessings,
The Off Grid Barefoot Girl

