Learn how to make and can fall spiced quince chutney with this easy step-by-step guide. Bursting with warm autumn flavors like cinnamon, cloves, and ginger, this homemade chutney is the perfect way to preserve quince and enjoy it all year. Ideal for homesteaders, food preservers, and anyone who loves seasonal canning recipes.
Quince is a unique and fragrant fruit that ripens in the fall, making it an ideal seasonal ingredient for cozy, autumnal recipes. With their tough exterior and firm flesh, quinces resemble a cross between apples and pears, but cannot be eaten raw due to their astringent taste. However, when cooked, their flavor transforms into something truly special—deliciously floral and slightly tart—making quince the perfect base for chutneys, jams, and other preserves that capture the essence of the fall harvest.
Quince chutney is a flavor-packed delight, combining the natural sweetness of the cooked fruit with the tartness of vinegar and a warming medley of spices like cinnamon, cloves, and ginger. This combination of flavors creates a beautifully balanced chutney that pairs well with savory dishes, cheese boards, and roasted meats. The natural pectin in quinces also gives the chutney a thick, luscious texture that adds an appealing richness to any meal.
Preserving Your Quince Abundance
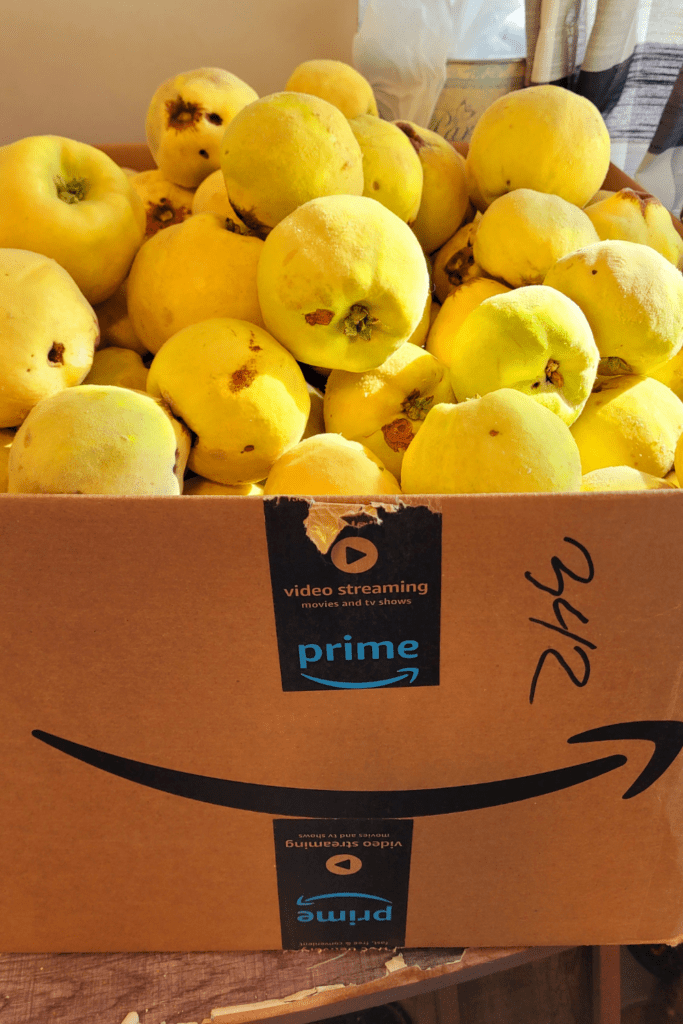
Chutney is a fantastic way to preserve quinces through the colder months, allowing you to extend the use of this seasonal fruit well beyond its brief fall availability. Cooking quinces with vinegar or lemon juice, sugar, and spices not only enhances their flavor but also acts as a natural preservative, ensuring the chutney remains safe to eat for months. This makes it a great solution for using up an abundant quince harvest or stocking up your pantry for the winter. A perfect way to preserve your quince abundance if you have a backyard quince tree like I do!
Canning quince chutney ensures that you can enjoy its unique flavors year-round, long after quince season has passed. Properly canned, the chutney can last up to a year, making it a perfect way to savor the taste of fall even in the depths of winter. Additionally, jars of homemade quince chutney make thoughtful, rustic gifts during the holiday season, offering a personal and delicious treat that friends and family will love!
This is a pinnable post. Tap or hover over any image in this post to pin to your Pinterest Boards.
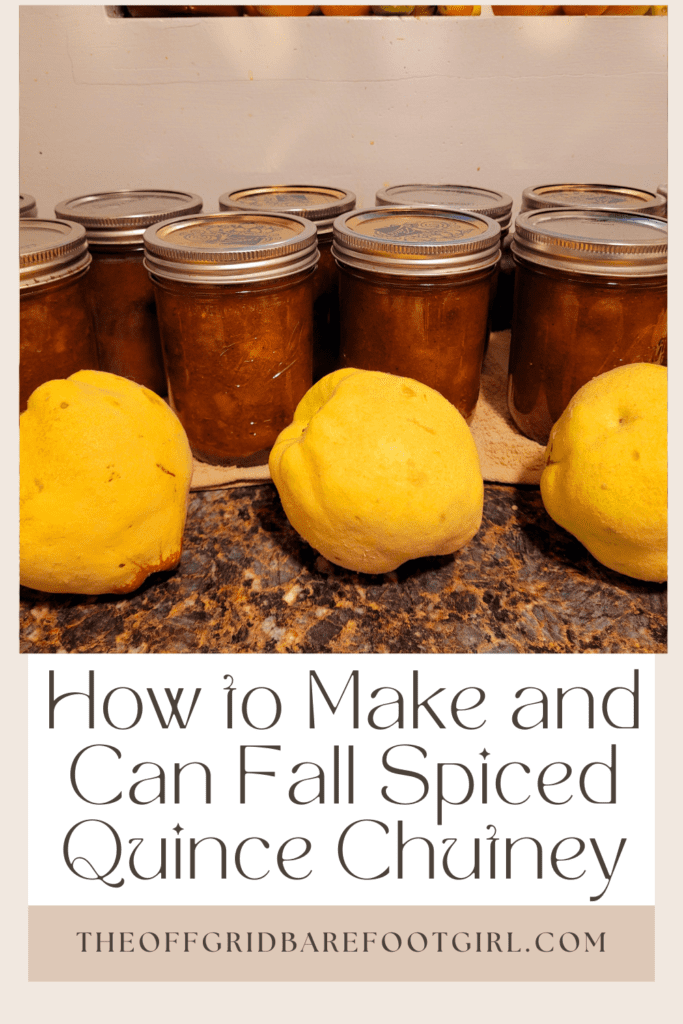
What is Quince Chutney?
Chutney is one of those simple yet flavorful condiments that really packs a punch, and it originally comes from South Asian cuisine. It’s made by combining fruits or vegetables with vinegar or lemon juice, sugar, and a blend of spices to create a savory, tangy, and slightly sweet mixture. If you’re growing a backyard orchard like me, chutney is a fantastic way to elevate your meals, especially since it complements so many dishes. Traditionally, it’s served alongside curries or grilled meats, but it’s also great spread on bread or as a tasty addition to a cheese board. In Western kitchens, chutney has been adapted in all sorts of ways and makes a zesty topping for roasts, sandwiches, or wraps.
Now, quince chutney takes things up a notch. Unlike your typical fruit chutneys, which usually rely on softer fruits like mango or apple, quince is firmer and has a much bolder, more fragrant flavor. When cooked, quinces turn sweet, but still hold onto their tartness, giving this chutney a complex and rich flavor. It’s got that perfect balance of sweet and tangy, and with the natural floral notes of quince, this chutney really stands out. It’s the ultimate autumn condiment with a strong, earthy appeal that sets it apart from the usual fruity chutneys.
Bringing Out Those Warm, Seasonal Flavors!
When making a fall-spiced quince chutney, it’s all about bringing out those warm, seasonal flavors. Quinces are, of course, the star of the show, but you can throw in apples for extra sweetness. Onions add a savory base, and vinegar or lemon juice brings that essential tang. Sugar helps balance the flavors and acts as a preservative. Then come the spices—cinnamon, cloves, and ginger—to infuse the chutney with that cozy fall warmth. The result? A rich, spiced chutney that perfectly captures the essence of the season.
What I love most about quince chutney is its versatility. It’s one of those things that can make any meal feel special, whether it’s an everyday dinner or a holiday feast. Its sweet-tart and spiced flavor pairs beautifully with roasted meats like pork, lamb, or turkey, adding a layer of depth to savory dishes. It’s also a fantastic addition to cheese boards, especially when served with sharp or creamy cheeses like cheddar or brie. And don’t forget about sandwiches or wraps—spread a little quince chutney on for an instant flavor boost. It’s like having a jar of fall at your fingertips, ready to bring any meal to life!
Ingredients and Equipment You’ll Need
When it comes to making fall-spiced quince chutney, the ingredients are what make it truly special.
Here’s what you’ll need for 10 pints:
Feel free to cut the recipe in half if you feel this is too much for you. I have a quince tree, so this is perfect for my pantry!
- About 21 fresh quinces, peeled, cored, and chopped.
- 1 large onion for some savory depth.
- 10-14 cups of sugar, depending on your sweetness level.
- 1/2 cup lemon juice.
- 1 tbsp ginger.
- 1 tbsp cinnamon.
- 1 tbsp allspice.
- 1 tbsp cayenne pepper or chili flakes.
- 1 tbsp cumin.
- 1 tbsp coriander.
- 1/2 cup raisins (optional, but good!)
Fall-flavored spices that really bring in those fall vibes! These spices come together to create that warm, cozy flavor that feels like autumn in a jar.
Feel free to get creative with some variations if you like. For a sweeter chutney, toss in a handful of raisins or dried cranberries—both add a nice texture and an extra layer of flavor. If you’re someone who loves a bit of heat (like me!), you can add a pinch of chili flakes or even some finely chopped fresh cayenne peppers. For a deeper, earthier flavor, try adding a touch of ground allspice or cardamom. Chutney is one of those recipes where you can play around and find what works best for your taste.
Basic Equipment
To get started, you’ll need some basic equipment for making and canning your chutney.
- A large, heavy-bottomed pot is a must for cooking everything down evenly.
- You’ll also need a good cutting board and a sharp knife for chopping up all those quinces and onions.
- For the canning process, have your sterilized jars, lids, and rings ready to go, as well as a jar lifter, funnel, and ladle to make filling the jars easier.
- And of course, a water bath canner or large pot with a rack for processing the jars will ensure that your chutney stays shelf-stable for the long haul.
Lastly, the quality of your quinces is crucial for the best flavor and texture. Make sure to use ripe, high-quality quinces—they should be golden yellow and have a strong, floral aroma when ripe. If your quinces are underripe, they’ll be too firm and astringent, making the chutney bitter. Ripe quinces, on the other hand, soften beautifully during cooking and give the chutney that perfect balance of sweetness and tang. Don’t skimp on quality here—it’ll make all the difference in your final product!
Step-by-Step Recipe for Fall Spiced Quince Chutney
Step 1 – Preparing the Quinces and Other Ingredients
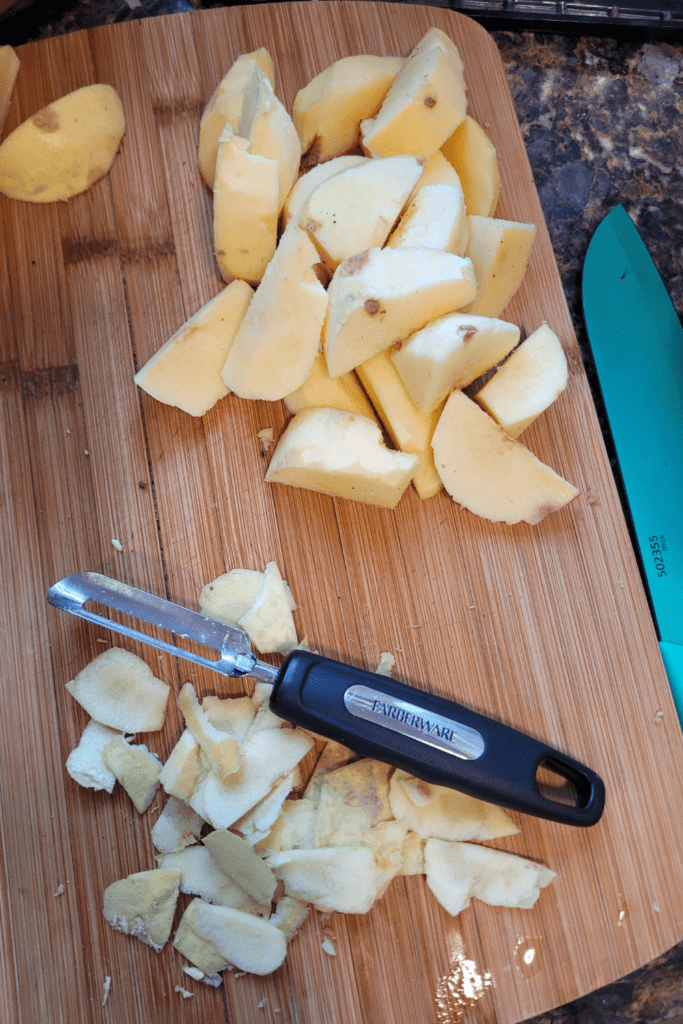
Peeling, coring, and chopping quinces might seem like a bit of work, but trust me, it’s worth it for the consistency of your chutney. Quinces have a tough, almost waxy skin that needs to be removed before cooking. I recommend using a sturdy vegetable peeler to get the job done, then slice the quinces in half and remove the tough core with a sharp knife.
Once that’s done, chop the flesh into small, even cubes. The key here is consistency—if the pieces are too large, they won’t cook down evenly, leaving you with chunks that are too firm while the rest of the chutney is ready. Taking the time to prep your quinces properly ensures a smooth, balanced chutney with all the flavors coming together perfectly.
Onions should be finely chopped, not too chunky, as they’ll break down and meld into the chutney, giving it that rich, savory base. When it comes to the spices—like cinnamon, cloves, and ginger—it’s all about freshness.
Freshly ground spices pack the most flavor, and for a fall-spiced chutney, you want those warm, aromatic notes to really shine. Take the time to measure your spices carefully, and if you’re using whole spices like a cinnamon stick or star anise, tie them up in cheesecloth for easy removal later. It’s these little details that bring out the best in your chutney.
Step 2 – Cooking the Chutney
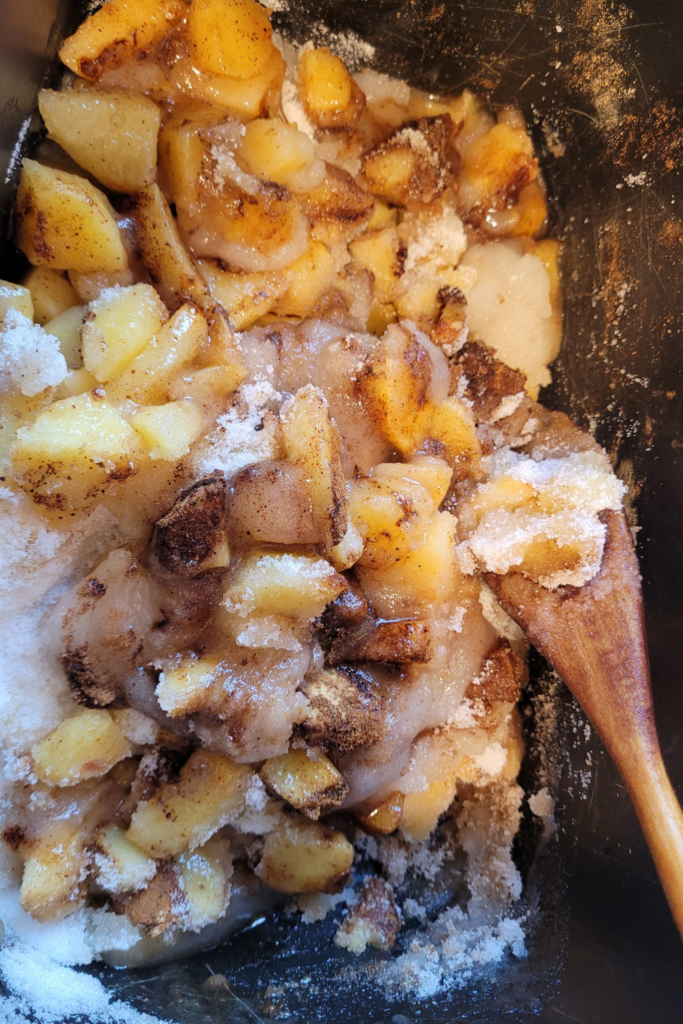
Once you’ve got all your ingredients prepped, it’s time to simmer the quinces with vinegar or lemon juice, sugar, and spices. Start by combining everything in a large, heavy-bottomed pot and bring it to a boil over medium heat. Once it’s bubbling, reduce the heat to a gentle simmer and let it cook down slowly. This is where the magic happens. The quinces will soften, absorb all the spices, and turn a lovely golden color.
Keep an eye on it, stirring occasionally to make sure nothing sticks to the bottom. Let it simmer for about 45 minutes to an hour, or until the quinces are tender and the chutney has thickened to a nice, jammy consistency. Patience is key here—the longer you let it simmer, the deeper and richer the flavors become.
While your chutney is simmering away, it’s important to stir it every so often to prevent any burning or sticking. As it cooks, the sugars will start to caramelize, thickening the chutney and intensifying the flavors. Taste as you go to check for balance—if it’s too tart, you can add a little more sugar; if it’s too sweet, a splash of vinegar or lemon juice will bring the tang back. You’re looking for a nice harmony between sweet, tart, and those warm, cozy spices. When it coats the back of a spoon and has a thick, spoonable texture, you know it’s done.
Obtaining Your Desired Consistency
If your chutney turns out too thick, don’t panic! You can thin it out by adding a bit of water or extra vinegar or lemon juice, just be sure to do it slowly and simmer for a few more minutes to allow the flavors to meld. On the other hand, if it’s too thin, simply let it simmer a bit longer with the lid off so the excess liquid can evaporate.
Step 3 – Flavor Adjustments
If you’ve overdone the spices, you can tone them down by adding a bit more sugar or fruit to balance things out. Chutney is pretty forgiving, so don’t be afraid to adjust as needed until it’s just right!
When it comes to tasting your chutney, this is where you can really make it your own. After it’s simmered down and the flavors have had time to meld, give it a taste. You’re looking for that perfect balance of sweet, tangy, and spiced. If it tastes a little too sweet, you can add a splash more vinegar or lemon juice to cut through the sweetness. If it’s not quite sweet enough, stir in a tablespoon or two of sugar and simmer for a few more minutes to let it dissolve. As for the spices, if you want a bit more warmth, now’s the time to sprinkle in a pinch of cinnamon or ginger. The key here is to taste as you go and adjust to your preference—trust your palate!
If you’re feeling adventurous, you can add some extras to give your chutney a unique twist. You can play around with texture by adding a handful of dried cranberries or raisins for that chewy, fruity bite. The beauty of chutney is its flexibility, so don’t be afraid to experiment and make it something that suits your taste perfectly.
Canning Your Quince Chutney
Step 1 – Sterilizing Your Jars
When it comes to canning chutney, one of the most crucial steps is sterilizing your jars. This process is essential for safe preservation, as it helps eliminate any bacteria, yeast, or mold that could spoil your delicious chutney over time. If your jars aren’t properly sterilized, you run the risk of contamination, which can lead to spoilage or even foodborne illnesses. So, taking the time to ensure your jars are clean and ready to go is key to enjoying your homemade chutney for months to come.
To sterilize your jars, you have a couple of options, and both are straightforward. The first method is using boiling water. Start by washing your jars and lids in hot, soapy water, then rinse them thoroughly. Place the clean jars upside down in a large pot of boiling water, making sure they are fully submerged. Boil for 10 minutes, and don’t forget to add the lids for the last 5 minutes. Remove the jars carefully using tongs or a jar lifter, and place them on a clean kitchen towel to dry.
If you prefer the dishwasher method, simply run your jars through a hot cycle without detergent, then keep them in the dishwasher until you’re ready to fill them. This ensures they stay warm and sterile, ready to hold your flavorful chutney!
Step 2 – Filling and Sealing the Jars
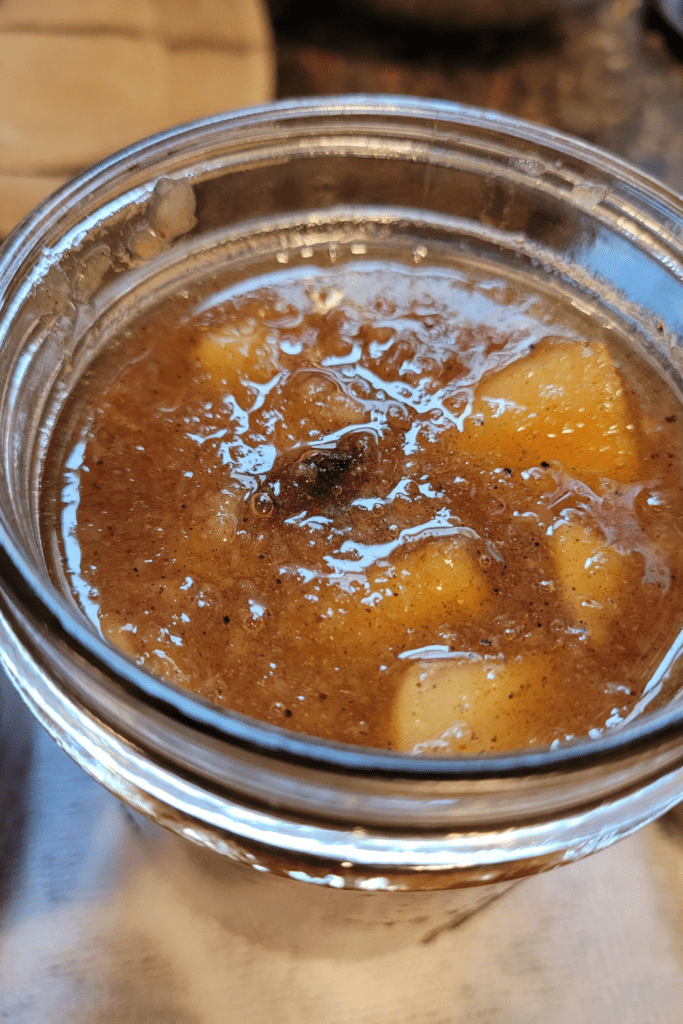
Filling your jars with chutney is an exciting part of the canning process, but it’s essential to do it right to ensure a good seal. Start by ladling the hot chutney into your sterilized jars, filling them up to about ¼ inch from the top. This space, known as headspace, is crucial because it allows for the chutney to expand during processing and helps create a vacuum seal as the jars cool. If you fill them too high, you risk spilling chutney on the rim, which can interfere with the sealing process. So, take your time and make sure each jar is filled correctly!
Once your jars are filled, it’s time to get them ready for sealing. Grab a clean cloth or paper towel and wipe the rims of each jar with it to remove any chutney residue. This step is super important, as any leftover bits on the rim can prevent the lid from sealing properly.
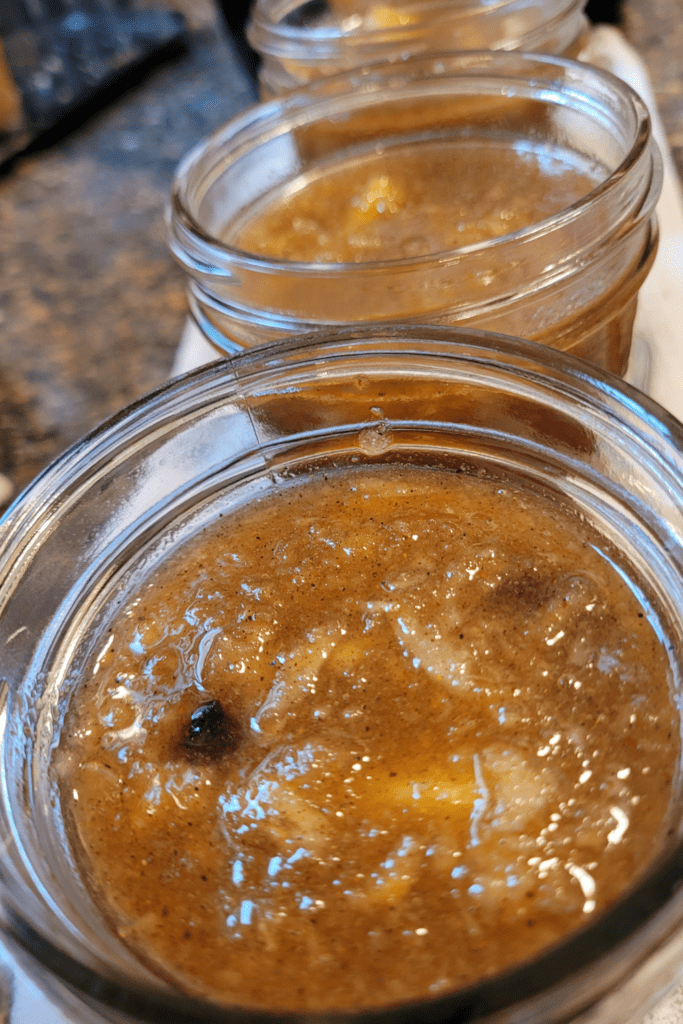
Next, take your prepped lids, place them on top of the jars, and press down gently to ensure they make good contact. After that, it’s time to apply the metal rings. Screw them onto the jars until they are fingertip-tight—not too loose and not too tight! You want them secure enough to hold the lids in place, but loose enough to allow any air to escape during processing. With everything prepped, you’re all set to process your chutney and seal in all that deliciousness!
Step 3 – Processing the Jars in a Water Bath
Processing your filled jars in a water bath is a vital step to ensure your chutney is safe and shelf-stable. To get started, place your jars in a large water bath canner or a big pot filled with enough water to cover the jars by at least an inch. Make sure the water is at a rolling boil before you lower the jars in—this helps create a vacuum seal and preserves that delightful flavor.
Once all the jars are in, cover the pot and bring the water back to a boil. Depending on your recipe, you’ll typically process the jars for about 35 minutes. Remember to adjust the time if you’re at higher altitudes, as they require a bit longer for proper sealing.
While your jars are processing, keep an eye on the water temperature. You want to maintain a steady boil throughout the processing time. If the water level drops below the top of the jars, carefully add more boiling water to keep them submerged.
When the timer goes off, use jar tongs to carefully remove the jars from the pot and set them on a clean kitchen towel or cooling rack. It’s important to let them sit undisturbed for at least 12 hours so they can cool and seal properly.
To check if your jars have sealed, press down in the center of each lid; if it pops back, it hasn’t sealed correctly. A properly sealed lid should stay down, indicating a tight vacuum seal that will keep your chutney fresh and delicious for months to come!
How to Store and Use Your Fall Spiced Quince Chutney
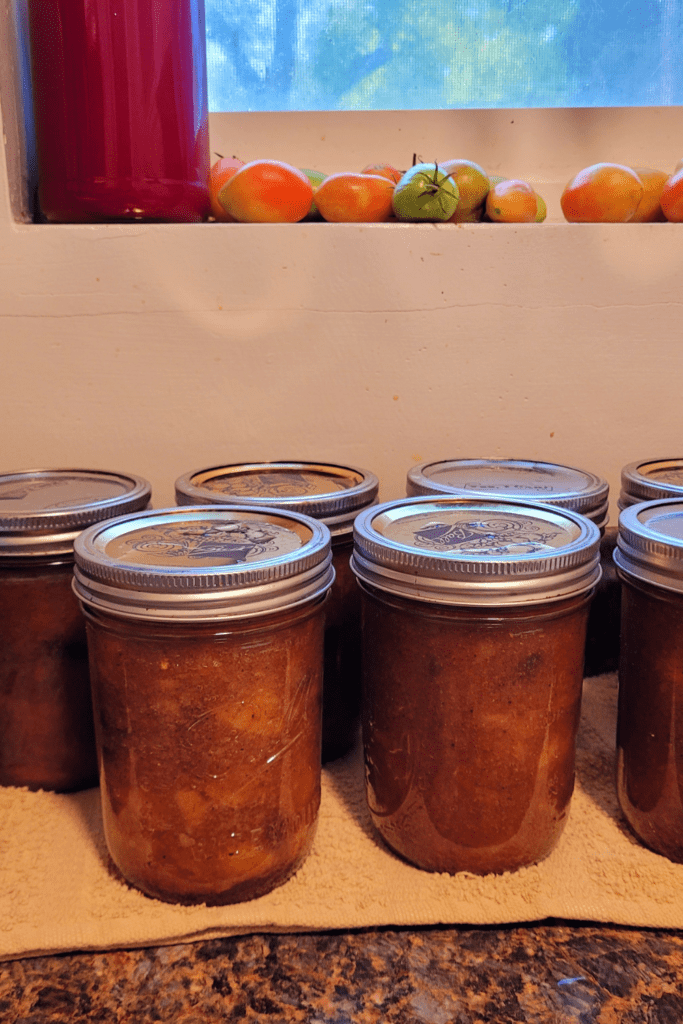
Once your chutney jars have cooled and sealed, it’s time to store them properly to keep all that deliciousness intact. Find a cool, dark pantry or cupboard that’s away from direct sunlight and temperature fluctuations. Keeping your chutney in a stable environment is key to maintaining its flavor and texture. When stored correctly, your canned quince chutney can last up to one year—just be sure to check for any signs of spoilage before using.
The versatility of quince chutney makes it a delightful addition to your meals. It pairs wonderfully with roasted meats like pork or turkey, adding a sweet-tart kick that enhances the flavors. You can also slather it on sandwiches, use it as a topping for cheese boards with sharp cheddar or creamy brie, or even stir it into sauces for a unique twist. The possibilities are endless, and you’ll find that this chutney elevates many dishes with its lovely autumnal flavor.
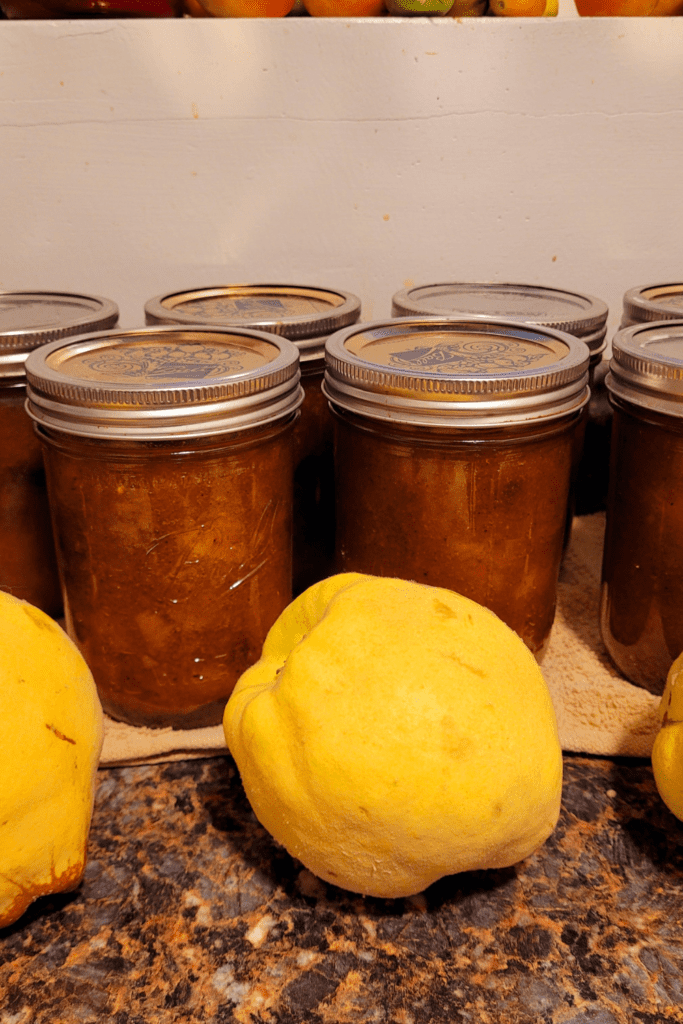
Gifting Ideas!
And let’s not forget about gifting! Quince chutney makes a thoughtful and delicious present for the holidays or special occasions. You can dress up your jars with cute fabric covers, personalized labels, and a little note about how to use the chutney. It’s a heartfelt gift that shows you care, and who wouldn’t appreciate a homemade jar of seasonal goodness? Just make sure to share some serving suggestions so your loved ones can enjoy it to the fullest!
Conclusion: Enjoy the Flavors of Fall Year-Round!
Making and canning your own fall-spiced quince chutney is pure magic. From the moment you start peeling those quinces to the aroma wafting through your kitchen as it simmers, the whole process just feels cozy and nostalgic. It’s a great way to get into the flavors of the season, and there’s a special joy in knowing you made it yourself. And then there’s the satisfaction of watching those jars line your pantry shelves, full of your own goodness!
Don’t be afraid to make it your own! Experiment with different spices and variations and see what kind of fun you can come up with. Maybe you want to add some heat with chili flakes or dried cranberries for a fruity twist. The beauty of chutney is in its flexibility, so go ahead and get creative and make it yours. Trust your taste buds and have fun with it—every batch is a reflection of you!
Having homemade chutney in your pantry is a feeling like no other. There’s nothing better than reaching for a jar of your own making in the fall and holiday season. Whether you’re serving it at family gatherings or sharing it with friends, every spoonful is a reminder of the love you put into it. Gifting your chutney is a great way to spread joy and warmth during the holidays, and to give your loved ones a taste of the season that they can enjoy long after the last leaf has fallen. So gather your ingredients, enjoy the process, and celebrate the flavors of fall with every jar you fill!
Resources: Here are some helpful resources for further information.
- How to Make Chutney: Basic Chutney Recipe – By How to Make Dinner
- 12 Delicious Homemade Chutneys – By Allrecipes
- Three Simple Indian Chutneys – By Milk & Cardamom

Frequently Asked Questions
1. What does quince chutney taste like?
Quince chutney has a unique sweet-tart flavor with warm autumn spices like cinnamon, cloves, and ginger, giving it a rich, tangy taste perfect for pairing with savory dishes.
2. Do I need to peel the quince before making chutney?
Yes, quince should be peeled before making chutney, as the skin can be tough. Peeling also helps the fruit cook down to a smoother texture.
3. How long will canned quince chutney last?
Properly canned and sealed quince chutney can last up to 1 year when stored in a cool, dark place. Once opened, store in the fridge and use within 2-3 weeks.
4. Can I adjust the spices in the recipe?
Absolutely! You can customize the spice blend to your taste, adding more or less of your favorite spices like cinnamon, cloves, or ginger to suit your preferences.
Fall Spiced Quince Chutney
Equipment
- 1 large water bath canner.
- 1 large heavy-bottomed pot.
- 1 set of canning supplies
- 10 pint jars with lids and rings.
Ingredients
- 21 fresh quince, peeled and chopped.
- 1 large onion, chopped.
- 10-14 cups sugar.
- ½ cup lemon juice or white vinegar.
- 1 tbsp ginger.
- 1 tbsp cinnamon.
- 1 tbsp allspice.
- 1 tbsp cayenne pepper or chili flakes.
- 1 tbsp cumin.
- 1 tbsp coriander.
- ½ to 1 cup raisins.
Instructions
Prepare the Quince
- Start by peeling, coring, and chopping the quinces. Make sure to keep them consistent in size for even cooking.
Combine the Ingredients
- In a large pot, combine the chopped quinces, apples, onions, apple cider vinegar, brown sugar, and all spices. Stir well to mix everything together.
Simmer
- Bring the mixture to a boil over medium heat. Once boiling, reduce to a gentle simmer and cook for 45 minutes to 1 hour, stirring occasionally, until the chutney thickens and the fruits are tender.
Adjust Flavor
- Taste the chutney and adjust the spices or sweetness if needed. You can add more vinegar for tang, sugar for sweetness, or spices to suit your preference.
Sterilize Jars
- While the chutney is simmering, sterilize your canning jars by boiling them in water for 10 minutes.
Fill Jars
- Once the chutney is ready, ladle it into the hot sterilized jars, leaving about ¼ inch of headspace.
Seal Jars
- Wipe the rims of the jars clean, place the lids on top, and screw on the metal rings until fingertip-tight.
Process In Water Bath Canner
- Process the filled jars in a boiling water bath for 35 minutes. Ensure the jars are covered by at least an inch of water.
Cool and Store
- Remove the jars and let them cool on a clean towel or rack. Check that the jars have sealed properly. Store sealed jars in a cool, dark place.
Serving Suggestions
- Enjoy your chutney with roasted meats, cheese boards, or as a spread on sandwiches.
Shelf Life
- Properly sealed chutney can last up to one year.
Summary
I hope I have inspired you to stockpile your pantry for your survival needs.
If you were encouraged by this post, I invite you to check out my FREE Printables Page for fun free printables, planners, and charts.
ENTER MY FREE Printables Page HERE
Here are some more of my canning inspiration posts to check out!
Quince: How to Make and Can Quince
Carrot Cake Butter: How to Make and Can Carrot Cake Butter
Peach Pie Filling: How to Make and Can Peach Pie Filling
Pear Pie Filling: How to Make and Can Pear Pie Filling
The Best Winter Pantry Staples to Stockpile Now!
Grapes: How to Make and Can Grape Jam
Apple Cider: How to Make Homemade Apple Cider Vinegar
How to Make and Can Cherry Plum Jam
How to Make and Can Apple Butter In Crockpot
Stockpiling Condiments for Survival: Learn How I Do It!
How to Make and Can Vegetable Pot Pie Filling
Easy Canning Applesauce Recipes to Stalk Your Pantry!
How to Make Peach Jalapeno Jam
Cherries: How to Make Cherry Pie Filling
Cherries: How to Make Cherry Syrup
Salsa: How to Make and Can Cherry Salsa
Peaches: How to Make and Can Peach Salsa
Canning Supplies You Need Now for a Successful Canning Season!
How to Make and Can Balsamic Onion Jam
Cranberry Sauce: How to Make and Can Old Fashioned Cranberry Sauce
How to Make and Can Cranberry Merry Jam
How to Make and Can Strawberry Shortcake Jam
Cherry Jam: How to Make and Can Cherry Pie Jam
Carrot Cake Jam: How to Make and Can Carrot Cake Jam
Quince Jam: How to Can a Year’s Supply of Quince Jam
Root Beer Float Jelly: How to Make and Can Root Beer Float Jelly
Blessings,
The Off Grid Barefoot Girl


