Learn how to make and can carrot cake butter with the cozy flavors of homemade carrot cake in a smooth, spreadable form. Fresh carrots are simmered with brown sugar, white sugar, and butter, then flavored with vanilla extract, cinnamon, nutmeg, and ginger for that classic warm spice profile. A pinch of salt enhances the flavors, while lemon juice balances the sweetness and helps with preservation. This step-by-step guide shows you how to cook, blend, and water bath can your carrot cake butter so you can enjoy it year-round on toast, muffins, or straight from the jar!
Have you ever wished you could capture the essence of autumn in a jar? Well, get ready to experience the cozy flavors of fall all year round with carrot cake butter! This delectable spread combines the warmth of traditional carrot cake spices with the sweetness of carrots, creating a unique and irresistible treat that’s perfect for your homesteading pantry.
As someone who loves finding creative ways to preserve the harvest, I wanted to find a gem of a recipe to share with you, but could not find many recipes for this. Therefore, I adapted my Carrot Cake Jam recipe by omitting the pectin to make this delicious spreadable butter. Carrot cake butter isn’t just a tasty way to use up excess carrots from your garden; it’s also a versatile condiment that can elevate your morning toast, add depth to baked goods, or serve as a delightful gift for friends and family. Plus, with proper canning techniques, you can enjoy this autumn-inspired spread long after the leaves have fallen.
In this post, I will be sharing my carrot cake butter recipe, and discussing what makes it so special, to mastering the art of preparing and canning it. I’ll guide you through each step of the process, share some tips for achieving the perfect consistency and flavor, and even suggest creative ways to serve and enjoy your homemade creation. So, grab your apron, and let’s get ready to transform simple carrots into a jar of pure comfort!
This is a pinnable post. Tap or hover over any image in this post to pin to your Pinterest Boards.
Understanding Carrot Cake Butter
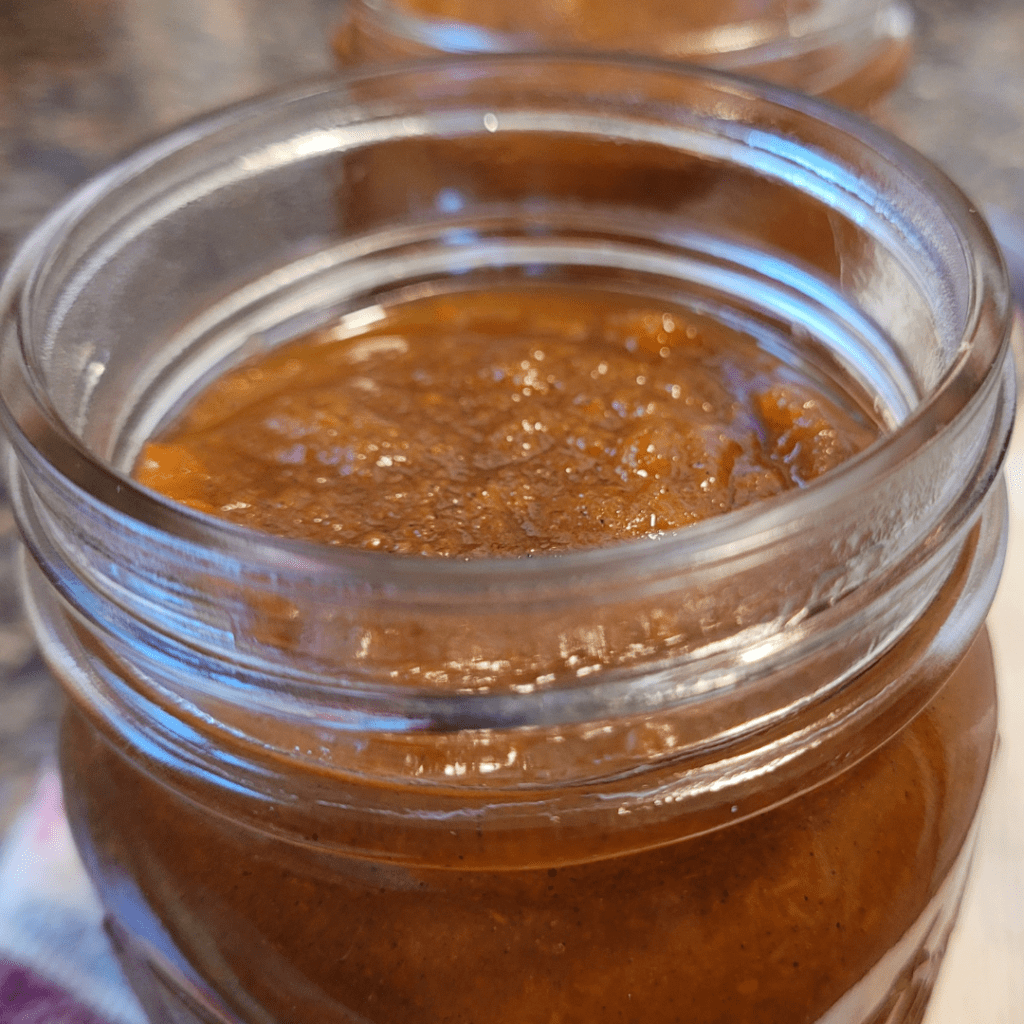
What is Carrot Cake Butter?
Imagine spreading a dollop of your favorite carrot cake onto a warm slice of homemade bread. That’s essentially what carrot cake butter is all about! This delightful spread combines the familiar flavors of carrot cake – sweet carrots, warm spices, and a touch of indulgence – into a smooth, spreadable form that’s perfect for adding a unique twist to your morning toast or afternoon snack.
Carrot cake butter is a type of fruit butter, similar to apple butter or pumpkin butter, but with its own distinct flavors. It’s made by slowly cooking down carrots with sugar, spices like cinnamon and nutmeg, and a splash of vanilla. The result is a thick, velvety spread that captures the essence of carrot cake in each spoonful.
As someone who loves finding new ways to preserve the harvest, I find carrot cake butter to be a wonderful addition to my canning repertoire. It’s a creative way to use up an abundance of carrots from the garden, transforming them into something truly special that can be enjoyed long after the growing season has ended. Plus, my kids absolutely love the taste of carrots, especially carrot cake, and I have grown an abundance of carrots this year!
Benefits of Making Homemade Carrot Cake Butter
There are several compelling reasons to try your hand at making carrot cake butter:
- Versatility: This spread isn’t just for bread. You can use it as a filling for crepes, a topping for yogurt or oatmeal, or even as a secret ingredient in baked goods for an extra layer of flavor.
- Customization: When you make it yourself, you have complete control over the ingredients. You can adjust the sweetness and spice levels, and even experiment with add-ins like crushed pineapple or raisins to make it truly your own.
- Preservation: Canning carrot cake butter allows you to enjoy the flavors of carrot cake year-round without whipping up a mess in the kitchen!
- Healthier Alternative: Compared to traditional cake or frosting, carrot cake butter can be a healthier option. It’s made primarily from carrots, which are packed with vitamins and fiber.
- Gift-Giving: Homemade carrot cake butter makes for a unique and thoughtful gift. It’s something a bit different than your friends and family might not have tried before.
- Reduced Food Waste: If you find yourself with an abundance of carrots, turning them into carrot cake butter is an excellent way to prevent them from going to waste.
- Connection to Tradition: Making fruit butters is a time-honored preservation technique. By creating carrot cake butter, you’re participating in a long history of homesteaders and canners who have found creative ways to preserve the harvest.
As we discuss more about carrot cake butter, you’ll discover just how simple and rewarding it can be to create this unique spread in your own kitchen. Whether you’re an experienced canner or just starting out on your homesteading journey, carrot cake butter is a delightful project that combines the best of traditional skills with a modern twist.
Gathering Ingredients and Equipment
When it comes to making carrot cake butter, gathering the right ingredients and equipment is crucial for success. Let’s discuss what you’ll need to create this delicious spread that captures the essence of your favorite dessert in a jar.
Essential Ingredients
To make carrot cake butter, you’ll need a mix of fresh produce and pantry staples:
- Fresh carrots: The star of the show! Choose firm, bright orange carrots for the best flavor.
- Brown sugar: This adds depth and a molasses-like sweetness.
- White sugar: For balanced sweetness.
- Butter: Use unsalted for better control of the salt content.
- Vanilla extract: For that classic carrot cake flavor.
- Cinnamon, nutmeg, and ginger: These warm spices are essential for the carrot cake taste.
- Salt: Just a pinch to enhance all the flavors.
- Lemon juice: To balance the sweetness and help with preservation.
When selecting your carrots, I always recommend going for organic if possible. There’s something special about knowing exactly where your food comes from, especially when you’re preserving it for later use. I use my homegrown carrots. I can show you how to grow them with this post!
How to Grow Carrots for a Bountiful Harvest
Necessary Equipment
Now, let’s talk about the tools you’ll need:
- Large pot or Crockpot: For cooking the carrot cake butter. I used a crockpot.
- Food processor or stick blender: To puree the cooked carrots.
- Wooden spoon or silicone spatula: For stirring.
- Canning jars with lids (4 or 5 pint jars): Make sure they’re clean and sterilized. You may get 4 to 5 pints of this butter depending on the size of your carrots.
- Canning tools: Jar lifter, funnel, and lid wand.
- Large canning pot or water bath canner: This is used to process the jars.
- Clean kitchen towels: For wiping jar rims and handling hot jars.
- Labels: To mark your jars with the date and contents.
If you’re new to canning, don’t worry! Most of these tools are readily available and will serve you well for many canning projects to come. I remember my first canning experience – it felt like a rite of passage into the world of self-sufficiency.
Before you begin, make sure all your equipment is clean and ready to go. Sterilize your jars and lids by boiling them for 10 minutes. This step is crucial for food safety and ensuring your carrot cake butter stays fresh for months.
As you gather your ingredients and equipment, take a moment to appreciate the process. There’s something deeply satisfying about preparing to make your own preserves. It connects us to a tradition of food preservation that’s been practiced for generations. Plus, the aroma of spices and carrots cooking will soon fill your kitchen, creating a warm and inviting atmosphere.
Remember, the key to successful canning is preparation. Having everything ready before you start will make the process smoother and more enjoyable. So, take your time gathering your supplies, and get ready to create a delicious spread that will bring the flavor of carrot cake to your breakfast table all year round.
Preparing the Carrot Cake Butter
Preparing carrot cake butter is a delightful process that combines the sweetness of carrots with the warmth of traditional cake spices. It’s a perfect way to capture the essence of fall in a jar, and I’m excited to share this homesteading favorite with you. Let’s discuss the steps to create this delicious spread!
Step 1: Preparing the Carrots
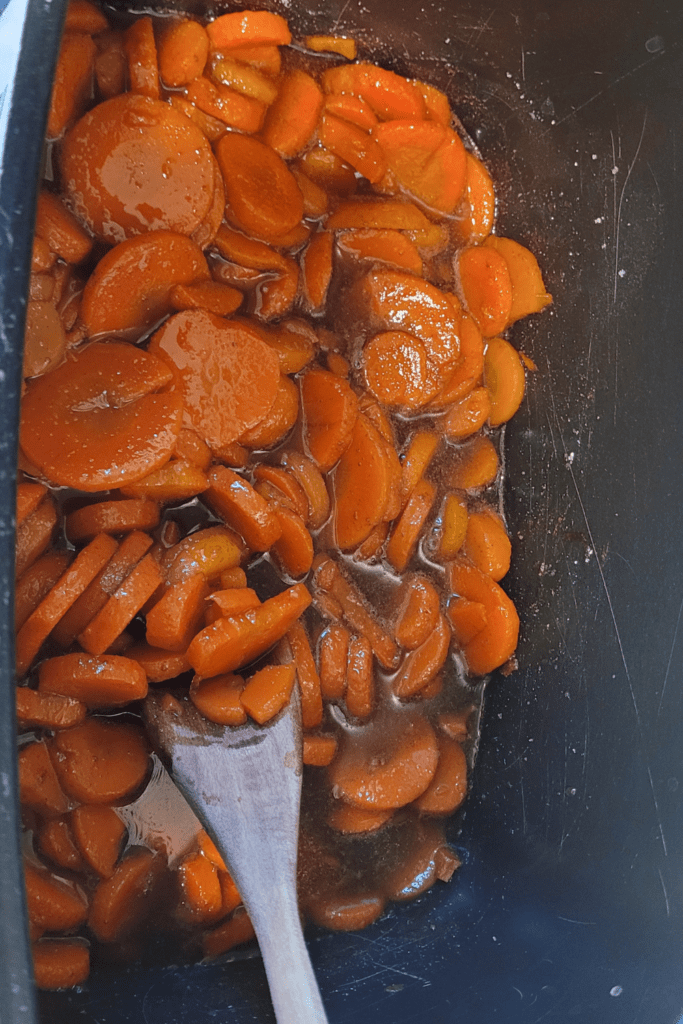
The foundation of our carrot cake butter is, of course, carrots. Start by selecting fresh, organic carrots from your garden or local farmer’s market. Wash them thoroughly and peel them. Chop the carrots into small pieces, about 1/4 inch thick. This uniform size ensures even cooking and a smooth final texture.
Step 2: Cooking the Butter Base
In a large, heavy-bottomed pot (or crockpot), combine your chopped carrots with apple juice or cider. The liquid helps to soften the carrots and adds a touch of natural sweetness. Bring the mixture to a boil, then reduce heat and simmer until the carrots are tender. This usually takes about 20-30 minutes, depending on the size of your carrot pieces. Once soft, mash the carrots or use an immersion blender for a smoother consistency. If using a crockpot, cook on high for 3 hours then mash them.
Step 3: Adding Spices and Flavorings
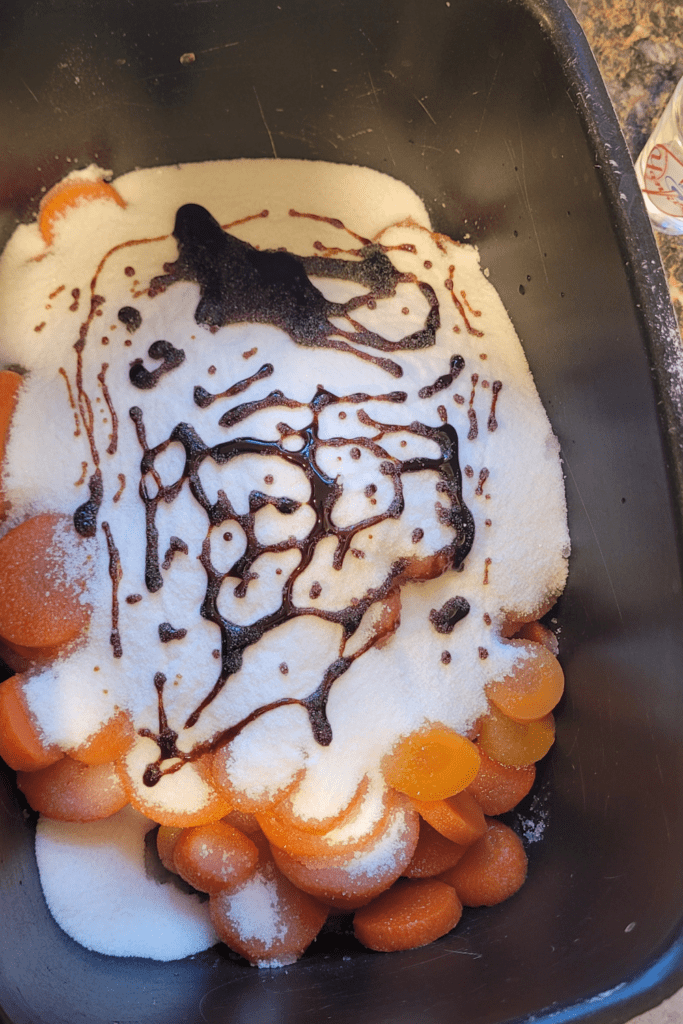
Now comes the fun part – transforming our carrot mash into a cake-like treat! Add in your sugar. Then, it’s time for the spices that make carrot cake so irresistible:
- Ground cinnamon.
- Nutmeg.
- Ginger.
- Cloves.
- Vanilla extract.
Don’t be afraid to adjust the spices to your liking. Some folks enjoy a hint of cardamom or allspice as well. Remember, the flavors will intensify as the butter cooks down, so start conservatively and taste as you go.
Step 4: Blending and Cooking
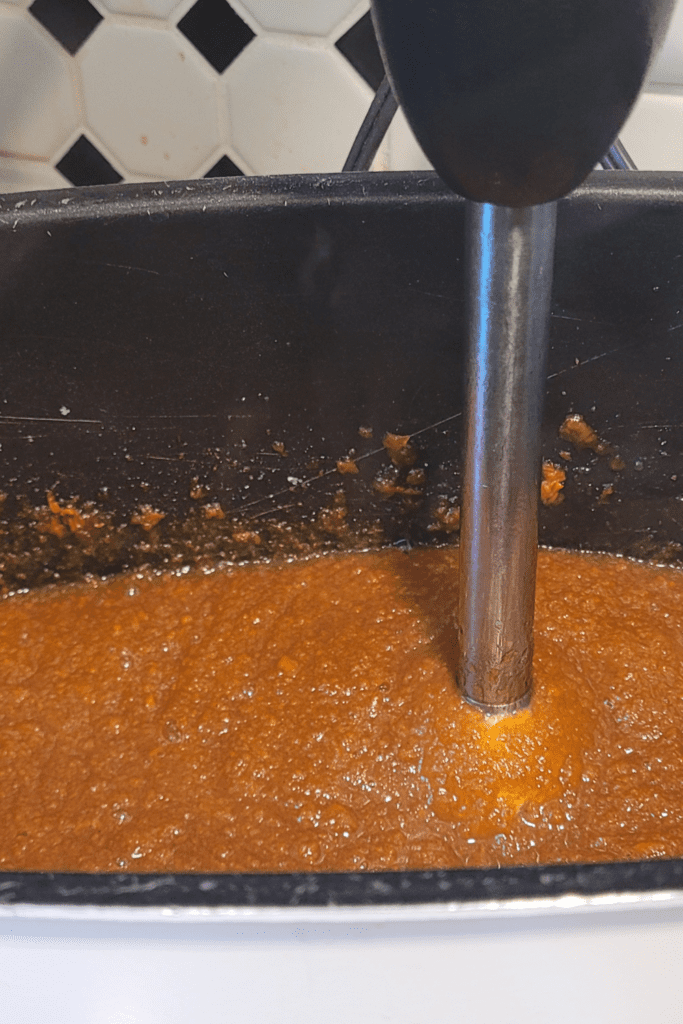
With all ingredients combined, it’s time to create that smooth, buttery texture we’re after. Use an immersion blender to puree the mixture until it’s silky smooth. If you don’t have an immersion blender, carefully transfer the mixture to a standard blender in batches.
Once blended, return the mixture to low heat and let it simmer or continue to cook on high in the crockpot. This is where patience comes in handy. The butter needs to cook down slowly, allowing excess moisture to evaporate and flavors to concentrate. Stir frequently to prevent sticking or burning. The process can take anywhere from 1-2 hours, depending on your desired thickness. The crockpot is a great way to make fruit butter as you can check on it without much worry.
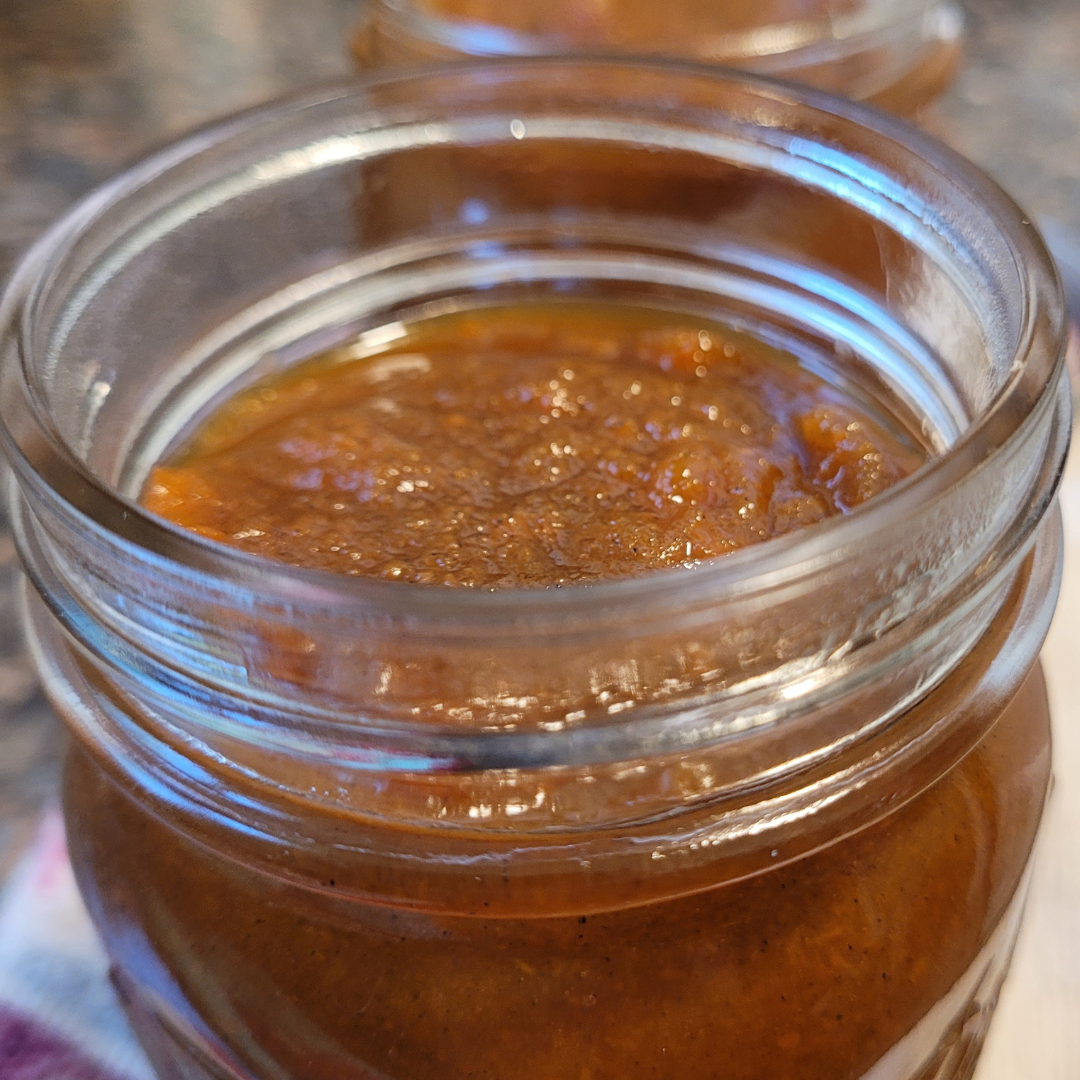
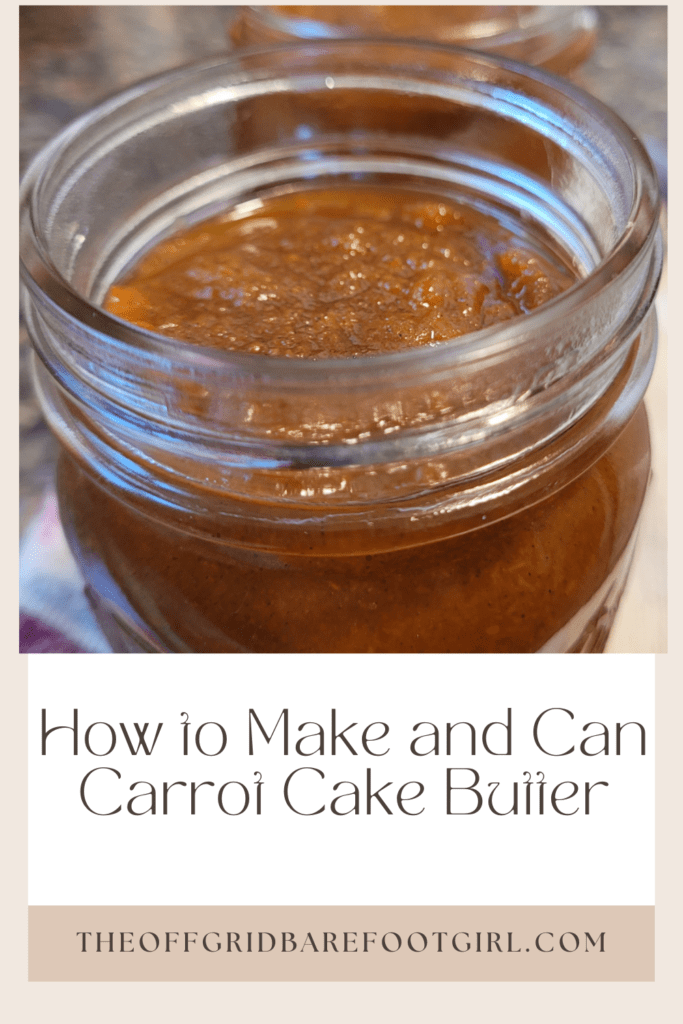
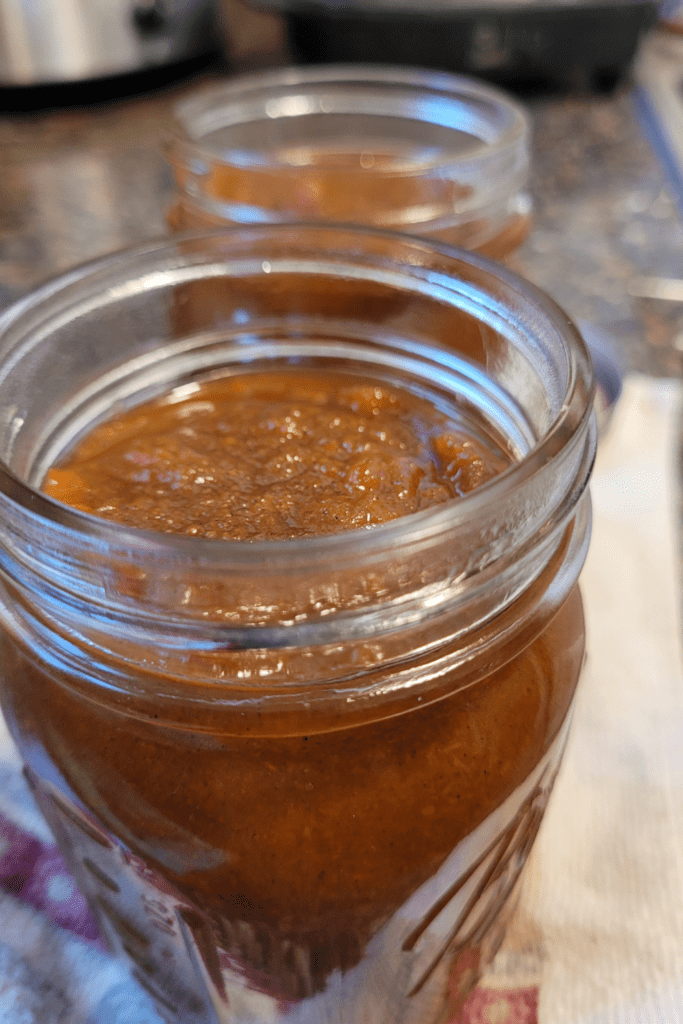
You’ll know your carrot cake butter is ready when it’s thick enough to coat the back of a spoon and holds its shape when you run a finger through it. The color will deepen to a rich orange-brown, and your kitchen will smell like a bakery!
As the butter cooks, take time to sterilize your canning jars and prepare your water bath canner. This way, you’ll be ready to preserve your creation as soon as it reaches the perfect consistency. Remember, proper canning techniques are crucial for food safety, so always follow tested recipes and guidelines.
Canning the Carrot Cake Butter
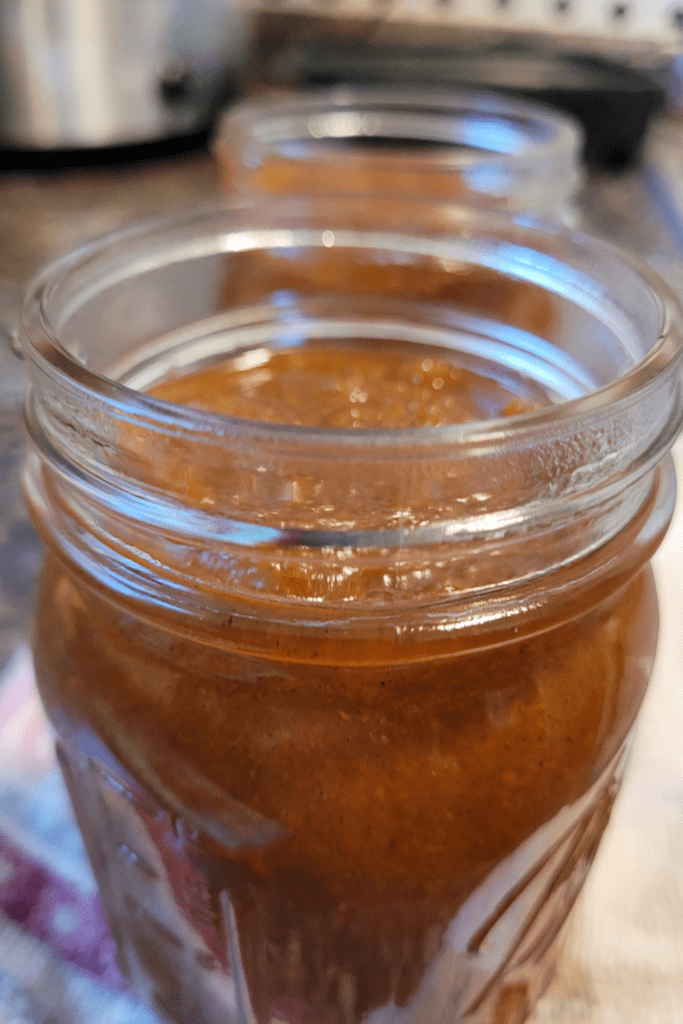
Now that we’ve crafted our delicious carrot cake butter, it’s time to preserve this sweet treat for long-term enjoyment. Canning is a fantastic way to store your homemade spreads, and with a little know-how, you’ll be stocking your pantry shelves in no time.
Step 1: Preparing the Canning Jars
Before we begin, it’s crucial to ensure our jars are clean and sterilized. I always start by washing my jars, lids, and bands in hot, soapy water. Rinse them thoroughly and keep them warm until ready to use. To sterilize, you can either boil the jars for 10 minutes or run them through a dishwasher cycle. Remember, cleanliness is key to preventing spoilage!
Step 2: Filling the Jars
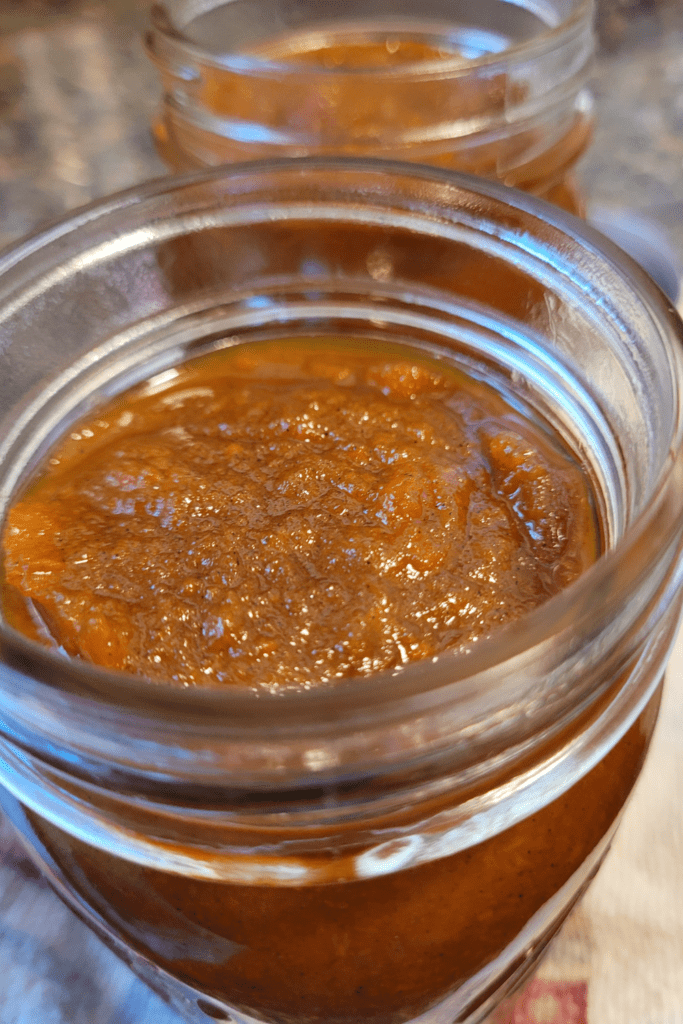
With our jars ready, it’s time to fill them with our carrot cake butter. Here’s a pro tip: use a wide-mouth funnel to make this process easier and less messy. Leave about 1/4 inch of headspace at the top of each jar. This space is important for proper sealing. Once filled, wipe the rims clean with a damp cloth to ensure a good seal.
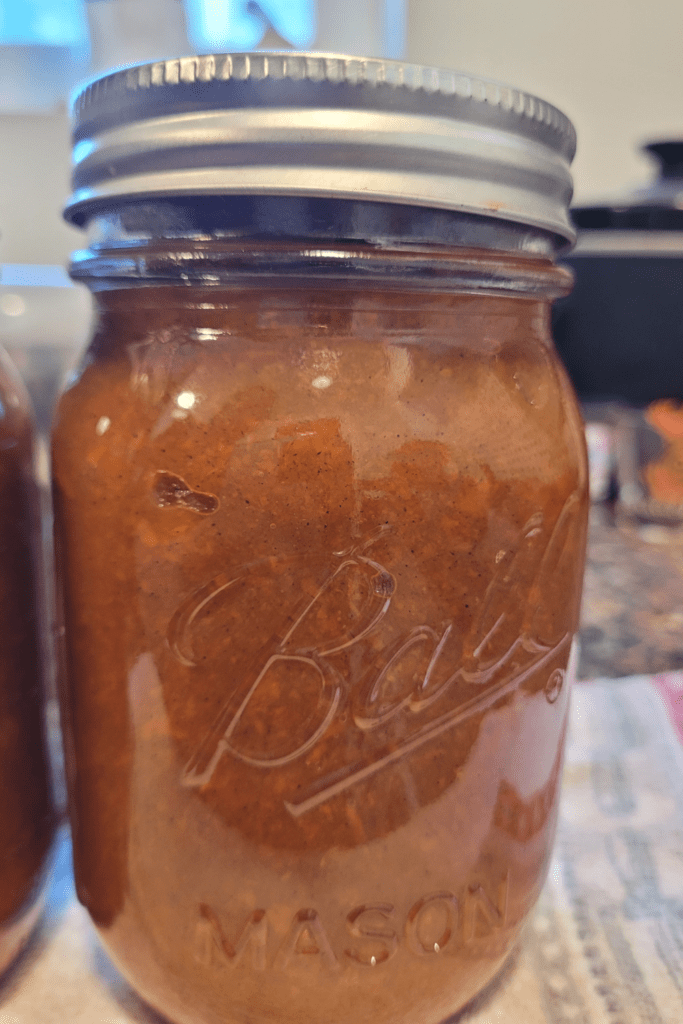
Step 3: Processing the Jars
Now comes the crucial step of processing. Place the filled jars into your water bath canner, ensuring they’re covered by at least an inch of water. Bring the water to a rolling boil and process for 10 minutes (adjust for altitude if necessary). This step is vital for food safety, as it creates a vacuum seal and eliminates any potentially harmful bacteria.
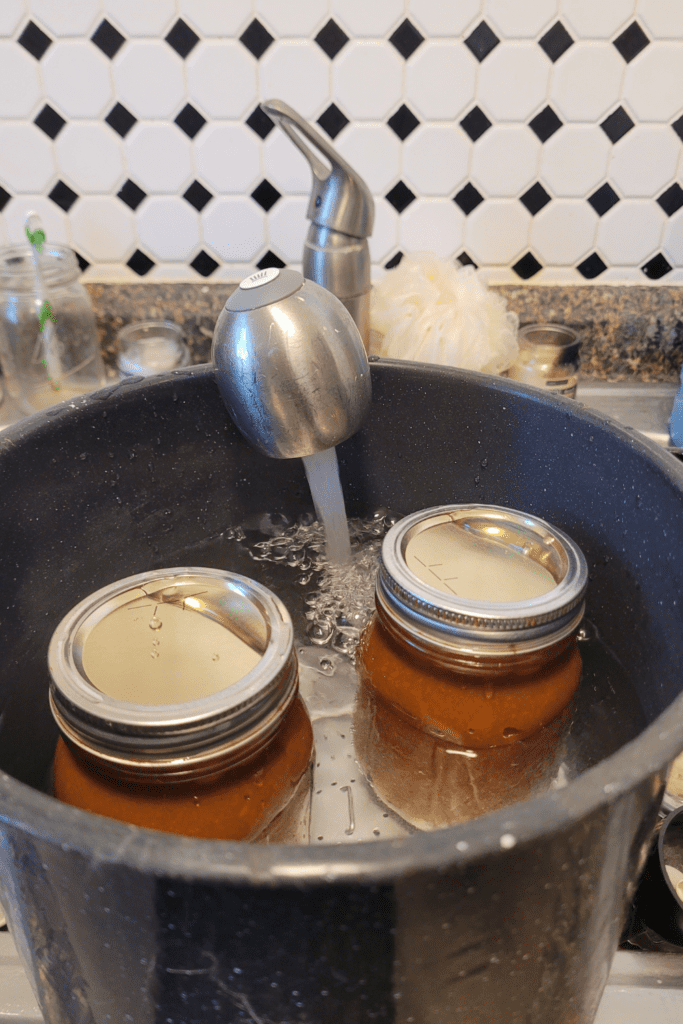
Step 4: Cooling and Storing
After processing, carefully remove the jars from the canner using jar lifters. Place them on a towel-lined counter, leaving space between each jar. As they cool, you’ll hear a satisfying “ping” sound as the lids seal. Let the jars cool undisturbed for 12-24 hours.
Once cooled, check the seals by pressing down on the center of each lid. If it doesn’t flex, you’ve got a good seal! Remove the bands, label your jars with the contents and date, and store them in a cool, dark place. Your carrot cake butter will keep for up to a year, though I doubt it’ll last that long once you start spreading it on your morning toast!
Canning your own carrot cake butter is not only a great way to preserve the harvest, but it’s also incredibly rewarding. There’s something special about opening a jar of homemade goodness in the middle of winter, and knowing exactly what went into it. Plus, these jars make wonderful gifts for friends and family. So go ahead, make a big batch, and share the love!
Tips for Perfect Carrot Cake Butter
Creating the perfect carrot cake butter is an art that combines the comforting flavors of a classic dessert with the smooth, spreadable texture of homemade butter. As someone who’s spent countless hours in the kitchen experimenting with various recipes, I’ve learned a few tricks to help you achieve the best results.
Achieving the Right Consistency
The key to a perfect carrot cake butter lies in its consistency. You want it to be smooth and spreadable, but not too runny. Here are some tips to help you get it just right:
- Use room temperature ingredients: This ensures everything blends smoothly.
- Cook slowly: Low and slow is the way to go. It allows the flavors to meld and the mixture to thicken naturally.
- Test the thickness: Drop a small amount on a cold plate. If it holds its shape, it’s ready.
- Be patient: Don’t rush the cooling process. It will continue to thicken as it cools.
Flavor Variations
While the classic carrot cake flavor is delicious on its own, don’t be afraid to experiment with variations:
- Add nuts: Chopped pecans or walnuts can add a delightful crunch.
- Spice it up: Try adding ginger, pumpkin spice, or even a pinch of cardamom.
- Fruit additions: Crushed pineapple or raisins can add extra sweetness and texture.
- Cream cheese swirl: For a true carrot cake experience, swirl in some softened cream cheese. Only do this after opening a can of canned carrot cake butter. Cream cheese is not safe for canning.
Remember, the beauty of homesteading is in making recipes your own. Trust your taste buds and don’t be afraid to try new combinations!
Troubleshooting Common Issues
Even experienced canners can run into issues. Here are some common problems and how to fix them:
- Too runny: If your butter is too thin, continue cooking on low heat, stirring frequently. Be patient; it will thicken.
- Too thick: Add a bit of apple juice or water, a tablespoon at a time, until you reach the desired consistency.
- Crystallization: This can happen if sugar isn’t fully dissolved. To prevent it, ensure all sugar is dissolved before canning.
- Separation: If you notice oil separating, try blending the mixture with an immersion blender before canning.
- Burnt taste: Always cook on low heat and stir frequently to prevent scorching.
By following these tips and troubleshooting advice, you’ll be well on your way to creating delicious, homemade carrot cake butter. Remember, practice makes perfect, and each batch is an opportunity to refine your skills!
Serving and Enjoying Carrot Cake Butter
Now that you’ve mastered the art of making carrot cake butter, it’s time to explore the best ways to serve, enjoy, and store this delightful spread. As someone who loves to make the most of homemade preserves, I’m excited to share some tips and ideas with you.
Serving Suggestions
Carrot cake butter is a versatile treat that can be enjoyed in many ways. Here are some delicious serving ideas:
- Spread it on warm, toasted bread or English muffins for a comforting breakfast.
- Use it as a filling for homemade crepes or pancakes.
- Swirl it into your morning oatmeal or yogurt for added flavor.
- Pair it with crackers and cheese for a unique appetizer.
- Use it as a topping for vanilla ice cream or frozen yogurt.
- Incorporate it into your baking recipes, such as muffins or quick breads.
For a special treat, try making carrot cake butter sandwiches using two slices of homemade bread. It’s a perfect snack for those busy days when you’re tending to your garden or working on other homesteading projects.
Storage and Shelf Life
Proper storage is crucial for maintaining the quality and safety of your homemade carrot cake butter. Here are some important tips to keep in mind:
- Refrigeration: Once opened, store your carrot cake butter in the refrigerator. This will help prevent spoilage and maintain its freshness.
- Sealed containers: Always keep your carrot cake butter in airtight containers or properly sealed jars to prevent contamination and preserve flavor.
- Shelf life: When properly canned and stored in a cool, dark place, unopened jars of carrot cake butter can last up to one year. However, for the best quality and flavor, it’s recommended to consume it within 6-8 months.
- Freezing: If you’ve made a large batch and want to extend its shelf life, you can freeze carrot cake butter for up to 6 months. Just be sure to use freezer-safe containers and leave some headspace for expansion.
- Check before use: Always inspect your carrot cake butter before consuming. If you notice any signs of spoilage, such as mold, off-odors, or unusual textures, it’s best to discard it.
Remember, homemade preserves like carrot cake butter are a great way to enjoy the flavors of your garden year-round. By following proper canning and storage techniques, you’ll be able to savor this delicious spread for months to come.
As you enjoy your homemade carrot cake butter, take a moment to appreciate the skills you’ve developed in preserving your own food. It’s a rewarding part of the self-sufficient lifestyle, allowing you to make the most of your garden’s bounty and reduce your reliance on store-bought products. Whether you’re spreading it on fresh bread or using it in your favorite recipes, carrot cake butter is sure to become a staple in your homestead kitchen.
Conclusion
As we’ve discovered, making and canning carrot cake butter is a delightful way to capture the essence of a beloved dessert in a versatile spread. From gathering the right ingredients to mastering the canning process, we’ve covered all the essential steps to create this unique treat. Remember, the key to perfect carrot cake butter lies in balancing the flavors and achieving the right consistency. Don’t be afraid to experiment with spices or add-ins to make it your own.
Whether you’re spreading it on toast, swirling it into yogurt, or gifting it to friends, carrot cake butter is sure to bring a smile to anyone’s face. As with any homesteading project, the satisfaction of creating something delicious from scratch is truly unmatched. So, roll up your sleeves, gather your carrots, and give this recipe a try. Who knows? Carrot cake butter might just become your new favorite preserve, adding a touch of homemade comfort to your pantry and your taste buds. Happy canning, and enjoy the sweet rewards of your labor!
Resources: Here are some helpful resources for further information.
- Fruit Butters – By Learn to Preserve
- Fruit Butter Basics – By Seed to Pantry
- Fresh Fruit Butter – By Eating Well
Frequently Asked Questions
1. Can I use store-bought carrots for this recipe?
Yes, you can use fresh store-bought carrots. Just make sure to wash, peel, and chop them before cooking to ensure the best flavor and texture.
2. How long does canned carrot cake butter last?
When properly canned and sealed, carrot cake butter can last up to 12 months if stored in a cool, dark place. Once opened, refrigerate and consume within 2-3 weeks.
3. Can I adjust the spices in the recipe?
Absolutely! Feel free to adjust the cinnamon, and nutmeg, or add other spices like ginger or cloves to suit your taste preferences.
4. Can I freeze carrot cake butter instead of canning it?
Yes, carrot cake butter can be frozen in airtight containers for up to 6 months if you’d prefer not to can it. Just make sure to leave room in the container for expansion.
Carrot Cake Butter
Equipment
- 1 stockpot or crockpot.
- 4 – 5 pint jars, lids, and rings.
- 1 set of canning supplies
- 1 water bath canner
Ingredients
- 5 lbs carrots, peeled and chopped.
- 2 cups apple juice or apple cider.
- ½ cup brown sugar.
- 2 tsp cinnamon.
- ¼ tsp nutmeg.
- 1 tsp allspice.
- ½ tsp ground cloves.
- ½ tsp ginger.
Instructions
Preparing the Carrots
- The foundation of our carrot cake butter is, of course, carrots. Start by selecting fresh, organic carrots from your garden or local farmer's market. Wash them thoroughly and peel them. Chop the carrots into small pieces, about 1/4 inch thick. This uniform size ensures even cooking and a smooth final texture.
Cooking the Butter Base
- In a large, heavy-bottomed pot (or crockpot), combine your chopped carrots with apple juice or cider. The liquid helps to soften the carrots and adds a touch of natural sweetness. Bring the mixture to a boil, then reduce heat and simmer until the carrots are tender. This usually takes about 20-30 minutes, depending on the size of your carrot pieces. Once soft, mash the carrots or use an immersion blender for a smoother consistency. If using a crockpot, cook on high for 3 hours then mash them.
Adding Spices and Flavorings
- Add in your sugar and spices.
Blending and Cooking
- Use an immersion blender to puree the mixture until it's silky smooth. If you don't have an immersion blender, carefully transfer the mixture to a standard blender in batches.
- Once blended, return the mixture to low heat and let it simmer or continue to cook on high in the crockpot.
- Stir frequently to prevent sticking or burning. The process can take anywhere from 1-2 hours, depending on your desired thickness. The crockpot is a great way to make fruit butter as you can check on it without much worry.
- You'll know your carrot cake butter is ready when it's thick enough to coat the back of a spoon and holds its shape when you run a finger through it. The color will deepen to a rich orange-brown, and your kitchen will smell like a bakery!
Preparing the Canning Jars
- Wash the jars, lids, and bands in hot, soapy water. Rinse them thoroughly and keep them warm until ready to use. To sterilize, you can either boil the jars for 10 minutes or run them through a dishwasher cycle. Remember, cleanliness is key to preventing spoilage!
Filling the Jars
- Use a wide-mouth funnel to fill each jar.
- Leave about 1/4 inch of headspace at the top of each jar. This space is important for proper sealing.
- Once filled, wipe the rims clean with a damp cloth to ensure a good seal.
Processing the Jars
- Place the filled jars into your water bath canner, ensuring they're covered by at least an inch of water.
- Bring the water to a rolling boil and process for 10 minutes (adjust for altitude if necessary). This step is vital for food safety, as it creates a vacuum seal and eliminates any potentially harmful bacteria.
Cooling and Storing
- After processing, carefully remove the jars from the canner using jar lifters. Place them on a towel-lined counter, leaving space between each jar. As they cool, you'll hear a satisfying "ping" sound as the lids seal. Let the jars cool undisturbed for 12-24 hours.
- Once cooled, check the seals by pressing down on the center of each lid. If it doesn't flex, you've got a good seal! Remove the bands, label your jars with the contents and date, and store them in a cool, dark place. Your carrot cake butter will keep for up to a year, though I doubt it'll last that long once you start spreading it on your morning toast!
Summary
I hope I have inspired you to stockpile your pantry for your survival needs.
If you were encouraged by this post, I invite you to check out my FREE Printables Page for fun free printables, planners, and charts.
ENTER MY FREE Printables Page HERE
Here are some more of my canning inspiration posts to check out!
How to Make and Can Peach Pie Filling
How to Make and Can Pear Pie Filling
The Best Winter Pantry Staples to Stockpile Now!
Grapes: How to Make and Can Grape Jam
Apple Cider: How to Make Homemade Apple Cider Vinegar
How to Make and Can Cherry Plum Jam
How to Make and Can Apple Butter In Crockpot
Stockpiling Condiments for Survival: Learn How I Do It!
How to Make and Can Vegetable Pot Pie Filling
Easy Canning Applesauce Recipes to Stalk Your Pantry!
How to Make Peach Jalapeno Jam
Cherries: How to Make Cherry Pie Filling
Cherries: How to Make Cherry Syrup
Salsa: How to Make and Can Cherry Salsa
Peaches: How to Make and Can Peach Salsa
Canning Supplies You Need Now for a Successful Canning Season!
How to Make and Can Balsamic Onion Jam
Cranberry Sauce: How to Make and Can Old Fashioned Cranberry Sauce
How to Make and Can Cranberry Merry Jam
How to Make and Can Strawberry Shortcake Jam
Cherry Jam: How to Make and Can Cherry Pie Jam
Carrot Cake Jam: How to Make and Can Carrot Cake Jam
Quince Jam: How to Can a Year’s Supply of Quince Jam
Root Beer Float Jelly: How to Make and Can Root Beer Float Jelly
Blessings,
The Off Grid Barefoot Girl

