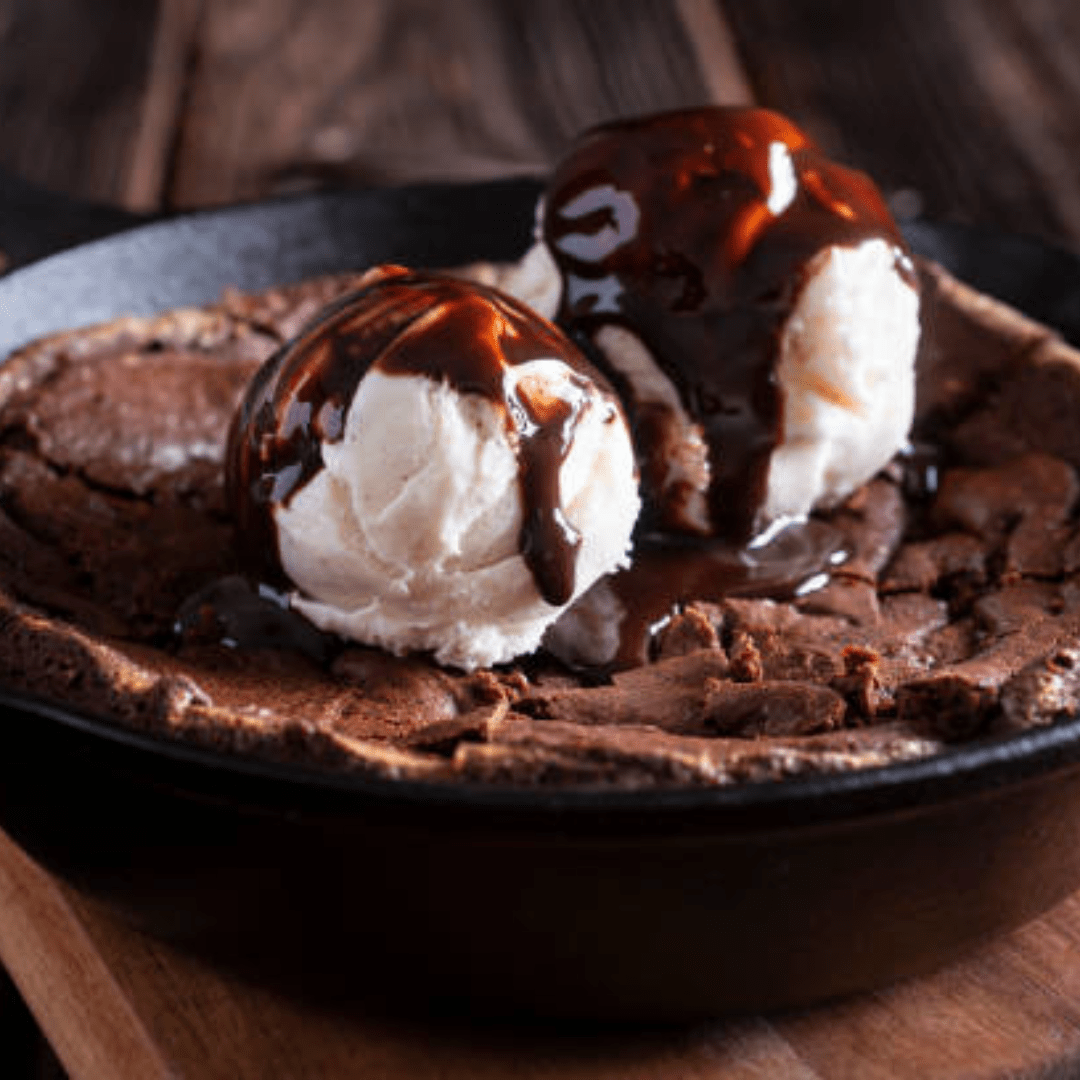
Homemade brownies.
Indulging in a warm, gooey, and chocolatey brownie is like taking a trip down memory lane. There’s something about the nostalgic charm and comforting taste of old-fashioned homemade brownies that just can’t be replicated. In this article, I will delve into the art of making the best old-fashioned brownies using a cast iron skillet. From selecting the finest ingredients to mastering the baking process, I’ll guide you through each step to ensure your brownies are nothing short of perfection. Get ready to embrace the mouthwatering aroma and delightful texture of these classic treats as I unlock the secrets to creating irresistible homemade brownies that will leave everyone begging for more.
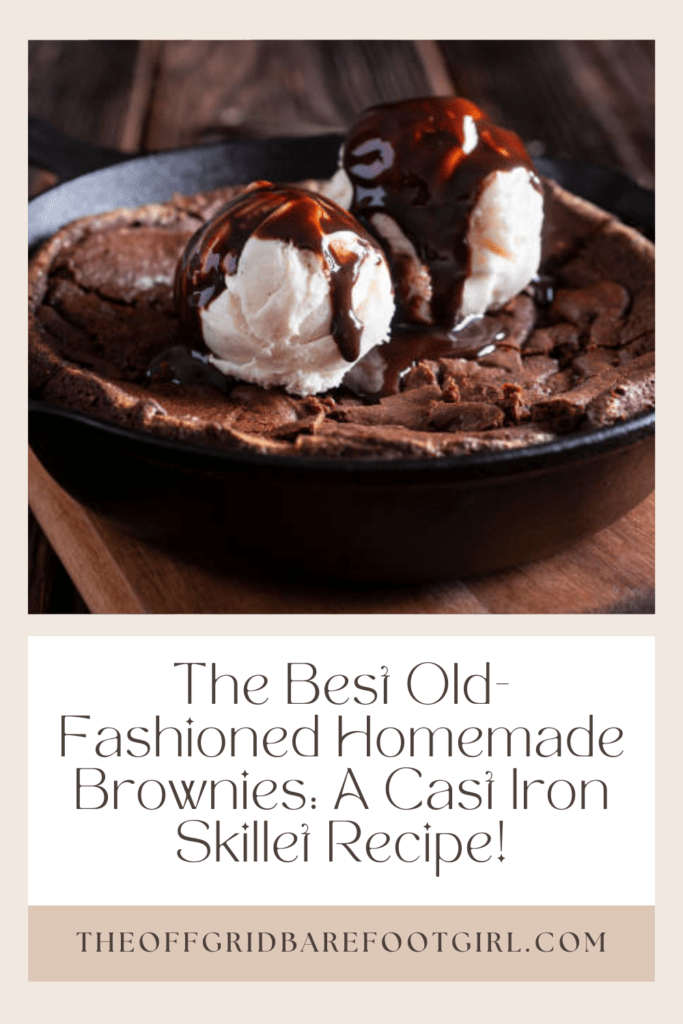
This is a pinnable post. Tap or hover over any image in this post to pin to your Pinterest Boards.
Introduction: Exploring the Nostalgia and Taste of Old-Fashioned Homemade Brownies
Who can resist the allure of a warm, fudgy brownie straight out of the oven? There’s just something about that rich chocolatey goodness that brings back memories of childhood and simpler times. While there are countless brownie recipes out there, nothing quite beats the old-fashioned homemade variety. In this article, I’ll take a trip down memory lane with you as we explore the secrets to making the best old-fashioned brownies in a trusty cast iron skillet. Get ready to indulge in a slice of nostalgia and a whole lot of chocolatey deliciousness!
Choosing the Right Ingredients: Quality Ingredients for the Perfect Brownie
When it comes to baking, using the best ingredients can make all the difference. Here are a few key components that will elevate your old-fashioned brownies to new heights:
Selecting the Best Chocolate
The star of any brownie recipe is undoubtedly the chocolate. Opt for high-quality unsweetened cocoa powder for a more intense and complex flavor. Avoid using chocolate chips, as they contain added stabilizers that may affect the texture of your brownies.
The Importance of Fresh Eggs
Fresh eggs are crucial for achieving that classic fudgy texture in your brownies. When buying eggs, check the expiration date and choose ones with a bright, uncracked shell. Room temperature eggs are also easier to incorporate into the batter, so remember to take them out of the fridge ahead of time.
Using High-Quality Butter
Butter adds richness and flavor to your brownies, so it’s worth splurging on a high-quality option. Look for butter made from whole cream, as it has a higher fat content and will result in a more tender and moist brownie. I use salted butter in this recipe, but if yours is unsalted, go ahead and just add 1 tsp of salt to the recipe.
The Role of Flour and Cocoa Powder
For that perfect balance between fudgy and cakey, a combination of all-purpose flour and unsweetened cocoa powder works best. Sift the flour and cocoa powder together to ensure a smooth and luscious batter.
Preparing Your Cast Iron Skillet: Tips for Seasoning and Preparing the Skillet
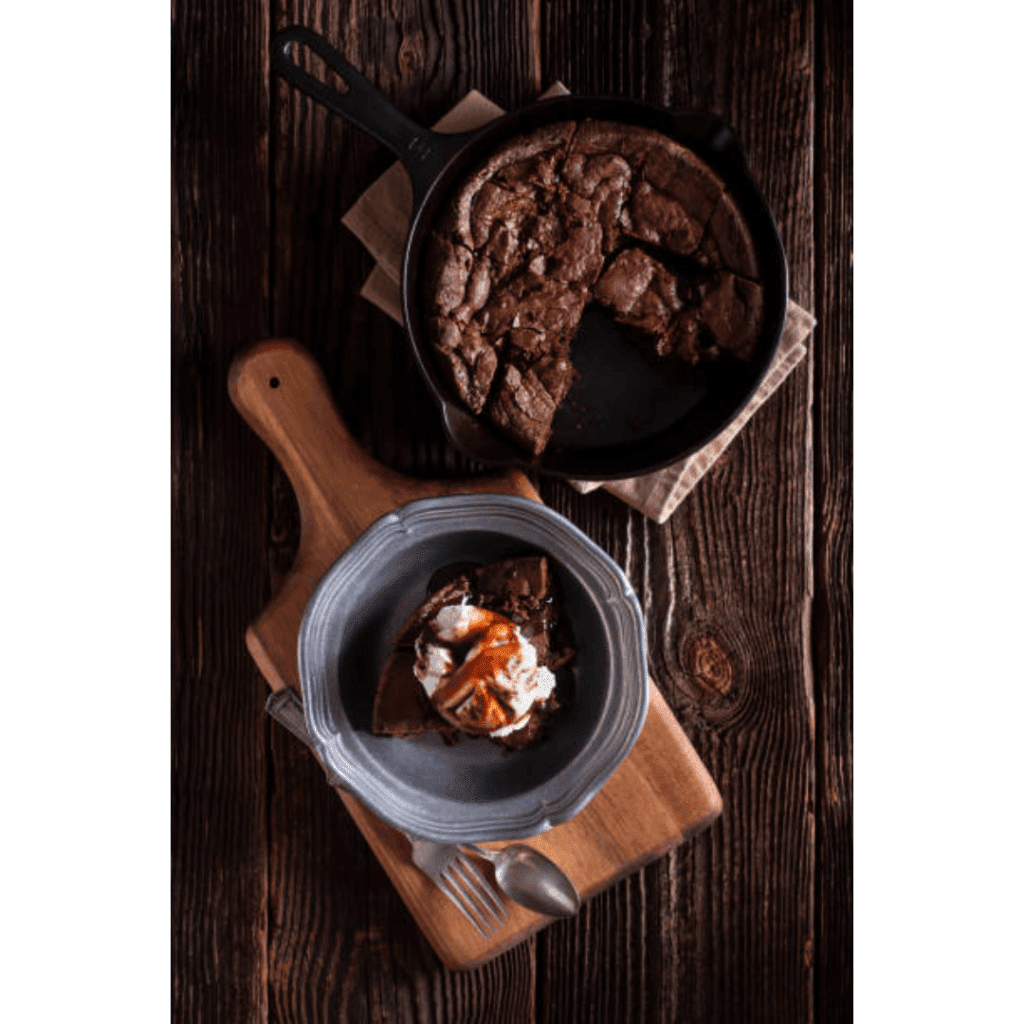
Using a cast iron skillet adds a depth of flavor and a rustic charm to your brownies. Here’s how to get your skillet ready for baking:
Cleaning and Seasoning Your Skillet: Homemade Brownies
Start by washing your cast iron skillet with hot water and mild dish soap. Scrub away any food residue and dry it thoroughly. To season the skillet, apply a thin layer of oil (vegetable or canola) to the entire surface, including the handle. Place the skillet in a preheated oven at 375°F (190°C) for about an hour. This process creates a natural non-stick surface and helps prevent your brownies from sticking.
Ensuring Proper Heat Distribution
Cast iron skillets retain heat well, but they can also develop hot spots. To ensure even baking, place a baking sheet on the rack below your skillet to help distribute the heat more evenly. This will prevent the edges of your brownies from getting too dark while the center remains undercooked.
The Recipe: Step-by-Step Instructions for Making Old-Fashioned Brownies In a Cast Iron Skillet
Now that we have our top-quality ingredients and a seasoned cast iron skillet, it’s time to dive into the recipe itself. Put on your apron and let’s get baking!
Gathering the Ingredients
Here’s what you’ll need for the perfect old-fashioned brownies:
- 1/2 cup unsweetened cocoa powder.
- 2 cups all-purpose flour.
- 2 cups granulated sugar.
- 4 large eggs.
- 4 tsp vanilla extract.
- 1 cup salted melted butter.
Here is what you’ll need for the perfect chocolate frosting:
- 1/4 cup whole milk.
- 1/4 cup salted butter, softened.
- 1/4 cup unsweetened cocoa powder.
- 3 cups powdered sugar.
Mixing the Batter
- Sift together the cocoa powder and flour.
- Add sugar, eggs, vanilla extract, and melted butter and mix until well combined.
Preparing the Skillet and Baking: Homemade Brownies
- Preheat your oven to 350°F (175°C).
- Grease your seasoned cast iron skillet with a little butter or cooking spray.
- Pour the brownie batter into the skillet, spreading it evenly.
- Bake for 25-30 minutes, or until a toothpick inserted into the center comes out with a few moist crumbs.
- Allow the brownies to cool in the skillet for about 10 minutes before cutting into squares and serving. Enjoy!
Making the Chocolate Frosting
- Mix together the milk, butter, cocoa powder, and powdered sugar until smooth.
- Spread the frosting over the warm brownies.
- Allow the brownies to cool completely and the frosting to set before serving.
- Enjoy!
Baking and Serving Tips: Techniques for Achieving the Ideal Texture and Presentation
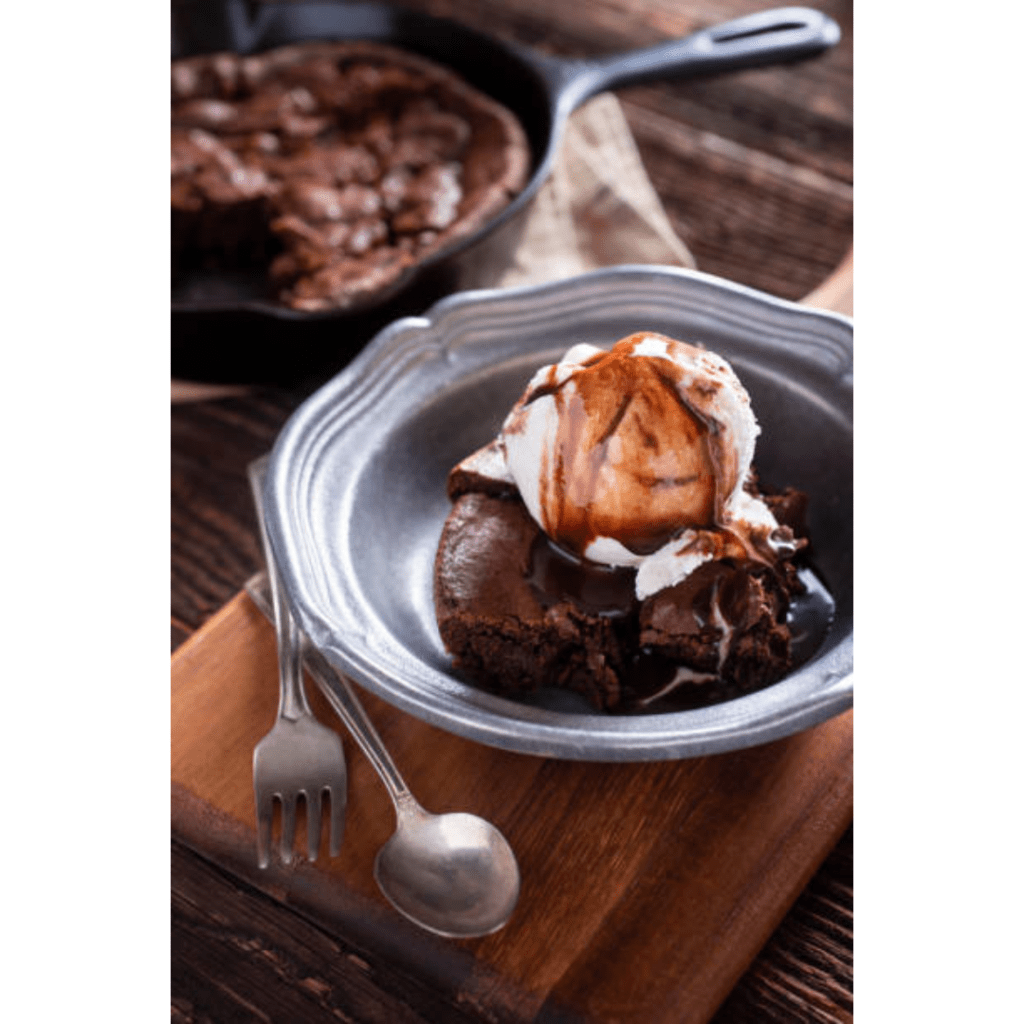
Testing for Doneness: Homemade Brownies
Are you ready to take your brownie-baking skills to the next level? Then it’s time to master the art of testing for doneness. While the toothpick method is a classic, I believe in a more indulgent approach. Grab a fork and gently poke the center of your brownies. You want it to come out with a few moist crumbs clinging to it, not completely clean. This ensures that your brownies are fudgy and gooey rather than dry and overcooked. Trust me, it’s a game-changer!
Cooling and Cutting the Brownies
Once your brownies are out of the oven, resist the temptation to dive into them immediately. They need some time to cool and set. Place the skillet on a wire rack and let it hang out for at least 30 minutes. This allows the flavors to meld together and the brownies to firm up. Just sit back and admire them for a moment while they are cooling and do your best to resist the temptation to sneak a bite!
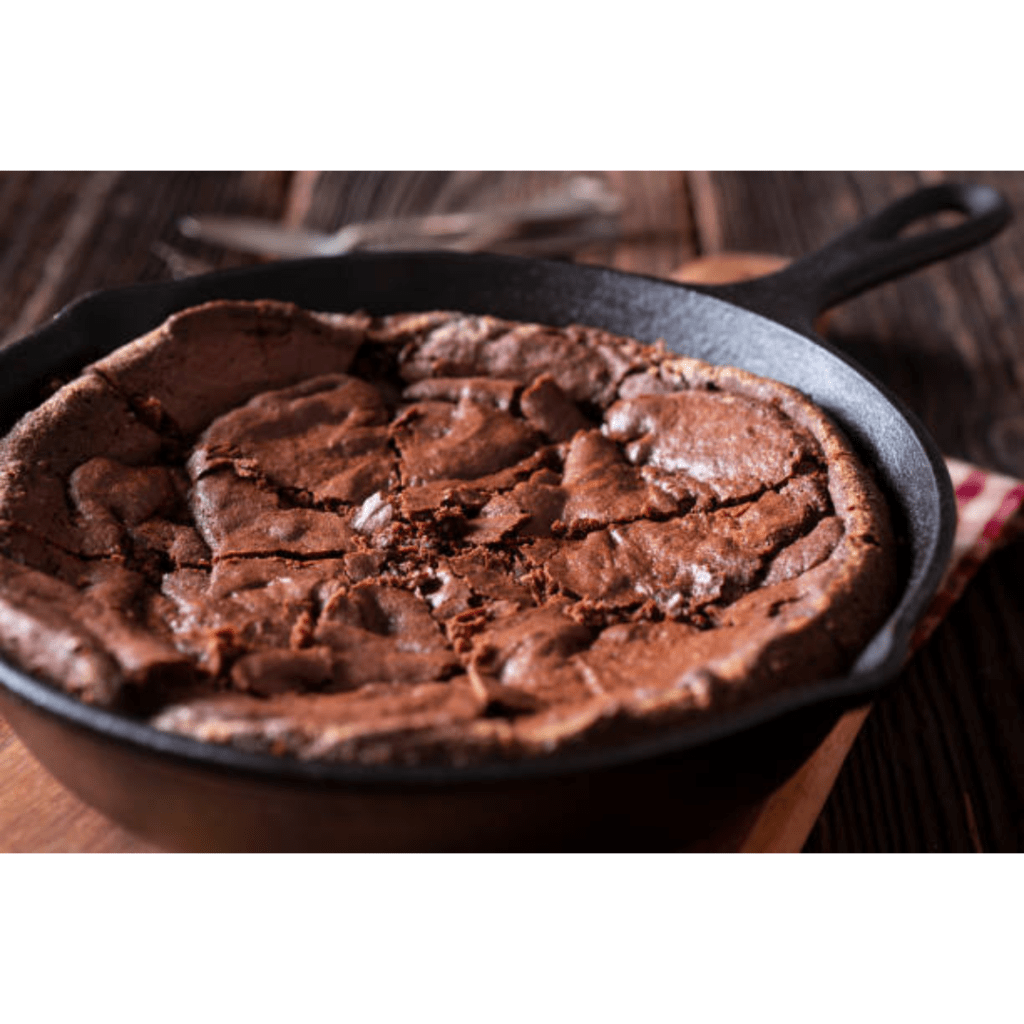
When it comes to cutting your brownies, grab a sharp knife and wipe it clean between each slice. This prevents messy edges and ensures clean, picture-perfect slices. Of course, if you prefer rustic, uneven pieces, go ahead and embrace the charm of imperfection!
Presentation Ideas and Garnishes: Homemade Brownies
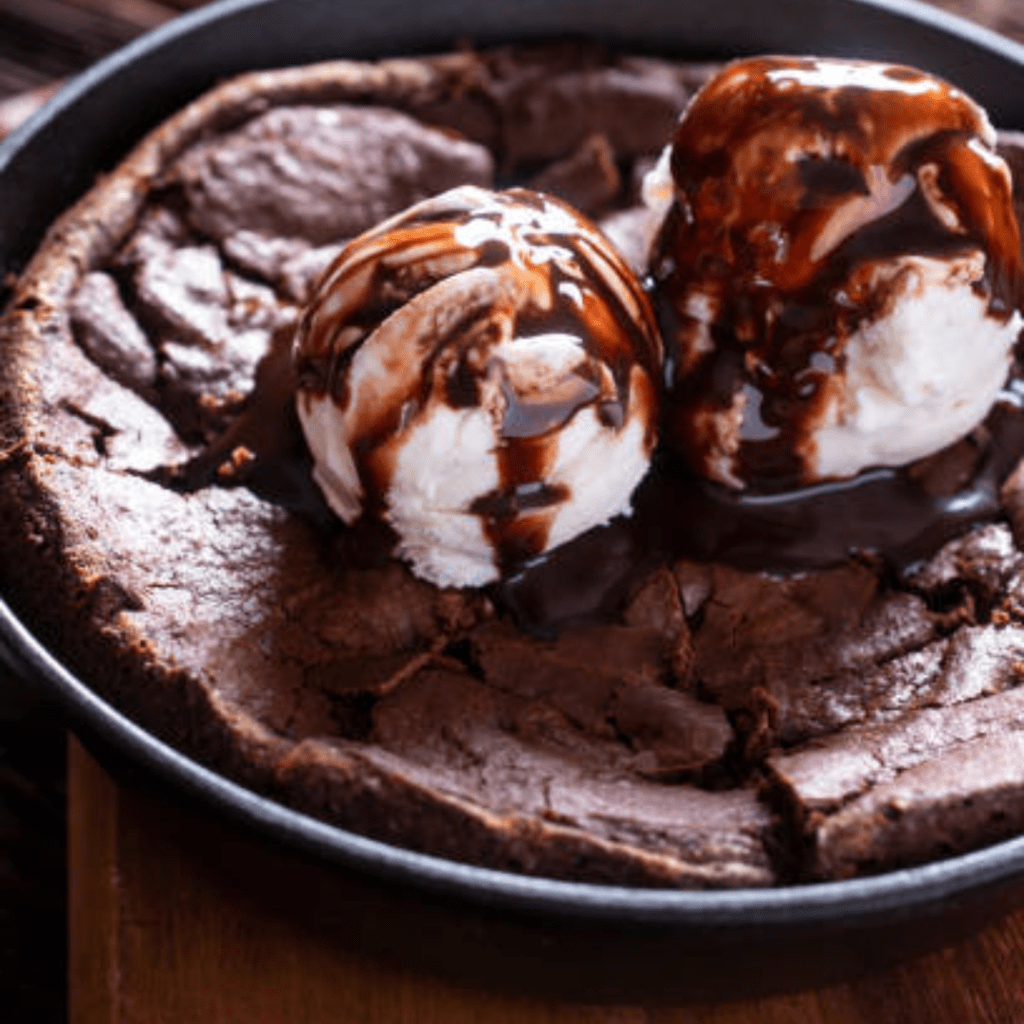
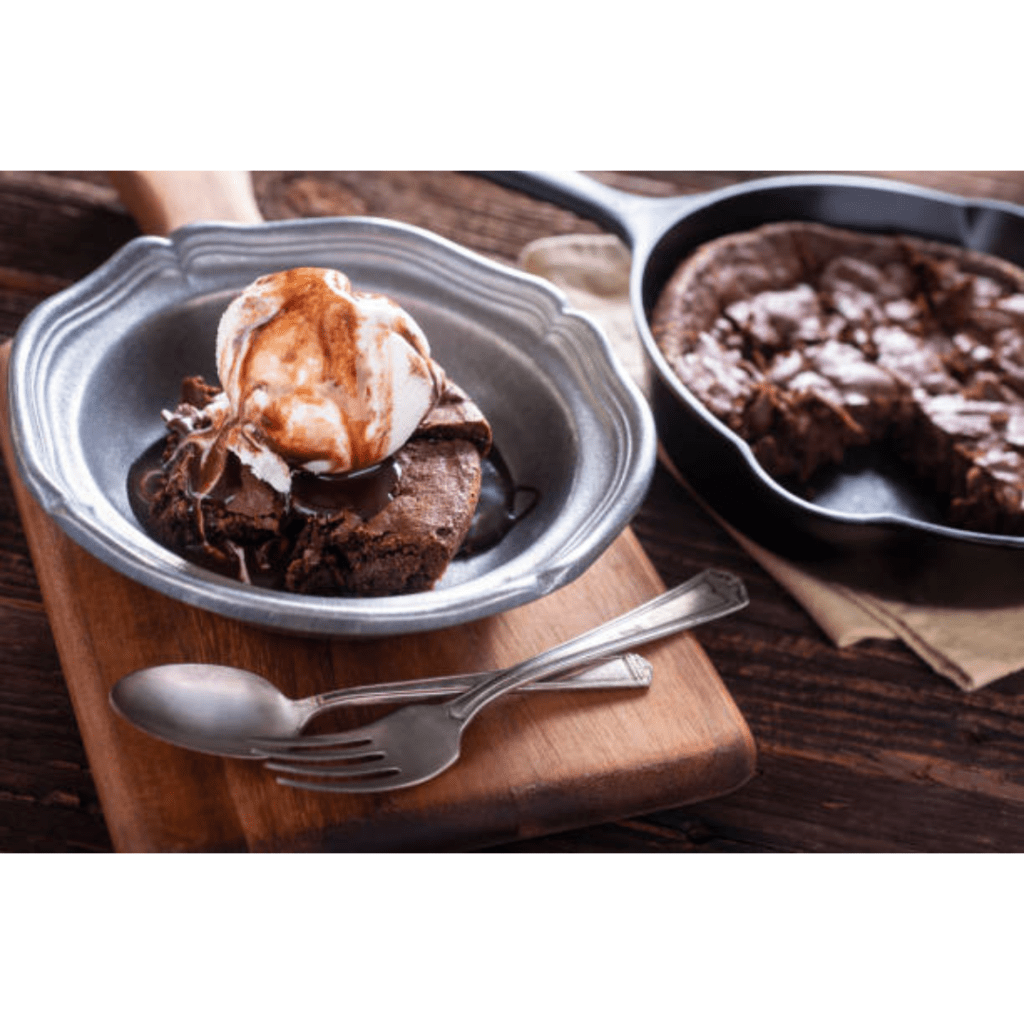
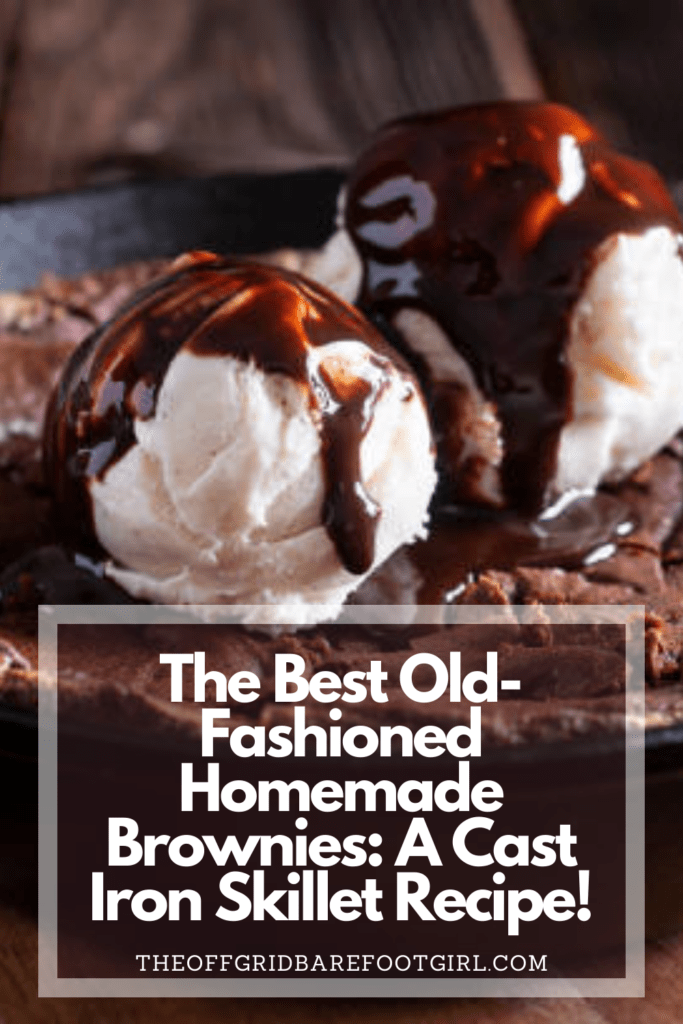
Who says brownies have to be plain and boring? Elevate your presentation game by adding a little flair. Dust your brownies with a sprinkle of powdered sugar for a touch of elegance. Drizzle them with melted chocolate or caramel sauce for extra decadence. And if you’re feeling adventurous, top them with a scoop of vanilla ice cream or a dollop of whipped cream. The possibilities are endless, so get creative and have fun!
Variations and Additions: Creative Twists and Ingredients to Elevate Your Brownie Game: Homemade Brownies
Adding Nuts or Chopped Chocolate
If you’re a fan of a little crunch in your brownies, try adding some chopped nuts. Walnuts, pecans, or almonds all work beautifully in this recipe. They add a delightful texture contrast to the fudgy goodness. For the chocolate lovers out there, toss in some chopped chocolate or chocolate chips for extra melty pockets of indulgence.
Experimenting with Different Flavors
Why stick to plain old chocolate when you can explore a world of flavors? Give your brownies a twist by incorporating different extracts like peppermint or almond. You can also add a pinch of espresso powder for a hint of coffee flavor. Feeling bold? How about stirring in some peanut butter swirls or a handful of dried cherries? This is your chance to let your imagination run wild and create a brownie that truly reflects your taste preferences.
Storage and Shelf Life: Proper Storage Methods for Enjoying Your Brownies Over Time
Storing in an Airtight Container: Homemade Brownies
Since you mastered the art of baking the perfect brownie, it’s crucial to keep them fresh for as long as possible. Once completely cooled, transfer your brownies to an airtight container. This will help retain their moisture and prevent them from drying out. For an extra layer of protection, you can even separate the layers with parchment paper to keep them from sticking together.
Freezing for Extended Shelf Life: Homemade Brownies
If you find yourself with an abundance of brownies or simply want to make them ahead of time, freezing is the way to go. Wrap individual portions tightly in plastic wrap and place them in a resealable freezer bag. When you’re ready for a sweet treat, simply thaw them at room temperature or pop them in the microwave for a warm, gooey delight. Brownies can be frozen for up to three months, but let’s be real, they probably won’t last that long!
Conclusion: Embracing the Classic Appeal of Homemade Brownies In a Cast Iron Skillet
Congratulations, you’re now armed with the knowledge and techniques to create the best homemade brownies ever! The cast iron skillet adds a unique touch to this classic treat, giving it that perfect crispy edge while keeping the center irresistibly fudgy.
In a world of trendy desserts and complex recipes, there’s something special about going back to basics and savoring the simplicity of old-fashioned homemade brownies. By using a cast iron skillet, we can elevate these beloved treats to a whole new level. As you take your last bite of the decadent, fudgy goodness, let the nostalgia and satisfaction wash over you. Whether enjoyed with a glass of milk or a scoop of vanilla ice cream, these brownies are a testament to the timeless joy of homemade baking. So gather your ingredients and warm up your skillet, because a batch of the best old-fashioned brownies is just waiting to be made and shared with your loved ones!
So gather your ingredients, preheat that oven, and let the delicious aroma of freshly baked brownies fill your kitchen. Whether you enjoy them straight out of the skillet or dress them up with fancy garnishes, one thing is for sure – these old-fashioned brownies are bound to bring joy and satisfaction to everyone lucky enough to devour them. Happy baking, and don’t forget to save a few for yourself!
Resources: Here are some helpful resources for further information.
- Best Ever Chewy Brownies Recipes – By Handle the Heat
- Easy Fudgy Brownies Recipe – By Inspired Taste
- Best Brownie Recipe Ever – By The Stay at Home Chef
Frequently Asked Questions
1. Can I use a different type of baking pan instead of a cast iron skillet?
While a cast iron skillet adds a unique flavor and texture to the brownies, you can certainly use a different type of baking pan if you don’t have one. Opt for a similar-sized oven-safe pan, such as a square or rectangular baking dish, to ensure even baking and desired results.
2. Can I make substitutions or adjustments to the recipe?
Absolutely! Baking is a creative process, and you can certainly experiment with different variations and additions to customize your brownies. Feel free to incorporate nuts, chunks of chocolate, or even a sprinkle of sea salt on top to enhance the flavors. However, please note that major substitutions in the main ingredients may affect the texture and taste of the final product.
3. How should I properly store the leftover brownies?
To keep your brownies fresh and moist, store them in an airtight container at room temperature. They can last for up to 3-4 days this way. If you need to store them for longer, you can also place them in the refrigerator for about a week or freeze them for up to three months. Just make sure to wrap them tightly in plastic wrap or place them in a freezer-safe container.
Homemade Brownies Recipe
Homemade Brownies Recipe
Equipment
- 2 mixing bowls. One for the batter and one for the frosting.
- 1 cast iron skillet. I used a 12-inch skillet for this recipe.
Ingredients
For the Batter
- ½ cup unsweetened cocoa powder.
- 2 cups all-purpose flour.
- 2 cups granulated sugar.
- 4 large eggs.
- 4 tsp vanilla extract.
- 1 cup salted melted butter.
For the Chocolate Frosting
- ¼ cup whole milk.
- ¼ cup salted butter, softened.
- ¼ cup unsweetened cocoa powder.
- 3 cups powdered sugar.
Instructions
Mixing the Batter
- Sift together the cocoa powder and flour.
- Add sugar, eggs, vanilla extract, and melted butter and mix until well combined.
Preparing the Skillet and Baking
- Preheat your oven to 350°F (175°C).
- Grease your seasoned cast iron skillet with a little butter or cooking spray.
- Pour the brownie batter into the skillet, spreading it evenly.
- Bake for 25-30 minutes, or until a toothpick inserted into the center comes out with a few moist crumbs.
- Allow the brownies to cool in the skillet for about 10 minutes before cutting into squares and serving. Enjoy!
Making the Chocolate Frosting
- Mix together the milk, butter, cocoa powder, and powdered sugar until smooth.
- Spread the frosting over the warm brownies.
- Allow the brownies to cool completely and the frosting to set before serving.
- Enjoy!
Summary
I hope I have inspired you to make homemade brownies to enjoy and share with your friends and family.
If you were encouraged by this post, I invite you to check out my FREE Printables Page for fun free printables, planners, and charts.
ENTER MY FREE Printables Page HERE
Here are some more of my cast iron cooking inspiration posts to check out!
How to Make Dutch Oven Lasagna
How to Make Black Bean Burgers from the Garden!
Blessings,
The Off Grid Barefoot Girl

