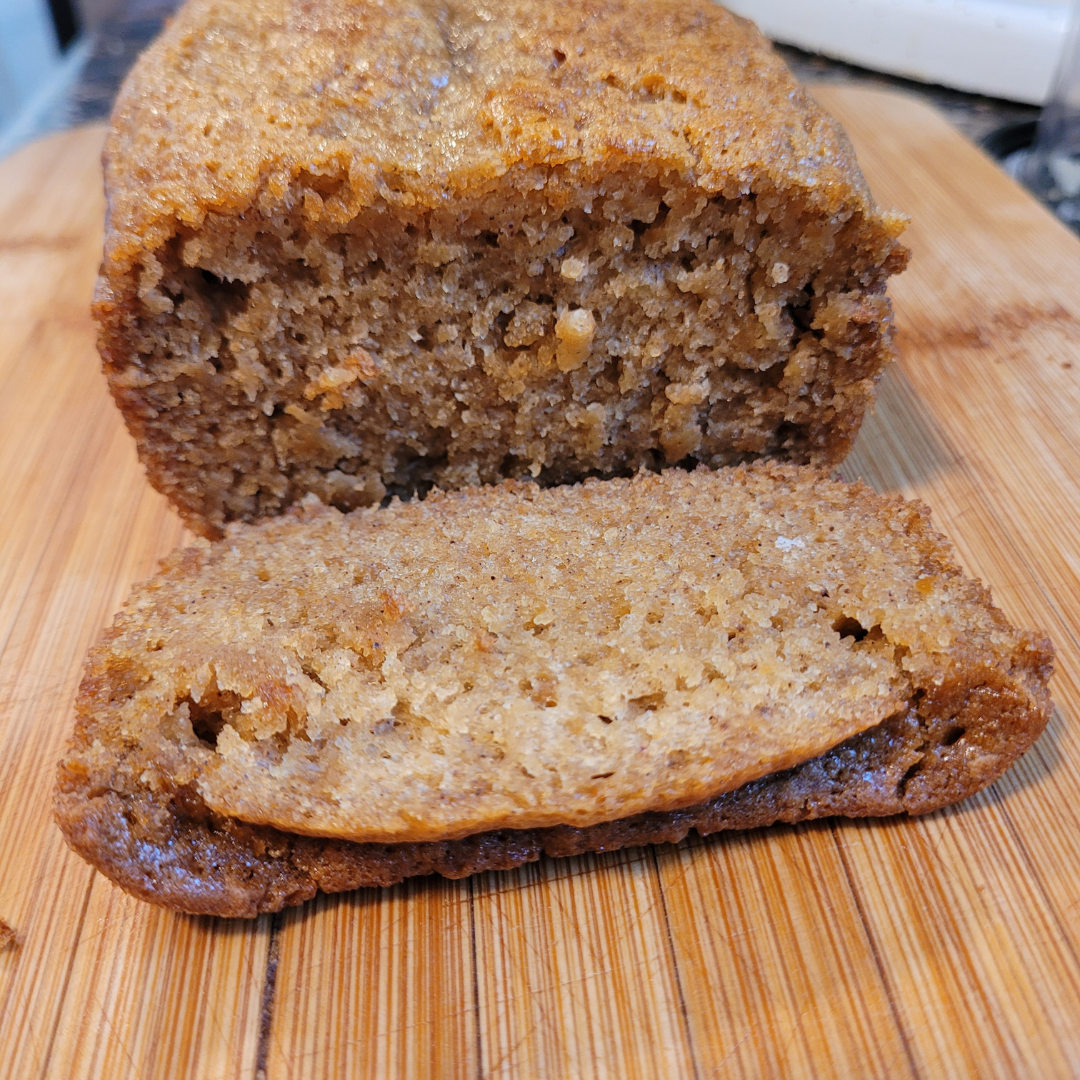
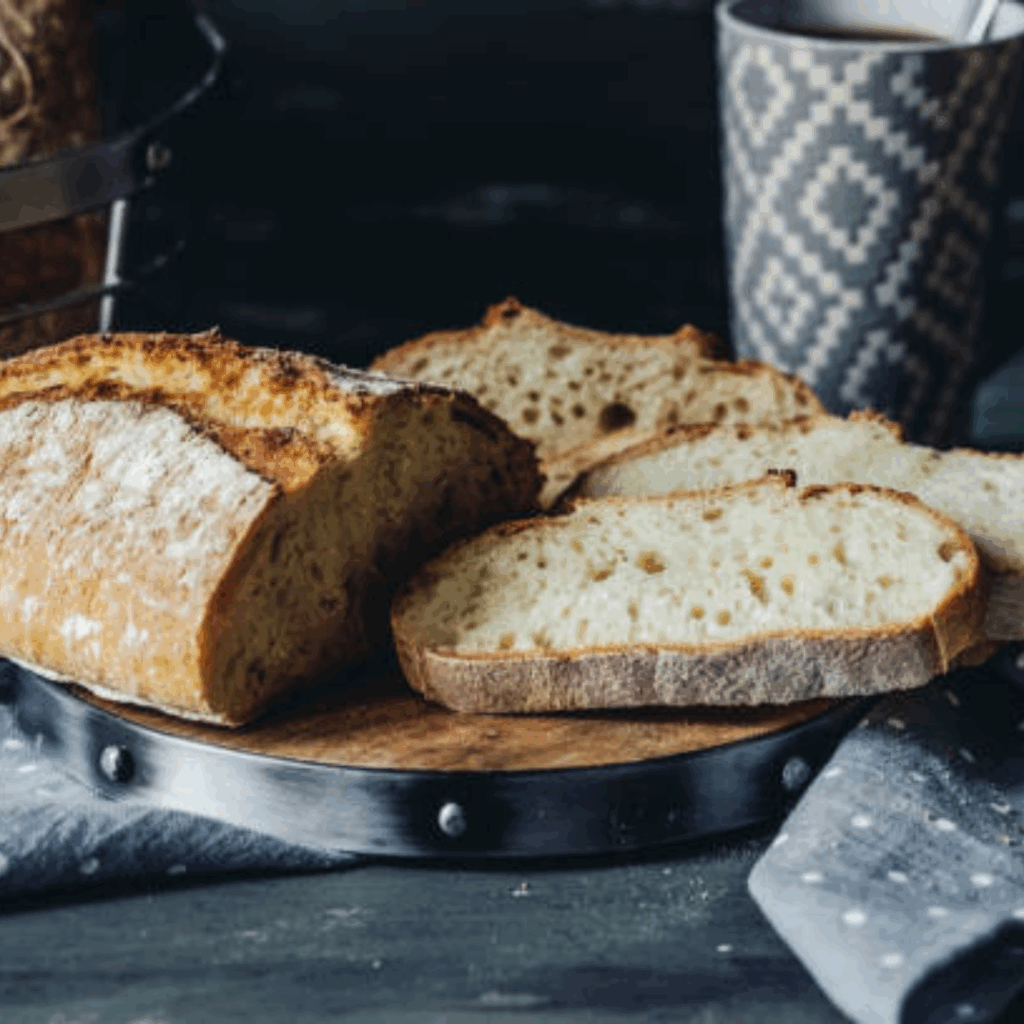
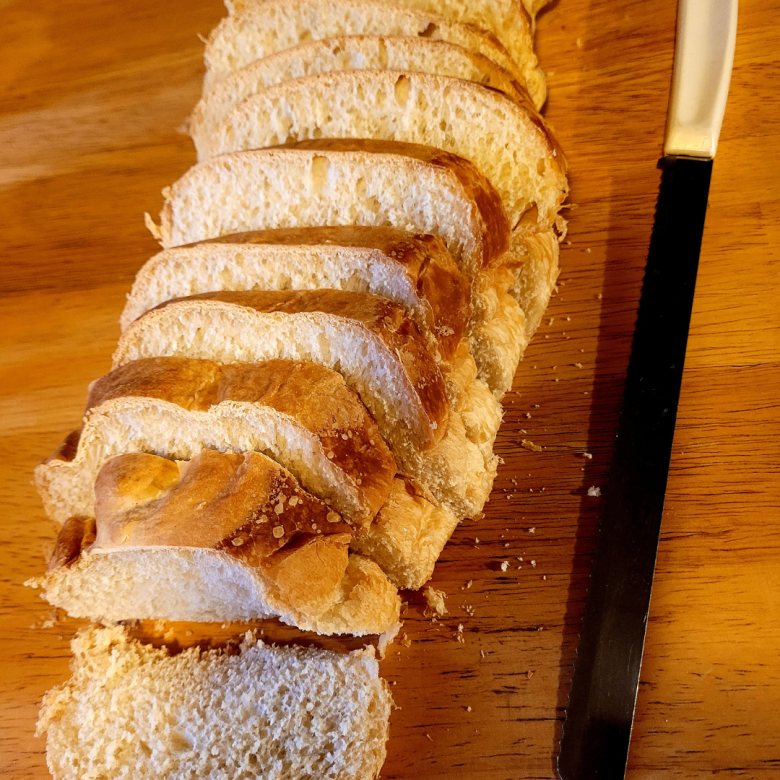
Learn how to make sweet potato bread that’s moist, flavorful, and perfect for fall! This easy homemade recipe uses mashed sweet potatoes, warm spices like cinnamon and nutmeg, and simple pantry ingredients to create a comforting loaf that’s great for breakfast, snacks, or holiday gatherings. Whether you’re using fresh or canned sweet potatoes, this bread bakes up beautifully every time.
There’s something incredibly satisfying about baking bread from scratch, isn’t there? The aroma of freshly baked loaves wafts through the kitchen, and the feeling of accomplishment as you pull a golden-brown masterpiece from the oven. Now, imagine taking that experience to the next level with the addition of sweet potatoes – a humble root vegetable that adds incredible moisture, natural sweetness, and a vibrant orange hue to your homemade bread.
If you’re a bread-baking enthusiast like me or simply someone who appreciates the comforting flavors of fall, this sweet potato bread recipe is sure to become a new favorite. Not only is it delicious, but it’s also an excellent way to incorporate nutrient-rich sweet potatoes into your diet. And let’s be honest, who doesn’t love the idea of indulging in bread that’s both tasty and packed with vitamins?
In this step-by-step guide, I’ll walk you through the entire process of making sweet potato bread from scratch. From gathering the ingredients and preparing the sweet potatoes to baking the dough, I’ll cover every detail to ensure your loaves turn out perfectly. You’ll learn tips and tricks for achieving that coveted soft, moist interior, as well as ideas for serving and enjoying your homemade sweet potato bread. So, tie on your apron, and let’s get baking!
This is a pinnable post. Tap or hover over any image in this post to pin to your Pinterest Boards.
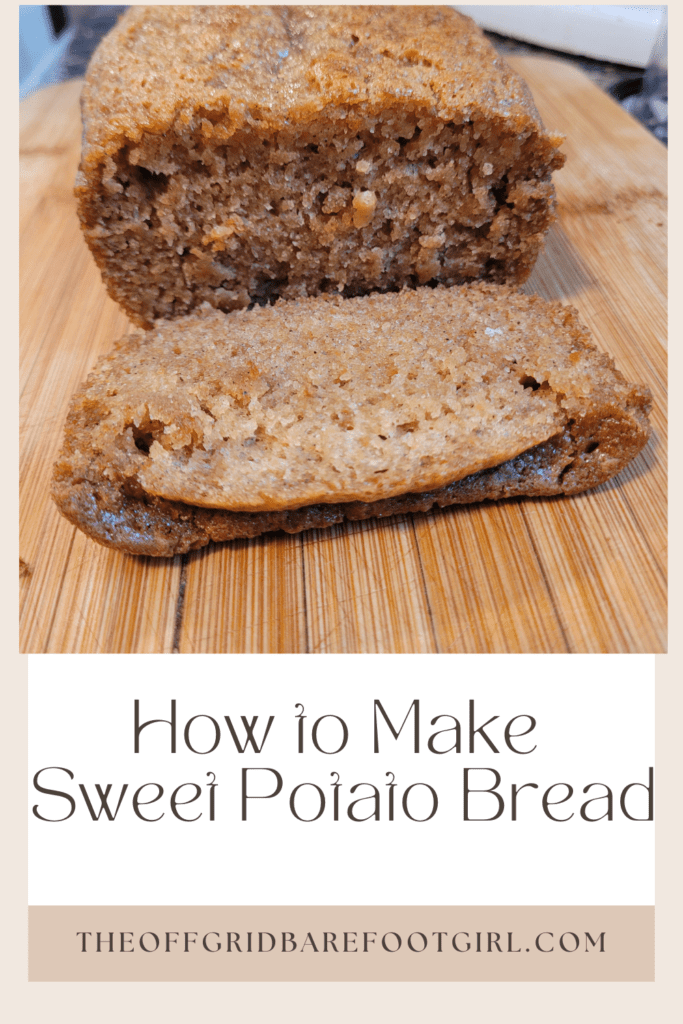
Gather the Ingredients

Before you begin baking, it’s essential to have all the necessary ingredients and tools ready. Here’s what you’ll need to gather:
Essential Sweet Potato Bread Ingredients
- Sweet potatoes (peeled and mashed).
- All-purpose flour.
- Granulated sugar.
- Baking powder.
- Baking soda.
- Salt.
- Eggs.
- Vegetable oil.
- Cinnamon.
- Nutmeg.
- Water.
- Chopped pecans or walnuts.
These are the core ingredients that form the base of your sweet potato bread. Ensure you have the right quantities on hand as specified in the recipe below.
Optional Add-Ins and Toppings
To add extra flavor and texture to your bread, consider incorporating some of these optional ingredients:
- Dried fruits (raisins, cranberries, or apricots).
- Chocolate chips or chunks.
- Streusel topping (a mixture of flour, sugar, and butter).
These add-ins can take your sweet potato bread to the next level, so feel free to experiment with your favorite combinations.
Kitchen Tools Needed
In addition to the ingredients, you’ll need a few basic kitchen tools:
- Mixing bowls.
- Whisk or hand mixer.
- Spatula or wooden spoon.
- Loaf pan (greased and lined with parchment paper).
- Oven mitts.
- Wire cooling rack.
Having the right tools on hand will make the baking process smoother and more efficient.
Now that you’ve gathered all the necessary ingredients and tools, you’re ready to start making your sweet potato bread! Follow the recipe instructions carefully, and soon you’ll be rewarded with a deliciously moist and flavorful loaf that’s perfect for any occasion.
Prepare the Sweet Potatoes
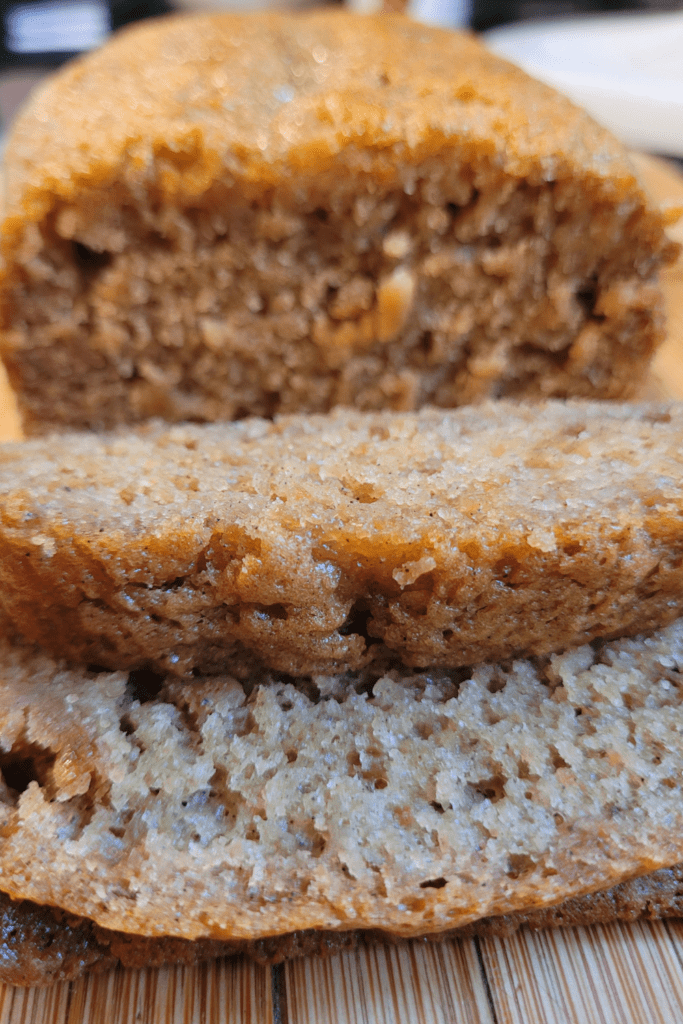
Sweet potatoes form the base of delicious sweet potato bread, so it’s essential to prepare them correctly. Here’s how to ensure your sweet potatoes are ready for baking into a moist and flavorful loaf.
Baking vs. Boiling Sweet Potatoes
Baking is the preferred method for preparing sweet potatoes for bread. The dry heat concentrates their natural sugars, resulting in a richer flavor and smoother texture. Boiling can make the potatoes waterlogged, leading to a dense, gummy bread.
Mashing or Pureeing Sweet Potatoes
Once baked, you can either mash or puree the sweet potatoes. Mashing leaves more texture, while pureeing creates a silkier consistency. The choice is up to your preference, but be sure to mash or puree thoroughly to avoid lumps in the batter.
Adjusting Moisture Content
Sweet potatoes can vary in moisture content, which can affect the bread’s texture. If your puree seems dry, add a splash of milk or orange juice to moisten it. Conversely, if it’s too wet, you may need to reduce the liquid in the recipe slightly. Aim for a thick, yet spreadable consistency.
No matter which method you choose, taking the time to properly prepare the sweet potatoes will ensure a delectable sweet potato bread with the perfect texture and flavor. Just remember to taste and adjust as needed for the best results every time.
Make the Bread Batter
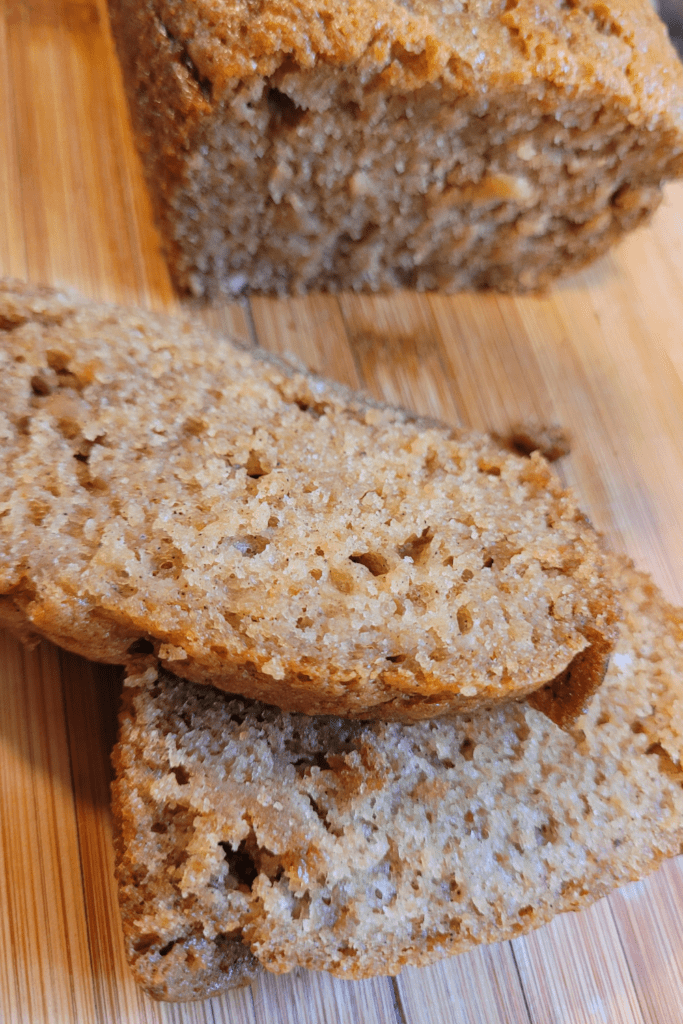
Making the batter is a crucial step in the process of baking sweet potato bread. Let’s discuss the details of this stage.
Mixing Dry Ingredients
Start by combining the dry ingredients in a large bowl. Whisk these ingredients together until they are well-mixed and evenly distributed.
Incorporating Wet Ingredients
Next, prepare the wet ingredients in a separate bowl. Once the wet ingredients are combined, gently fold them into the dry ingredients using a spatula or wooden spoon.
Be careful not to overmix the batter at this stage, as this can lead to tough and dense bread.
Once the batter is prepared, you’re ready to pour it into a loaf pan. Now is the time to add the streusel topping to the top of the batter before placing it into the oven if you want a streusel topping.
Bake the Sweet Potato Bread
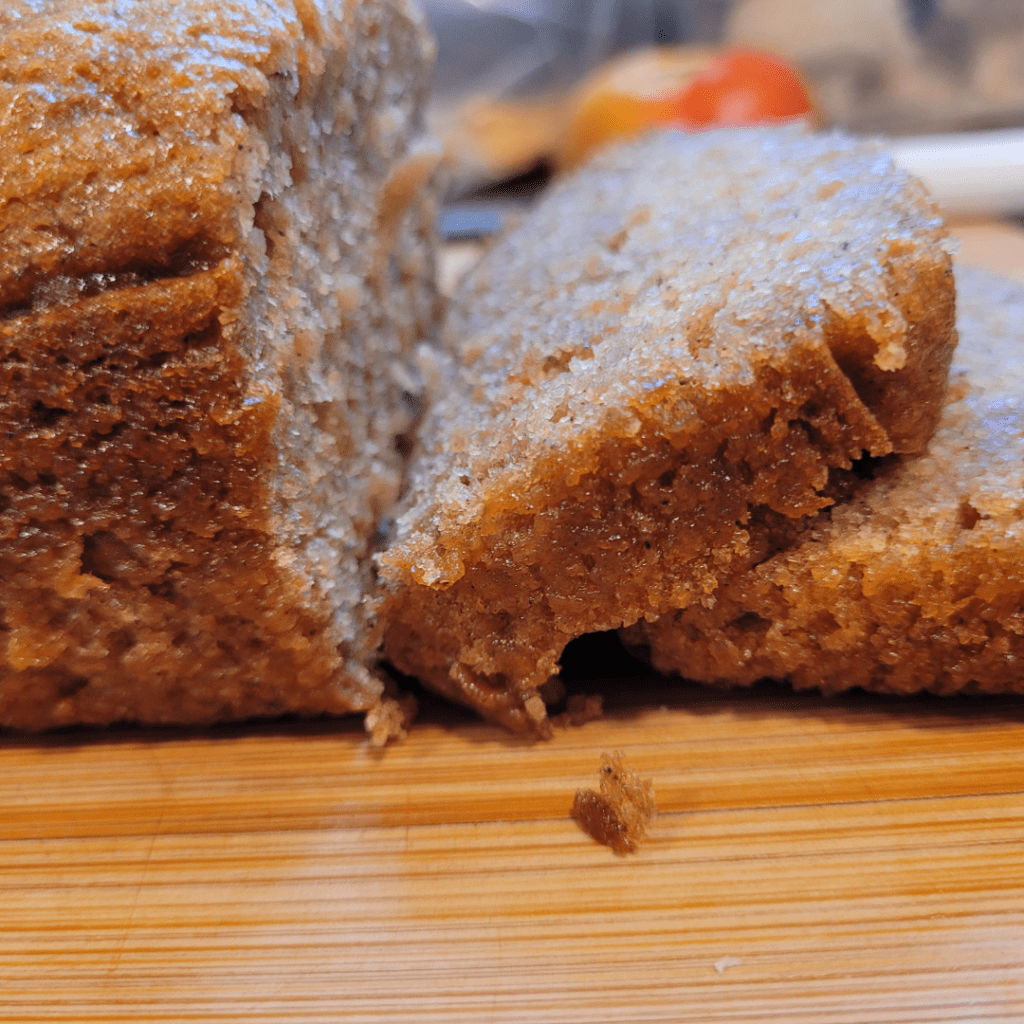
After preparing the batter, it’s time to bake your sweet potato bread to perfection. Here are the essential steps to ensure a delightful outcome.
Preheating the Oven
Preheating the oven is crucial for achieving the desired texture and rise in your bread. Set your oven to 350°F (175°C), and allow it to reach that temperature before baking. This step ensures that the bread bakes evenly from the moment it goes into the oven. It will bake for approximately 1 hour.
Testing for Doneness
To ensure your sweet potato bread is fully baked, you’ll need to perform a doneness test. Here are a few methods:
- Toothpick or Cake Tester: Insert a toothpick or cake tester into the center of the loaf. If it comes out clean or with a few crumbs attached, the bread is done.
- Internal Temperature: Use an instant-read thermometer and insert it into the center of the loaf. The internal temperature should reach 200°F (93°C) for a perfectly baked sweet potato bread.
- Visual Cues: Look for a golden-brown crust and a slightly domed top. The bread should also sound hollow when tapped gently on the bottom.
Remember, every oven is different, so it’s essential to keep an eye on your bread as it bakes. If the top starts to brown too quickly, you can tent it with foil to prevent over-browning.
Once your sweet potato bread has passed the doneness test, remove it from the oven and let it cool on a wire rack for at least 10-15 minutes before slicing and serving. Enjoy the warm, comforting aroma and the delightful flavor of your homemade sweet potato bread!
Finishing Touches

Once your sweet potato bread has finished baking and cooled, it’s time to add the finishing touches. These final steps can elevate the taste and presentation of your homemade loaf.
Glazing or Topping Options
For a sweet glaze, you can mix together powdered sugar and a splash of milk or orange juice. Drizzle the glaze over the top of the bread while it’s still slightly warm, allowing it to soak in and create a delightful sugary crust. Alternatively, you could sprinkle the top with a streusel topping made from flour, butter, brown sugar, and spices like cinnamon or nutmeg. However, the streusel topping should be added before the baking process.
Slicing and Serving Suggestions
When slicing your sweet potato bread, use a serrated knife for clean cuts. Serve the slices warm or at room temperature, with a pat of butter or cream cheese spread on top. For an extra touch of sweetness, you can drizzle some honey or maple syrup over the slices.
This bread also pairs beautifully with a warm cup of coffee or tea, making it a perfect treat for breakfast or an afternoon snack.
Storing Sweet Potato Bread
If you have any leftovers, store your sweet potato bread in an airtight container and place it in the fridge. It should keep well for up to 4-5 days. You can also freeze the bread by wrapping it tightly in plastic wrap or aluminum foil and then placing it in a freezer-safe bag or container. Frozen sweet potato bread will stay fresh for up to 3 months.
To enjoy frozen slices, simply thaw them at room temperature or pop them in the microwave for a quick defrost. You can also toast or gently reheat the slices to bring back their fresh-baked flavor and texture.
Conclusion
With the right ingredients and a little patience, you can bake up a delicious loaf of sweet potato bread that’s perfect for breakfast, snacking, or even dessert. By following the steps covered – gathering the ingredients, preparing the sweet potatoes, making the batter, baking, and adding those final touches – you’ll be rewarded with a moist, flavorful bread that’s sure to impress.
But don’t just take my word for it – give this recipe a try and experience the joy of homemade bread for yourself. And if you have any tips or variations that worked well for you, be sure to share them in the comments below. The world of bread-making is vast, and there’s always more to learn and explore.
So what are you waiting for? Tie on that apron, preheat that oven, and get ready to fill your home with the irresistible aroma of freshly baked sweet potato bread. You’ve got this, and the results will be worth every step!
Resources: Here are some helpful resources for further information.
- Southern Sweet Potato Bread Recipe – By Betty Crocker
- Vegan and Gluten Free Sweet Potato Bread – By From My Bowl
- Soft Sweet Potato Bread with Honey – By The Wimpy Vegetarian

Frequently Asked Questions
1. Do I need to cook the sweet potatoes before adding them to the bread batter?
Yes, you need to cook the sweet potatoes first. Boil, steam, or bake them until tender, then mash or puree them before incorporating them into the bread batter.
2. Can I use canned sweet potatoes instead of fresh ones?
Yes, you can use canned sweet potatoes. Just make sure to drain and mash them well before adding them to the batter.
3. How should I store sweet potato bread?
Store the bread in an airtight container in the fridge for up to three days. For longer storage, wrap it tightly and freeze it for up to three months.
4. Can I add nuts or raisins to the sweet potato bread?
Absolutely! Adding nuts, such as pecans or walnuts, and raisins can enhance the flavor and texture of the bread. Fold them into the batter before baking.
Sweet Potato Bread
Equipment
- 2 mixing bowls.
- 1 whisk or hand mixer.
- 1 spatula.
- 1 loaf pan
Ingredients
Dry Ingredients
- 1 ¾ cups all-purpose flour.
- 1 ½ cups sugar.
- ½ tsp baking powder.
- 1 tsp baking soda.
- ½ tsp cinnamon.
- ½ tsp nutmeg.
- ¼ tsp salt.
- ½ cups chopped pecans or walnuts.
Wet Ingredients
- ½ cup vegetable oil.
- 2 large eggs.
- ⅓ cup water.
- 1 cup cooked and mashed sweet potatoes.
Instructions
Prepare the Sweet Potatoes
- Baking vs. Boiling Sweet Potatoes
- Baking is the preferred method for preparing sweet potatoes for bread. The dry heat concentrates their natural sugars, resulting in a richer flavor and smoother texture. Boiling can make the potatoes waterlogged, leading to a dense, gummy bread.
- Mashing or Pureeing Sweet Potatoes
- Once baked, you can either mash or puree the sweet potatoes. Mashing leaves more texture, while pureeing creates a silkier consistency. The choice is up to your preference, but be sure to mash or puree thoroughly to avoid lumps in the batter.
Adjusting Moisture Content
- Sweet potatoes can vary in moisture content, which can affect the bread's texture. If your puree seems dry, add a splash of milk or orange juice to moisten it. Conversely, if it's too wet, you may need to reduce the liquid in the recipe slightly. Aim for a thick, yet spreadable consistency.
- No matter which method you choose, taking the time to properly prepare the sweet potatoes will ensure a delectable sweet potato bread with the perfect texture and flavor. Just remember to taste and adjust as needed for the best results every time.
Make the Bread Batter
- Mixing Dry Ingredients
- Start by combining the dry ingredients in a large bowl. Whisk these ingredients together until they are well-mixed and evenly distributed.
- Incorporating Wet Ingredients
- Next, prepare the wet ingredients in a separate bowl. Once the wet ingredients are combined, gently fold them into the dry ingredients using a spatula or wooden spoon.
- Be careful not to overmix the batter at this stage, as this can lead to tough and dense bread.
- Once the batter is prepared, you're ready to pour it into a loaf pan. Now is the time to add the streusel topping to the top of the batter before placing it into the oven if you want a streusel topping.
Bake the Sweet Potato Bread
- After preparing the batter, it's time to bake your sweet potato bread to perfection. Here are the essential steps to ensure a delightful outcome.
Testing for Doneness
- To ensure your sweet potato bread is fully baked, you'll need to perform a doneness test. Here are a few methods:
- Toothpick or Cake Tester: Insert a toothpick or cake tester into the center of the loaf. If it comes out clean or with a few crumbs attached, the bread is done.
- Internal Temperature: Use an instant-read thermometer and insert it into the center of the loaf. The internal temperature should reach 200°F (93°C) for a perfectly baked sweet potato bread.
- Visual Cues: Look for a golden-brown crust and a slightly domed top. The bread should also sound hollow when tapped gently on the bottom.
Finishing Touches
- Once your sweet potato bread has finished baking and cooled, it's time to add the finishing touches. These final steps can elevate the taste and presentation of your homemade loaf.
Glazing or Topping Options
- For a sweet glaze, you can mix together powdered sugar and a splash of milk or orange juice. Drizzle the glaze over the top of the bread while it's still slightly warm, allowing it to soak in and create a delightful sugary crust. Alternatively, you could sprinkle the top with a streusel topping made from flour, butter, brown sugar, and spices like cinnamon or nutmeg. However, the streusel topping should be added before the baking process.
Summary
I hope I have inspired you to bake your very own bread loaves to enjoy and share with your friends and family.
If you were encouraged by this post, I invite you to check out my FREE Printables Page for fun free printables, planners, and charts.
ENTER MY FREE Printables Page HERE
Here are some more of my bread-making inspiration posts to check out!
Chocolate Chip Cookies: How to Make Chocolate Chip Cookie Bread
Carrot Cake Quick Bread: How to Make Carrot Cake Quick Bread
How to Make Strawberries and Cream Sourdough Bread
How to Make S’mores Sourdough Bread
July 4th Bread: How to Make a Firecracker Marble Bread Braid
Artisan Bread: How to Make Artisan Bread
Challah Bread: How to Make a 6 Braided Challah Bread
Sweet Bread: How to Make Sweet Bread
Blessings,
The Off Grid Barefoot Girl

