Learn how to make no knead rustic bread with this easy, hands-off recipe perfect for beginners and busy homesteaders alike. With just a few simple ingredients and minimal effort, you can create a crusty, artisan-style loaf right at home—no kneading required! This foolproof method is perfect for those craving fresh, homemade bread without the hassle.
No knead rustic bread has gained immense popularity among home bakers for its simplicity and outstanding results. This hands-off approach to breadmaking offers a delightful combination of a crispy crust and a soft, airy interior, making it an irresistible choice for bread enthusiasts. By eliminating the traditional kneading process and relying on time and fermentation, this method allows the dough to develop complex flavors and textures with minimal effort.
In this article, we will explore the art of making no-knead rustic bread, from understanding its benefits to mastering the various techniques involved. Whether you are a seasoned baker or a novice in the kitchen, this guide will equip you with the knowledge and skills to create delicious homemade bread that will impress your family and friends.
This is a pinnable post. Tap or hover over any image in this post to pin to your Pinterest Boards.
Introduction to No Knead Rustic Bread
What is No Knead Rustic Bread?
Picture this: a crusty, golden loaf of bread with a soft and chewy interior, perfect for tearing apart and slathering with butter. That, my friends, is the beauty of no-knead rustic bread. This type of bread is characterized by its minimalistic approach – no need to break a sweat trying to knead dough like a professional baker. It’s all about simplicity and letting time do the work for you.
With this no-knead rustic bread recipe, you can always have homemade artisan bread for dinner. This recipe is so easy that you can prepare the dough in the morning or at night and place it in your fridge for a slow rise for up to twelve hours until you are ready to toss it in the oven. With a few ingredients and no messy hands, you get a delicious rustic-looking artisan homemade bread to feed your family!
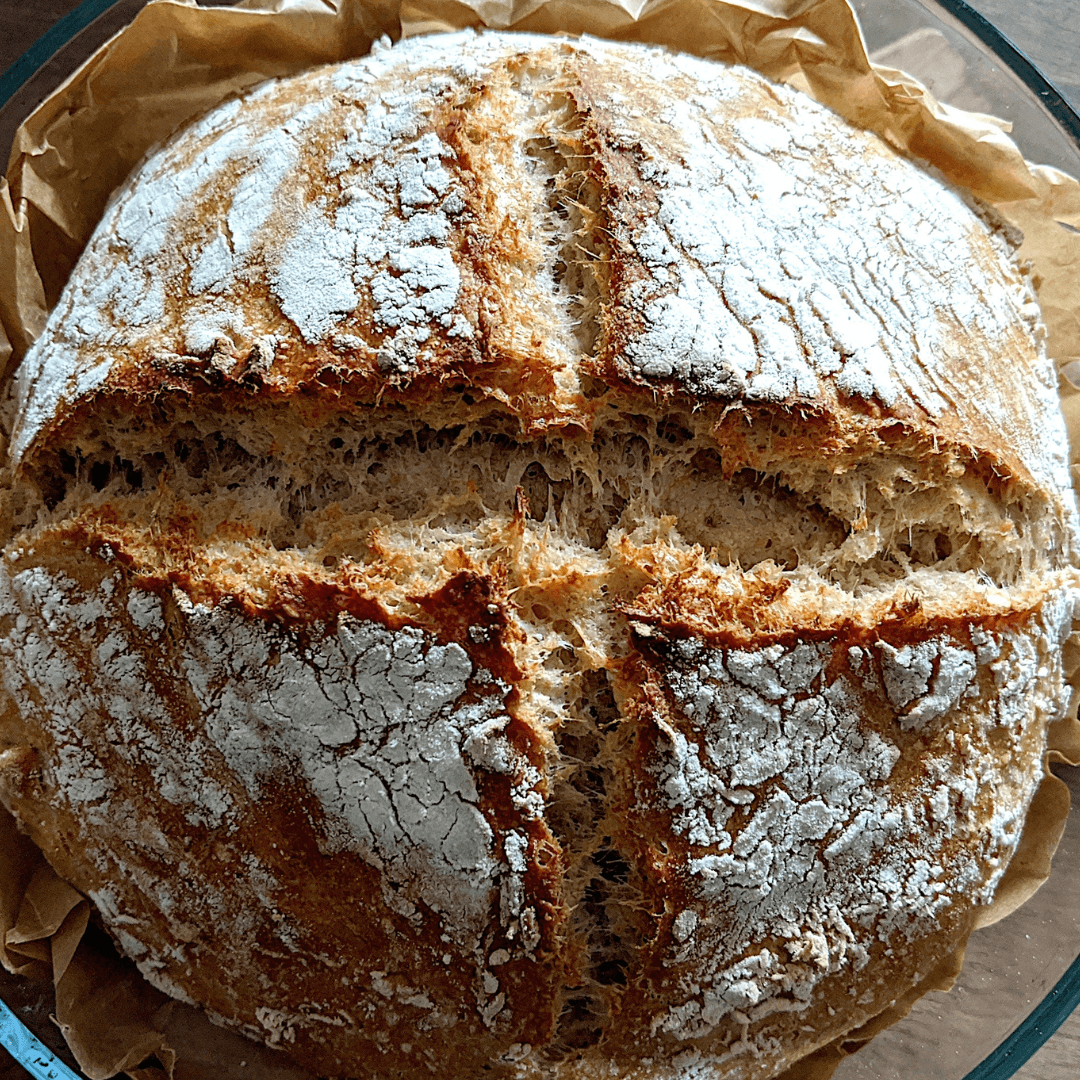
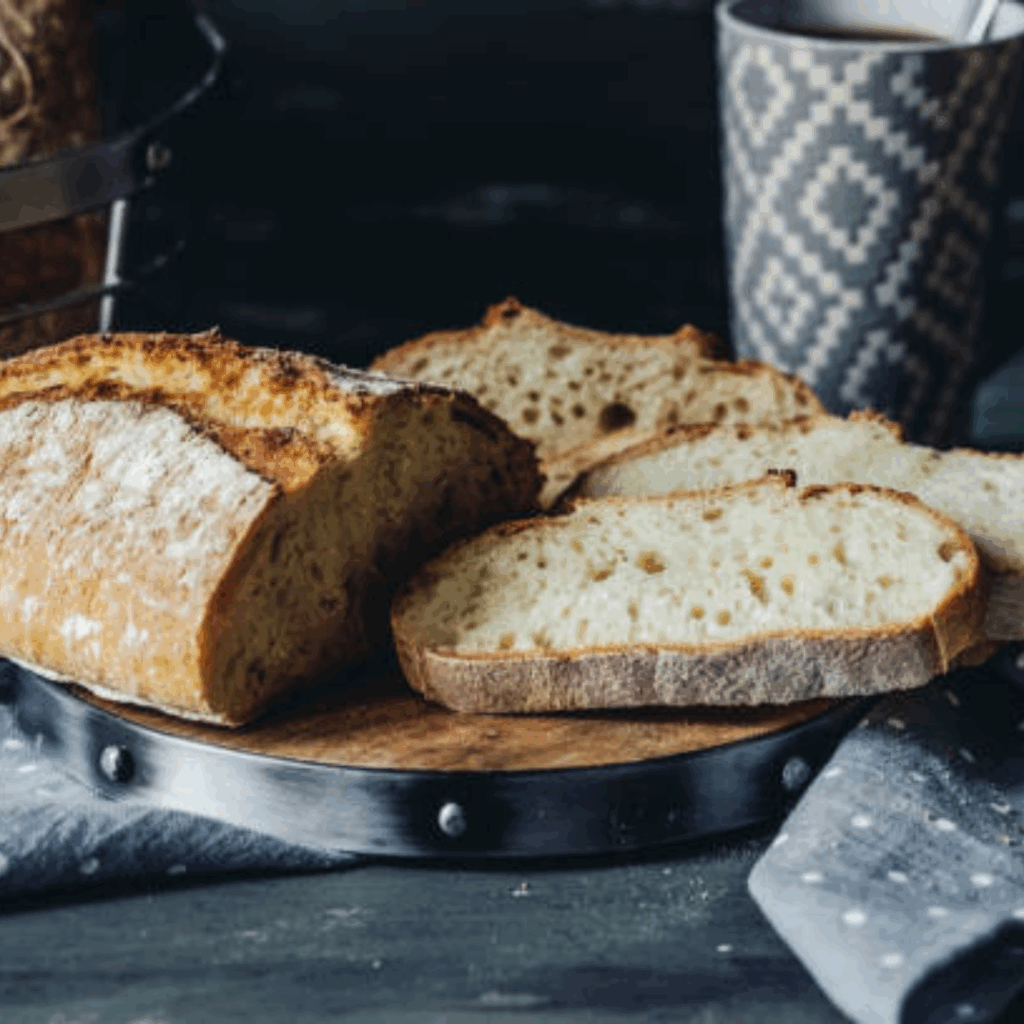
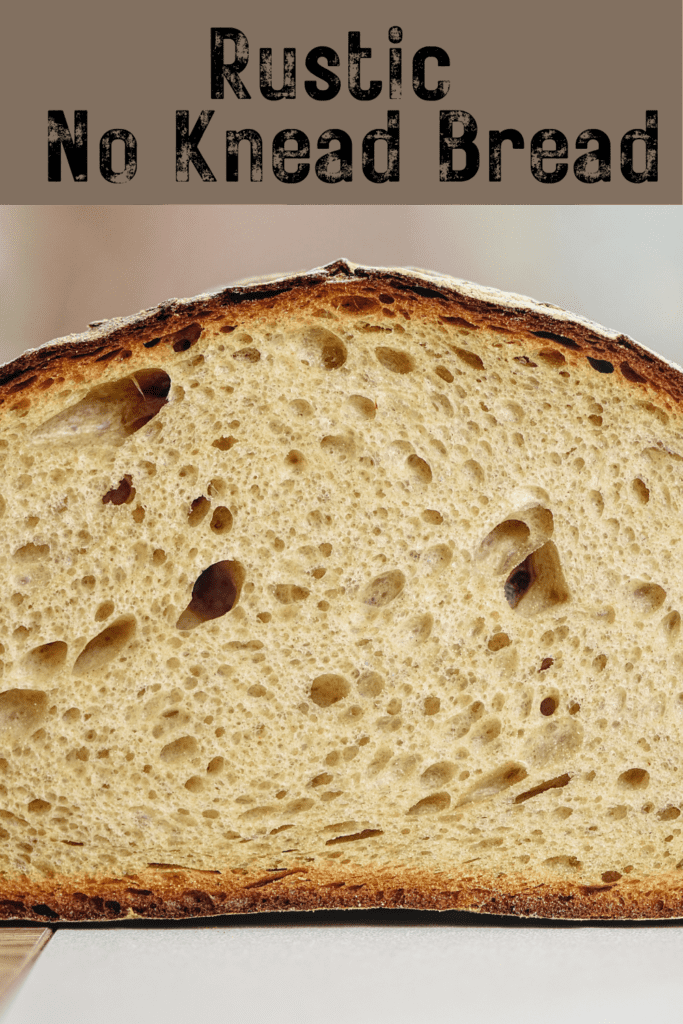
This no-knead rustic bread is so delicious and has those fluffy slices with holes that artisan bread has. It also has a crunchy crust with a super soft inside, which is accomplished while baking in the Dutch oven.
What I Love About a No Knead Bread Recipe
The best thing that I love about this bread is that it only requires a few staple ingredients that are regularly kept in the pantry. This recipe works great with all-purpose flour, which is a great universal pantry staple. Because of this, I can practically bake this bread daily and call it my daily bread.
I will walk you through every step, along with sharing my tips for creating this gorgeous bread. Once you perfect this recipe and memorize it, you may find yourself implementing this simple bread into your daily routine.
Even if you are busy, you can have this dough rising in your fridge for a slow rise while you are out busy doing other things, and baking it when you are ready.
Why Choose a Hands-Off Approach?
Let’s face it, kneading bread dough can be quite the workout. It’s messy, time-consuming, and not something everyone enjoys. With a hands-off approach like no-knead rustic bread, you can sidestep the kneading process altogether and still achieve bakery-worthy results. Plus, who doesn’t love the idea of letting the dough rise and develop its flavors with minimal effort? It’s like having your own personal bread-making genie.
Understanding the Benefits of a Hands-Off Approach
Less Effort, More Flavor
No knead rustic bread is all about maximizing flavor with minimal effort. By allowing the dough to ferment and rise slowly over an extended period, you give it time to develop complex flavors and a delightful texture. It’s like giving your taste buds a front-row seat to a symphony of flavor without having to lift a finger.
Time and Convenience
One of the greatest advantages of the hands-off approach is the convenience factor. Traditional bread-making usually involves long hours of kneading, shaping, and letting the dough rest. With no-knead rustic bread, you can simply mix the ingredients together, let the dough do its thing, and focus on other important tasks. It’s perfect for those busy days when you want fresh bread but don’t have the time to be a full-time baker.
Gathering the Ingredients and Equipment
Essential Ingredients for No Knead Rustic Bread
To make this delicious bread, you’ll need a handful of simple ingredients: flour, water, salt, and yeast. Choose high-quality ingredients for the best results. Don’t be afraid to experiment with different types of flour, such as whole wheat or rye, to add a unique touch to your rustic bread.
- Lukewarm water.
- Dry active yeast.
- Salt.
- Flour.
- Parchment paper.
- Dutch oven.
Necessary Equipment for the Process
Fear not, you won’t need a professional bakery setup to make no-knead rustic bread. All you need is a large mixing bowl, a wooden spoon or spatula for stirring, a clean kitchen towel, and a Dutch oven or heavy-bottomed pot with a lid. That’s it! No special gadgets or complicated tools are required. Keep it simple and let the magic happen.
Step-by-Step Instructions for Making No Knead Rustic Bread
Mixing the Dough
Mix the warm water, dry active yeast, and salt together until well blended. Allow it to rest for ten minutes until it becomes a foamy consistency.
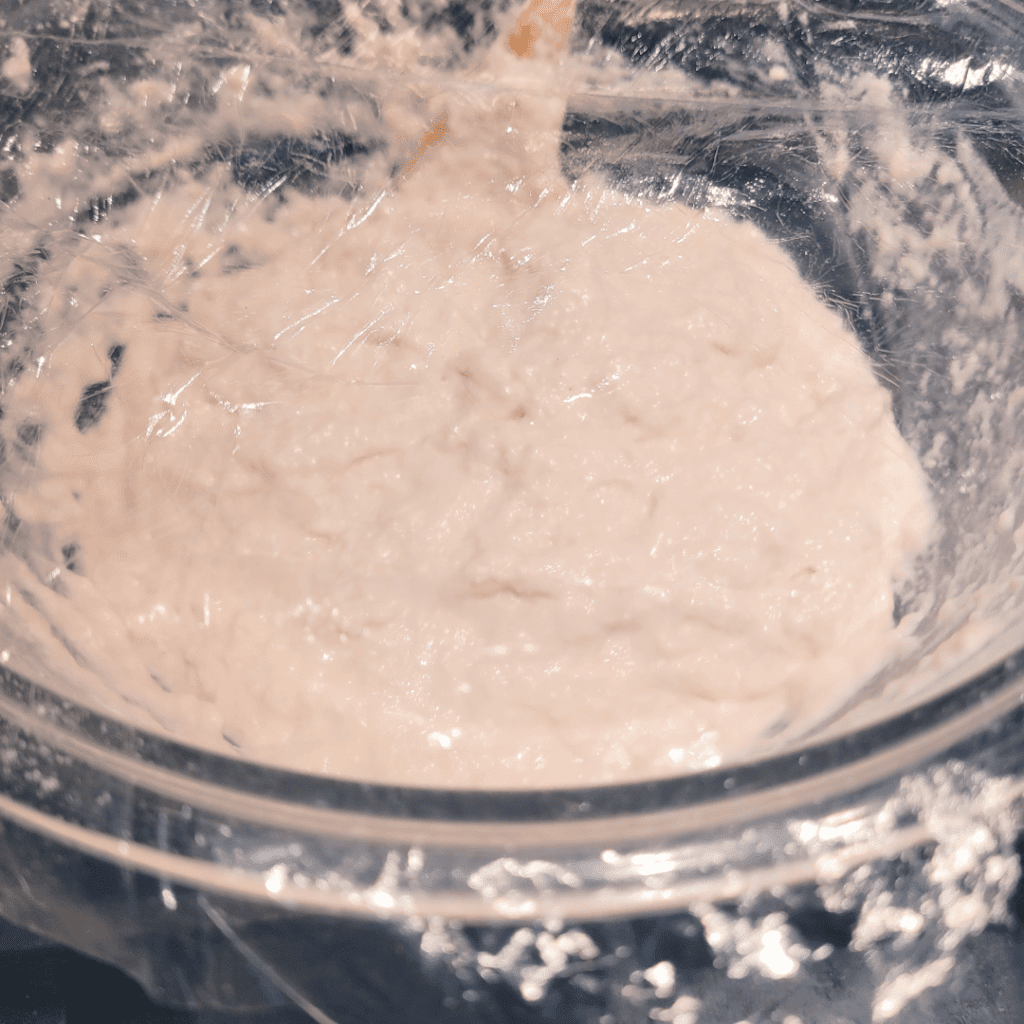
After ten minutes have passed and the yeast is activated, mix in all other ingredients until a shaggy dough forms. This dough will be sticky.
Initial Fermentation
This step is crucial in developing flavor and texture in your bread. Once you mix together your flour, water, salt, and yeast (if using) to form a shaggy dough, you simply let it sit undisturbed for an extended period of time – usually around 12-18 hours. During this time, magic happens! The yeast starts to feast on the available sugars in the flour and releases carbon dioxide as a byproduct. This gas gets trapped in the dough matrix, creating those lovely air pockets that give your bread its light and airy crumb.
The longer fermentation also allows enzymes to break down complex carbohydrates into simpler sugars, imparting that sweet complexity we all crave in a good loaf of bread. So next time you embark on your no-knead adventure, be patient during the initial fermentation stage; trust me when I say it’s totally worth the wait!
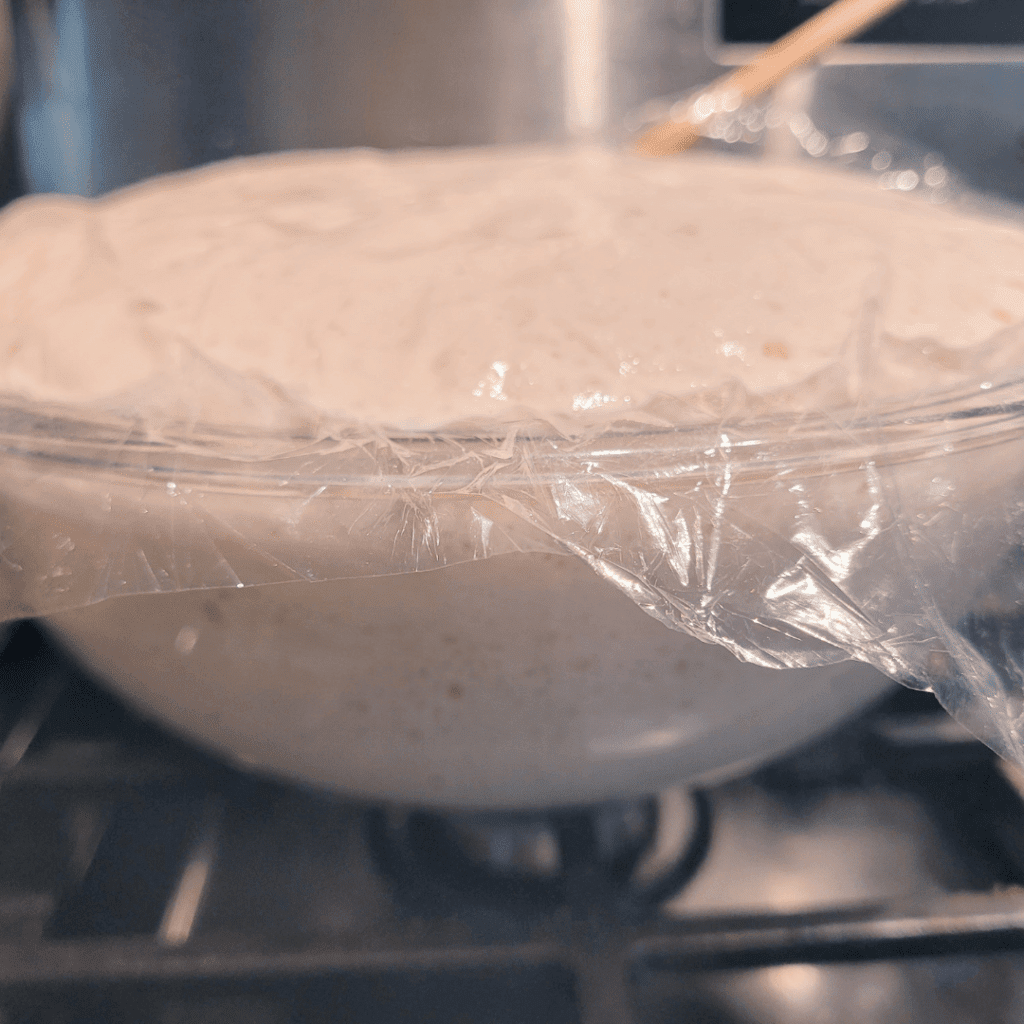
Cover the bowl with a clean kitchen towel and let the dough rest at room temperature for about 12-18 hours. This gives the yeast time to work its magic and develop those incredible flavors. Go ahead and catch up on your favorite TV series or get a good night’s sleep – the dough will be doing its thing without needing any supervision. It was pretty warm in my kitchen on this day of making this no-knead rustic bread, so it doubled up quickly, within a couple of hours.
Shaping and Final Proofing
After the initial fermentation, lightly flour a clean surface and turn the dough out onto it. Gently fold the edges of the dough towards the center to shape it into a ball. Place the dough seam side down on a piece of parchment paper and cover it again with the towel. Let it rest for another 1-2 hours for the final proofing, allowing the dough to rise and become airy.
Scrape the risen dough onto a piece of flour-sprinkled parchment paper and sprinkle the dough with flour. Use the edges of the parchment paper to form the shape of the dough into a ball. Note that the dough ball will create the shape of your Dutch oven during the baking process. So if your Dutch oven is oval or round, that will be the shape of your loaf.
I like to crumble up the parchment paper first and then flatten it out again. By doing this, it helps form into the shape of the Dutch oven, better creating a better-looking bread loaf.
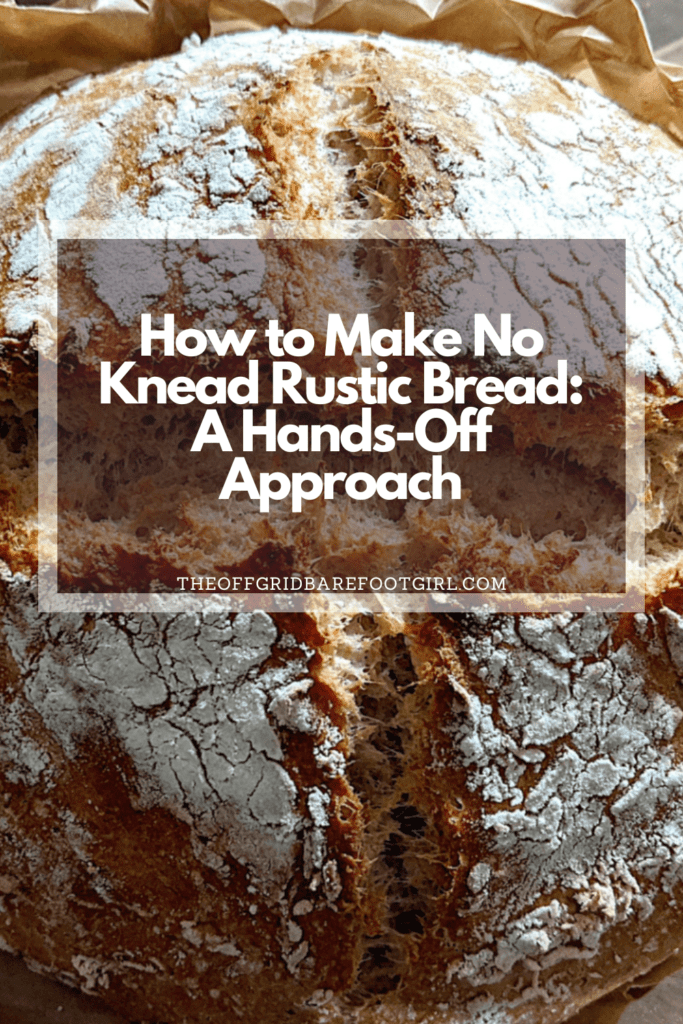
This is the time to score your dough. Take a scoring knife or razor blade and make slits across the top of the dough. I did mine in a simple cross shape. I like to sprinkle another light dusting of flour on the dough.
Preparing for Baking
While the dough is going through its final proofing, preheat your oven to a scorching 450°F (230°C). Place your Dutch oven or heavy-bottomed pot with the lid inside the oven while it heats up.
This is optional, but I love to spritz my dough with water before baking it to help it create some crusty blistery effects on the crust for a more rustic appeal.
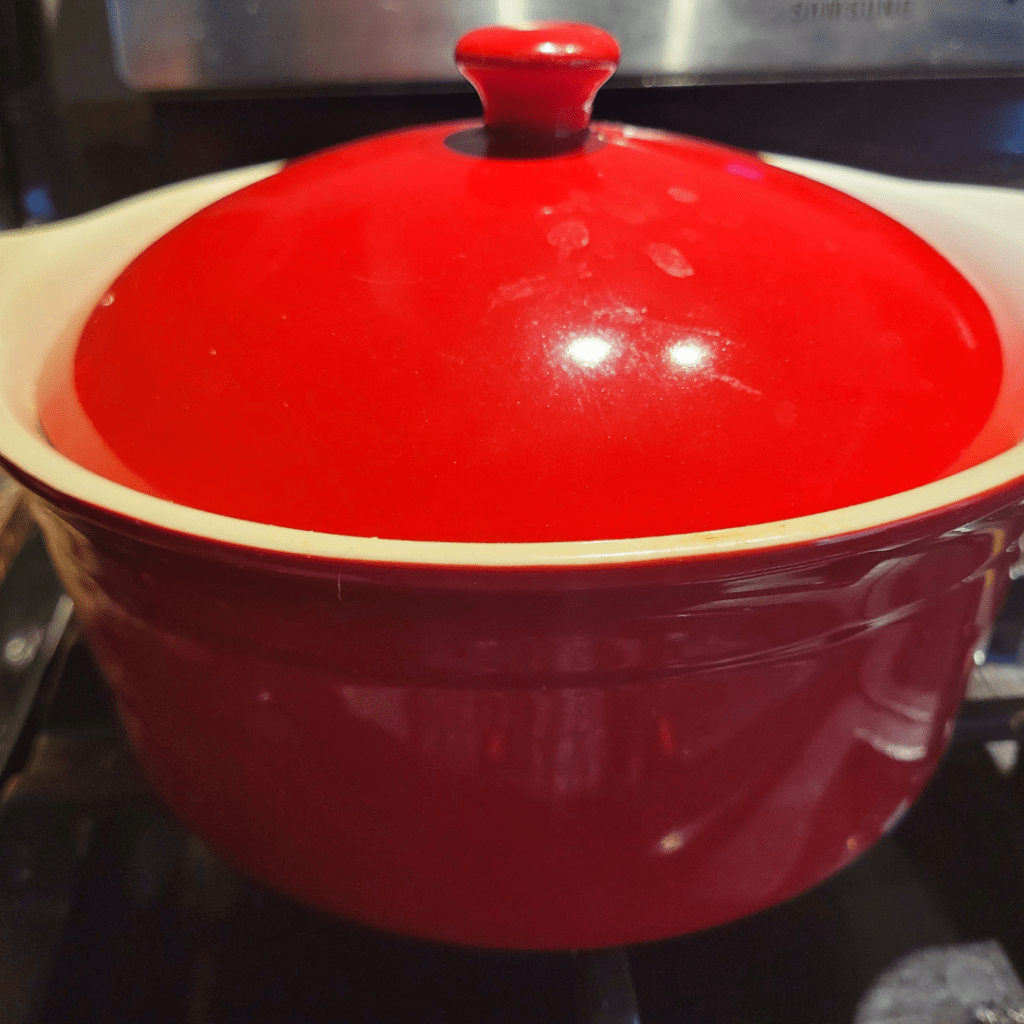
Once the dough has finished proofing, carefully transfer it into the hot pot using the parchment paper as a sling. Cover with the lid and bake for 30 minutes. Then, remove the lid and bake for an additional 10-15 minutes to achieve that perfect golden crust.
Place the Dutch oven inside the oven and bake for 35 minutes. Remove the lid and bake for another 5 to 10 minutes, until the bread reaches a golden brown. Mine took approximately 15 minutes to reach the golden brown color that I wanted.
Remove the Dutch oven from the oven and the bread from the Dutch oven by grabbing the edges of the parchment paper. Place the bread on a cooling rack and allow it to cool completely before slicing into it.
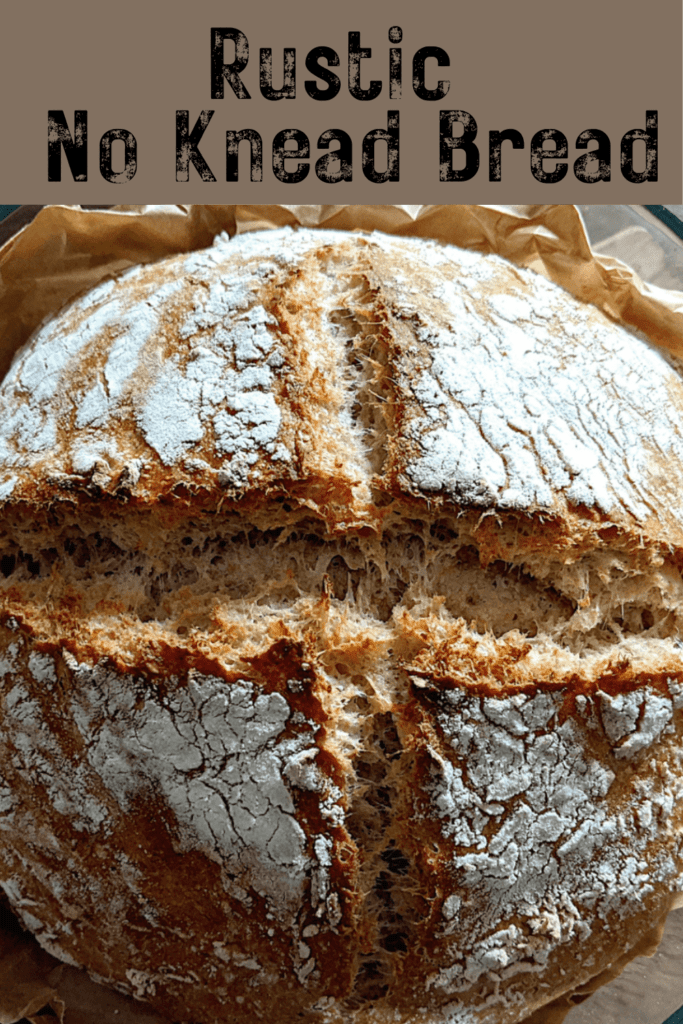
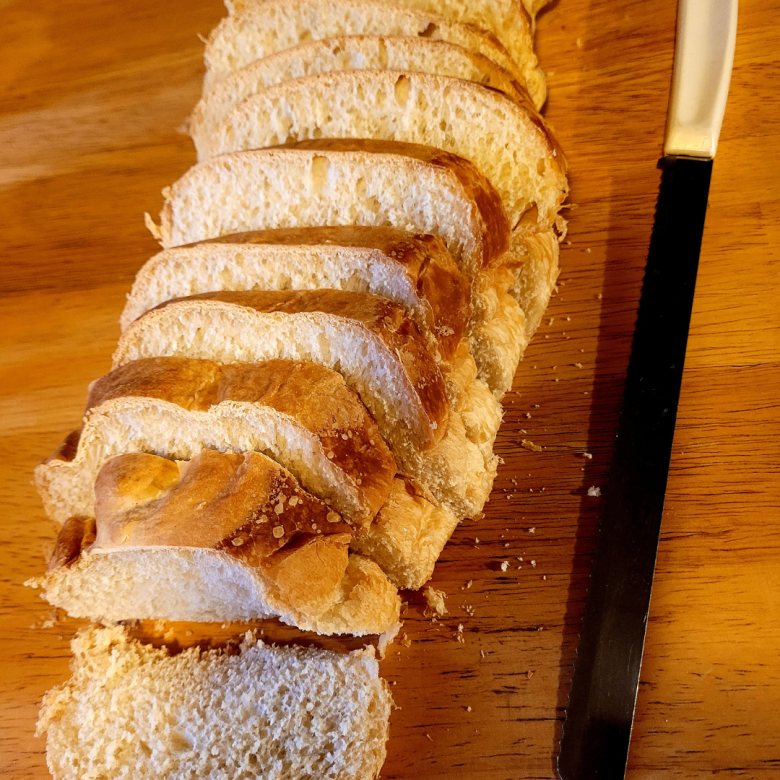
Once the bread is cooled, create your slices using a serrated bread knife and enjoy!
Mastering the Art of Fermentation and Proofing
Understanding Fermentation
When it comes to understanding fermentation for bread making, it’s basically the process that transforms dough into a perfectly scrumptious loaf. Yeast, our tiny little buddies, dine on sugar and produce carbon dioxide and alcohol as byproducts. This CO2 causes the dough to rise and gives us those lovely air pockets inside our loaves. But fermentation is more than just yeast having lunch; it’s also about developing flavors. The longer you let your dough ferment, the more complex and delicious those flavors become. Think of it like marinating – slow and steady wins the taste game! So next time you whip up a batch of bread dough, give those yeasty fellas enough time to work their magic – they’ll reward you with bread so tasty, you’ll wonder why you ever bought store-bought!
Again, remember, fermentation may sound like a fancy term, but it’s really just the process that gives bread its amazing flavor and texture. When you mix your dough and let it sit for a while, the yeast and bacteria in the dough work their magic. They consume the sugars in the flour and produce carbon dioxide, which creates beautiful air pockets in the bread. The longer you let your dough ferment, the more complex and flavorful it will become.
Perfecting the Proofing Process
Proofing is the final rise that your dough goes through before baking. It’s like giving your bread a little power nap to make sure it’s ready for the heat of the oven. To get the perfect proof, it’s important to find the sweet spot between underproofing and overproofing. You want your dough to rise enough to get that airy texture, but not so much that it collapses or becomes too dense. Pay attention to the temperature and humidity of your kitchen, as they can affect the proofing time. And don’t worry, practice makes perfect!
Baking Techniques for Achieving a Crusty Exterior and Soft Interior
Preheating the Oven and Using Baking Vessels
To achieve that irresistibly crispy crust on your bread, preheating the oven is key. Make sure to heat it up nice and hot before popping in your dough. Using a baking vessel, like a Dutch oven or a baking stone, can also help trap steam and create a moist environment for the bread. This steam promotes crust formation and gives your bread that artisanal bakery feel.
Creating Steam for Crust Formation
Steam is the secret weapon for a beautiful crust. You can create steam in your oven by placing a pan of hot water on the bottom rack while your bread bakes. Alternatively, you can spritz the dough with water before placing it in the oven. The steam keeps the surface of the bread moist, allowing it to expand and develop that desired crunchy exterior.
Achieving the Desired Texture
The texture of your bread is just as important as its crust. For a soft and chewy interior, make sure your dough has enough hydration. This means using a higher ratio of water to flour. Don’t be afraid of a sticky dough – it will result in a more tender crumb. Additionally, be gentle when shaping your dough to avoid knocking out too much air, which can lead to a denser texture.
Tips and Troubleshooting for Perfect No Knead Rustic Bread
Common Challenges and How to Overcome Them
Making bread can have its fair share of challenges, but don’t let them discourage you. If your bread comes out too dense, try increasing the hydration or adjusting the proofing time. If the crust is too pale, bake the bread for a few extra minutes or increase the oven temperature slightly. Experimentation is part of the fun, so don’t be afraid to troubleshoot and adapt to achieve the perfect loaf.
Tips for Flavor Enhancements
While no-knead rustic bread is delicious on its own, you can take it to the next level with some flavor enhancements. Add herbs, spices, or even cheese to your dough to give it an extra kick. Get creative and experiment with different combinations – rosemary and garlic, cinnamon and raisins, or cheddar and jalapeno. The possibilities are endless, and your taste buds will thank you.
Variations and Customizations for Personalized Results
Adding Herbs, Spices, and Other Ingredients
Once you’ve mastered the basic recipe, it’s time to let your culinary imagination run wild. Don’t be afraid to add herbs, spices, or any other ingredients that tickle your fancy. You can create a savory masterpiece with sun-dried tomatoes and basil or a sweet delight with chocolate chips and orange zest. The beauty of no-knead rustic bread is its versatility, so go ahead and make it your own!
Experimenting with Different Flours
Who says you have to stick to plain old white flour? Mixing things up with different types of flour can add depth and character to your bread. Try using whole wheat flour for a nutty flavor, or rye flour for a slightly tangy taste. Don’t be afraid to combine flours and explore different ratios to find your perfect blend. Remember, baking is all about having fun and enjoying the delicious results!
Conclusion
Now that you have all the tools and knowledge, it’s time to get your hands doughy (just kidding! This is a no-knead bread recipe) and embark on your no-knead rustic bread adventure.
In conclusion, no-knead rustic bread offers a hands-off approach to breadmaking that delivers exceptional results. With its crusty exterior and soft, flavorful interior, this bread is sure to become a favorite in your kitchen. By understanding the benefits of this method, gathering the necessary ingredients and equipment, following the step-by-step instructions, and mastering the art of fermentation and baking, you can create bakery-quality bread with ease. So, embrace the simplicity and deliciousness of no-knead rustic bread and enjoy the satisfaction of baking bread that is both rustic and remarkable.
This bread is very rustic-looking, perfectly crusty, and deliciously fluffy. This bread is perfect to serve with any dinner. I especially love this bread with soups and chilis. You can take some slices for toast with butter and garlic and serve it as garlic bread. You really cannot go wrong serving this bread with anything.
Resources: Here are some helpful resources for further information.
- No Knead Bread – By Cooking Classy
- No Knead Crusty Artisan Bread – By The Baker Chick
- Easy No Knead Crusty Bread – By Modern Farmhouse Eats
Frequently Asked Questions
1. Can I use different types of flour for making no knead rustic bread?
Absolutely! No knead rustic bread is versatile and can be made with various types of flour. You can experiment with whole wheat flour, rye flour, or even incorporate a blend of different flours to achieve unique flavors and textures.
2. How long does the fermentation process take?
The fermentation time can vary depending on factors such as room temperature and the amount of yeast used. Generally, the dough will need to ferment for around 12-18 hours at room temperature. However, you can adjust the fermentation time to suit your schedule and desired flavor development.
3. Can I refrigerate the dough during the fermentation process?
Yes, refrigerating the dough is a convenient option. After the initial mixing, you can cover the dough and refrigerate it for a longer fermentation period, usually up to 48 hours. This allows for a slower fermentation process, resulting in enhanced flavor and a more pronounced sourdough taste.
4. How do I achieve a crispy crust on my bread?
To achieve a crispy crust, it is crucial to create steam in the oven during the initial stages of baking. This can be done by placing a preheated baking vessel, such as a Dutch oven, inside the oven along with the bread. The steam generated within the vessel helps in creating a moist environment that promotes crust formation.
No Knead Rustic Bread
Equipment
- 1 Dutch oven.
- 1 mixing bowl
Ingredients
- 1 ½ cups warm water
- 2 ¼ tsp dry active yeast
- ½ tbsp salt
- 3 ¼ cups all-purpose flour
Instructions
For the Yeast
- Mix the warm water, dry active yeast, and salt together until well blended. Allow it to rest for ten minutes until it becomes a foamy consistency.
- After ten minutes have passed and the yeast is activated, mix in all other ingredients until a shaggy dough forms. This dough will be sticky.
- Cover it with plastic wrap and allow it to rise for two hours. It was pretty warm in my kitchen on this day of making this no knead rustic bread so it doubled up quickly, within one hour.
- During the last few minutes of the rise, preheat your oven to 450 degrees with your Dutch oven inside with the lid on to preheat as well.
- Scrape the risen dough onto a piece of flour-sprinkled parchment paper and sprinkle the dough with flour. Use the edges of the parchment paper to form the shape of the dough into a ball. Note that the dough ball will form the shape of your Dutch oven during the baking process. So if your Dutch oven is oval or round, that will be the shape of your loaf.
- This is the time to score your dough. Take a scoring knife or razor blade and make slits across the top of the dough. I did mine in a simple cross shape. I like to sprinkle another light dusting on the dough.
- Grab the parchment paper with the dough on it and carefully place it inside the Dutch oven and place the lid on top.
- Place the Dutch oven inside the oven and bake for 35 minutes. Remove the lid and bake for another 5 to 10 minutes, until the bread reaches a golden brown. Mine took approximately 15 minutes to reach the golden brown color that I wanted.
- Remove the Dutch oven from the oven and the bread from the Dutch oven by grabbing the edges of the parchment paper. Place the bread on a cooling rack and allow it to cool completely before slicing.
- Once the bread is cooled, create your slices using a serrated bread knife and enjoy!
Summary
I hope I have inspired you to bake your very own bread loaves to enjoy and share with your friends and family.
If you were encouraged by this post, I invite you to check out my FREE Printables Page for fun free printables, planners, and charts.
ENTER MY FREE Printables Page HERE
Here are some more of my bread-making inspiration posts to check out!
The Best Hoagie Buns Recipe Made From Scratch!
Pumpkin: How to Make Chocolate Chip Pumpkin Bread
Sweet Potato Bread: How to Make Sweet Potato Bread
Chocolate Chip Cookies: How to Make Chocolate Chip Cookie Bread
Carrot Cake Quick Bread: How to Make Carrot Cake Quick Bread
How to Make Strawberries and Cream Sourdough Bread
How to Make S’mores Sourdough Bread
July 4th Bread: How to Make a Firecracker Marble Bread Braid
Artisan Bread: How to Make Artisan Bread
Challah Bread: How to Make a 6 Braided Challah Bread
Sweet Bread: How to Make Sweet Bread
Blessings,
The Off Grid Barefoot Girl

