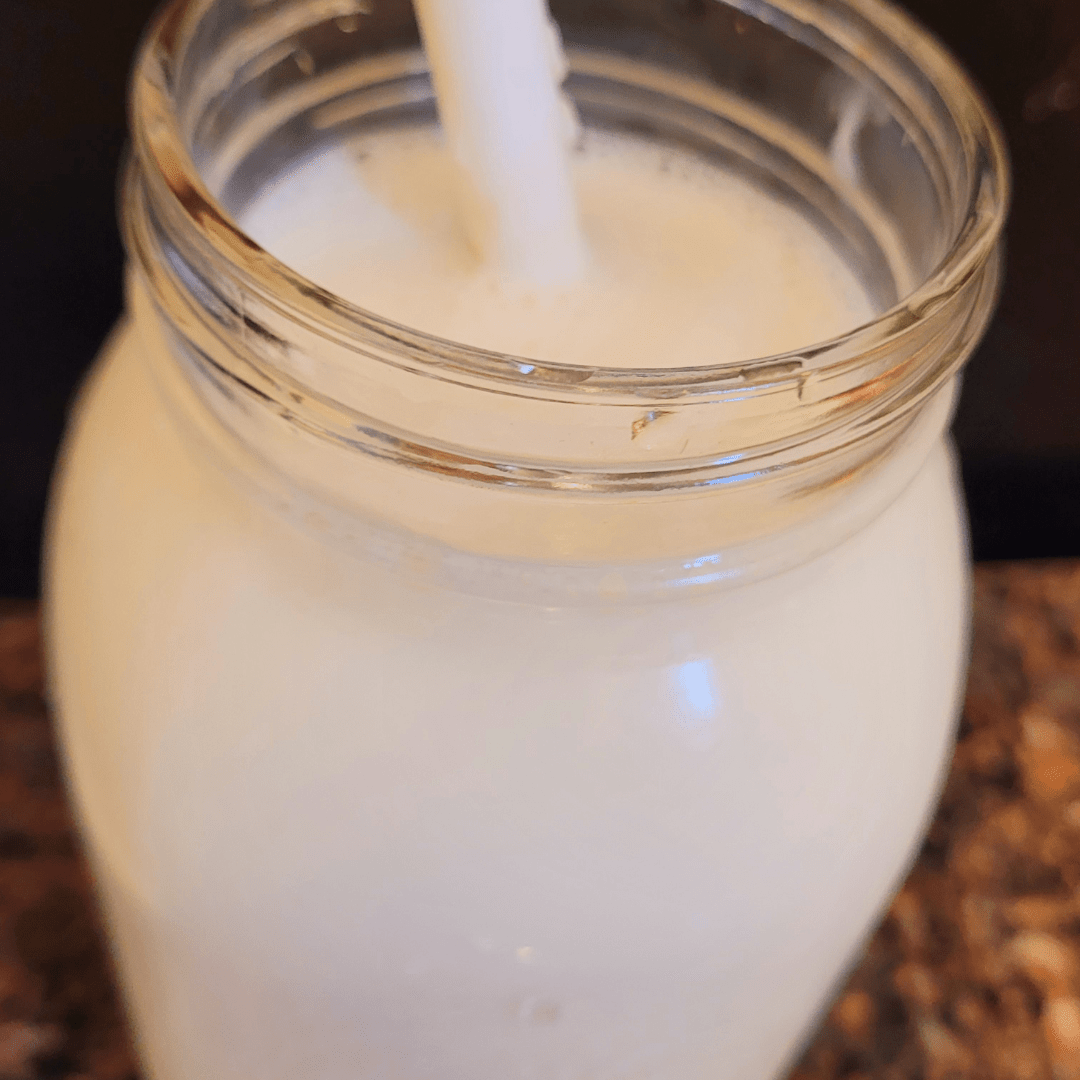
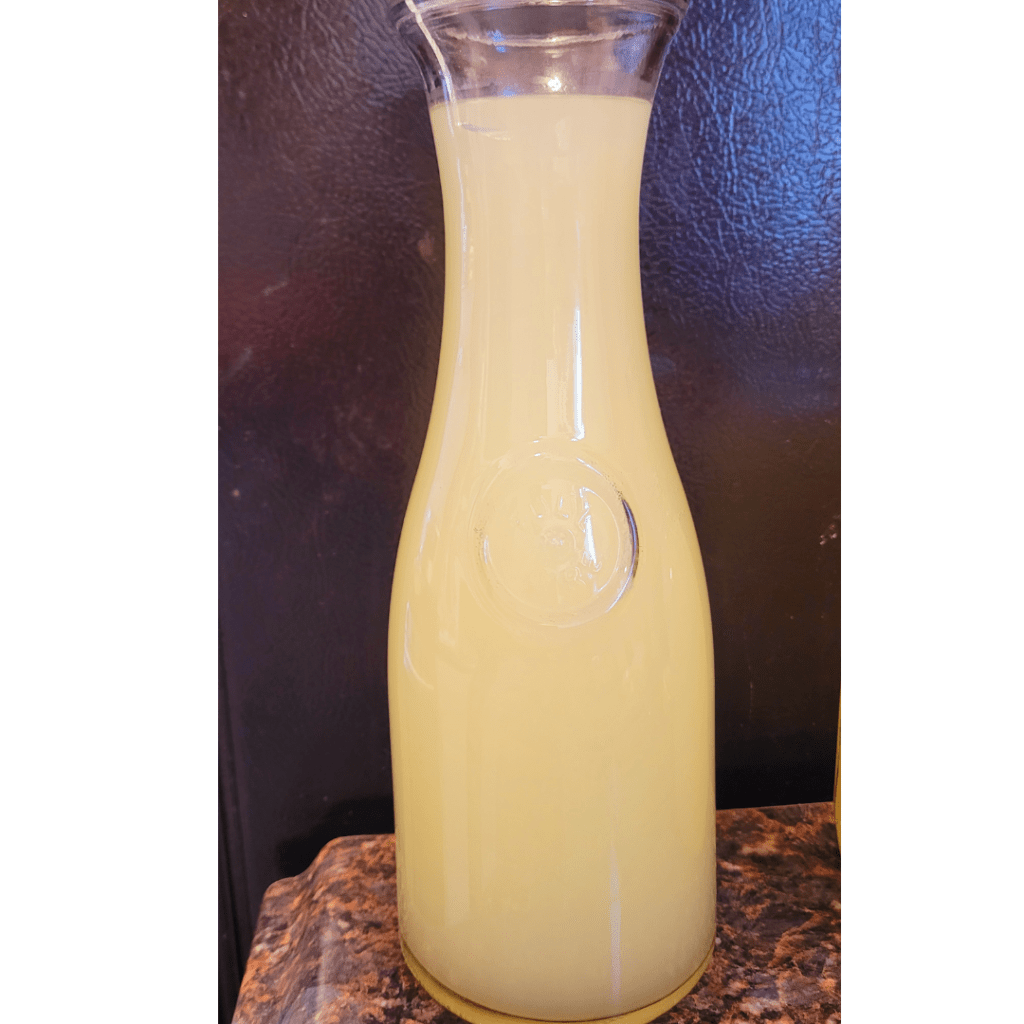
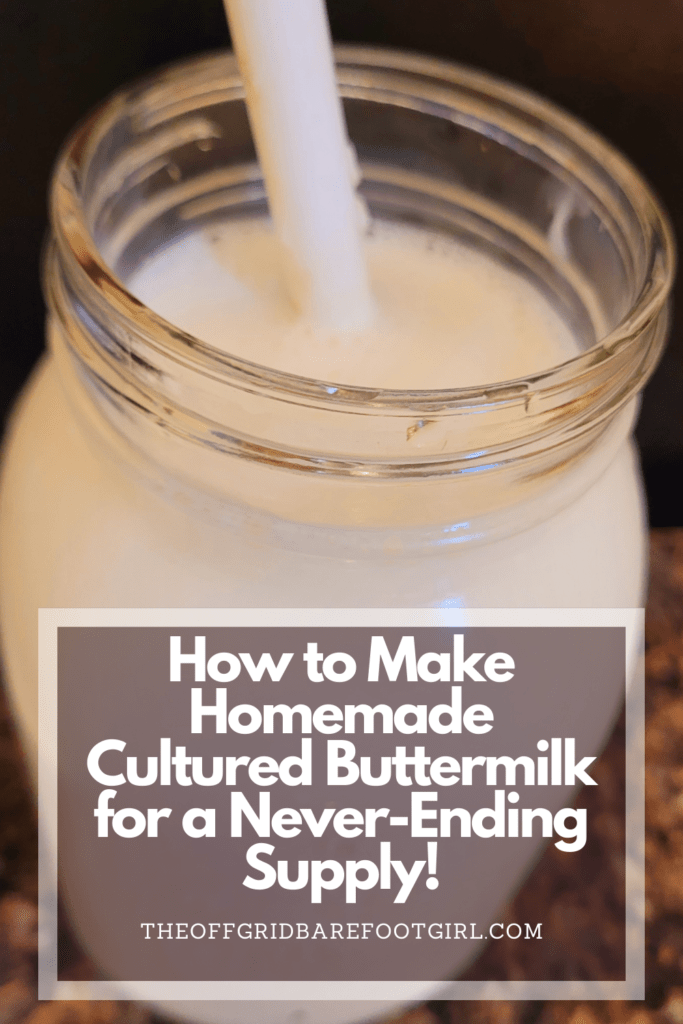
Learn how to make homemade cultured buttermilk and keep a never-ending supply right in your kitchen! With just two simple ingredients, you can create rich, tangy buttermilk perfect for baking, cooking, and probiotic benefits. This easy method will save you money, reduce waste, and ensure you never run out again!
Buttermilk, with its tangy flavor and creamy consistency, is a versatile ingredient that adds a distinct taste to your culinary creations. While it is readily available in stores, making your own cultured buttermilk at home can be a rewarding and cost-effective endeavor. Not only does homemade cultured buttermilk allow you to have a never-ending supply on hand, but it also allows you to control the quality of ingredients and customize the flavor to your liking.
In this article, I will show you how to make homemade cultured buttermilk, exploring the science behind it, providing step-by-step instructions, offering useful tips and troubleshooting advice, and even showcasing creative ways to use this delightful ingredient in various recipes.
This is a pinnable post. Tap or hover over any image in this post to pin to your Pinterest Boards.
Introduction to Homemade Cultured Buttermilk
The History and Benefits of Cultured Buttermilk
Buttermilk has been a beloved staple in kitchens around the world for centuries. Traditionally, it was the liquid left over after churning butter from cream. However, the buttermilk we enjoy today is a cultured version, made by introducing friendly bacteria to milk. This fermentation process gives buttermilk its tangy flavor and creamy texture.
Aside from its delicious taste, cultured buttermilk offers numerous health benefits. It is rich in probiotics, which promote a healthy gut and aid in digestion. Cultured buttermilk is also a great source of vitamins and minerals like calcium, riboflavin, and vitamin B12.
Understanding the Basics of Culturing Buttermilk
The Science Behind Culturing Buttermilk
Culturing buttermilk involves adding specific strains of bacteria to milk and allowing them to ferment. These bacteria convert lactose, the natural sugar in milk, into lactic acid. This process lowers the pH of the milk, thickening it and giving it a characteristic tangy taste.
Difference Between Traditional and Cultured Buttermilk
It’s important to note that traditional buttermilk, the byproduct of butter-making, is different from cultured buttermilk. Traditional buttermilk is thinner and more acidic, while cultured buttermilk has a creamier consistency.
Choosing the Right Ingredients for Homemade Cultured Buttermilk
Quality of Milk and Its Impact on Culturing
The quality of milk you use will greatly affect your homemade cultured buttermilk. Look for milk that is fresh and preferably organic. Avoid using ultra-pasteurized or UHT milk, as these processes can inhibit the growth of the beneficial bacteria needed for culturing.
Selecting the Perfect Starter Culture
To begin culturing your buttermilk, you’ll need a starter culture. This can be obtained from a previous batch of homemade buttermilk or by using store-bought buttermilk with live cultures. Make sure to check the label to ensure it contains active cultures. You can also use culturing packets specifically designed for buttermilk-making.
Step-by-Step Guide to Making Homemade Cultured Buttermilk
Pasteurizing Milk (Optional)
If you prefer to pasteurize your milk before culturing, you can do so by heating it to 161°F (72°C) for 15 seconds. This step helps kill any unwanted bacteria that may interfere with the culturing process. However, if you’re using high-quality, pasteurized milk, this step is not necessary.
Inoculating Milk with Starter Culture
Once your milk is at room temperature, add your starter culture. The amount will vary depending on the instructions provided with your culture or buttermilk starter. Generally, a 1/4 cup per quart of milk is a good starting point. Mix well to ensure the culture is evenly distributed.
Providing the Ideal Culturing Conditions
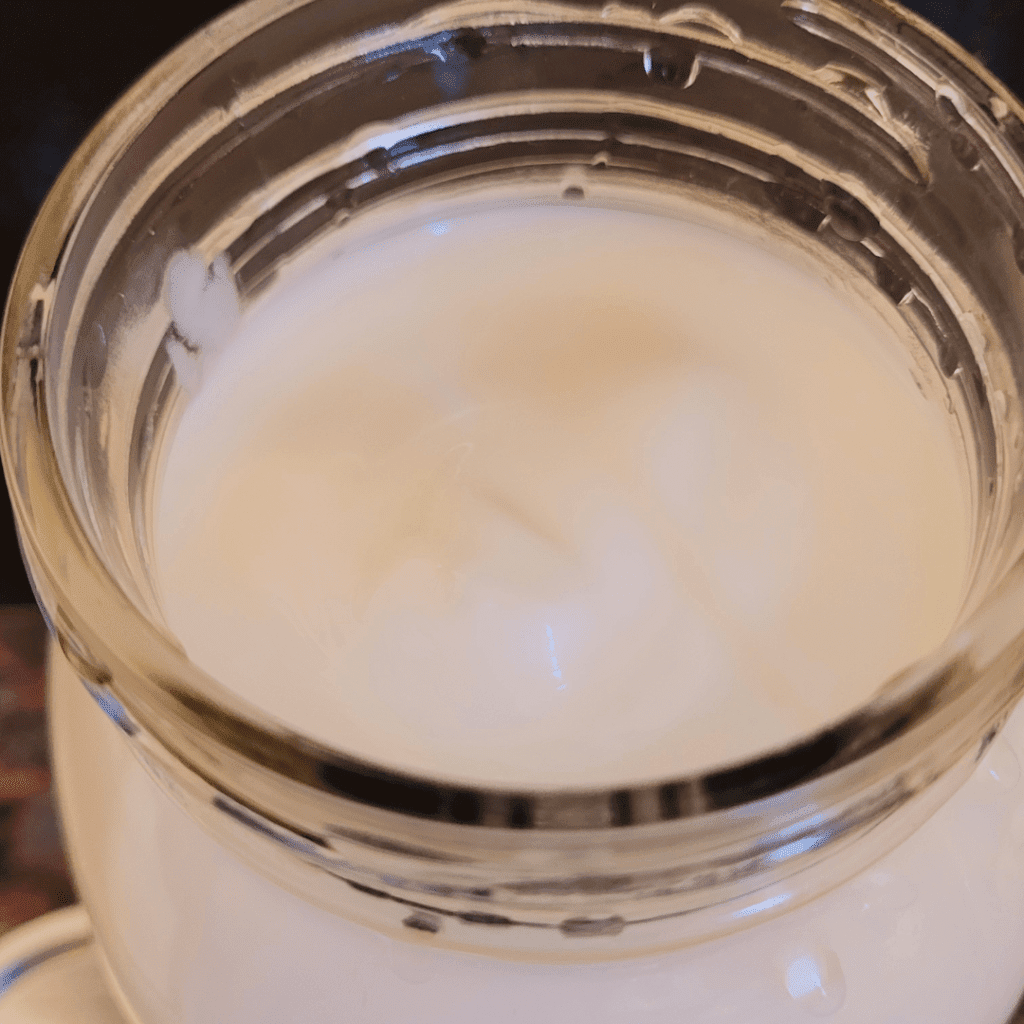
Cover the milk with a clean cloth or lid and let it rest at room temperature for about 24 hours. During this time, the bacteria will convert the lactose into lactic acid, thickening and curdling the milk. The longer you let it culture, the tangier and thicker the buttermilk will become.
Straining and Storing the Cultured Buttermilk
Once the cultured buttermilk has reached your desired consistency, strain it through a fine-mesh sieve or cheesecloth to separate the curds from the liquid. The curds can be used to make homemade butter, while the strained liquid is your freshly made cultured buttermilk.
Transfer the buttermilk to a clean, airtight container and refrigerate. It will continue to thicken slightly in the fridge. Homemade cultured buttermilk can be stored for up to two weeks, but chances are it will be gone long before that!
Maintaining a Never-Ending Supply of Cultured Buttermilk
Reusing a Portion of the Cultured Buttermilk as a Starter
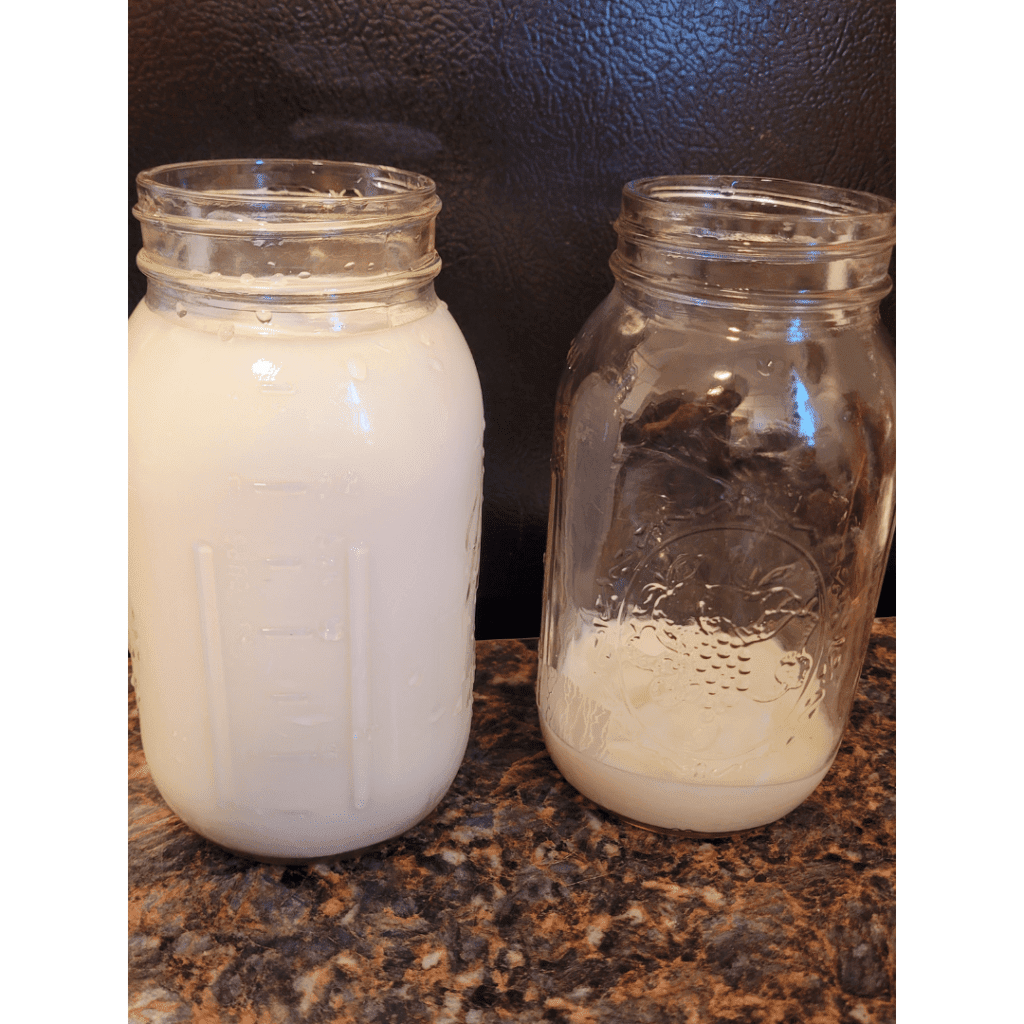
Once you’ve successfully cultured your buttermilk, you can save a small portion of it to act as a starter for future batches. This method ensures a never-ending supply of tangy goodness without having to buy buttermilk from the store every time. Simply set aside about 1/4 cup of the cultured buttermilk in a clean jar and use it as the starter for your next batch. Easy peasy, lemon squeezy!
Establishing a Regular Culturing Schedule
To maintain a consistent supply of homemade cultured buttermilk, it’s important to establish a regular culturing schedule. Decide how often you want to make a new batch based on your consumption needs. Whether it’s once a week or once every two weeks, mark it on your calendar to stay organized. With a set schedule, you’ll never run out of this creamy delight. Just never use up the last bit of it and remember to set aside at least 1/4 cup to start a new batch!
Tips and Tricks for Perfecting the Culturing Process
Controlling Temperature and Humidity
Creating the perfect environment for culturing buttermilk is essential. You want a cozy temperature of around 70°F (21°C) and a slightly humid atmosphere. If your kitchen is a bit chilly, you can place the jar near a warm spot like the stove or use a heating pad on a low setting. Just make sure not to overheat it, or you’ll end up with sour cream!
Using Alternative Starter Cultures
While traditionally cultured buttermilk is made using live bacteria naturally found in milk, you can experiment with alternative starter cultures to achieve different flavors and textures. Yogurt, kefir, or even a buttermilk starter culture from a reputable source can be used. These alternatives add a fun twist to your homemade buttermilk and offer a chance to discover your own unique taste preferences.
Creative Ways to Use Homemade Cultured Buttermilk in Recipes
Substituting Buttermilk in Baking Recipes
Homemade cultured buttermilk is a fantastic substitute for regular milk or yogurt in baking recipes. It adds moisture, tenderness, and a pleasant tang to cakes, pancakes, biscuits, and more. So, whether you’re whipping up a batch of fluffy pancakes or a mouthwatering chocolate cake, reach for your homemade buttermilk to take your baked goods to the next level.
Refreshing Smoothies and Drinks with Cultured Buttermilk
Boost the flavor and nutritional value of your smoothies and drinks by incorporating cultured buttermilk. Its creamy texture and tangy taste provide a refreshing twist. Blend it with fresh fruits, a drizzle of honey, and a handful of ice for a deliciously creamy smoothie, or mix it with your favorite juices for a tangy and creamy beverage.
Enhancing Salad Dressings and Dips
Give your salad dressings and dips a flavorful upgrade with homemade cultured buttermilk. Its creamy, tangy profile adds depth to dressings like ranch or blue cheese, making your salads sing with flavor. You can also incorporate it into creamy dips like tzatziki or spinach and artichoke for that extra zing.
Troubleshooting Common Issues with Homemade Cultured Buttermilk
Thin Consistency or Separation in Cultured Buttermilk
If your cultured buttermilk turns out thin or separates, it may be due to insufficient culturing time or improper temperature control. Make sure to give it enough time to fully ferment, usually around 12 to 24 hours, and maintain a consistent temperature within the recommended range. If it still doesn’t thicken, you can add a small amount of commercial buttermilk to help kickstart the process.
Off-Flavors or Unusual Smells
While homemade cultured buttermilk should have a pleasant tangy aroma, occasionally, off-flavors or unusual smells may develop. This could be due to contamination or improper storage. Ensure all utensils and jars are clean and sterilized before use. If the issue persists, double-check the freshness of your milk and starter culture. Trust your nose — when in doubt, toss it out!
Preventing Contamination and Mold Growth
To prevent contamination and mold growth in your cultured buttermilk, maintaining proper hygiene is crucial. Always use clean utensils, jars, and towels when preparing and handling the buttermilk. Keep your culturing area tidy and avoid cross-contamination with other foods. If you notice any signs of mold or other funky growth, discard the entire batch to avoid health risks. Safety first, my friend!
Conclusion
In conclusion, making homemade cultured buttermilk is not only a practical skill to develop but also a delightful way to enhance your culinary adventures. With the knowledge gained from this article, you can confidently start the process of culturing your own buttermilk, ensuring a never-ending supply that is rich in flavor and quality. So, why settle for store-bought when you can create a personalized and endless source of this tangy treat right in your own kitchen? Enjoy the process, experiment with flavors, and savor the satisfaction of having homemade cultured buttermilk at your fingertips whenever you need it. Cheers to your never-ending supply of homemade goodness!
Frequently Asked Questions
1. Can I use any type of milk to make homemade cultured buttermilk?
Sure, you can use any type of milk to make homemade cultured buttermilk. However, keep in mind that the type of milk you choose will affect the flavor and consistency of your buttermilk. Traditionally, cultured buttermilk is made from cow’s milk, specifically the leftover liquid after churning butter. This gives it a slightly tangy taste and a thick texture. However, if you prefer a different flavor profile or have dietary restrictions, feel free to experiment with other types of milk such as almond, soy, coconut, or even goat’s milk. Just keep in mind that non-dairy milks might yield a slightly different result due to their composition and lack of natural bacteria cultures necessary for fermentation. To cultivate that distinct buttermilk taste, consider adding a starter culture or using a commercial buttermilk starter when using non-dairy alternatives. So go ahead and get creative with your choice of milk for homemade cultured buttermilk!
2. How long does it take to culture buttermilk?
If you’re in the mood for some homemade buttermilk, be prepared to exercise a little patience. Culturing buttermilk may take anywhere from 8 to 24 hours. To start the process, you’ll need milk and a starter culture such as buttermilk or yogurt. The temperature of your surroundings also plays a role in the time it takes for buttermilk to culture. If it’s warmer, around 72-77°F (22-25°C), it will take around 8 hours for the milk to transform into tangy, creamy goodness. On the other hand, if your kitchen is cooler at 65-70°F (18-21°C), expect a longer incubation period of about 12-24 hours. So while you may have an impromptu craving for buttermilk pancakes or biscuits, planning ahead is vital for success in summoning that delightful cultured flavor we all cherish!
3. Can I use store-bought buttermilk as a starter culture?
Sure! If you’re looking to make homemade buttermilk and wondering if store-bought buttermilk can be used as a starter culture, the answer is yes! Store-bought buttermilk can indeed be used to kickstart the fermentation process. But keep in mind that not all store-bought versions are created equal – it’s crucial to choose a brand that contains live cultures. These active cultures are what trigger the fermentation, transforming milk into tangy buttermilk. When using store-bought buttermilk as a starter culture, simply mix it with fresh milk and let it sit at room temperature for about 24 hours until thickened. Remember to save some of your homemade buttermilk for future batches; this way, you won’t have to rely on store-bought options anymore. With a little patience and experimentation, you’ll soon be savoring your very own homemade buttermilk in no time!
4. What are some common signs of a successful culturing process?
So, when it comes to determining whether a culturing process is successful, there are several common signs to look out for. One of the key indicators is the presence of visible growth or proliferation of the desired organism. This can be observed through changes in color, texture, or density of the culture medium. Additionally, a successful culturing process will often result in clear and distinct colonies forming on solid agar plates, indicating isolation and separation of individual microorganisms. Another important sign is the absence of contamination by unwanted organisms. A lack of unusual odors or discoloration within the culture also suggests successful cultivation. Moreover, successful culturing typically involves consistent replication, meaning that transferring a small amount of the cultured material onto fresh media yields similar results over time. These various factors together provide evidence for an effective and productive culturing process taking place.
Homemade Cultured Buttermilk Recipe
Homemade Cultured Buttermilk Recipe
Equipment
- 1 quart size Mason jar
Ingredients
- ¼ cup buttermilk starter culture.
- 1 quart whole milk.
Instructions
- Bring 1 quart of whole milk to room temperature.
- Mix in 1/4 cup of buttermilk starter culture to the room temperature whole milk.
- Place a tight lid on the jar and give it a good shake!
- Loosen the lid and set the jar in a warm place such as near the stove to ferment for 8 to 12 hours, until thickened.
- Stir the cultured buttermilk, tighten the lid, and place in the fridge.
- Use within 1 week.
Summary
I hope I have inspired you to make your own cultured buttermilk to enjoy and share with your friends and family.
If you were encouraged by this post, I invite you to check out my FREE Printables Page for fun free printables, planners, and charts.
ENTER MY FREE Printables Page HERE
How to Make Easy Homemade Ricotta Cheese
10 Unexpected Uses for Whey In Your Recipes
Blessings,
The Off Grid Barefoot Girl

