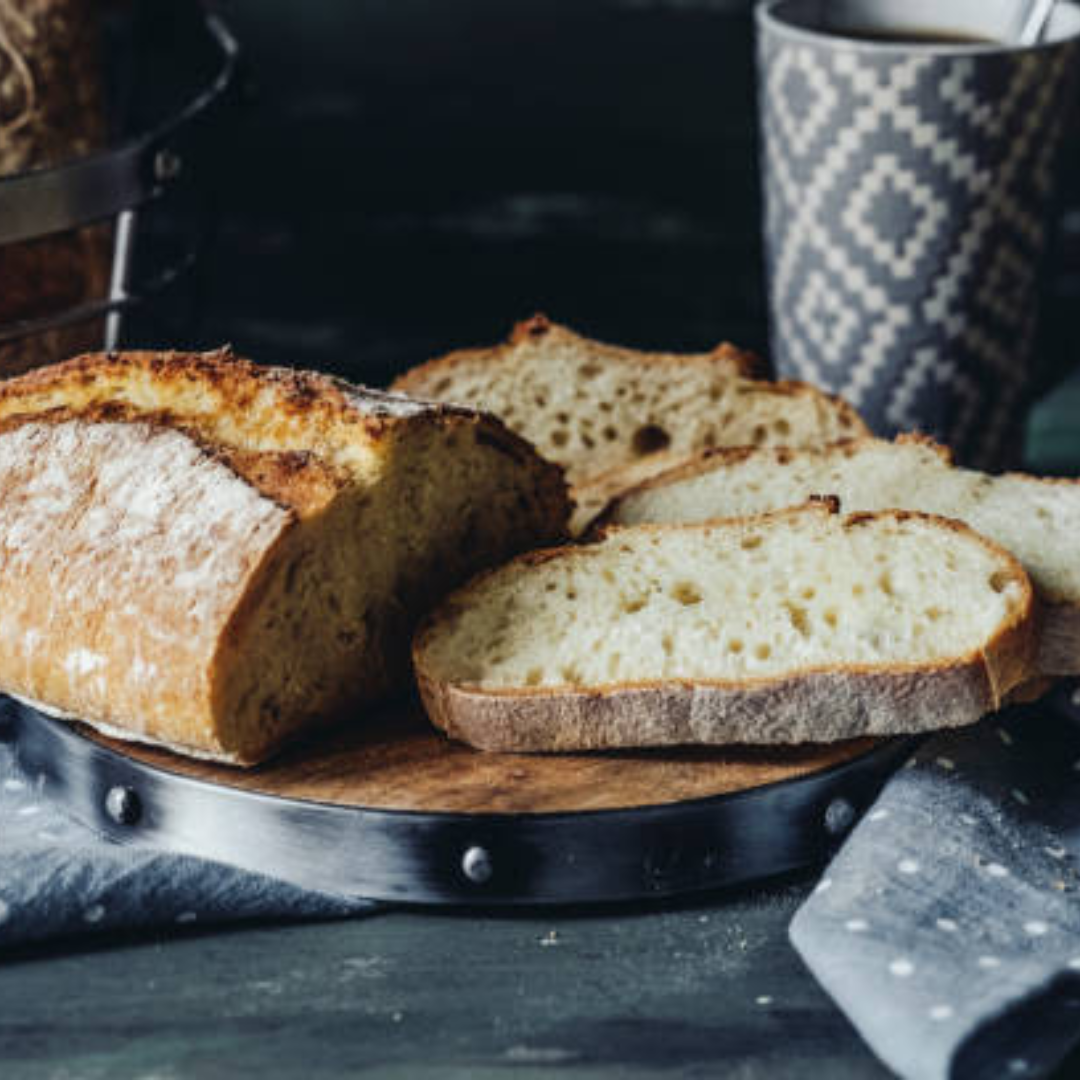
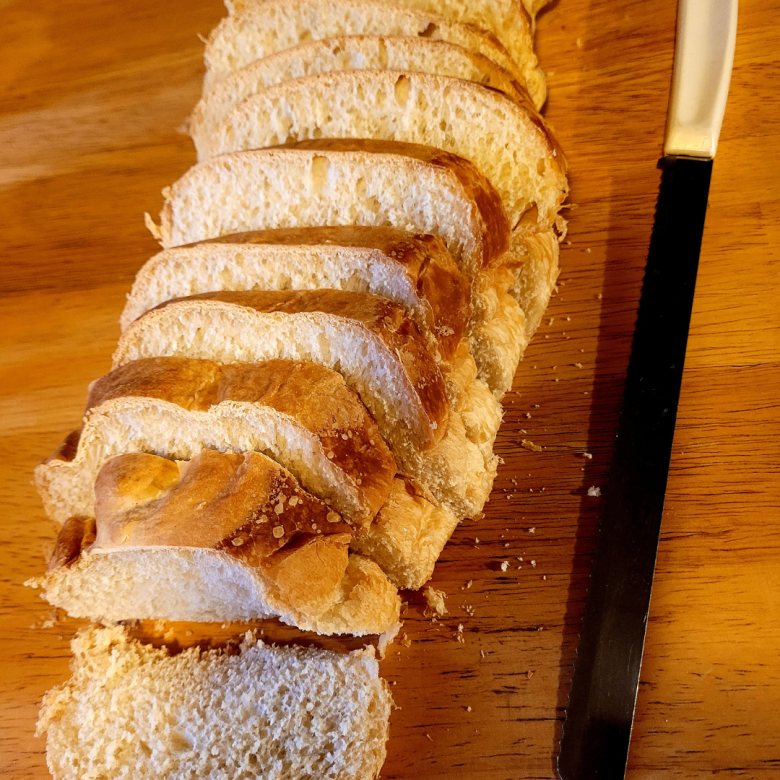
Learn how to make artisan bread at home with this easy, step-by-step guide. Using simple ingredients and traditional techniques, you’ll create a rustic loaf with a crispy crust, airy crumb, and rich flavor. Perfect for beginners or experienced bakers, this recipe walks you through the process of long fermentation, proper shaping, and baking techniques to achieve bakery-quality artisan bread in your own kitchen—no fancy equipment required!
Imagine the beauty of a homemade loaf, its crust golden and rustic, with a warm, tender crumb inside that just melts in your mouth. That’s the magic of artisan bread! Unlike store-bought loaves, which are often packed with additives, each artisan loaf is unique and full of personality, reflecting the care you put into it. It’s the kind of bread that takes you back to old-world kitchens, where every slice tells a story of simplicity, patience, and deliciously authentic flavor. With its crisp, crackling crust and soft, airy interior, artisan bread is an experience you’ll want to share with everyone who walks through your door.
Why Homemade Artisan Bread is Worth Every Effort
Baking your own artisan bread is so worth it—you’ll taste, smell, and feel the difference! When you make it yourself, you control the ingredients and techniques, creating a loaf that’s fresher, healthier, and uniquely yours. The flavors develop with each rise and fold, giving you a bread that’s deeply aromatic, complex, and totally free from preservatives. And let’s be honest, there’s a special joy in mixing and kneading, watching your dough grow, and finally pulling a golden-brown masterpiece from the oven. Each slice is more than just food—it’s something you created with your own hands, and that’s incredibly satisfying.
What You’ll Learn in This Guide
This guide is here to help you every step of the way, from gathering ingredients to the moment you slice into your freshly baked loaf. You’ll learn about each ingredient—why they matter, how to use them, and how to make choices that fit your flavor and texture preferences. I’ll walk you through the whole process, including mixing, kneading, and fermenting the dough, with plenty of tips and techniques to get the texture and crust just right. And if things don’t go as planned, I’ve included troubleshooting advice to help you fix common issues and keep going with confidence. By the end, you’ll have all you need to make artisan bread that’s uniquely yours and so worth sharing!
This is a pinnable post. Tap or hover over any image in this post to pin to your Pinterest Boards.
Understanding the Basics of Artisan Bread
What is Artisan Bread
Characteristics: Open Crumb Structure, Crusty Exterior, Simple Ingredients
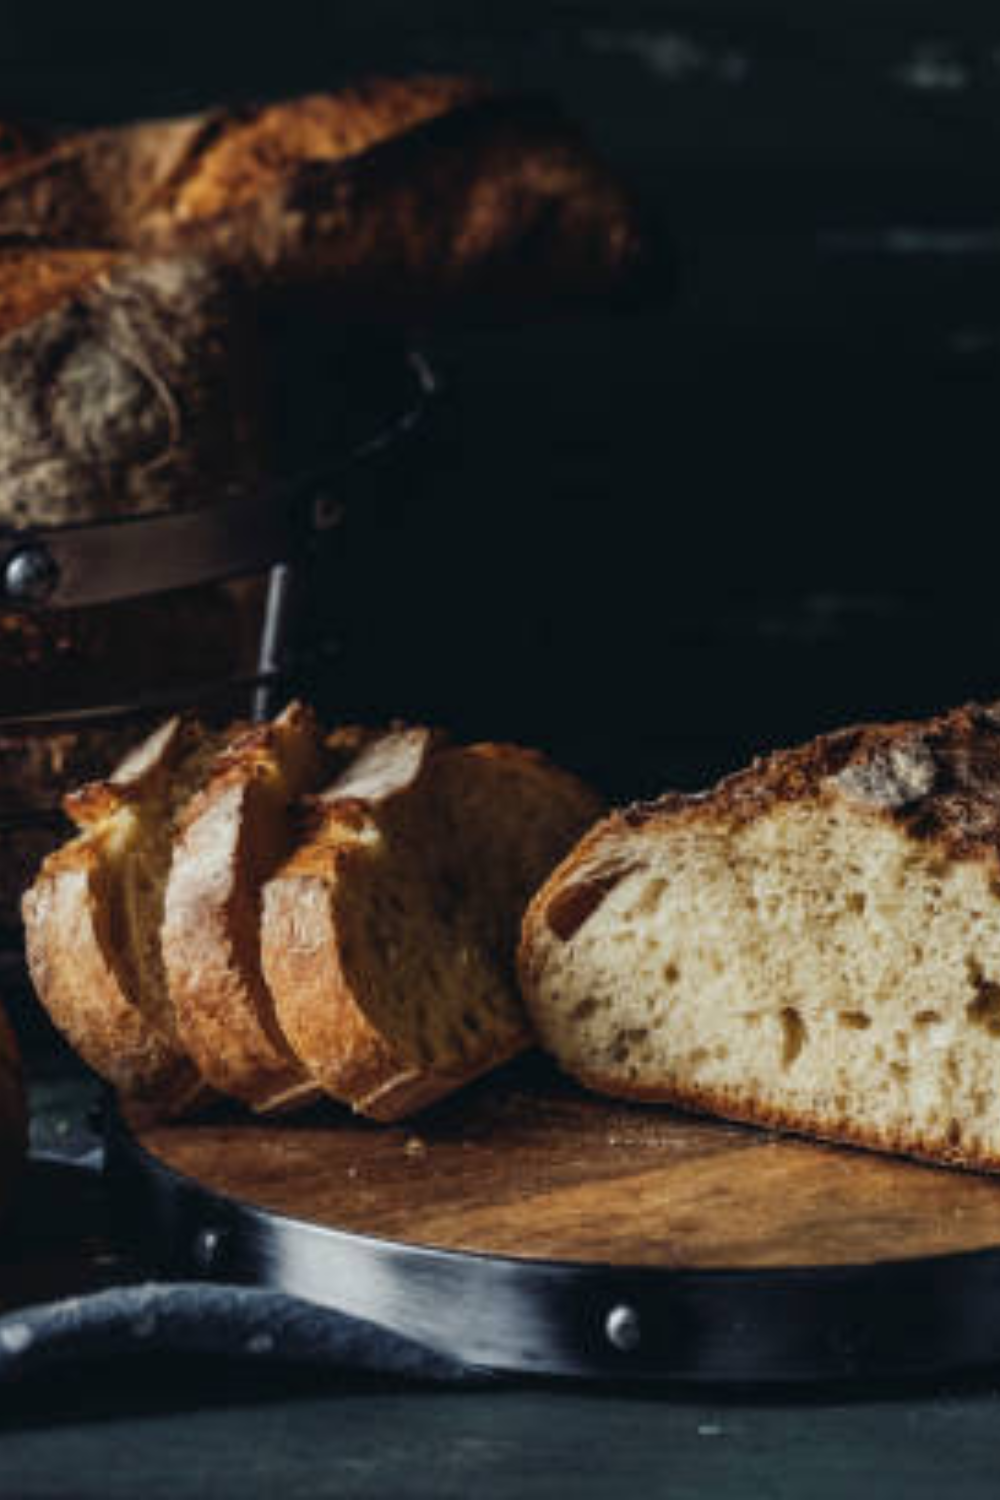
Artisan bread is all about the beauty of simplicity. With just a few ingredients—flour, water, salt, and sometimes a touch of yeast or sourdough starter—you can create something amazing. Its defining characteristics include a crusty, golden-brown exterior that cracks and crunches as you slice into it and an open, airy crumb structure inside. Those big, uneven holes in the bread’s interior are a hallmark of artisan loaves, giving it a light, chewy texture. The minimal ingredients let each element shine, making every bite more flavorful and letting you really taste the difference that time, care, and technique bring to each loaf.
Differentiation from Other Bread Types
Unlike enriched or commercial breads, which often have added sugar, fats, and preservatives, artisan bread is all about natural simplicity. Enriched breads—think brioche or sandwich bread—are soft and often sweeter, thanks to ingredients like milk, butter, and eggs, while commercial loaves are usually made with conditioners and preservatives to extend their shelf life. Artisan bread, on the other hand, is all about showcasing the essentials, using time and skill to create flavor and texture instead of relying on additives. The result is a rustic, wholesome loaf that brings out the best in simple ingredients, providing a taste and texture that truly stands apart.
Essential Ingredients
Flour: Types and How They Affect Texture
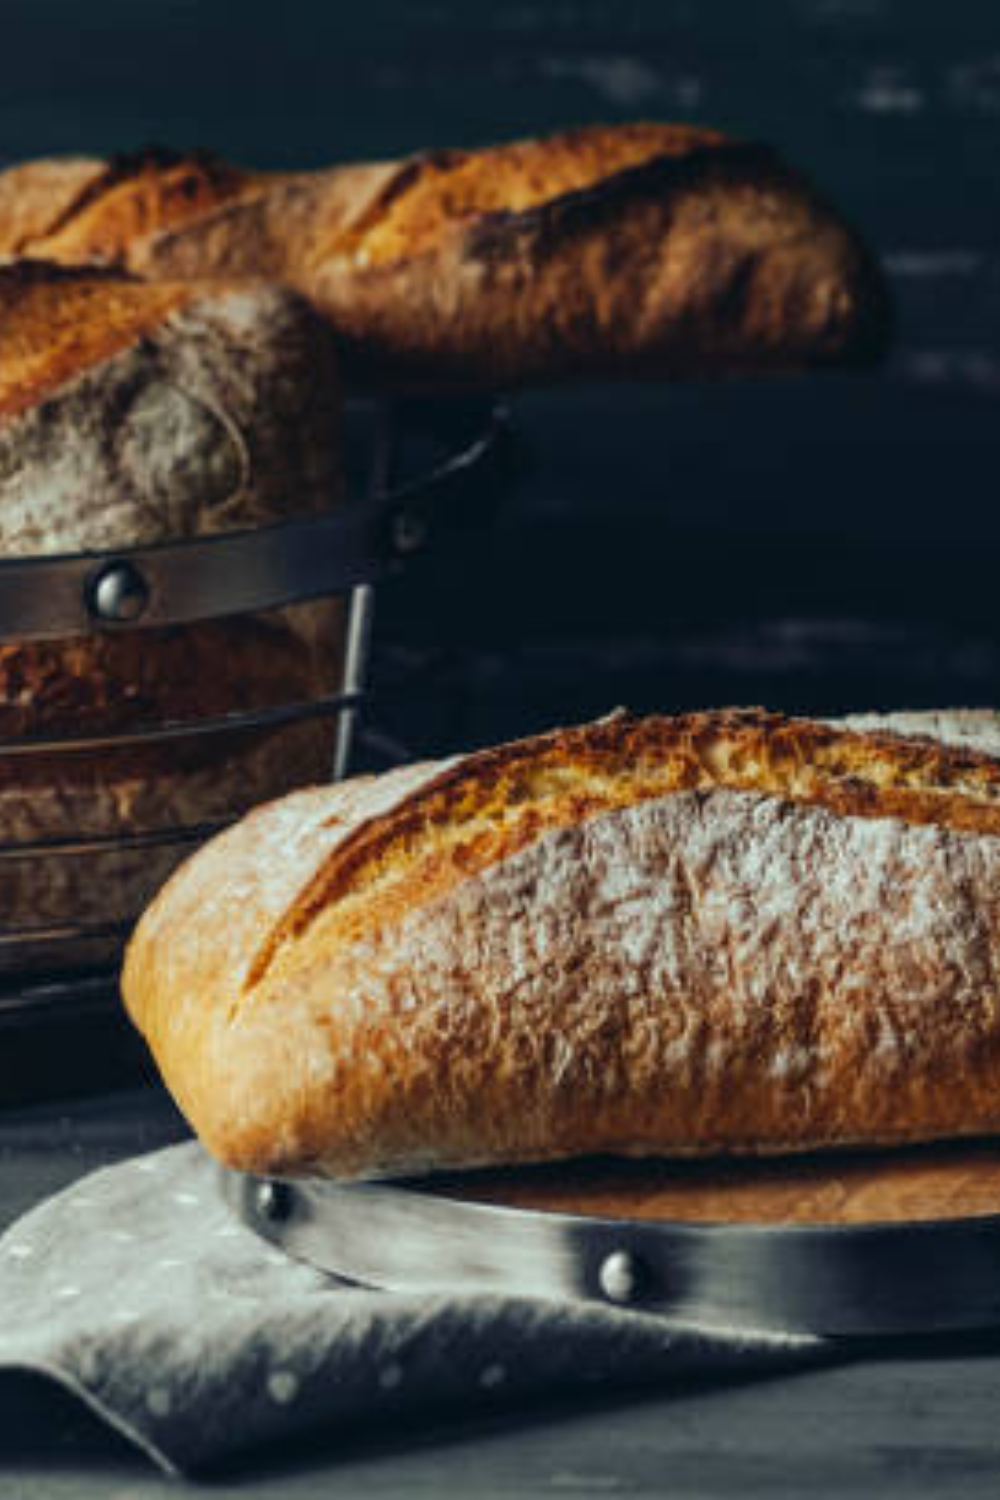
Choosing the right flour is one of the biggest factors in shaping your bread’s final texture. Bread flour, with its high protein content, is ideal for artisan bread because it strengthens gluten, giving the bread its signature chewy, airy structure. All-purpose flour is another option, though it tends to produce a softer crumb due to its lower protein level. If you want a denser, more rustic texture, try incorporating some whole wheat or rye flour, which also adds rich, earthy flavors. Experimenting with different flours lets you customize the texture and taste of your bread, giving each loaf a character that’s all your own.
Water: Its Role in Gluten Development and Hydration Levels
Water does more than just moisten the dough; it’s essential for activating gluten, which is what gives bread its structure and elasticity. The amount of water you use, known as the hydration level, also impacts the texture—higher hydration levels lead to a more open crumb with larger holes, while lower hydration levels result in a tighter crumb. Water also makes the dough more manageable and aids in fermentation, helping the yeast work its magic. Getting familiar with your dough’s hydration level is a great way to adjust texture and make each batch of bread better than the last.
Salt: Enhancing Flavor and Slowing Fermentation
Salt is more than a seasoning in bread—it plays a vital role in balancing flavors and even affects the dough’s behavior as it ferments. A bit of salt sharpens the bread’s flavor and helps control yeast activity by slowing down fermentation, which gives the dough time to develop its taste and structure. It also strengthens gluten, making the dough easier to handle and less sticky. Too little salt, and you’ll end up with a flat flavor; too much, and it can make the dough stiff and slow to rise. Adding just the right amount brings out the best in your ingredients.
Yeast or Starter: Options for Flavor (Commercial Yeast vs. Sourdough Starter)
The choice between using commercial yeast and a sourdough starter can dramatically influence your bread’s flavor and texture. Commercial yeast works quickly, allowing you to make bread in a few hours, and produces a milder flavor, great for showcasing the natural taste of the flour. Sourdough starter, on the other hand, is a live culture of wild yeast and bacteria, which gives the bread a more complex, tangy flavor, but takes longer to rise. Using a sourdough starter adds a unique character and depth that develops over time. Both methods have their benefits, and exploring each can lead to finding your favorite flavor profile. I love the flexibility of the sourdough option as I can set it and forget it for a good long while.
Preparing to Bake Artisan Bread
Equipment You’ll Need
Mixing Bowl, Kitchen Scale, Dough Scraper, and Banneton (Optional)
To set yourself up for successful artisan bread-making, a few key tools will make all the difference. Start with a sturdy mixing bowl large enough to let your dough expand comfortably. A kitchen scale is another essential, helping you measure ingredients precisely—important for consistent results in artisan baking, where even slight changes in hydration can affect the final texture. A dough scraper is invaluable for cleanly handling sticky dough, and it’s great for portioning or shaping your loaf. If you want to take it up a notch, a banneton (a woven proofing basket) can add a rustic, professional touch to your bread by helping it hold its shape during the final rise while imprinting a lovely spiral pattern on the crust.
Baking Stone or Dutch Oven for Crust Development
Achieving that perfect, crackly crust requires high, even heat, which a baking stone or Dutch oven can provide. A baking stone, when preheated, holds heat evenly, ensuring a steady rise and golden, crisp crust. It mimics a traditional bread oven by pulling moisture from the dough’s surface, helping you get that classic artisan crust. Alternatively, a Dutch oven is fantastic for capturing steam, which keeps the crust supple during the initial bake and allows the dough to rise fully before setting. Then, as the steam evaporates, the crust hardens to perfection. Both options are great investments, giving your homemade loaves a bakery-quality finish.
Preparing Your Work Surface and Tools
Choosing the Right Workspace: Cool, Draft-Free, Well-Lit
When making artisan bread, choosing the right workspace can make the process smoother and more enjoyable. Look for a cool, draft-free spot, as extreme temperatures can impact how quickly the dough rises and affect your final result. A stable environment helps your dough rise steadily without drying out or over-fermenting. Good lighting is also key, letting you clearly see the dough’s texture and hydration as you work with it. A calm, organized workspace helps you stay focused and lets you spot those little changes in your dough that signal it’s coming along perfectly.
Prepping Tools for Smooth Dough Handling (Flouring, Scraping Techniques)
Prepping your tools and workspace makes handling sticky dough a breeze. Lightly flouring your work surface keeps the dough from sticking, but try not to use too much as it can affect hydration. A dough scraper is also essential for shaping and transferring dough; a quick scrape under sticky dough helps you handle it without tearing. If you’re folding the dough, flour your hands rather than the surface so the dough keeps its moisture while being easy to shape. Prepping your tools ahead of time can make the whole process more enjoyable, giving you the confidence to create and shape beautiful loaves.
Step-by-Step Artisan Bread Recipe
Mixing the Dough
Tips for Correct Hydration and Mixing Technique
Hydration plays a big role in achieving the ideal crumb structure and texture in artisan bread, and getting it right can transform your loaf. A higher hydration level results in an open crumb and a more airy texture, but can make the dough stickier and harder to handle. Start with a moderate hydration level if you’re new to bread-making and add water gradually until you reach a consistency that feels manageable, but slightly sticky. When mixing, focus on combining ingredients until no dry spots remain, which keeps the dough hydrated evenly. Gentle mixing followed by resting allows the dough to develop structure without overworking, making it easier to fold and shape later.
Brief Intro to the Autolyse Method for Better Gluten Development
The autolyse method is a simple, effective technique that can take your bread’s texture to the next level. This method involves mixing only the flour and water and letting them rest together before adding salt and yeast. During this resting period, the flour hydrates fully, which jumpstarts gluten development and makes the dough more elastic and easier to handle. This results in a dough that’s smoother and more resilient, leading to a beautiful crumb structure in the final loaf. Autolyse is a straightforward step that brings out the best in your ingredients, enhancing the flavor, texture, and overall look of your artisan bread.
Kneading and Folding Techniques
Difference Between Kneading and Folding
Kneading and folding are both techniques to build gluten strength in dough, but they work a bit differently and are used in different types of bread-making. Kneading involves pressing, stretching, and folding the dough repeatedly to develop its elasticity, which is common in denser doughs like sandwich bread. Folding, on the other hand, is a gentler technique that’s perfect for high-hydration doughs used in artisan breads. Rather than pressing and stretching, folding simply involves lifting and stretching the dough, which builds structure without deflating it or making it too dense. Folding helps keep the dough’s airiness intact, creating an open, airy crumb in the final loaf.
Step-by-Step Instructions for Folding the Dough for Optimal Structure
To fold your dough, start by lightly wetting your hands to prevent sticking. Gently pull one side of the dough up and stretch it over to the opposite side, then rotate the bowl a quarter turn. Repeat this motion with each side of the dough, folding it onto itself like an envelope. After completing one round of folds, let the dough rest for about 30 minutes. Repeat this folding process 3-4 times during the first hour or two of fermentation. Each fold strengthens the gluten structure without breaking down the dough, helping to create that perfect, airy crumb that artisan bread is known for.
The Art of Fermentation
Bulk Fermentation
Importance of Temperature and Time for Flavor and Structure
Temperature and time are two of the most important factors in crafting the perfect artisan bread. The temperature of both your ingredients and the environment affects how quickly the dough ferments, which in turn impacts the bread’s flavor and texture. A slower, cooler rise allows complex flavors to develop as the yeast and bacteria in the dough work gradually, producing a subtle tang and depth in taste. Warmer temperatures speed up fermentation, which can be useful if you’re short on time, but a rushed rise may lead to a less structured dough and milder flavor. Allowing time for a controlled, gradual rise creates a balanced structure and a deliciously complex loaf that’s worth every minute of patience.
How to Tell When the Dough is Ready (Visual and Touch Cues)
Knowing when your dough is ready is key to getting a perfect rise and crumb. Visually, a well-fermented dough will have a smooth, slightly domed surface with small bubbles visible under the skin. When you touch it, the dough should feel soft and airy yet hold its shape—it’s a sign that gluten has developed enough to support the dough’s structure. One reliable touch test is to gently press a finger into the dough; if it springs back slowly and leaves a slight indentation, it’s ready for the next step. These cues give you a feel for the dough’s readiness, helping you time each step for the best result.
Shaping and Final Proofing
Shaping Techniques for Artisan Loaves (Boule, Batard)
The shaping process is a crucial step in artisan bread-making, as it helps create tension in the dough and defines the loaf’s final structure. Two popular shapes are the boule and the batard. To shape a boule, start by gently flattening the dough and then folding the edges toward the center to create a round shape. Use your hands to rotate the dough while tucking the edges underneath, forming a tight ball. For a batard, which is an oval-shaped loaf, flatten the dough similarly, but shape it into an elongated form by rolling it up from the top and pinching the seam to seal it. Both techniques require gentle handling to preserve the air bubbles created during fermentation, leading to beautifully shaped loaves that have a fantastic crust and crumb once baked.
Setting Up the Proofing Environment (Room Temperature vs. Cold Proofing in the Fridge)
The proofing environment plays a significant role in how your bread develops during its final rise. Room temperature proofing typically takes place in a warm, draft-free area, allowing the dough to rise quickly and develop a light texture. This method is ideal if you’re looking to bake the bread the same day.
On the other hand, cold proofing in the fridge slows down the fermentation process, allowing the dough to develop more complex flavors over a longer period. It’s a fantastic option if you want to bake the next day or if you prefer a deeper, more nuanced flavor profile. Choosing between these methods depends on your schedule and desired flavor, but both can lead to incredible artisan bread.
Baking Your Artisan Bread
Preheating and Preparing the Oven
How to Achieve a Crisp Crust Using Steam (Baking Stone/Dutch Oven Method)
Creating a crisp crust is one of the hallmarks of artisan bread, and steam plays a vital role in achieving that beautiful, crackly exterior. When using a baking stone, you can generate steam by placing a shallow pan filled with hot water on the bottom rack of your oven before baking. As the bread bakes, the steam helps keep the crust soft during the initial phase, allowing the loaf to expand fully before the crust sets.
Alternatively, a Dutch oven traps steam effectively, creating a mini-oven environment. Preheat the Dutch oven, then carefully place your shaped dough inside, cover it, and let it bake for the first 20 minutes. Removing the lid for the final baking stage allows the crust to crisp up beautifully, giving you that perfect artisan loaf.
Oven Temperatures for Ideal Crust and Crumb Texture
Getting your oven temperature right is crucial for achieving both an ideal crust and crumb texture in your artisan bread. A hot oven, typically set between 450°F to 500°F (232°C to 260°C), is essential for a good oven spring, which helps the bread rise rapidly as it begins to bake. This quick rise contributes to a lighter crumb structure. For the best crust, maintaining high heat at the start of baking allows for that initial burst of steam, which is necessary for developing a crisp, golden exterior. After the first 20 minutes, you can lower the temperature slightly to around 400°F (204°C) to ensure the inside of the loaf cooks thoroughly without burning the crust. This combination of high and moderate temperatures is the secret to perfect artisan bread!
Scoring and Baking the Loaf
How to Score for Aesthetic and Functional Purposes
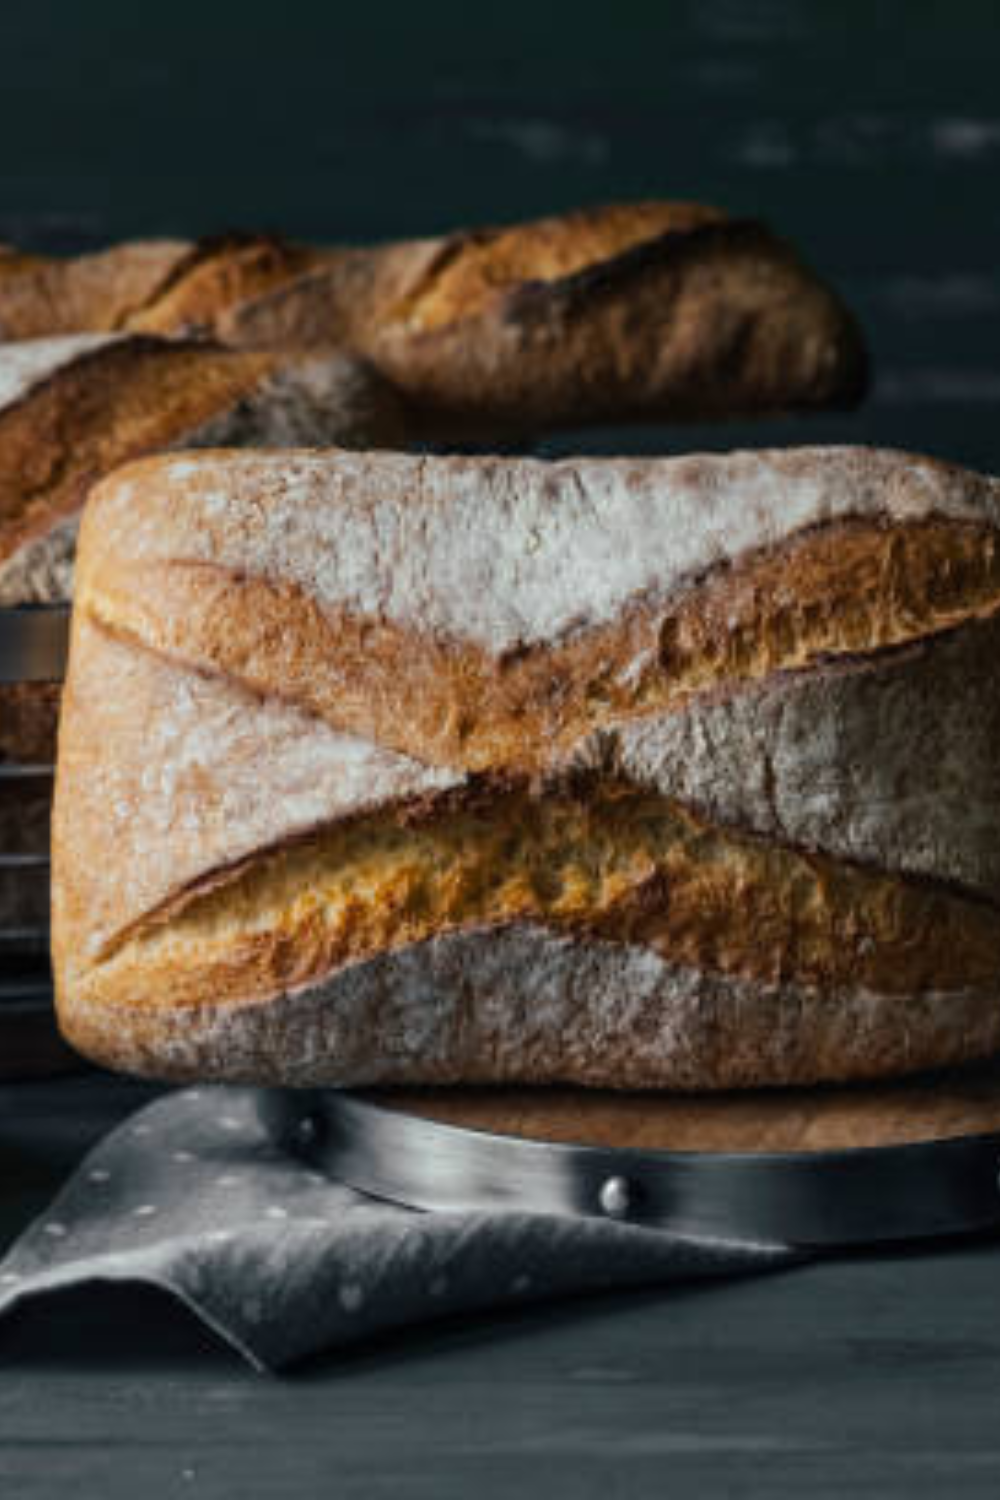
Scoring your dough before baking is a crucial step that serves both aesthetic and functional purposes. Aesthetically, it adds a decorative touch to your loaf, creating beautiful patterns that enhance its visual appeal. Functional-wise, scoring allows steam to escape during baking, which prevents the bread from bursting unpredictably and helps control the expansion of the loaf. This controlled release creates a more even rise and contributes to the desired crust texture. To score, use a sharp blade and make clean, decisive cuts on the surface of the dough right before placing it in the oven. You can experiment with different designs, from simple slashes to intricate patterns, allowing your creativity to shine through in each loaf.
Baking Time and How to Check for Doneness
Baking time can vary depending on the size and shape of your loaf, but a general guideline for artisan bread is to bake it for about 25 to 40 minutes at a high temperature. To check for doneness, there are a couple of reliable methods you can use.
- First, look for a deep golden-brown crust that is firm to the touch; this visual cue indicates that the exterior has developed properly.
- The second method involves using an instant-read thermometer—insert it into the center of the loaf, and if it reads around 200°F to 210°F (93°C to 99°C), your bread is done.
- You can also gently tap the bottom of the loaf; it should sound hollow if it’s fully baked.
These checks will help ensure your artisan bread is perfectly baked, with a crusty exterior and a soft, airy interior.
Troubleshooting and Advanced Tips
Common Problems and How to Fix Them
Over-Proofing, Under-Proofing, Dense Crumb, Too Much Spread
Understanding the signs of over-proofing and under-proofing is essential for achieving that perfect artisan loaf. Over-proofing occurs when the dough has risen too long, leading to a weak structure that causes the loaf to collapse in the oven, resulting in a dense crumb and too much spread.
Conversely, under-proofed dough lacks the necessary gas bubbles, which can result in a loaf that doesn’t rise properly and has a tight crumb. If you notice your dough spreading too much during baking, it’s often a sign that it was over-proofed. To correct these issues, it’s important to pay close attention to your dough’s behavior during fermentation. Keep an eye on visual cues, such as size and bubbles, and perform the finger poke test: if the dough springs back slowly, it’s ready; if it doesn’t spring back at all, it may be over-proofed. If you suspect under-proofing, give the dough more time to rise before baking.
Solutions for Each Issue and How to Adjust Your Approach
To address over-proofing, you might consider reducing the bulk fermentation time or proofing the dough in a cooler environment to slow fermentation. If you find your dough is consistently over-proofing, you can also adjust your yeast quantity or experiment with cold proofing, which allows for more control over the fermentation process.
For under-proofing, ensure you allow enough time for the dough to rise and become aerated, and be mindful of environmental factors like temperature and humidity. If you’re dealing with a dense crumb, try increasing hydration levels or adjusting your kneading or folding techniques to build more strength in the gluten structure. Ultimately, observing the dough closely and making small adjustments based on its behavior will lead to improved results and a more successful baking experience.
Experimenting with Flavors and Variations
Adding Inclusions Like Seeds, Herbs, and Dried Fruits
Incorporating inclusions such as seeds, herbs, and dried fruits into your artisan bread can elevate both flavor and texture, creating a more complex and enjoyable loaf. When adding seeds, like sunflower, sesame, or poppy seeds, consider toasting them lightly beforehand to enhance their nutty flavor. Fresh or dried herbs can be mixed into the dough for an aromatic touch; rosemary, thyme, and basil are excellent choices that pair well with many bread types.
Dried fruits, like cranberries, apricots, or raisins, can add a delightful sweetness and chewiness, transforming your bread into a gourmet experience. When working with inclusions, it’s best to add them during the mixing stage, just after the autolyze, to ensure even distribution throughout the dough. Keep in mind that these additions can slightly affect the dough’s hydration, so you may need to adjust the water content to maintain the right consistency.
Working with Sourdough Starter vs. Yeast for Flavor Changes
Using a sourdough starter instead of commercial yeast can bring a whole new dimension of flavor to your artisan bread. Sourdough starter is a culture of wild yeast and bacteria that not only leavens your bread but also contributes to its unique tangy flavor profile. This natural fermentation process produces lactic acid, which enhances the bread’s taste and helps create a chewy texture.
In contrast, commercial yeast tends to ferment more quickly and produces a milder flavor, which can be desirable for certain types of bread, but may lack the complexity that sourdough provides. If you choose to work with a sourdough starter, be prepared for longer fermentation times, which will allow the flavors to develop fully. Experimenting with both methods can be a rewarding journey; each will yield different textures and flavors, giving you the flexibility to create the artisan bread that best suits your palate.
Conclusion
In summary, the artisan bread-making process involves several key steps that come together to create that perfect loaf. Begin by selecting quality ingredients—flour, water, salt, and yeast or sourdough starter—before mixing and allowing for proper hydration and gluten development. Don’t forget the importance of shaping and proofing, as these steps build structure and flavor. Utilize steam during baking for a crisp crust and monitor oven temperatures to achieve the ideal crumb texture. Remember, patience is vital; allowing the dough to ferment and rise adequately will lead to the best results. By paying attention to the dough’s visual cues and adjusting your approach as needed, you can avoid common pitfalls like over-proofing or under-proofing. With these tips in hand, you’re well on your way to becoming an artisan bread expert!
I encourage you to explore artisan bread-making and give it a try! There’s something incredibly rewarding about creating your own bread from scratch, and with practice, you’ll find it becomes a delightful part of your culinary routine. Don’t be afraid to experiment with different flavors and inclusions, such as herbs, seeds, and dried fruits, to make each loaf uniquely yours. Each bake offers an opportunity to explore your creativity in the kitchen, so whether you stick to the classic recipes or venture into innovative combinations, the journey will be just as satisfying as the final product.
Let’s Hear From You!
I’d love to hear about your bread-making experiences! Please feel free to share your thoughts, questions, or challenges in the comments below. Whether you’re a seasoned baker or just starting, your insights can help foster a vibrant community of fellow bread enthusiasts. If there are specific topics or techniques you’d like to explore in future posts—like troubleshooting common issues, advanced shaping methods, or exploring international bread styles—let me know! Your feedback is invaluable in shaping our discussion around all things bread, and I look forward to sharing more delicious tips and recipes with you soon!
Resources: Here are some helpful resources for further information.
- Artisan Bread – By Sugar Spun Run
- Artisan Bread – By Preppy Kitchen
- The Best Homemade Artisan Bread Recipe – By Chef Billy Parisi
Frequently Asked Questions
1. What type of flour should I use for artisan bread?
For artisan bread, it’s best to use high-quality bread flour, which has a higher protein content than all-purpose flour. This higher protein helps develop gluten, giving your bread a nice structure and chewy texture. You can also experiment with whole wheat flour or specialty flours like rye for different flavors and textures.
2. How do I know when my dough has risen enough?
You can tell your dough has risen sufficiently when it has approximately doubled in size and exhibits a smooth, slightly domed surface with visible bubbles. A useful test is the finger poke test: gently poke the dough with a floured finger; if the indentation springs back slowly and retains a slight mark, it’s ready to shape.
3. Can I use instant yeast instead of sourdough starter?
Yes, you can definitely use instant yeast in place of a sourdough starter! While instant yeast will produce faster fermentation and a milder flavor, you can still achieve a delicious loaf. Just be sure to adjust your recipe to account for the different fermentation times and methods used with commercial yeast.
4. What can I do if my bread turns out too dense?
If your bread is too dense, it may be due to under-proofing, insufficient hydration, or not enough gluten development. Ensure you allow the dough ample time to rise and become aerated. You can also try increasing the water content in your dough or using a higher protein flour to improve gluten development for a lighter texture.
Artisan Bread
Equipment
- 1 Dutch oven.
- 1 mixing bowl
Ingredients
- 4 cups bread flour (500 g).
- 1 ½ cups warm water (360 ml).
- 2 tsp instant yeast.
- 1 ½ tsp salt.
Instructions
Mix the Ingredients
- Combine the flour, yeast, and salt in a large bowl, then gradually add the warm water until a shaggy dough forms.
Autolyse
- Let the dough rest for about 30 minutes to allow the flour to hydrate fully.
Kneading
- Knead the dough until it becomes smooth and elastic, about 8-10 minutes.
First Rise
- Place the dough in a lightly greased bowl, cover it, and let it rise until doubled in size, about 1-2 hours.
Shaping
- Gently shape the dough into a round or oval loaf, then let it rest for a few minutes before final shaping.
Second Rise
- Place the shaped dough into a floured banneton or a bowl lined with a floured cloth, cover, and let rise for another hour.
Preheat and Bake
- Preheat your oven to 450°F (232°C) with a baking stone or Dutch oven inside.
- Create steam by adding water to a pan in the oven, then bake the bread until golden brown and hollow sounding when tapped, about 25-40 minutes.
Cooling
- Let the bread cool completely on a wire rack before slicing to ensure a perfect texture. Enjoy your homemade artisan bread fresh or toasted!
Summary
I hope I have inspired you to bake your very own bread loaves to enjoy and share with your friends and family.
If you were encouraged by this post, I invite you to check out my FREE Printables Page for fun free printables, planners, and charts.
ENTER MY FREE Printables Page HERE
Here are some more of my bread-making inspiration posts to check out!
The Best Hoagie Buns Recipe Made From Scratch!
Pumpkin: How to Make Chocolate Chip Pumpkin Bread
Sweet Potato Bread: How to Make Sweet Potato Bread
Chocolate Chip Cookies: How to Make Chocolate Chip Cookie Bread
Carrot Cake Quick Bread: How to Make Carrot Cake Quick Bread
How to Make Strawberries and Cream Sourdough Bread
How to Make S’mores Sourdough Bread
July 4th Bread: How to Make a Firecracker Marble Bread Braid
Artisan Bread: How to Make Artisan Bread
Challah Bread: How to Make a 6 Braided Challah Bread
Sweet Bread: How to Make Sweet Bread
Blessings,
The Off Grid Barefoot Girl

