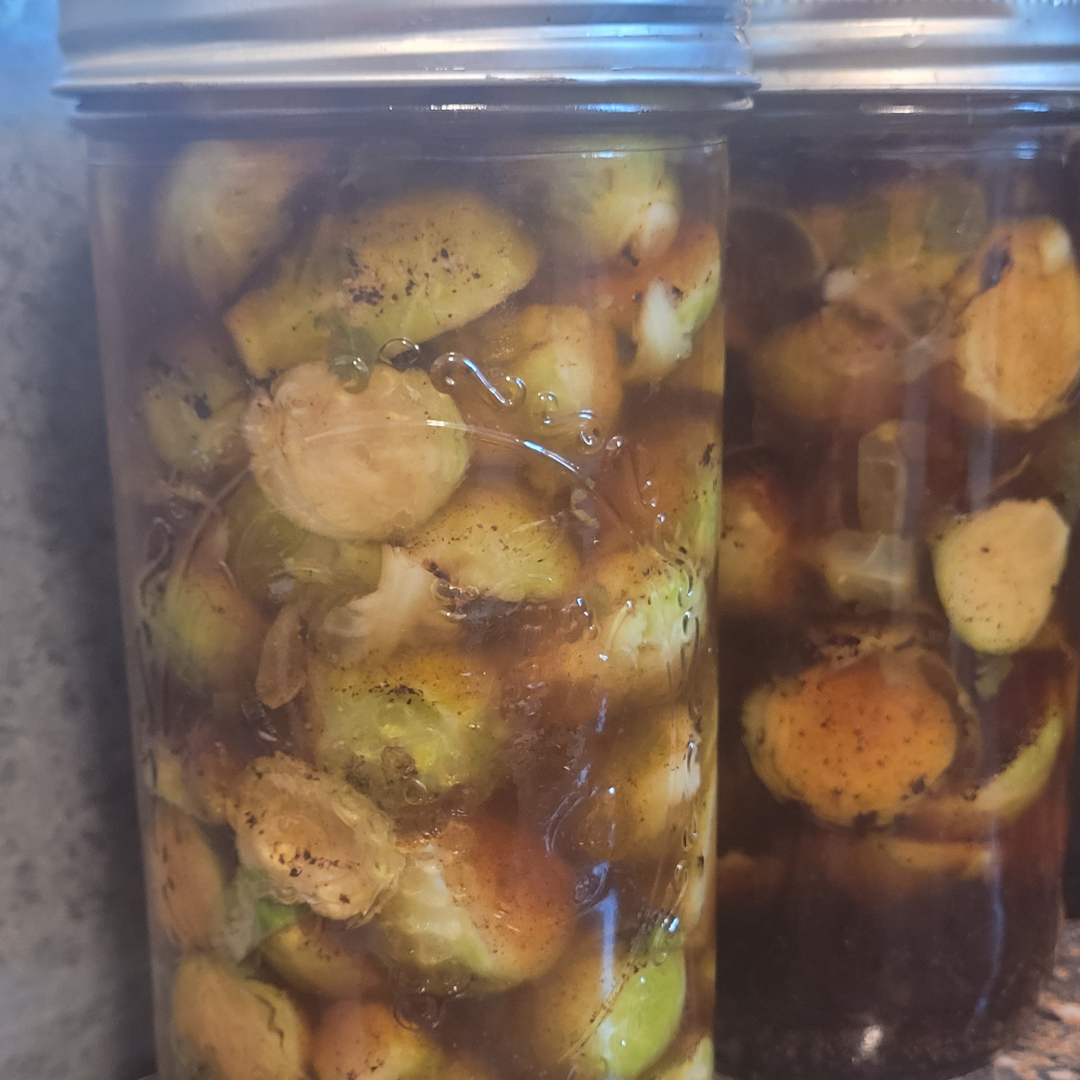
If you’re looking for a unique, flavorful way to preserve Brussel sprouts, you’ll love this Maple Balsamic Brussel Sprouts recipe inspired by Rachael at That 1870’s Homestead. With a perfect balance of tangy balsamic vinegar, sweet maple syrup, and fresh, crisp sprouts, this is a must-try recipe for home canners and foodies alike. Whether you’re filling your pantry or looking for a side dish that steals the show, this simple canning tutorial walks you through every step.
Suppose you’ve ever watched That 1870’s Homestead on YouTube, you know just how inspiring and down-to-earth Rachael is. I’ve followed her channel for years and love her blend of modern homesteading and traditional know-how. When I saw her canning Maple Balsamic Brussel Sprouts, I knew I had to give it a try.
Let me tell you—we absolutely loved them! These sprouts have that amazing sweet-tart punch from the maple syrup and balsamic vinegar, with just enough garlic to make your taste buds happy. They’re great right out of the jar or warmed up as a side dish. If you’re new to water bath canning or just want to add a gourmet touch to your food storage, this is a perfect place to start.
This is a pinnable post. Tap or hover over any image in this post to pin to your Pinterest Boards.
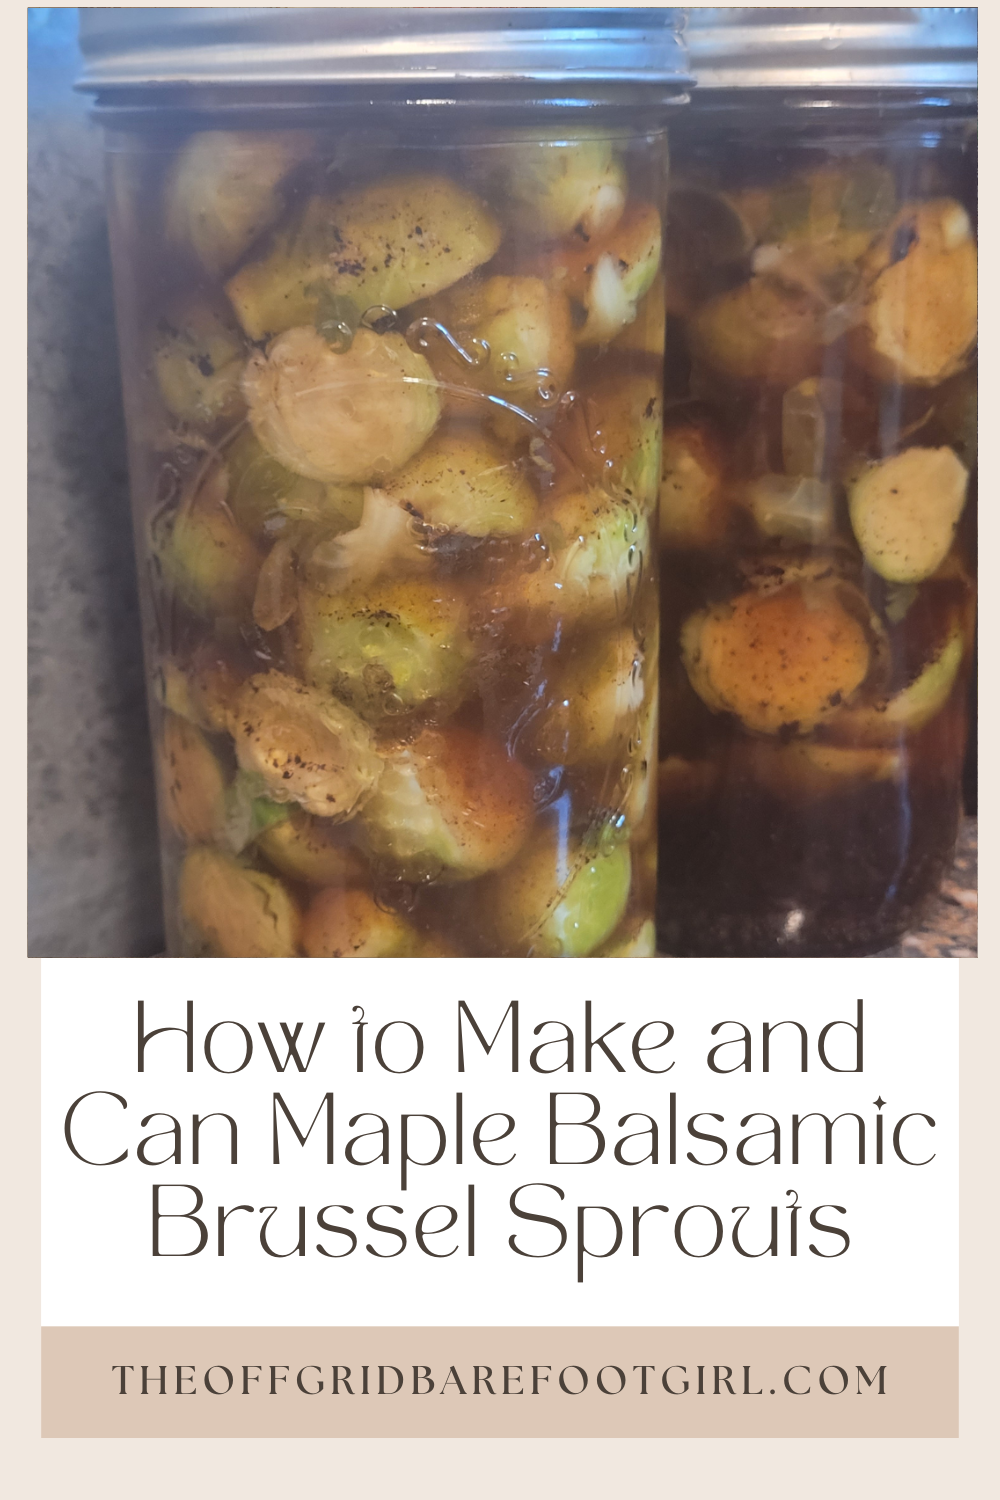
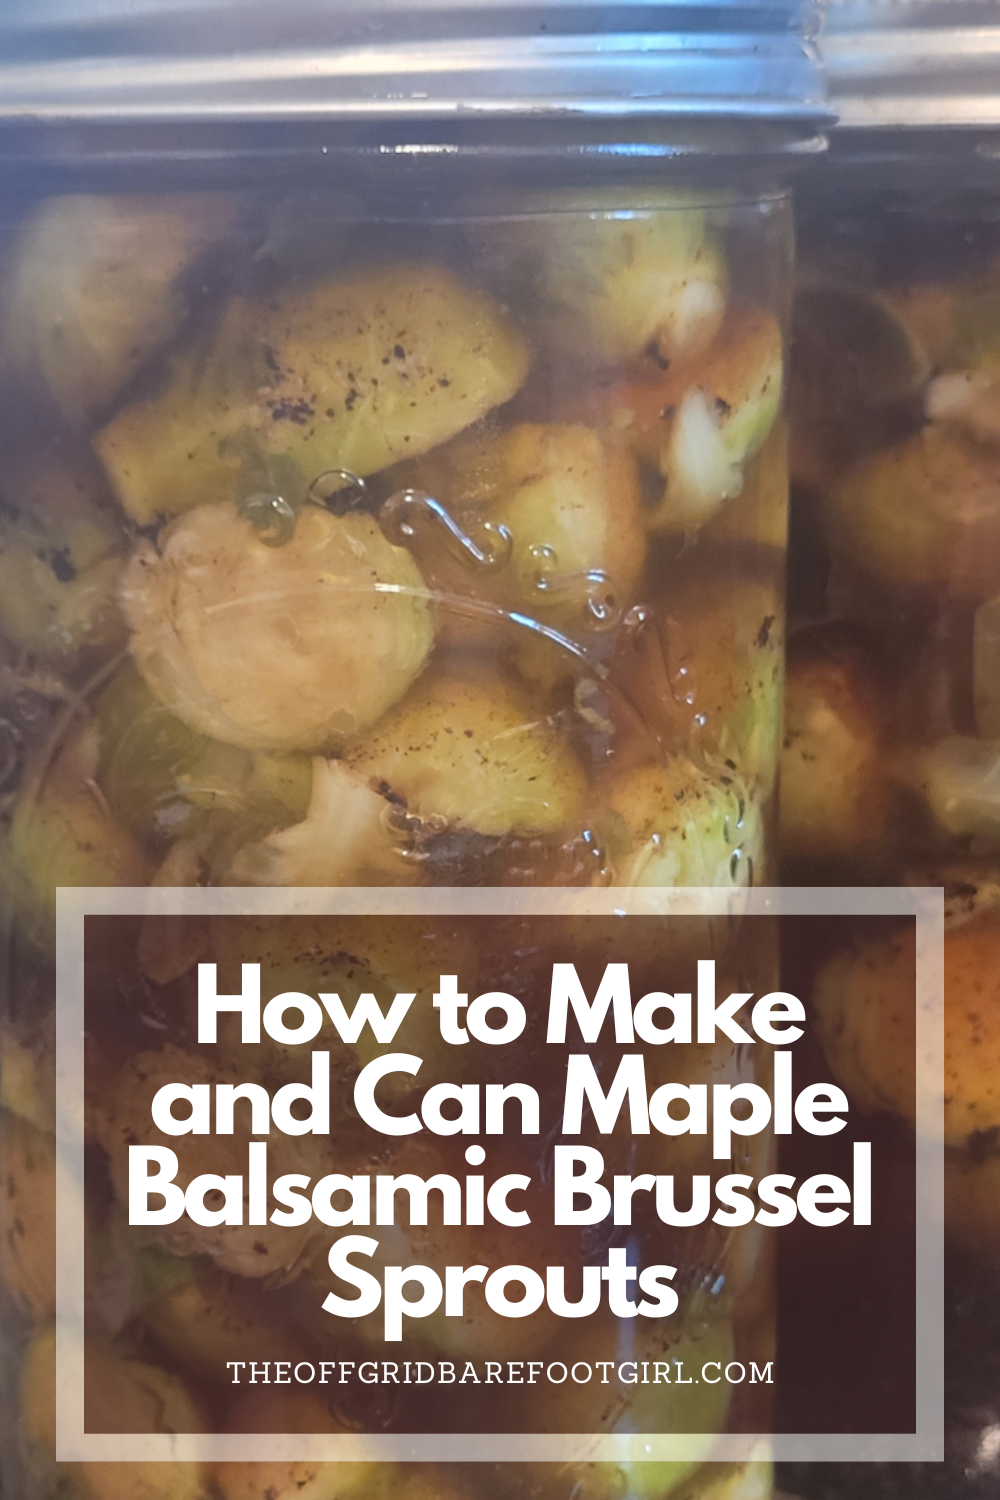
Recipe Tutorial for How to Make and Can Maple Balsamic Brussel Sprouts
Ingredients
- 2 pounds fresh Brussel sprouts (trimmed and halved if large)
- 2½ cups water
- 2½ cups white balsamic vinegar (or regular balsamic for a deeper flavor)
- 1½ tablespoons kosher salt
- ⅓ cup real maple syrup
- 6 cloves of garlic (sliced)
- Red pepper flakes (optional, for a little kick)
Tools Needed
- Large pot for blanching
- Canning jars (pint size recommended)
- Water bath canner
- Jar lifter and funnel
- Bubble remover or chopsticks
- Clean towels
Step-by-Step Instructions
Step 1: Prep the Sprouts
I started by washing and trimming all the Brussel sprouts. If any were larger than bite-sized, I cut them in half to help the flavor soak in better.
Step 2: Blanch the Sprouts
In a large pot of boiling water, I blanched the sprouts for about 4 minutes. Then I drained them and set them aside while I worked on the brine.
Step 3: Make the Brine
I combined 2½ cups of water with 2½ cups of white balsamic vinegar in a large saucepan. Then I stirred in 1½ tablespoons of kosher salt and ⅓ cup of real maple syrup. I heated it just until everything dissolved and the brine was hot but not boiling.
Step 4: Pack the Jars
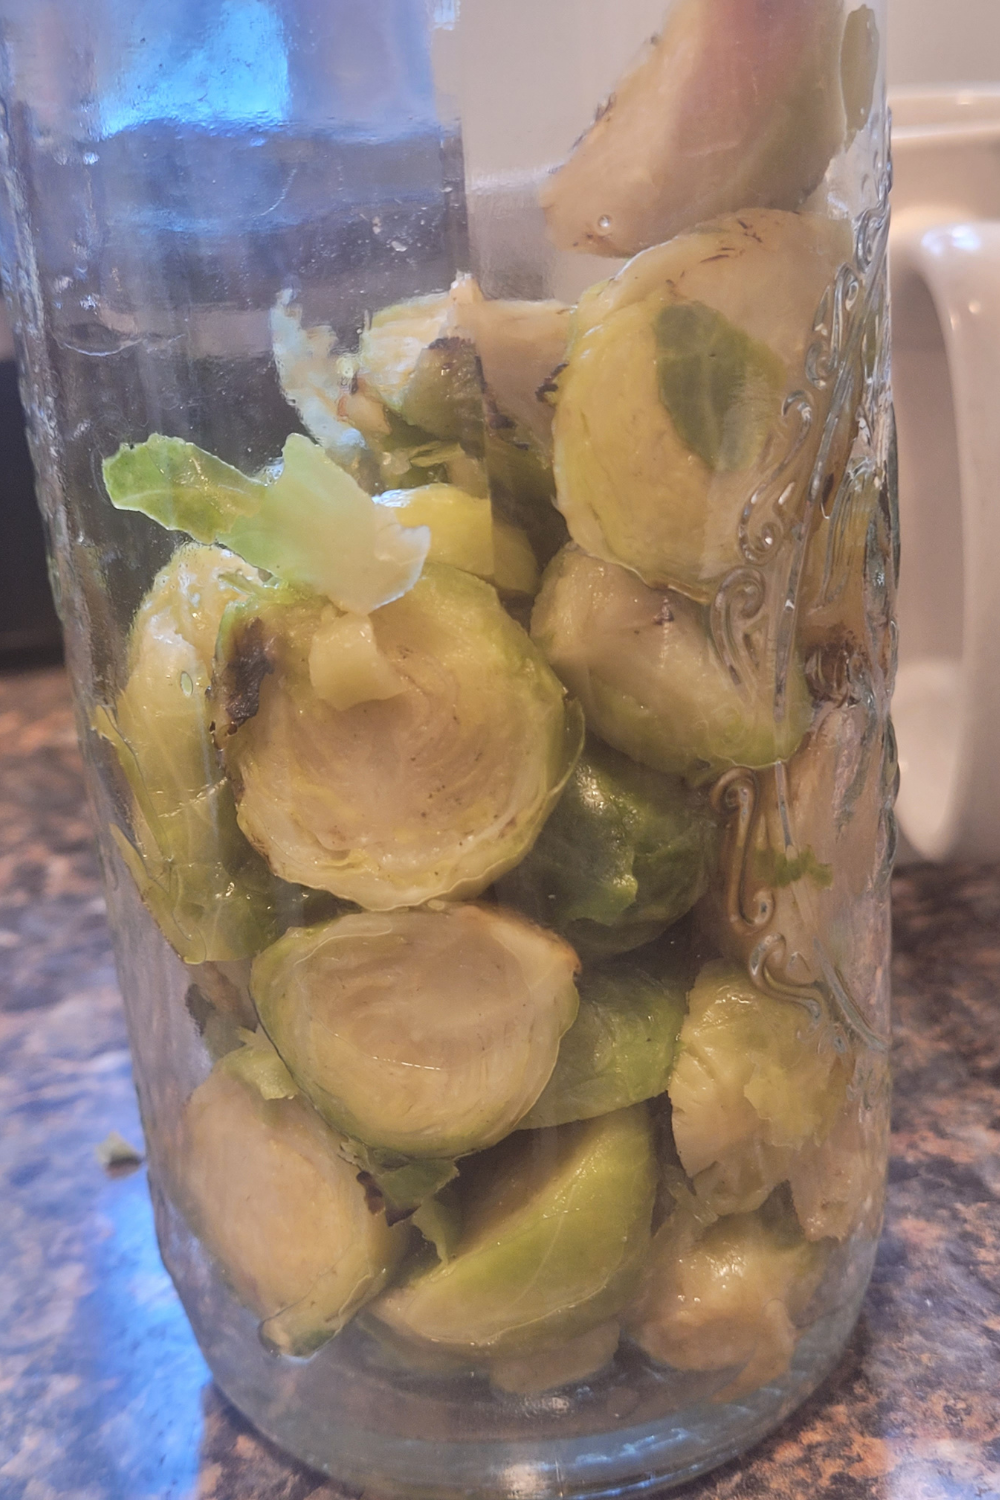
With clean, sterilized pint jars ready, I added a few slices of garlic and a pinch of red pepper flakes to the bottom of each jar. Then I packed in the Brussel sprouts snugly, but not too tightly.
Step 5: Add the Brine
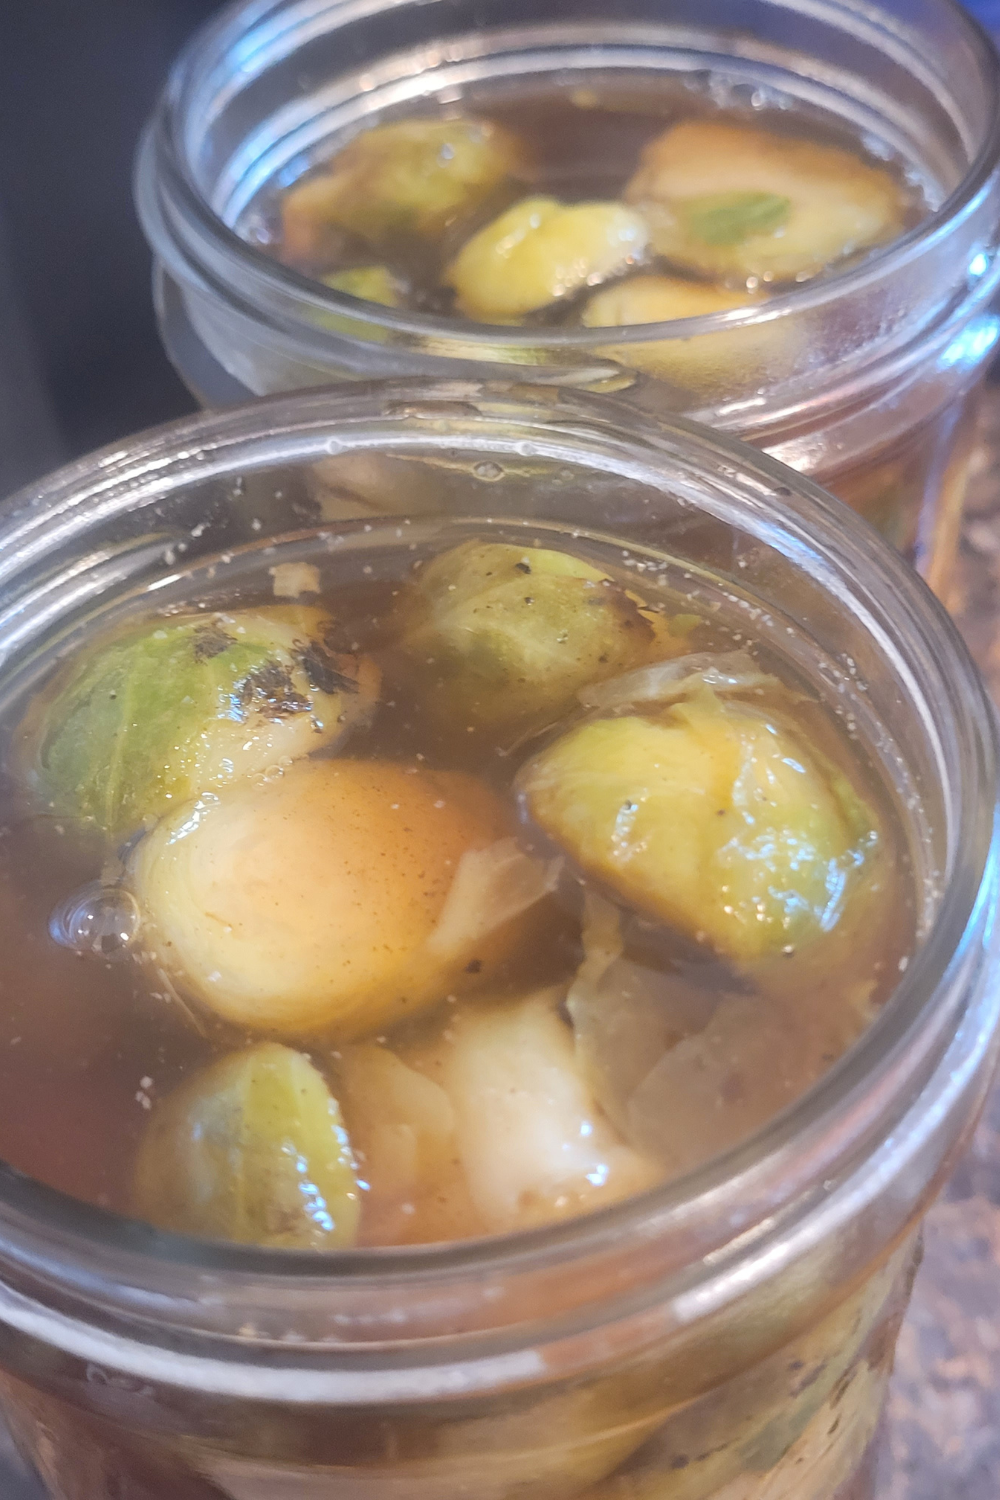
Using a funnel, I poured the hot brine over the sprouts, leaving ½ inch headspace. I used a chopstick to remove bubbles and wiped the rims clean before adding the lids and rings.
Step 6: Water Bath Can
I processed the jars in a boiling water bath for 15 minutes, adjusting for altitude as needed. After removing them, I let them cool for 24 hours and checked for proper seals.
Conclusion
This recipe has earned a permanent place on our pantry shelf. The flavor only improves over time, and they make such a unique and tasty side dish or snack. I’m so glad I tried it—and even more grateful for creators like Rachael who keep these beautiful homestead traditions alive and thriving.
If you haven’t checked out That 1870’s Homestead, I highly recommend it. Her recipes and lifestyle tips are the kind that stick with you, and this one definitely did!
Resources: Here are some helpful resources for further information.
- 30+ Root Vegetable Canning Recipes – By Creative Canning
- How to Can & Pickle Vegetables – By Cabot Creamery
- Canning Vegetables – By Simply Canning
Frequently Asked Questions
1. How long do these canned Brussel sprouts last?
Properly water bath canned Brussel sprouts should last 12–18 months in a cool, dark place. Always check the seal and appearance before eating.
2. Can I use regular balsamic vinegar instead of white balsamic?
Yes, you can! It will have a slightly deeper and richer flavor, and your brine will be darker in color.
3. Are these Brussel sprouts sweet or savory?
They’re a perfect balance of both. The maple adds sweetness while the garlic, salt, and balsamic give it a savory and tangy depth.
4. Can I eat them right away?
You can, but I recommend waiting at least 2–3 weeks to let the flavors fully develop. They get better with time!
Maple Balsamic Brussel Sprouts
Equipment
- 1 Large pot for blanching
- 4 pint-size canning jars with lids and rings.
- 1 water bath canner
- 1 set of canning supplies such as debubbler tool, funnel, and jar lifter.
Ingredients
- 2 lbs fresh Brussel sprouts (trimmed and halved)
- ½ cup water
- 2 ½ cups white balsamic vinegar (or regular balsamic for a deeper flavor)
- ½ tbsp Kosher salt
- ⅓ cup real maple syrup
- 6 cloves garlic (sliced)
- Pinch red pepper flakes (optional, for a little kick)
Instructions
Step 1:
- I started by washing and trimming all the Brussel sprouts. If any were larger than bite-sized, I cut them in half to help the flavor soak in better.
Step 2:
- In a large pot of boiling water, I blanched the sprouts for about 4 minutes. Then I drained them and set them aside while I worked on the brine.
Step 3;
- I combined 2½ cups of water with 2½ cups of white balsamic vinegar in a large saucepan. Then I stirred in 1½ tablespoons of kosher salt and ⅓ cup of real maple syrup. I heated it just until everything dissolved and the brine was hot but not boiling.
Step 4:
- With clean, sterilized pint jars ready, I added a few slices of garlic and a pinch of red pepper flakes to the bottom of each jar. Then I packed in the Brussel sprouts snugly, but not too tightly.
Step 5:
- Using a funnel, I poured the hot brine over the sprouts, leaving ½ inch headspace. I used a chopstick to remove bubbles and wiped the rims clean before adding the lids and rings.
Step 6:
- I processed the jars in a boiling water bath for 15 minutes, adjusting for altitude as needed. After removing them, I let them cool for 24 hours and checked for proper seals.
Summary
I hope I have inspired you to stockpile your pantry for your survival needs.
If you were encouraged by this post, I invite you to check out my FREE Printables Page for fun free printables, planners, and charts.
ENTER MY FREE Printables Page HERE
Here are some more of my canning inspiration posts to check out!
How to Make Refrigerator Pickles
The Best Amish Chow Chow Recipe: A Taste of Tradition
How to Can Artichokes from Your Garden
Pumpkin: How to Make Canned Pumpkin
How to Make and Can Pumpkin Butter
Quince: How to Make and Can Fall Spiced Quince Chutney
Quince: How to Can Quince
Carrot Cake Butter: How to Make and Can Carrot Cake Butter
Peach Pie Filling: How to Make and Can Peach Pie Filling
Pear Pie Filling: How to Make and Can Pear Pie Filling
The Best Winter Pantry Staples to Stockpile Now!
Grapes: How to Make and Can Grape Jam
Apple Cider: How to Make Homemade Apple Cider Vinegar
How to Make and Can Cherry Plum Jam
How to Make and Can Apple Butter In Crockpot
More Fun Posts
Stockpiling Condiments for Survival: Learn How I Do It!
How to Make and Can Vegetable Pot Pie Filling
Easy Canning Applesauce Recipes to Stalk Your Pantry!
How to Make Peach Jalapeno Jam
Cherries: How to Make Cherry Pie Filling
Cherries: How to Make Cherry Syrup
Salsa: How to Make and Can Cherry Salsa
Peaches: How to Make and Can Peach Salsa
Canning Supplies You Need Now for a Successful Canning Season!
How to Make and Can Balsamic Onion Jam
Cranberry Sauce: How to Make and Can Old Fashioned Cranberry Sauce
How to Make and Can Cranberry Merry Jam
How to Make and Can Strawberry Shortcake Jam
Cherry Jam: How to Make and Can Cherry Pie Jam
Carrot Cake Jam: How to Make and Can Carrot Cake Jam
Quince Jam: How to Can a Year’s Supply of Quince Jam
Root Beer Float Jelly: How to Make and Can Root Beer Float Jelly
Blessings,
The Off Grid Barefoot Girl

