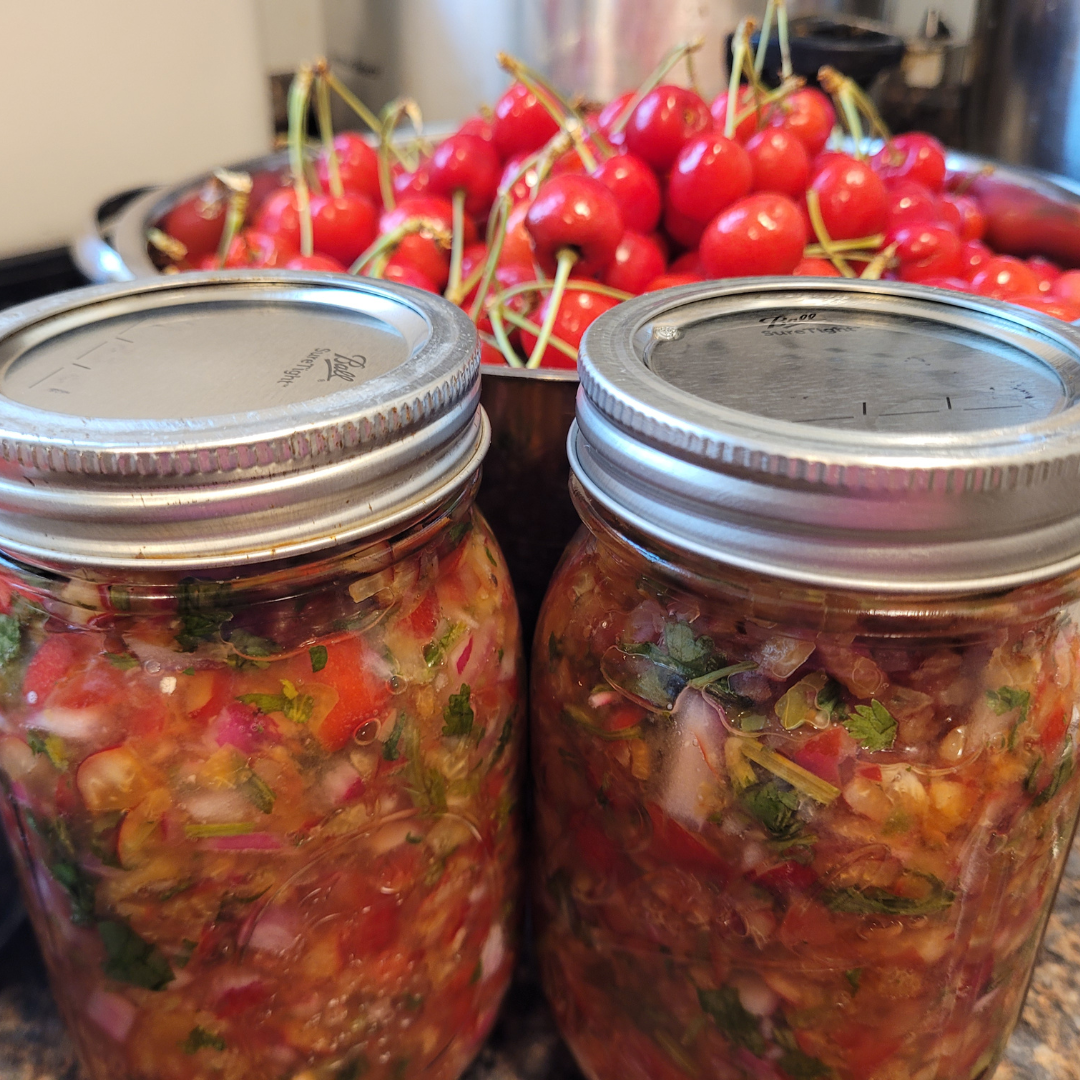
Discover how to make and can cherry salsa at home with this easy, step-by-step guide. Enjoy a sweet and tangy twist on traditional salsa that’s perfect for snacking, gifts, or adding flavor to your favorite meals.
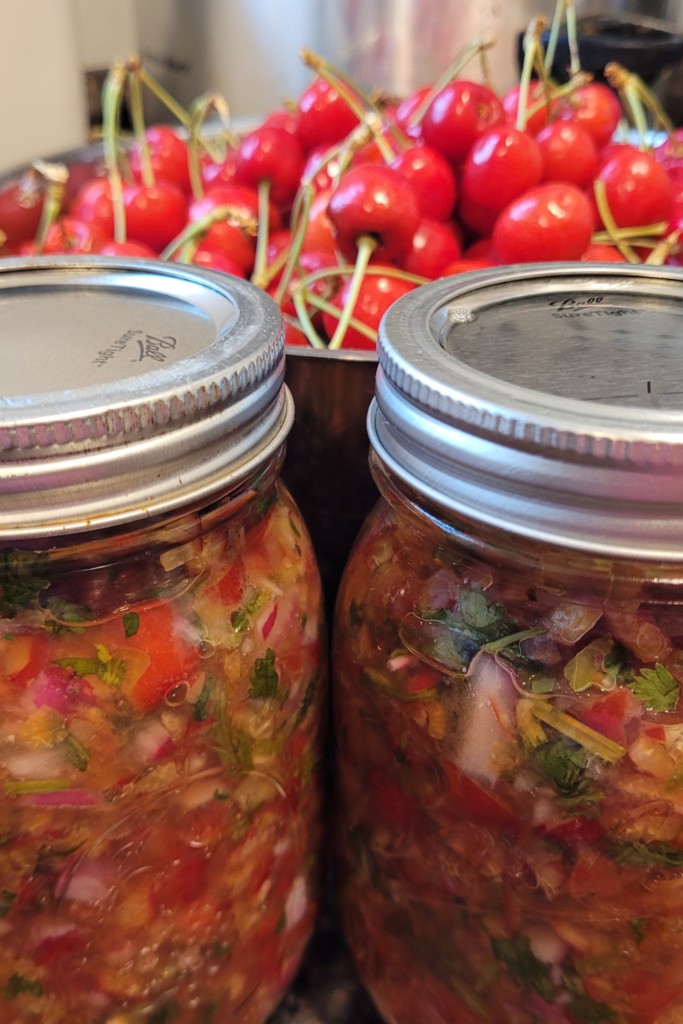
I’ve always loved the vibrant flavors of fresh, homemade salsa, and one of my absolute new favorites is cherry salsa! The combination of sweet cherries, spicy jalapeños, crisp red onions, and zesty lime juice creates a delicious, tangy blend that’s perfect for summer. Recently, I decided to take my love for cherry salsa to the next level by learning how to can it, so I can enjoy its bright flavors year-round since I have a cherry tree.
In this blog, I’ll guide you through the step-by-step process of making and canning your own batch of cherry salsa, sharing tips and tricks I’ve picked up along the way to ensure your salsa turns out perfect every time.
This is a pinnable post. Tap or hover over any image in this post to pin to your Pinterest Boards.

Canning Cherry Salsa Recipe Tutorial
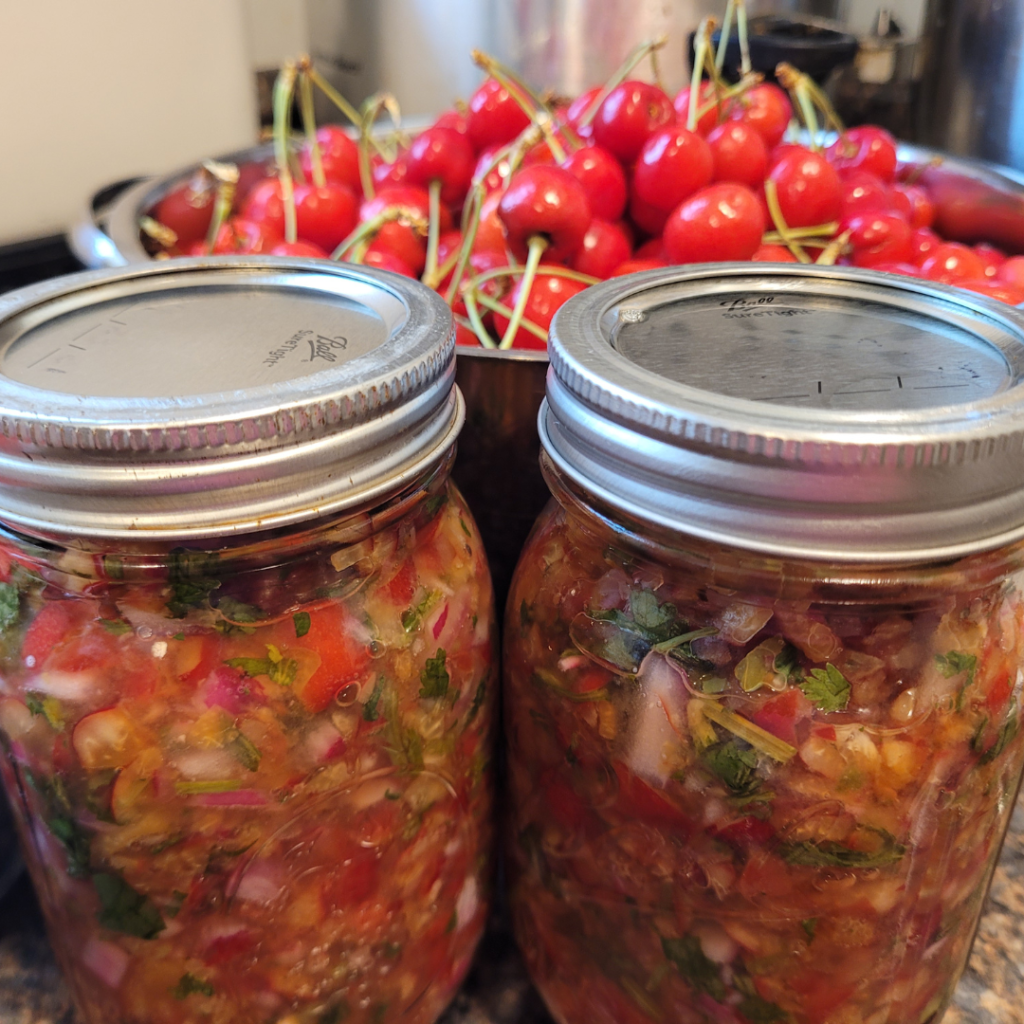
Cherry salsa is a delightful twist on the traditional salsa, infusing the sweet and tangy flavors of cherries into a zesty and vibrant condiment. I will show you the key ingredients needed, the step-by-step process of making cherry salsa, cooking techniques, expert tips, and some handy FAQs and notes to ensure you have all the necessary information to create this delectable treat.
List of Essential Ingredients
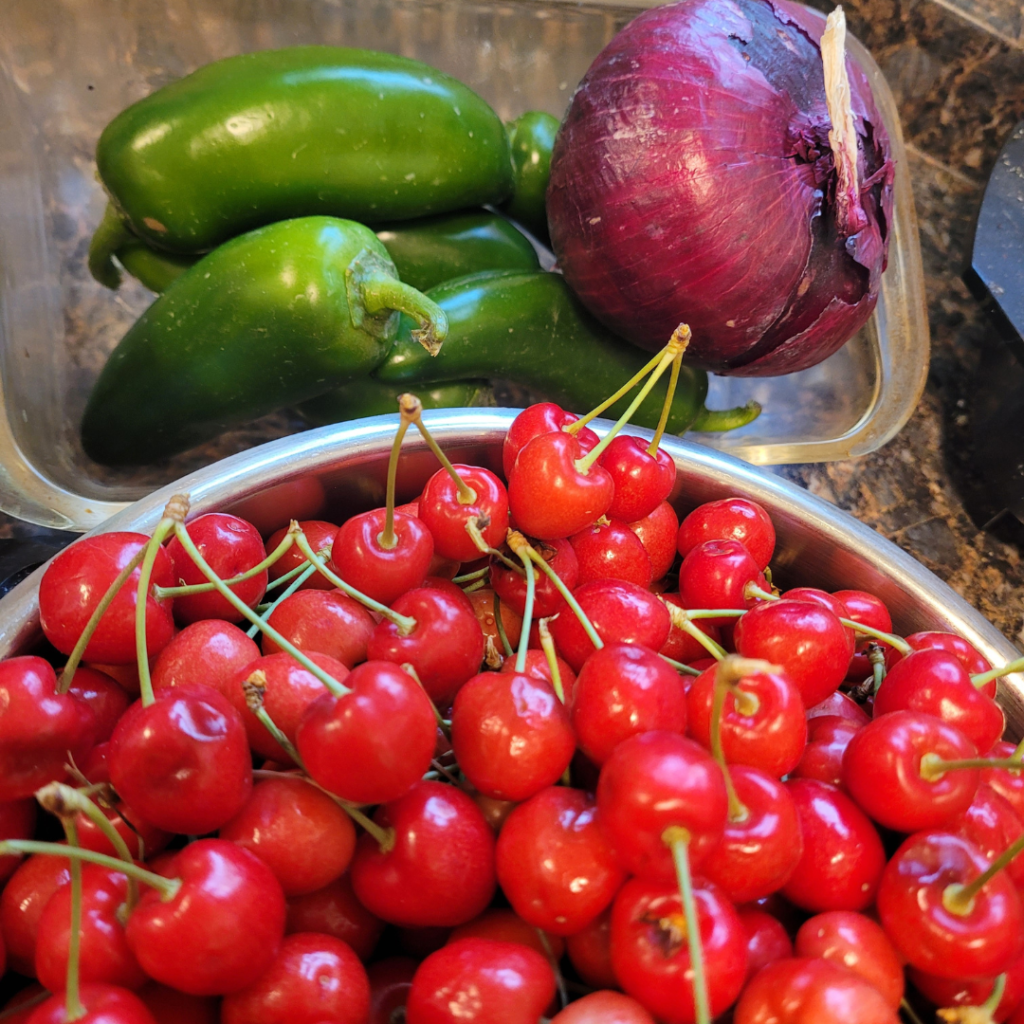
To create a delicious batch of cherry salsa, you will need a blend of fresh and flavorful ingredients. Here are the essential components required:
- Fresh Cherries: Fresh cherries add a burst of sweetness and vibrant color to cherry salsa.
- Fresh Jalapenos: Fresh jalapeños bring a spicy kick and a zesty edge.
- Fresh Red Onion: Fresh red onion adds a crisp texture and a tangy bite.
- Fresh Minced Garlic: Fresh minced garlic imparts a robust and aromatic flavor.
- Fresh Bunch Cilantro: Fresh cilantro adds a refreshing, herbaceous note to cherry salsa.
- Canning Salt: Canning salt enhances the flavors and helps preserve the freshness.
- Vinegar, 5%: Vinegar adds a tangy brightness and helps balance the sweetness.
- Lime Juice: Lime juice infuses cherry salsa with a zesty, citrusy freshness.
Each ingredient contributes to the unique taste profile of the salsa, combining sweetness, acidity, and a touch of heat for a well-balanced flavor explosion.
Customization Options
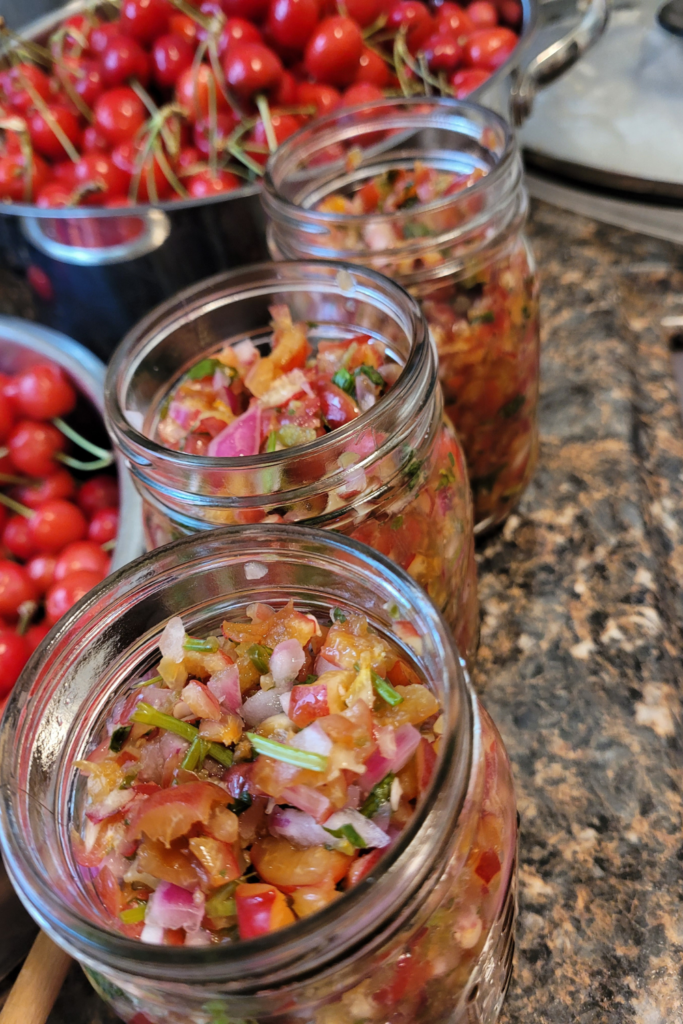
While the basic cherry salsa recipe is a crowd-pleaser, there are ample opportunities for customization to suit your taste preferences. Consider these options for a personalized twist:
- Creaminess: Adding diced avocado for creaminess. Do not can avocado with this recipe, only add it after opening the can of cherry salsa.
- Crunchiness: Incorporating diced bell peppers for extra crunch.
- Aroma Appeal: Experimenting with different herbs like mint or basil for a fresh aroma.
- Heat Level: Adjusting the heat level by varying the amount of jalapeno peppers used.
By exploring these customization options, you can tailor the cherry salsa to your liking and create a signature blend that resonates with your palate.
Making Cherry Salsa
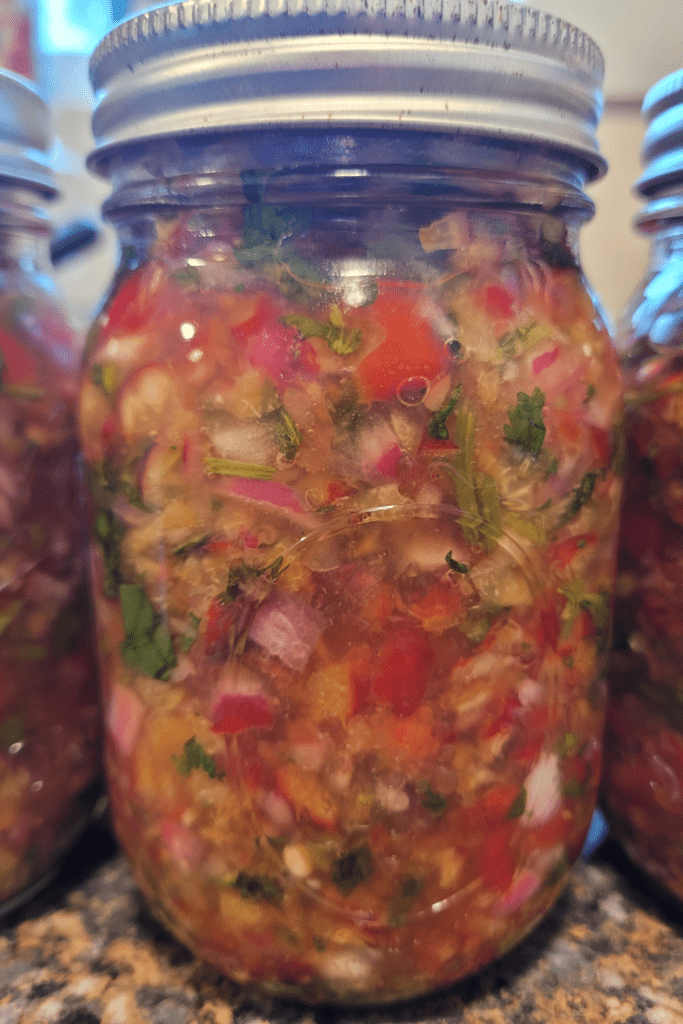
Creating a delicious cherry salsa involves following a few key steps to ensure the flavors are well-balanced and the texture is just right. In this section, I will get into a step-by-step guide, provide a printable recipe for easy reference in the recipe card below, and offer some time-saving tips to streamline the salsa-making process.
Step-by-Step Guide
- Preparation: Wash and pit the cherries, then chop them finely. Dice the onions, peppers, and cilantro. You can use a food processor to chop your ingredients.
- Mixing Ingredients: Combine the cherries, onions, peppers, cilantro, lime juice, salt, and vinegar. Adjust the seasoning according to taste.
- Cooking: Simmer the mixture in a pan until the cherries soften slightly and the flavors meld together.
- Filling the Jars: Fill each canning jar and leave 1/4 inch headspace.
- Adding the Lids: Wipe each jar rim clean and screw on the lids.
- Processing: Process in the water bath canner for 20 minutes.
- Cooling and Storage: Allow the salsa to cool on a towel-lined counter undisturbed for 12 hours. Store in the pantry for up to 1 year.
Tips for Saving Time
- Prep Ahead: Chop and prepare ingredients the night before to cut down on cooking time.
- Use Kitchen Gadgets: Utilize tools like cherry pitters to speed up the preparation process. For me, this is still a tedious process since I pit a whole cherry tree!
- Double Batch: Make a larger batch and store extra salsa in canning jars for future use, saving time on repeated preparation.
By following these steps, using the printable recipe as guidance, and implementing time-saving tips, you can efficiently make and can your delicious cherry salsa!
Cooking Cherry Salsa

Grilling Cherry Salsa
Grilling cherry salsa adds a smoky flavor and caramelizes the fruits, enhancing the overall taste profile. Here’s how to grill cherry salsa:
- Preheat the grill to medium heat.
- Place a grill basket or pan on the grill.
- Grill the cherry salsa mixture for about 5-7 minutes, stirring occasionally to ensure even cooking.
- Once grilled, let it cool slightly before serving.
Serving Suggestions
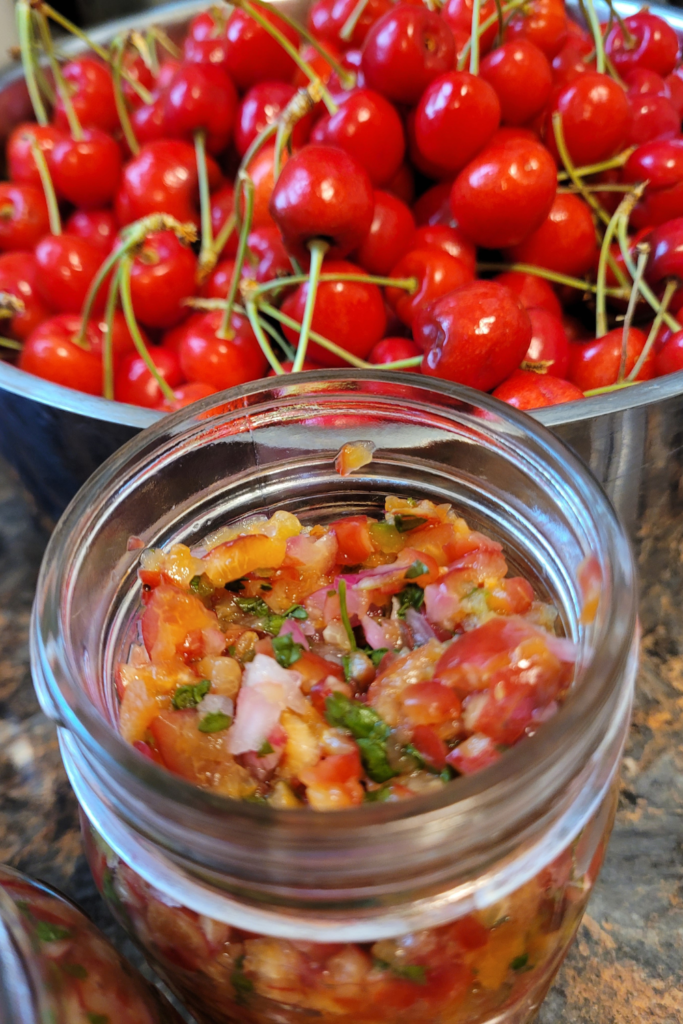
Serving cherry salsa is versatile and can complement various dishes. Consider these serving suggestions:
- As a topping for grilled chicken or fish.
- Paired with tortilla chips for a sweet and savory snack.
- Spooned over a cream cheese block for a quick appetizer.
- Mixed into a salad for a refreshing twist.
- Wrapped in a burrito with shredded chicken or spicy tofu chunks.
Additional Recipe Tips
Here are some additional tips to elevate your cherry salsa:
- Adjust the sweetness by adding a drizzle of honey or agave nectar.
- Experiment with adding different herbs like mint for a herbaceous touch.
- For a spicier kick, include diced jalapenos or red pepper flakes.
- Store any leftover salsa in an airtight container in the refrigerator for up to 3 days.
Expert Tips for Cherry Salsa
Pro Recommendations
When making cherry salsa, it’s crucial to use ripe cherries for the best flavor. Additionally, cutting the cherries uniformly ensures an even distribution of flavors. To enhance the salsa’s complexity, consider adding a hint of lime juice or zest for a citrusy kick. Also, balancing the sweetness of cherries with a touch of honey or agave syrup can elevate the overall taste profile.
Serving and Presentation Ideas
For an eye-catching presentation, serve the cherry salsa in hollowed-out bell peppers or inside small lettuce cups. Garnish the salsa with fresh herbs like parsley or basil to add a pop of color. Pair the salsa with homemade tortilla chips or use it as a topping for grilled fish or chicken. Presenting the salsa creatively not only enhances the visual appeal, but also makes the dining experience more enjoyable for your guests.
Handy Notes and Reminders
Here are some useful notes and reminders to keep in mind while making and canning cherry salsa:
- Balance Flavors: Strive to balance the sweet, tangy, and spicy flavors in the salsa for a well-rounded taste.
- Canning Safety: Follow proper canning techniques and guidelines to ensure the safety and longevity of the salsa.
- Labeling Jars: Always label the canned jars with the date of canning for easy tracking of freshness.
- Gift Ideas: Cherry salsa makes a fantastic homemade gift. Consider making extra batches for friends and family.
- Experiment: Don’t be afraid to experiment with different cherry varieties or additional ingredients to create unique salsa variations.
What We Learned

Making and canning cherry salsa is a delightful culinary experience that allows you to enjoy the flavors of cherries in a savory and zesty salsa. By combining the sweetness of cherries with the tanginess of lime and the heat of jalapeños, you create a versatile condiment that can elevate various dishes.
Embrace Creativity and Experimentation
As you venture into the world of cherry salsa making, do not hesitate to embrace your creativity and experiment with different ingredients and flavor profiles. You can customize the salsa to suit your taste preferences by adjusting the level of spiciness, sweetness, or acidity to create a unique salsa that complements your dishes perfectly.
One of the joys of cooking is sharing your creations with others. Whether you gift a jar of homemade cherry salsa to a friend or bring it to a potluck gathering, sharing your culinary creations can spark conversations and create memorable moments. So, don’t hesitate to share the deliciousness of your cherry salsa with those around you.
Continual Learning and Improvement
Cooking is a continuous learning process, and each culinary experiment presents an opportunity for growth and improvement. As you hone your skills in making cherry salsa, be open to feedback, try new techniques, and learn from each batch you make. With time and practice, you will refine your salsa-making skills and create even more delicious concoctions.
Conclusion
In this journey of making and canning cherry salsa, remember to enjoy the process and savor the fruits of your labor. Whether you enjoy your cherry salsa with tortilla chips, grilled meats, or as a topping for tacos, let the flavors of cherries brighten your dishes and bring a touch of sweetness to your culinary creations. Happy salsa-making!
Resources: Here are some helpful resources for further information.
- Easy Homemade Salsa Recipe – By Cooking Classy
- Wonderful Salsa Recipe – By Food.com
- Tony’s Ridiculously Easy Homemade Salsa – By Ambitious Kitchen
Frequently Asked Questions
1. Can I Substitute Fresh Cherries with Frozen Ones?
Yes, you can substitute fresh cherries with frozen ones, but make sure to thaw and drain them properly before using them in the salsa.
2. How Long Can Cherry Salsa Be Stored?
Properly canned cherry salsa can be stored in a cool, dark place for up to one year. Once opened, store it in the refrigerator and consume it within a week for the best quality.
3. Can I Adjust the Spice Level of the Salsa?
Absolutely! You can customize the spice level of the salsa by adjusting the amount of jalapenos or adding other spices like cayenne pepper to suit your taste preferences.
4. Is it Necessary to Sterilize the Canning Jars?
Yes, it is vital to sterilize the canning jars before filling them with cherry salsa to prevent any bacterial contamination and ensure the preservation of the salsa.
Cherry Salsa
Equipment
- 1 food processor or cutting board and knife.
- 1 large mixing bowl
- 1 cooking pot.
- 1 water bath canner
- canning supplies
- 6 pint jars
Ingredients
- 12 cups cherries, chopped.
- 3 medium jalapenos, chopped and deseeded.
- 1 ½ cups red onion, chopped.
- 4 tsp garlic, minced.
- 1 bunch cilantro, chopped.
- 2 tbsp canning salt.
- 2 ½ cups vinegar, 5%.
- ¼ cup lime juice.
Instructions
- Preparation: Wash and pit the cherries, then chop them finely. Dice the onions, peppers, and cilantro. You can use a food processor to chop your ingredients.
- Mixing Ingredients: Combine the cherries, onions, peppers, cilantro, lime juice, salt, and vinegar. Adjust the seasoning according to taste.
- Cooking: Simmer the mixture in a pan until the cherries soften slightly and the flavors meld together.
- Filling the Jars: Fill each canning jar and leave 1/4 inch headspace.
- Adding Lids: Wipe each jar rim clean and screw on the lids.
- Processing: Process in the water bath canner for 20 minutes.
- Cooling and Storage: Allow the salsa to cool on a towel-lined counter undisturbed for 12 hours. Store in the pantry for up to 1 year.
Summary
I hope I have inspired you to stockpile your pantry for your survival needs.
If you were encouraged by this post, I invite you to check out my FREE Printables Page for fun free printables, planners, and charts.
ENTER MY FREE Printables Page HERE
Here are some more of my canning inspiration posts to check out!
Pears: How to Make and Can Pear Honey
Pears: How to Make and Can Salted Caramel Pear Butter
Butternut Squash: How to Make and Can Butternut Squash Butter
Quince: How to Make and Can Fall Spiced Quince Chutney
Quince: How to Can Quince
Carrot Cake Butter: How to Make and Can Carrot Cake Butter
Peach Pie Filling: How to Make and Can Peach Pie Filling
Pear Pie Filling: How to Make and Can Pear Pie Filling
The Best Winter Pantry Staples to Stockpile Now!
More Recipes!
Grapes: How to Make and Can Grape Jam
Apple Cider: How to Make Homemade Apple Cider Vinegar
How to Make and Can Cherry Plum Jam
How to Make and Can Apple Butter In Crockpot
Stockpiling Condiments for Survival: Learn How I Do It!
How to Make and Can Vegetable Pot Pie Filling
Easy Canning Applesauce Recipes to Stalk Your Pantry!
How to Make Peach Jalapeno Jam
Cherries: How to Make Cherry Pie Filling
Cherries: How to Make Cherry Syrup
Salsa: How to Make and Can Cherry Salsa
Peaches: How to Make and Can Peach Salsa
Canning Supplies You Need Now for a Successful Canning Season!
How to Make and Can Balsamic Onion Jam
Cranberry Sauce: How to Make and Can Old Fashioned Cranberry Sauce
How to Make and Can Cranberry Merry Jam
How to Make and Can Strawberry Shortcake Jam
Cherry Jam: How to Make and Can Cherry Pie Jam
Carrot Cake Jam: How to Make and Can Carrot Cake Jam
Quince Jam: How to Can a Year’s Supply of Quince Jam
Root Beer Float Jelly: How to Make and Can Root Beer Float Jelly
Blessings,
The Off Grid Barefoot Girl

