Learn how to can whole cherries at home with this easy water bath tutorial. Step-by-step tips to preserve cherries for year-round enjoyment.
There’s nothing quite like the taste of fresh cherries in the middle of winter, and canning them is the perfect way to keep that summer flavor all year long. In this easy water bath tutorial, I’ll walk you step by step through how I can whole cherries safely and efficiently. From picking the best cherries to preparing your jars and water bath, this guide will give you everything you need to preserve this sweet, juicy fruit for pancakes, pies, snacks, and more. Once you try it, you’ll see how simple and satisfying home-canned cherries can be!
This is a pinnable post. Tap or hover over any image in this post to pin to your Pinterest Boards.
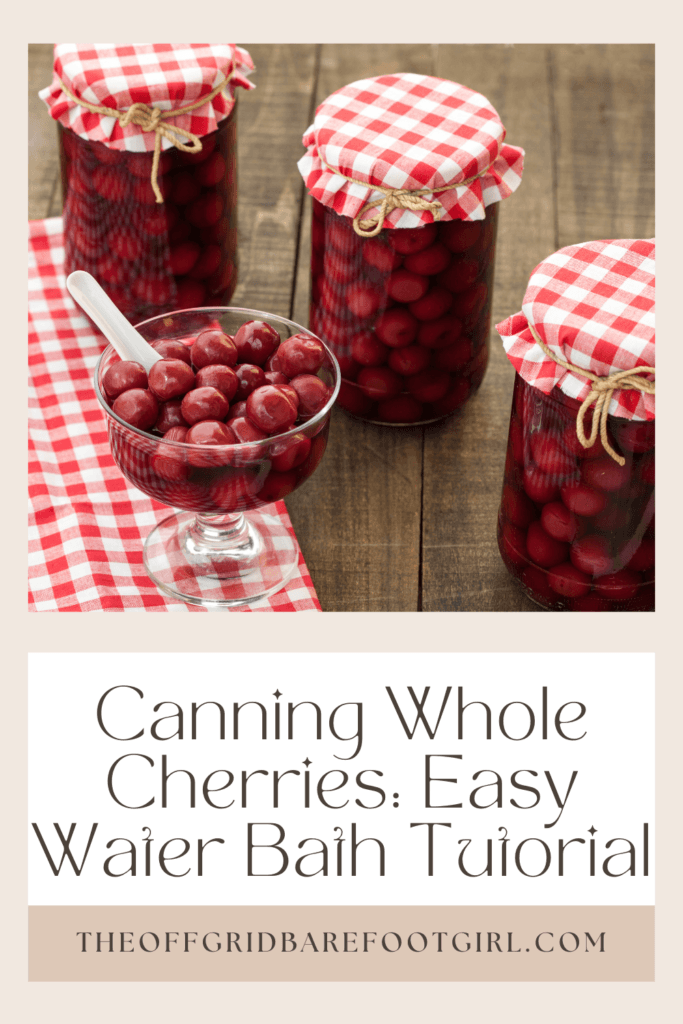
Canning Whole Cherries Recipe Tutorial
In this guide, I will walk you through the process of successfully canning whole cherries from start to finish. From choosing the right cherries to preparing them for canning, selecting the best canning method, and ensuring proper storage, I will share the essential steps and tips to guarantee that your canned cherries are both delicious and long-lasting.
Canning whole cherries has always been a cherished tradition for me, allowing me to preserve the essence of these delightful fruits and savor their flavors all year long. Whether you’re a seasoned canner or new to the process, I’m here to lead you through the steps of canning whole cherries with success. So, grab your jars, and let’s get started on this delicious canning journey together!
Why Can Cherries?
Let’s be real, cherries are the bomb. But they also have a pesky habit of going bad faster than you can say “cherry pie.” That’s where canning comes in. By preserving these little bursts of fruity goodness, you can enjoy their sweet and tangy flavor all year round.
Canning whole cherries is a simple and enjoyable process that allows you to capture the essence of these vibrant fruits at their peak. Not only does it provide you with a stockpile of cherries to enjoy throughout the year, but it also allows you to customize the flavors and sweetness to suit your preferences. Whether you prefer a light syrup or a boozy infusion, the possibilities are endless.
The Benefits of Canning Cherries
Besides the obvious advantage of having cherries on hand whenever your craving strikes, canning whole cherries has a bunch of other perks too. For one, you have complete control over what goes into your canning jars – no weird preservatives or additives. Plus, it’s a great way to reduce food waste and make the most of a cherry season that always seems to fly by way too quickly.
Canning whole cherries is not only a practical way to preserve their natural sweetness, but it also allows you to have cherries readily available for a variety of recipes throughout the year. Whether you choose to use fresh cherries or opt for frozen ones, the process of canning cherries is relatively simple and rewarding.
By carefully selecting and preparing the cherries, using the appropriate equipment and method, and storing them properly, you can enjoy the taste of summer even during the colder months.
Choosing and Preparing Fresh Cherries for Canning
Selecting the Best Cherries
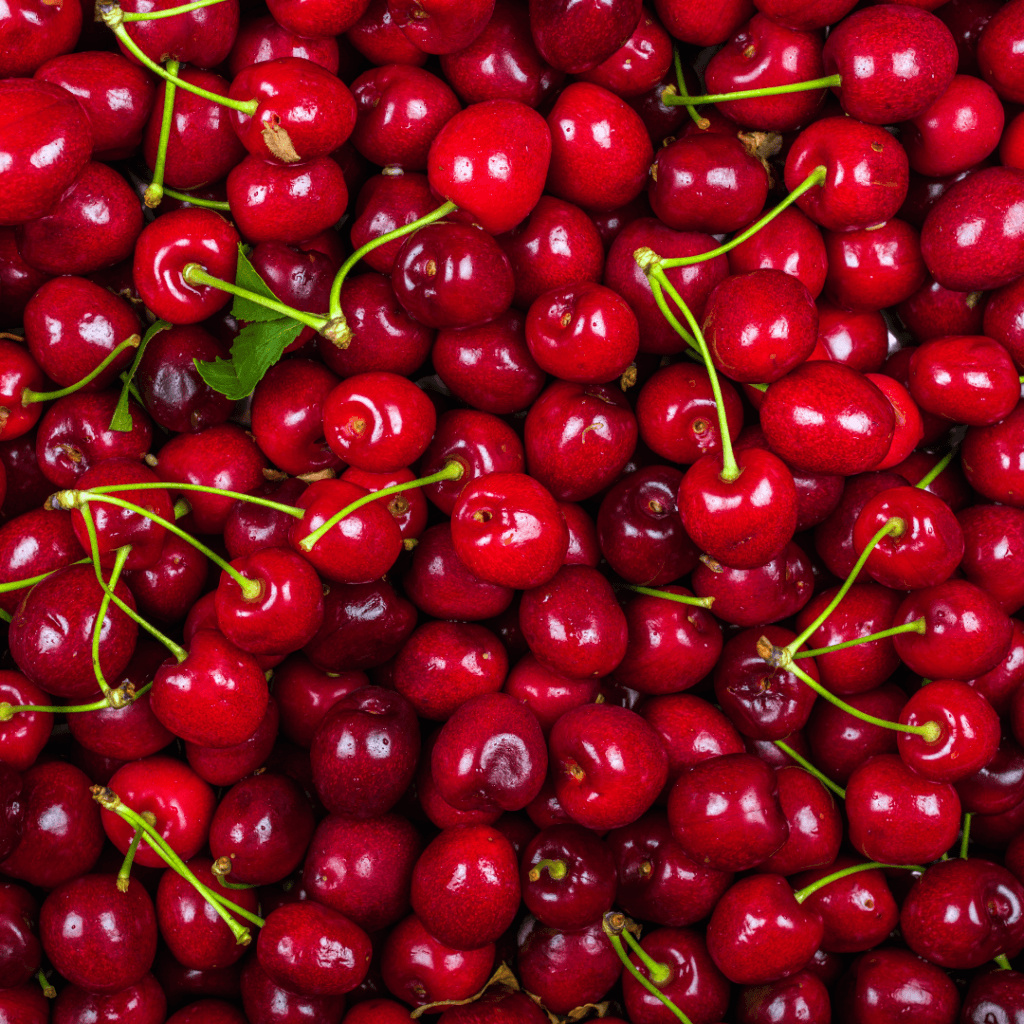
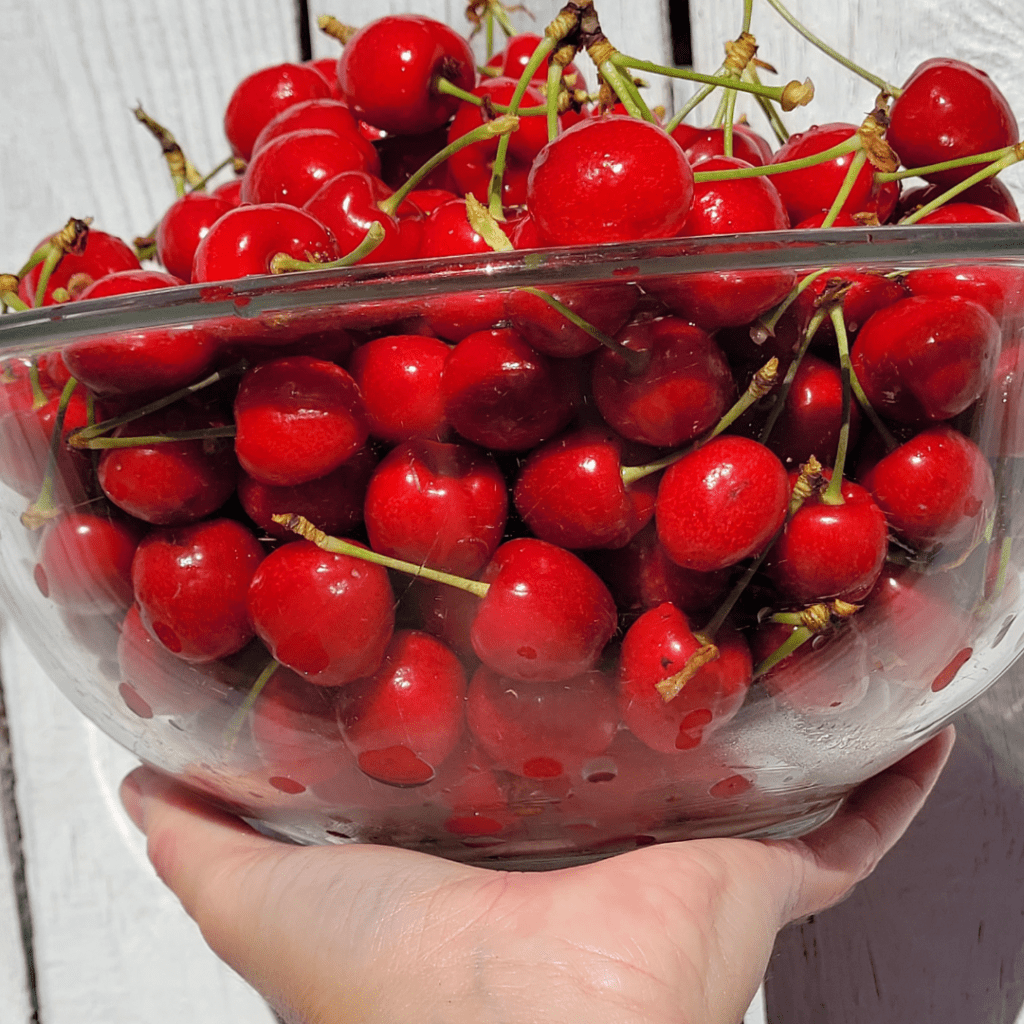
When it comes to canning whole cherries, quality is key. Look for cherries that are firm, plump, and free of bruises or blemishes. And don’t just rely on your eyes, give them a gentle squeeze too. You want cherries that feel slightly firm, not mushy or soft.
Now that you have all the necessary information and tips for canning whole cherries, it’s time to get started on your own cherry-filled adventure. Remember to gather your equipment, select the best cherries, and prepare them with care. This is a water bath canning recipe so be sure to get that canner out of the storage!
Once your jars are sealed and stored, you can look forward to enjoying the taste of summer all year round. So roll up your sleeves, embrace the joy of canning, and let the sweet aroma of cherries fill your kitchen.
Washing and Stemming Cherries
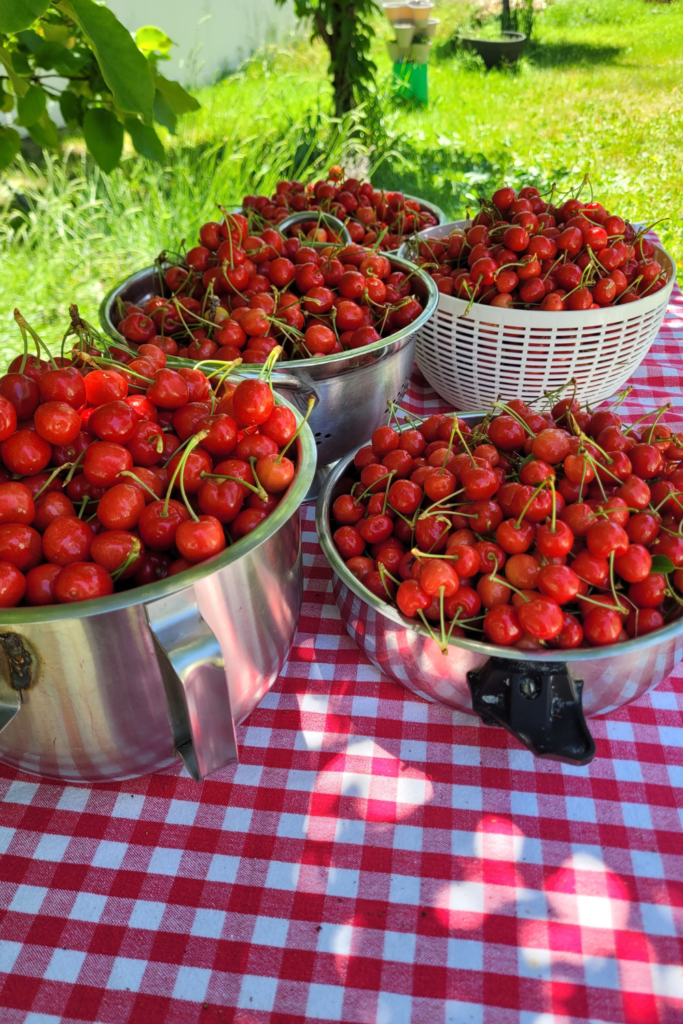
Before you start canning, give your cherries a good rinse. Fill up a bowl with cool water and gently swish them around. Then, remove the stems by simply pulling them off. It’s an oddly satisfying task.
I do the destemming task outdoors on my patio to avoid bringing in sneaky bugs that are hiding within the leaves that are still on the stems. This is because I freshly picked mine from my tree. If you bought your cherries at the Farmer’s Market or grocery store, you are safe to do this task inside your kitchen. Real food comes dirty with bugs!
Pitting Cherries: Methods and Tools

Now comes the fun part: pitting! There are a few different methods you can try, depending on your patience level. You can use a cherry pitter (fancy, huh?), a paperclip (MacGyver style), or even a sturdy drinking straw (because you’re resourceful like that). Just make sure to remove those pits, unless you’re craving a dental emergency!
Essential Equipment and Supplies for Canning Whole Cherries
Water Bath Canner
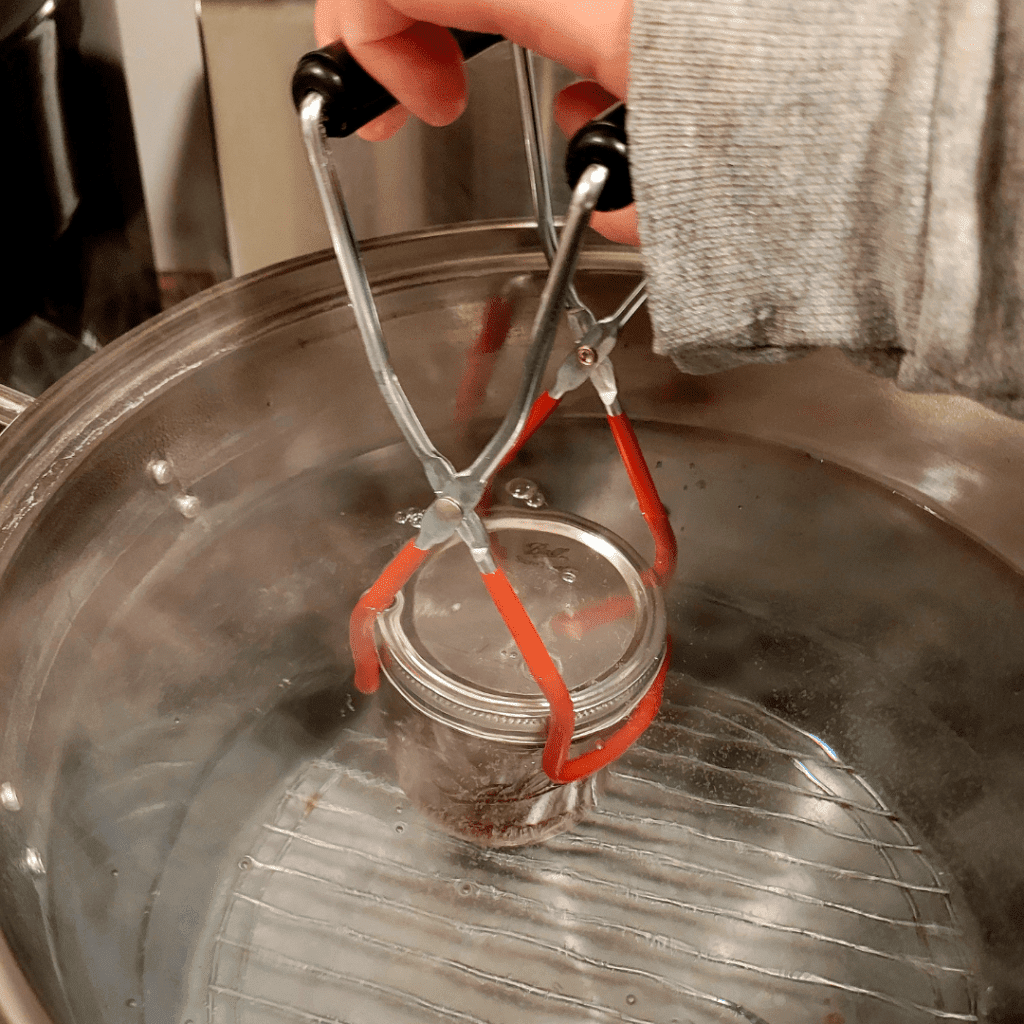
To safely can your cherries, you’ll need a water bath canner. Think of it as a fancy hot tub for your jars. It creates the perfect temperature for sealing and preserving your fruity treasures.
I find that adding a drop or two of white vinegar or a pinch of cream of tartar to the water bath canner helps keep the jars clear when they come out, with no funky cloudy water residue!
Mason Jars and Lids
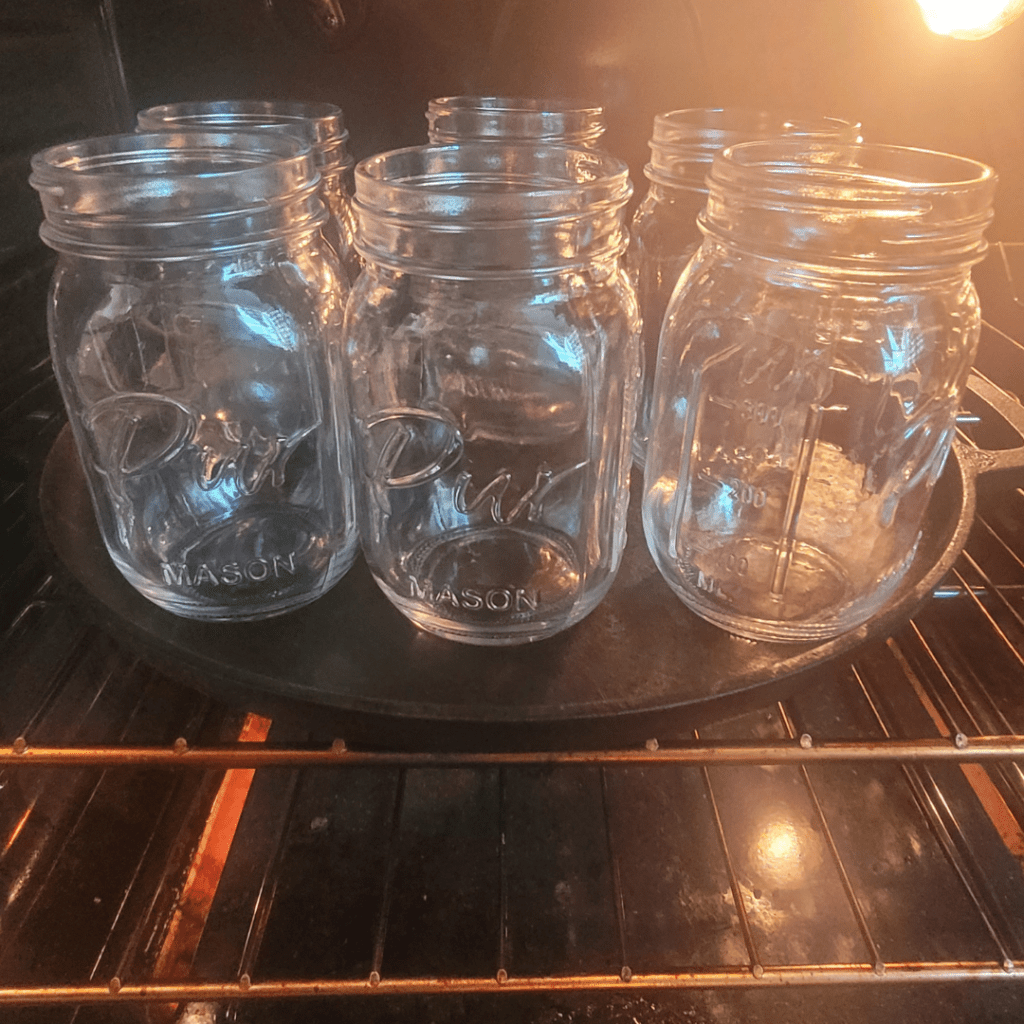
You can’t have canning without some jars and lids. Pick up some mason jars (make sure they’re designed for canning) and don’t forget the lids and rings.
Since I am hot packing my cherries, I need to heat my jars in the oven at 200 degrees. The jars, water bath canner, and the cherries in syrup will all be the same temperature when brought together to avoid any devastating jar-shattering events.
Though, if you are cold packing your cherries, avoid heating the jars and just heat them up inside the cold canner to heat the water and the jars together.
Other Tools and Utensils
Step-By-Step Guide to Canning Whole Cherries
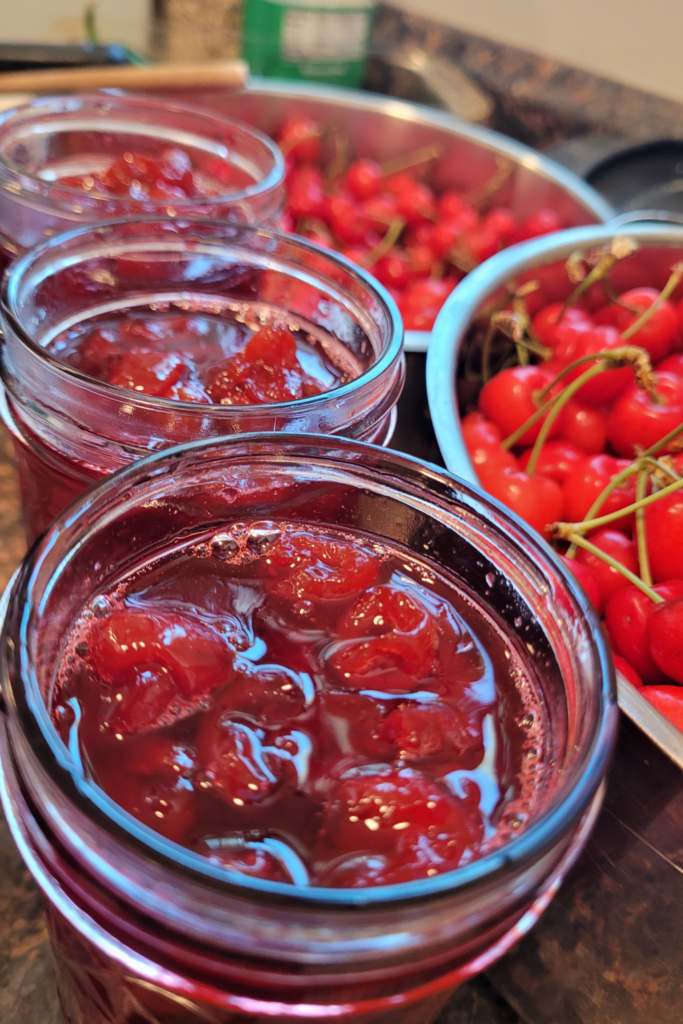
Preparing the Canning Area
First things first, set up your canning area. Clear some counter space, gather your equipment, and make sure you’ve got everything you need within arm’s reach. Trust me on this one!
Preparing the Syrup or Liquid for Canning
Now it’s time to whip up a delicious syrup or liquid to pack your cherries in. From light and sweet to heavy and boozy, there are various recipes and flavor options to choose from. Get creative and experiment to find the perfect combination to suit your taste buds.
I find that allowing the cherries to soak in cool water after washing for a little bit helps flavor the water. Once all of the ingredients are added to each jar, a delicious cherry syrup will form inside each jar. Here is the part where you get to choose the flavor of your syrup that you will can them in. You can also use cherry juice extracted from the cherries or even 100% cherry juice bought from the grocery store.
If you need further help making the syrup, below is a helpful chart. If you are making 9 pints like I am, use the 9-pint option in the chart.
| Table 1. Preparing and using syrups. | ||||||
| Measures of Water and Sugar | ||||||
| Syrup Type | Approx. % Sugar | For 9-Pt Load (1) | For 7-Qt Load | Fruits Commonly packed in syrup (2) | ||
| Cups Water | Cups Sugar | Cups Water | Cups Sugar | |||
| Very Light | 10 | 6-1/2 | 3/4 | 10-1/2 | 1-1/4 | Approximates natural sugar levels in most fruits and adds the fewest calories. |
| Light | 20 | 5-3/4 | 1-1/2 | 9 | 2-1/4 | Very sweet fruit. Try a small amount the first time to see if your family likes it. |
| Medium | 30 | 5-1/4 | 2-1/4 | 8-1/4 | 3-3/4 | Sweet apples, sweet cherries, berries, grapes. |
| Heavy | 40 | 5 | 3-1/4 | 7-3/4 | 5-1/4 | Tart apples, apricots, sour cherries, gooseberries, nectarines, peaches, pears, plums. |
| Very Heavy | 50 | 4-1/4 | 4-1/4 | 6-1/2 | 6-3/4 | Very sour fruit. Try a small amount the first time to see if your family likes it. |
| This amount is also adequate for a 4-quart load. Many fruits that are typically packed in heavy syrup are excellent and tasteful products when packed in lighter syrups. It is recommended that lighter syrups be tried, since they contain fewer calories from added sugar. | ||||||
Packing the Cherries into Jars
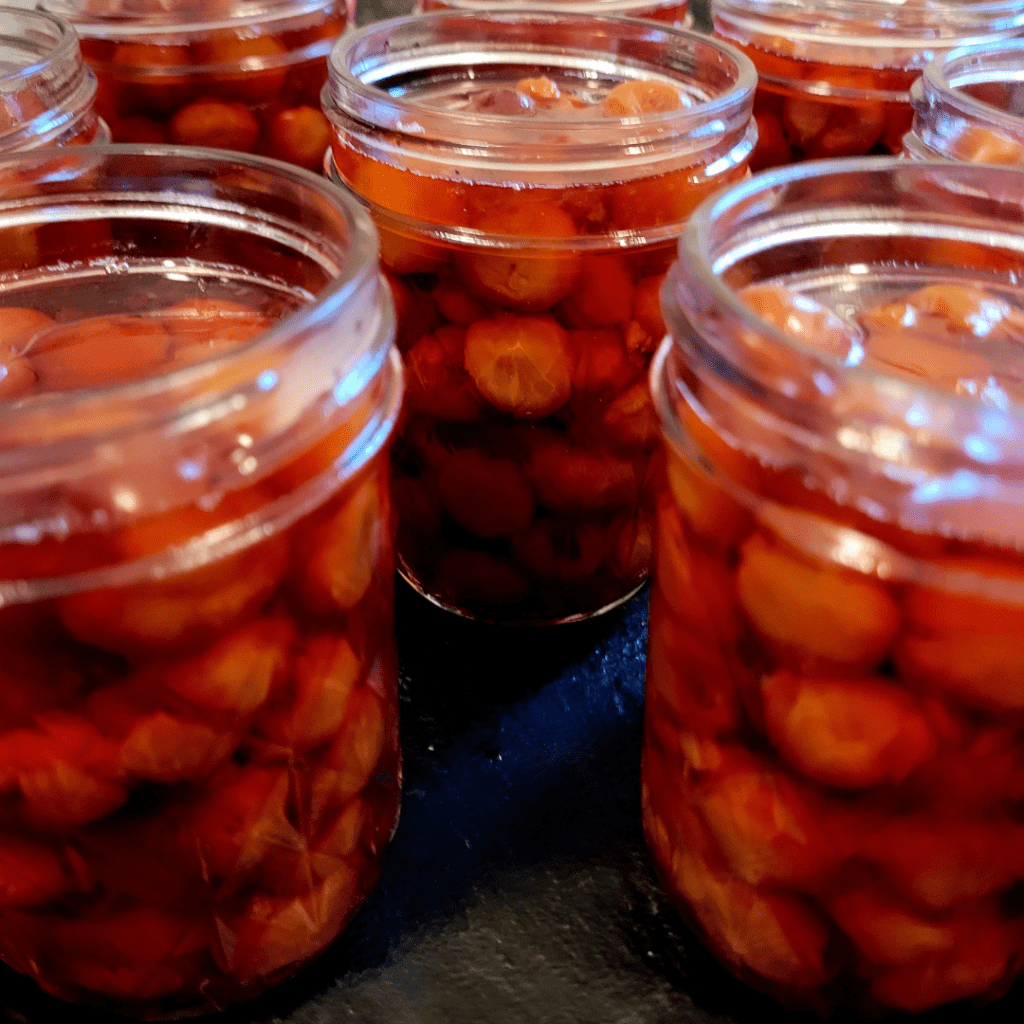
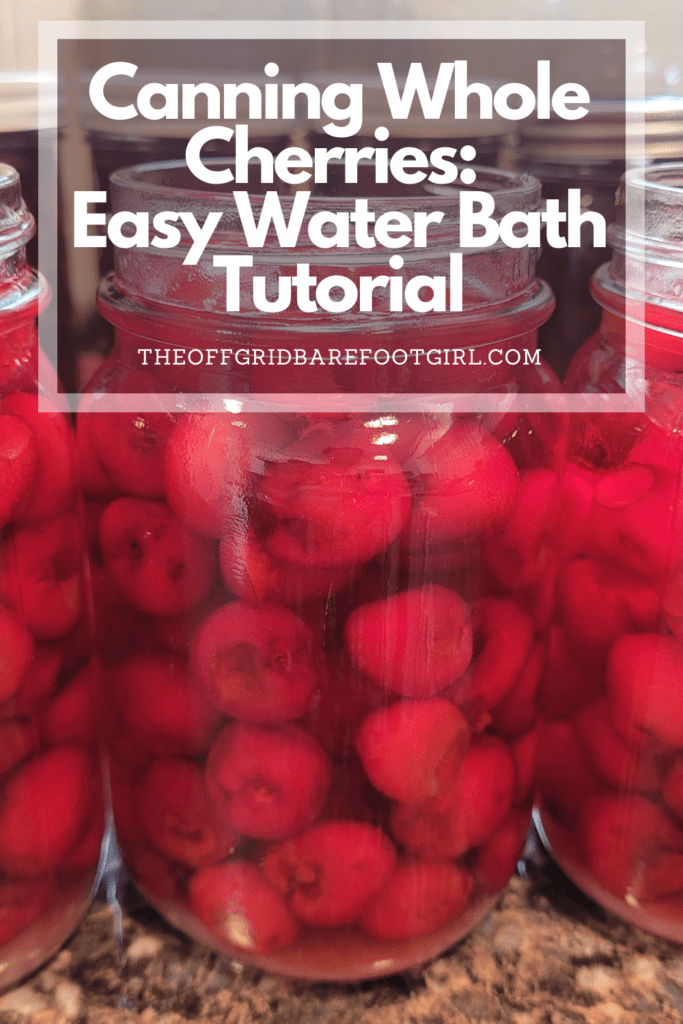
For the hot pack method, briefly heat up the cherries in the syrup to bring it up to temperature to fill into the prepared hot jars. With your syrup or liquid ready, it’s time to pack those beauties into jars. Fill each jar with cherries, leaving a 1/2-inch of headspace at the top. Make sure to evenly distribute the cherries and pour in enough syrup or liquid to cover them completely.
Use the de-bubbler tool to gently de-bubble each jar by placing it down the sides of the jar. Fill the jars accordingly again if necessary as bubbles are being removed.
Wipe each rim of each jar clean and dry. Place a lid and ring on each jar until fingertip tight. Grab your jar lifter, which is hopefully nearby!
Processing and Sealing the Jars
Now, for the grand finale – processing and sealing the jars. Carefully place the jars into your water bath canner, making sure they’re covered with water. Bring the water to a gentle boil and let the jars hang out in there for a specified amount of time, depending on your altitude. I processed mine for 20 minutes because my elevation level is between 4,000 and 5,000 with the hot pack method for pints.
Process your cherries in your water bath canner according to the specified amount of time according to the chart below and your elevation level.
Finally, remove the jars and let them cool, listening for the satisfying “pop” of the lids sealing themselves shut. It’s like listening to a mini canning symphony!
There you have it, your very own jars of whole cherries, ready to be labeled, displayed, and enjoyed for months to come. Canning whole cherries may take a little time and effort, but the rewards are oh-so-sweet (literally). So go forth, embrace your inner cherry whisperer, and savor the taste of summer all year round.
Water Bath Canning vs. Pressure Canning: Which Method to Use?
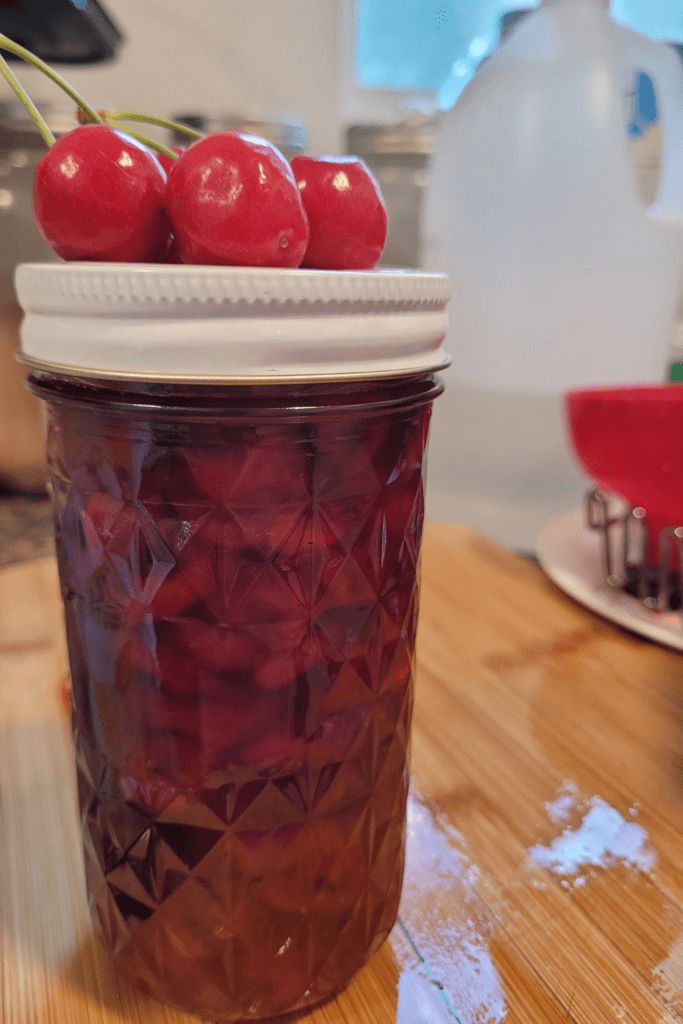
Understanding the Differences
When it comes to canning whole cherries, there are two main methods you can choose from: water bath canning and pressure canning. Understanding the differences between these methods is crucial to ensuring the safety and quality of your canned cherries.
Water bath canning is a simpler and more accessible method. It involves submerging the jars of cherries in boiling water for a specified period of time, usually around 10-15 minutes. This method is suitable for high-acid foods, like cherries, as the heat from boiling water is enough to kill any potential bacteria or pathogens.
On the other hand, pressure canning is a bit more involved. It requires a specialized pressure canner, which uses high temperatures and pressure to sterilize the contents of the jars. This method is necessary for low-acid foods, as the higher temperatures ensure the elimination of harmful bacteria like botulism. You likely do not need to pressure can cherries, as cherries are very acidic in nature.
Choosing the Appropriate Method for Canning Cherries
For canning whole cherries, water bath canning is the preferred method. Cherries are naturally high in acid, and the heat from a water bath canner is sufficient to ensure their safety and preservation. Plus, water bath canning equipment is more readily available and affordable than pressure canners, making it a more practical choice for most home canners.
However, it’s important to note that if you plan to can cherries in a low-acid liquid, pressure canning may be necessary. The low-acid liquid can lower the overall acidity of the cherries, making them potentially unsafe for water bath canning. In such cases, it’s best to consult a reliable canning resource or recipe to determine the appropriate method.
Storing and Enjoying Canned Whole Cherries
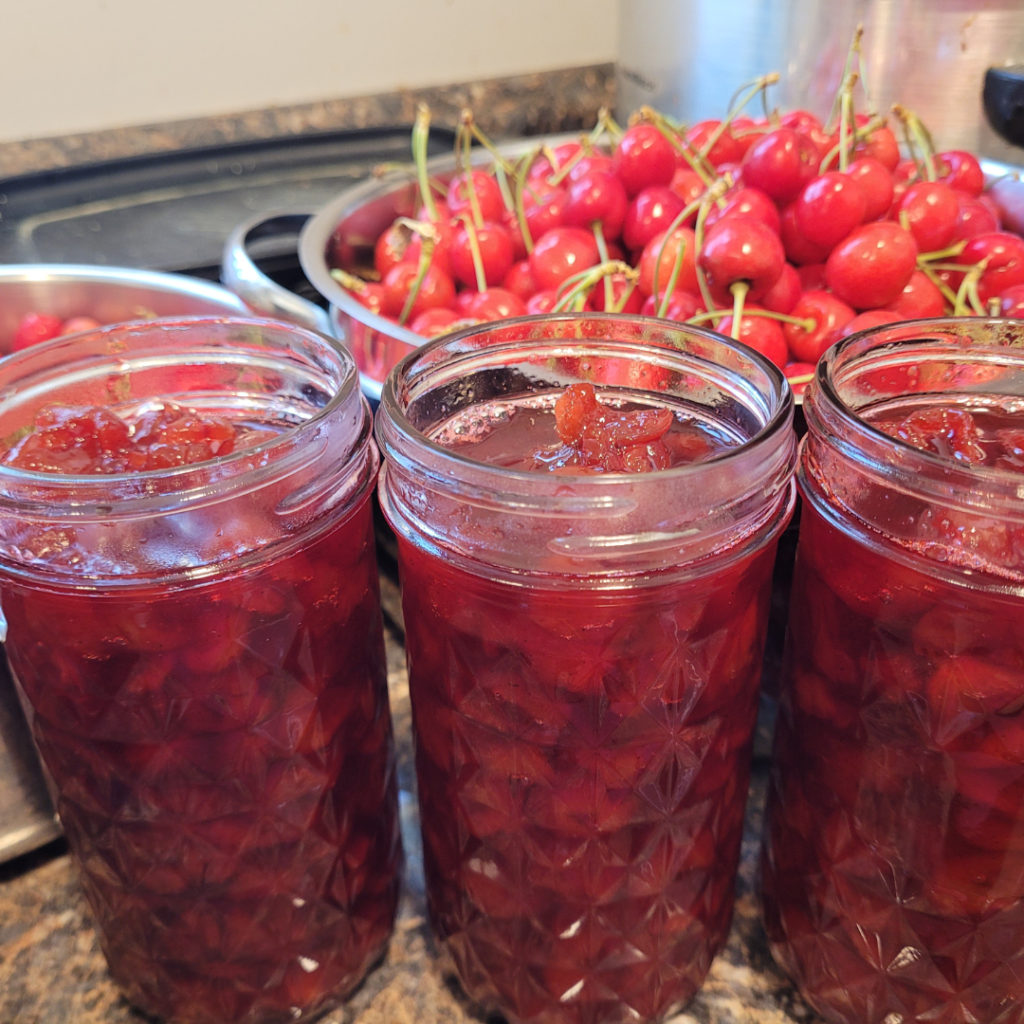
Proper Storage and Shelf Life
Once you’ve successfully canned your whole cherries, proper storage is crucial to maintaining their quality and flavor. Store the sealed jars in a cool, dark place, such as a pantry or cellar. Properly canned cherries can last for up to a year, but it’s always a good idea to label your jars with the date to keep track of their freshness.
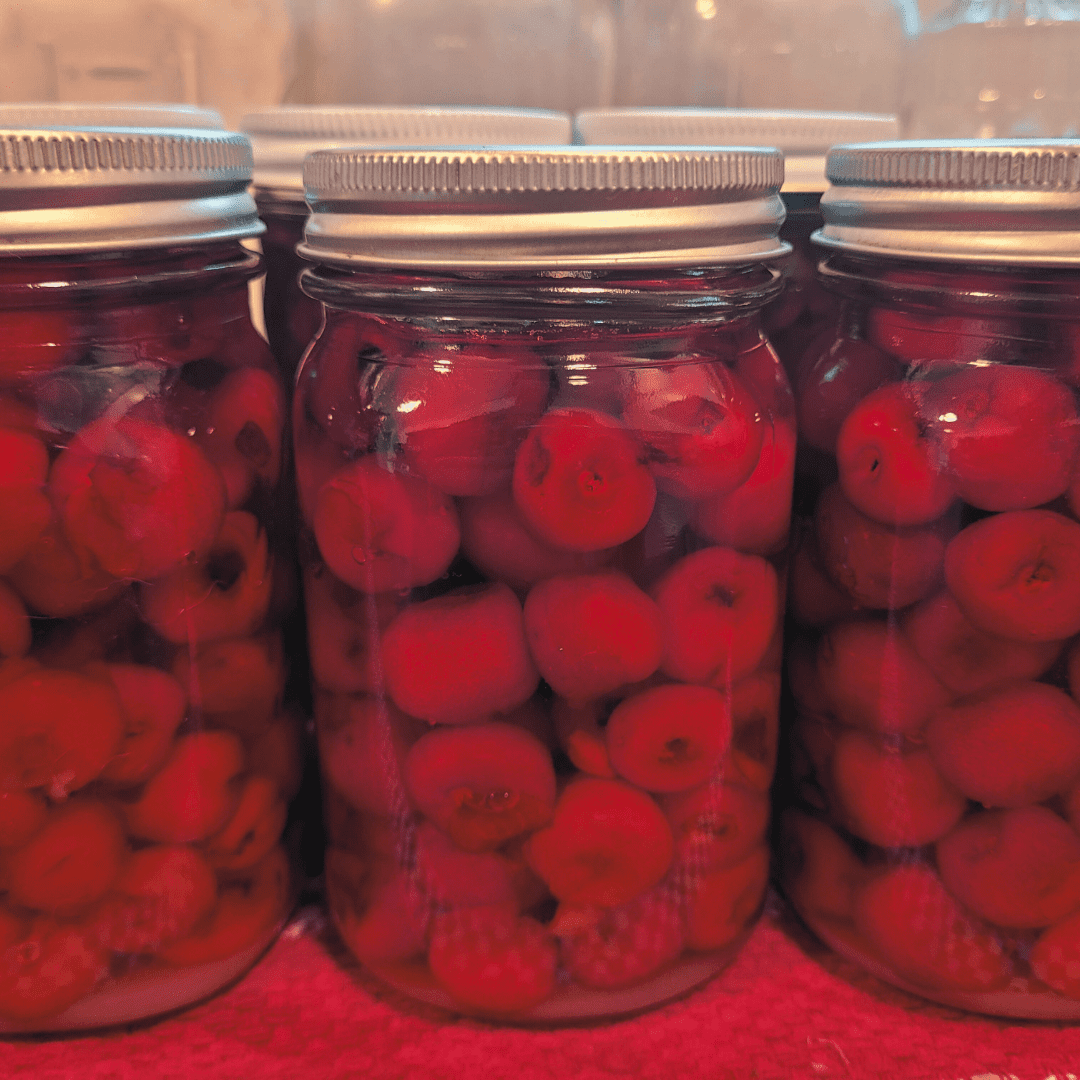
It is always a nice pleasure to see my canned cherries sitting on the pantry shelf in the basement when I am down there! Canned whole cherries are one of the most beautiful canned foods to proudly display on any pantry shelf! They also make wonderful gifts!
Using Canned Cherries in Recipes
Canned whole cherries are incredibly versatile and can be used in a wide range of recipes. They make a delicious addition to pies, cobblers, and crumbles. You can also use them as a topping for ice cream or yogurt, or incorporate them into savory dishes like salads or glazes for meats. Get creative and experiment with different recipes to make the most of your canned cherries!
I have a delicious cherry bread recipe with cherry glaze for you to try now that you have a ton of your own home-canned cherries!
How to Make Sweet Cherry Bread with Cherry Glaze
Preserving Flavor and Texture
To ensure the best flavor and texture when using canned cherries, it’s important to handle them gently. Avoid excessive stirring or rough handling, as they can cause the cherries to break apart and lose their desirable texture. When incorporating them into recipes, add them towards the end of the cooking process to preserve their vibrant color and firmness.
I find that coating cherries in light flour dusting helps keep them from sinking to the bottom in cakes and bread recipes.
Troubleshooting Common Issues in Canning Whole Cherries

Sealing Problems
Sometimes, despite our best efforts, jars may not properly seal during the canning process. If you encounter this issue, don’t worry! You can either reprocess the jars using fresh lids and following the canning instructions again or store the unsealed jars in the refrigerator and consume them within a few weeks.
Safety Concerns
Safety should always be a priority when canning. Make sure to follow proper sanitation practices, use tested recipes, and adhere to recommended processing times and temperatures. If you ever notice any signs of spoilage, such as mold, off-smells, or bulging lids, it’s best to discard the contents of the jar to avoid any potential health risks.
Preventing Spoilage
To minimize the risk of spoilage, it’s essential to use fresh, high-quality cherries for canning. Inspect the cherries carefully, discarding any that are bruised, overripe, or damaged. Additionally, always use clean jars, lids, and utensils during the canning process, and follow proper processing and storage guidelines.
Additional Tips and Variations for Canning Whole Cherries

Adding Flavors and Spices
If you want to add an extra flavor dimension to your canned cherries, consider incorporating spices or flavorings. Cinnamon, vanilla, almond extract, or even a splash of brandy can enhance the natural sweetness of the cherries. Experiment with different combinations to find the perfect flavor profile that suits your taste.
Exploring Different Sweeteners
While the traditional method involves using sugar syrup to can cherries, you can experiment with alternative sweeteners as well. Consider using honey, maple syrup, or even a sugar substitute like stevia. Just be sure to follow a recipe specifically designed for the sweetener you choose, as substitutions may require adjustments in processing times and ratios.
Remember, canning cherries is a rewarding and delicious way to enjoy these juicy fruits all year round. So go ahead, embrace your inner canning expert, and let the sweet taste of cherries brighten up your pantry!
All About Cherry Trees: Ultimate Guide
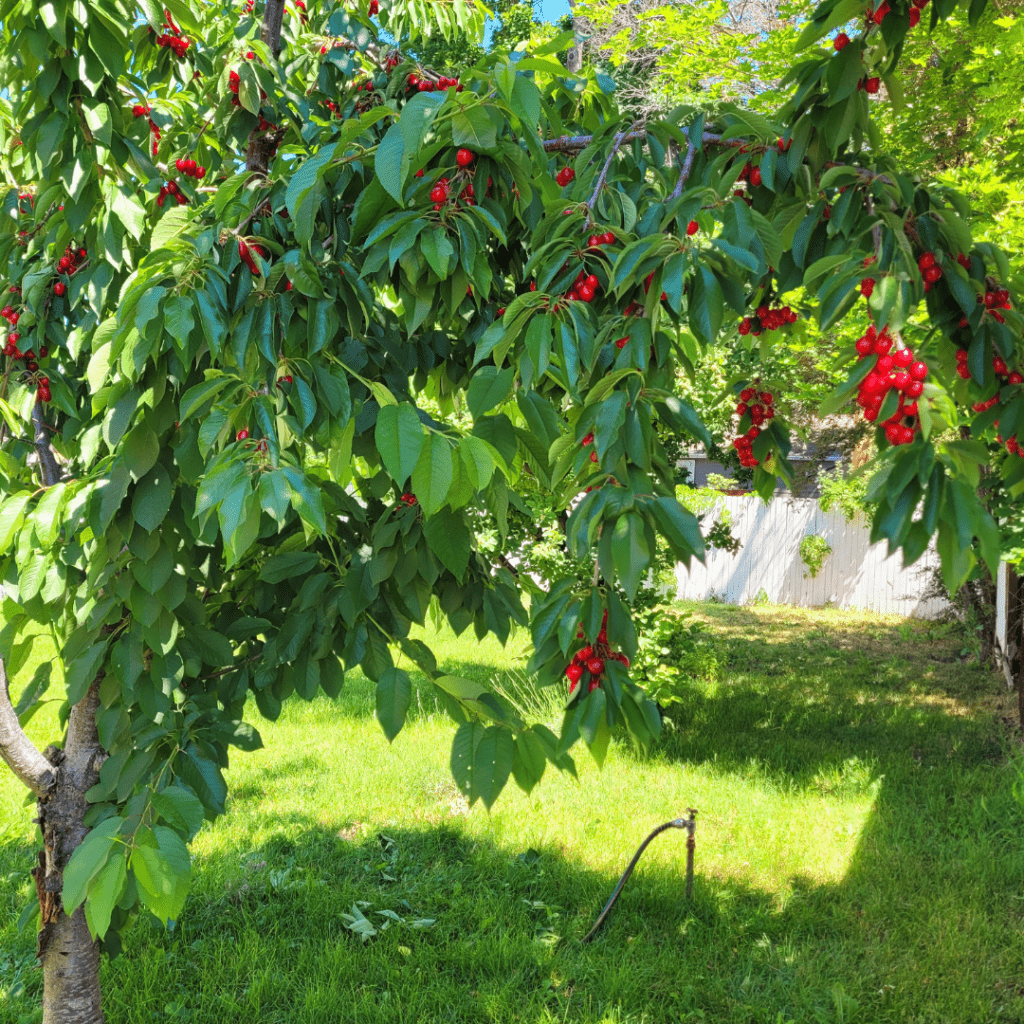
If you fancy growing your own cherry tree for years of cherry abundance, I invite you to check out my other post All About Cherry Trees: Ultimate Guide where I showcase my gorgeous and abundant cherry tree and how I care and harvest it year after year!
Cherry trees bring delight to the garden from their gorgeous spring blooms to the delicious bountiful fruit that follows. You can be sure to be given a huge harvest from your cherry tree so be prepared to learn how to preserve them and devour some cherry recipes.
Conclusion
In conclusion, canning whole cherries is a rewarding and practical way to preserve their natural sweetness and enjoy them in various recipes throughout the year.
By following the step-by-step guide and utilizing the right equipment and techniques, you can confidently set out on your canning journey. Whether you create jars of cherry-filled goodness for personal enjoyment or to share with loved ones, the satisfaction of opening a jar of homemade canned cherries will surely be worth the effort. So, go ahead and capture the essence of cherries in a jar, and delight in the taste of summer all year round.
Resources: Here are some helpful resources for further information.
- Canning and Freezing Fruits – By Better Homes & Gardens
- Home Canning Fruit – By Healthy Canning
- Canning Fruit – By Canning Fruit
Frequently Asked Questions
1. Can I use frozen cherries for canning?
While fresh cherries are typically recommended for canning due to their texture and flavor, you can also use frozen cherries as an alternative. However, keep in mind that frozen cherries may have a softer texture and release more liquid during the canning process. Adjustments to the canning recipe and method may be necessary when using frozen cherries.
2. How long can I store canned cherries?
When canned properly, whole cherries can be stored for up to 1 year in a cool, dark place such as a pantry or cellar. It is important to check the seals on the jars before consuming them to ensure they are airtight and free from any signs of spoilage. After opening a jar, store any unused cherries in the refrigerator and consume them within a week.
3. Can I can cherries without adding sugar?
Yes, you can can cherries without adding sugar if desired. However, keep in mind that sugar helps preserve the color, texture, and flavor of the cherries. If you choose to omit sugar, you can replace it with alternative sweeteners such as honey or stevia. It is important to follow a tested recipe for canning cherries without sugar to ensure proper preservation and safety.
4. Can I use the canned cherry syrup for other purposes?
Absolutely! The syrup from canned cherries can be utilized in various ways. You can use it as a sweetener in beverages like cocktails or lemonades, drizzle it over pancakes or desserts, or even use it as a base for making cherry-flavored sauces or glazes. The syrup adds a burst of cherry flavor to any recipe, so feel free to get creative with its usage.
Canning Whole Cherries
Equipment
- 1 water bath canner
- 1 set of canning supplies (funnel, ladle, jar lifter, de-bubbler, jars, lids, rings)
- 9 pint jars
Ingredients
- 11 pounds pitted and washed cherries
- 1 batch of prepared syrup
Instructions
Washing and Stemming Cherries
- Before you start canning, give your cherries a good rinse. Fill up a bowl with cool water and gently swish them around. Then, remove the stems by simply pulling them off.
Pitting Cherries
- Pit the cherries using a cherry pitter.
Heating the Jars and Canner
- Heat the jars in the oven at 200 degrees while heating the water bath canner.
Preparing the Syrup or Liquid for Canning
- Prepare and heat your syrup per the syrup chart above or according to your preference. Do not boil the syrup. Only get it hot enough for packing into the hot jars.
Packing the Cherries into Jars
- Fill each jar with cherries, leaving a 1/2-inch of headspace at the top. Make sure to evenly distribute the cherries and pour in enough syrup or liquid to cover them completely. De-bubble each jar with the de-bubbler tool.
Preparing the Jars for the Canner
- Wipe each rim of each jar clean and dry. Place a lid and ring on each jar until fingertip tight.
Processing and Sealing the Jars
- Carefully place the jars into your water bath canner, making sure they're covered with water. Bring the water to a gentle boil.
- Process the jars according to your elevation per the chart above.
Storing the Jars
- Remove the jars and let them cool, listening for the satisfying "pop" of the lids sealing themselves shut.
- Set them on the counter on a kitchen towel for 24 hours undisturbed.
- Store in a cool dark pantry.
Notes
- Handle cherries gently to maintain texture.
- Sugar can be substituted with honey or alternative sweeteners, adjusting processing if needed.
- Use syrup from jars in drinks, desserts, or sauces.
Summary
I hope I have inspired you to can your own whole cherries to enjoy and share with your friends and family and store on your pantry shelves!
Check out my Jam with Me page for more delicious jam recipes!
If you were encouraged by this post, I invite you to check out my FREE Printables Page for fun free printables, planners, and charts.
ENTER MY FREE Printables Page HERE
I invite you to check out some more of my posts!
How to Make and Can Cherry Pie Jam
How to Can a Year’s Supply of Quince Jam
Stockpiling MRE Meals for Survival: Prep Your Pantry
Best Foods to Stockpile for Survival Now: Prep Your Pantry
Blessings,
The Off Grid Barefoot Girl

