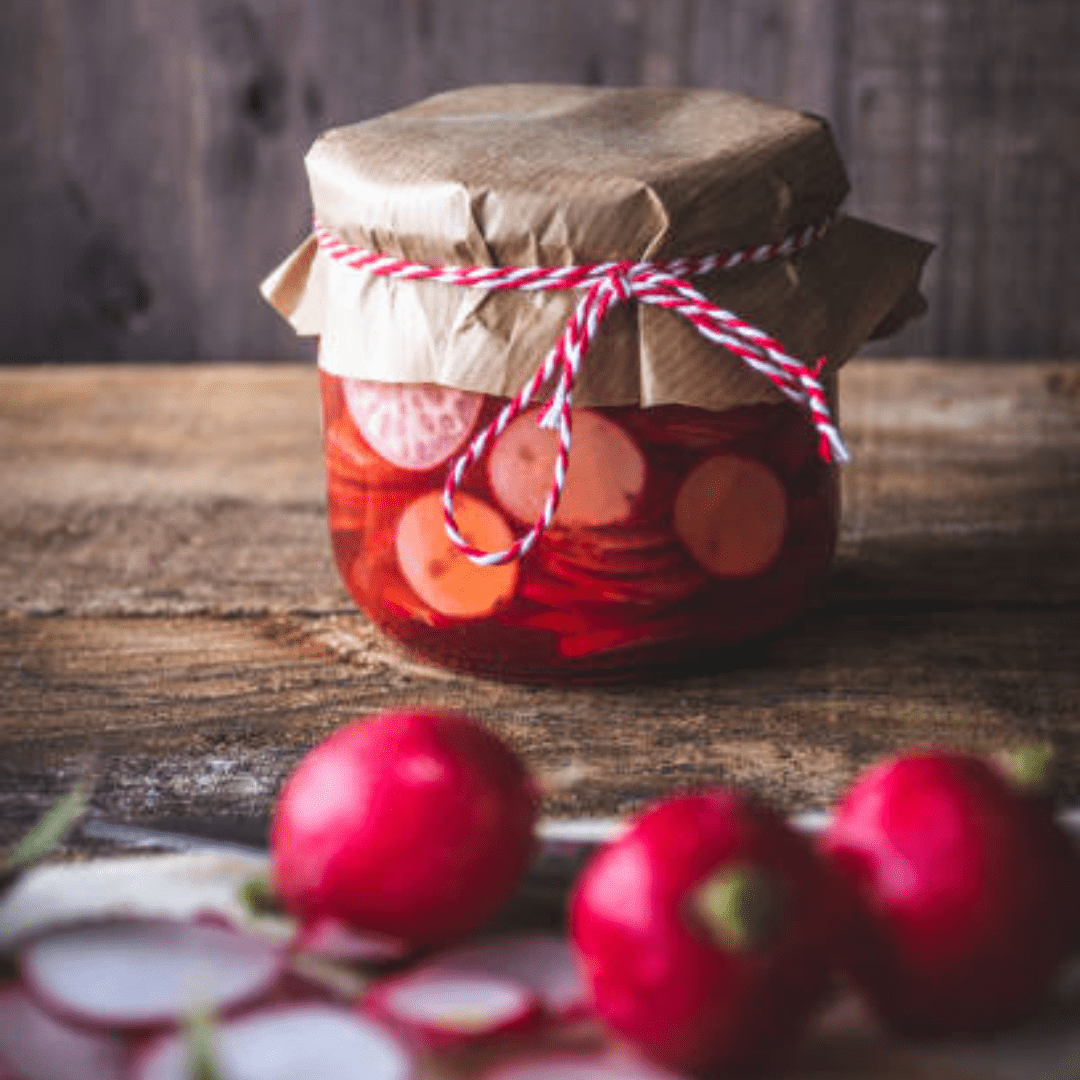
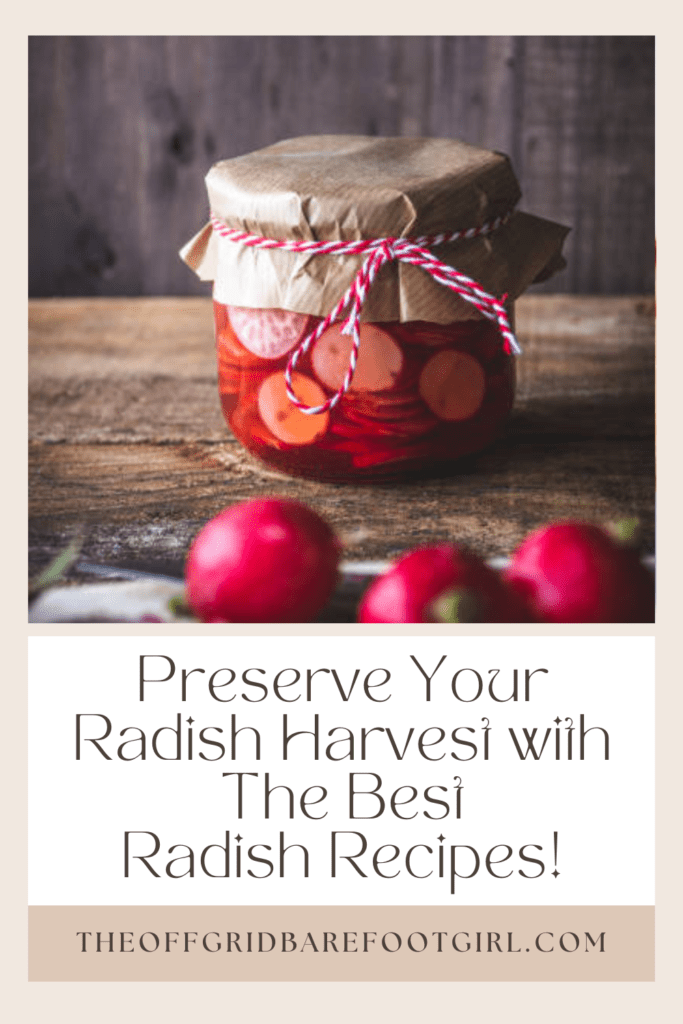
Make the most of your radish harvest with these simple and delicious radish recipes. From pickles to roasted dishes, learn how to preserve flavor and enjoy your garden bounty all year long.
I love when my garden gives me a big harvest of crisp, peppery radishes! But let’s be honest—if you don’t use them fast, they can go from fresh to floppy in no time. That’s why I’m sharing my favorite ways to preserve radishes and turn them into tasty recipes that your whole family will love. From quick pickles to roasted dishes, these ideas will help you enjoy the flavor of your radishes well beyond the harvest season.
This is a pinnable post. Tap or hover over any image in this post to pin to your Pinterest Boards.
Introduction to Radish Harvest Preservation
Why Preserve Radishes?
Radishes are delightful, crunchy gems of the garden that can easily overwhelm your harvest basket. Preserving them ensures you can enjoy their freshness long after the growing season ends.
The Benefits of Homemade Preservation
Preserving your radish harvest at home not only guarantees a flavorful stash of goodies, but also lets you control the ingredients and experiment with creative recipes.
Pickling Radishes: A Timeless Preservation Method
Traditional Pickling Techniques
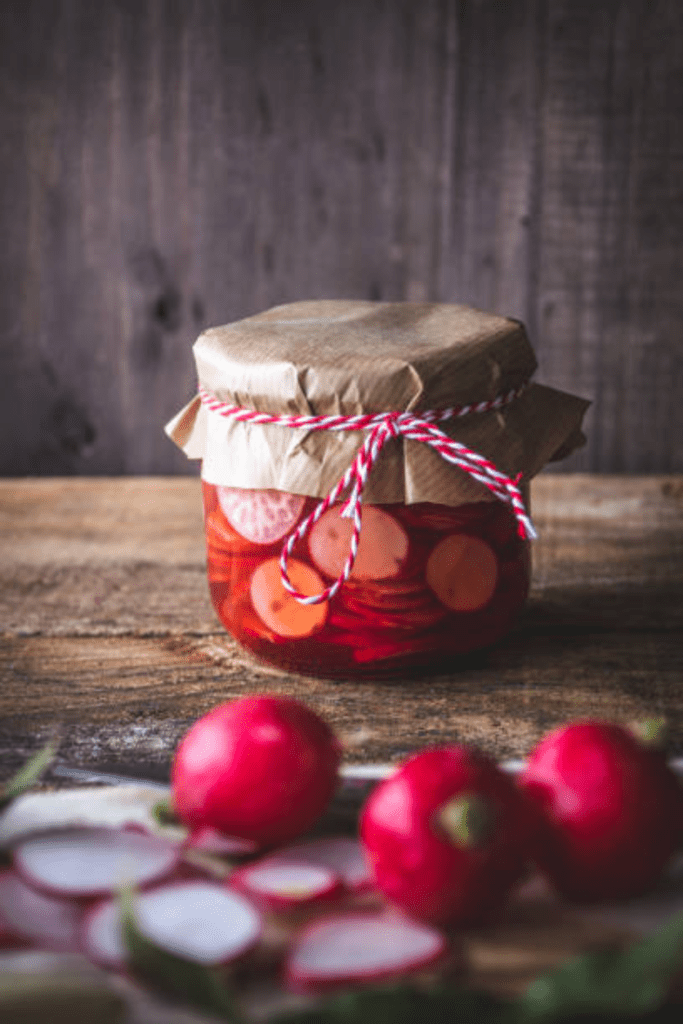
Pickling radishes is a classic method that enhances their natural zing. Whether you opt for a simple brine or a spiced vinegar solution, the results are tangy perfection.
Flavor Variations and Seasonings
From sweet and spicy to tangy and herbal, the world of pickled radishes is a flavor playground. Experiment with garlic, dill, or even chili flakes to create your signature pickled radish blend.
Steps to Properly Pickle Radishes
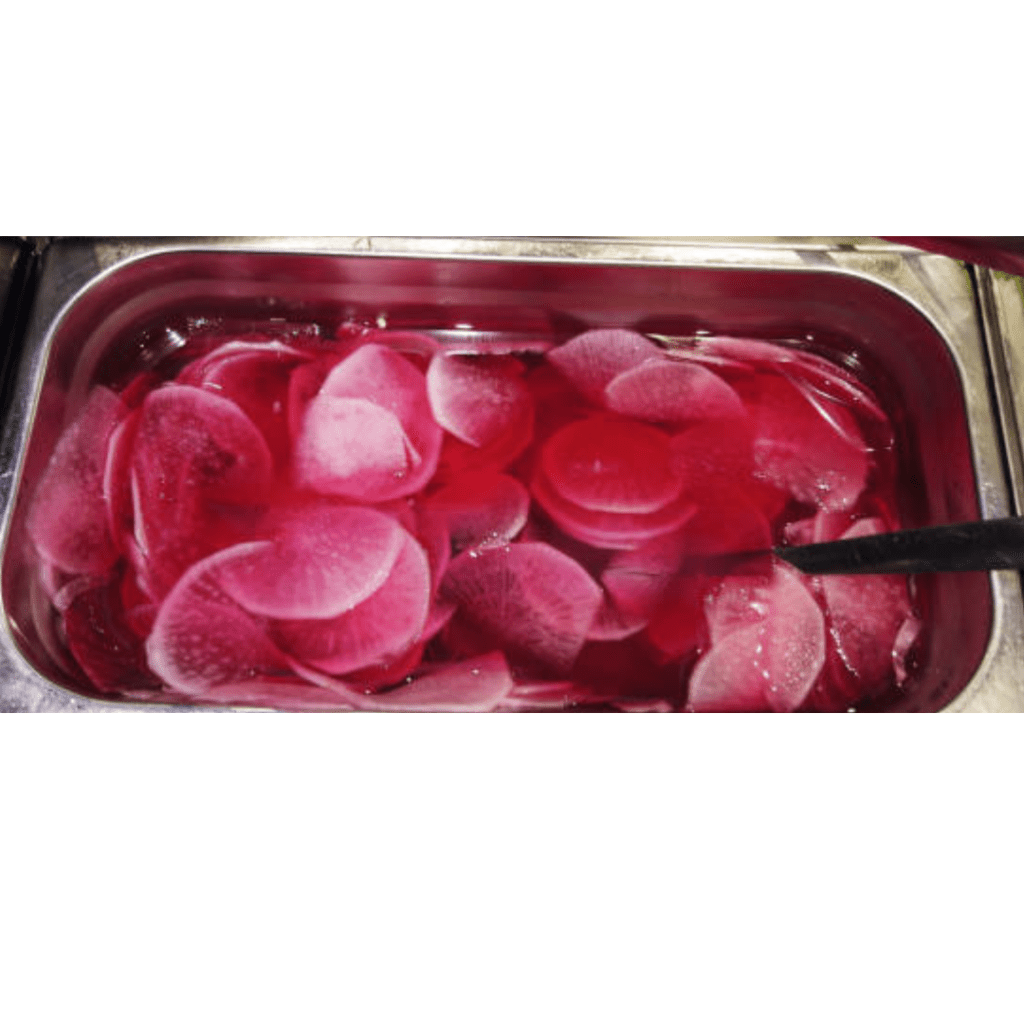
Slicing, brining, and sealing jars may sound like a pickle of a task, but pickling radishes is surprisingly easy. Follow these simple steps to pickle your way to radish heaven.
- Gather Ingredients: You’ll need fresh radishes, vinegar (such as white vinegar, apple cider vinegar, or rice vinegar), water, salt, sugar, and any additional flavorings you desire, like garlic cloves, peppercorns, or herbs.
- Prepare Radishes: Wash the radishes thoroughly under running water to remove any dirt or debris. Trim off the tops and roots, and slice them thinly or leave them whole depending on your preference. You can also cut them into quarters or slices.
Preparing the Brine
- Prepare Brine: In a saucepan, combine vinegar, water, salt, and sugar in the proportions typically, a ratio of 1:1 vinegar to water is used, and salt and sugar are added to taste. Heat the mixture over medium heat, stirring until the salt and sugar are fully dissolved.
- Add Flavorings (Optional): If desired, add flavorings like garlic cloves, peppercorns, mustard seeds, dill, or any other herbs or spices you like. Allow the brine to simmer for a few minutes to infuse the flavors.
Preparing the Jars
- Pack Radishes: Place the prepared radishes into clean, sterilized jars. Pack them tightly but without crushing them.
- Pour Brine Over Radishes: Carefully pour the hot brine over the radishes in the jars, covering them completely. Leave a small amount of headspace at the top of each jar.
- Remove Air Bubbles: Use a clean utensil, such as a chopstick or a bubble remover tool, to remove any air bubbles trapped in the jars. Gently press down on the radishes to release any trapped air.
- Seal Jars: Wipe the rims of the jars with a clean, damp cloth to ensure a tight seal. Place the lids on the jars and screw the bands on until they are fingertip tight.
Storing the Pickled Radishes
- Cool and Store: Allow the jars to cool to room temperature on the countertop. Once cooled, you can store them in the refrigerator for short-term use or process them in a water bath canner for long-term storage according to proper canning procedures.
- Let Them Pickle: Let the radishes pickle for at least 24 hours before opening and enjoying them. The longer they sit, the more the flavors will develop.
Once opened, store the pickled radishes in the refrigerator and consume them within a few weeks for the best quality. Enjoy your homemade pickled radishes as a tasty condiment or addition to salads, sandwiches, tacos, and more!
Fermenting Radishes for Long-Lasting Flavor
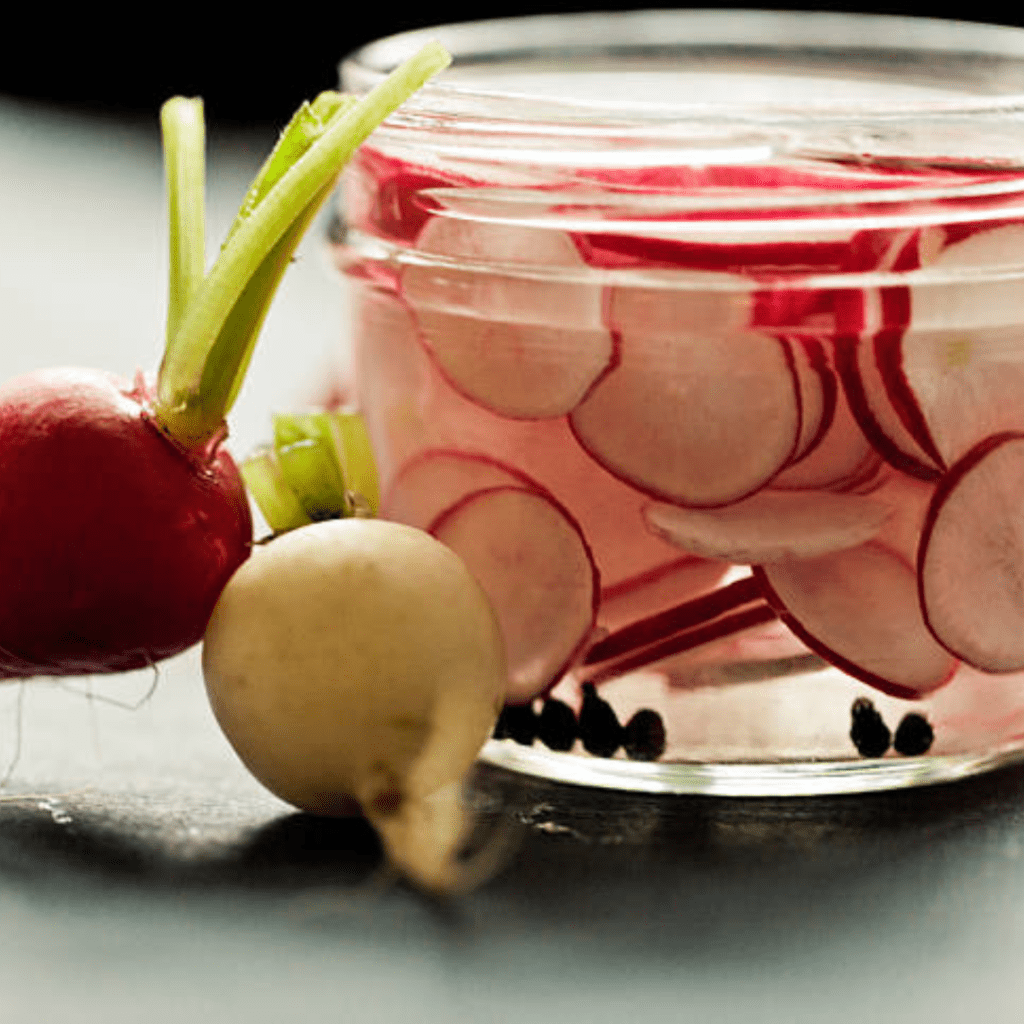
The Science Behind Fermentation
Fermentation transforms radishes into probiotic powerhouses, enriching their flavor profile and extending their shelf life. Embrace the magic of microbes and savor the tangy results.
Fermentation Equipment and Supplies
To ferment radishes successfully, you’ll need jars, weights, and patience. Let the beneficial bacteria work their wonders as you wait for the tangy goodness to develop.
Steps to Fermenting Radishes
Fermenting radishes is a wonderful way to preserve them while adding a tangy flavor and beneficial probiotics. Here are the steps to ferment radishes:
- Gather Ingredients: You’ll need fresh radishes, non-iodized salt (such as sea salt or kosher salt), water, and any additional flavorings like garlic, herbs, or spices.
- Prepare Radishes: Wash the radishes thoroughly under running water to remove any dirt or debris. Trim off the tops and roots, and slice them thinly or leave them whole depending on your preference. You can also cut them into quarters or slices.
Prepare the Brine
- Prepare Brine: In a clean jar or fermentation vessel, dissolve salt in water to create a brine. The ratio of salt to water typically ranges from 1-3 tablespoons of salt per quart of water, depending on your taste preferences and the saltiness of the salt you’re using.
- Add Flavorings (Optional): If desired, add flavorings like garlic cloves, peppercorns, mustard seeds, dill, or any other herbs or spices you like directly into the brine.
Prepare the Jars
- Pack Radishes: Place the prepared radishes into the fermentation vessel. Pack them tightly, but without crushing them. Leave some headspace at the top of the vessel to allow for fermentation gases to accumulate.
- Pour Brine Over Radishes: Pour the prepared brine over the radishes in the fermentation vessel, ensuring they are fully submerged. Use a fermentation weight or a clean, food-safe object to keep the radishes submerged under the brine.
Monitoring the Fermentation Process
- Fermentation: Cover the fermentation vessel with a lid or a cloth secured with a rubber band to keep out dust and insects while allowing gases to escape. Place the vessel in a cool, dark place, ideally between 60-75°F (15-24°C).
- Wait and Monitor: Allow the radishes to ferment for about 3-7 days, depending on the temperature and your taste preference. Check the radishes daily to ensure they remain submerged and to monitor the fermentation process. You may see bubbles forming, which is a sign that fermentation is occurring.
- Taste Test: After a few days, start tasting the radishes to gauge their flavor and fermentation level. Once they reach your desired level of tanginess, transfer them to the refrigerator to slow down the fermentation process.
- Storage: Store the fermented radishes in the refrigerator, where they will continue to develop flavor over time. They can last for several weeks to months when properly stored.
Enjoy your homemade fermented radishes as a tangy and probiotic-rich addition to salads, sandwiches, tacos, or as a flavorful snack!
Fermenting Radish Recipe Ideas
Kimchi, radish kraut, or fermented radish pickles – the options are endless when it comes to fermenting radishes. Get creative with spices and seasonings to craft fermented delights.
Creative Ways to Preserve Radishes Through Canning
Canning Safety Precautions
Canning radishes requires attention to safety measures to prevent spoilage and ensure long-lasting enjoyment. Follow proper canning procedures to seal in the freshness.
Hot Water Bath vs. Pressure Canning
Deciding between hot water bath canning and pressure canning depends on the acidity of your radish recipes. Choose the right method to preserve your radishes safely and effectively.
Creative Canning Recipes for Radishes
Pickled radish slices, radish relish, or even radish chutney – canning opens up a world of possibilities for preserving radishes. Explore unique flavors and textures through creative canning techniques.
Canning Radishes
Canning radishes is a less common method compared to pickling or fermenting, as radishes tend to lose their crispness when canned. However, if you still wish to can them, here’s a basic guide:
- Gather Ingredients and Equipment: You’ll need fresh radishes, vinegar (such as white vinegar or apple cider vinegar), water, salt, sterilized canning jars, lids, and bands, as well as a water bath canner or pressure canner.
- Prepare Radishes: Wash the radishes thoroughly under running water to remove any dirt or debris. Trim off the tops and roots, and slice them thinly or leave them whole depending on your preference.
- Prepare Canning Liquid: In a saucepan, combine vinegar, water, and salt. Use a ratio of about 1 part vinegar to 2 parts water, and add salt to taste. Heat the mixture over medium heat until it reaches a gentle simmer.
Filling the Jars
- Fill Jars: Pack the prepared radishes tightly into sterilized canning jars, leaving about 1/2 inch of headspace at the top.
- Add Canning Liquid: Pour the hot canning liquid over the radishes in the jars, covering them completely. Leave 1/2 inch of headspace between the liquid and the rim of the jar.
- Remove Air Bubbles: Use a clean utensil, such as a chopstick or a bubble remover tool, to remove any air bubbles trapped in the jars. Gently press down on the radishes to release any trapped air.
- Wipe Jar Rims: Wipe the rims of the jars with a clean, damp cloth to ensure a tight seal.
- Apply Lids and Bands: Place sterilized lids on the jars and screw the bands on until they are fingertip tight. Do not over-tighten.
Processing and storing the Jars
- Process Jars: Process the jars in a water bath canner or pressure canner according to recommended processing times for radishes. Processing times may vary depending on your altitude and the type of canner you’re using, so consult a reliable canning guide or recipe for specific instructions.
- Cool and Store: Once processed, carefully remove the jars from the canner and place them on a towel-lined countertop to cool. As they cool, you should hear the lids make a popping sound, indicating that they are properly sealed. Allow the jars to cool completely before storing them in a cool, dark place.
- Check Seals: After the jars have cooled for 12-24 hours, check the seals by pressing down on the center of each lid. If the lid is firm and does not flex, the jar is properly sealed. If any jars do not seal properly, refrigerate them and use the contents within a few days.
- Label and Store: Label the jars with the contents and date before storing them in your pantry or another cool, dark place. Properly canned radishes can last for up to a year or more when stored correctly.
Keep in mind that canned radishes may lose some of their crispness during the canning process and may become softer in texture.
Freezing Radishes: Tips and Tricks for Success

Blanching Radishes Before Freezing
Freezing radishes is a great way to preserve their crunch and flavor. To lock in their freshness, blanch the radishes in boiling water for a few minutes, then quickly transfer them to an ice bath to stop the cooking process.
Proper Storage Containers for Freezing Radishes
When freezing radishes, use airtight containers or freezer bags to prevent freezer burn. Make sure to label the containers with the date to keep track of their freshness.
Thawing and Using Frozen Radishes
To use frozen radishes, simply thaw them in the refrigerator overnight or in a bowl of cold water for quicker thawing. While frozen radishes may lose some of their crispness, they are perfect for use in soups, stews, or stir-fries.
Dehydrating Radishes for a Crunchy Snack Option
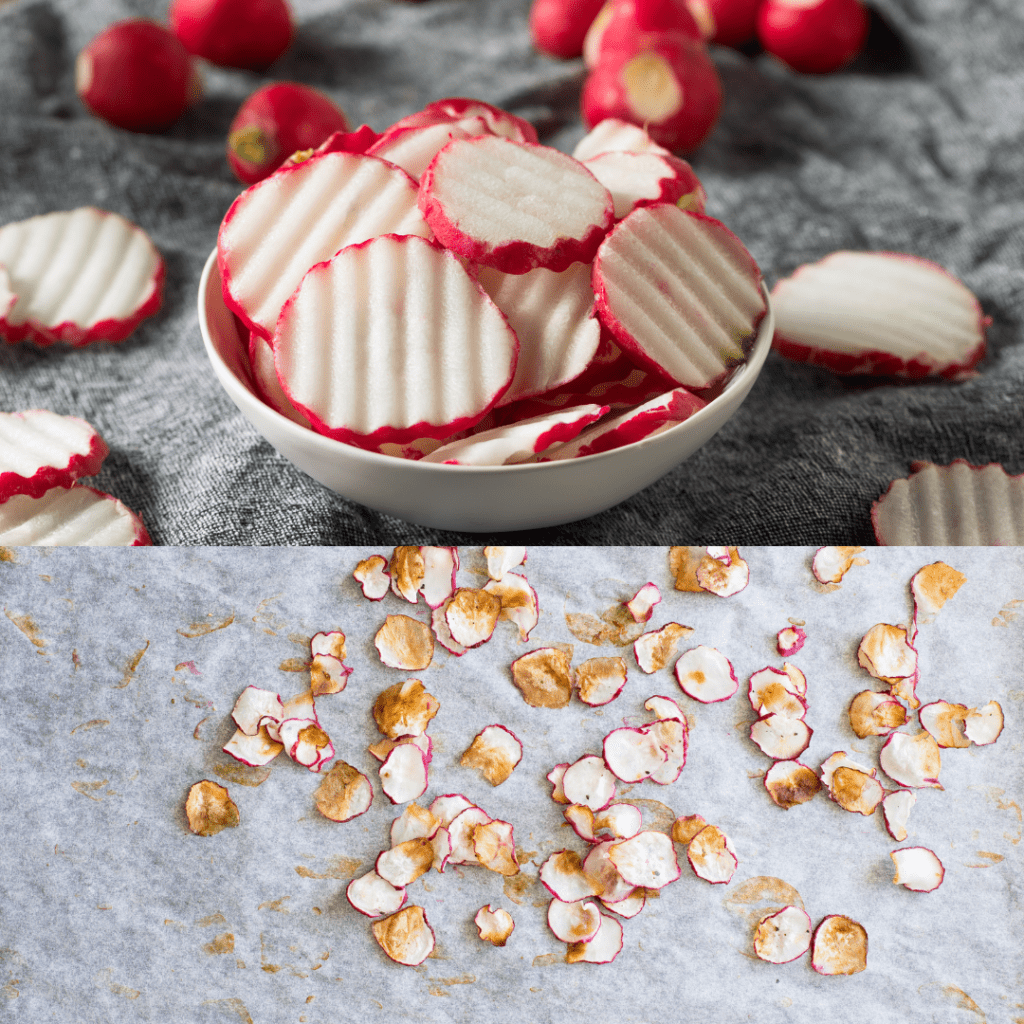
Dehydrating Methods and Equipment
Dehydrated radishes make for a delicious crunchy snack. Use a dehydrator or oven set to a low temperature to remove moisture from the radishes until they are crisp.
Seasoning and Flavoring Dehydrated Radishes
Sprinkle your dehydrated radishes with salt, pepper, or your favorite seasoning blend before dehydrating for added flavor. Get creative with spices like garlic powder, paprika, or even a touch of honey for a sweet twist.
Storing Dehydrated Radishes for Longevity
Store your dehydrated radishes in an airtight container in a cool, dry place to maintain their crunchiness. They can last for several months, providing a tasty snack option whenever you need a crunchy fix.
Incorporating Preserved Radishes into Delicious Recipes
Pickled Radish Salad with Goat Cheese
Combine sliced pickled radishes with fresh greens, goat cheese, and a simple vinaigrette for a refreshing and tangy salad that’s perfect for any meal.
Fermented Radish Kimchi for a Spicy Kick
Spice up your meals with homemade fermented radish kimchi. Fermented radishes, garlic, ginger, and chili create a flavorful condiment that adds a spicy kick to rice dishes, tacos, or sandwiches.
Canned Radish Relish for BBQs and Picnics
Canned radish relish is a versatile condiment that adds a pop of flavor to hot dogs, burgers, or sandwiches. Sweet and tangy, it’s the perfect addition to your summer BBQs and picnics. Here’s a step-by-step guide to canning radish relish:
Ingredients:
- 3 cups fresh radishes.
- 1 red onion.
- 1 red bell pepper.
- 1 cup vinegar (white vinegar or apple cider vinegar).
- 1/2 cup sugar.
- 2 garlic cloves.
- 2 tsp salt.
- 2 tbsp mustard seeds.
- 1 tsp dill weed.
- Canning jars, lids, and bands.
- Water bath canner or pressure canner.
- Sterilized utensils (ladle, funnel, etc.).
Instructions:
- Prepare Ingredients: Wash the radishes thoroughly under running water to remove any dirt or debris. Trim off the tops and roots, and finely chop or grate the radishes. Finely chop onions and bell peppers if using.
- Combine Ingredients: In a large saucepan, combine the chopped radishes, onions, bell peppers (if using), vinegar, sugar, salt, and mustard seeds. Add the quantities of sugar and salt. Can use a food processor to finely chop all ingredients into a relish mixture.
- Cook Relish: Heat the mixture over medium heat, stirring frequently, until it comes to a gentle boil. Reduce the heat and let it simmer for about 10-15 minutes, or until the vegetables are tender and the flavors have melded together.
Prepare Canning Equipment
- Prepare Canning Equipment: While the relish is cooking, prepare your canning equipment. Wash the jars, lids, and bands in hot, soapy water, and sterilize them by boiling them in water for 10 minutes or running them through a dishwasher cycle. Keep the jars hot until ready to use.
Prepare the Jars
- Fill Jars: Using a sterilized canning funnel, ladle the hot relish into the hot jars, leaving about 1/2 inch of headspace at the top of each jar. Remove any air bubbles by running a clean utensil along the inside of the jar.
- Apply Lids and Bands: Wipe the rims of the jars with a clean, damp cloth to remove any residue. Place sterilized lids on the jars and screw the bands on until they are fingertip tight.
Process and Store the Jars
- Process Jars: Process the jars in a boiling water bath canner for about 10-15 minutes, ensuring that the jars are completely submerged in water and that there is at least 1 inch of water covering the jars. Adjust processing time according to your altitude and the size of the jars.
- Cool and Store: Once processed, carefully remove the jars from the canner and place them on a towel-lined countertop to cool. As they cool, you should hear the lids make a popping sound, indicating that they are properly sealed. Allow the jars to cool completely before storing them in a cool, dark place.
- Check Seals and Label: After the jars have cooled for 12-24 hours, check the seals by pressing down on the center of each lid. If the lid is firm and does not flex, the jar is properly sealed. Label the jars with the contents and date before storing them in your pantry or another cool, dark place.
- Enjoy: Your canned radish relish is now ready to enjoy! It makes a delicious addition to sandwiches, burgers, hot dogs, salads, and more.
Conclusion: Enjoying Your Radish Harvest All Year Round
Preserving your radish harvest through freezing, dehydrating, pickling, or canning allows you to enjoy the fresh flavors of radishes all year long. Get creative in the kitchen with these preserved radish recipes and savor the taste of your harvest in new and exciting ways. As you embark on your radish preservation journey, remember that the possibilities are endless when it comes to enjoying the flavors of this humble yet vibrant vegetable.
Whether you opt for pickling, fermenting, canning, freezing, or dehydrating, the key is to savor the fruits of your labor throughout the seasons. With a pantry stocked full of preserved radishes, you’ll be able to enhance your dishes with a burst of freshness and crunch, adding a delightful twist to your culinary creations. Embrace the art of radish preservation and relish in the joy of a well-preserved harvest that brings a taste of summer to your table all year long!
Resources: Here are some more resources for you to check out!
- 3 Ways to Preserve Radishes – By Self-Sufficient Me
- 4 Ways to Preserve Radishes – By The Purposeful Pantry
- How to Store Radishes: 6 Ways to Store Radishes – By MasterClass
Frequently Asked Questions
1. Can I use different types of radishes for preservation?
Yes, you can definitely use different types of radishes for preservation! Pickling or fermenting radishes is a great way to extend their shelf life and enjoy their crisp, tangy flavor all year round. Common varieties like red, white, Black Spanish, and watermelon radishes all work well for preserving. Each type will bring its own unique taste and color to your pickles or ferments. Make sure to wash the radishes thoroughly before preserving them and consider adding in other ingredients like garlic, dill, or spices to enhance the flavor profile. Experiment with different recipes and techniques to find the perfect preservation method that suits your taste preferences! Remember, the possibilities are endless when it comes to using different types of radishes for preservation. So have fun exploring and creating delicious preserved radish dishes!
2. How long can preserved fermented radishes be stored?
Preserved radishes can typically be stored for up to 6 months if properly sealed and kept in a cool, dark place. The key is ensuring that the radishes are completely submerged in their brine or vinegar solution to prevent any exposure to air, which can cause spoilage. It’s also important to use clean utensils when removing radishes from the jar, as any contamination could lead to mold or other issues. Additionally, checking for any signs of spoilage such as off smells, unusual colors, or mold growth is crucial before consuming preserved radishes. However, it’s worth noting that the quality of the radishes may deteriorate over time, so it’s best to enjoy them within a few months for optimal flavor and texture.
3. Are there any safety precautions to keep in mind when preserving radishes?
When preserving radishes, it is important to keep in mind a few safety precautions to ensure that the end result is safe to consume. Firstly, always make sure to thoroughly wash the radishes before beginning the preservation process. This will help remove any dirt or bacteria that could potentially contaminate the final product. Additionally, be mindful of using clean utensils and containers throughout the process to prevent any cross-contamination. When pickling or fermenting radishes, ensure that they are fully submerged in the brine or liquid to prevent mold growth. Finally, store preserved radishes in a cool, dark place like a refrigerator to prolong their shelf life and maintain their quality. By following these simple precautions, you can enjoy delicious preserved radishes without compromising your health.
4. Can preserved radishes be used in a variety of dishes and recipes?
Yes, preserved radishes can definitely be used in a variety of dishes and recipes! Their tangy and slightly salty flavor makes them a versatile ingredient that can add a unique kick to many dishes. Preserved radishes are commonly used in Asian cuisine, particularly in Chinese, Korean, and Japanese dishes. They can be added to stir-fries, fried rice, noodle dishes, salads, and even sandwiches for an extra burst of flavor. You can also chop them up and use them as a topping for tacos or nachos. Furthermore, preserved radishes can be pickled or fermented further to enhance their flavor profile. Whether you’re looking to experiment with new flavors or simply add some zing to your favorite recipes, preserved radishes are a great option to have on hand in your kitchen and pantry!
Summary
I hope I have inspired you to make these radish recipes to enjoy and share with your friends and family.
If you were encouraged by this post, I invite you to check out my FREE Printables Page for fun free printables, planners, and charts.
ENTER MY FREE Printables Page HERE
Here are some more of my jam inspiration posts to check out!
How to Make and Can Peach Salsa
Canning Supplies You Need Now for a Successful Canning Season!
How to Make and Can Balsamic Onion Jam
Cranberry Sauce: How to Make and Can Old Fashioned Cranberry Sauce
How to Make and Can Cranberry Merry Jam
How to Make and Can Strawberry Shortcake Jam
Cherry Jam: How to Make and Can Cherry Pie Jam
Carrot Cake Jam: How to Make and Can Carrot Cake Jam
Quince Jam: How to Can a Year’s Supply of Quince Jam
Root Beer Float Jelly: How to Make and Can Root Beer Float Jelly
Blessings,
The Off Grid Barefoot Girl

