Sourdough calzones.
Sourdough calzones offer a delightful twist to the classic Italian dish. These savory turnovers, filled with a variety of ingredients and baked to golden perfection, bring together the tangy flavors of sourdough bread and the savory goodness of calzones. In this article, I will explore the step-by-step process of making sourdough calzones from scratch, starting with preparing the sourdough starter to assemble and baking the calzones. Whether you are a seasoned sourdough enthusiast or a curious home cook looking for a new culinary adventure, this guide will equip you with the knowledge and techniques to create delicious sourdough calzones that are sure to impress your family and friends. So, roll up your sleeves, get your apron on, and let’s dive into the world of sourdough calzone making!
This is a pinnable post. Tap or hover over any image in this post to pin to your Pinterest Boards.

Introduction to Sourdough Calzones
Why Sourdough Calzones?
Sourdough calzones are a delightful twist on the classic Italian dish. The tangy flavor of the sourdough adds a unique depth of taste to the traditional calzone, making it a truly mouthwatering culinary experience. Plus, using sourdough gives your calzones a lovely, rustic texture that’s hard to resist.
The History and Origins of Calzones
Calzones have a fascinating history that goes way back to Naples, Italy. These pocket-shaped wonders were created as a portable meal for workers and peasants who needed a convenient way to enjoy a hearty, filling meal on the go. The word “calzone” actually means “trouser” in Italian, and it’s believed that the shape of the calzone resembles a folded pair of pants.
Preparing the Sourdough Starter
Gathering the Ingredients
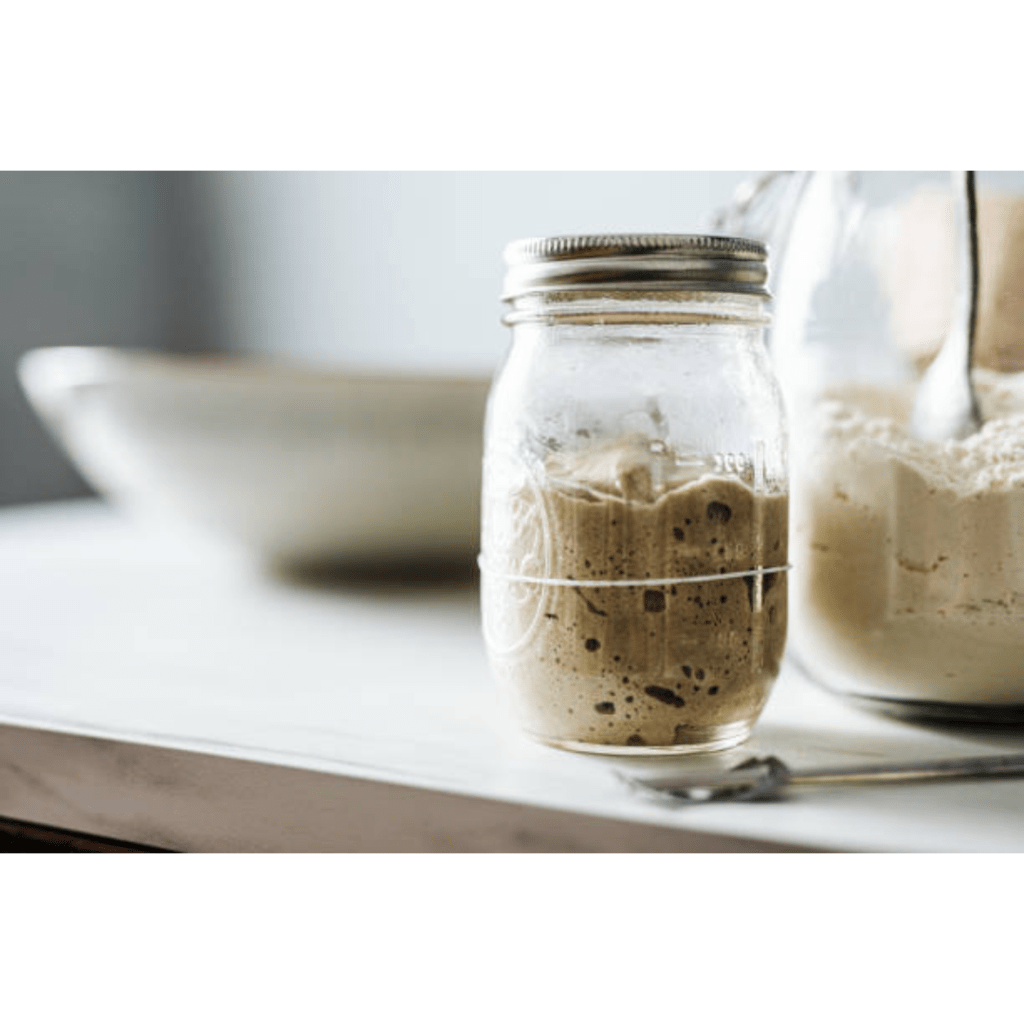
Before you can dive into making your sourdough calzones, you’ll need a vibrant and active sourdough starter. To create your starter, gather some all-purpose flour and water. It’s as simple as that! If you do not already have a sourdough starter, don’t worry, I’ve got you covered. I wrote a separate post tutorial to help you get started in making your very own sourdough starter to keep in your kitchen for any sourdough recipe you desire. All you need is flour, water, and a few days!
The Ultimate Guide to Crafting a Perfectly Tangy Wild Sourdough Starter
Feeding and Maintaining the Sourdough Starter
Like any living organism, your sourdough starter needs regular care and nourishment. Feed it with equal parts flour and water, discard some of the starter to maintain its balance, and repeat this process daily or as often as your recipe requires. Think of it as keeping a tiny, demanding pet that rewards you with deliciousness! Further and detailed instructions can be found in the following tutorial.
The Ultimate Guide to Crafting a Perfectly Tangy Wild Sourdough Starter
Testing the Starter for Readiness
To ensure your sourdough starter is ready to be used in your calzones, perform the float test. Simply drop a small spoonful of the starter into a cup of water. If it floats, congratulations! Your starter is lively and ready to work its magic. If it sinks, continue feeding and nurturing your starter until it passes the float test with flying colors.
Making the Calzone Dough
Gathering the Dough Ingredients
Now it’s time to gather the ingredients for the calzone dough. You’ll need flour, salt, water, and, of course, your trusty sourdough starter. Don’t forget to bring your enthusiasm and a dash of patience to the kitchen too!
- Sourdough starter.
- Flour.
- Salt.
- Warm water.
Mixing and Kneading the Dough
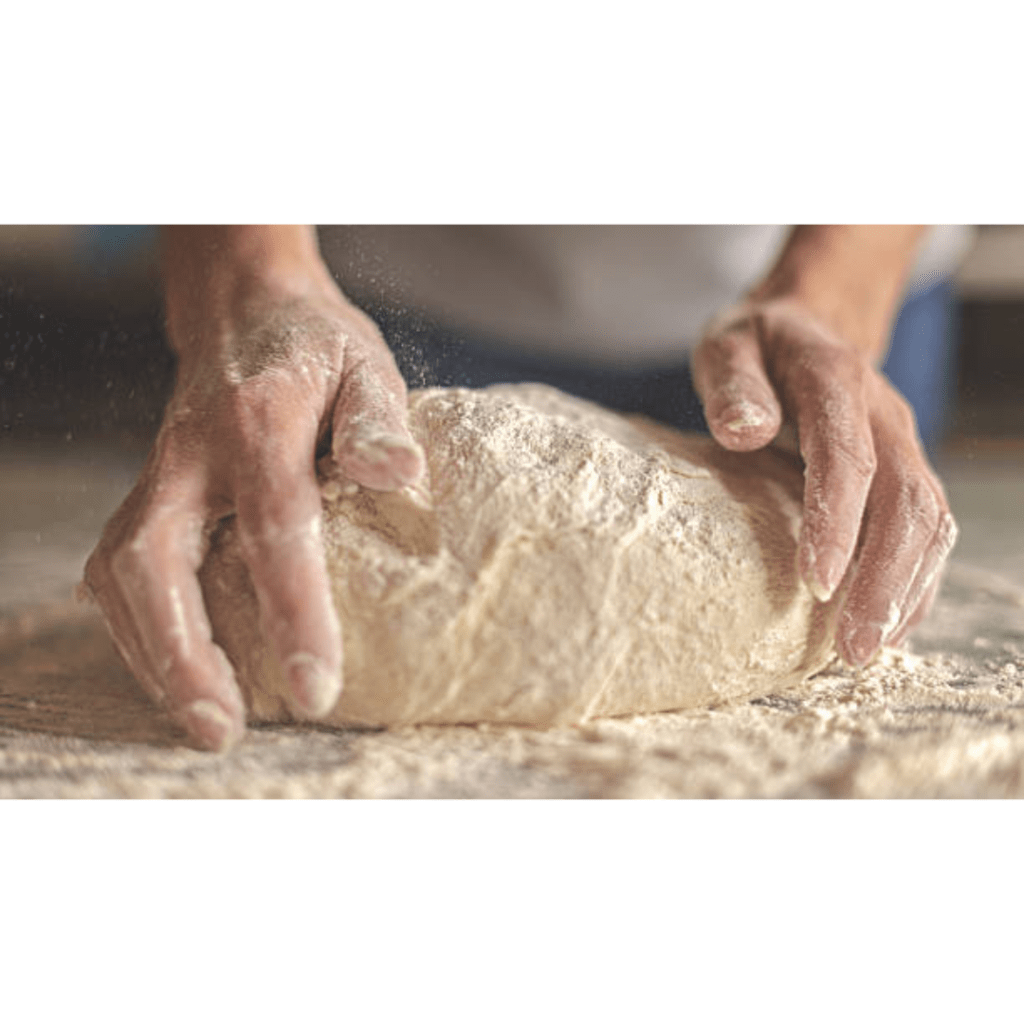
Mixing the ingredients together, you’ll create a shaggy mess that might make you question your culinary skills. Fear not! Embrace the mess and start kneading the dough. The repetitive motion is not only therapeutic, but also essential to developing the gluten and creating that perfect chewiness.
Allowing the Dough to Rise
After all the mixing and kneading, it’s time to let the dough rest and rise. Find a cozy spot in your kitchen, cover the dough with a clean cloth, and let it rise until it doubles in size. This waiting period may test your patience, but remember, good things come to those who wait!
Choosing and Preparing the Filling
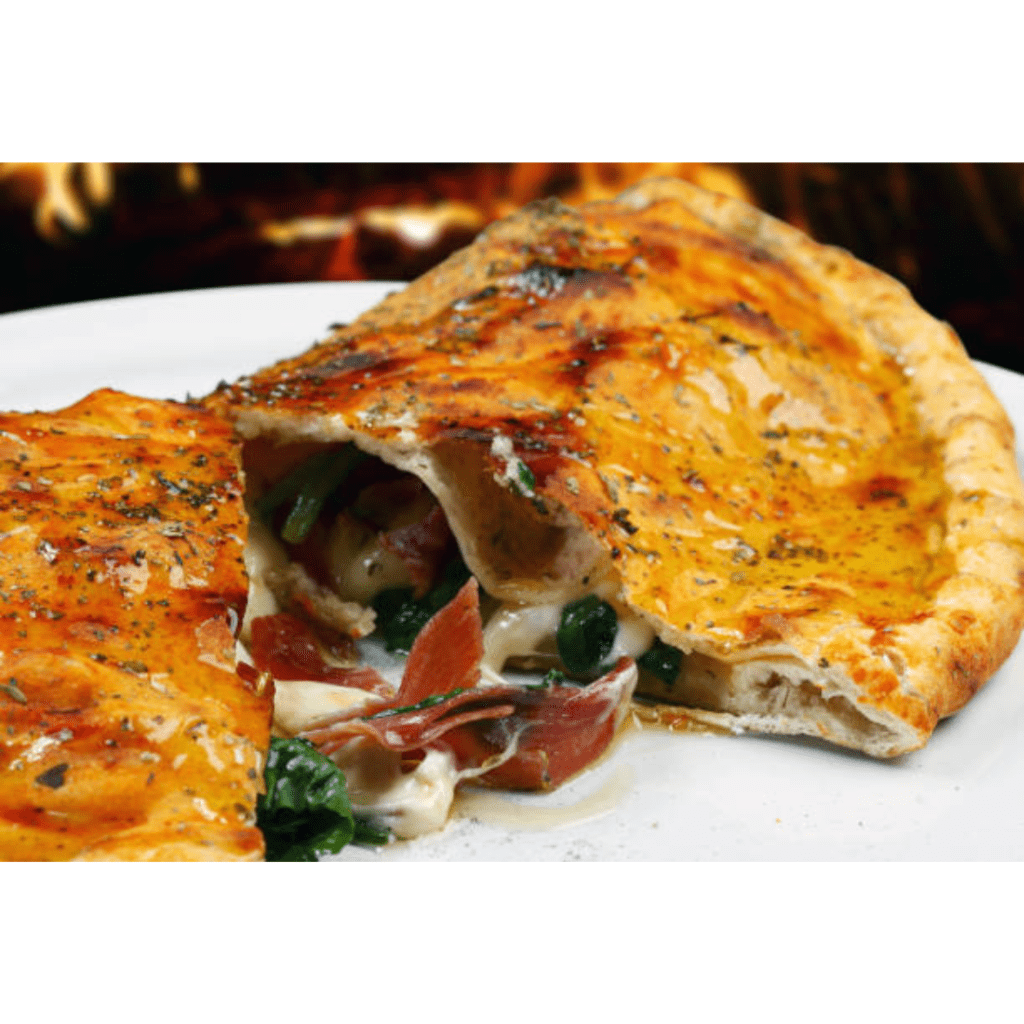
Traditional Calzone Fillings
When it comes to calzone fillings, the options are endless. Traditionalists often go for a combination of mozzarella, ricotta, and various cured meats like pepperoni or ham. The melted cheese and savory meats create a symphony of flavors that will transport you straight to Italy! (Well, at least mentally!)
Vegetarian and Vegan Options
For those seeking a plant-based or vegetarian twist, fear not, there are endless possibilities! Consider using a mix of sautéed vegetables, such as bell peppers, onions, and mushrooms, along with plant-based cheese alternatives. The key here is to let your creativity run wild and embrace the flavors that speak to you.
Experimenting with Unique Fillings
Calzones are a playground for culinary experimentation. Don’t be afraid to break the rules and try unique fillings. How about a sweet calzone with Nutella and bananas? Or a savory calzone with barbecue-pulled jackfruit? The only limit is your imagination, so go ahead and let your taste buds lead the way.
Remember, making sourdough calzones is all about embracing the process, enjoying the journey, and savoring the delicious results. So get your apron on, channel your inner Italian chef, and let the sourdough magic unfold!
Assembling and Baking the Calzones
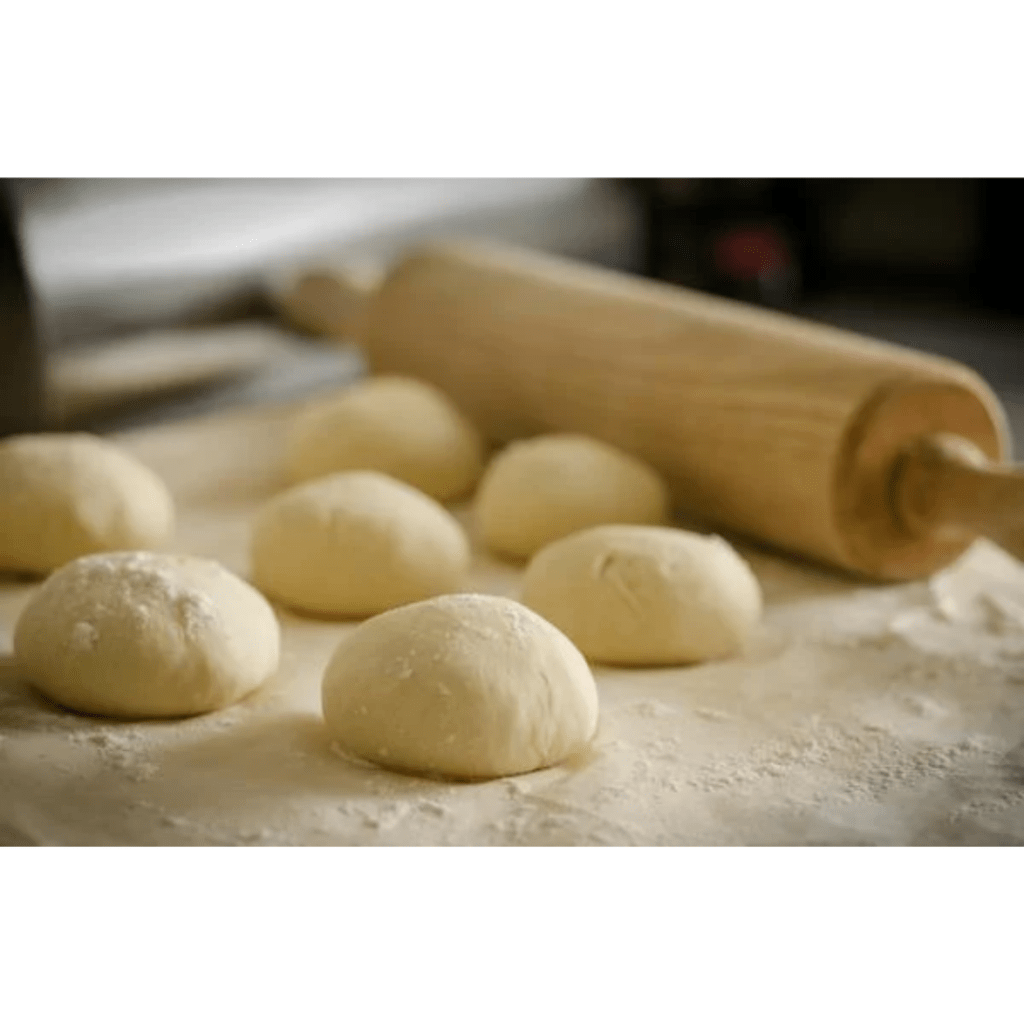
Dividing and Shaping the Dough
Once your sourdough dough has proved to perfection, it’s time to divide and shape it into individual calzones. Start by lightly flouring your work surface and hands to prevent sticking. Carefully divide the dough into small portions, depending on how large you want your calzones to be.
Next, take each portion of dough and shape it into a round ball by pulling the edges towards the center and pinching them together. This creates a smooth and even surface for the calzones. Place the shaped dough balls onto a parchment-lined baking sheet, leaving enough space between each one to allow for spreading during baking.
Adding the Filling and Sealing the Calzones
Now comes the fun part – filling your sourdough calzones! The options are endless here. You can go with classic fillings like mozzarella, pepperoni, and tomato sauce, or get creative with combinations like spinach, feta cheese, and roasted red peppers.
Take one of the dough balls and gently flatten it into a small disc using your hands or a rolling pin. Spoon your desired filling onto one half of the disc, leaving a border around the edges. Fold the other half of the disc over the filling, creating a half-moon shape.
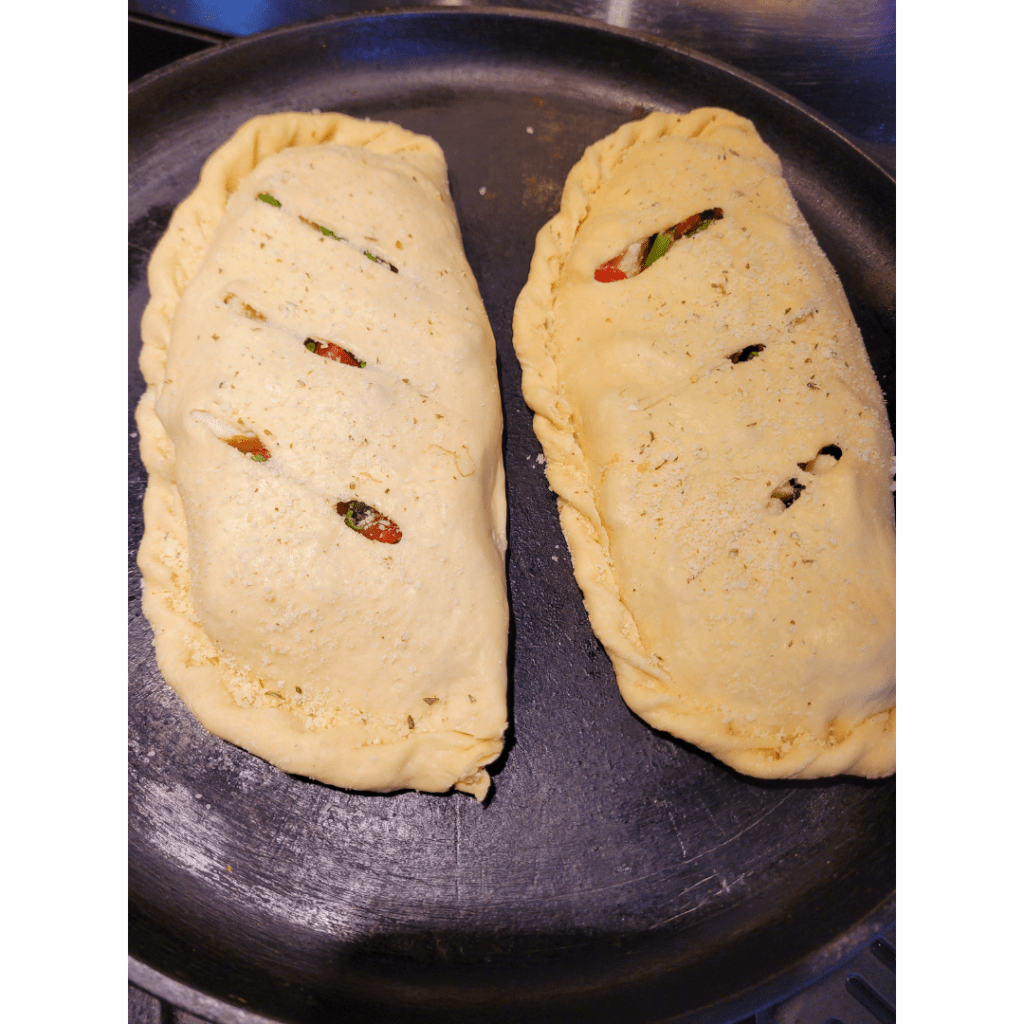
To seal the calzones, use your fingers to press down along the edges, ensuring that no filling escapes during baking. For an extra secure seal, you can crimp the edges with a fork or fold them over and pinch them together. Repeat this process with the remaining dough balls and fillings.
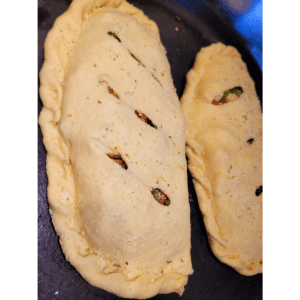
I like to top my calzones with a sprinkle of dried herbs and parmesan cheese just before baking! Slit a few holes in each calzone like you would a pie to allow air to escape.
Proper Baking Techniques and Temperatures
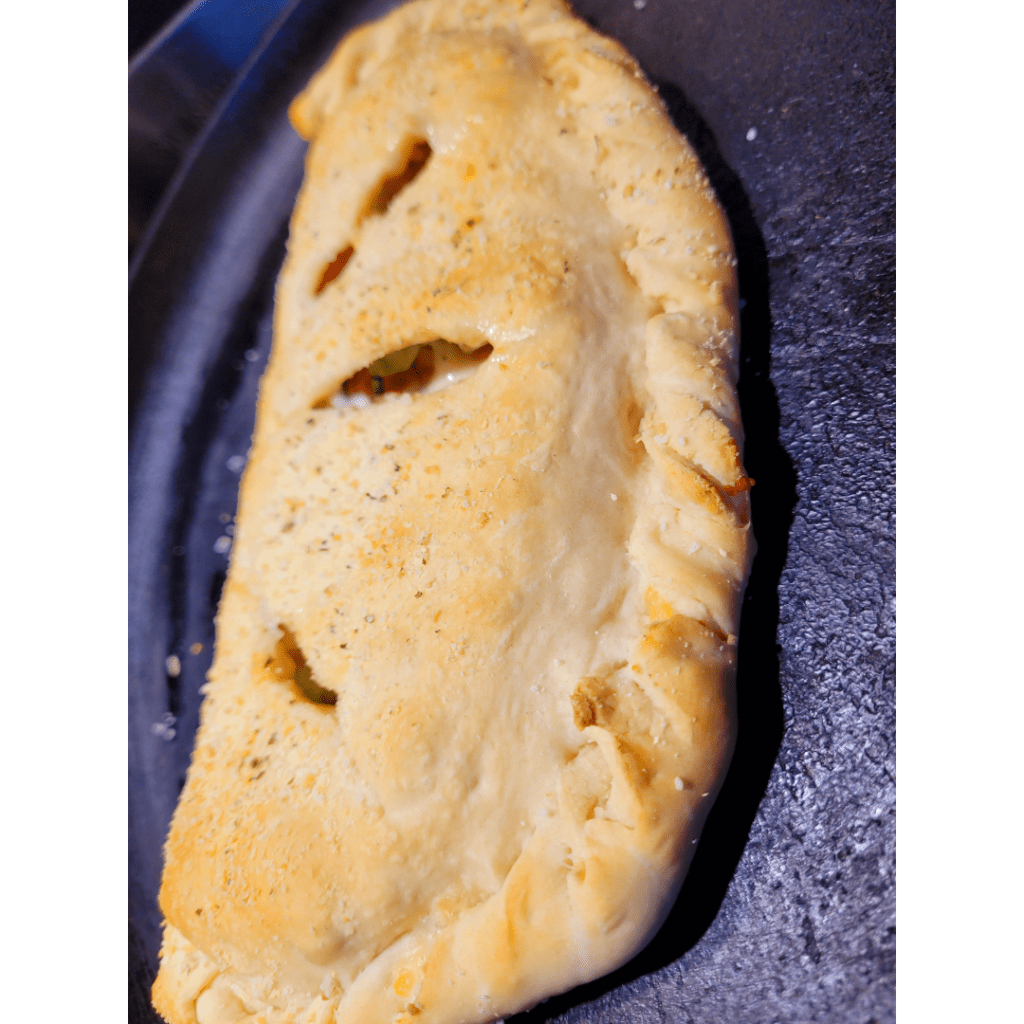
Preheat your oven to a temperature of 425°F (220°C) while you let the assembled calzones rest for about 15 minutes. This allows the dough to relax and helps prevent any bursting during baking.
When the oven is heated to the desired temperature, place the calzones in the middle rack and let them bake for approximately 20-25 minutes, or until they turn golden brown. Keep an eye on them as baking times may vary depending on the size of your calzones and the heat distribution of your oven.
Once they are beautifully golden and aromatic, remove the calzones from the oven and let them cool for a few minutes before devouring.
Tips for Perfect Sourdough Calzones

Key Considerations for the Sourdough Starter
Having a healthy and active sourdough starter is crucial for achieving the best results with your calzones. Make sure your starter is well-fed and robust before incorporating it into the dough. If your starter has been stored in the refrigerator, refresh it a day or two before you plan on making the calzones to ensure optimal fermentation.
Mastering the Dough Consistency
Achieving the perfect dough consistency is key to light and fluffy calzones. The dough should be soft and slightly sticky, but not overly wet. Adjust the amount of flour and water accordingly during the mixing process to achieve the desired consistency. Don’t be afraid to get your hands in there and feel the texture of the dough.
Enhancing Flavor with Seasonings and Herbs
While the filling is where most of the flavor in a calzone comes from, don’t forget to season the dough as well. Experiment with different seasonings and herbs to add an extra kick to your sourdough calzones. Basil, oregano, garlic powder, and even a sprinkle of parmesan cheese can take your calzones to the next level of deliciousness.
Serving and Enjoying the Sourdough Calzones
Serving Suggestions and Accompaniments
Now that your sourdough calzones are perfectly baked, it’s time to enjoy them! Serve them hot, straight from the oven, for the ultimate cheesy and melty experience. Pair them with a side of marinara sauce for dipping or a refreshing green salad to balance out the richness.
Storing and Reheating Leftover Calzones
If you somehow have any leftover calzones (which is rare because they’re so irresistible), store them in an airtight container in the refrigerator. When you’re ready to enjoy them again, simply reheat them in a preheated oven at 350°F (175°C) for about 10-12 minutes, or until heated through. This will help maintain the crispy exterior while warming the gooey filling.
Variations and Alternative Ingredients
Gluten-Free Options
For those with gluten intolerance or following a gluten-free diet, fear not! You can still enjoy the goodness of sourdough calzones by experimenting with gluten-free flour blends or alternative grains such as buckwheat or quinoa flour. Remember to adjust the hydration levels accordingly, as gluten-free flours may require more liquid.
Exploring Different Cheese Choices
While mozzarella cheese is the traditional choice for calzones, don’t be afraid to mix it up. Try using different types of cheese like cheddar, gouda, or even goat cheese to add a unique twist to your sourdough calzones. The melty, gooey factor will remain the same – only the flavor profiles will change!
Incorporating Specialty Meats and Ingredients
Calzones are a fantastic canvas for showcasing your favorite ingredients. Experiment with different meats, such as Italian sausage, prosciutto, or salami, to create a meat lover’s dream. You can also add roasted vegetables, caramelized onions, or even a dollop of pesto to elevate the flavors and textures of your calzones. Let your imagination run wild!
Conclusion
In conclusion, making sourdough calzones is a rewarding and delicious culinary endeavor. With a little patience and practice, you can perfect the art of sourdough bread and create mouthwatering calzones filled with your favorite ingredients. Whether you prefer traditional fillings or want to experiment with unique combinations, the possibilities are endless. So, gather your ingredients, fire up your oven, and enjoy the satisfaction of biting into a warm, homemade sourdough calzone. Your loved ones will thank you. Happy baking!

Frequently Asked Questions
1. Can I use a store-bought sourdough starter for making sourdough calzones?
Yes, you can certainly use a store-bought sourdough starter to make sourdough calzones. Just make sure to follow the instructions provided with the starter and adjust your recipe accordingly. Keep in mind that the flavor and characteristics of store-bought starters may vary, so the final result might differ slightly from using a homemade starter.
2. How long does it take to prepare the sourdough starter?
The process of preparing a sourdough starter typically takes around 5 to 7 days. During this time, you will need to feed the starter regularly to establish and strengthen the natural yeast and bacteria within it. However, the exact duration may vary depending on various factors such as temperature, humidity, and the specific recipe or method you are following.
3. Can I freeze the sourdough calzones for later consumption?
Yes, you can freeze sourdough calzones for later consumption. After baking and cooling the calzones, individually wrap them in plastic wrap or place them in airtight containers. Label and date them before storing them in the freezer. To reheat, simply thaw the calzones in the refrigerator overnight and then bake in a preheated oven until heated through.
4. Can I make gluten-free sourdough calzones?
Absolutely! Gluten-free sourdough calzones can be made using alternative flour such as rice flour, almond flour, or a gluten-free flour blend. Keep in mind that gluten-free dough may have a different texture and require additional moisture or binding agents. Experiment with different gluten-free flour combinations and follow specific gluten-free recipes to achieve the best results.
Sourdough Calzones Recipe
Sourdough Calzones Recipe
Equipment
- 1 large mixing bowl
- 1 baking pan
Ingredients
For the Dough
- ½ cup sourdough starter.
- 3 ½ cups flour.
- ½ tsp salt.
- 1 ¼ cups warm water.
Instructions
Mixing and Kneading the Dough
- Mixing the ingredients together, you'll create a shaggy mess that might make you question your culinary skills.
Allowing the Dough to Rise
- After all the mixing and kneading, it's time to let the dough rest and rise. Find a cozy spot in your kitchen, cover the dough with a clean cloth, and let it rise until it doubles in size.
Dividing and Shaping the Dough
- Once your sourdough dough has proved to perfection, it's time to divide and shape it into individual calzones. Start by lightly flouring your work surface and hands to prevent sticking.
- Carefully divide the dough into small portions, depending on how large you want your calzones to be.
- Next, take each portion of dough and shape it into a round ball by pulling the edges towards the center and pinching them together. This creates a smooth and even surface for the calzones.
- Place the shaped dough balls onto a parchment-lined baking sheet, leaving enough space between each one to allow for spreading during baking.
Adding the Filling and Sealing the Sourdough Calzones
- Take one of the dough balls and gently flatten it into a small disc using your hands or a rolling pin.
- Spoon your desired filling onto one half of the disc, leaving a border around the edges.
- Fold the other half of the disc over the filling, creating a half-moon shape.
- Add your fillings such as classic fillings like mozzarella, pepperoni, and tomato sauce, or get creative with combinations like spinach, feta cheese, and roasted red peppers.
Sealing the Sourdough Calzones
- To seal the calzones, use your fingers to press down along the edges, ensuring that no filling escapes during baking.
- For an extra secure seal, you can crimp the edges with a fork or fold them over and pinch them together.
- Repeat this process with the remaining dough balls and fillings.
Baking the Sourdough Calzones
- Preheat your oven to a temperature of 425°F (220°C) while you let the assembled calzones rest for about 15 minutes. This allows the dough to relax and helps prevent any bursting during baking.
- When the oven is heated to the desired temperature, place the calzones in the middle rack and let them bake for approximately 20-25 minutes, or until they turn golden brown.
- Keep an eye on them as baking times may vary depending on the size of your calzones and the heat distribution of your oven.
- Once they are beautifully golden and aromatic, remove the calzones from the oven and let them cool for a few minutes before devouring.
Summary
I hope I have inspired you to bake some sourdough calzones to enjoy and share with your friends and family.
If you were encouraged by this post, I invite you to check out my FREE Printables Page for fun free printables, planners, and charts.
ENTER MY FREE Printables Page HERE
Here are some more of my bread-making inspiration posts to check out!
Pizza Dough: How to Make Sourdough Pizza Dough
Scones: How to Make Easy Sourdough Discard Scones
Pumpkin Rolls: How to Make Pumpkin-Shaped Bread Rolls
Breadsticks: How to Make Easy Sourdough Breadsticks
Sourdough Discard Fry Bread: Easy Sourdough Discard Hack
Sourdough Buttermilk Drop Biscuits: The Ultimate Secret to Easy Biscuits!
How to Make Apple Fritter Bread: A Perfect Fall Treat
How to Make the Perfect Pumpkin-Shaped Sourdough Bread from Scratch
Easy Pumpkin Bread Recipe That Will Satisfy Your Fall Cravings
The Ultimate Snickerdoodle Zucchini Bread Recipe: Tips for a Perfect Bake
How to Turn Stale Bread into Irresistible Breadcrumbs!
The Best Fall Maple Sourdough Bread Recipe
The Ultimate Guide to Making Sourdough Bread from Scratch
The Ultimate Guide to Crafting a Perfectly Tangy Wild Sourdough Starter
Artisan Bread: How to Make Artisan Bread
Challah Bread: How to Make a 6 Braided Challah Bread
Sweet Bread: How to Make Sweet Bread
Blessings,
The Off Grid Barefoot Girl


