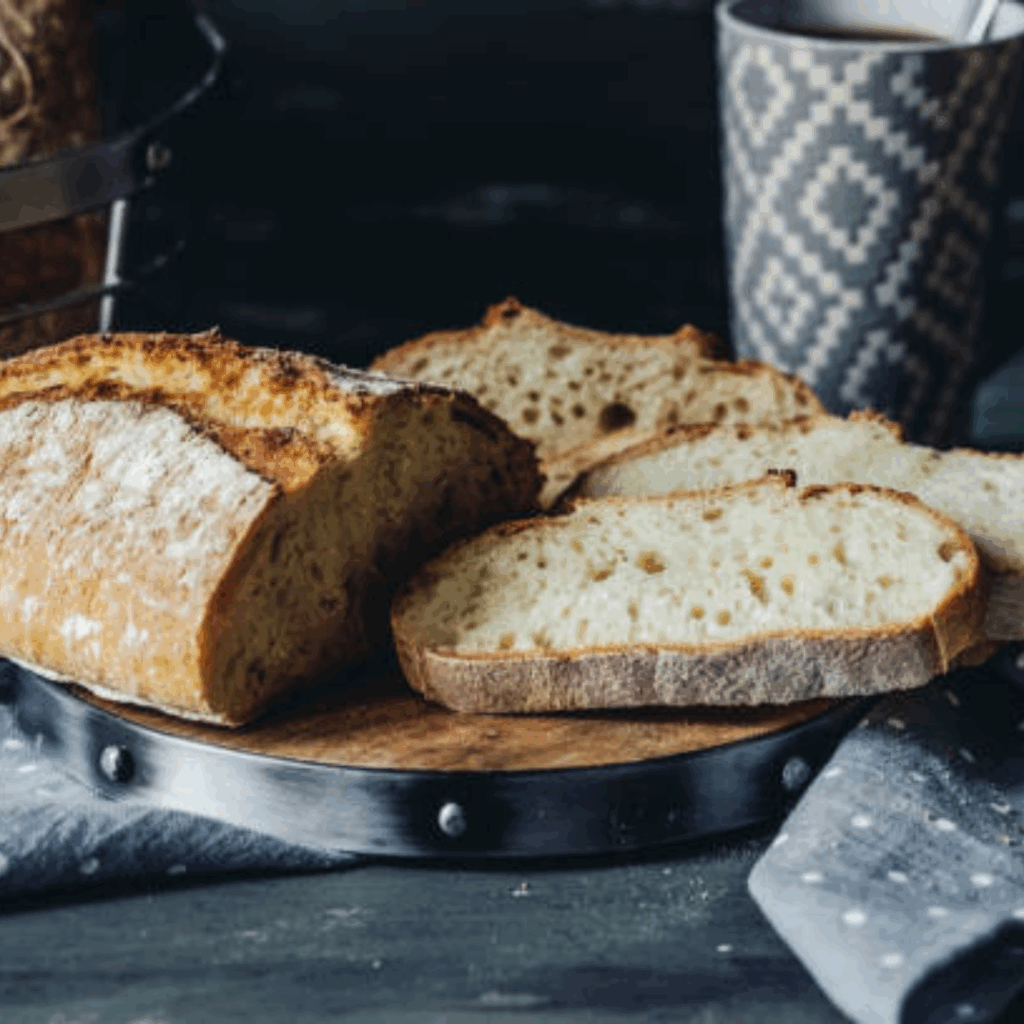
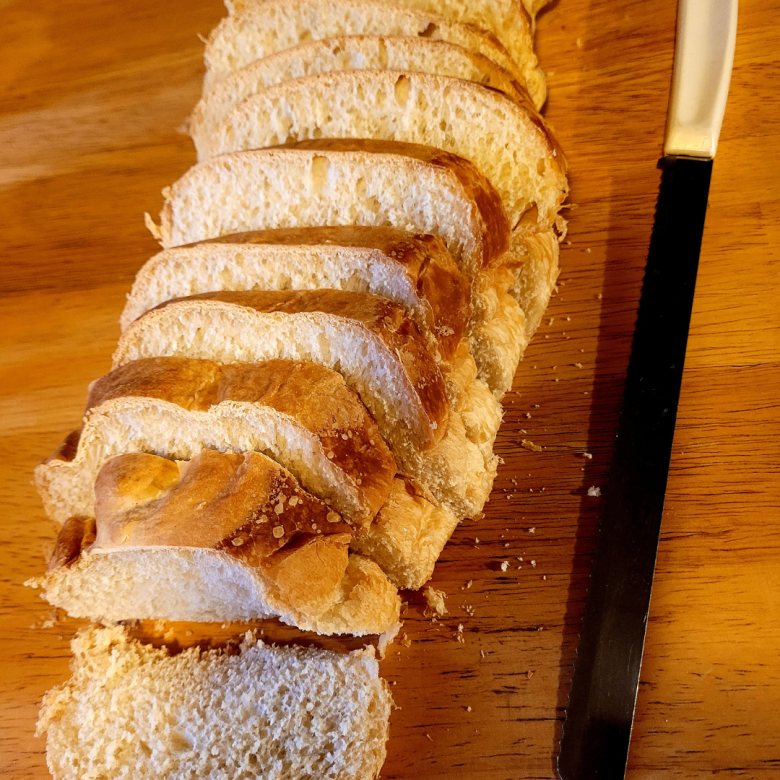
Make soft, flavorful sourdough buttermilk sandwich bread with this easy recipe. Perfect for toast, sandwiches, or enjoying fresh from the oven, this bread combines tangy sourdough flavor with the richness of buttermilk for a tender crumb and golden crust.
Are you tired of store-bought bread that lacks flavor and freshness? Look no further, as we delve into the world of homemade sourdough buttermilk sandwich bread. This delightful combination of tangy sourdough and rich buttermilk results in a loaf that is not only incredibly flavorful, but also boasts a soft and moist texture, perfect for sandwiches.
In this article, I will guide you through the process of creating your own sourdough buttermilk sandwich bread from scratch. From gathering the ingredients and tools to mastering the art of shaping and achieving the ideal crust and crumb, get ready to elevate your bread-making skills and enjoy the satisfaction of baking your very own delicious loaves.
This is a pinnable post. Tap or hover over any image in this post to pin to your Pinterest Boards.
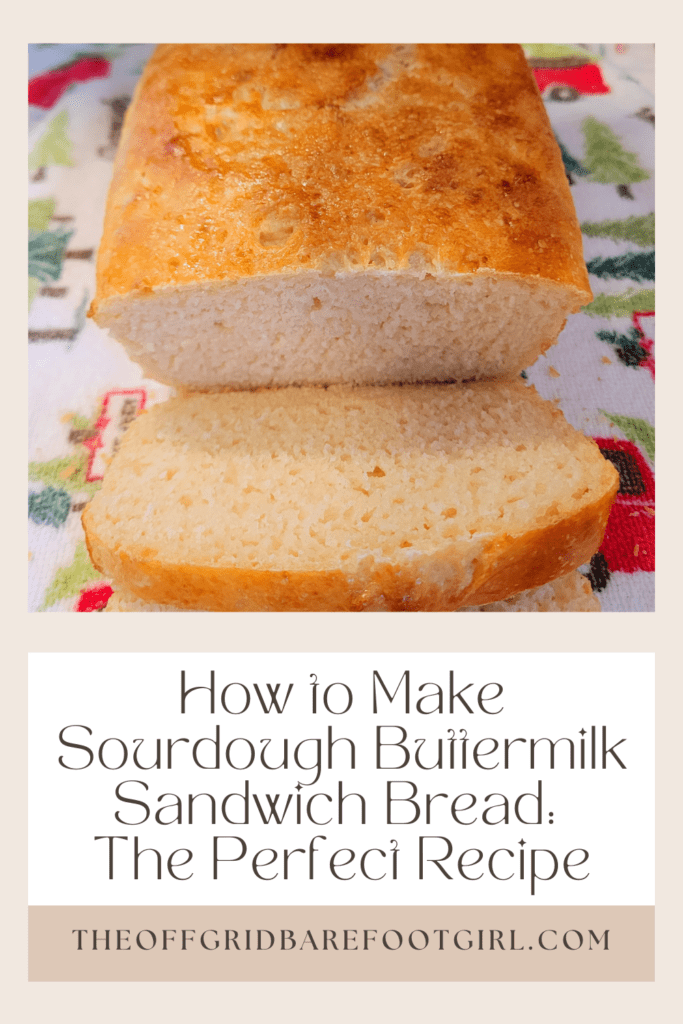
Introduction to Sourdough Buttermilk Sandwich Bread
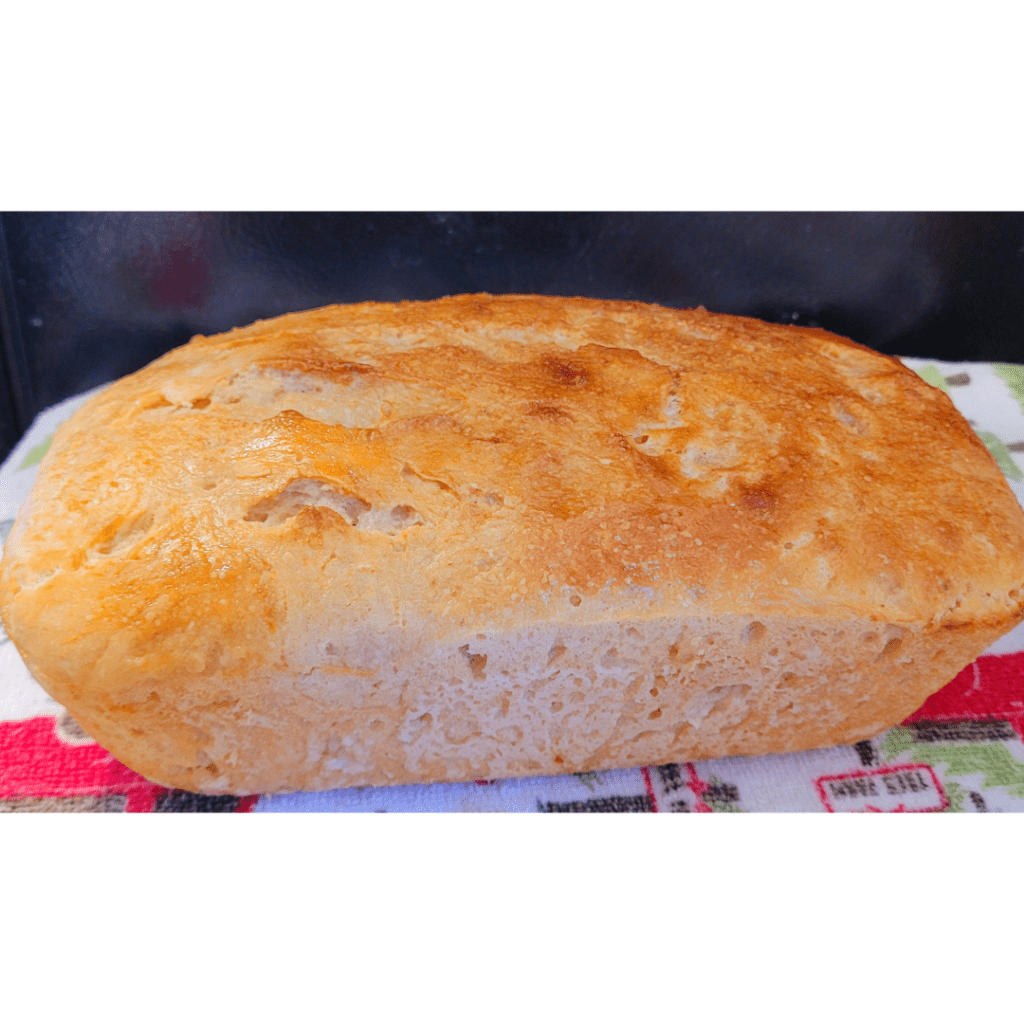
What is Sourdough Buttermilk Sandwich Bread?
If you’re tired of boring supermarket bread that tastes bland, it’s time to level up your sandwich game with sourdough buttermilk sandwich bread. This delightful bread is made with the perfect combination of tangy sourdough and creamy buttermilk, resulting in a loaf that is moist, flavorful, and perfect for all your sandwich needs.
The process begins by creating a sourdough starter, allowing it to ferment for several days to develop its distinct flavor profile. After tossing together flour, salt, and sugar with the sourdough starter, buttermilk is added to create a soft, pliable dough.
The dough is then allowed to rise until it doubles in volume before being shaped into loaves and baked to perfection. The end result is a loaf with a chewy crust and an airy crumb that pairs perfectly with savory or sweet fillings. Whether used for sandwiches or enjoyed on its own slathered in butter, Sourdough Buttermilk Sandwich Bread will surely satisfy your taste buds with its harmonious blend of flavors.
The Benefits of Making Your Own Bread
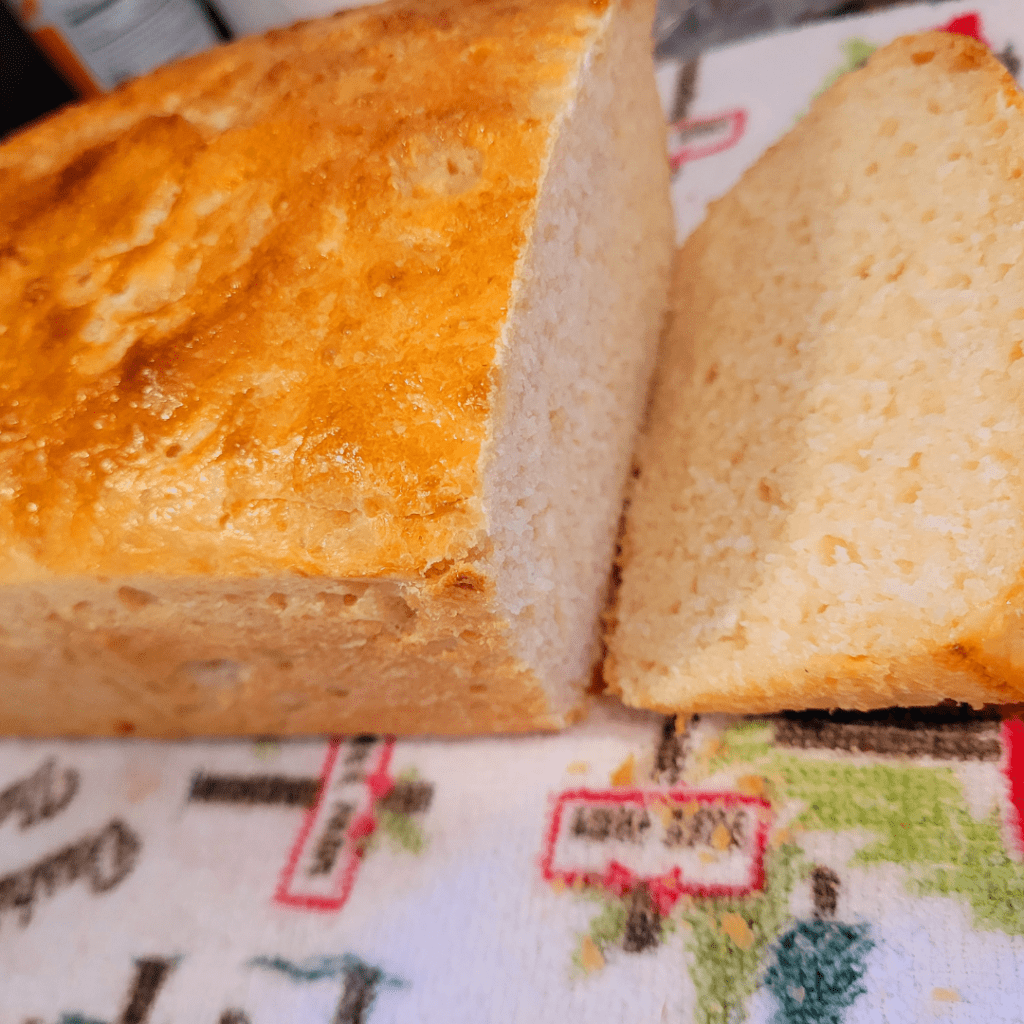
Why go through the trouble of making your own bread when you can easily buy it at the store? Well, dear reader, let me tell you the benefits. First, there’s the unmatched satisfaction of biting into a warm, homemade loaf that you crafted with your own two hands. Second, making your own bread allows you to control the ingredients, ensuring a healthier and tastier outcome. And lastly, it’s a fantastic way to impress your friends and family with your newfound bread-making skills. Plus, the aroma of freshly baked bread wafting through your home is an added bonus.
I have been baking homemade bread for over ten years. My children grew up on regular fresh-from-the-oven homemade bread of all types. However, our family favorites are always the same go-to recipes, which are this delightful sourdough buttermilk sandwich bread and my delicious and fluffy homemade white bread.
How to Make the Best Homemade White Bread: Recipe for Beginners
Every so often throughout the years, I admit, there are times when I do not feel up to making homemade bread and opt for a quick loaf from the grocery store. My kids notice a quality of taste difference and usually the bread will not get eaten through as quickly as homemade bread. This is definitely okay with me since I would prefer them to love my homemade bread recipes, which are much healthier for them to enjoy.
Gathering the Ingredients and Tools
The Essential Ingredients for Sourdough Buttermilk Bread
To create this heavenly bread, you’ll need a few key ingredients. Prepare your shopping list with these essentials: flour, buttermilk, sourdough starter, salt, sugar, and a bit of butter. Pro tip: opt for high-quality ingredients to truly elevate the flavor.
- Sourdough Starter: Using a sourdough starter adds unbelievable flavor and complexity to your loaves. The wild yeast present in the starter creates a fermentation process that enhances the taste, resulting in a truly delicious and unique final product. Additionally, sourdough bread has been found to have better nutritional value compared to commercial yeast-based bread. The prolonged fermentation that occurs with the sourdough starter helps break down gluten and make it more digestible for those with sensitivities. Moreover, sourdough boasts a lower glycemic index than regular bread, meaning it causes blood sugar levels to rise at a slower rate. This makes it an excellent choice for individuals seeking healthier options or those managing conditions like diabetes.
- Buttermilk: Buttermilk adds a tangy and slightly sour flavor to your loaf that elevates it to a whole new level of deliciousness. But that’s not all! The acidity in buttermilk also helps activate the yeast, making your dough rise beautifully and ensuring a fluffy texture. Additionally, the lactic acid present in this creamy dairy product imparts tenderness and moisture to the final product, resulting in a soft and moist crumb that’ll have you coming back for seconds (or thirds!). Plus, thanks to its high-fat content, buttermilk lends richness to the overall taste profile of your bread.
- Butter: Butter’s creamy, rich taste adds a luxurious element to any slice of bread, turning it into a delectable treat on its own. Not only does butter enhance the flavor profile of bread, but it also improves its texture by adding a slight moisture that prevents dryness.
- Sugar: Believe it or not, sugar plays a crucial role in making our favorite loaf of bread delicious and fluffy. When added to bread dough, sugar acts as a food source for yeast. The yeast consumes the sugar and produces carbon dioxide, which creates those glorious air pockets in the bread while it bakes. Not only does this give the bread its coveted light and airy texture, but it also helps with its rise during proofing. In addition to improving the structure of the bread, sugar also adds sweetness and enhances flavor.
- Salt: Salt is not just a simple seasoning for bread; it actually plays a crucial role in the baking process. While it adds flavor, salt also has several other benefits for bread. Firstly, it acts as a natural preservative, extending the shelf life of the bread by inhibiting bacterial growth. Additionally, salt enhances the fermentation process by providing an optimal environment for yeast activity. It controls yeast development, leading to better texture and volume in the final product. Salt also strengthens the gluten structure in the dough, giving bread its characteristic chewy texture and helping to trap carbon dioxide produced during fermentation. Moreover, salt improves crust color and thickness while retarding enzymatic activity that can cause premature staling.
- Flour: Flour plays a crucial role in the process of making bread, providing numerous benefits that contribute to its texture and flavor. Firstly, flour contains gluten, a protein responsible for creating the dough’s elasticity and structure as it forms a network when combined with liquid. This allows for proper rising and gives bread its chewy texture. Additionally, flour acts as a binding agent, holding all the ingredients together during baking. The choice of flour can also impact the flavor profile of the bread; whole wheat flour adds a nutty taste, while white flour produces a milder flavor. Different types of flour also vary in their nutritional content, with whole grain flour offering additional fiber and vitamins compared to refined flour. Regardless of the kind used, high-quality flour contributes significantly to achieving soft, fluffy loaves that are not only visually appealing, but also delectable when toasted or slathered with butter.
Recommended Tools and Equipment: Sourdough Buttermilk Sandwich Bread
Now that you’ve got your ingredients sorted, let’s talk about the tools you’ll need. A good mixing bowl, a sturdy spatula or dough whisk, a bread loaf pan, and an oven will be your trusty sidekicks throughout this process.
Creating and Maintaining a Sourdough Starter
Understanding the Basics of a Sourdough Starter
Before we dive into the actual bread-making, let’s talk about the heart and soul of sourdough: the starter. A sourdough starter is a fermented mixture of flour and water that captures wild yeast and bacteria present in the air. This magical concoction gives sourdough its distinct flavor and creates lovely air pockets in the bread.
Step-by-Step Guide for Creating a Sourdough Starter
Creating a sourdough starter is simpler than it sounds. You’ll just need some flour, water, and a bit of patience. Mix them together, let the mixture sit at room temperature, and voila! Your very own sourdough starter is born. I promise it’s easier than raising a pet unicorn.
If you have not started a sourdough starter of your own, visit my other post, which discusses how to create yours easily with just flour and water to get you started.
The Ultimate Guide to Crafting a Perfectly Tangy Wild Sourdough Starter
Tips for Maintaining and Feeding Your Starter
Once you have your starter, you’ll need to treat it like a precious little baby. Feed it regularly with fresh flour and water, give it some TLC, and it will reward you with a lifetime of delicious bread. With a bit of practice, you’ll become a starter expert in no time. And remember, even if your sourdough starter is demanding, it’s still easier to take care of than a needy houseplant.
Mixing and Fermenting the Dough
Preparing the Dough Ingredients: Sourdough Buttermilk Sandwich Bread
It’s dough time! Gather your flour, buttermilk, sourdough starter, salt, sugar, and butter. Just a few humble ingredients come together to create pure awesomeness. Mix them like a boss, and your dough will be ready to rise to the occasion.
Mixing and Kneading the Dough
Now comes the fun part. Roll up your sleeves and get ready to give your dough some love. Mix and knead until it transforms from a shaggy mess into a smooth and elastic dough.
Understanding the Fermentation Process
Once your dough is kneaded to perfection, it’s time to let it chill and work its magic. During the fermentation process, the yeast in the sourdough starter will feast on the sugars and release carbon dioxide, creating beautiful air bubbles. Just remember to give your dough some alone time in a warm and cozy place for the bulk fermentation process.
Incorporating Buttermilk for Added Flavor and Texture
The Role of Buttermilk in Sourdough Bread
Buttermilk isn’t just for pancakes and biscuits anymore! When added to sourdough bread, it brings a tangy flavor and a tender texture that will take your sandwich game to the next level. The acidity in buttermilk also helps to activate the sourdough culture, giving your bread a nice rise and a deliciously complex taste.
Methods for Incorporating Buttermilk Into the Dough
Now that you’re sold on the wonders of buttermilk in your bread, it’s time to learn how to incorporate it into the dough. One method is to simply substitute part of the water in your recipe with buttermilk. This will give you a subtle buttermilk flavor without overpowering the sourdough.
Another option is to use a combination of buttermilk and water. This can give the bread a more pronounced tanginess and a slightly creamier texture. Experiment with different ratios to find the perfect balance for your taste buds.
I opted to discuss these methods of using buttermilk in your bread recipe to help you balance and acquire the perfect tangy taste for you and your family. Some families find that the full flavor of buttermilk is too much for them, while others like me enjoy the full flavors it offers. Mixing the buttermilk with water can help you determine the right amount of tanginess you desire.
Shaping and Proofing the Bread
Preparing the Dough for Shaping
Once your dough has gone through its initial fermentation, it’s time to shape it into a loaf. Gently deflate the dough and transfer it to a lightly floured surface. Use your hands or a dough scraper to shape it into a rectangle or oval, depending on your preferred bread shape. I place mine in a loaf pan, perfect for sandwich slices.
Different Shaping Techniques: Sourdough Buttermilk Sandwich Bread
There are various shaping techniques you can use to give your bread a professional look. You can roll the dough tightly and pinch the seams together for a classic sandwich loaf shape. Or, for a rustic artisan-style loaf, you can shape it into a boule or batard.
Importance of Proofing and Achieving the Desired Rise
Proofing is the final rise that allows the dough to develop its flavor and rise before baking. Place your shaped loaf into a well-floured proofing basket or a lined bowl, cover it with a clean kitchen towel, and let it rise in a warm spot until it has doubled in size. This can take anywhere from 8 to 12 hours, depending on the temperature of your kitchen. I like to bulk ferment mine overnight and proof in the morning.
Achieving the desired rise is crucial for a light and airy bread. Keep an eye on the dough during proofing, as over-proofing can lead to a dense and gummy loaf. It’s better to slightly under-proof than to over-proof, so don’t be afraid to experiment and find the perfect timing for your sourdough buttermilk bread.
Baking and Achieving the Perfect Crust and Crumb
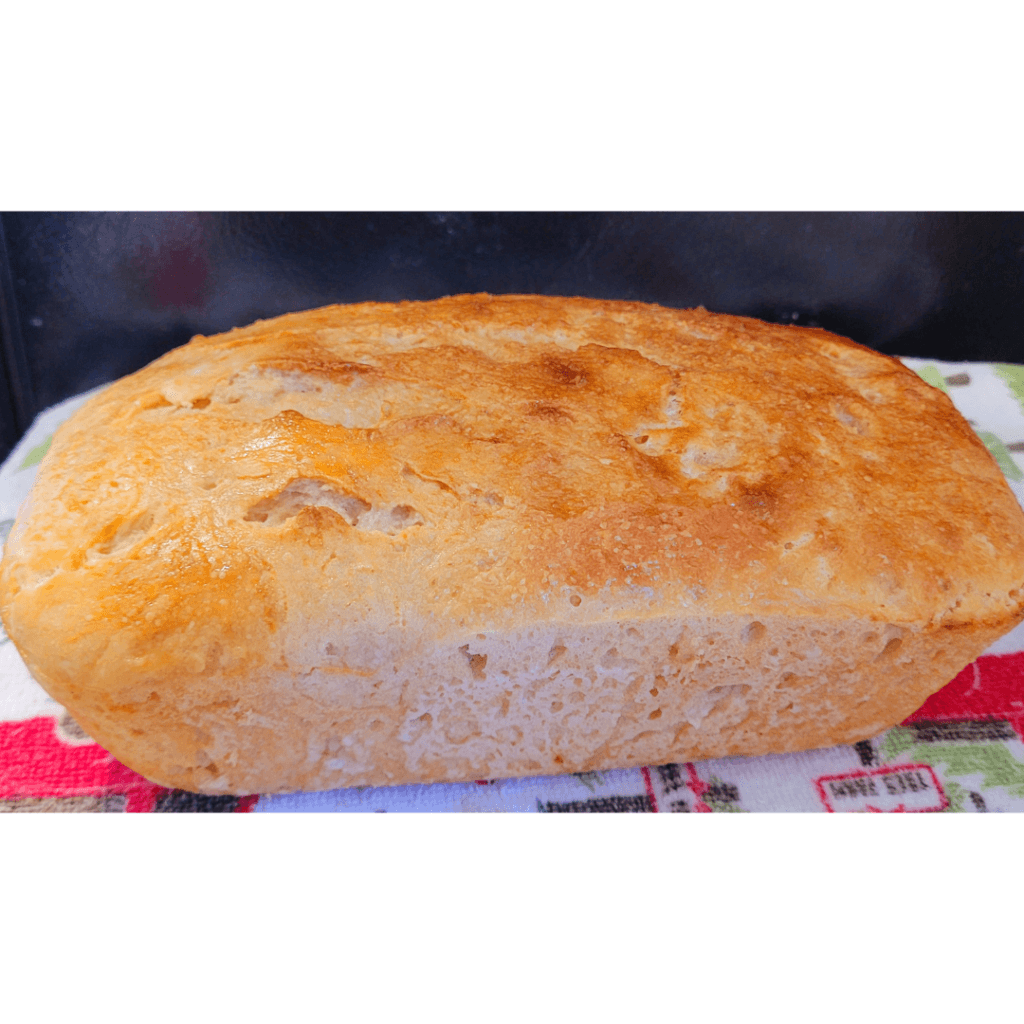
Preheating the Oven and Preparing for Baking
Before you start baking, make sure your oven is properly preheated. A hot oven will help create a beautiful crust and give your bread that irresistible golden color. Preheat your oven to around 450°F (230°C) and place a baking stone or a baking sheet inside to heat up.
Tips for Achieving a Crispy Crust
To achieve a crispy crust, create steam in your oven during the first few minutes of baking. You can do this by placing a shallow pan of water on the bottom rack, or by spraying water into the oven with a spray bottle. The steam will help the bread develop a crusty exterior while keeping the inside moist and tender.
Understanding the Desired Crumb Texture
The crumb refers to the interior texture of the bread. For a sandwich loaf, you’ll typically want a soft and slightly chewy crumb, perfect for holding up all your favorite fillings. Achieving the ideal crumb texture comes down to finding the balance between kneading the dough enough to develop gluten, but not over-kneading to the point of creating a tough interior. Practice makes perfect, so don’t be discouraged if it takes a few tries to find your perfect crumb.
Tips for Storing and Enjoying Your Homemade Sourdough Buttermilk Sandwich Bread
Proper Storage Techniques
To keep your sourdough buttermilk sandwich bread fresh, store it in a paper bag or wrap it in a clean kitchen towel. Avoid storing it in a plastic bag, as this can make the crust soft and damp. If you won’t be consuming the bread within a few days, you can slice it and freeze individual slices for later use. Just pop them in the toaster when you’re ready to enjoy!
Ideas for Enjoying the Bread in Different Recipes
While a simple sandwich with your favorite fillings is always a great way to enjoy your homemade bread, don’t limit yourself! Try using it for French toast, homemade croutons, or even bread pudding. The possibilities are endless, so get creative and have fun experimenting with different recipes. After all, the joy of baking your own bread is in the eating!
Conclusion
With this comprehensive guide, you now have the knowledge and confidence to embark on your sourdough buttermilk sandwich bread-making journey. Whether you’re a seasoned bread baker or a beginner, the combination of sourdough and buttermilk will take your homemade bread to new heights of flavor and texture. So, gather your ingredients, hone your skills, and get ready to savor the joy and satisfaction of baking the perfect loaf of sourdough buttermilk sandwich bread. Enjoy the process and the delicious results!
Frequently Asked Questions
1. Can I make sourdough buttermilk sandwich bread without a sourdough starter?
While a sourdough starter is traditionally used to achieve the unique flavor and texture of sourdough bread, you can still incorporate buttermilk into your sandwich bread recipe without a sourdough starter. Simply substitute the sourdough starter with an equal amount of active dry yeast and adjust the recipe accordingly.
2. How long does it take to create and maintain a sourdough starter?
Creating a sourdough starter typically takes around 5-7 days. During this time, you will need to feed the starter regularly and allow it to ferment and develop. Once established, a sourdough starter can be maintained indefinitely with regular feedings and proper care.
3. Can I use low-fat or non-fat buttermilk instead of full-fat buttermilk?
Full-fat buttermilk is recommended for the best flavor and texture in sourdough buttermilk sandwich bread. However, you can use low-fat or non-fat buttermilk if desired. Keep in mind that the bread may have a slightly less rich flavor and a slightly drier texture compared to using full-fat buttermilk.
4. How should I store homemade sourdough buttermilk sandwich bread?
To maintain freshness, store your homemade bread in a paper bag or bread box at room temperature for up to 3-4 days. Alternatively, you can slice the bread and freeze it in airtight freezer bags for longer storage. When ready to enjoy, simply thaw the slices at room temperature or toast them for a delicious treat.
Sourdough Buttermilk Sandwich Bread Recipe
Equipment
- 1 large mixing bowl
- 1 loaf pan
Ingredients
- ½ cup sourdough starter
- ¼ cup butter, softened
- 1 ¼ cups buttermilk
- 1 tbsp sugar
- 1 tsp salt
- 3 ½ cups all-purpose flour
Instructions
For the Dough
- Combine all ingredients well and knead until a shaggy dough forms.
Bulk Fermentation
- Cover the dough with plastic wrap or a damp cloth to begin the bulk fermentation process.
- Perform a series of stretch and folds to the dough during the first 2 hours within 30 minute increments by stretching the dough and folding it over 4 times each time.
- Allow to bulk ferment up to 8 to 15 hours.
Proofing the Dough
- Place the dough into the greased loaf pan or baking pan you will be using.
- Allow it to proof for up to 4 hours until doubled in size.
Baking the Bread
- Bake at 450 degrees for 30 minutes or until golden brown.
- Remove from the oven and cool completely before slicing and enjoying.
Summary
I hope I have inspired you to bake your very own bread loaves to enjoy and share with your friends and family.
If you were encouraged by this post, I invite you to check out my FREE Printables Page for fun free printables, planners, and charts.
ENTER MY FREE Printables Page HERE
Here are some more of my bread-making inspiration posts to check out!
The Best Pumpkin Zucchini Bread
The Only Pumpkin Muffin Recipe You’ll Ever Need!
How to Make Banana Split Quick Bread
How to Make S’mores Quick Bread
How to Make Jelly Donut Quick Bread
Lemon Blueberry: How to Make Lemon Blueberry Sourdough Focaccia
How to Make Sourdough Lemon Supreme Quick Bread
Lemon Supreme: How to Make Sourdough Lemon Supreme Quick Bread
How to Make Sourdough Strawberry Cheesecake Muffins
How to Make Chai-Spiced Sourdough Banana Bread
The Best Old Fashioned Sourdough Banana Muffins
How to Make Honey Sourdough Bread
Blueberry: How to Make Lemon Blueberry Sourdough Quick Bread
Pizza: How to Make Pizza Sourdough Focaccia
Carrot Cake: How to Make Carrot Cake Sourdough Focaccia
Easy and Delicious Hershey’s Kisses Sourdough Bread
How to Make Amish Whoopie Pies!
Lazy Cinnamon Rolls: How to Make Easy Cinnamon Rolls the Lazy Way!
Lembas Bread: How to Make Elven Lembas Bread: A Taste of Rivendell
Gnome Bread: How to Make a Sourdough Gnome Bread
How to Make Sourdough Strawberry Cheesecake Muffins
The Best Hoagie Buns Recipe Made From Scratch!
Pumpkin: How to Make Chocolate Chip Pumpkin Bread
More Recipes!
Sweet Potato Bread: How to Make Sweet Potato Bread
Chocolate Chip Cookies: How to Make Chocolate Chip Cookie Bread
Carrot Cake Quick Bread: How to Make Carrot Cake Quick Bread
How to Make Strawberries and Cream Sourdough Bread
How to Make S’mores Sourdough Bread
July 4th Bread: How to Make a Firecracker Marble Bread Braid
Artisan Bread: How to Make Artisan Bread
Challah Bread: How to Make a 6 Braided Challah Bread
Sweet Bread: How to Make Sweet Bread
Blessings,
The Off Grid Barefoot Girl


