Making raisins at home is easier than you think, and you don’t need fancy equipment to do it. In this guide, I’ll show you how to make homemade raisins from Concord grapes right from my backyard orchard. With just your oven (or the sun, if you’re brave enough), you can enjoy sweet, chewy raisins perfect for holiday baking, trail snacks, or long-term food storage.
Living with my backyard orchard has taught me so much about how rewarding it is to turn homegrown fruit into something special. Every fall, my Concord grape vines produce the most fragrant, beautiful clusters, and this year I decided to try making my own raisins. I’ll be honest—I was ridiculously excited! Homemade raisins feel like one of those old-fashioned traditions that connect us to the past, and I couldn’t wait to tuck them into my holiday baking recipes!
If you’ve ever wondered how to make homemade raisins, I’ll walk you through my oven-drying process step by step and also give you the sun-drying option (though I’ll admit—I’ve been too afraid of bugs landing on my grapes to try it myself!) as well as other drying methods you could try.
By the way, in case you are interested in learning more about my backyard orchard, I have written many posts in my Backyard Orchard category and also I wrote my own book called, Harvesting Paradise: Your Guid to Growing a Backyard Orchard that you can check out on Amazon at the end of this post.
This is a pinnable post. Tap or hover over any image in this post to pin to your Pinterest Boards.
Why Make Your Own Raisins?
Homemade raisins aren’t just about saving money—they’re about quality. Store-bought raisins often contain preservatives, oils, or added sugars to keep them shelf-stable. By drying your own grapes, you keep all the natural sweetness without extras. Concord grapes, in particular, are packed with antioxidants, vitamins, and fiber, making them a healthy snack option. Plus, the flavor of homemade raisins is richer and more vibrant—you’ll notice the difference the first time you toss them into a batch of cookies or a loaf of homemade bread!
How to Make Homemade Raisins
Ingredients and Equipment
- Fresh Concord grapes (or any seedless variety you prefer)
- A baking sheet
- Parchment paper
Step 1: Wash and Prepare the Grapes
Rinse your grapes thoroughly to remove any dust or residue. Pull them off the stems and spread them in a single layer on a clean towel to dry. If you harvest your own grapes like I do, you may find this task tidious. I sat down in my back patio with a giant tub of water and a bowl and put on a podcast to entertain myself while washing and de-stemming each grape!
Step 2: Oven-Drying Method (My Preferred Way)
- Preheat your oven to 170°F (or the lowest setting).
- Line a baking sheet with parchment paper.
- Spread the grapes in a single layer, making sure they aren’t touching.
- Place them in the oven and let them dry for 10-12 hours, checking every couple of hours.
- The raisins are done when they are wrinkled but still slightly chewy inside.
Tip: If you want them a little plumper, pull them out when they’re still soft. For longer storage, let them dry completely.
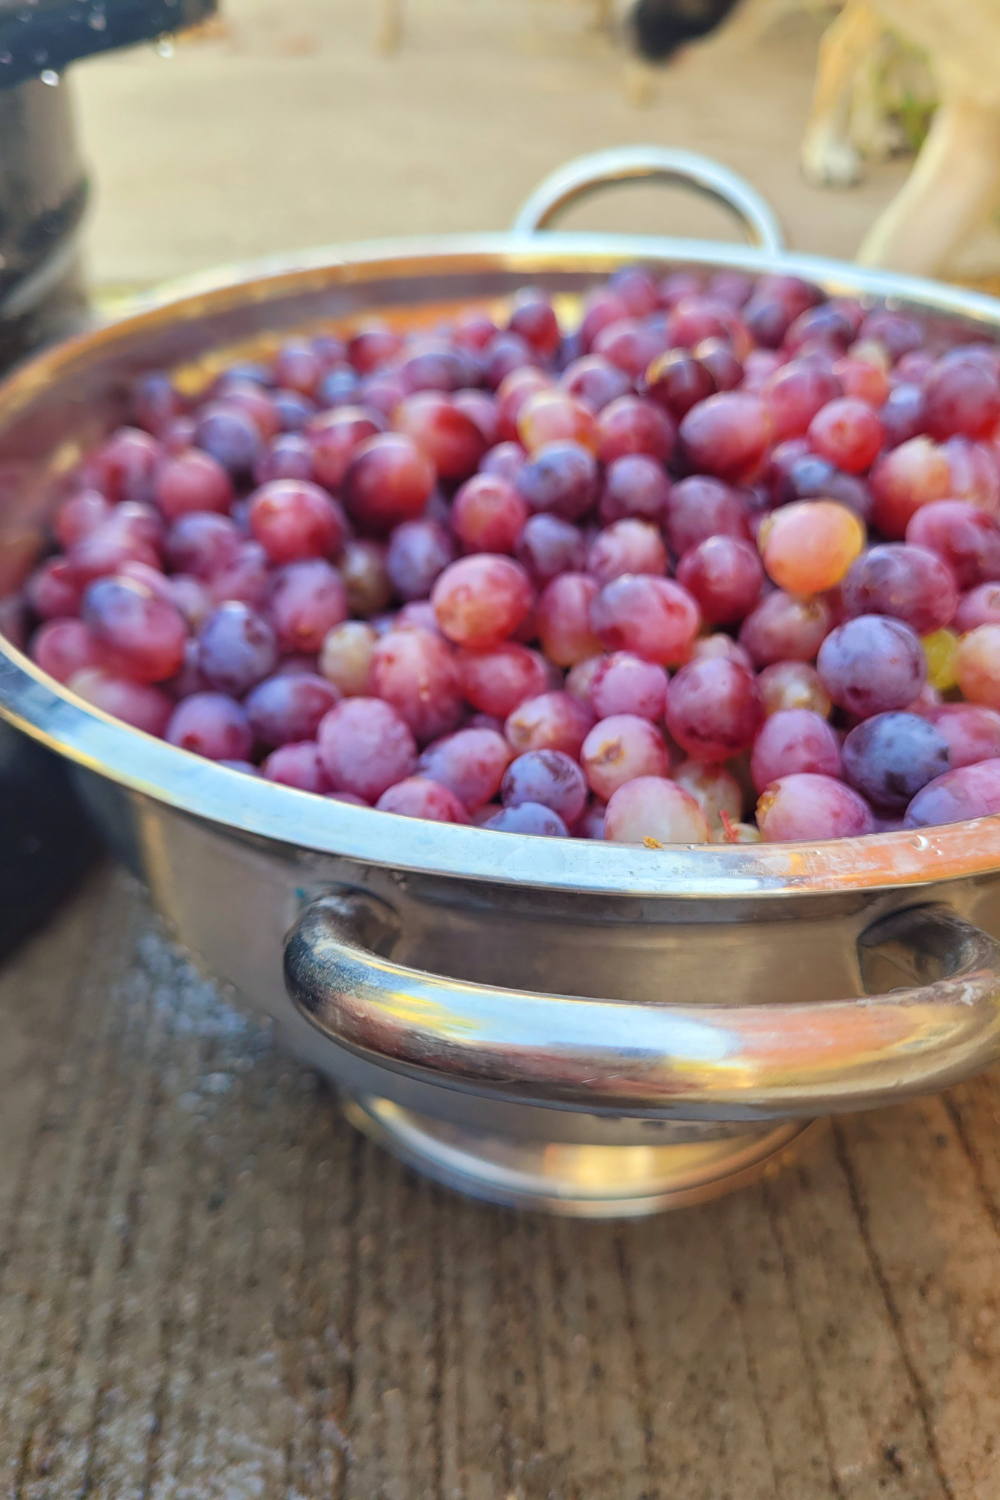
Fresh from my backyard orchard, these Concord grapes are ready to be transformed into sweet, chewy homemade raisins. I love harvesting each bunch and knowing exactly where my food comes from, which makes every recipe feel a little more special.
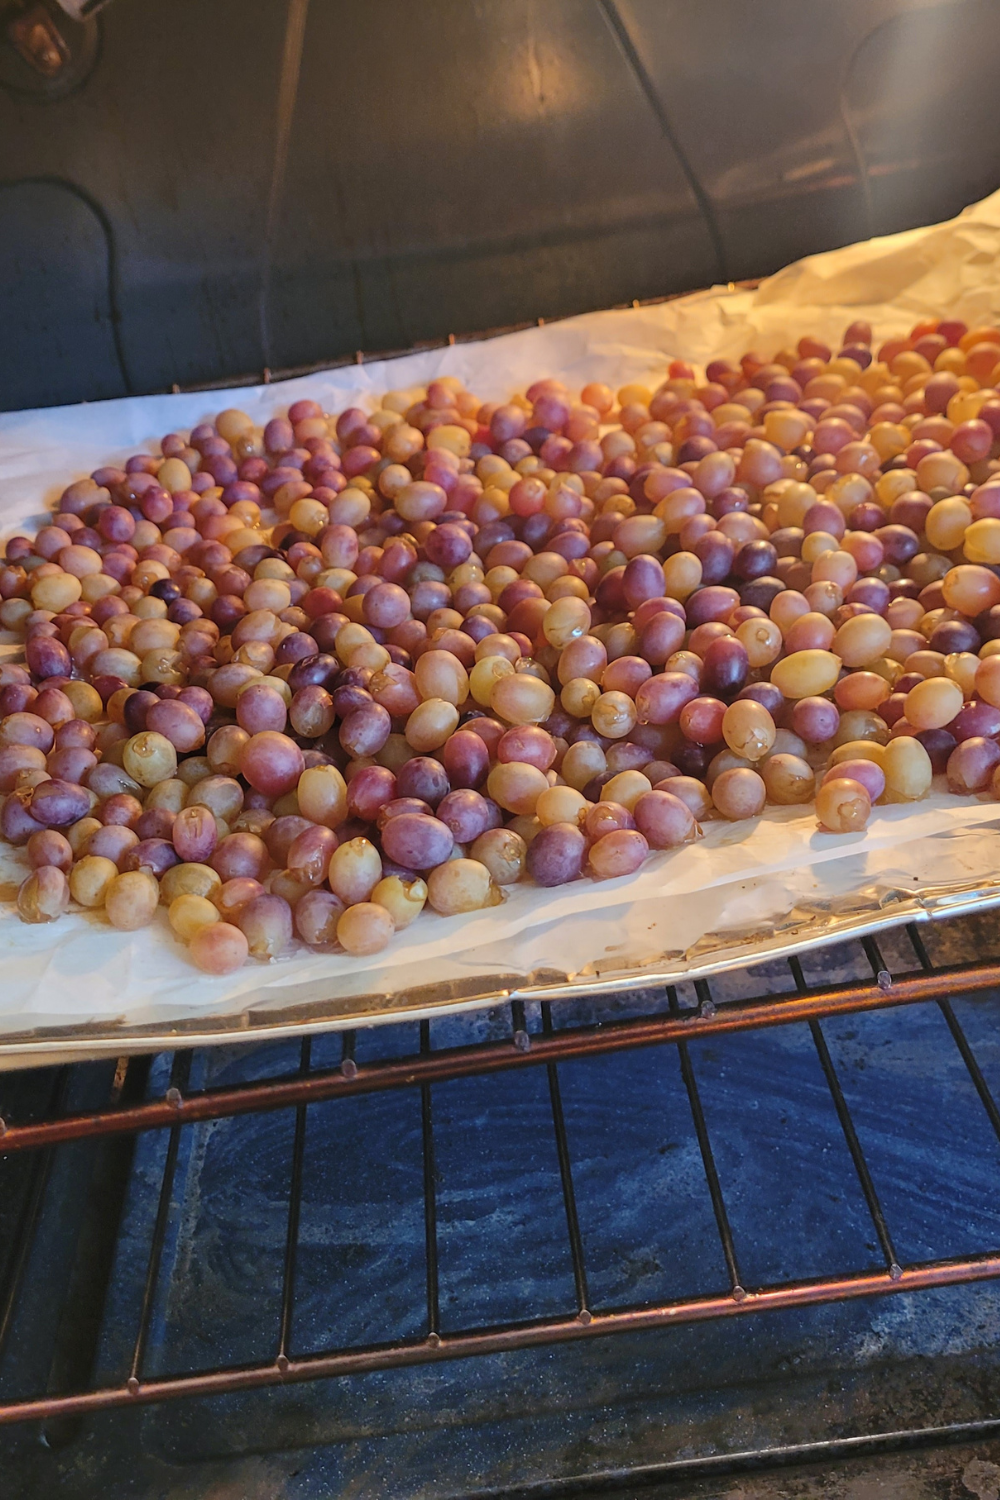
I’m spreading my homegrown Concord grapes on a baking sheet to start the oven-drying process. The warm oven slowly transforms them into sweet, chewy homemade raisins, filling the kitchen with that amazing, fruity aroma.
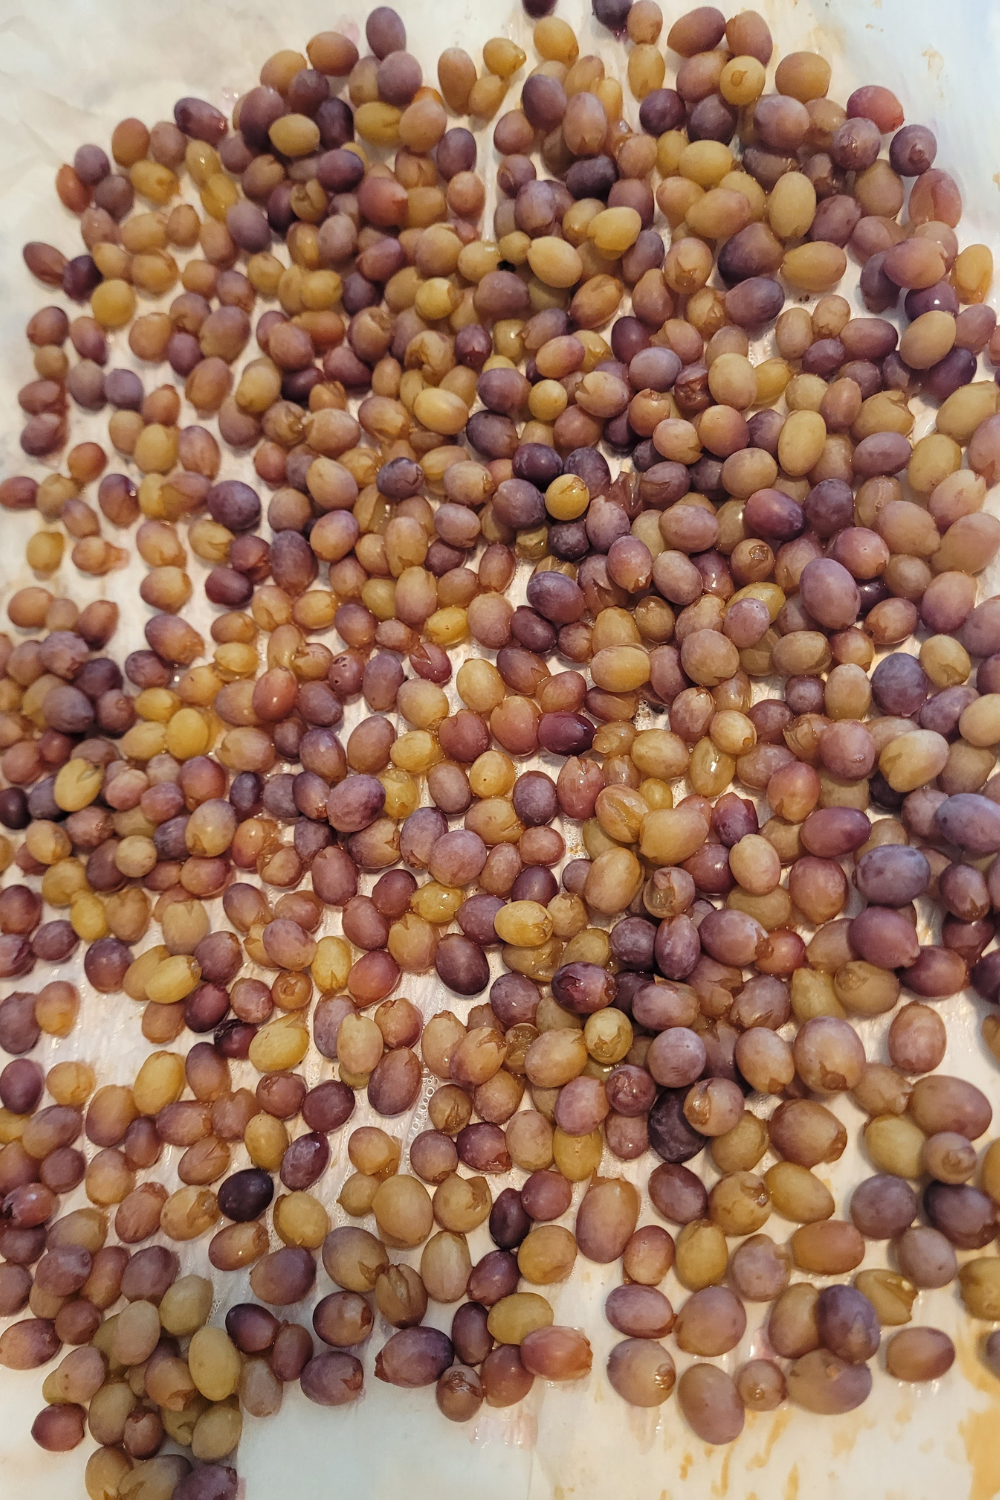
Halfway through the drying process, the grapes are starting to wrinkle and shrink, releasing their natural sweetness. It’s amazing to see them slowly transform into chewy, homemade raisins right in my own kitchen.
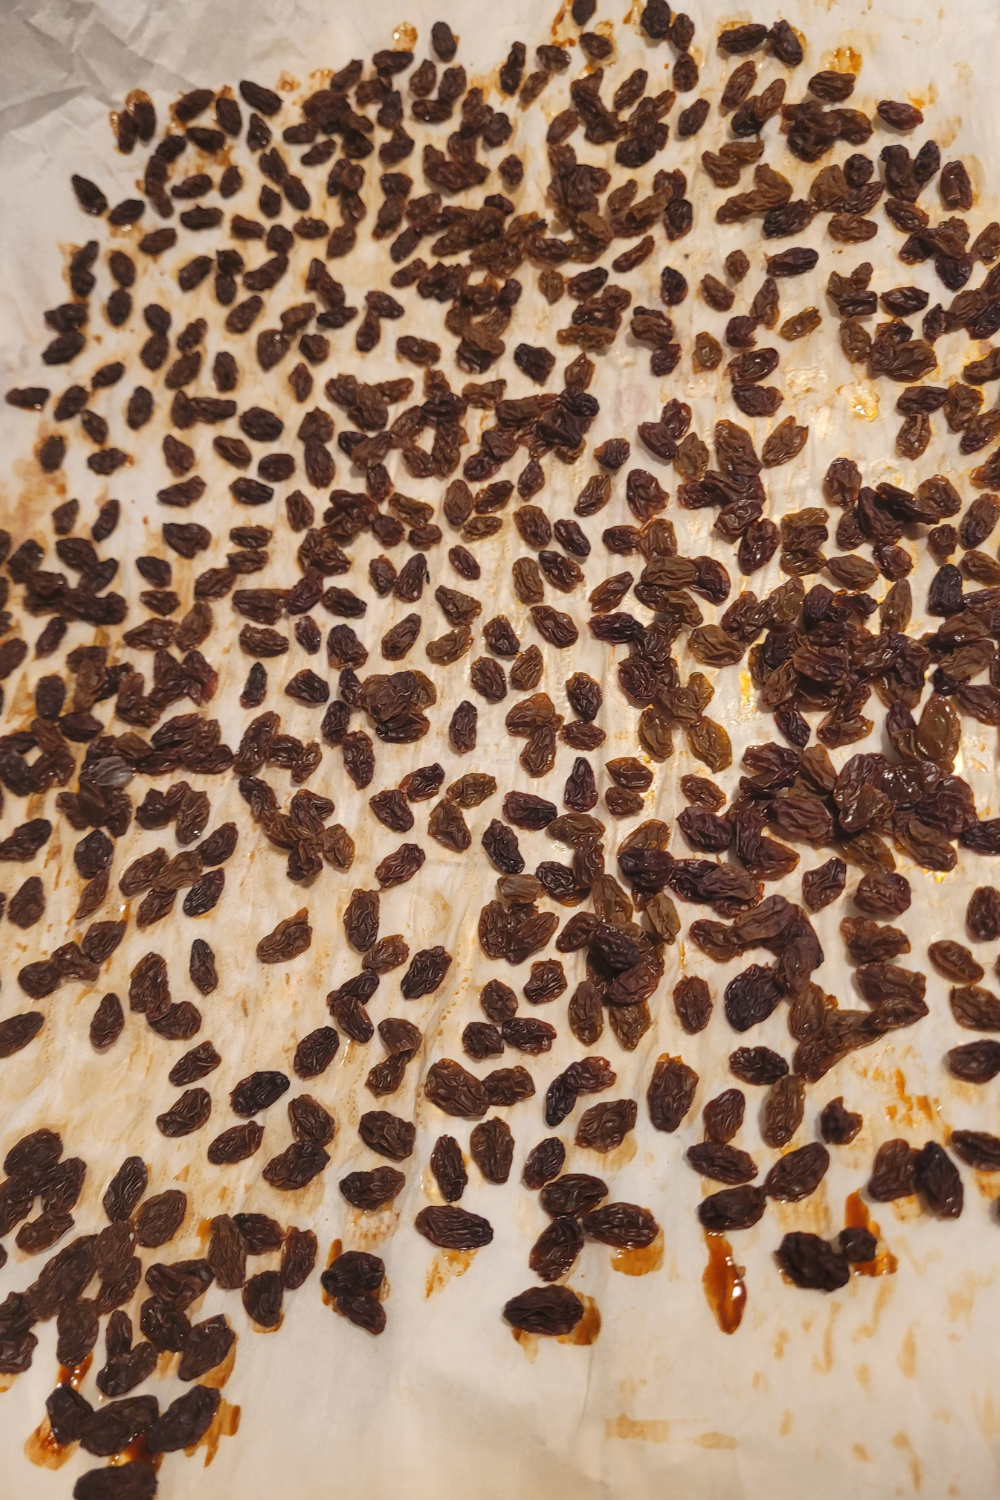
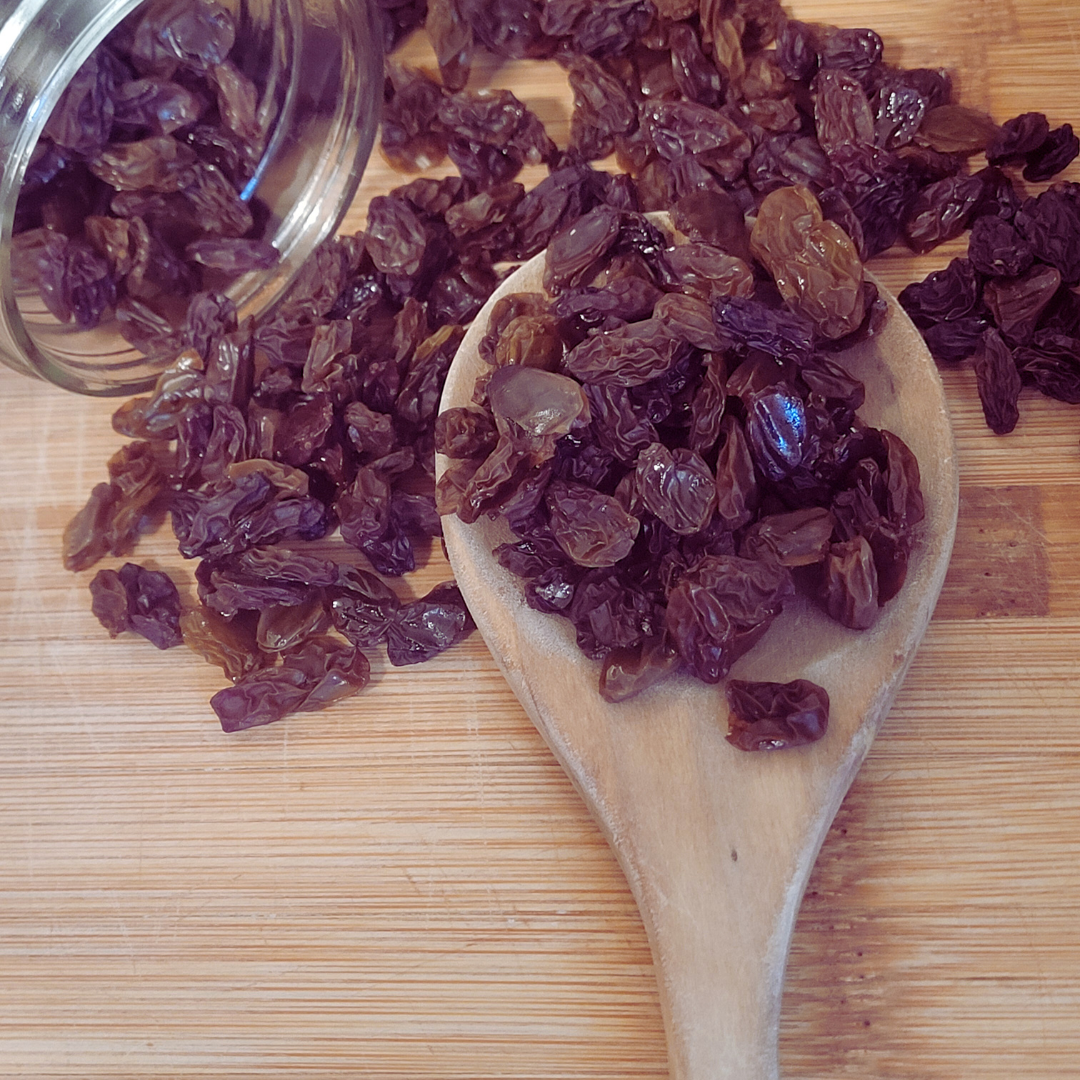
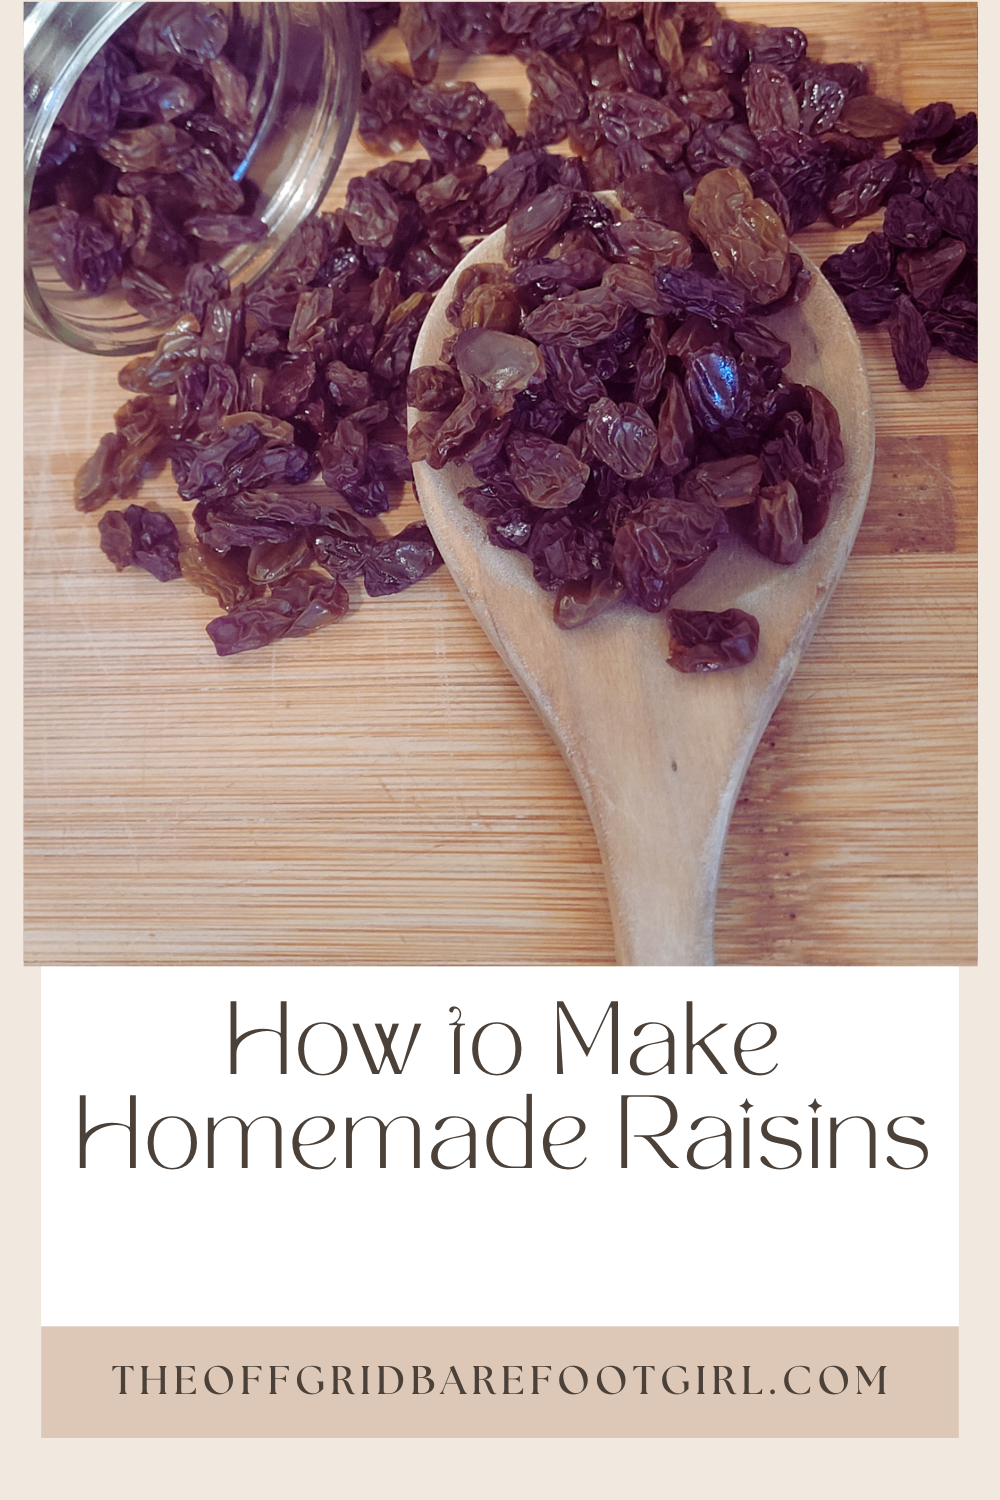
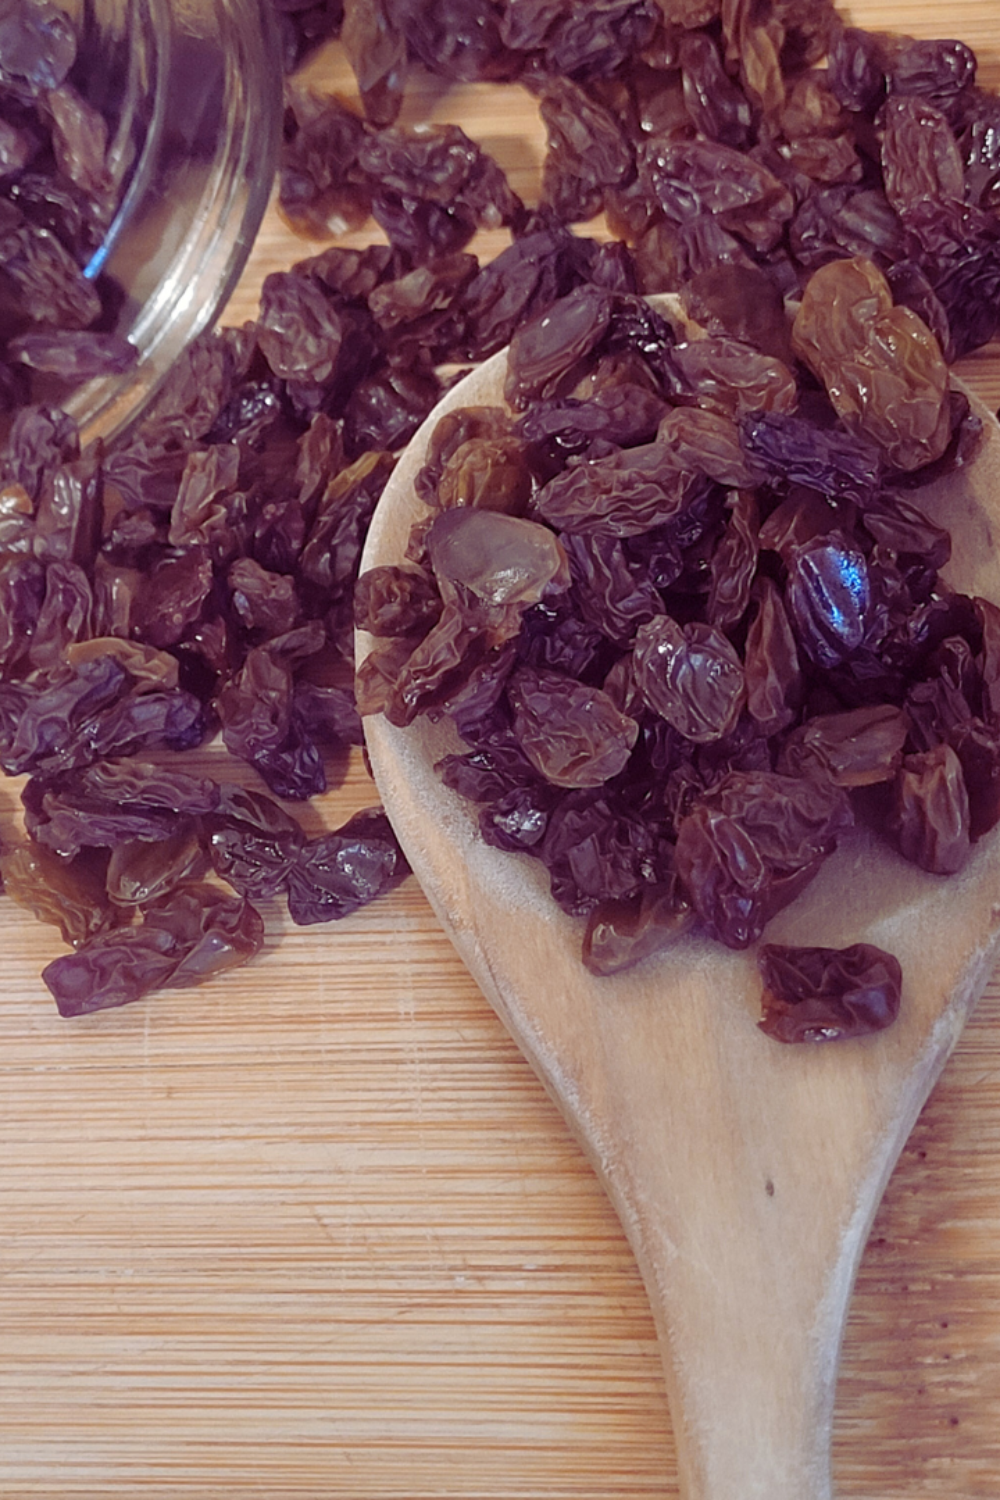
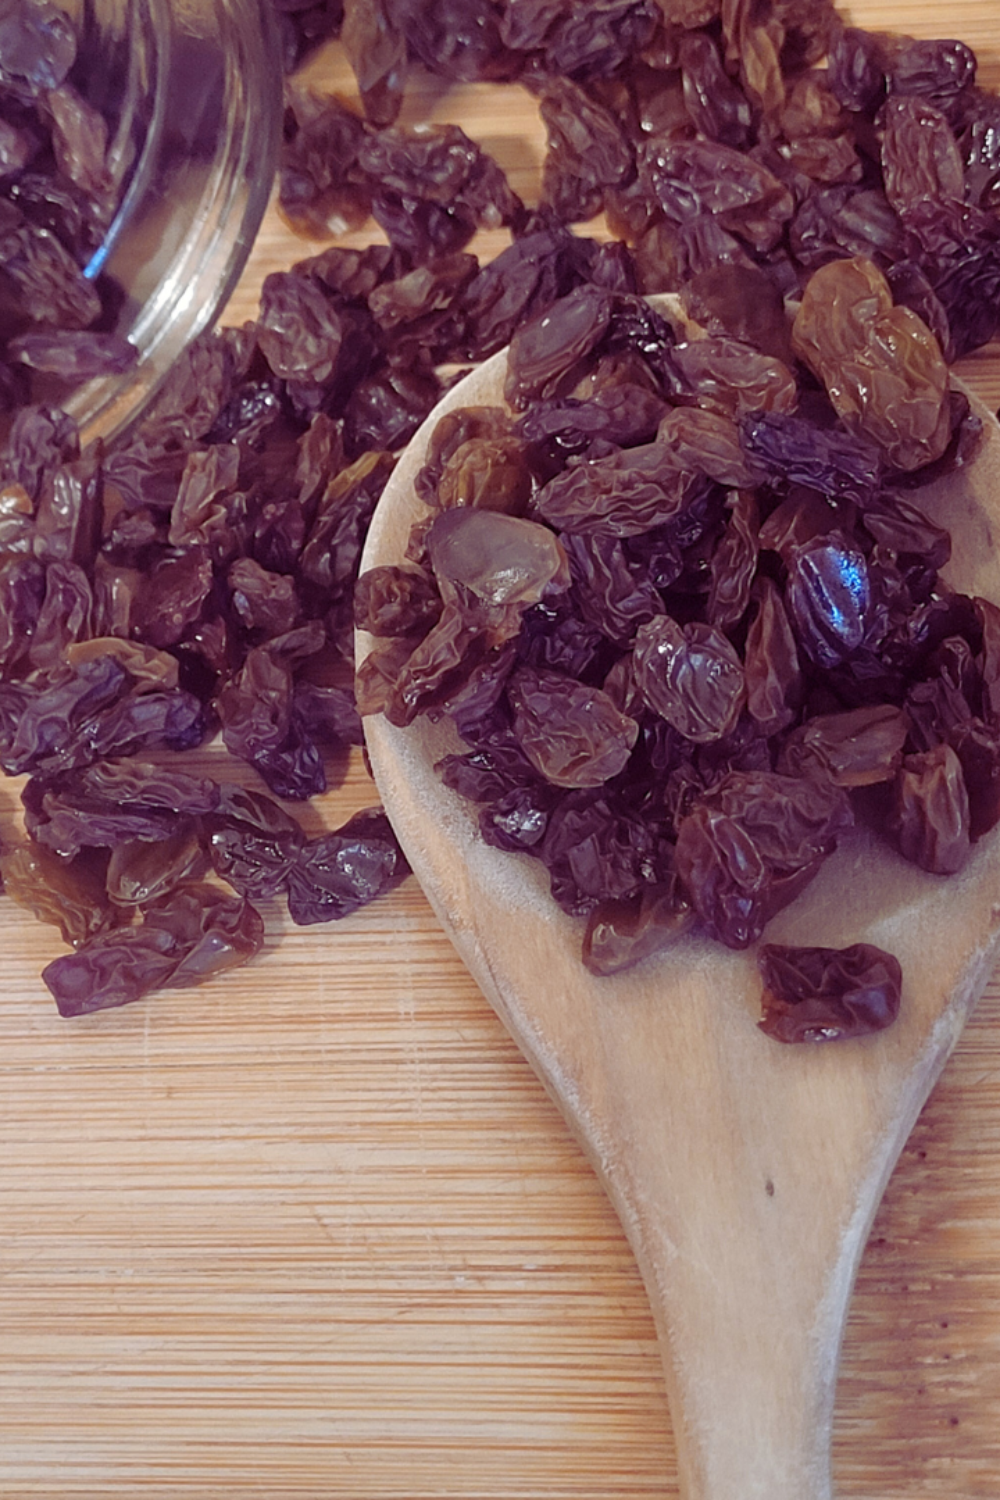
The homemade raisins are done, perfectly wrinkled and chewy, ready to be stored or used in holiday baking. It’s so rewarding to see my backyard Concord grapes transformed into a delicious, natural treat.
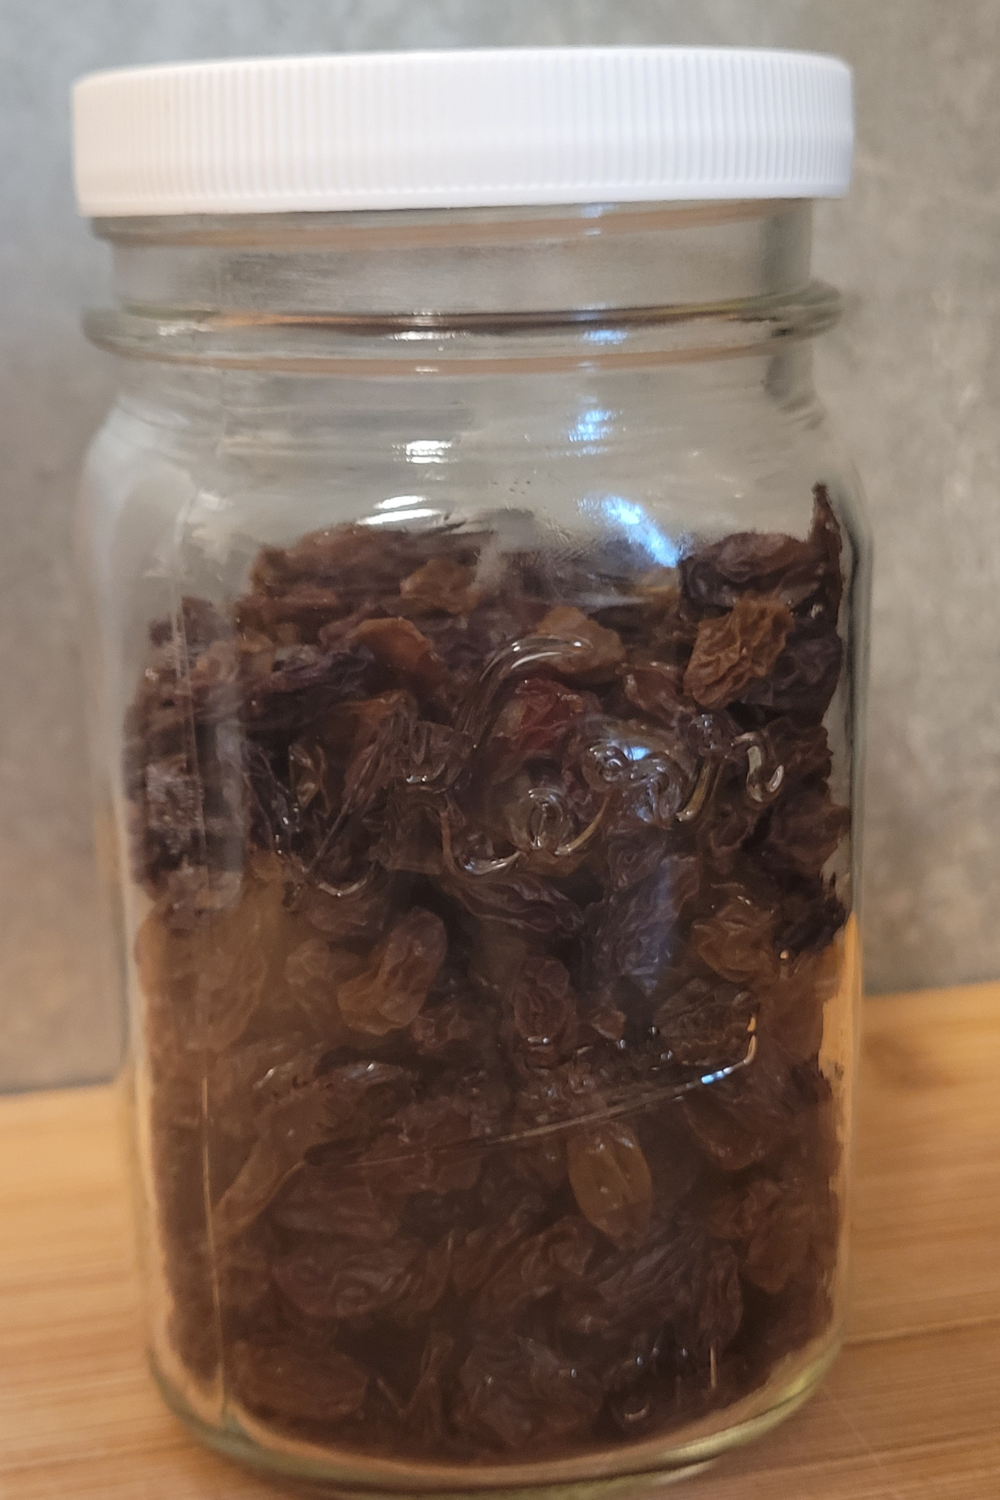
I’m transferring the homemade raisins into a pint jar for storage. Seeing my backyard Concord grapes preserved this way makes me so proud, and it’s exciting knowing they’ll be ready for baking, snacking, or adding to holiday treats all season long.
Step 3: Optional Sun-Drying Method
If you live in a hot, dry climate, you can make raisins the old-fashioned way—out in the sun. Simply spread your grapes on a clean screen or mesh rack in full sun, turning them occasionally. This process usually takes 3–5 days. The downside? Bugs. This is why I personally skip this method—I’m not keen on sharing my grapes with insects! If you do try it, loosely cover your grapes with cheesecloth to help protect them.
Step 4: Food Dehydrator Method
While I prefer the oven for making raisins, there are other methods worth mentioning. If you have a food dehydrator, it’s one of the easiest and most reliable tools for drying grapes. Simply spread the grapes evenly on the trays and set the dehydrator to 135°F. Depending on grape size, they’ll be ready in 18–24 hours.
Step 5: Air Fryer with Dehydrator Setting Method
Another modern option is using an air fryer with a dehydrator setting—perfect for small batches. These methods give you more control over temperature and airflow, helping you avoid uneven drying. If you plan to preserve fruit often, investing in a dehydrator is definitely worthwhile.
Step 6: Store Your Homemade Raisins
Once completely cooled, store your raisins in an airtight jar or vacuum-sealed bag. They’ll last several months in the pantry or up to a year in the freezer.
Other Ways I Use My Concord Grapes
Homemade Grape Jam
Another favorite way I use my backyard Concord grapes is by turning them into jam. If you love the flavor of classic grape jelly but want it homemade and bursting with freshness, check out my Homemade Grape Jam Recipe. It’s perfect for spreading on warm bread or using in holiday treats.
Baking Inclusions
Once you’ve made your raisins, the fun part is putting them to use. I love adding them to holiday baking—think cinnamon rolls, fruitcakes, and panettone. They’re also perfect in everyday recipes like homemade granola, trail mix, or oatmeal. If you enjoy bread baking, try kneading them into a sourdough cinnamon raisin loaf for a sweet, chewy surprise. And don’t forget savory dishes: raisins add a lovely touch to rice pilaf, Moroccan tagines, or even sprinkled over roasted vegetables for a pop of natural sweetness.
How to Store and Preserve Homemade Raisins
Proper storage ensures your raisins last as long as possible. Once completely cool, transfer them to airtight glass jars or vacuum-sealed bags. In the pantry, they’ll keep for about 3 months. For longer storage, the refrigerator will extend its life to 6 months, and the freezer can keep them fresh for up to a year. If you’re prepping for long-term food storage, mylar bags with oxygen absorbers are a great option. Storing them properly not only keeps the flavor intact but also prevents moisture from creeping back in.
Learn More About How I Grow My Grapes
If you’re enjoying the journey of making homemade raisins, you’ll love diving into the process of growing your own grapes from scratch. In How to Grow Concord Grapes in Your Backyard, I share tips for planting, caring for, and harvesting Concord grapes right in your own garden. For those who want to expand their vineyard or try new grape varieties, How to Propagate and Grow Grapes walks you through step-by-step methods for starting grapevines from cuttings, ensuring a healthy and productive harvest year after year. These posts are perfect companions to your raisin-making adventures and help you make the most of your backyard orchard.
Conclusion
Making homemade raisins feels like such a rewarding way to preserve the harvest. Every time I open a jar, I’m reminded of my backyard orchard and the joy of creating food with my own hands. Whether you use the oven or brave the sun-drying method, homemade raisins bring a cozy, old-fashioned touch to your pantry. And when the holidays roll around, you’ll be glad to have them ready for your favorite recipes.
If you enjoy projects like this, you’ll love my book Harvesting Paradise: Your Guide to Growing a Backyard Orchard. It’s packed with practical tips for cultivating fruit trees and making the most of your harvest year after year.

Resources: Here are some helpful resources for further information.
- Strawberry Butter – By Belly Full
- Sunshine Fruit Butter – By Seed to Pantry
- Mixed Fruit Slow Cooker Butter – By Food in Jars
Frequently Asked Questions
1. Can I make raisins without a dehydrator?
Yes! The oven works just fine for drying grapes, and that’s exactly how I make mine.
2. How long do homemade raisins last?
Stored in an airtight container, they’ll last several months in the pantry or up to a year in the freezer.
3. Do I have to use Concord grapes?
Not at all. Concords make rich, flavorful raisins, but seedless grapes like Thompson or Flame are excellent choices too.
4. Why are my raisins hard instead of chewy?
They may have dried a bit too long. Next time, pull them out of the oven while they’re still slightly soft inside for a chewier texture.
Homemade Raisins
Equipment
- 1 baking sheet lined with parchment paper
Ingredients
- 2-3 pounds fresh Concord grapes (or seedless grapes of choice)
Instructions
- Wash and de-stem grapes. Pat dry.
- Preheat oven to 170°F (or lowest setting).
- Line a baking sheet with parchment paper. (See other drying methods for your raisins above.)
- Spread grapes in a single layer.
- Bake 10-12 hours, checking every couple of hours, until wrinkled but chewy.
- Cool and store in airtight container.
Notes
- For a traditional option, you can sun-dry grapes for 3–5 days, though they must be protected from insects with cheesecloth.
- Store in jars or vacuum-sealed bags for months of shelf life.
Summary
I hope I have inspired you to stockpile your pantry for your survival needs.
If you were encouraged by this post, I invite you to check out my FREE Printables Page for fun free printables, planners, and charts.
ENTER MY FREE Printables Page HERE
Here are some more of my canning inspiration posts to check out!
How to Make and Can Butternut Squash Butter
How to Make and Can Fall Spiced Quince Chutney
Quince: How to Can Quince
Carrot Cake Butter: How to Make and Can Carrot Cake Butter
Peach Pie Filling: How to Make and Can Peach Pie Filling
Pear Pie Filling: How to Make and Can Pear Pie Filling
The Best Winter Pantry Staples to Stockpile Now!
More Recipes!
Grapes: How to Make and Can Grape Jam
Apple Cider: How to Make Homemade Apple Cider Vinegar
How to Make and Can Cherry Plum Jam
How to Make and Can Apple Butter In Crockpot
Stockpiling Condiments for Survival: Learn How I Do It!
How to Make and Can Vegetable Pot Pie Filling
Easy Canning Applesauce Recipes to Stalk Your Pantry!
How to Make Peach Jalapeno Jam
Cherries: How to Make Cherry Pie Filling
Cherries: How to Make Cherry Syrup
Salsa: How to Make and Can Cherry Salsa
Peaches: How to Make and Can Peach Salsa
Canning Supplies You Need Now for a Successful Canning Season!
How to Make and Can Balsamic Onion Jam
Cranberry Sauce: How to Make and Can Old Fashioned Cranberry Sauce
How to Make and Can Cranberry Merry Jam
How to Make and Can Strawberry Shortcake Jam
Cherry Jam: How to Make and Can Cherry Pie Jam
Carrot Cake Jam: How to Make and Can Carrot Cake Jam
Quince Jam: How to Can a Year’s Supply of Quince Jam
Root Beer Float Jelly: How to Make and Can Root Beer Float Jelly
Blessings,
The Off Grid Barefoot Girl

