Need fresh, fluffy bread fast? These easy one hour dinner rolls are soft, buttery, and perfect for any meal. With simple ingredients and a quick rise, you can have homemade rolls on the table in just about 60 minutes—no bread-making experience required!
There’s nothing quite like the smell of fresh bread baking in the oven, and I promise you don’t need to spend all day in the kitchen to enjoy it! These one hour dinner rolls are my go-to recipe when I want something warm, fluffy, and homemade without the wait. I’ll walk you through my simple step-by-step process so you can have a basket of golden, buttery rolls ready in just about an hour—perfect for weeknight dinners, Sunday meals, or holiday gatherings.
This is a pinnable post. Tap or hover over any image in this post to pin to your Pinterest Boards.
Introduction to One-Hour Dinner Rolls
Benefits of Making Homemade Dinner Rolls
If you’re anything like me, the thought of fresh, warm dinner rolls makes your mouth water. But let’s be real, who has the time to wait for hours for the dough to rise? That’s where these one-hour dinner rolls come to the rescue! Yes, you read that right. In just one hour, you can have a batch of fluffy, golden rolls ready to grace your dinner table. No more impatiently tapping your foot while you wait for the dough to do its thing. With this recipe, you’ll be enjoying warm rolls in no time!
Why Choose One-Hour Dinner Rolls
So, why should you choose one-hour dinner rolls over the traditional ones that take hours to make? Well, besides the obvious time-saving factor, these rolls are a game-changer when you’re in a hurry or have unexpected guests dropping by. Instead of resorting to store-bought rolls, you can whip up a batch of homemade ones that taste even better. Plus, the satisfaction of serving freshly baked bread straight from your own oven is hard to beat.
Now, you might be wondering, why bother making dinner rolls from scratch when you can easily buy them from the store? Well, my friend, the answer is simple — homemade rolls are simply superior in taste and texture. They’re softer, more flavorful, and don’t contain any of those weird preservatives or artificial ingredients. Plus, there’s something incredibly rewarding about kneading the dough, watching it rise, and biting into a warm, homemade roll that you made with your own two hands.
Gathering the Ingredients
Before we dive into the nitty-gritty of making these heavenly rolls, let’s gather all the necessary ingredients. Don’t worry, you won’t need to raid the secret corners of a gourmet grocery store for this recipe.
Essential Ingredients
Here’s what you’ll need for the basic version of these one-hour dinner rolls:
- 1/2 cup warm water.
- 1 cup warm milk.
- 2 tablespoons melted butter.
- 2 tablespoons sugar, honey, or maple syrup.
- 1 tablespoon active dry yeast.
- 3 1/2 to 4 cups of all-purpose flour.
- 1 teaspoon salt.
- 1 egg (egg wash) or melted butter.
Optional Ingredients for Flavor Variations
If you’re feeling adventurous and want to add a touch of flavor to your rolls, feel free to experiment with these optional ingredients:
- Shredded cheese (cheddar, Parmesan, or your favorite).
- Garlic powder or minced garlic.
- Dried herbs (such as rosemary, thyme, or oregano).
- Finely chopped onions or green onions.
- Everything bagel seasoning (because why not?).
Mixing and Kneading the Dough
Now that we have our ingredients ready, it’s time to mix and knead the dough. Don’t worry, you don’t need any superhuman skills for this. I’m making the process as easy and enjoyable as possible.
Measuring Ingredients Accurately
First things first, let’s talk about measuring ingredients. While cooking can sometimes be forgiving when you eyeball measurements, baking requires a bit more precision. So grab your measuring cups and spoons, and let’s get accurate!
Combining the Ingredients
In a large mixing bowl, whisk together the sugar, salt, warm milk, and yeast until well combined. Allow the yeast to ferment until foamy for 10 minutes.
Now, add the rest of the ingredients to the proofed mixture. Mix everything together until a soft dough forms. Don’t worry if it looks a bit sticky or messy at this stage, we’re about to work our magic.
Techniques for Kneading the Dough
Time to get your hands dirty (figuratively, of course)! Sprinkle a clean surface with a bit of flour and transfer the dough onto it. Now, let the kneading begin. Fold the dough over itself and push it away with the heels of your hands. Give it a quarter turn and repeat the process. Keep doing this for about 5-7 minutes until the dough becomes smooth and elastic. If it sticks to your hands or the surface, don’t hesitate to sprinkle a little more flour. Trust me, the dough won’t mind.
Proofing the Dough
Shape the dough into a ball and cover to rise for 15 minutes in a warm area. An oven with the light on works great for bread proofing!
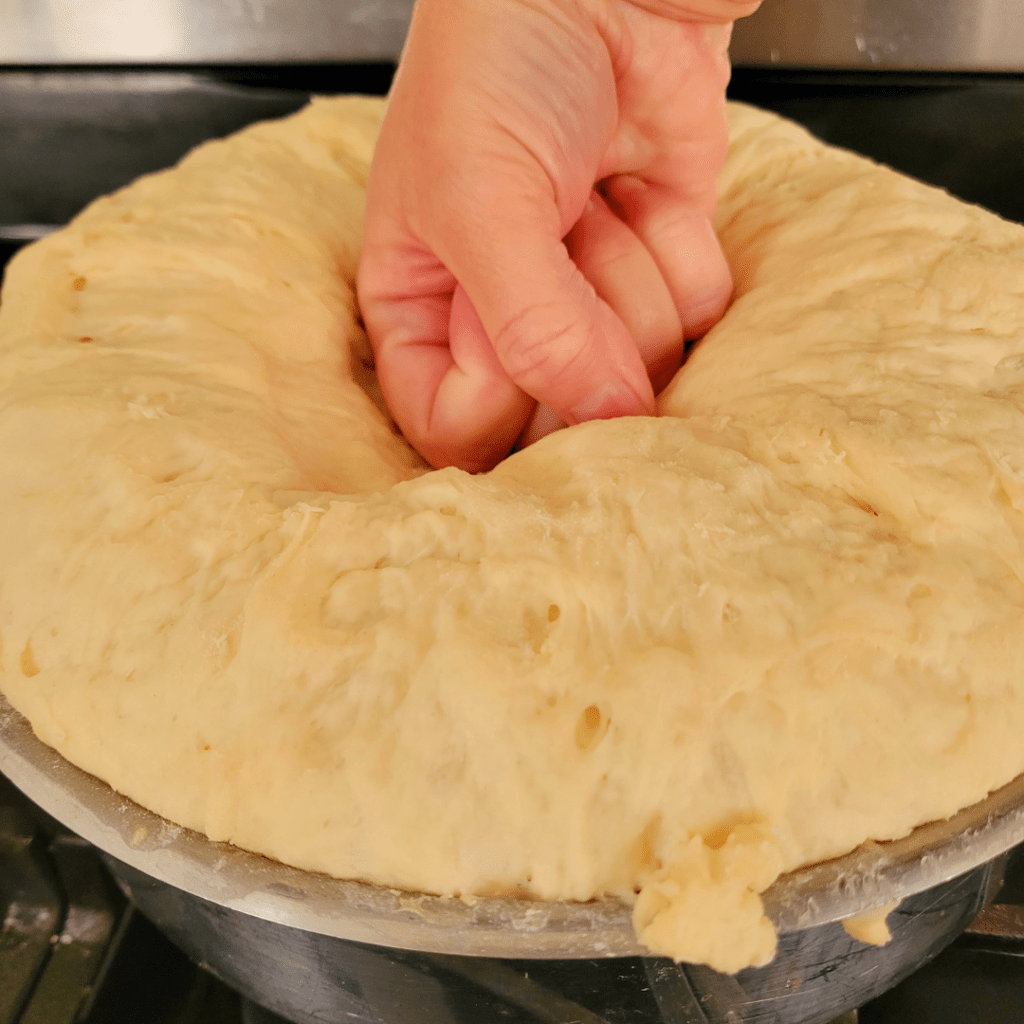
Now the fun part, give that proofed dough a soft punch in the middle to deflate it.
Shaping the Dinner Rolls
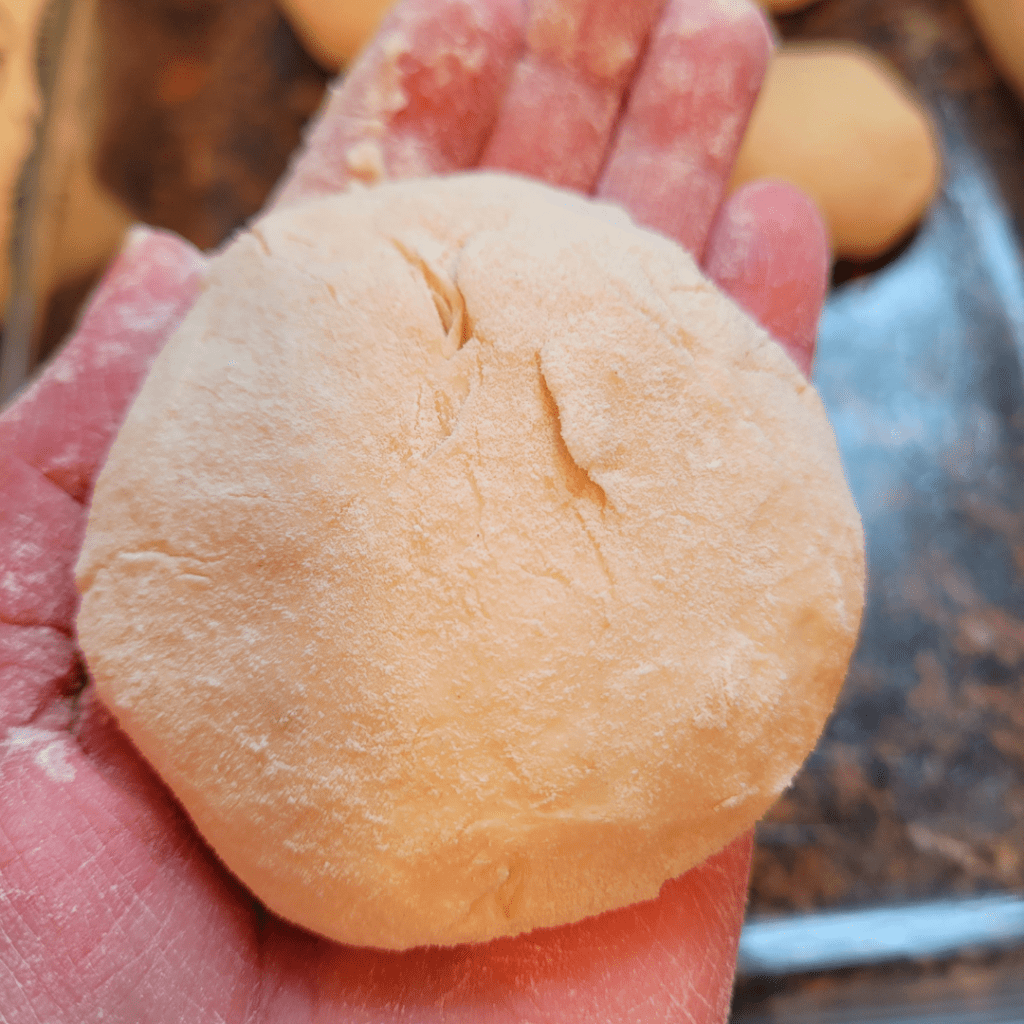
We’re almost there! It’s time to shape our dough into those adorable little dinner rolls that will make your dinner table look like it belongs in a fancy bakery.
Dividing the Dough Into Equal Portions
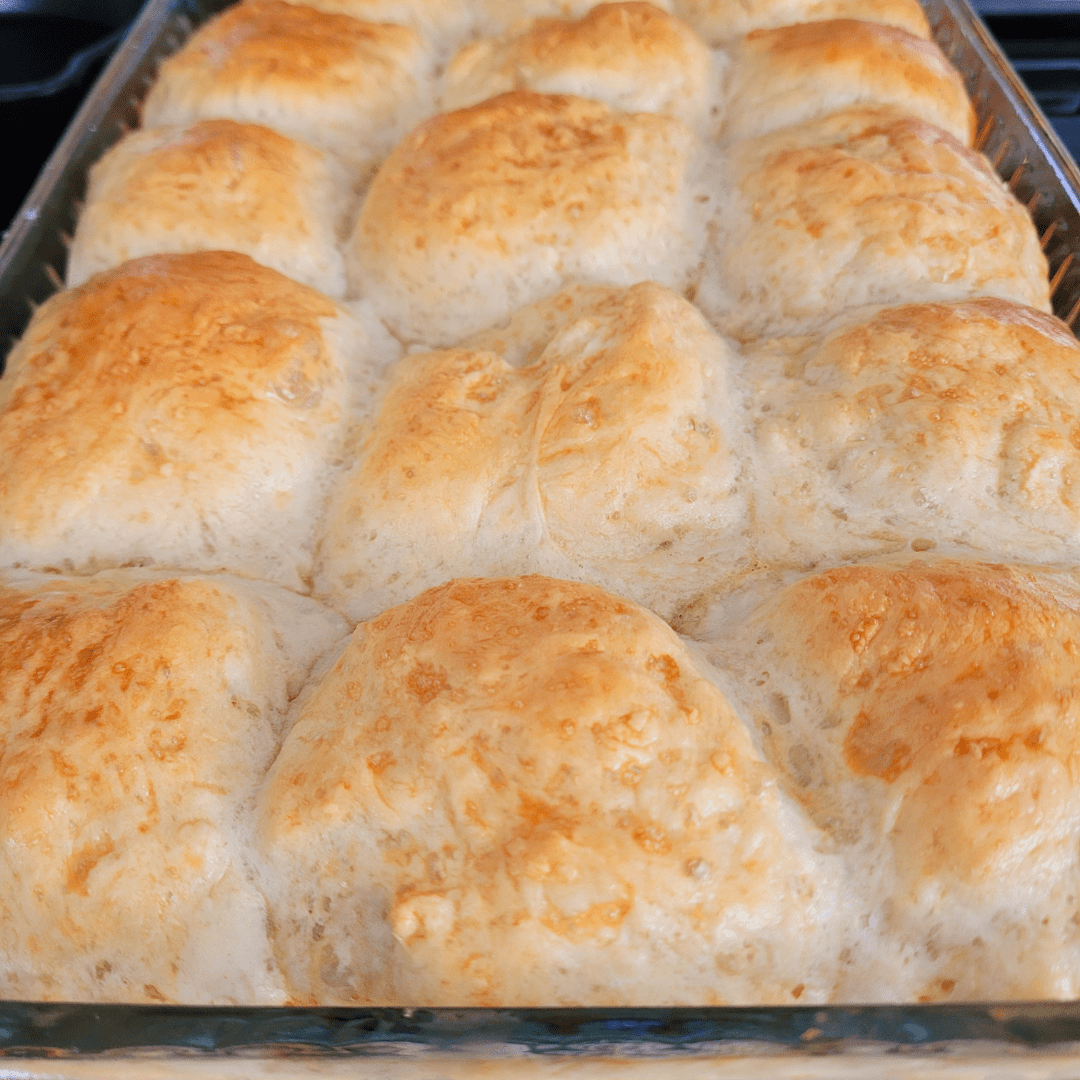
Start by dividing the dough into equal portions. It’s up to you how large or small you want your rolls to be. Just make sure they’re roughly the same size so they bake evenly. You can make them as big as your fist or as small as a golf ball. Your call! I was able to get 15 rolls in my batch, but I suggest you aim for 12.
Place each dough ball onto the greased baking dish for the next step.
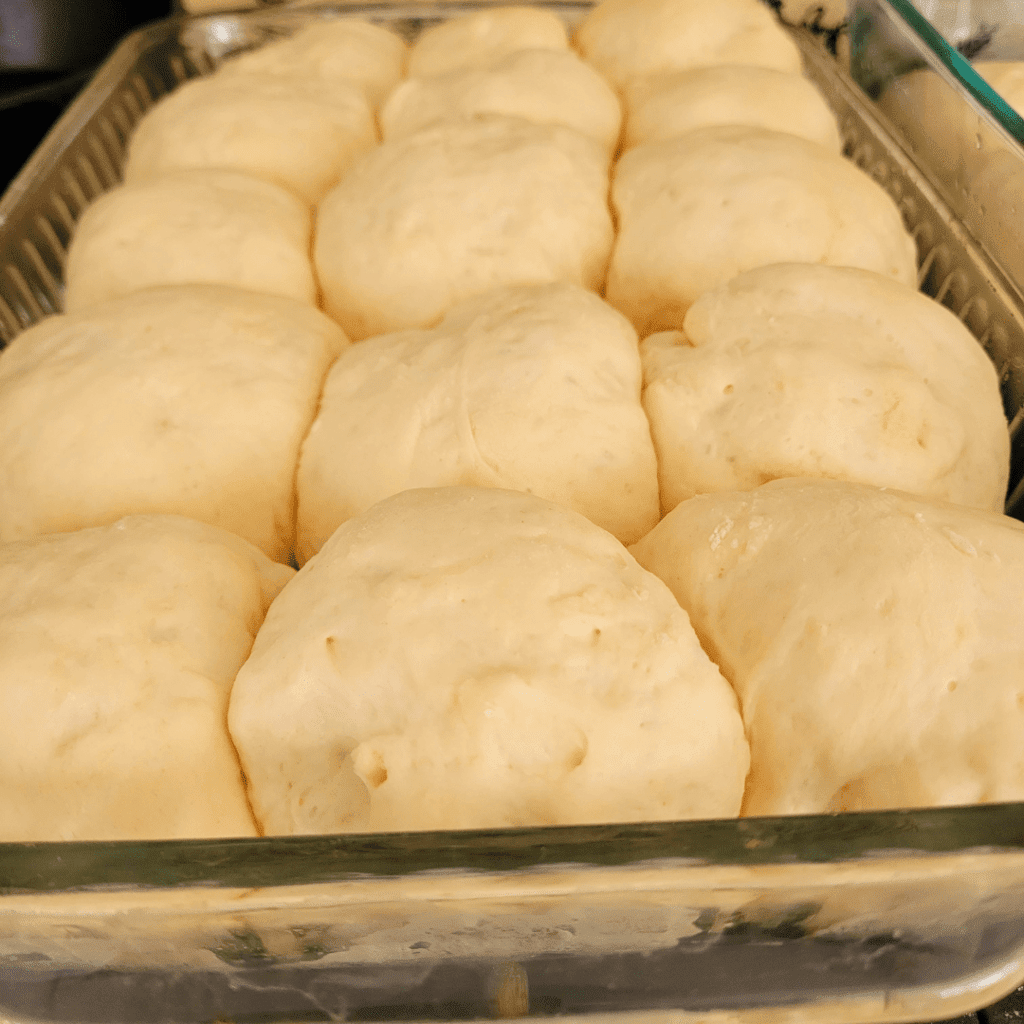
I double-batched mine while I was making this blog post. It was a cold snowy day with winter storms and dangerous white squalls and I decided to bake up my own storm right in my kitchen to help warm up my home and bake some delicious happiness.
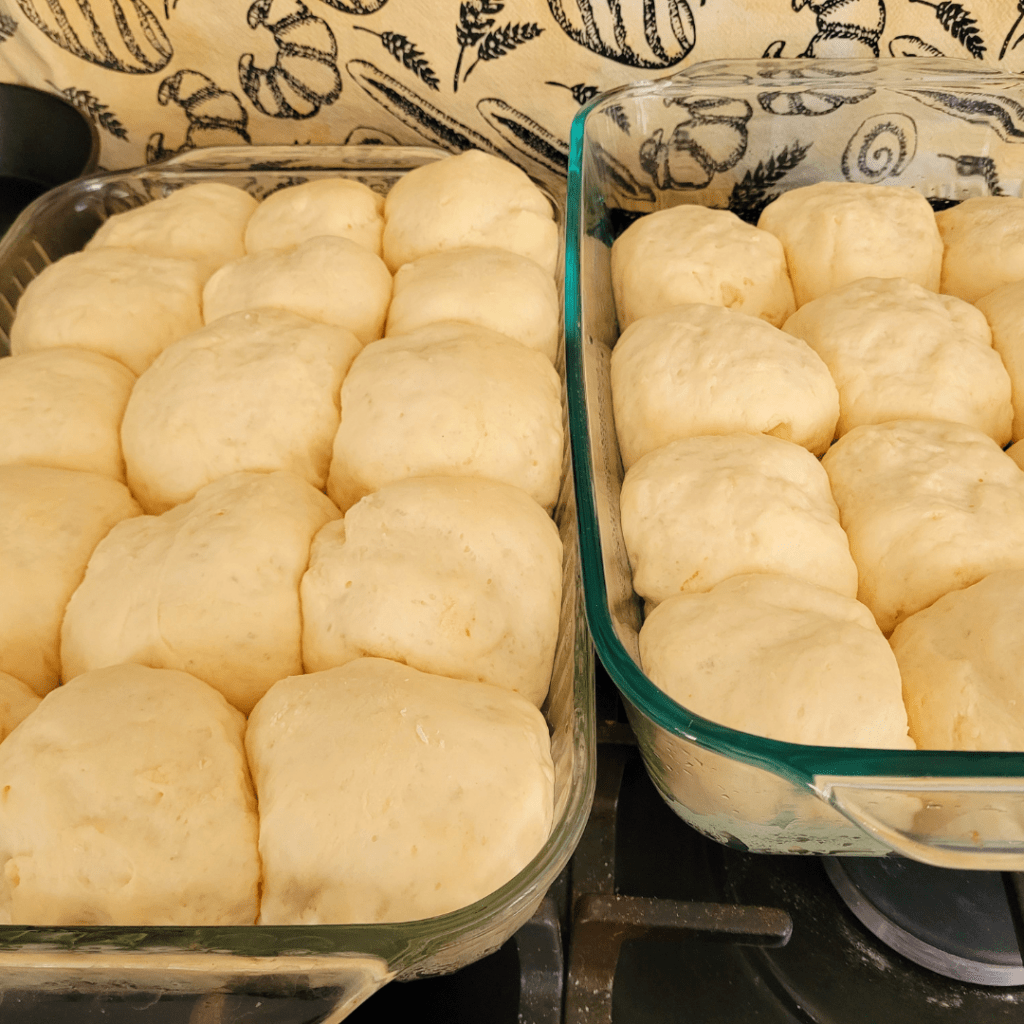
Proofing and Baking the Rolls
Proper Proofing Techniques
Before you pop those rolls in the oven, it’s important to give them some time to rise and proof. This step is crucial for achieving light and fluffy dinner rolls. To properly proof your rolls, place them in a warm, draft-free area. You can cover them loosely with a clean kitchen towel or plastic wrap sprayed with cooking spray to prevent them from drying out. Let them rise for about 30 minutes, or until they have doubled in size. Don’t rush this step, as it allows the yeast to work its magic and gives the rolls their delightful texture.
Preheating the Oven and Baking Temperature
While your rolls are proofing, preheat your oven to 400°. This temperature is perfect for achieving a golden-brown crust while ensuring the rolls bake evenly. Make sure your oven is fully preheated before placing the rolls inside for baking. This will give you consistent results and help the rolls rise properly.
Applying the Egg Wash
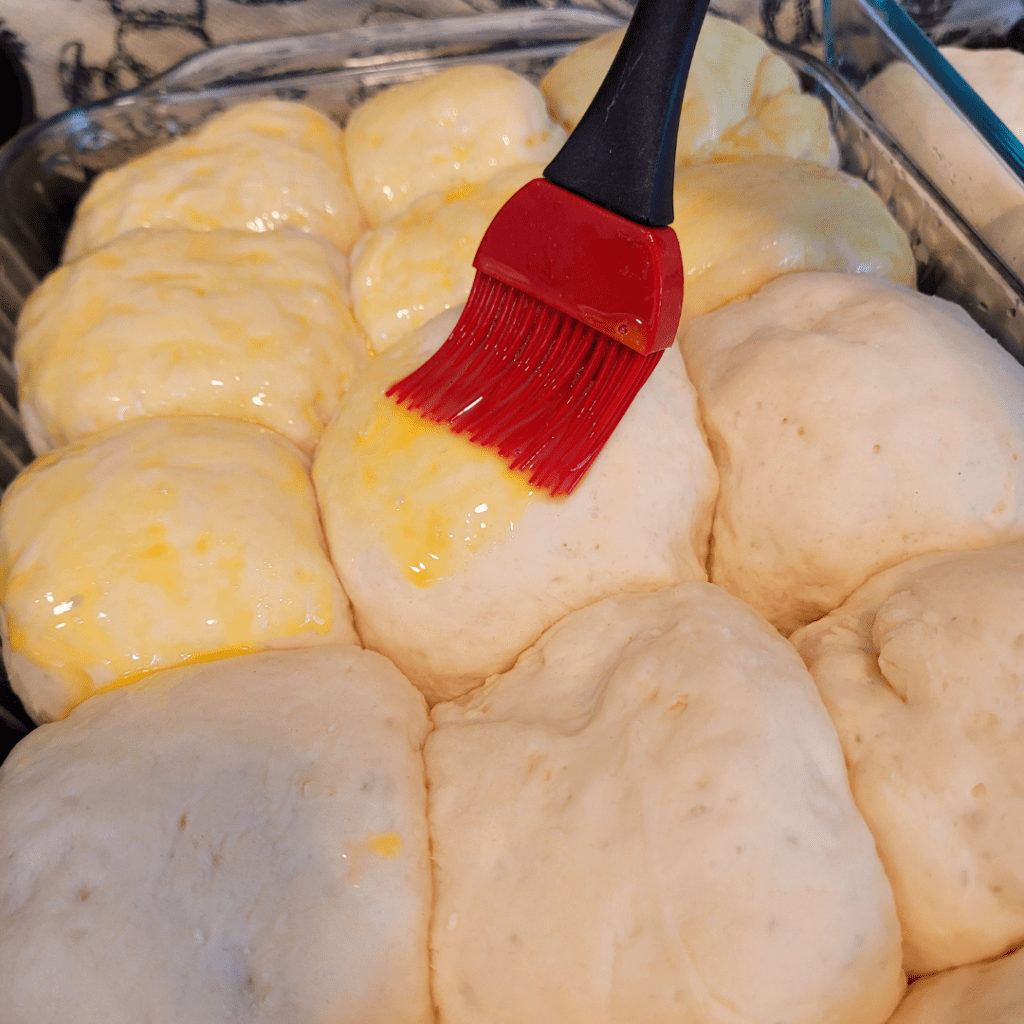
Once the rolls are proofed, it is time to apply the egg wash to achieve the perfect golden hue that we all desire in a dinner roll. Beat one egg in a small bowl and brush it over the proofed dinner rolls.
Timing for Perfect Golden-Brown Rolls
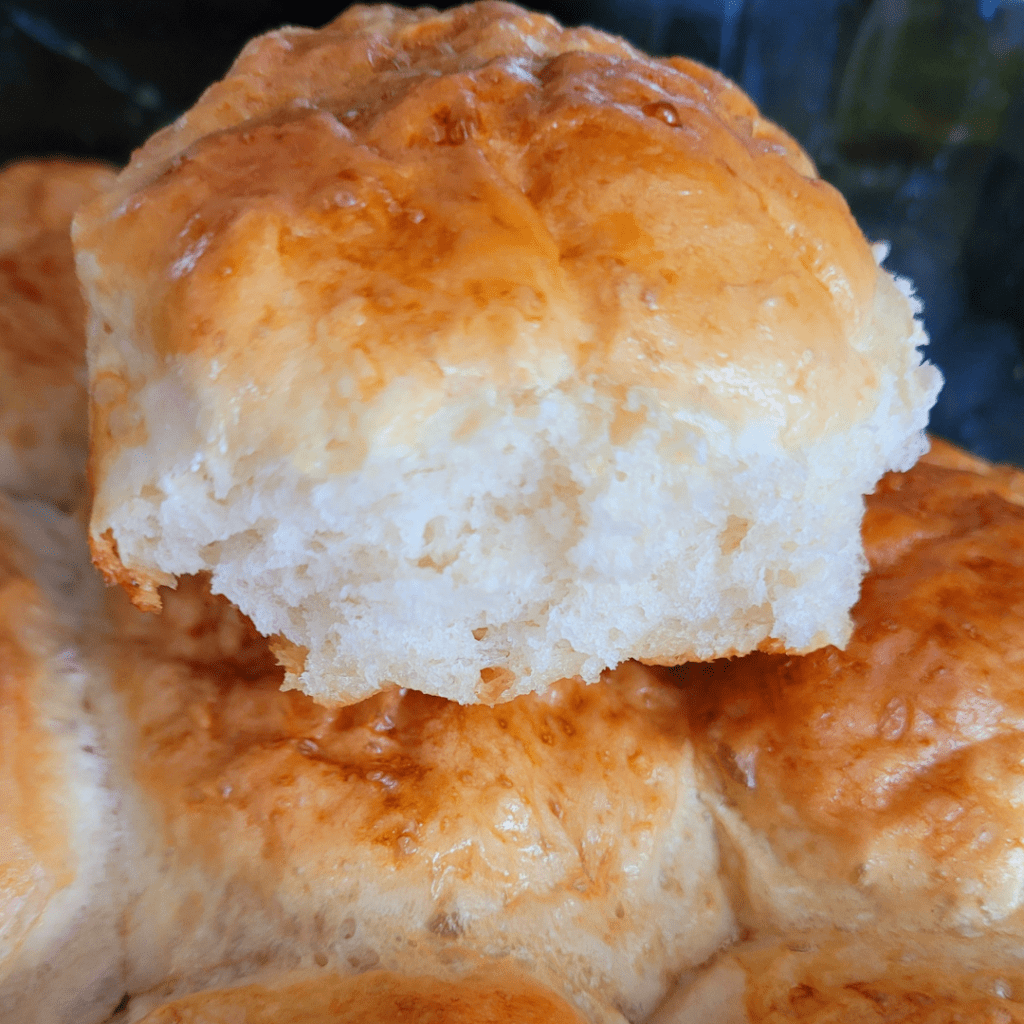
Timing is everything when it comes to baking dinner rolls. Aim for a total baking time of around 15-20 minutes, but keep a close eye on them. You want the rolls to turn a beautiful golden brown color. However, make sure not to overbake them, as they can dry out quickly. When the rolls are done, remove them from the oven and transfer them to a wire rack to cool slightly before serving.

The dinner rolls are amazing and so fast to make and can add extra homemade happiness to your dinner table even on busy weeknights!
Serving and Storing the Dinner Rolls
Serving Suggestions and Accompaniments
Hot and fresh out of the oven, these dinner rolls are the perfect addition to any meal. Whether you’re serving them with a hearty soup, a juicy roast, or as a side dish for Thanksgiving dinner, they’ll be a hit. Slather them with butter or your favorite spread for extra indulgence. These rolls also make fantastic sliders for a delightful snack or mini sandwiches for a party.
Storing Leftovers
If you somehow have any leftovers (which is highly unlikely because these rolls are irresistible), you can store them in an airtight container at room temperature for up to 2 days. To refresh any leftover rolls, simply warm them in the oven for a few minutes or lightly toast them. They may not be as fresh as when they were first baked, but they’ll still be delicious.
Tips and Variations for One-Hour Dinner Rolls
Tips for Making the Process Even Faster
If you’re in a hurry and need your rolls ASAP, don’t fret! There are a few tricks you can use to speed up the process. First, make sure your yeast is fresh and active. Using instant yeast can also save you some time as it doesn’t require proofing. Additionally, you can increase the temperature in your proofing area slightly to help the dough rise faster. Just be careful not to overdo it, as too much heat can kill the yeast.
Flavor Variations and Ingredient Substitutions
While the classic dinner roll recipe is delicious as is, you can always get creative and add some extra flavor. Try sprinkling some herbs like rosemary, thyme, or garlic powder on top of the rolls before baking for an aromatic twist. You can also experiment with different flours, such as whole wheat or spelt, for a heartier roll. For those with dietary restrictions, you can substitute dairy-free alternatives like almond milk or vegan butter.
Freezing Your Easy One Hour Dinner Rolls
These easy one hour dinner rolls freeze up beautifully. You can even make your rolls Rhodes Rolls style by flash-freezing the rolls on a baking sheet before allowing them to rise and placing them in a freezer bag. You will then need to thaw them out and allow them to rise until doubled in size before baking.
Conclusion
Making your own dinner rolls from scratch may sound intimidating, but with this easy one-hour recipe, it’s a breeze. Whether you’re a novice baker or a seasoned pro, these rolls are sure to impress. From proofing to serving, we’ve covered all the steps to ensure you end up with perfectly fluffy and flavorful dinner rolls every time. So go ahead, get your apron on, and let the baking adventure begin!
These one-hour dinner rolls are a game-changer for those who crave freshly baked bread without the lengthy waiting time. With minimal effort and simple ingredients, you can enjoy soft, warm, and homemade dinner rolls in no time. Whether you’re serving a special meal or need a quick addition to a weeknight dinner, these rolls are sure to impress.
Experiment with different flavors and shapes to add your own personal touch. So, why settle for store-bought when you can have the satisfaction of warm, homemade dinner rolls straight from your oven? Give this recipe a try and discover the joy of baking bread in just one hour.
Frequently Asked Questions
1. Can I make these dinner rolls ahead of time?
Yes, you can make these dinner rolls ahead of time. After baking, let them cool completely, then store them in an airtight container at room temperature for 1-2 days. When ready to serve, you can warm them up in the oven for a few minutes or enjoy them at room temperature.
2. Can I freeze the dough or bake dinner rolls?
Yes, you can freeze the dough or bake dinner rolls. To freeze the dough, shape it into rolls and place them on a baking sheet lined with parchment paper. Freeze the rolls until solid, then transfer them to a freezer-safe bag or container. When ready to bake, let the frozen rolls thaw in the refrigerator overnight, proof them until doubled in size, and bake as instructed. Baked dinner rolls can also be frozen by placing them in freezer-safe bags or containers. Thaw and reheat them in a preheated oven until warm and fluffy.
3. Can I make smaller or larger dinner rolls?
Yes, you can adjust the size of the dinner rolls to your preference. For smaller rolls, divide the dough into more portions, and for larger rolls, divide the dough into fewer portions. Keep in mind that the baking time may need to be adjusted accordingly. Smaller rolls will require less time to bake, while larger rolls may need a slightly longer baking time.
Easy One Hour Dinner Rolls Recipe
Easy One Hour Dinner Rolls Recipe
Equipment
- 1 large mixing bowl
Ingredients
For the Yeast
- ½ cup warm water.
- 1 cup warm milk.
- 2 tbsp melted butter.
- 2 tbsp sugar, honey, or maple syrup.
- 1 tbsp dry active yeast.
For the Dough
- 3 ½ to 4 cups all-purpose flour.
- 1 tsp salt.
- 1 large egg (egg wash) or melted butter (brush on rolls).
Instructions
Prepping Your Oven and Baking Dish
- Preheat your oven to 400 degrees F and grease a 9×13-inch baking dish.
For the Yeast
- Mix together the warm milk, water, melted butter, sugar, honey, or maple syrup, and active dry yeast and let sit for 10 minutes until foamy.
For the Dough
- Stir in flour and salt and combine well.
- Form the dough into a ball and cover it in the mixing bowl and let rise for 10 minutes.
Shaping the Dough
- After the 10 minutes of rising time, punch down the dough and form it into 12 equal portion-sized balls.
Proofing the Rolls
- Place each dough ball onto the greased baking dish and let rise for 30 minutes or until doubled in size.
Applying the Egg Wash
- Brush the rolls with either an egg wash or melted butter.
Baking the Rolls
- Bake for 15 to 20 minutes until golden brown.
Summary
I hope I have inspired you to bake your very own bread loaves to enjoy and share with your friends and family.
If you were encouraged by this post, I invite you to check out my FREE Printables Page for fun free printables, planners, and charts.
ENTER MY FREE Printables Page HERE
Here are some more of my bread-making inspiration posts to check out!
How to Make Sourdough Pumpkin Shaped Cinnamon Rolls
The Best Pumpkin Zucchini Bread
The Only Pumpkin Muffin Recipe You’ll Ever Need!
How to Make Banana Split Quick Bread
How to Make S’mores Quick Bread
How to Make Jelly Donut Quick Bread
Lemon Blueberry: How to Make Lemon Blueberry Sourdough Focaccia
How to Make Sourdough Lemon Supreme Quick Bread
Lemon Supreme: How to Make Sourdough Lemon Supreme Quick Bread
How to Make Sourdough Strawberry Cheesecake Muffins
How to Make Chai-Spiced Sourdough Banana Bread
The Best Old Fashioned Sourdough Banana Muffins
How to Make Honey Sourdough Bread
Blueberry: How to Make Lemon Blueberry Sourdough Quick Bread
Pizza: How to Make Pizza Sourdough Focaccia
Carrot Cake: How to Make Carrot Cake Sourdough Focaccia
Easy and Delicious Hershey’s Kisses Sourdough Bread
How to Make Amish Whoopie Pies!
Lazy Cinnamon Rolls: How to Make Easy Cinnamon Rolls the Lazy Way!
Lembas Bread: How to Make Elven Lembas Bread: A Taste of Rivendell
Gnome Bread: How to Make a Sourdough Gnome Bread
How to Make Sourdough Strawberry Cheesecake Muffins
The Best Hoagie Buns Recipe Made From Scratch!
Pumpkin: How to Make Chocolate Chip Pumpkin Bread
More Recipes!
Sweet Potato Bread: How to Make Sweet Potato Bread
Chocolate Chip Cookies: How to Make Chocolate Chip Cookie Bread
Carrot Cake Quick Bread: How to Make Carrot Cake Quick Bread
How to Make Strawberries and Cream Sourdough Bread
How to Make S’mores Sourdough Bread
July 4th Bread: How to Make a Firecracker Marble Bread Braid
Artisan Bread: How to Make Artisan Bread
Challah Bread: How to Make a 6 Braided Challah Bread
Sweet Bread: How to Make Sweet Bread
Blessings,
The Off Grid Barefoot Girl

