Learn how to make easy homemade ricotta cheese with simple ingredients you probably already have in your kitchen. This creamy, fresh ricotta is perfect for spreading on toast, folding into pasta, or adding to desserts. With just a few steps, you can enjoy rich, flavorful cheese without store-bought preservatives. Perfect for homesteads, cozy kitchens, or anyone looking to make fresh, wholesome ricotta at home.
Ricotta cheese is a versatile and creamy delight that can elevate any dish it is added to. While store-bought ricotta cheese is readily available, making your own at home can be a rewarding and surprisingly easy culinary adventure. In this article, I will guide you through the step-by-step process of creating homemade ricotta cheese. From gathering the necessary ingredients and equipment to mastering the techniques for achieving that perfect texture and flavor, I will provide you with all the information you need to become a ricotta cheese-making expert. Get ready to embark on a delicious journey and discover the joys of homemade ricotta cheese.
This is a pinnable post. Tap or hover over any image in this post to pin to your Pinterest Boards.
Introduction to Homemade Ricotta Cheese
Understanding the Appeal of Homemade Ricotta Cheese
Who doesn’t love cheese? It’s the ultimate comfort food – gooey, creamy, and oh-so-delicious. And when it comes to ricotta cheese, the homemade version takes it to a whole new level. There’s something special about making your own ricotta cheese that just can’t be replicated by the store-bought variety. It’s fresher and creamier, and you’ll have the satisfaction of saying, “I made this!” And in less than an hour you can have this delicious cheese ready for your recipe!
Exploring the Versatility of Ricotta Cheese In Various Dishes
Ricotta cheese is like a chameleon in the kitchen. It can effortlessly blend into both sweet and savory dishes, adding a creamy and delicate touch. Spread it on toast with a drizzle of honey for a simple yet indulgent breakfast. Use it as a filling for homemade ravioli or lasagna for a cheesy delight. Or whip up a batch of fluffy ricotta pancakes that will make your brunch guests swoon. The possibilities are endless, and the versatility of ricotta cheese knows no bounds.
Gathering the Necessary Ingredients and Equipment
Essential Ingredients for Making Ricotta Cheese at Home
To make your own ricotta cheese, you’ll need just a few simple ingredients. First and foremost, you’ll need whole milk. The higher the fat content, the creamier your ricotta cheese will be. You’ll also need an acid, such as lemon juice or white vinegar, to help curdle the milk. Don’t forget a pinch of salt to enhance the flavor, and you’re all set!
PSST! You only need 3 ingredients!
- Whole milk.
- Lemon juice or white vinegar.
- Salt.
Recommended Equipment for the Ricotta Cheese-Making Process
Making homemade ricotta cheese doesn’t require any fancy equipment. In fact, you probably already have everything you need in your kitchen. A large pot for heating the milk, a thermometer to monitor the temperature, a fine-mesh strainer or cheesecloth for draining the curds, and a bowl to catch the whey. That’s it! Now you’re ready to become a cheese-making pro!
Step-by-Step Process of Making Ricotta Cheese

Preparing the Milk and Acid for Ricotta Cheese
First things first, pour the whole milk into a large pot and heat it over medium-low heat until it reaches around 180 to 200°F. Be sure to stir occasionally to prevent the milk from scorching. Once it’s reached the desired temperature, remove it from the heat and add your acid of choice (lemon juice or white vinegar) while gently stirring. This will cause the milk to curdle and separate into curds and whey.
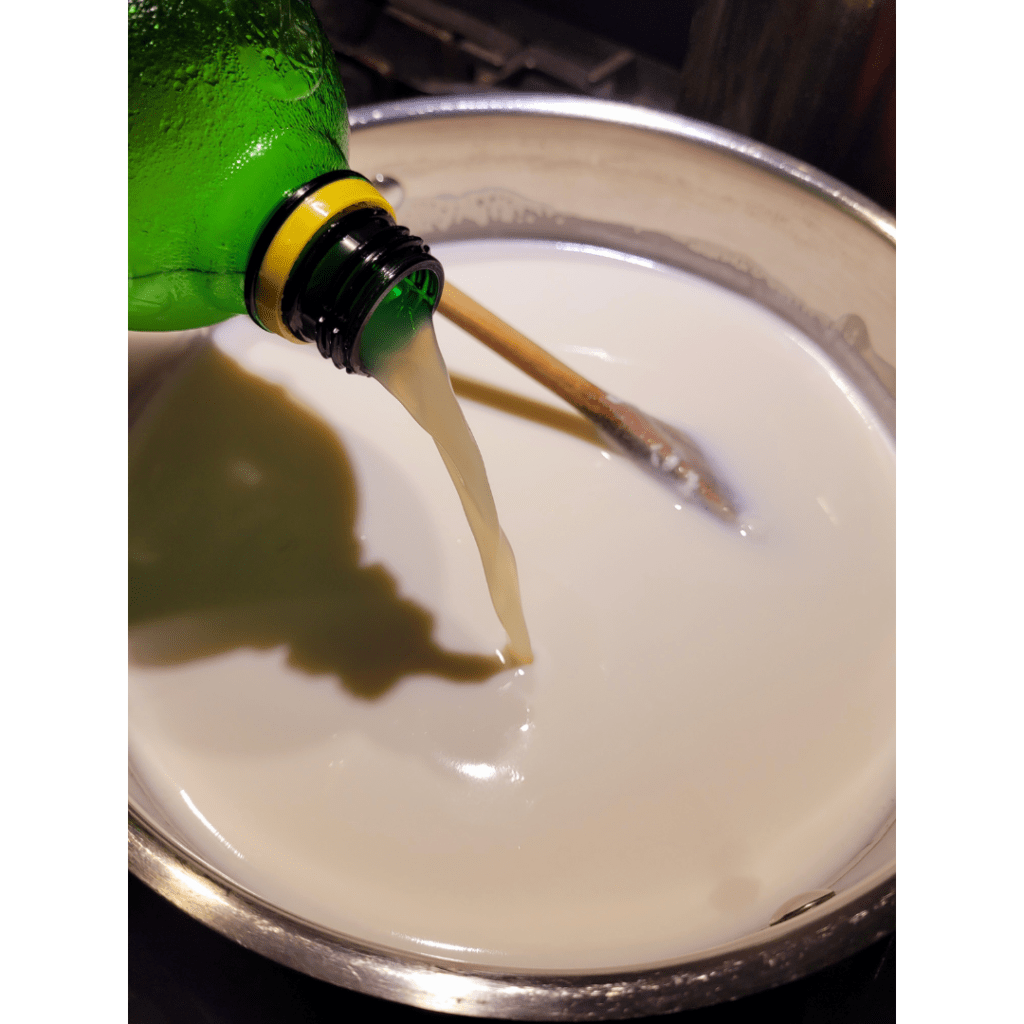
Heating and Curdling the Milk

Give it a gentle stir to check out the curdling process. You should be able to grab a spoonful of curds.
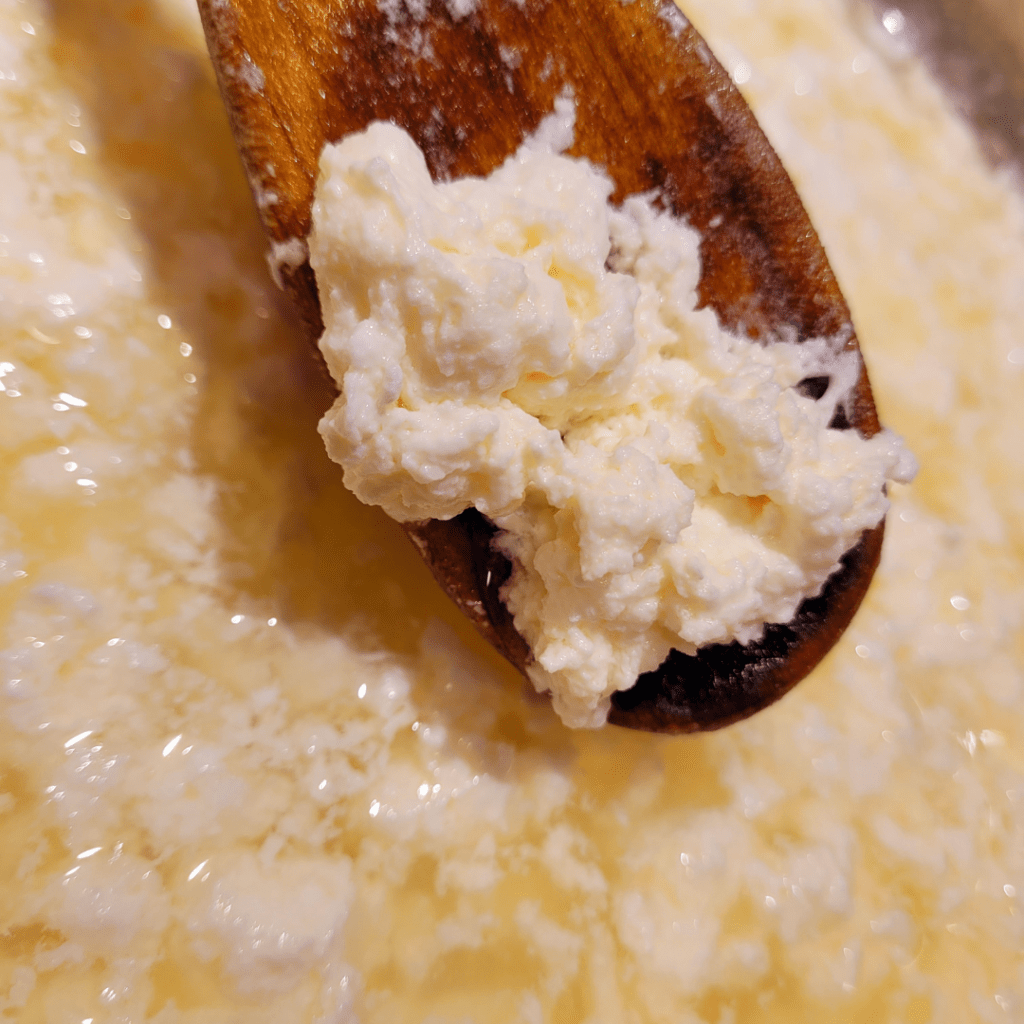
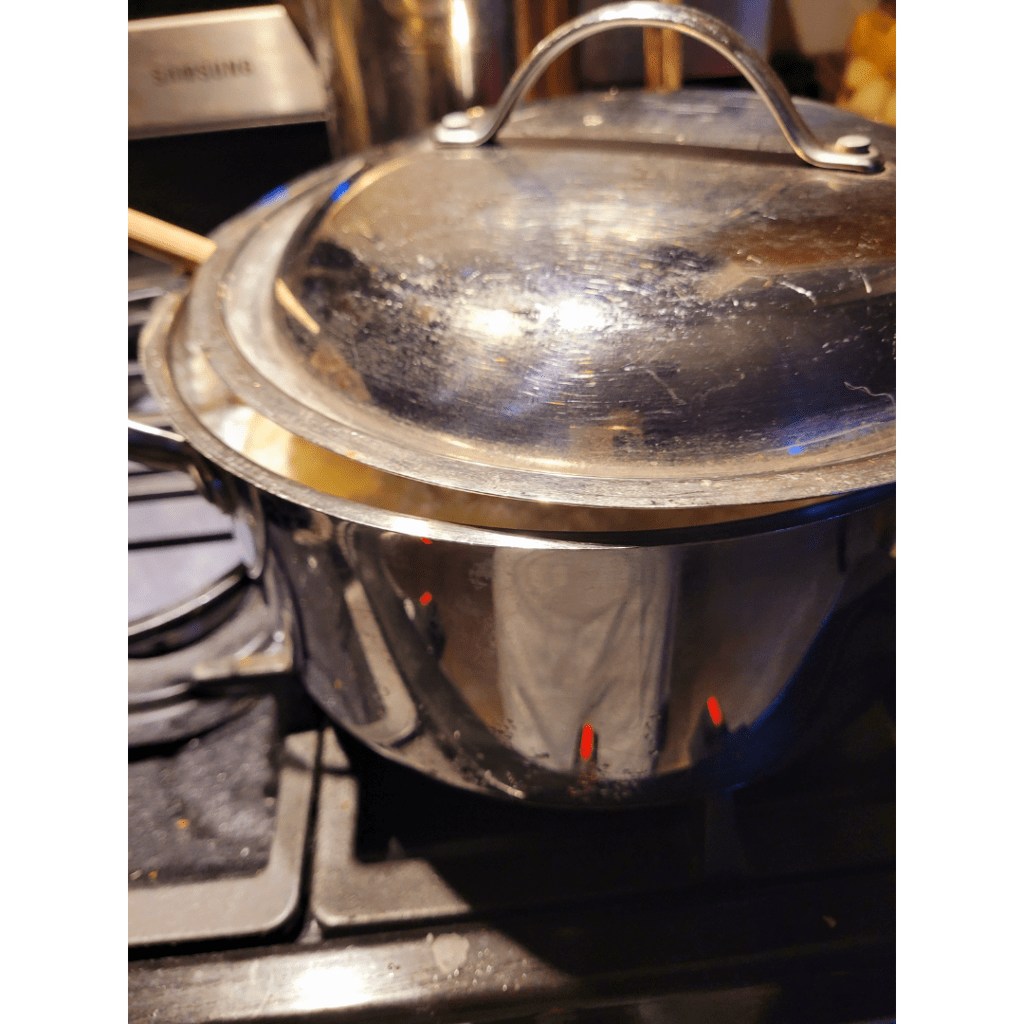
Next, return the pot to low heat and warm the curds for a few minutes. This will help them firm up and become more solid. Stir gently to ensure even heating, but don’t overcook or you might end up with rubbery curds. We want creamy, dreamy ricotta, remember? Put a lid over the pot and let it sit for 10 minutes undisturbed.
Some days, my morning routine will consist of making ricotta cheese while I am in the kitchen baking bread or breakfast. It is so simple to make and is a hands-off recipe making it even easier!
Draining and Straining the Curds to Create Ricotta Cheese
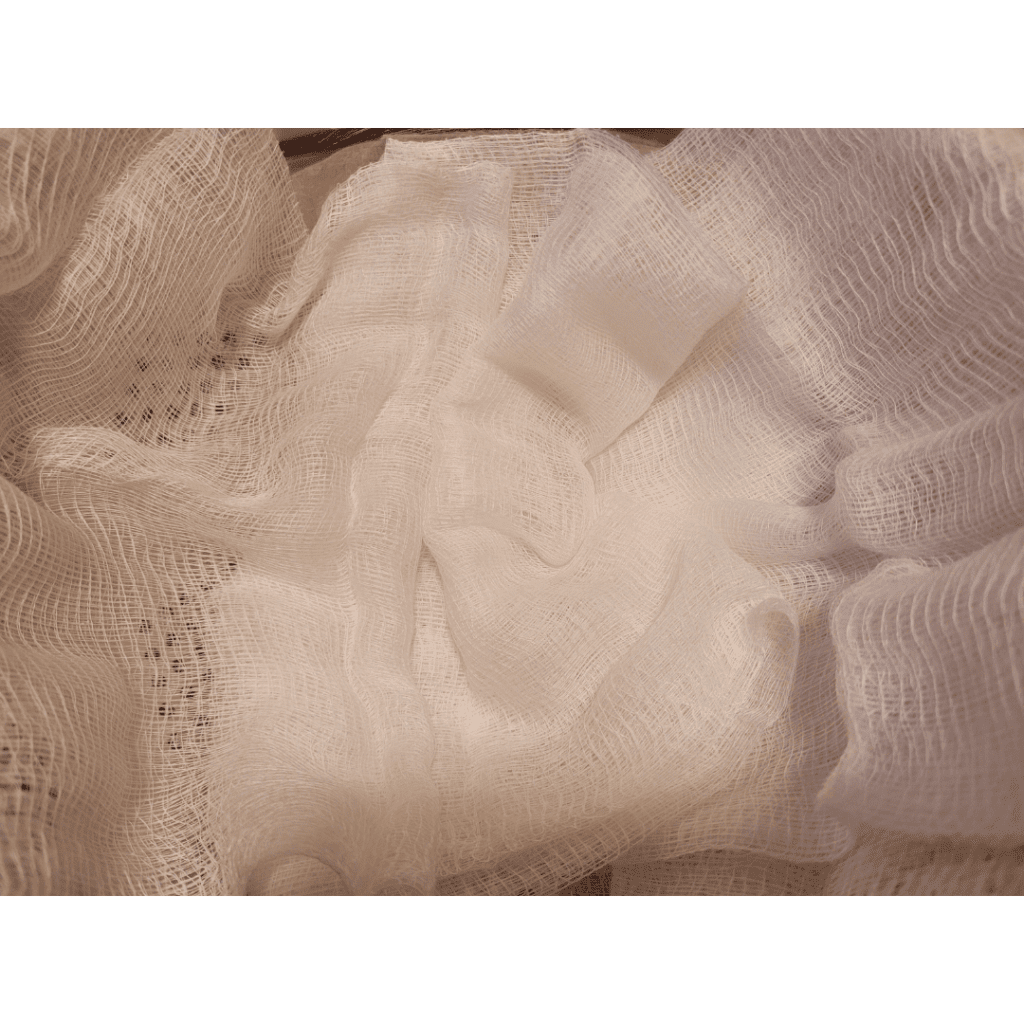
Now it’s time to say goodbye to the whey and hello to creamy ricotta cheese. Line a fine-mesh strainer or cheesecloth with a clean cloth and place it over a bowl. Pour the curds into the strainer, allowing the whey to drain away. Let the curds sit and drain for about 30 minutes to an hour or until they reach your desired consistency. The longer you let them drain, the firmer your ricotta cheese will be.
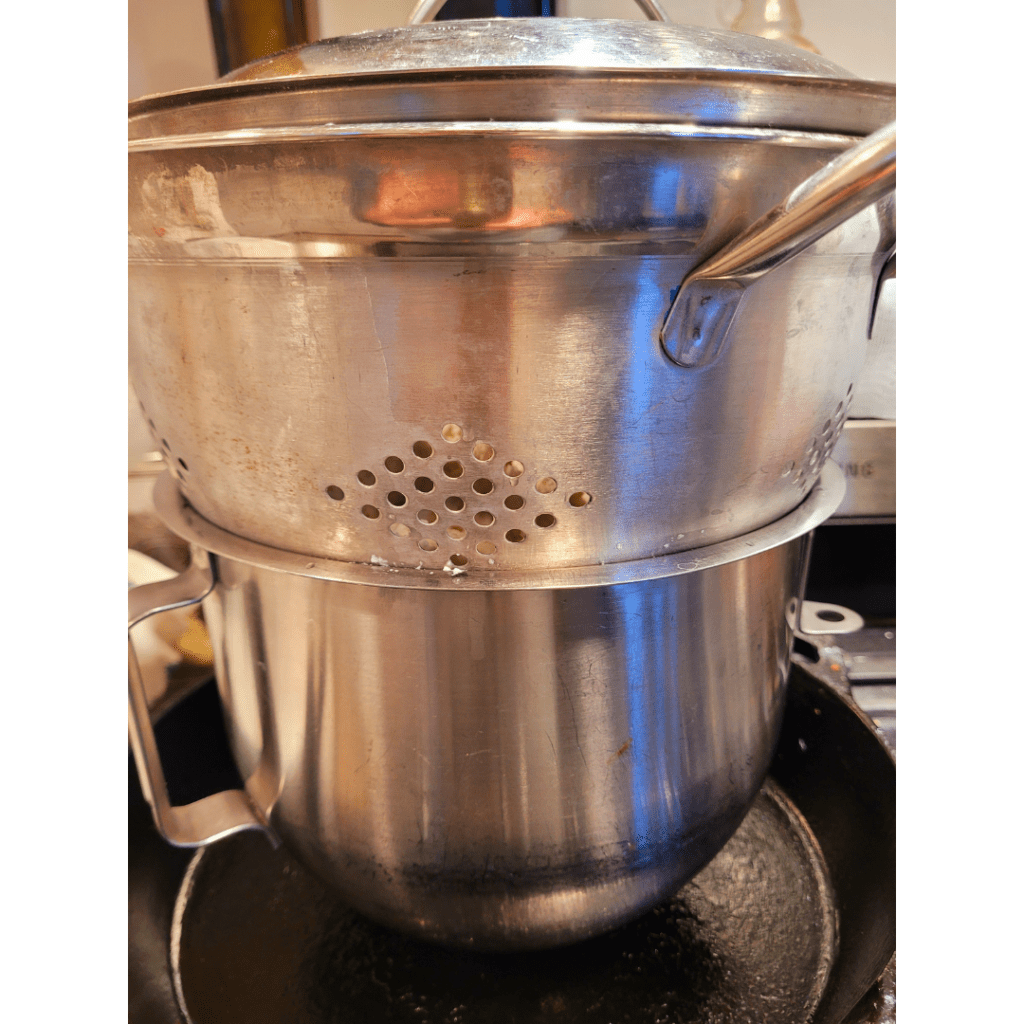
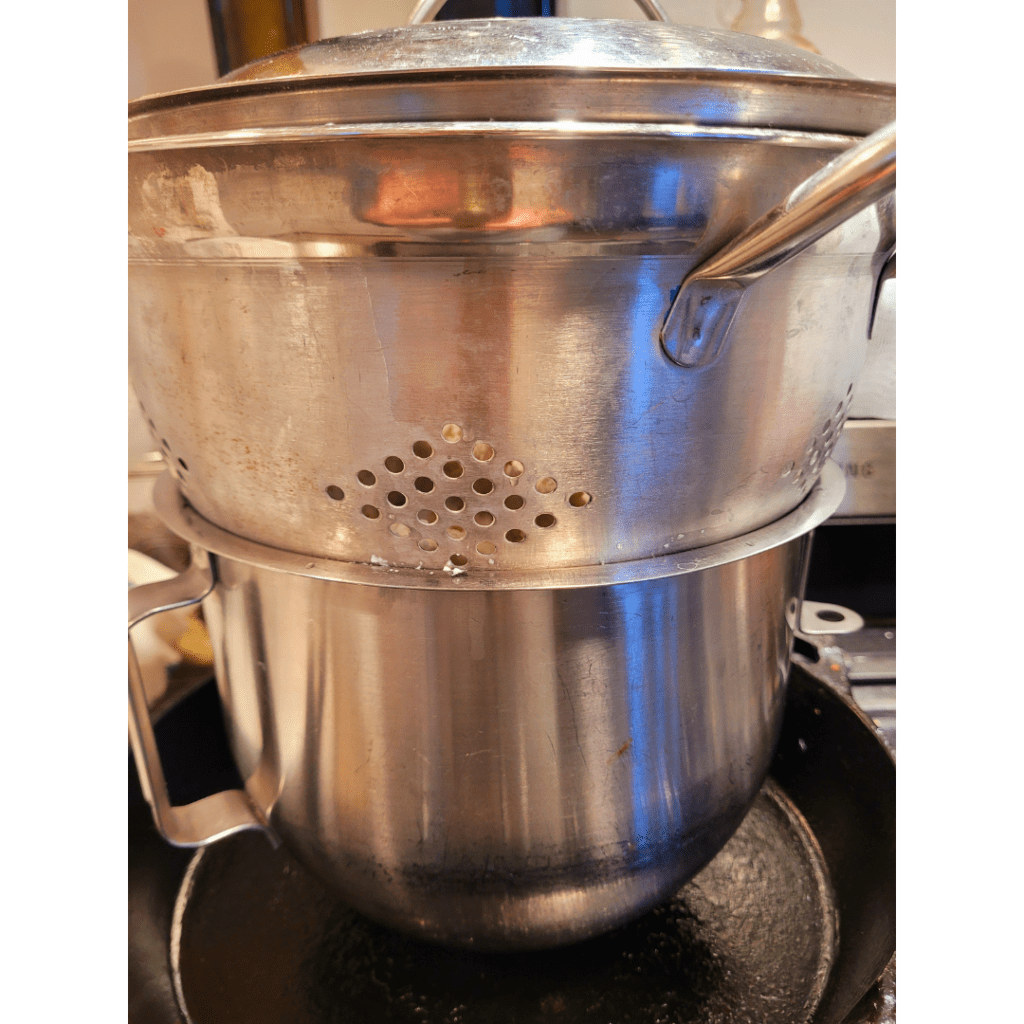
Here is my ricotta cheese-making setup! I have my cast iron pan on the stove, not turned on, for stability since the bowl will tip sitting on the burners. I have a metal bowl, which is my KitchenAid bowl to collect the whey with a metal strainer sitting on top with a cheesecloth lined in it. Sometimes, I do not even use the cheesecloth! I then place a metal lid over top to keep anything out of it while it drains. I typically keep it on my stove like this since my kitchen is small and I am usually doing other things with my counter occupied.
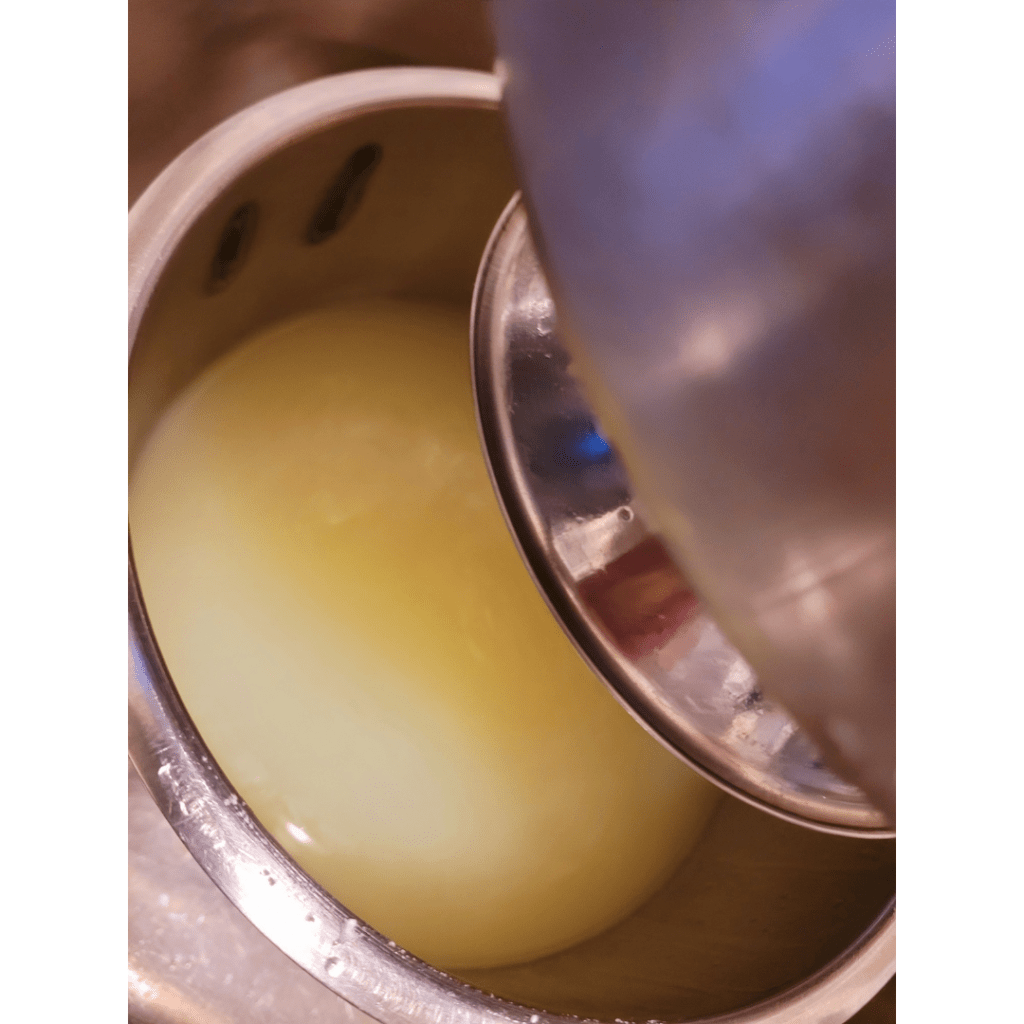
Let’s take a peek in the collection bowl at how the whey is looking!
Create Uses for Whey
You will end up with a ton of liquid whey that you will be tempted to dump it down the drain, but WAIT! I created a post with 10 ways you can use this liquid whey for your recipes!
10 Unexpected Uses for Whey In Your Recipes
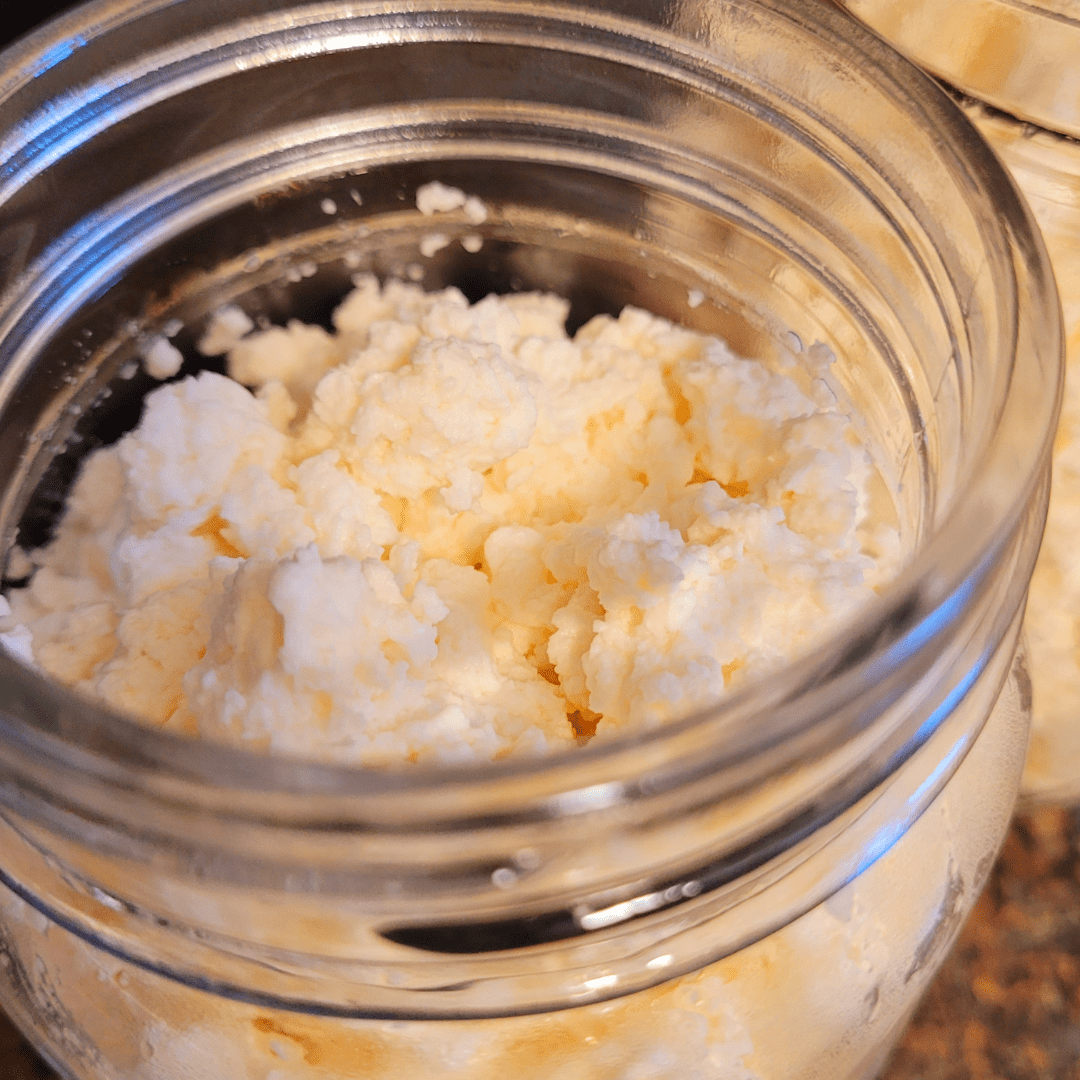
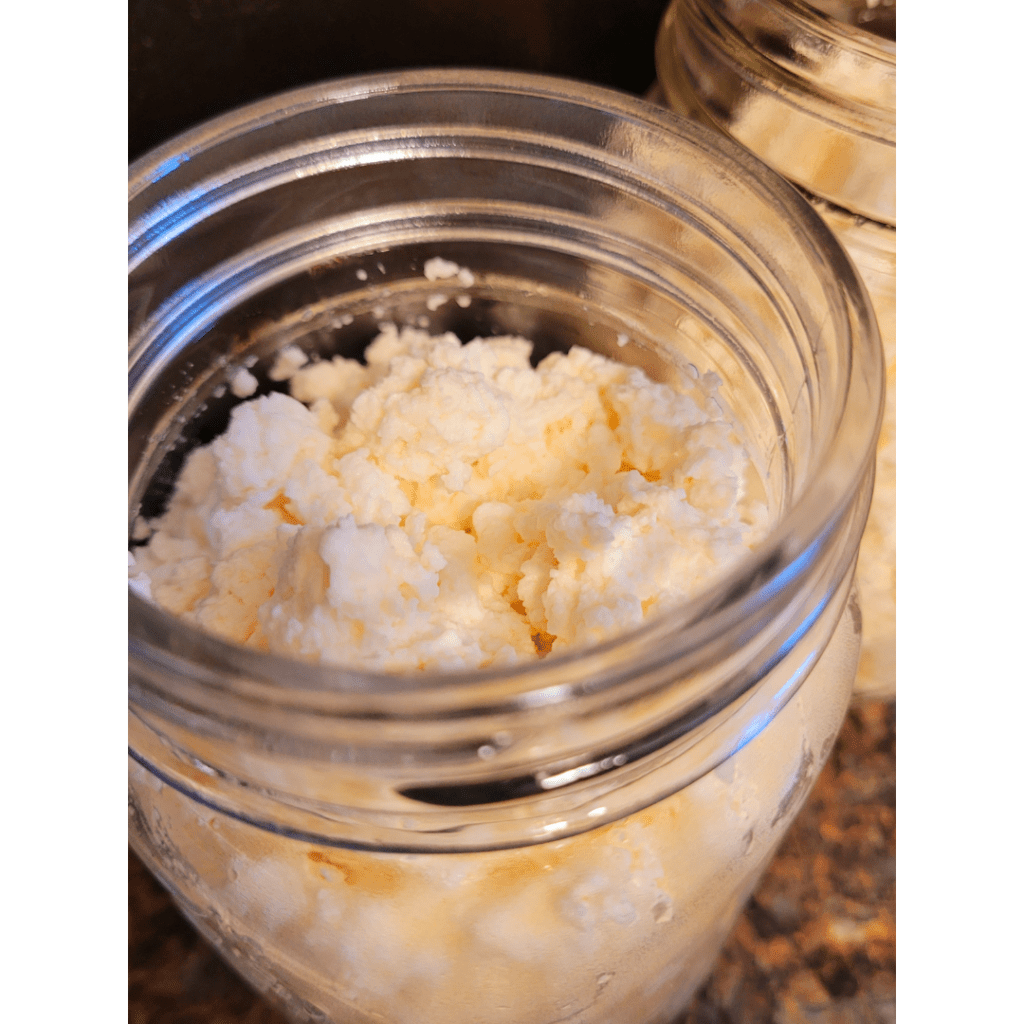
And voila! Homemade ricotta cheese at your service! You should feel very proud of yourself because I am proud of you!
Tips and Tricks for Achieving the Perfect Texture and Flavor
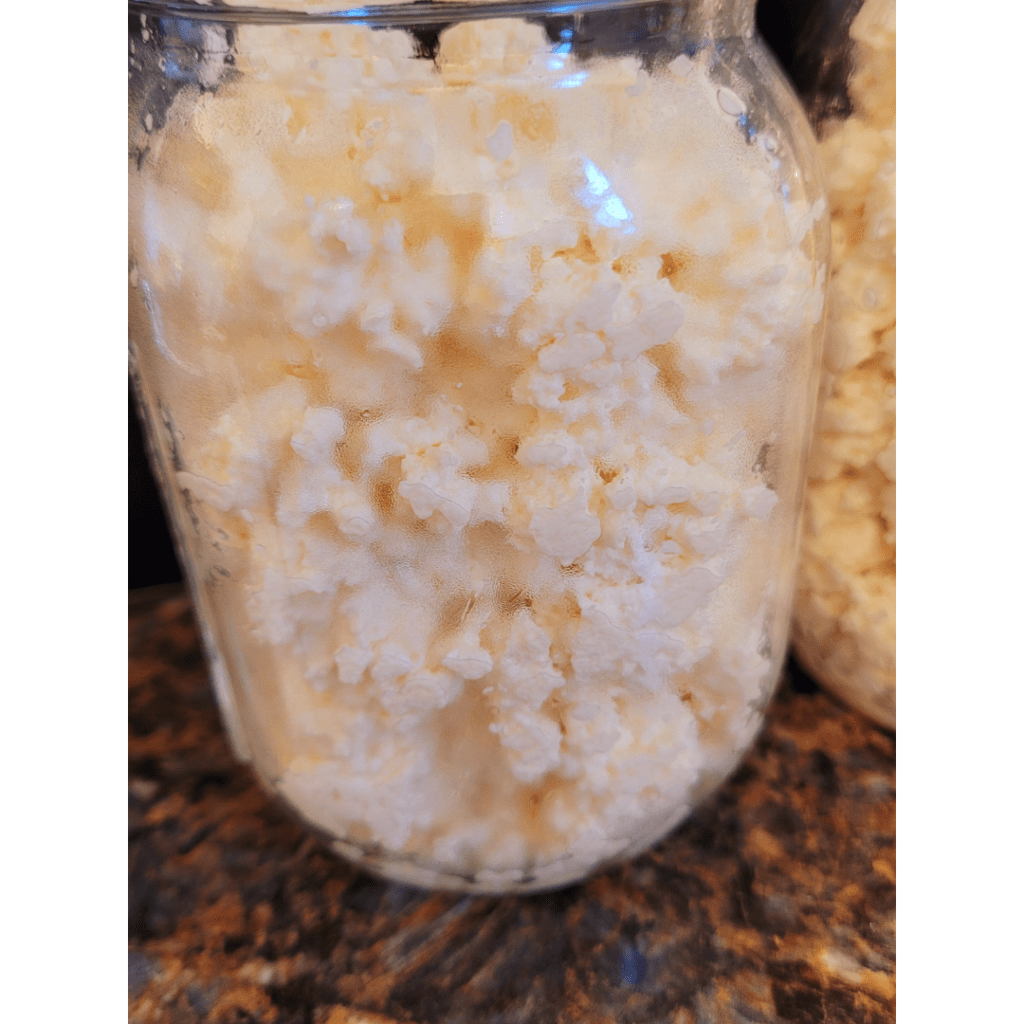
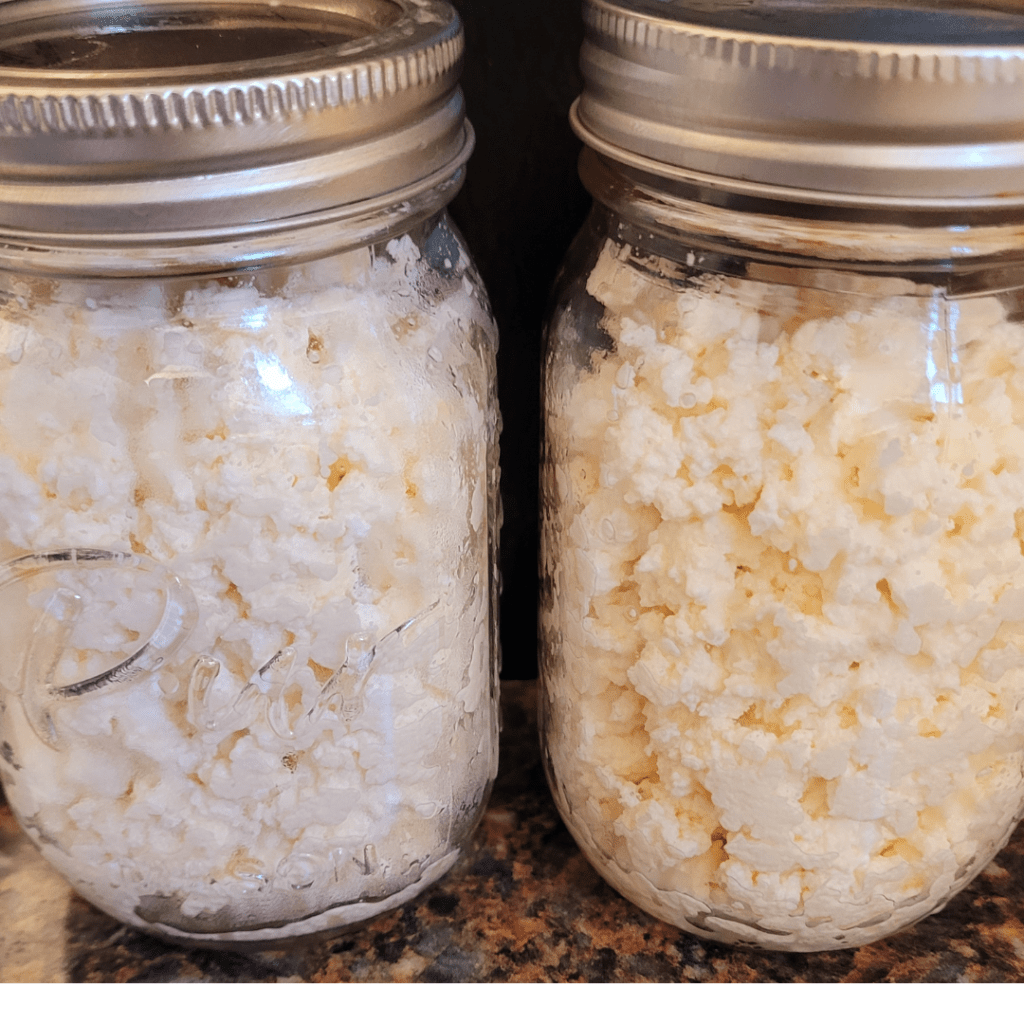
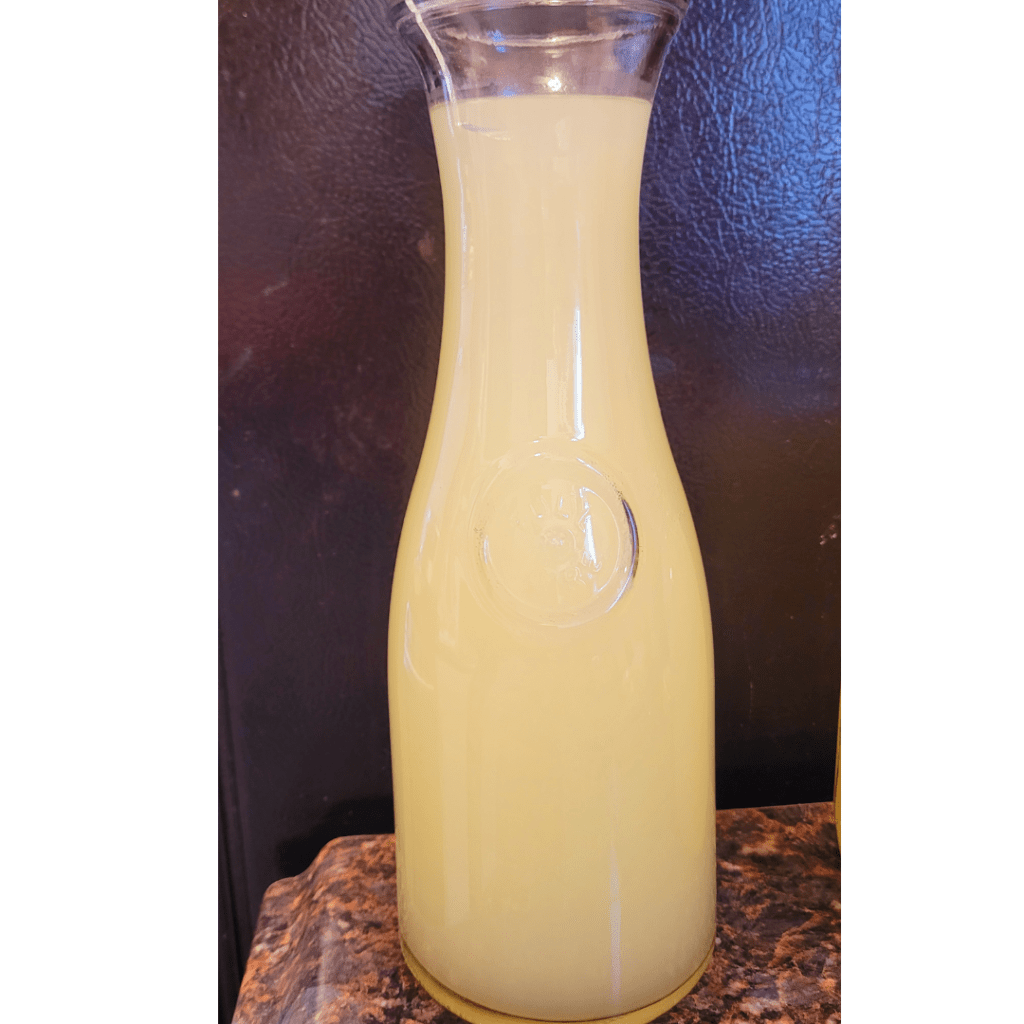
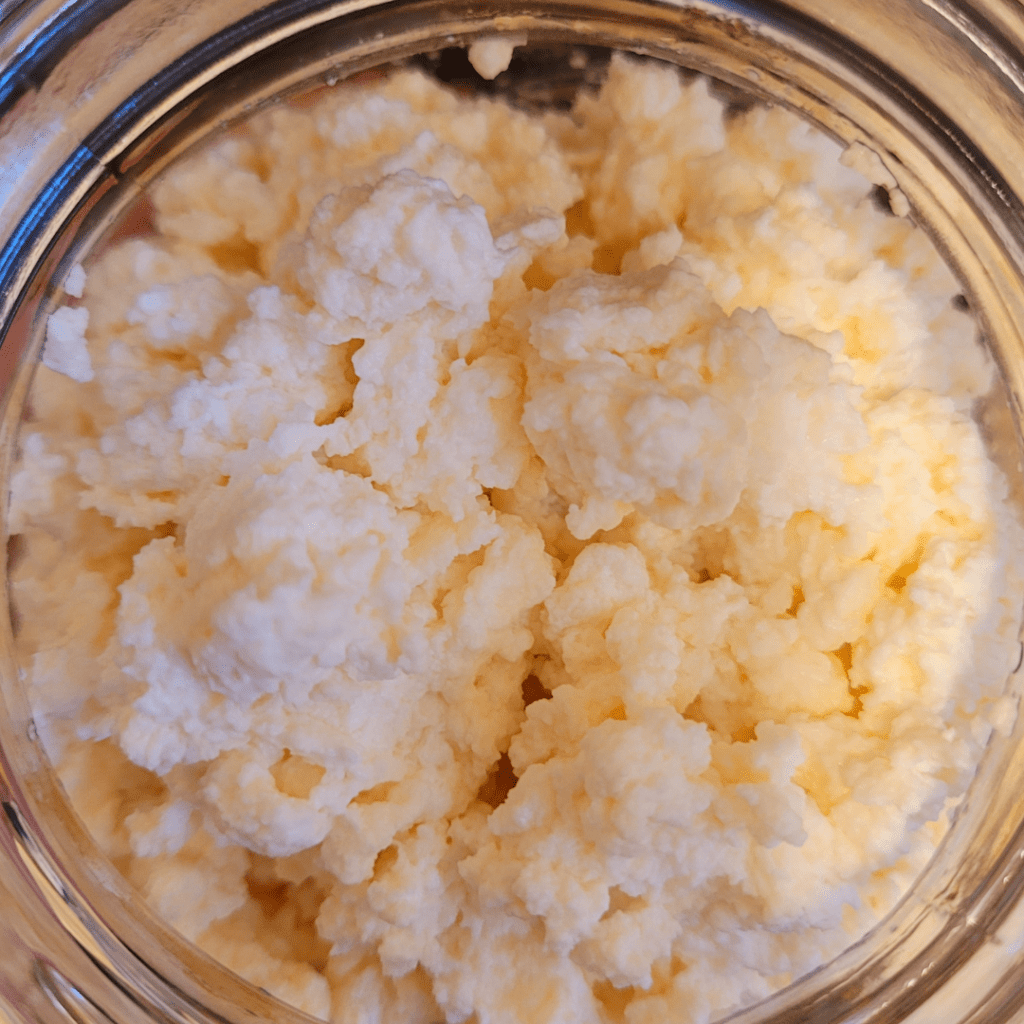
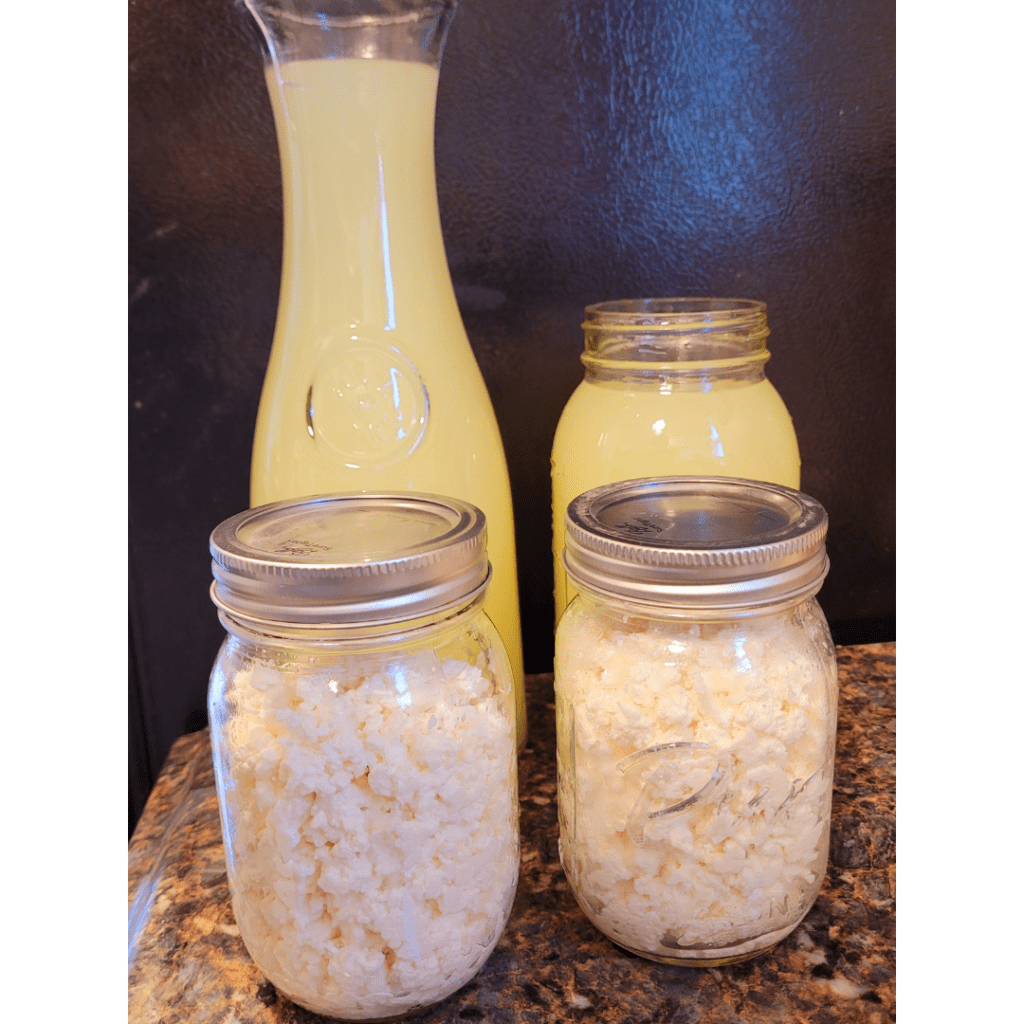
I was able to get 2 pints or 1 quart of ricotta cheese and 2 quarts of whey from a half gallon of whole milk! I will be using the whey for making bread and pancakes! One of my quarts of whey is in a cute pitcher!
Eating Your Curds and Whey!
You know that nursery rhyme with Little Miss Muffet and her curds and whey? Well, let me tell you a little secret – curds and whey are actually components of milk. When milk is left to sit, it naturally separates into these two elements. Curds are the solid part, kind of like creamy pieces, while whey is the liquid leftover. So when Little Miss Muffet sat on her tuffet and ate her curds and whey, she was really just enjoying some homemade cheese! It may sound strange now, but back in the day, it was a popular way to consume dairy products. People would eat their fresh curds with a dash of salt or even use them as toppings for pies or tarts. And with some flavorful accompaniments like fruits or honey, the tanginess of those curds made for a delightful treat! Plus, they were packed with nutrients including protein and calcium. Who knew there was such history hidden behind this innocent nursery rhyme?
Selecting the Right Milk for Optimal Ricotta Cheese Results
When it comes to making ricotta cheese, quality matters. Opt for whole milk with a higher fat content to achieve that luscious and creamy texture. Trust me, your taste buds will thank you for the rich and indulgent experience.
Adjusting the Acid Content for Desired Flavors
The acid you choose will not only help curdle the milk, but also contribute to the flavor of your ricotta cheese. Lemon juice adds a bright and citrusy note, while white vinegar gives it a slightly tangier taste. Play around with different acids to find your perfect balance of flavors and create a ricotta cheese that’s uniquely yours.
Controlling the Cooking Time and Temperature for Ideal Texture
The beauty of making your own ricotta cheese is that you have control over the final result. Pay attention to the cooking time and temperature. If you overcook the curds, they may turn rubbery. If you undercook them, your ricotta cheese may end up watery. Find the sweet spot that gives you a creamy and velvety texture, and you’ll be a ricotta cheese champion in no time.
Storing and Serving Homemade Ricotta Cheese
Proper Storage Techniques to Maintain Freshness
Homemade ricotta cheese is best enjoyed fresh, but if you find yourself with leftovers (lucky you!) here are some tips to keep it fresh. First, transfer it to an airtight container and refrigerate it promptly. Homemade ricotta can usually be stored in the refrigerator for up to 5 days. Just make sure to check for any signs of spoilage before using it.
Creative Serving Suggestions for Showcasing Homemade Ricotta Cheese
Now that you have your delicious homemade ricotta cheese, it’s time to show it off! Spread it on a warm crusty baguette and top it with fresh herbs and a drizzle of olive oil for a simple and elegant appetizer. You can also use it as a creamy base for dips or as a topping for pizzas and bruschetta. And let’s not forget about desserts! Whip up some ricotta pancakes or use it to make a luscious ricotta cheesecake. The possibilities are endless, so get creative and let your homemade ricotta cheese shine!
Creative Recipes and Uses for Homemade Ricotta Cheese
Delicious Sweet and Savory Recipes Incorporating Homemade Ricotta Cheese
Homemade ricotta cheese is a versatile ingredient that can be used in a wide range of recipes, both sweet and savory. For a savory twist, try stuffing pasta shells with ricotta and spinach, or use it as a filling for homemade ravioli. If you have a sweet tooth, ricotta is a dream in desserts. Use it to make fluffy pancakes, creamy cannoli filling, or even a rich and indulgent tiramisu. With homemade ricotta cheese, your culinary creations will reach a whole new level of deliciousness.
Exploring Different Cuisines and Dishes Where Ricotta Cheese Shines
Ricotta cheese is a star ingredient in many cuisines around the world. In Italian cuisine, it’s a staple in dishes like lasagna, stuffed shells, and ricotta gnocchi. In Greek cuisine, ricotta finds its way into traditional desserts like galaktoboureko. And let’s not forget about Middle Eastern cuisine, where ricotta is used in heavenly pastries such as kunafa. By exploring different cuisines, you’ll discover exciting new ways to incorporate ricotta cheese into your cooking and expand your culinary repertoire.
Troubleshooting Common Issues and Solutions
Addressing Problems with Curdling or Consistency
Sometimes, despite your best efforts, homemade ricotta can end up with a less-than-ideal texture. If it’s too grainy or watery, it might be due to overheating the milk or using the wrong type of acid. To avoid this, make sure to follow the temperature and acid recommendations in your recipe.
Troubleshooting Issues Related to Taste and Texture
If your homemade ricotta tastes a bit bland, try adding a pinch of salt to enhance the flavor. On the other hand, if it’s too tangy or acidic, you can balance it out by stirring in a teaspoon of honey. Remember, cooking is all about experimenting and finding what works for you. Don’t be afraid to play around with different flavors and adjustments until you achieve the taste and texture you desire.
Final Thoughts and Encouragement to Experiment with Homemade Ricotta Cheese
Congratulations! You’ve mastered the art of making easy homemade ricotta cheese. Now it’s time to let your creativity run wild in the kitchen. Use your homemade ricotta as a canvas for culinary experimentation. Try incorporating it into your favorite recipes or venture into new territories by exploring different cuisines. Remember, making ricotta cheese at home is not only a delicious endeavor, but also a fun and rewarding one. So grab your apron, put on some good music, and get ready to impress your taste buds and those lucky enough to share your homemade ricotta creations!
Conclusion
Making your own homemade ricotta cheese is a fantastic way to unleash your creativity in the kitchen. Whether you use it as a creamy filling for pasta dishes, a flavorful addition to desserts, or simply enjoy it spread on fresh bread, homemade ricotta cheese adds a delightful touch to any meal. With the tips, tricks, and recipes shared in this article, I hope you feel inspired to embark on your ricotta cheese-making journey. So gather your ingredients, embrace the process, and have fun experimenting with flavors and textures. Enjoy the satisfaction of creating your own homemade ricotta cheese and savor every creamy bite.
Frequently Asked Questions
1. Can I use any type of milk to make homemade ricotta cheese?
Yes, you can use different types of milk to make ricotta cheese. Whole milk is the most commonly used and will yield a rich and creamy texture. However, you can also use low-fat or even skim milk, although the resulting cheese may be less creamy. Experiment with different milk options to find your preferred taste and consistency.
2. How long does homemade ricotta cheese last in the refrigerator?
Homemade ricotta cheese can typically be stored in an airtight container in the refrigerator for up to 5-7 days. Make sure to check for any signs of spoilage before consuming. If the cheese develops an off smell or unusual texture, it is best to discard it.
3. What can I do if my ricotta cheese turns out grainy?
If your homemade ricotta cheese has a grainy texture, it could be due to overcooking or using too much acid. To avoid this, make sure to heat the milk gently and avoid boiling it. Additionally, adjust the amount of acid (lemon juice, vinegar, etc.) you add to achieve the desired texture. Experiment with different cooking times and acid quantities until you achieve the perfect creamy consistency.
4. Can I freeze homemade ricotta cheese?
Yes, you can freeze homemade ricotta cheese. However, it is important to note that freezing may alter the texture slightly, making it less creamy. To freeze ricotta cheese, pack it tightly in an airtight container or freezer bag and label it with the date. When ready to use, thaw the cheese in the refrigerator overnight and gently mix it to restore its smoothness before incorporating it into your recipes.
Ricotta Cheese Recipe
Ricotta Cheese Recipe
Equipment
- 1 cooking pot.
- 1 strainer.
- 1 kitchen thermometer.
Ingredients
- ½ gallon whole milk.
- ⅓ cup lemon juice or white vinegar.
- 1 tsp salt.
Instructions
Preparing the Milk and Acid for Ricotta Cheese
- Pour the whole milk into a large pot and heat it over medium-low heat until it reaches around 180 to 200°F. Be sure to stir occasionally to prevent the milk from scorching.
- Once it's reached the desired temperature, remove it from the heat and add your acid of choice (lemon juice or white vinegar) while gently stirring. This will cause the milk to curdle and separate into curds and whey.
Heating and Curdling the Milk
- Give it a gentle stir to check out the curdling process. You should be able to grab a spoonful of curds.
- Next, return the pot to low heat and warm the curds for a few minutes. This will help them firm up and become more solid.
- Stir gently to ensure even heating, but don't overcook or you might end up with rubbery curds.
- Put a lid over the pot and let it sit for 10 minutes undisturbed.
Draining and Straining the Curds to Create Ricotta Cheese
- Line a fine-mesh strainer or cheesecloth with a clean cloth and place it over a bowl.
- Pour the curds into the strainer, allowing the whey to drain away.
- Let the curds sit and drain for about 30 minutes to an hour or until they reach your desired consistency. The longer you let them drain, the firmer your ricotta cheese will be.
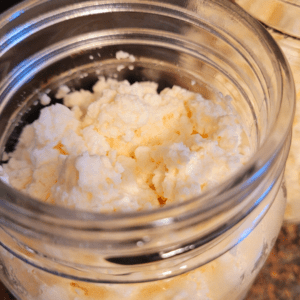
- Use right away in your recipe or scoop the ricotta chunks into a Mason jar and seal it with a lid and place it in the fridge for up to one week.
Summary
I hope I have inspired you to make your own DIY recipes with these tips and products.
If you were encouraged by this post, I invite you to check out my FREE Printables Page for fun free printables, planners, and charts.
ENTER MY FREE Printables Page HERE
Here are some more of my dairy inspiration posts to check out!
How to Make Homemade Cultured Buttermilk for a Never-Ending Supply!
How to Make Easy Homemade Ricotta Cheese
10 Unexpected Uses for Whey In Your Recipes
Blessings,
The Off Grid Barefoot Girl

