Learn how to make easy cinnamon rolls with this step-by-step recipe for beginners. Soft, fluffy, and filled with sweet cinnamon sugar, these homemade rolls are perfect for breakfast, brunch, or dessert. No complicated techniques required, just simple ingredients and an easy method anyone can follow!
There’s nothing quite like the smell of warm cinnamon rolls baking in the oven to make your home feel cozy and inviting. The soft dough, sweet cinnamon filling, and gooey glaze create the perfect comfort food for chilly mornings, lazy weekends, or special family gatherings. Making them from scratch might sound intimidating, but with a simple recipe and a few easy steps, even beginners can enjoy the magic of homemade cinnamon rolls fresh out of the oven!
This is a pinnable post. Tap or hover over any image in this post to pin to your Pinterest Boards.
Introduction to Easy Cinnamon Rolls
Why Cinnamon Rolls are a Classic and Delicious Treat
These soft warm gooey cinnamon rolls are so delicious and easy to make for anyone who has been intimidated by the daunting task of making homemade cinnamon rolls. Check out the yummiest cinnamon swirl of these wonderfully easy cinnamon rolls! This is so simple, you can make these too! Oh, and these cinnamon rolls are great to freeze up for later!
Cinnamon rolls are like a warm, gooey hug for your taste buds. They’re sweet, comforting, and oh-so-satisfying. Whether you’re enjoying them for breakfast, as a snack, or even as a dessert, there’s no denying the irresistible allure of these cinnamon-scented, pillowy treats.
The Perfect Recipe for Beginners
If you’re new to the world of baking or just looking for a hassle-free recipe, you’ve come to the right place. My easy cinnamon roll recipe is designed with beginners in mind. I’ll guide you through each step, ensuring that you end up with mouthwatering cinnamon rolls that will impress even the most seasoned bakers. So put on your apron, and let’s get started!
Gathering the Ingredients and Tools
Essential Ingredients for Homemade Cinnamon Rolls
To make these scrumptious cinnamon rolls, you’ll need a few simple ingredients that are likely already in your kitchen. Grab some all-purpose flour, sugar, butter, milk, yeast, salt, and of course, ground cinnamon. Don’t worry about searching far and wide for unfamiliar ingredients – I’m keeping it easy and accessible here.
Recommended Kitchen Tools and Equipment
No need for fancy gadgets or complicated machinery. You’ll just need a few basic tools to whip up these cinnamon rolls. A mixing bowl, a measuring cup, a wooden spoon for stirring, and a rolling pin are the essentials. If you have a stand mixer, that can make the process even easier, but it’s not a deal-breaker. Oh, and don’t forget a baking sheet to nestle those rolls in!
Making the Dough
Measuring and Combining the Dry Ingredients
Now that you’ve gathered your ingredients, it’s time to tackle the dough. Measure out your flour, sugar, yeast, and salt, and mix them together in a large bowl. This is where the magic begins – the foundation of your cinnamon rolls starts with a well-combined blend of dry ingredients.
Ingredients for Easy Cinnamon Rolls
Here are the ingredients that you will need to make these delicious and easy cinnamon rolls.
For the Dough
Wet Ingredients
- Warm whole milk.
- Egg, at room temperature.
Dry Ingredients
- Flour.
- White sugar.
- Salt.
- Dry active yeast.
Combining the Ingredients
Mix together the dry active yeast, warm milk, and sugar until well combined. Let sit for ten minutes to allow the yeast to activate and become foamy.
Slowly add the remaining ingredients and form into a shaggy dough.
Kneading and Resting the Dough
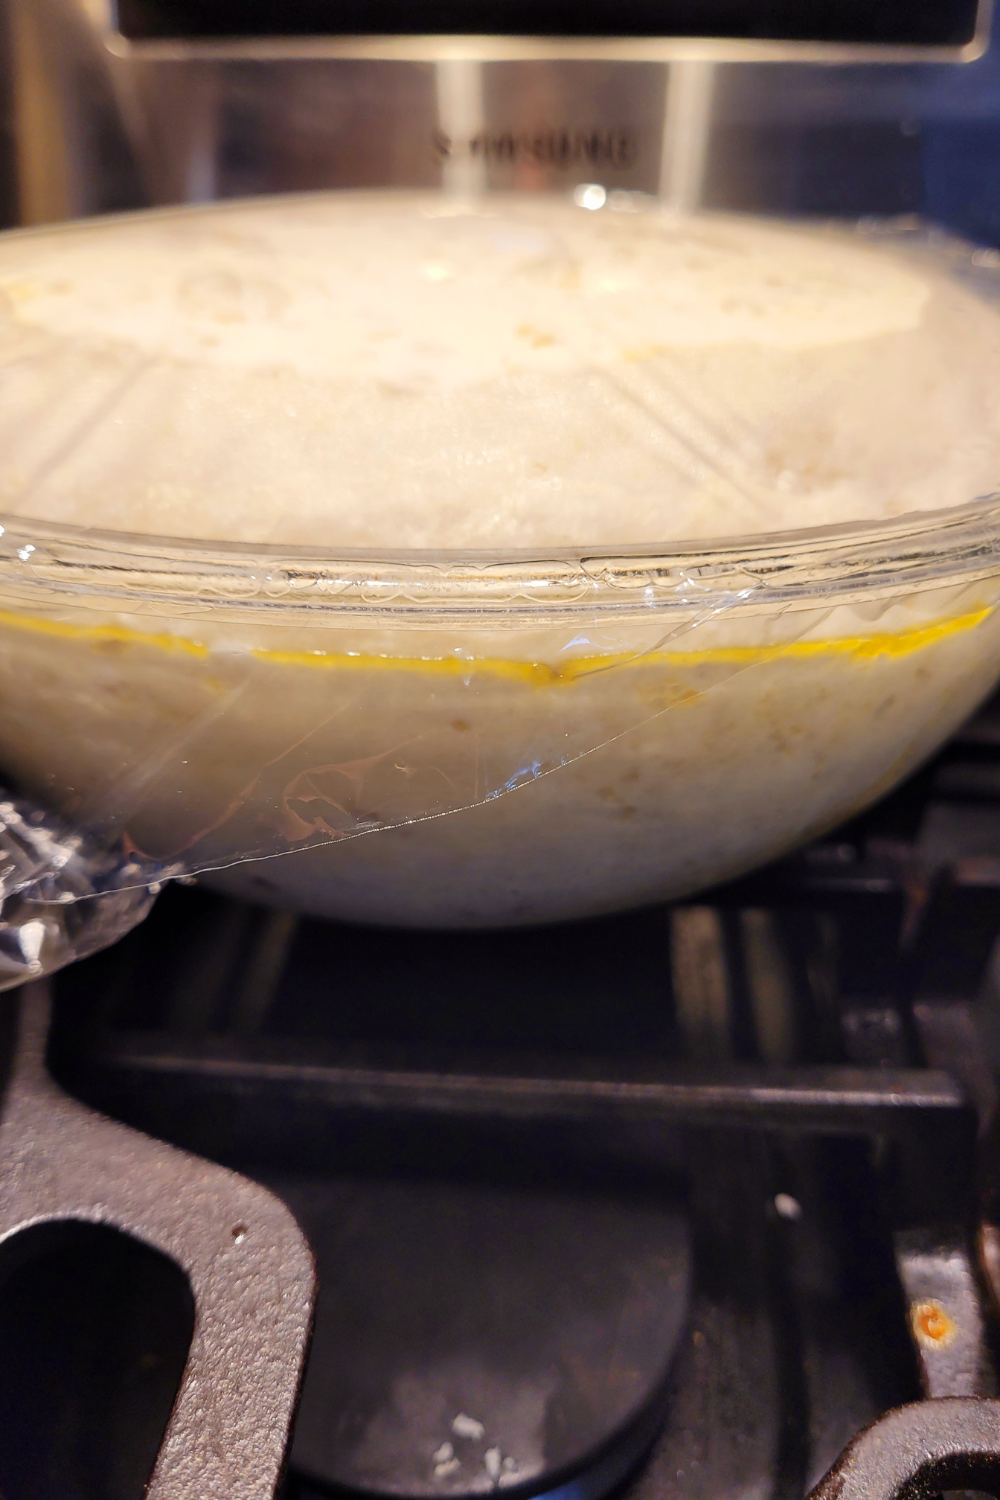
Now comes the fun part – kneading the dough. Sprinkle a bit of flour on your clean countertop, and start kneading that dough like a boss. Really get into it and let out any frustration you might have. Once the dough is smooth and elastic, it’s time to let it rest and rise. Pop it back in the bowl, cover it with a kitchen towel, and let it do its thing – rise and double in size.
Kneading Tip!
Try to avoid adding too much flour during the kneading process. Adding too much flour will cause your rolls to be stiff, heavy and very dense. Keep a bowl of vegetable oil near your kneading surface area to dip your hands in and rub together to keep your hands oiled as much as possible while kneading your dough. This will keep your hands from sticking to the dough and eliminate the amount of flour you add to the dough ball while kneading it.
Rolling, Filling, and Cutting the Cinnamon Rolls
Rolling Out the Dough into a Rectangle
Okay, now it’s time to get rolling – literally! Take your dough and place it onto a floured surface. Gently press it into a rectangular shape, making sure it’s about ¼-inch thick. Don’t worry if it’s not perfect, we’re going for flavor, not geometry!
Preparing the Cinnamon Filling
Cinnamon Roll Filling Ingredients
- Butter (room temperature to easily spread on the dough).
- Brown sugar.
- Ground cinnamon.
Choosing the Right Cinnamon for Authentic Flavor
When it comes to cinnamon, not all varieties are created equal. To achieve that authentic, mouthwatering flavor, opt for ground cinnamon made from Ceylon cinnamon bark. It has a sweeter, more delicate flavor compared to cassia cinnamon, which is commonly found in most grocery stores. Trust me, it’s worth seeking out the good stuff.
Mixing the Cinnamon, Sugar, and Butter
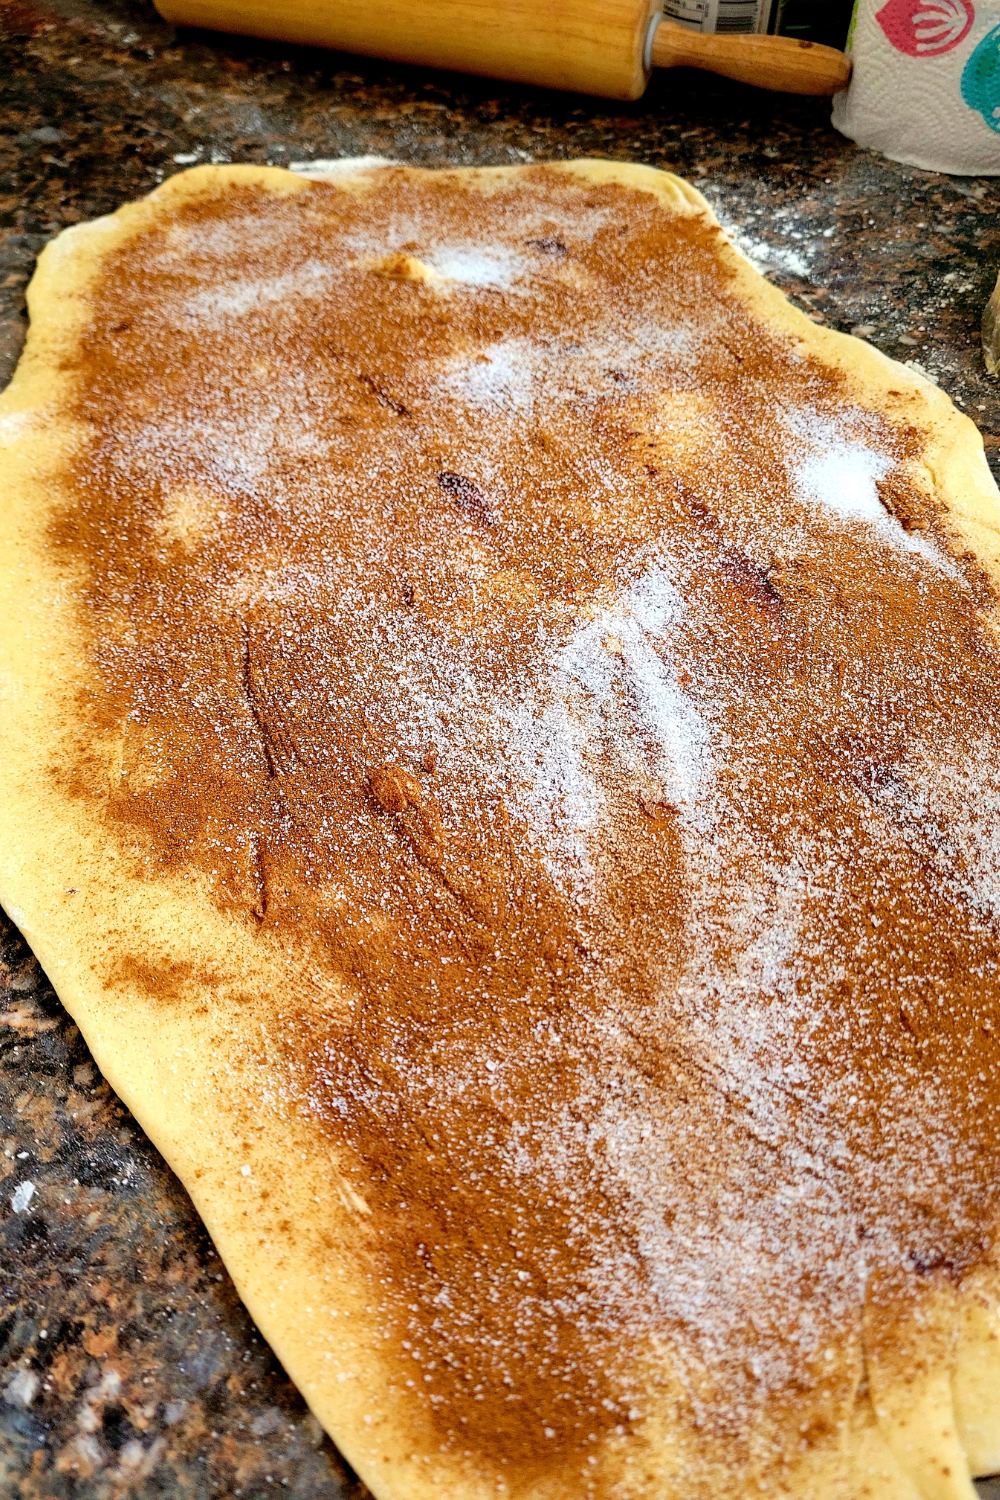
Now it’s time to create the tantalizing filling for your cinnamon rolls. In a small bowl, mix together your preferred amount of ground cinnamon and sugar. Some like it spicy with a heavy hand on the cinnamon, while others prefer a milder touch. Spread softened butter generously over your rolled-out dough, and sprinkle the cinnamon-sugar mixture on top. Ah, it’s like the making of a sweet, delicious masterpiece.
Spreading the Cinnamon Filling Evenly
Ah, the best part – the cinnamon filling! Spread this heavenly concoction evenly all over your dough. Don’t be stingy with it, we want each bite to be a burst of sweet, cinnamon goodness!
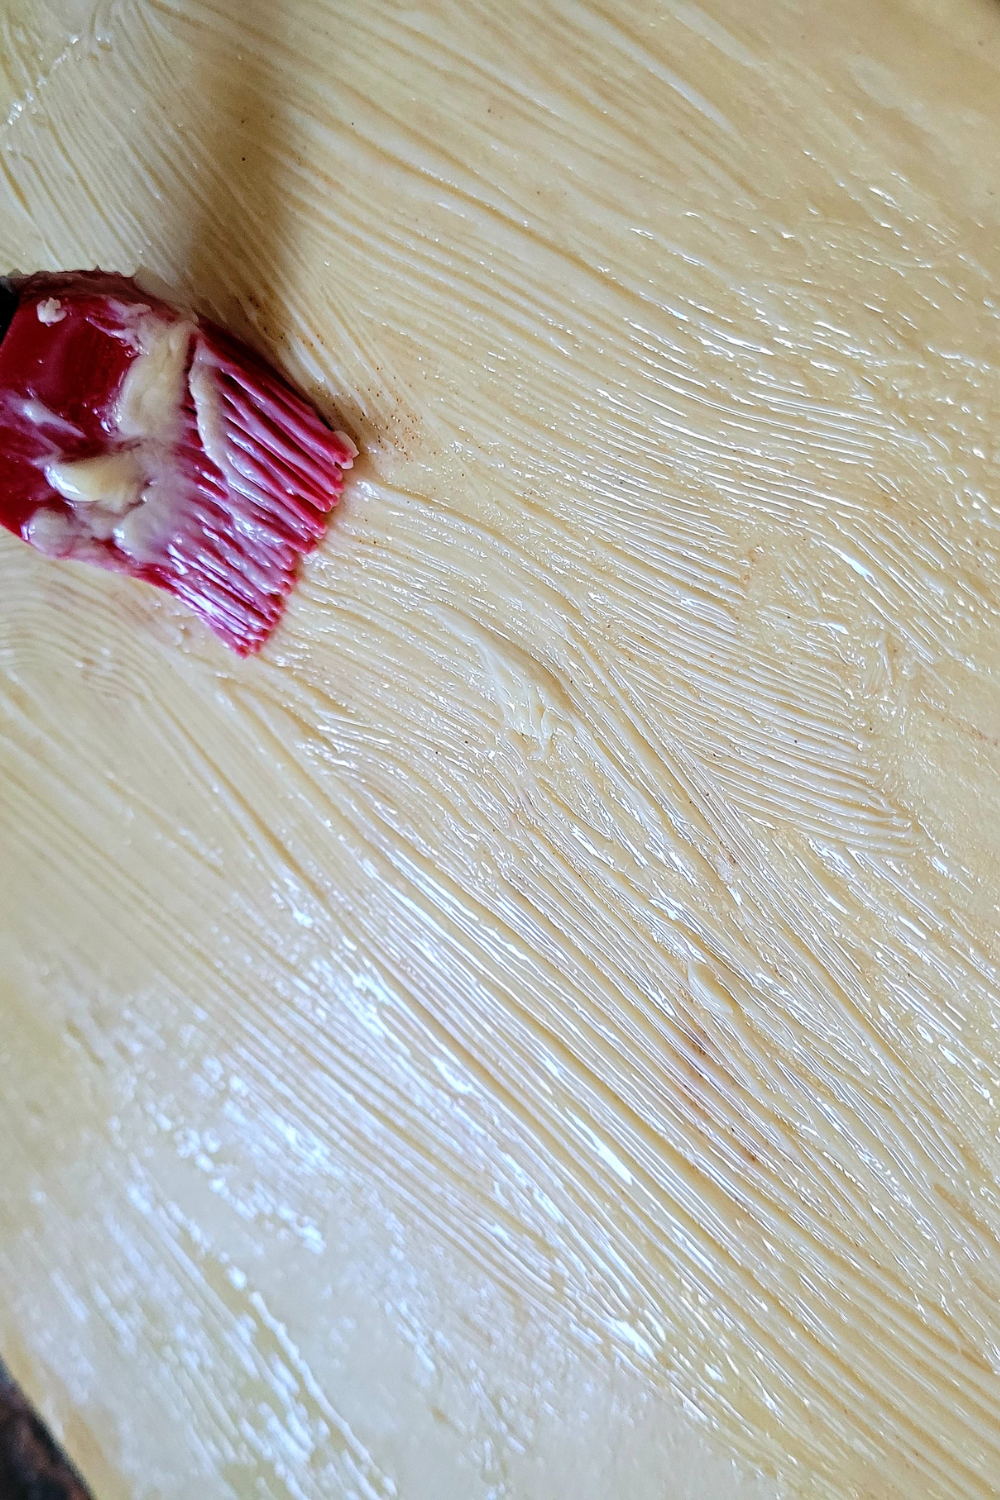
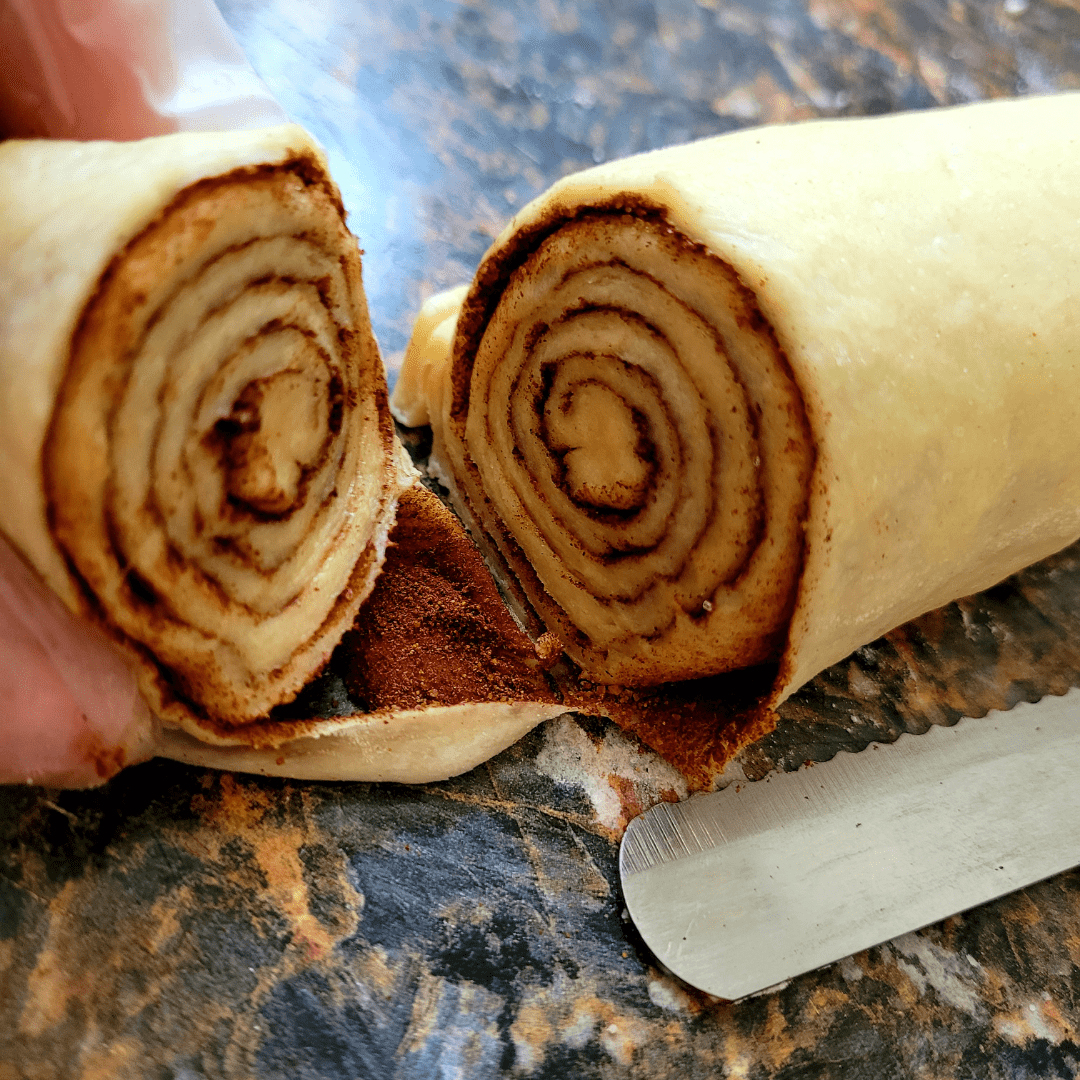
Cinnamon roll filling, a warm, comforting, freshly baked cinnamon roll with a glorious swirl of sweet and spicy goodness in its core. This is my favorite part! I love brushing on the soft warm butter and generously sprinkling on the brown sugar, white sugar, and ground cinnamon.
Cutting and Shaping the Cinnamon Rolls
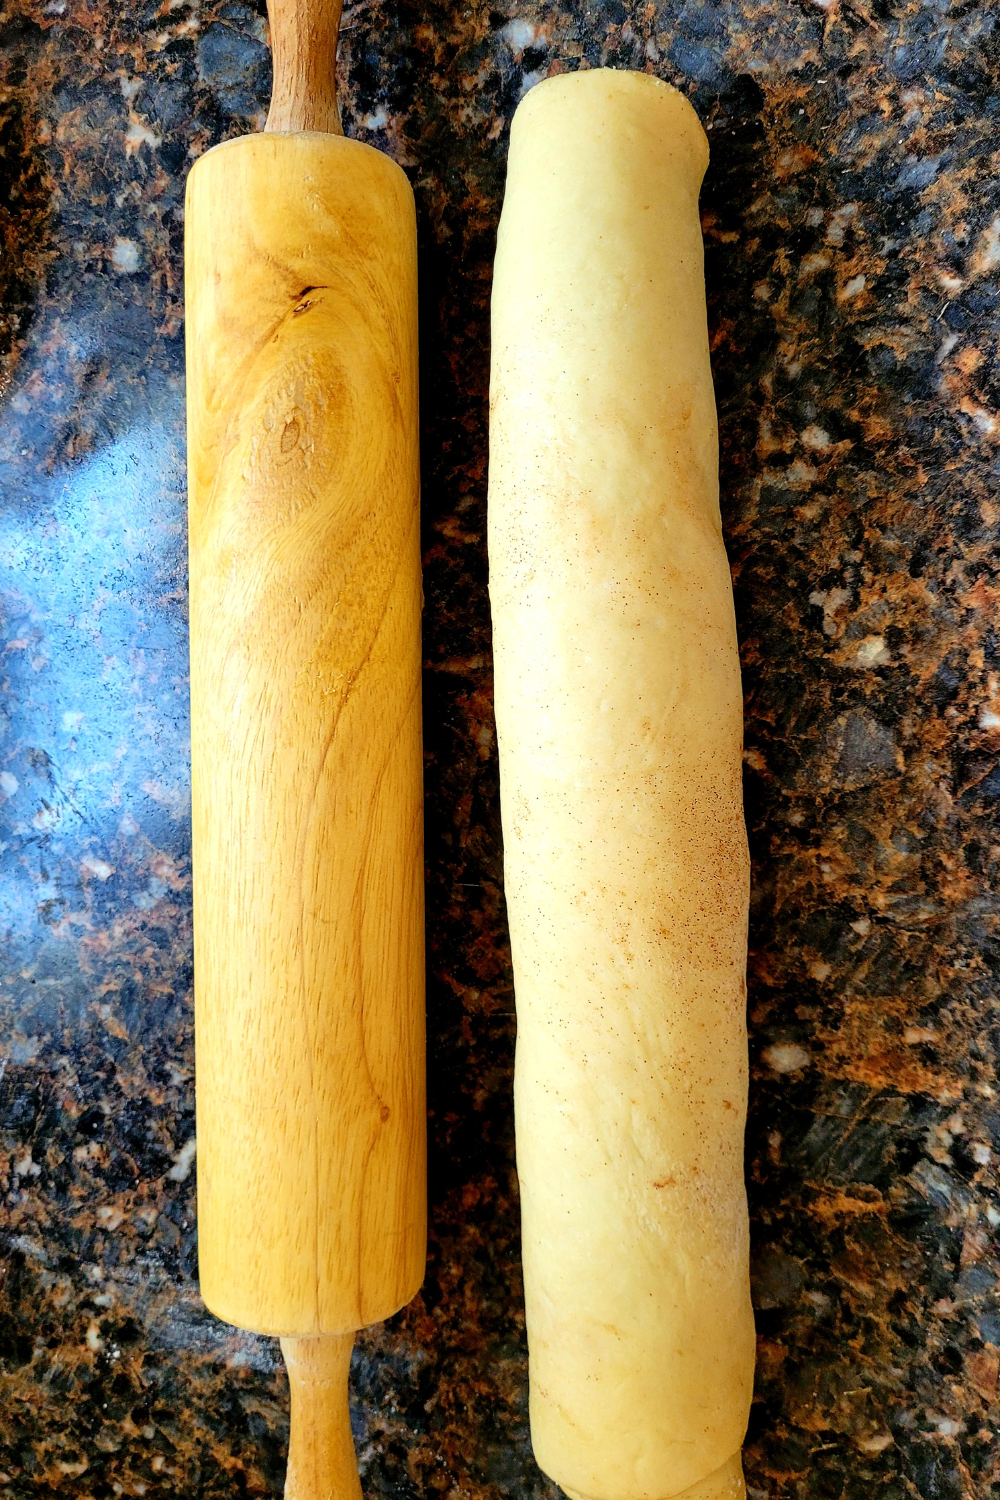
Now comes the fun part – shaping those rolls! Starting from one of the longer sides, gently roll the dough into a tight log. If you get a little messy and some filling oozes out, just call it “rustic” and move on. Once you have your log, use a sharp knife to slice it into individual rolls. Aim for about 1½-inch thick slices, but again, perfection is not the goal here. Place the rolls on a greased baking pan, spacing them out a bit to give them room to rise.
Tips for Cutting the Cinnamon Rolls
When it comes to cutting cinnamon rolls, there are a few tips that can help ensure both a neat appearance and a delicious outcome. Firstly, make sure the dough is cooled slightly in the fridge for twenty minutes for an easier and cleaner cut. Using a serrated knife is key here; it helps slice through the soft dough without squishing or tearing it apart. Gently saw through each roll with even pressure, applying more force if needed, but always being cautious not to flatten them.
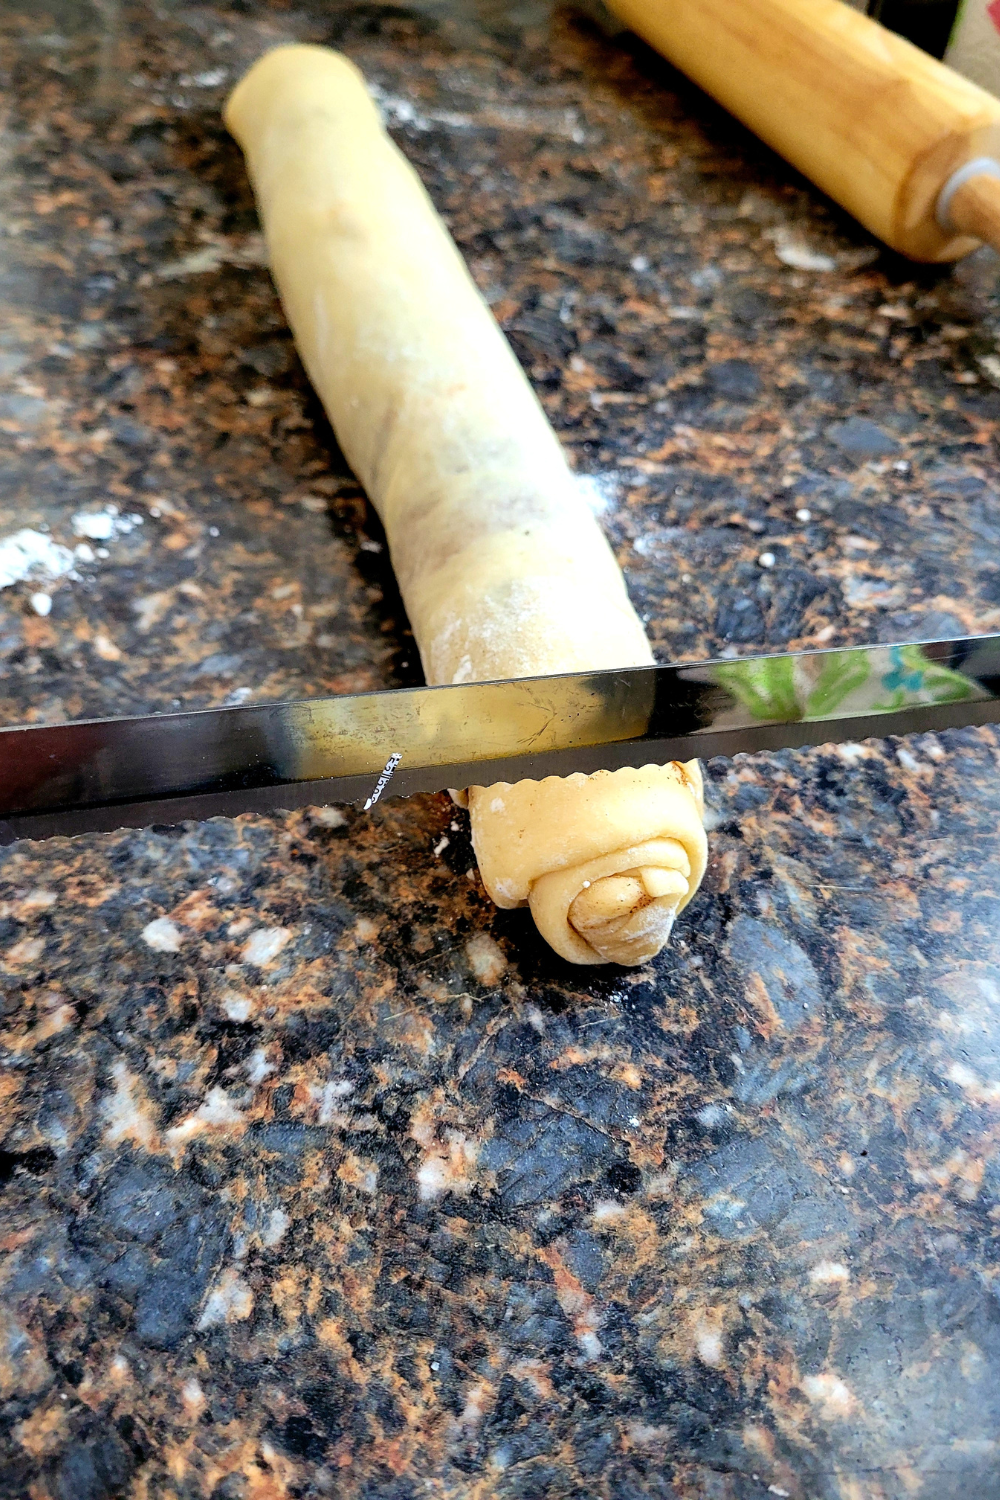
Another handy trick is placing dental floss or thread underneath the roll, crossing the ends over, and pulling in opposite directions; this results in perfectly round slices without any distortion.
For those who prefer larger portions, opt for thicker cuts whereas thinner slices suit those craving bite-sized treats.
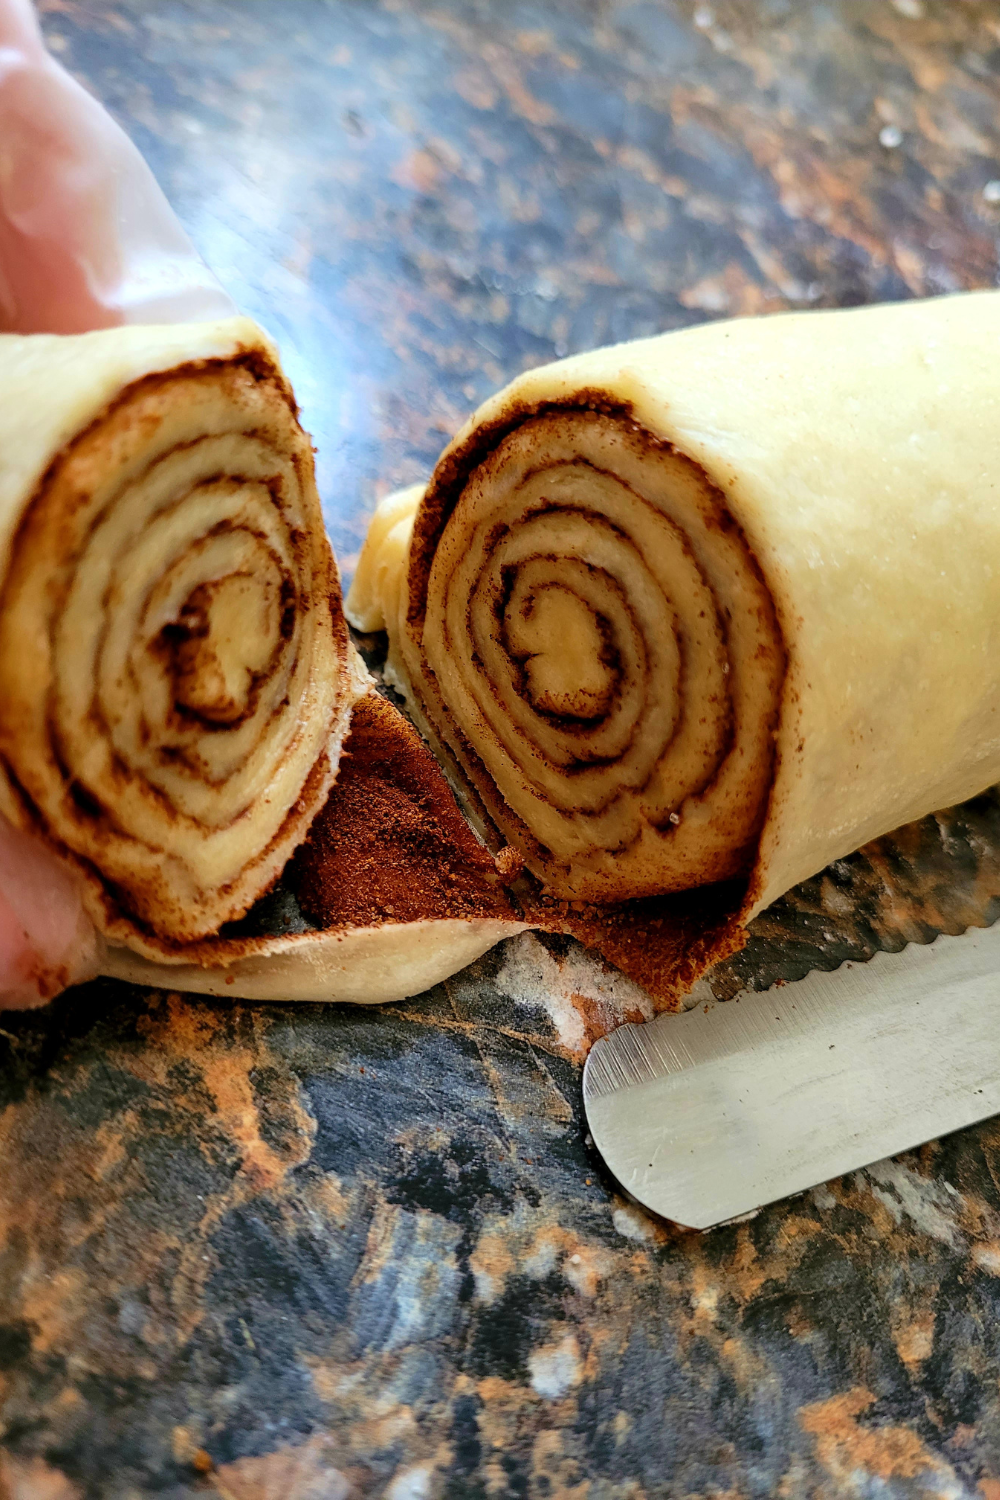
Go ahead and start slicing your cinnamon rolls. I typically can cut 12 rolls from my dough log.
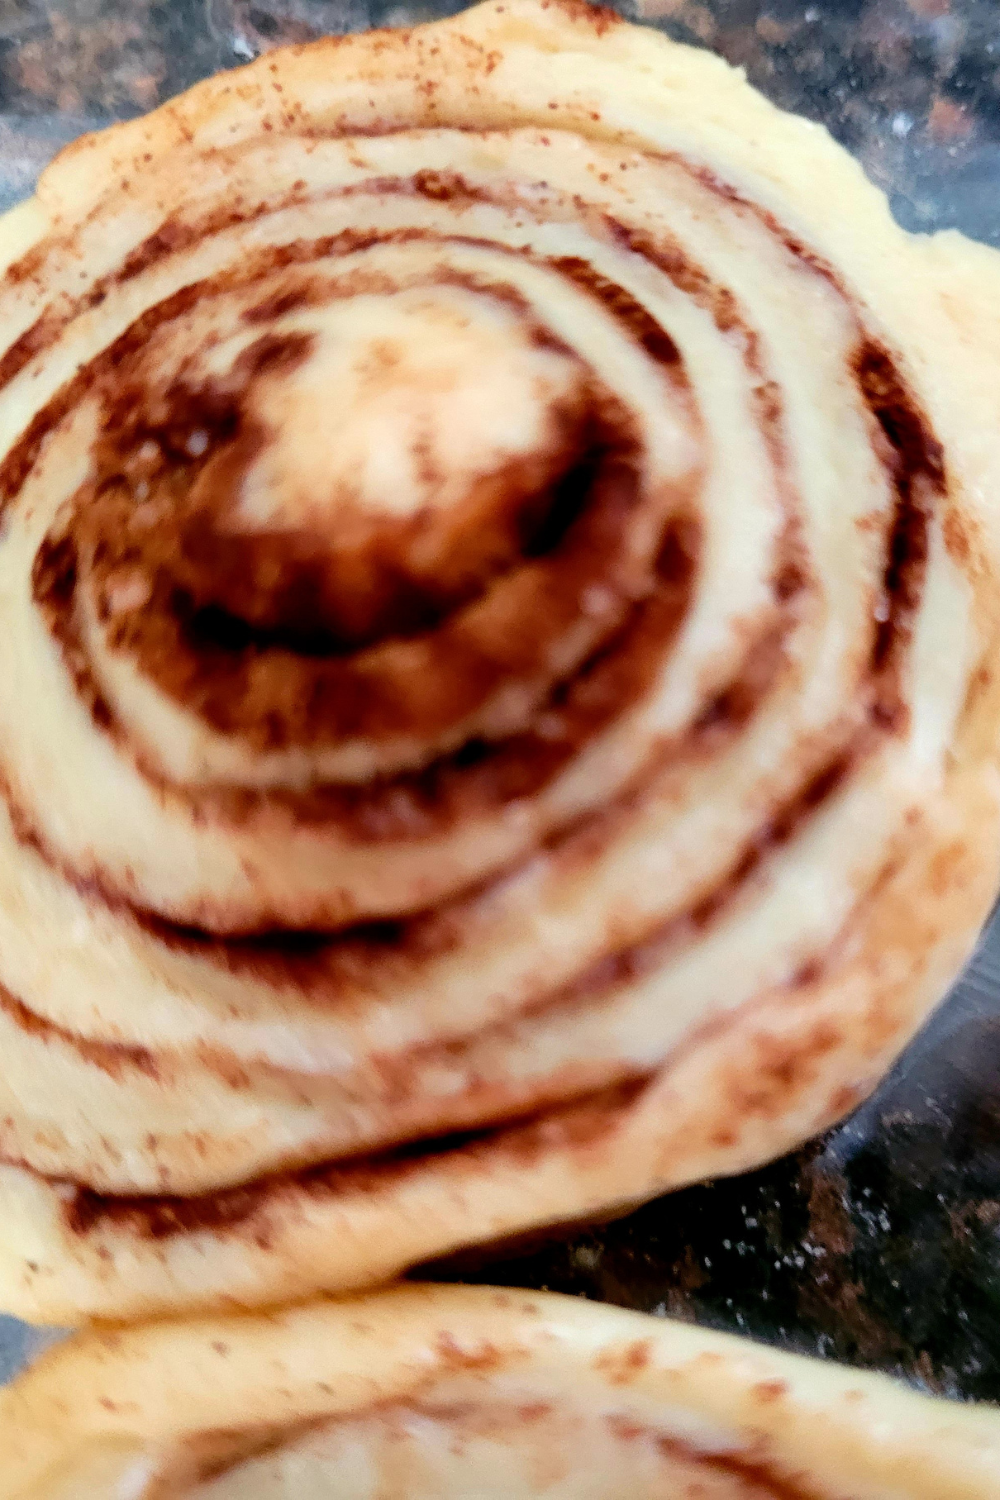
Take a look at how beautiful these sliced cinnamon rolls are! I call this perfection! With each layer of dough, butter, sugar, and cinnamon for every bite is pure joy. I mean, whoever invented the cinnamon rolls is quite the genius!
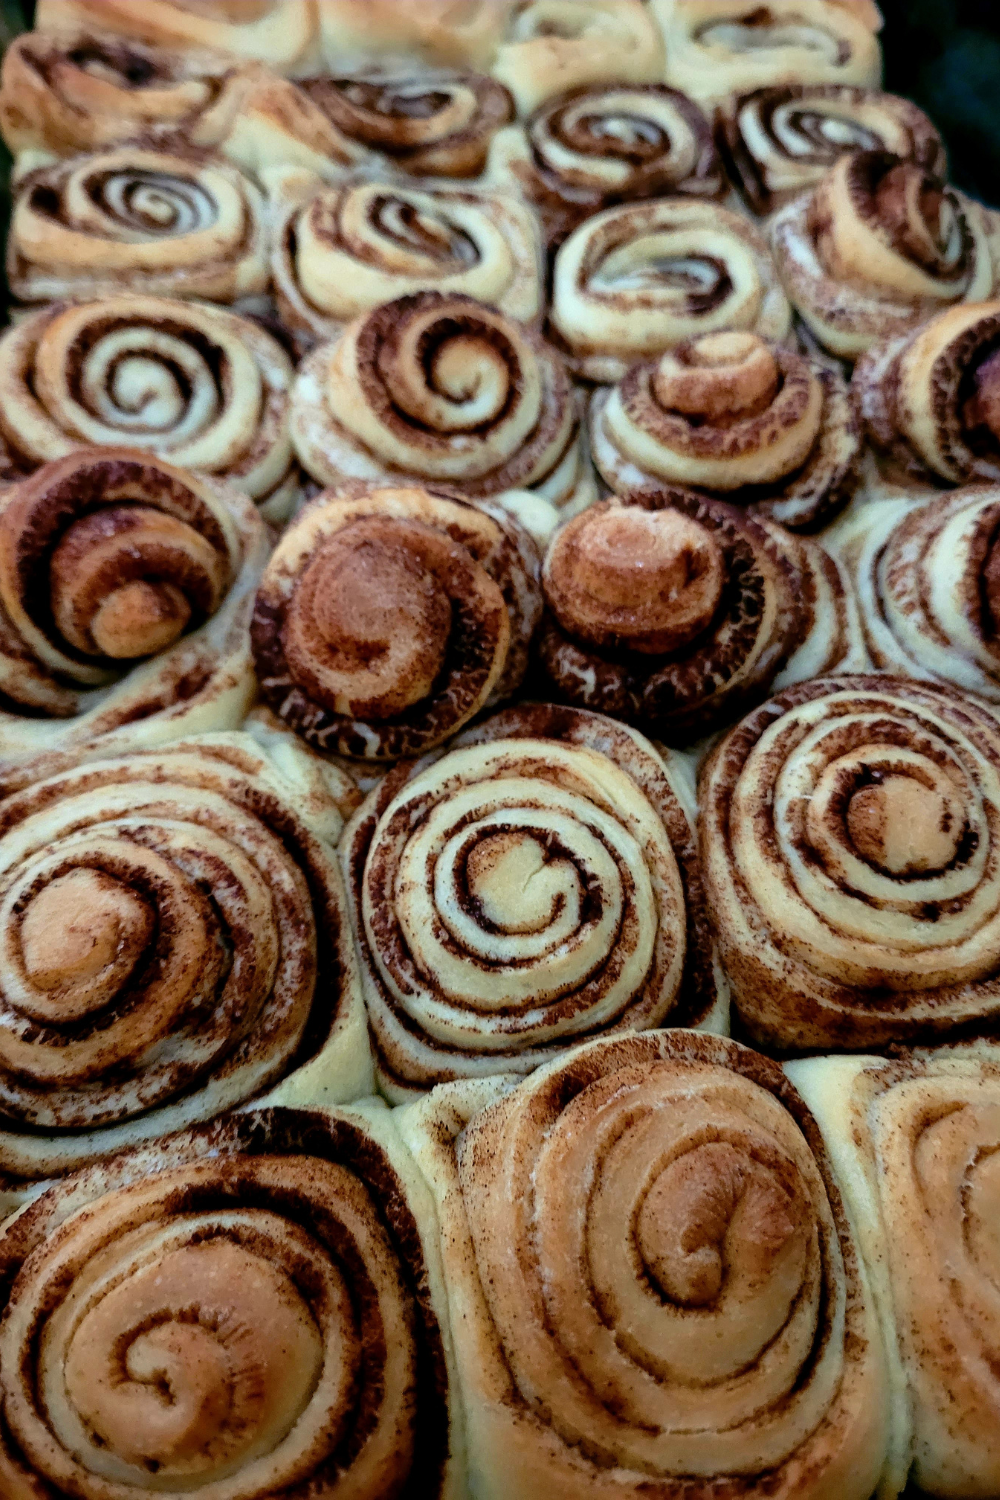
Rising Time
Lightly grease a 9 or 10 inch baking dish. (I like to use the round ones!) Place each cinnamon roll onto the baking dish in an arranged order. Cover them with sprayed plastic wrap and allow them to rise until doubled in size. (Approximately 60 to 90 minutes).
Baking and Frosting the Cinnamon Rolls
Preheating the Oven and Preparing the Baking Pan
Time to heat things up! Preheat your oven to a toasty temperature of 350 degrees. While that’s happening, make sure your baking pan is ready to go. Grease it up or line it with parchment paper – your call!
Baking the Cinnamon Rolls to Perfection
Pop those beautiful rolls into the preheated oven and let the magic happen. Bake them until they turn a gorgeous golden brown and fill your kitchen with an irresistible aroma. This usually takes around 15 to 20 minutes – just enough time to clean up the cinnamon mess you made earlier!
Creating and Applying the Cream Cheese Frosting
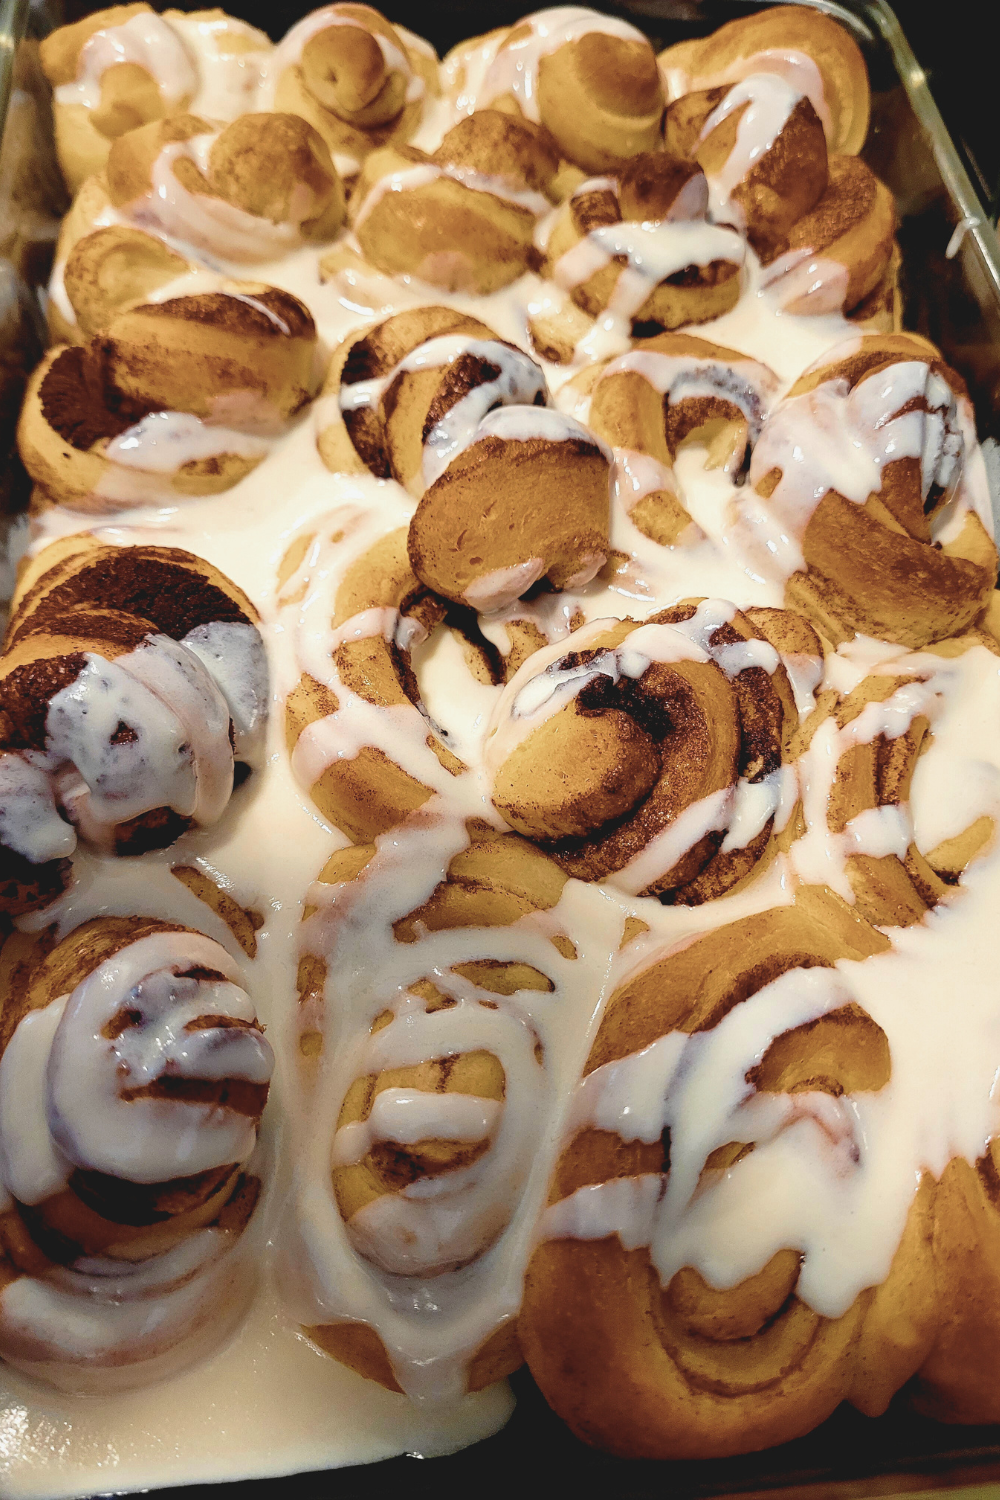
Time to take your cinnamon rolls to the next level – with a generous slathering of cream cheese frosting. Whip together some cream cheese, powdered sugar, vanilla extract, and a pinch of salt. Taste it – you deserve it! Once your rolls have cooled a bit, generously drizzle or spread the frosting all over them. Go wild! No judgment here.
Serving and Storing the Cinnamon Rolls
Allowing the Cinnamon Rolls to Cool Before Serving
I know it’s tempting, but try to resist diving straight into those ooey-gooey rolls. Give them a few minutes to cool down so you don’t burn your precious taste buds. Trust me, the wait will be worth it!
Tips for Serving and Presenting the Cinnamon Rolls
Now, how to make your cinnamon rolls look Insta-worthy? Sprinkle some powdered sugar on top for that extra touch of elegance. Serve them on a pretty platter, or if you’re like me, just stack them on a plate and dig in. Presentation is important, but taste is king!
Make sure the rolls are fresh out of the oven or warmed up properly before serving. The warm aroma combined with the soft texture will instantly elevate the taste sensation. To present them in an appealing way, consider arranging the cinnamon rolls on a pretty platter or a wooden board lined with parchment paper.
Dusting the tops with a light sprinkle of powdered sugar adds a touch of elegance and enhances their visual appeal. For an extra indulgent twist, drizzle some homemade cream cheese icing over each roll right before serving – this simple addition will take these treats to another level! Lastly, encourage guests to peel apart each layer slowly and savor every bite for maximum enjoyment. So sit back, relax, and delight in these mouthwatering delights!
Proper Storage and Reheating Techniques
Can’t finish all those rolls in one sitting? Don’t worry, I’ve got your back. Store any leftovers (if there are any) in an airtight container or wrap them tightly in plastic wrap. They should stay fresh at room temperature for a couple of days. When you’re ready for round two, just pop them in the microwave for a quick warm-up or heat them in the oven to bring back that fresh-baked goodness.
Tips and Variations for Delicious Cinnamon Rolls
Expert Tips for Making the Best Cinnamon Rolls
Hey, I’m not an expert, but I’ve got a few tricks up my sleeve! First, make sure your butter is softened, but not melted, for that perfect spreadable consistency. Second, if you like a bit of crunch, sprinkle some chopped nuts or your favorite crunchy cereal on top of the filling before rolling. And last but not least, mix it up – add a touch of cardamom or a pinch of nutmeg to your cinnamon filling for an extra flavor boost.
Choose high-quality ingredients – opt for fresh yeast instead of the dry kind if you can find it; it gives your rolls an incredible fluffiness. Another secret is to use whole milk instead of skim or low-fat alternatives – the extra fat adds richness and flavor to the dough. To infuse maximum cinnamon goodness into every bite, sprinkle a generous amount of cinnamon sugar over the buttered dough before rolling it up tightly.
And now, let’s talk about the icing because we all know that’s what takes these rolls to another level of deliciousness. Instead of using powdered sugar and water, try adding a splash of vanilla extract or even a dollop of cream cheese to create a frosting that will leave everyone licking their lips.
Exploring Flavor Variations and Additions
Who said cinnamon rolls had to be plain? Get creative with your flavors! Add some raisins or chopped dried fruit to the filling for a fruity twist. Or go all out and stuff them with gooey cream cheese or rich chocolate. Don’t be afraid to experiment – the only limit is your imagination (and maybe the size of your baking pan).
When it comes to cinnamon rolls, there is a world of flavor variations and additions waiting to be explored. These warm and gooey treats can be customized to suit any taste buds or occasion. For those who love a little extra sweetness, adding a drizzle of cream cheese glaze or caramel sauce on top can elevate the flavor profile to new heights. If you’re feeling adventurous, experimenting with different spices like nutmeg or cardamom can give your cinnamon rolls a unique twist.
For chocolate lovers, sprinkling some chocolate chips or shavings on top before baking will create a decadent surprise in every bite. And if you want to add a fruity element, why not try incorporating chopped apples or cranberries into the filling? The possibilities are endless, and with a bit of creativity and imagination, you can take your cinnamon rolls from deliciously simple to simply unforgettable.
Freezing Tips
When preparing your cinnamon rolls for the freezer, it is best practice to freeze them after you slice them into individual rolls and before they rise. Place each cinnamon roll into a freezer bag in layers separated by parchment paper. You can also flash freeze them and then just place them in a freezer bag together.
When you are ready for baking, take them out of the freezer bag and place them on a greased baking dish, and allow them to rise until doubled before baking as usual.
Freezing them before they rise allows you to serve warm fresh cinnamon rolls any time of the week when you do not want to go through the process of making them from scratch. This is very convenient and easy to make batches of them for the freezer to always have homemade fresh cinnamon rolls ready to bake.
Conclusion
Congratulations! You have now mastered the art of making easy cinnamon rolls. With this simple recipe and my helpful tips, you can enjoy the warm, fragrant, and delectable goodness of homemade cinnamon rolls whenever you please. Whether you’re treating yourself or sharing them with others, these cinnamon rolls are sure to bring smiles and satisfaction. So go ahead, and indulge in the sweet aroma and heavenly taste of your own homemade cinnamon rolls!
Resources: Here are some helpful resources for further information.
- Soft & Gooey Homemade Cinnamon Rolls – By Butternut Bakery
- Cinnamon Rolls Recipe – By Love and Lemons
- Classic Cinnamon Rolls – By Cinnabon

Frequently Asked Questions
1. Can I use instant yeast instead of active dry yeast for the dough?
Yes, you can substitute instant yeast for active dry yeast in this recipe. However, keep in mind that the rising time might be slightly different. Instant yeast typically requires less time to rise, so monitor the dough closely to avoid overproofing.
2. Can I prepare the dough the night before and bake it in the morning?
Absolutely! If you want to enjoy fresh cinnamon rolls in the morning without the hassle of preparing the dough, you can make the dough the night before. After the dough has risen, cover it tightly and refrigerate overnight. In the morning, take it out, let it come to room temperature, and proceed with rolling, cutting, and baking as usual.
3. Can I freeze the cinnamon rolls?
Yes, you can freeze the cinnamon rolls for future enjoyment. After baking and frosting the rolls, allow them to cool completely. Wrap each individual roll tightly in plastic wrap and place them in a freezer-safe container or bag. They can be stored in the freezer for up to 2 months. When ready to eat, thaw them in the refrigerator overnight and warm them in the oven before serving.
4. Can I make a dairy-free or vegan version of these cinnamon rolls?
Absolutely! To make a dairy-free version, you can use non-dairy milk substitutes, such as almond milk or soy milk, and a dairy-free butter substitute for both the dough and the filling. For a vegan version, you can also substitute the eggs with flax eggs or applesauce. Just make sure to check the labels of your ingredients to ensure they are suitable for your dietary needs.

Easy Cinnamon Rolls
Ingredients
For the Dough
Wet Ingredients
- ¾ cup warm whole milk
- 1 large egg, at room temperature
Dry Ingredients
- 2 ¾ cups flour
- ½ tsp salt
- ¼ cup white sugar
- 2 ¼ tsp dry active yeast
Cinnamon Roll Filling
- 3 tbsp butter (room temperature to easily spread on the dough)
- ⅓ cup brown sugar
- 1 tbsp ground cinnamon
For the Icing
- 4 ounces cream cheese, softened to room temperature
- 2bsp t butter, softened to room temperature
- ⅔ cups powdered sugar
- 1 tsp vanilla extract
Instructions
For the Dough
- Mix together the dry active yeast, warm milk, and sugar until well combined. Let sit for ten minutes to allow the yeast to activate and become foamy.
- Next, mix together the rest of the ingredients with the now-activated yeast mixture until well combined.
Kneading Tip!
- Try to avoid adding too much flour during the kneading process. Adding too much flour will cause your rolls to be stiff and heavy and very dense. Keep a bowl of vegetable oil near your kneading surface area to dip your hands in and rub together to keep your hands oiled as much as possible while kneading your dough. This will keep your hands from sticking to the dough and eliminate the amount of flour you add to the dough ball while kneading it.
- Knead the dough on a lightly floured surface for three to five minutes. Allow the dough to rest for ten minutes for the gluten to relax in order to roll out the dough easily.
- This is a great time to make the cinnamon roll filling.
For the Cinnamon Roll Filling
- Do NOT mix these ingredients together. You will add them one at a time.
Prepare the Dough Log
- Carefully roll out the dough into a rectangular shape.
- Carefully spread the butter over the rolled-out dough. Sprinkle the brown sugar and cinnamon over the butter.
- Roll up the dough, starting at one of the short ends of the rectangle into a log.
Prepare the Cinnamon Rolls
- It is best to use a serrated knife for cutting each sliced cinnamon roll. A serrated knife cuts through the dough much easier without tearing through the dough.
- Slice the dough into evenly sliced cinnamon rolls. Strive to slice one dozen cinnamon rolls.
Rising Time
- Lightly grease a 9 or 10 inch baking dish. (I like to use the round ones!) Place each cinnamon roll onto the baking dish in an arranged order. Cover them with sprayed plastic wrap and allow them to rise until doubled in size. (Approximately 60 to 90 minutes).
Baking the Cinnamon Rolls
- Once the cinnamon rolls have doubled in size, preheat the oven to 350 degrees and bake for 30 minutes or until lightly browned.
- Keep an eye on the cinnamon rolls while baking. Sometimes, the rolls will poof up in the centers, which is caused by being squished together or rolled too tightly. All you need to do is take the back part of a spoon and squish them back down into the rolls and continue baking. They will end up beautifully.
For the Cream Cheese Icing
- Combine all ingredients until a well-smooth consistency.
- Spread evenly over each cinnamon roll.
- Enjoy!
Summary
I hope I have inspired you to bake your very own cinnamon rolls to enjoy and share with your friends and family.
If you were encouraged by this post, I invite you to check out my FREE Printables Page for fun free printables, planners, and charts.
ENTER MY FREE Printables Page HERE
Here are some more of my bread-making inspiration posts to check out!
The Best Hoagie Buns Recipe Made From Scratch!
Pumpkin: How to Make Chocolate Chip Pumpkin Bread
Sweet Potato Bread: How to Make Sweet Potato Bread
Chocolate Chip Cookies: How to Make Chocolate Chip Cookie Bread
Carrot Cake Quick Bread: How to Make Carrot Cake Quick Bread
How to Make Strawberries and Cream Sourdough Bread
How to Make S’mores Sourdough Bread
July 4th Bread: How to Make a Firecracker Marble Bread Braid
Artisan Bread: How to Make Artisan Bread
Challah Bread: How to Make a 6 Braided Challah Bread
Sweet Bread: How to Make Sweet Bread
Blessings,
The Off Grid Barefoot Girl

