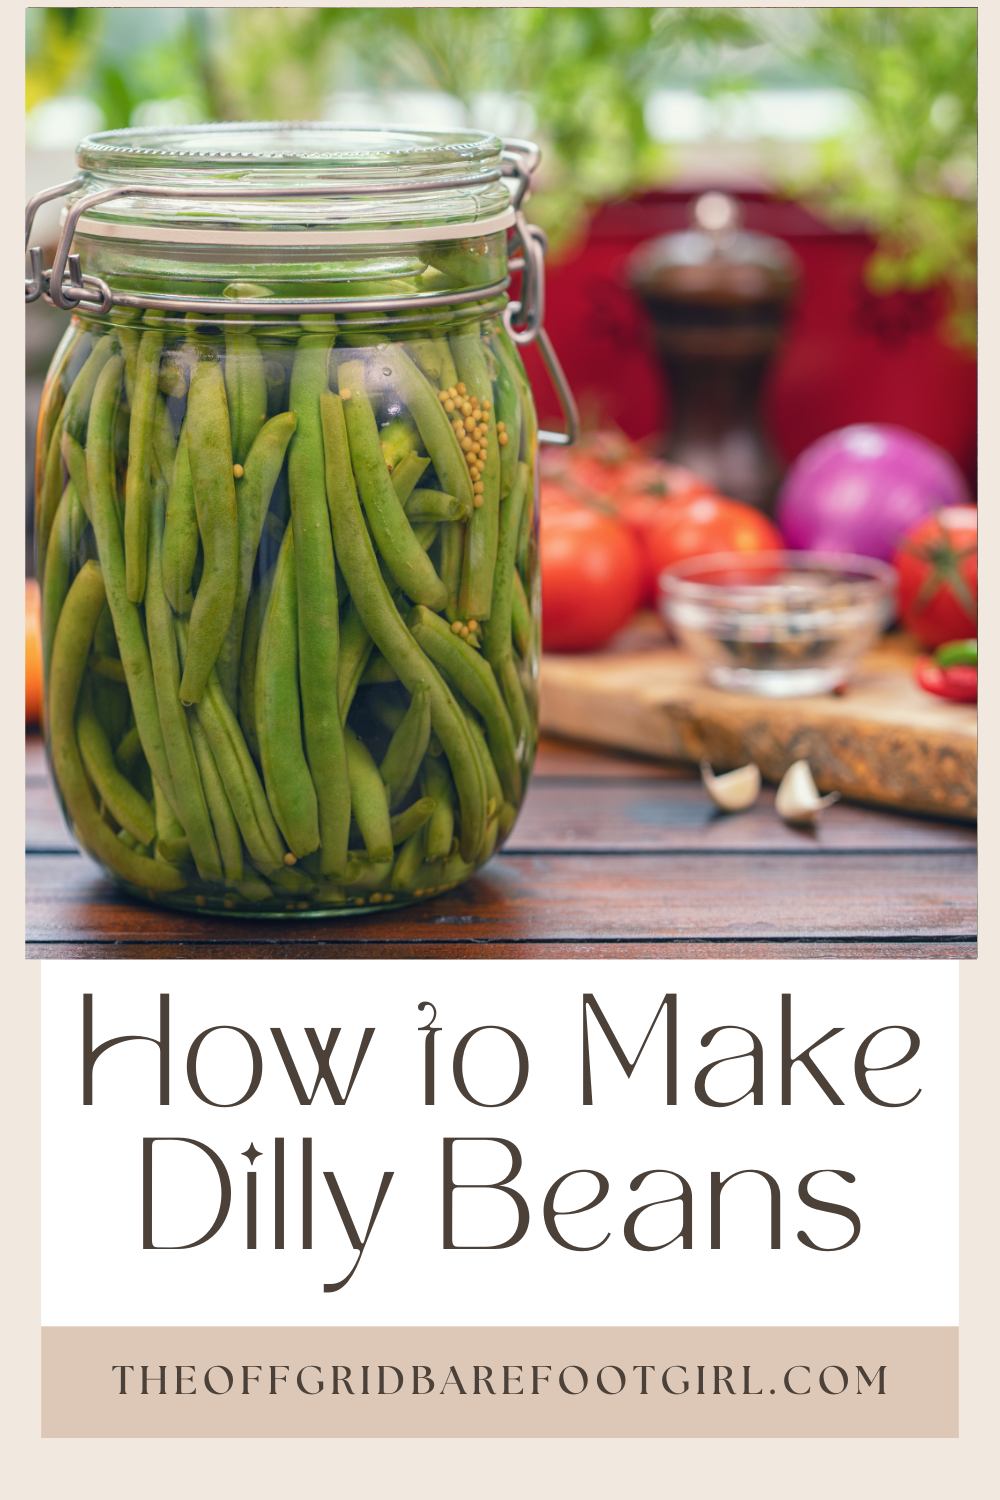
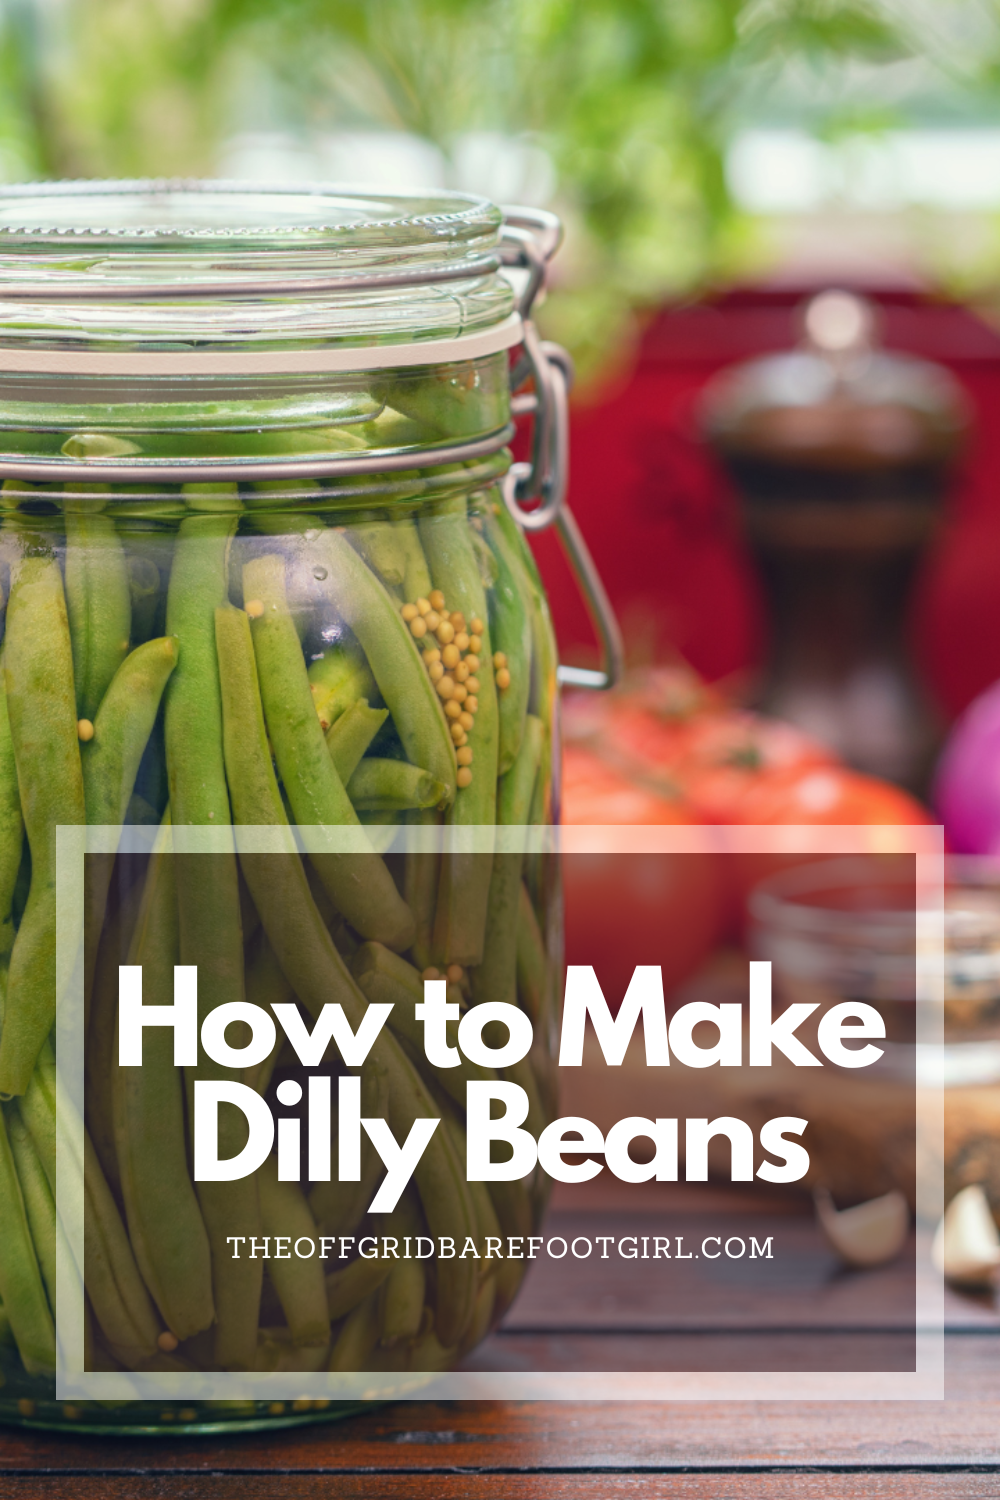
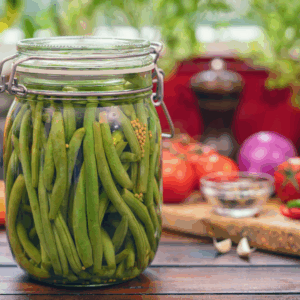
Learn how to make small-batch dilly beans with this easy water bath canning recipe—perfect for small gardens or farmer’s market finds. These crisp, garlicky green beans are bursting with dill flavor and shelf-stable for months. I’ll walk you through my simple canning method so you can enjoy this tangy treat all year long!
There’s something so satisfying about opening a jar of home-canned dilly beans in the middle of winter and tasting summer in every bite. Out here on my off-grid homestead, I don’t always have a huge bean harvest all at once—sometimes I’m picking just enough for a few jars. That’s why I love this small-batch recipe. It’s quick, uses what you have, and you don’t need a massive canner or a giant kitchen to make it happen. If you’ve got a basket of fresh green beans, a sprig of dill, and a little vinegar, you’re in business. Let’s get started!
This is a pinnable post. Tap or hover over any image in this post to pin to your Pinterest Boards.
Recipe Tutorial – Water Bath Canning Dilly Beans
Ingredients (makes about 3 pint jars)
- 2 pounds fresh green beans, trimmed
- 3 cups water
- 3 cups white vinegar (5% acidity)
- 1/4 cup pickling salt
- 3 cloves garlic, peeled
- 3 sprigs fresh dill (or 1 tsp dill seed per jar)
- 1/2 tsp red pepper flakes per jar (optional, for a little heat)
Instructions
Prepare Your Equipment
Fill your water bath canner with enough water to cover your jars by at least 1 inch. Start heating it so it’s near a boil by the time your jars are filled. Wash jars, lids, and bands in hot, soapy water, then rinse well.
Blanch Your Beans (optional for texture)
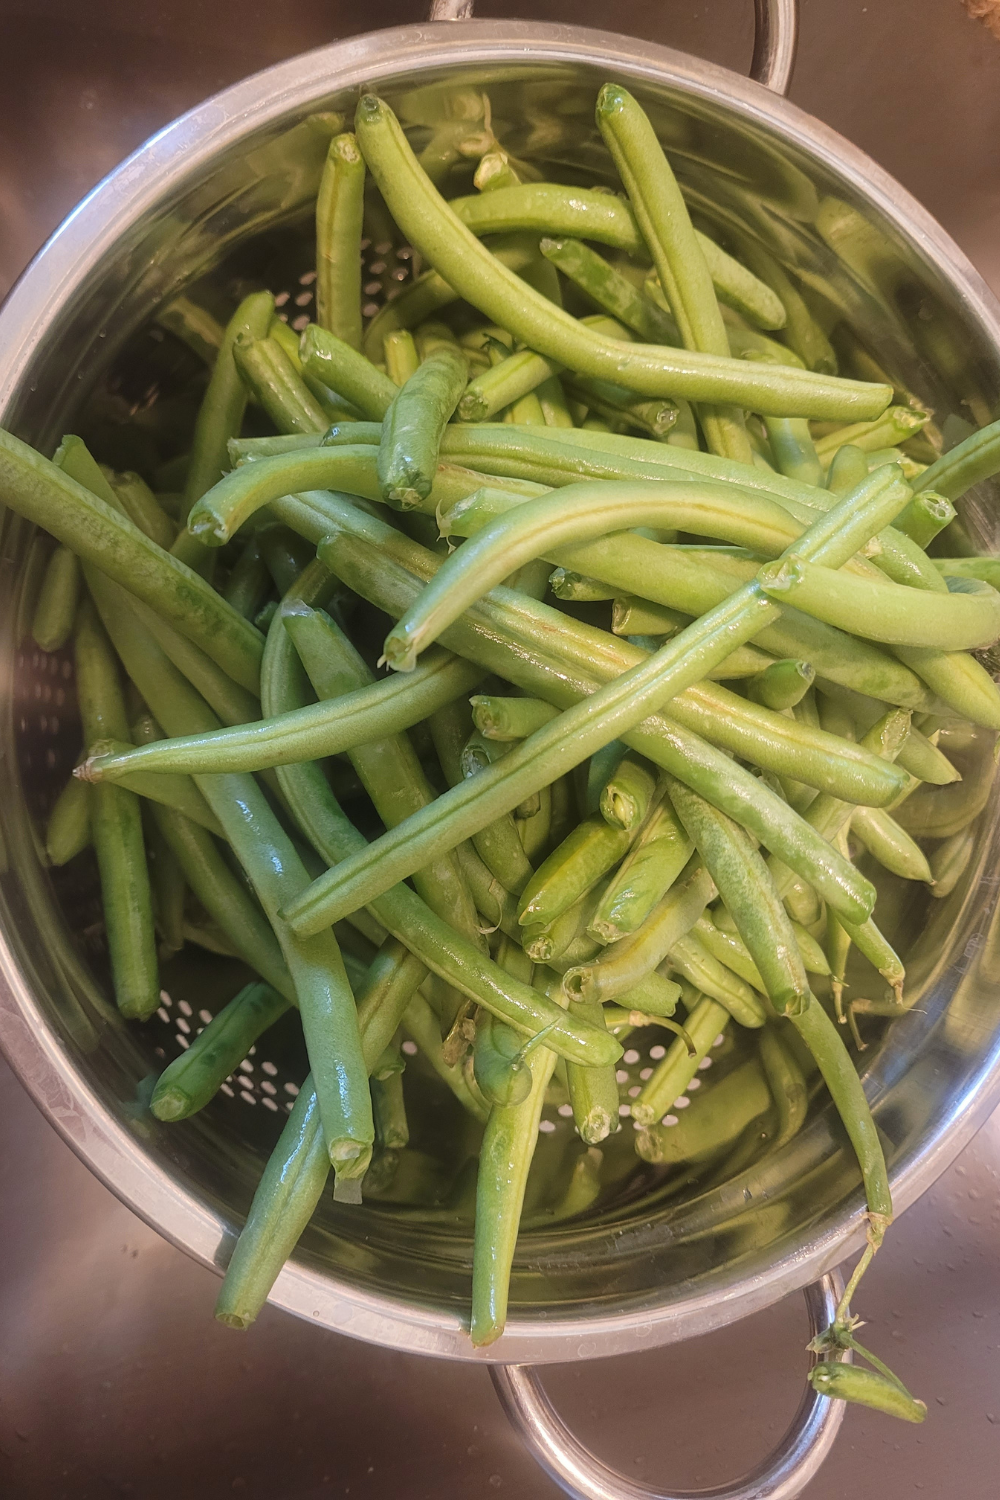
Bring a large pot of water to a boil, toss in your trimmed green beans for 1–2 minutes, then quickly transfer them to a bowl of ice water. This keeps them crisp and vibrant green.
Make the Brine
In a medium pot, combine water, vinegar, and pickling salt. Bring to a boil, stirring to dissolve the salt.
Pack the Jars
Place 1 clove of garlic, 1 sprig of dill (or dill seed), and red pepper flakes (if using) into each jar. Stand the beans upright, packing them tightly but without crushing.
Add the Hot Brine
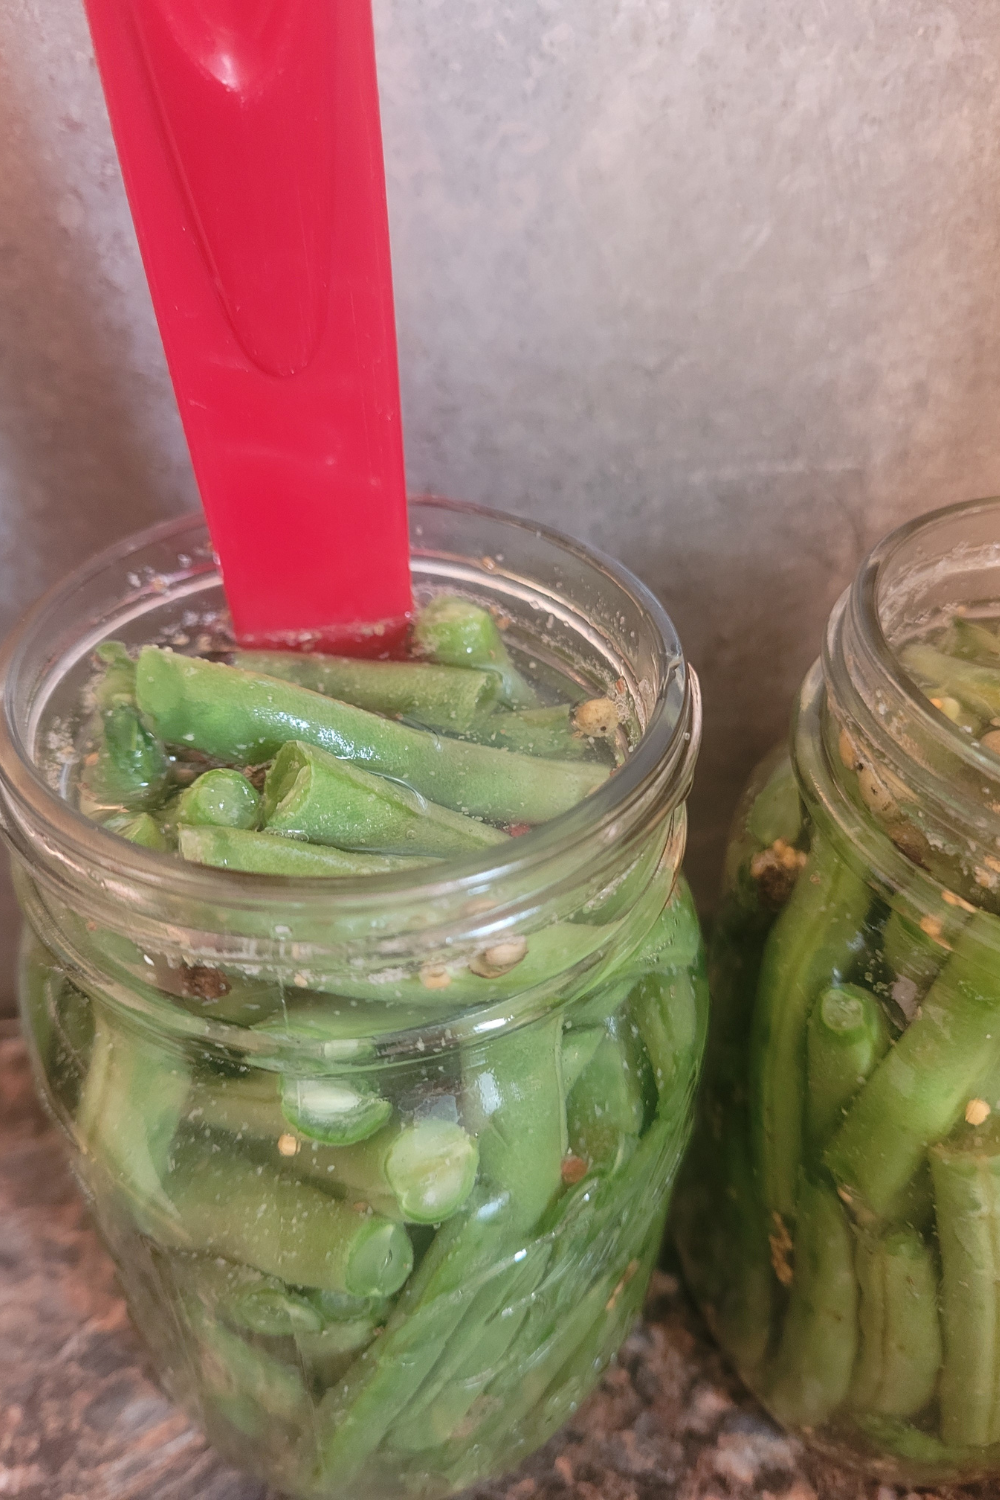
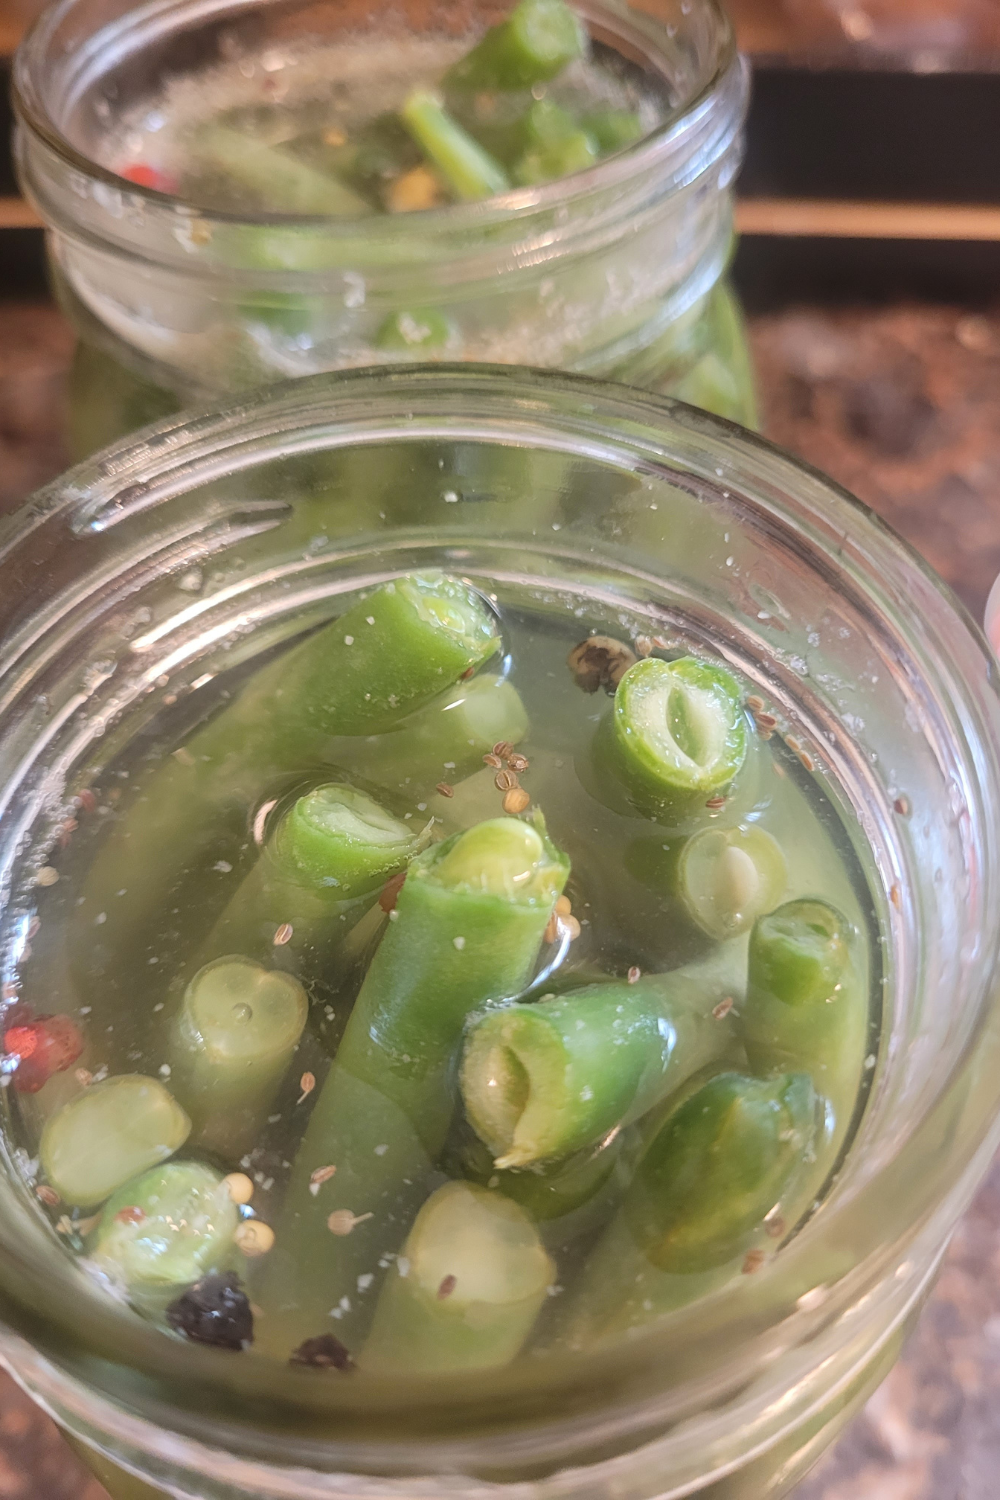
Carefully pour the boiling brine into each jar, leaving 1/2 inch headspace. Remove air bubbles by running a clean utensil along the inside of the jar. Adjust brine if needed.
Seal and Process
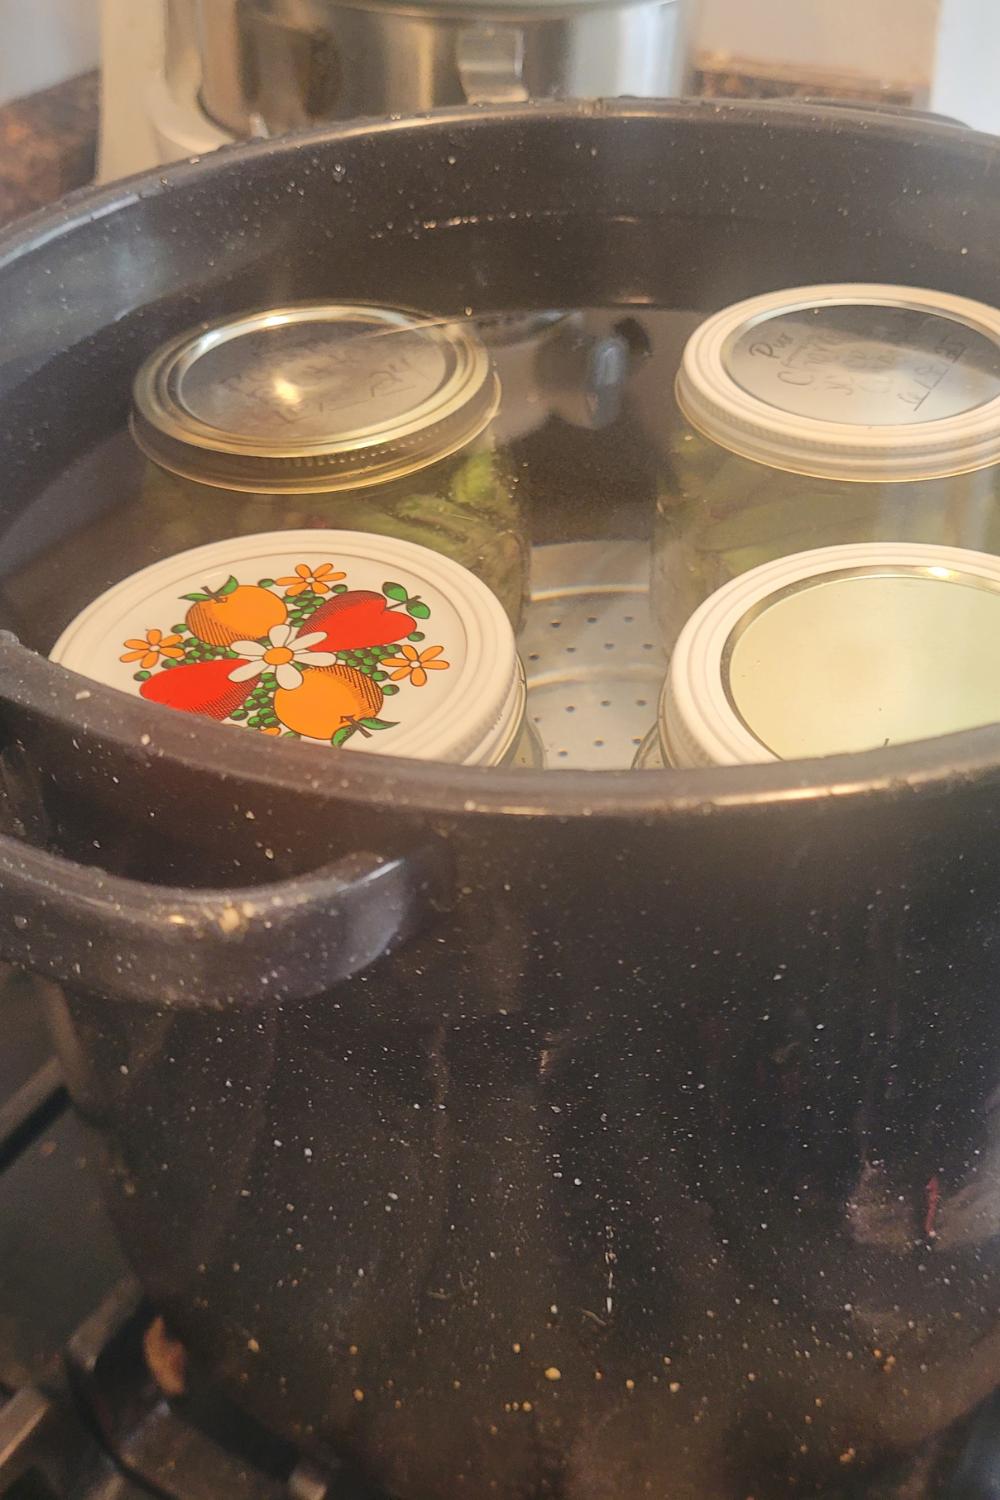
Wipe jar rims with a damp cloth, place lids on, and screw on bands fingertip-tight. Place jars into the boiling water bath canner. Process for 10 minutes (adjust for altitude if needed).
Cool and Store
Remove jars and place them on a towel to cool for 12–24 hours. Check seals—lids should be firm and not pop when pressed. Store in a cool, dark place for up to a year.
Conclusion
And that’s all there is to it—small-batch dilly beans ready to brighten your pantry shelves. Out here off-grid, I love recipes like this because they work with the harvest I have, not the one I wish I had. These beans are my go-to for snacking, tossing into salads, or serving alongside a hearty sandwich. Every time I pop one into my mouth, I’m reminded that the simple things—like a crunchy, tangy bean—are often the best!
Resources: Here are some helpful resources for further information.
- Spicy Dilly Beans Recipe – By Serious Eats
- Dilly Beans – By Now From Scratch
- Dilly Beans Canning Recipe – By Ball Mason Jars
Frequently Asked Questions
1. Do I need to use fresh dill, or can I use dried?
You can use either! Fresh dill gives a brighter flavor, but dried dill seed works perfectly too.
2. How long should I wait before eating my dilly beans?
They’re best after at least 2 weeks, so the flavors can fully develop.
3. Can I double this recipe?
Yes, just keep the water-to-vinegar ratio the same and adjust your jar count accordingly.
4. My beans turned a dull color—what happened?
Over-processing or skipping the ice bath can cause beans to lose their bright green color, but they’re still safe to eat.
Dilly Beans
Equipment
- 3 pint jars
- canning supplies
- water bath canner
- stock pot for the brine
Ingredients
- 2 lbs fresh green beans, trimmed
- 3 cups water
- 3 cups white vinegar (5% acidity)
- ¼ cup pickling salt
- 3 cloves garlic, peeled
- 3 sprigs fresh dill or 1 tsp dill seed per jar
- ½ tsp red pepper flakes per jar (optional)
Instructions
- Prepare water bath canner, jars, lids, and bands.
- Blanch beans for 1–2 minutes, then transfer to ice water.
- In a pot, combine water, vinegar, and salt; bring to a boil.
- Place garlic, dill, and pepper flakes in jars. Pack beans upright.
- Pour hot brine over beans, leaving 1/2" headspace. Remove air bubbles.
- Wipe rims, apply lids and bands, and process in a boiling water bath for 10 minutes (adjust for altitude).
- Cool 12–24 hours. Check seals before storing in a cool, dark place.
Notes
Summary
I hope I have inspired you to stockpile your pantry for your survival needs.
If you were encouraged by this post, I invite you to check out my FREE Printables Page for fun free printables, planners, and charts.
ENTER MY FREE Printables Page HERE
Here are some more of my canning inspiration posts to check out!
Can Maple Syrup Go Bad? How to Tell
Balsamic Brussel Sprouts: How to Make and Can Maple Balsamic Brussel Sprouts
How to Make Refrigerator Pickles
The Best Amish Chow Chow Recipe: A Taste of Tradition
How to Can Artichokes from Your Garden
Pumpkin: How to Make Canned Pumpkin
How to Make and Can Pumpkin Butter
Quince: How to Make and Can Fall Spiced Quince Chutney
Quince: How to Can Quince
Carrot Cake Butter: How to Make and Can Carrot Cake Butter
Peach Pie Filling: How to Make and Can Peach Pie Filling
Pear Pie Filling: How to Make and Can Pear Pie Filling
The Best Winter Pantry Staples to Stockpile Now!
Grapes: How to Make and Can Grape Jam
Apple Cider: How to Make Homemade Apple Cider Vinegar
How to Make and Can Cherry Plum Jam
How to Make and Can Apple Butter In Crockpot
More Fun Posts
Stockpiling Condiments for Survival: Learn How I Do It!
How to Make and Can Vegetable Pot Pie Filling
Easy Canning Applesauce Recipes to Stalk Your Pantry!
How to Make Peach Jalapeno Jam
Cherries: How to Make Cherry Pie Filling
Cherries: How to Make Cherry Syrup
Salsa: How to Make and Can Cherry Salsa
Peaches: How to Make and Can Peach Salsa
Canning Supplies You Need Now for a Successful Canning Season!
How to Make and Can Balsamic Onion Jam
Cranberry Sauce: How to Make and Can Old Fashioned Cranberry Sauce
How to Make and Can Cranberry Merry Jam
How to Make and Can Strawberry Shortcake Jam
Cherry Jam: How to Make and Can Cherry Pie Jam
Carrot Cake Jam: How to Make and Can Carrot Cake Jam
Quince Jam: How to Can a Year’s Supply of Quince Jam
Root Beer Float Jelly: How to Make and Can Root Beer Float Jelly
Blessings,
The Off Grid Barefoot Girl


