Learn how to make Banquet Boule Bread, a rustic, golden loaf perfect for serving a holiday crowd. Soft, flavorful, and ideal for festive gatherings.
This is a pinnable post. Tap or hover over any image in this post to pin to your Pinterest Boards.
Serving a crowd during the holidays can be stressful, but homemade bread doesn’t have to be. Banquet Boule Bread is a rustic, round loaf that’s golden on the outside, soft and tender on the inside, and perfect for slicing and sharing. Its rich flavor and impressive appearance make it a festive centerpiece for any table, whether you’re hosting a large family dinner or a holiday party. In this guide, I’ll walk you through simple steps to bake a boule that looks as good as it tastes, ensuring your holiday guests are wowed from the first slice.
Don’t worry, it is easier than you think and I will show you how!
Banquet Boule Bread Recipe Tutorial
When you are on a time crunch during the holidays and are expecting dinner or party guests and are stressing about how time-consuming and hands-on bread-making can become, especially knowing you are expecting a good number of people to serve, it can be tempting to skip out on serving any bread at all.
I have taken on the challenge to help you serve enough bread for your crowd with this banquet boule bread recipe tutorial. When you are in the kitchen cooking and baking up a zillion other recipes, the last thing you want to worry about is how much time a good amount of bread for a lot of people can take to make. I have made this tutorial as hands-off and simple as possible for you to be able to serve delicious bread for your guests.
This massive banquet boule bread is one foot in diameter and baked in a large 12-inch cast iron Dutch oven. Your Dutch oven does not have to be cast iron, just at least 12 inches. I baked mine without the lid on it as it rose well above the rims.
For this recipe, I used my easy white bread recipe How to Make the Best White Bread: Recipe for Beginners, and doubled it to make this massive loaf. Since it is baked in a large round Dutch oven, it will become a boule bread.
You will not even need to dirty any mixing bowls or spatulas! Whaaat?? Since you will be dirtying up a ton of dishes preparing your holiday or dinner party already, the last thing you need to worry about is dirtying up extra dishes for bread making. I have effective tips and tricks to eliminate all your bread-making dishes including keeping your Dutch oven clean!
Ingredients
- Dry active yeast.
- Warm water.
- Sugar, honey, or maple syrup.
- Salt.
- Flour.
- Butter or oil.
Equipment
- 2 gallon-sized zip-lock freezer bags.
- 1 12-inch Dutch oven.
Instructions
Add warm water, dry active yeast, sugar, honey, or maple syrup, and salt to two zip-lock bags according to the recipe. You will be doubling this recipe, one batch per bag. Squeeze the bottoms of the bags to carefully mix up the ingredients together and allow them to proof for ten minutes. Leave the bags open carefully sitting on your counter in a warm area to proof and activate the yeast.
After ten minutes, you will notice the yeast has been proofed with a foamy appearance. Next, add flour to each bag according to the recipe per batch and melted butter, or oil. Remove the air and zip-lock the bags closed and begin kneading the dough inside the bag for about eight to ten minutes per bag.
Give them to your kids to knead while you do your other kitchen tasks! Kids are great helpers! Just mix up the dough completely ensuring a good even mix without any dry areas or lumps. Gently squeeze and move the dough to the bottom of the bags, keeping the bag closed at all times.
The First Rise
Set the bags on your counter in a warm area to rise. The dough will poof up in the bags, filling the bags out nicely. You can keep a warm towel over the bags during the rising process. A warm towel may not be necessary depending on how warm your kitchen is.
You can ignore the bags while preparing and cooking your other meals for the holiday while the dough rises. The dough inside the bags will poof out doubling in size.
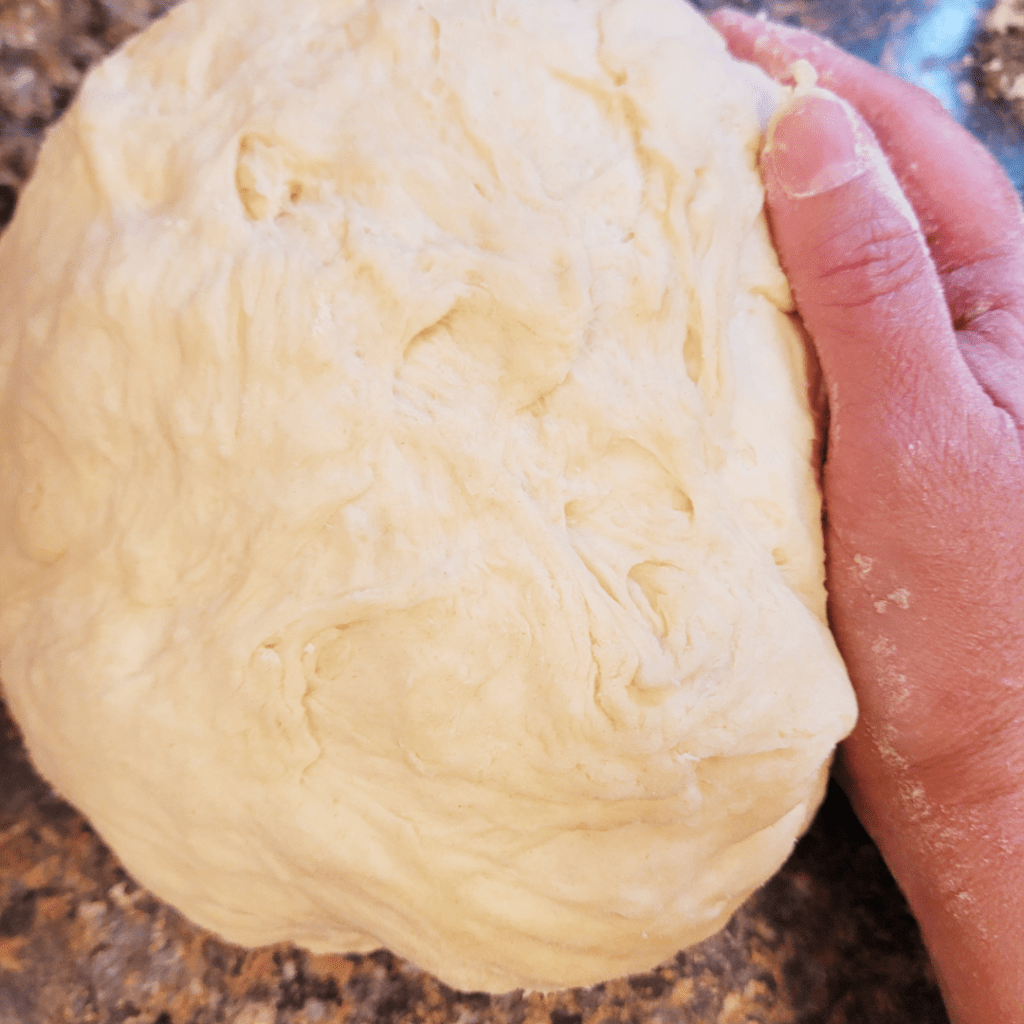
Once the dough in both bags is doubled in size and both bags are poofed up, open the bags and punch down the dough. Turn the bags inside out onto a floured surface and begin to knead both doughs together into one large, smooth dough ball. Knead for about ten minutes.
The Second Rise
You will end up with a giant smooth dough ball ready for the second rise!
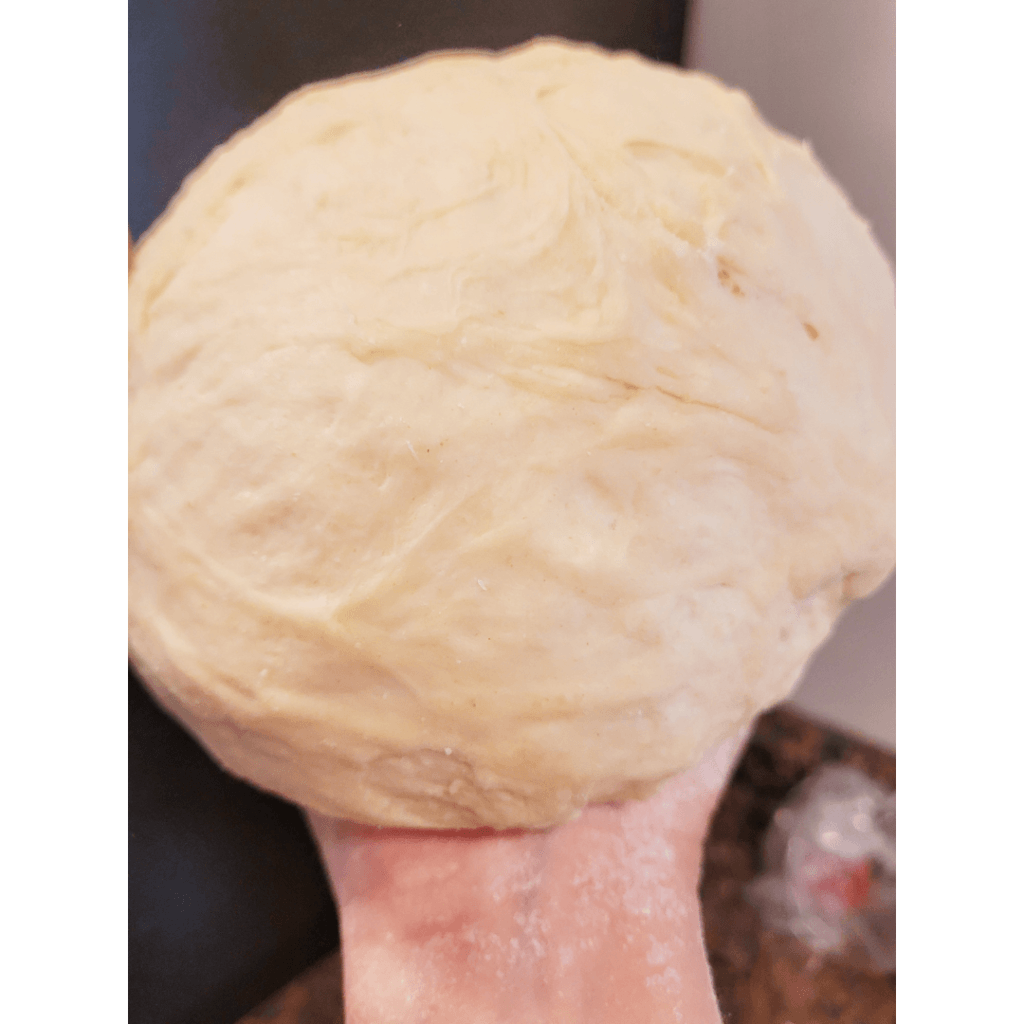
Line your Dutch oven with crinkled parchment paper and place the large dough ball in the Dutch oven. Your Dutch oven will not even become dirty with the lining! This will make it easy to remove the bread from the Dutch oven after baking.
Parchment Paper Tip: Crinkling the parchment paper into a ball and then uncrinkling it helps the parchment paper line pans better and forms a better shape for the pans you use.
Cover the dough with greased plastic wrap or a clean warm damp towel to rise until doubled in size and it has filled out to the edges of the Dutch oven and risen above the rims.
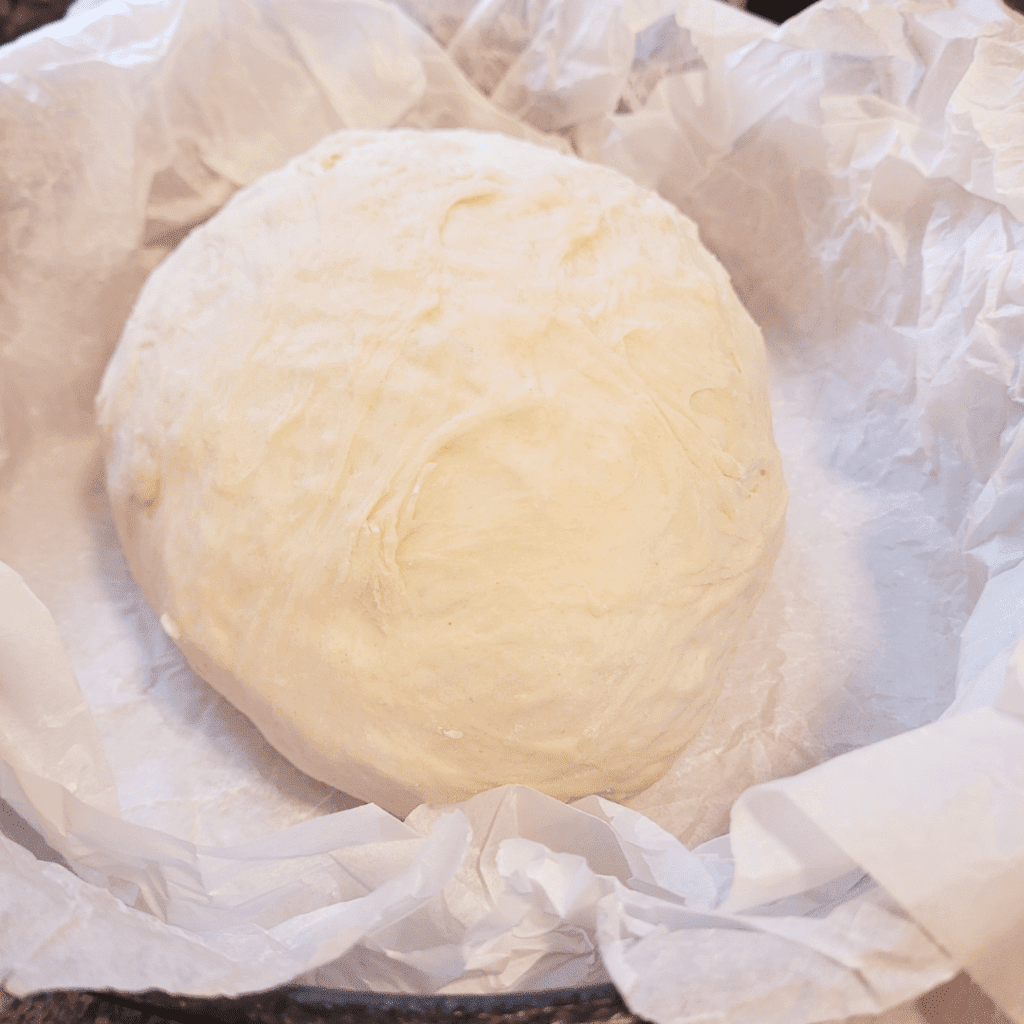
Apparently, I have forgotten to snap an image of how this dough looked before baking once it was doubled in size. 🙄 I must have gotten busy in the kitchen to remember to snap that photo.
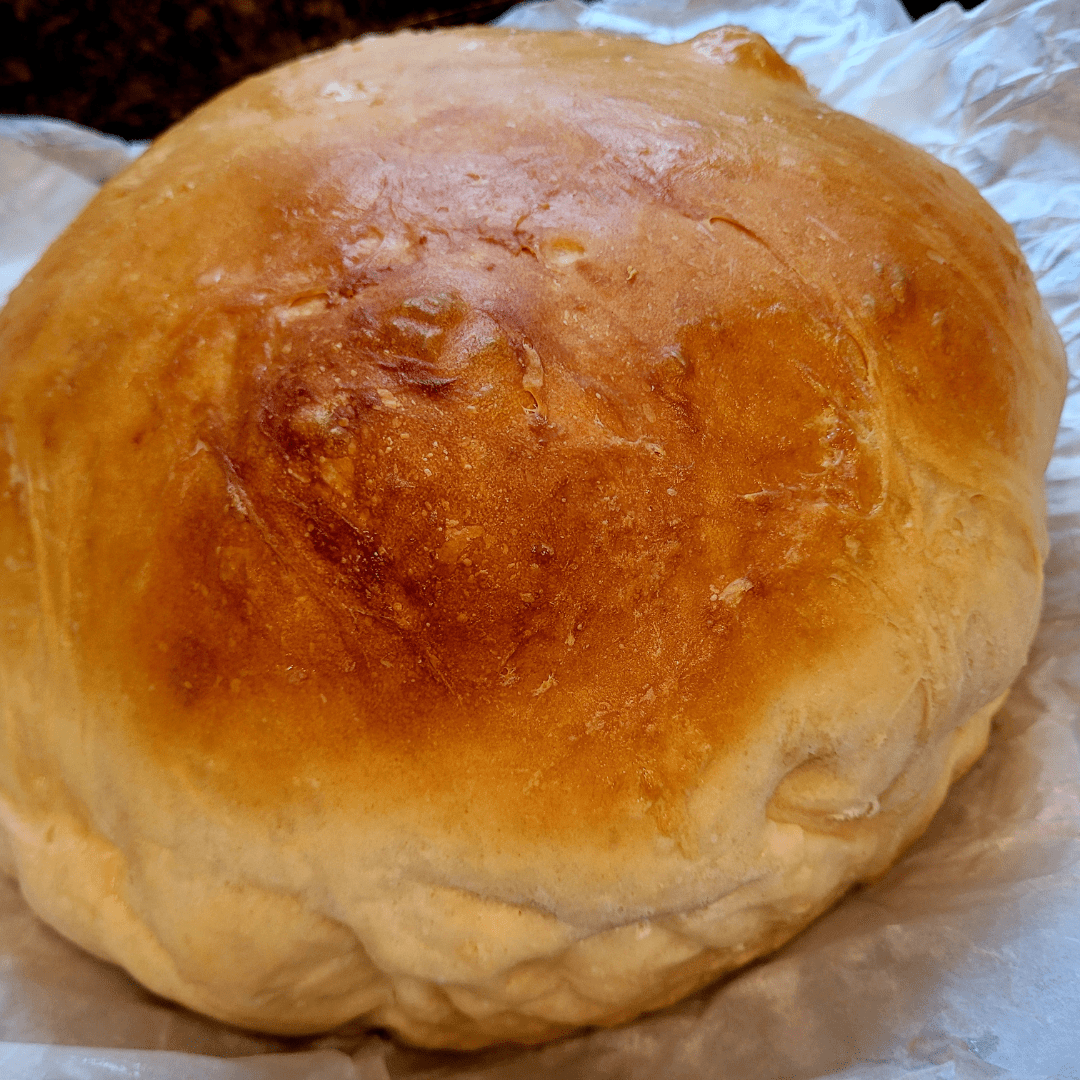
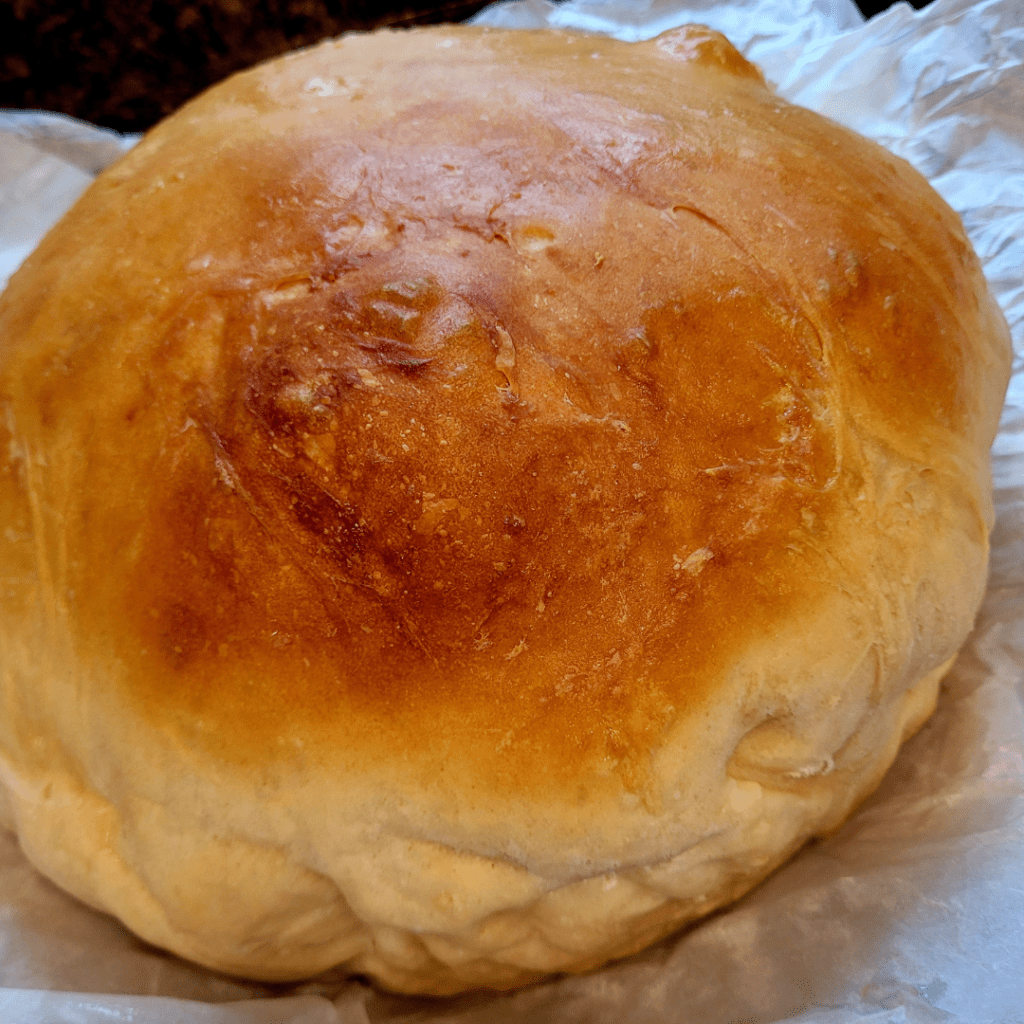
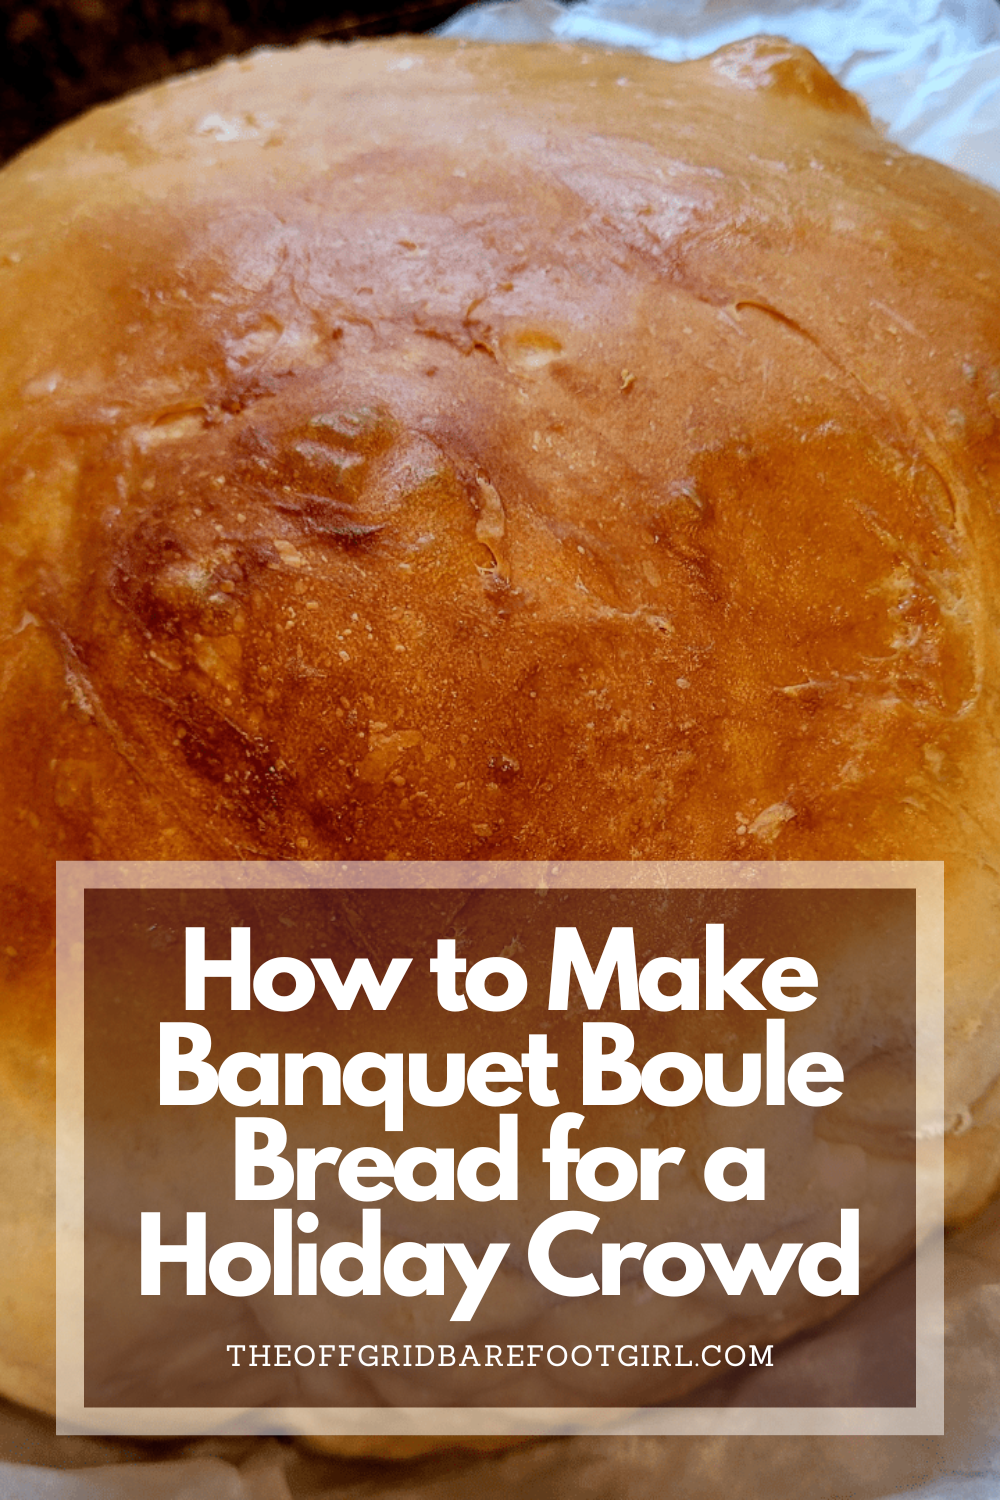
However, you can clearly see how nicely it filled out my Dutch oven with this photo after it was baked!
Baking the Banquet Boule Bread
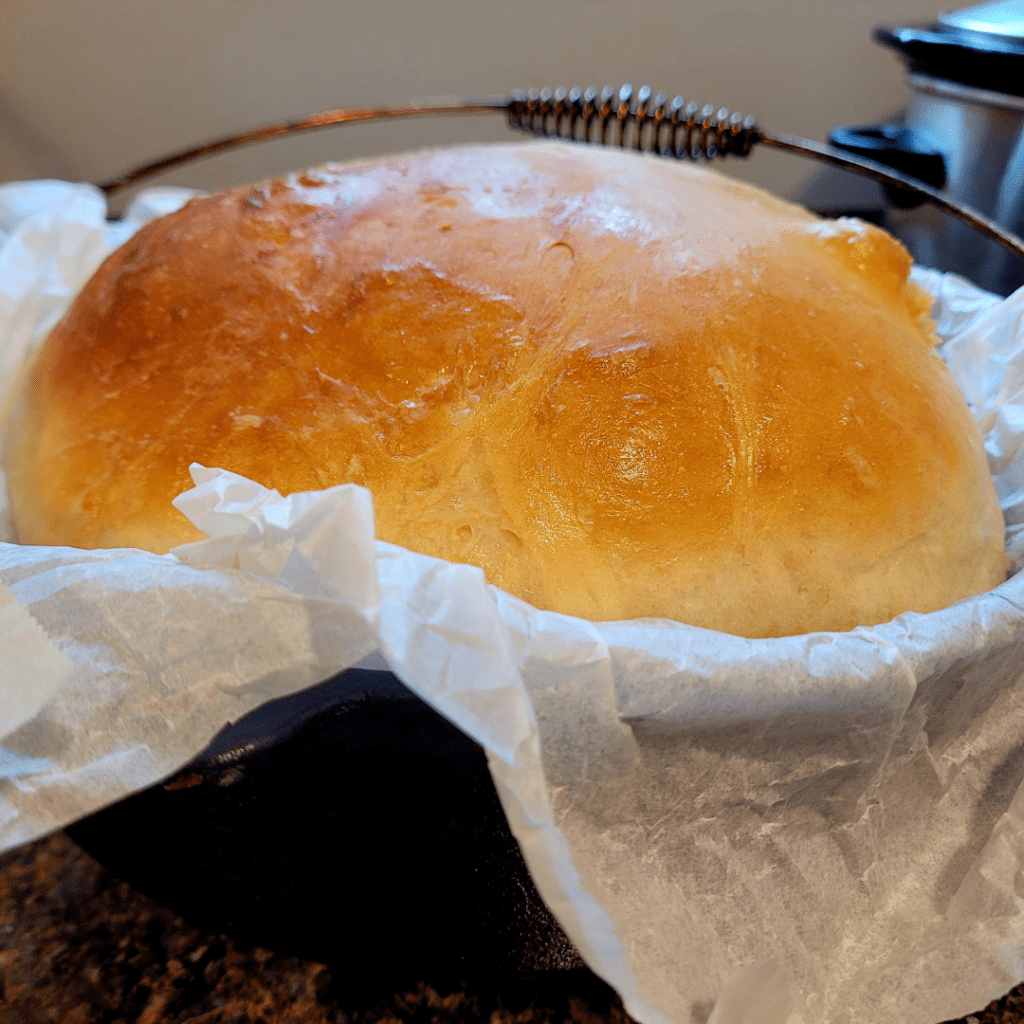
Bake at 350 degrees for 45 to 50 minutes.
Immediately after removing it from the oven, brush the top of the loaf with butter.
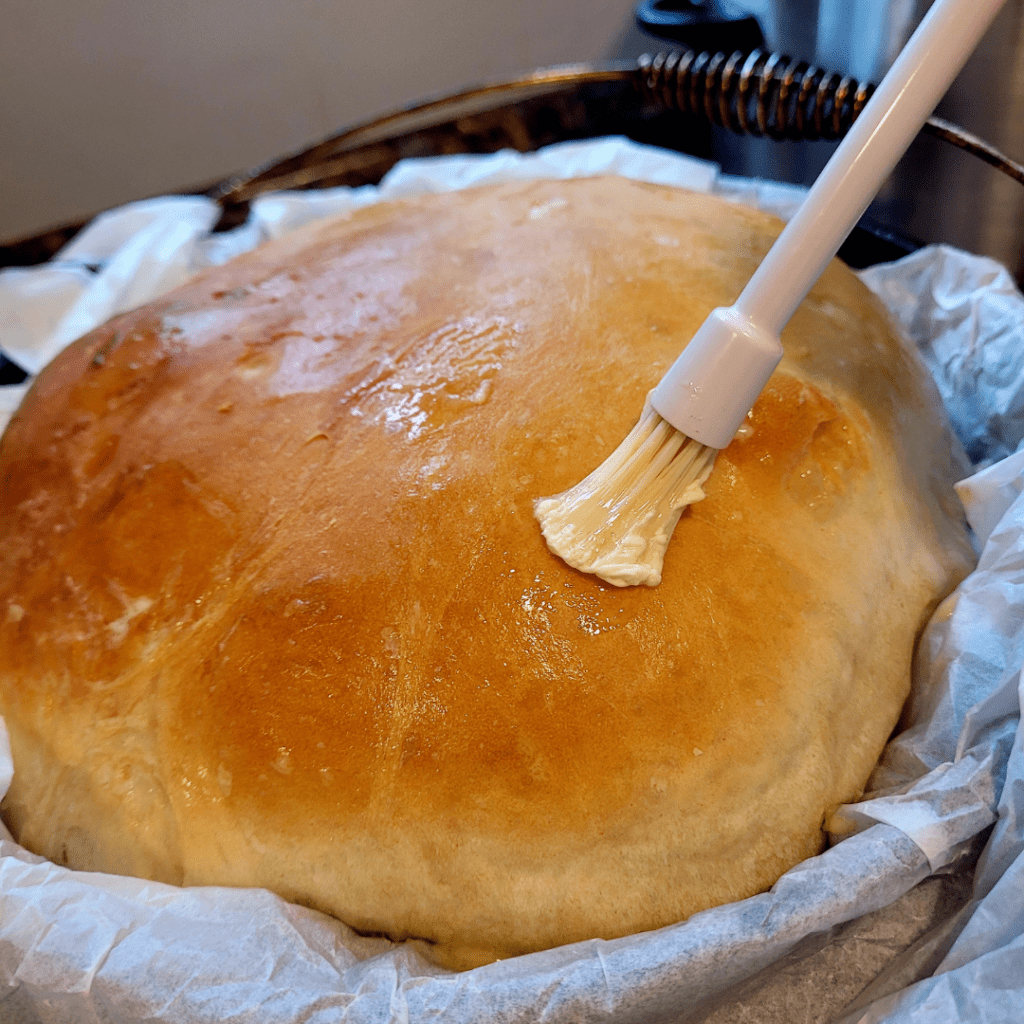
Once the parchment paper edges have cooled, carefully lift the loaf out of the Dutch oven with the paper and place it on a cooling rack to completely cool.
While your massive banquet boule bread is cooling, you get to admire the size and beauty of this massive loaf while finishing your kitchen duties!
Slicing the Bread
The best thing about this bread recipe is that you can slice this loaf into one-foot-long slices and dress the slices with any toppings you desire and bake for an extra 15 to 20 minutes. You can serve these one-foot-long slices with garlic, parmesan, and shredded cheese, or do a pizza topping!
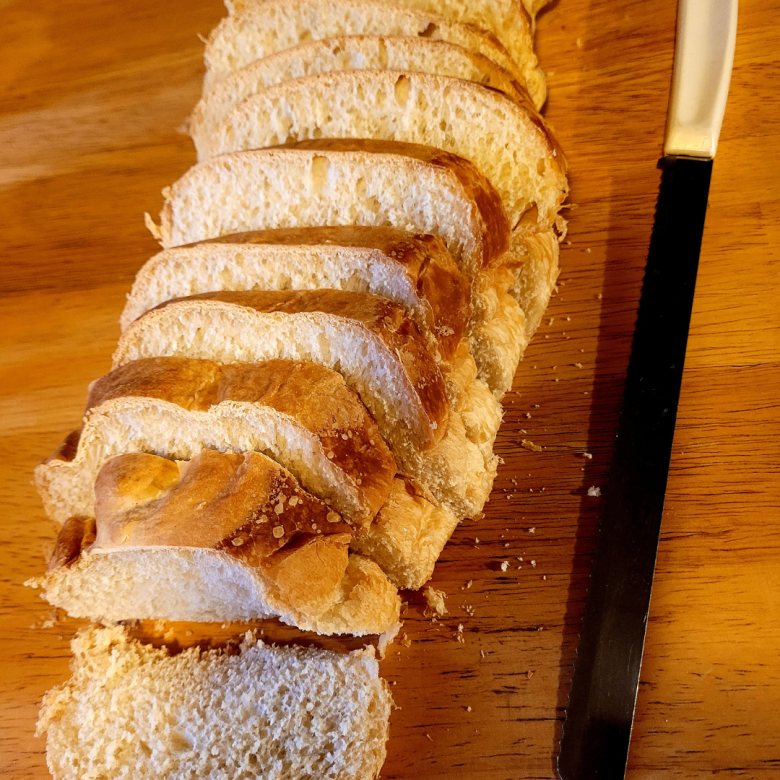
Slice the bread lengthwise, making one-foot-long slices.
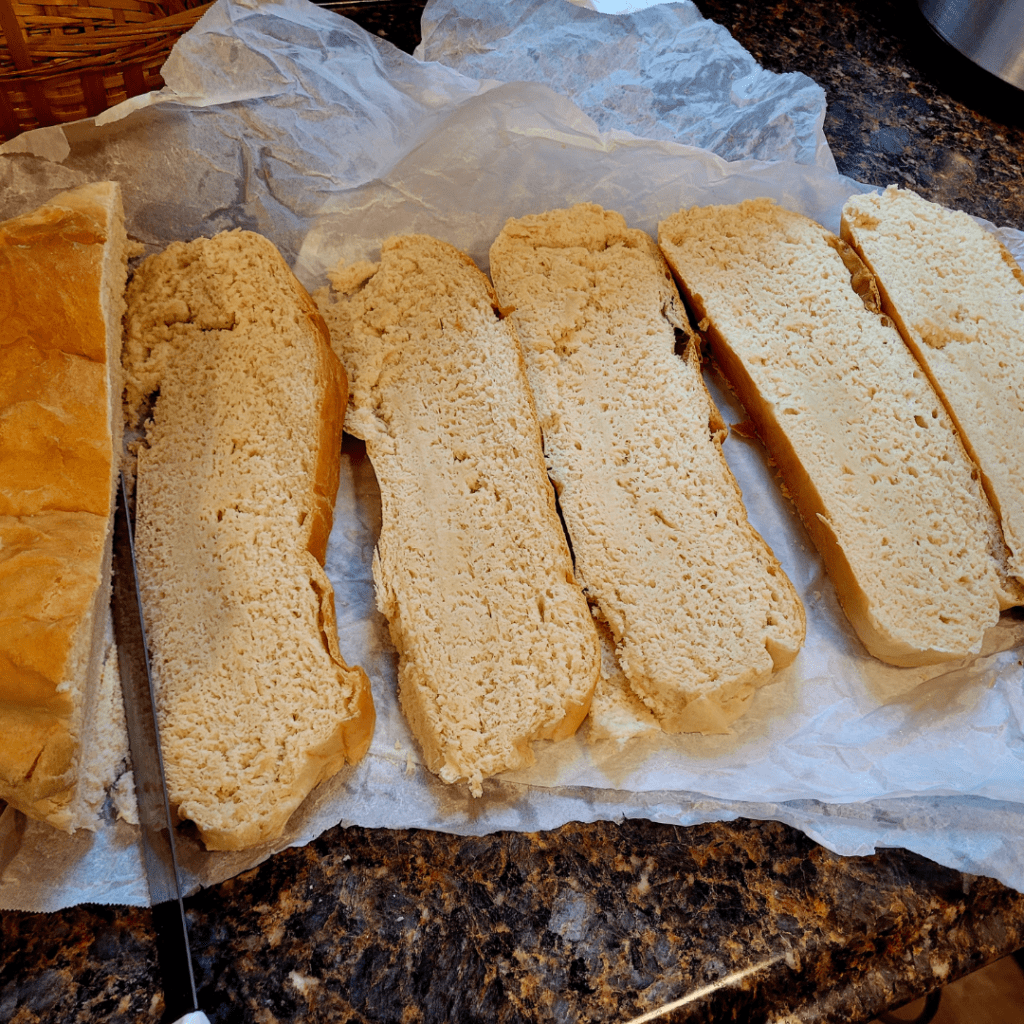
I was able to slice 10 one-foot-long slices from this massive banquet boule bread. After I cut each slice in half for serving sizes, I ended up with 20 six-inch slices of bread.
You can leave them in one-foot-long slices and serve them as pizza slices!
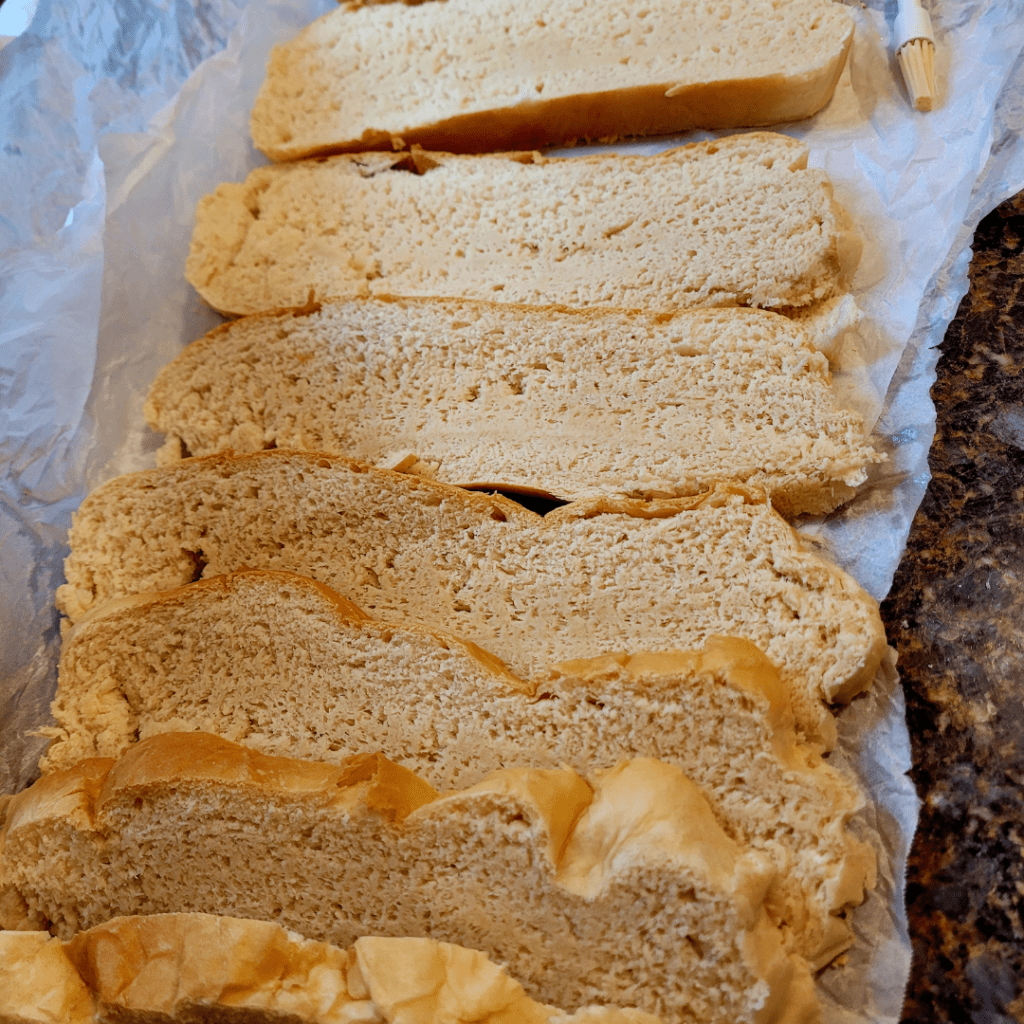
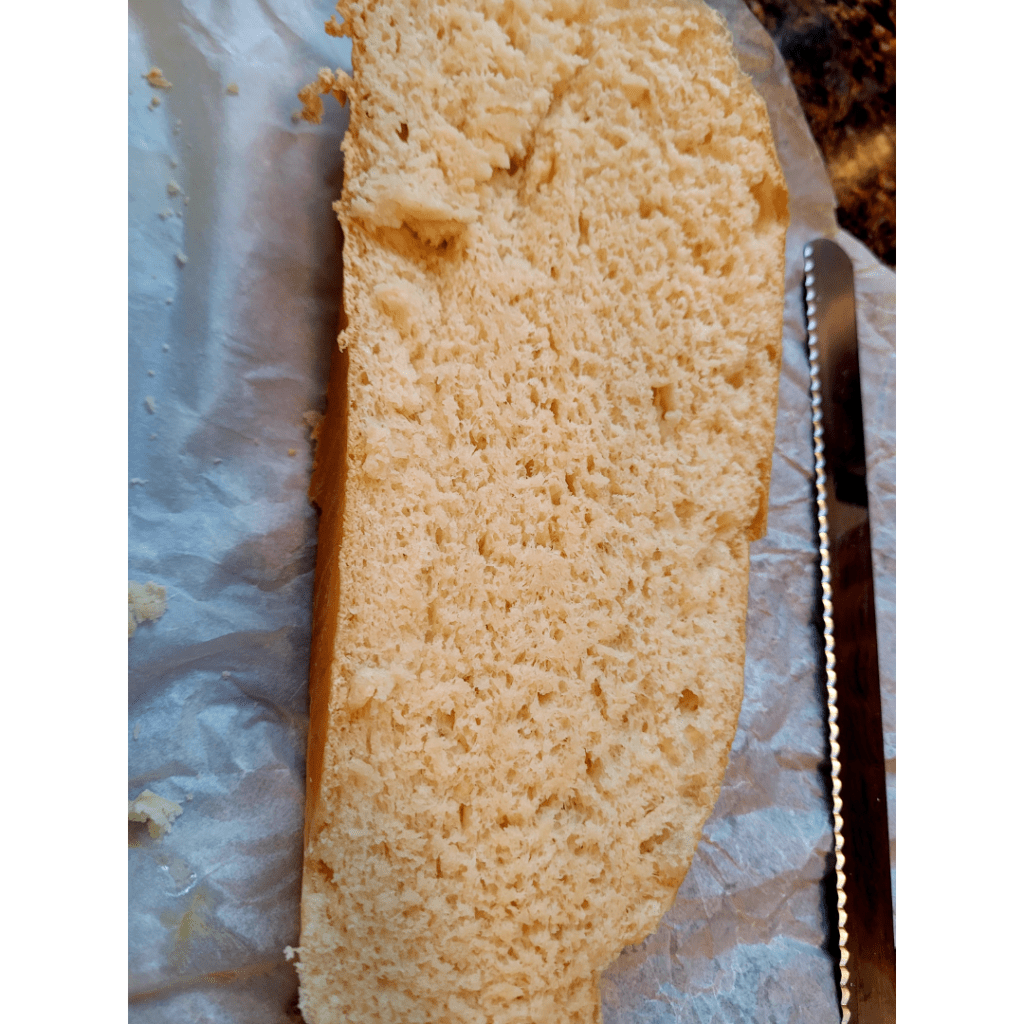
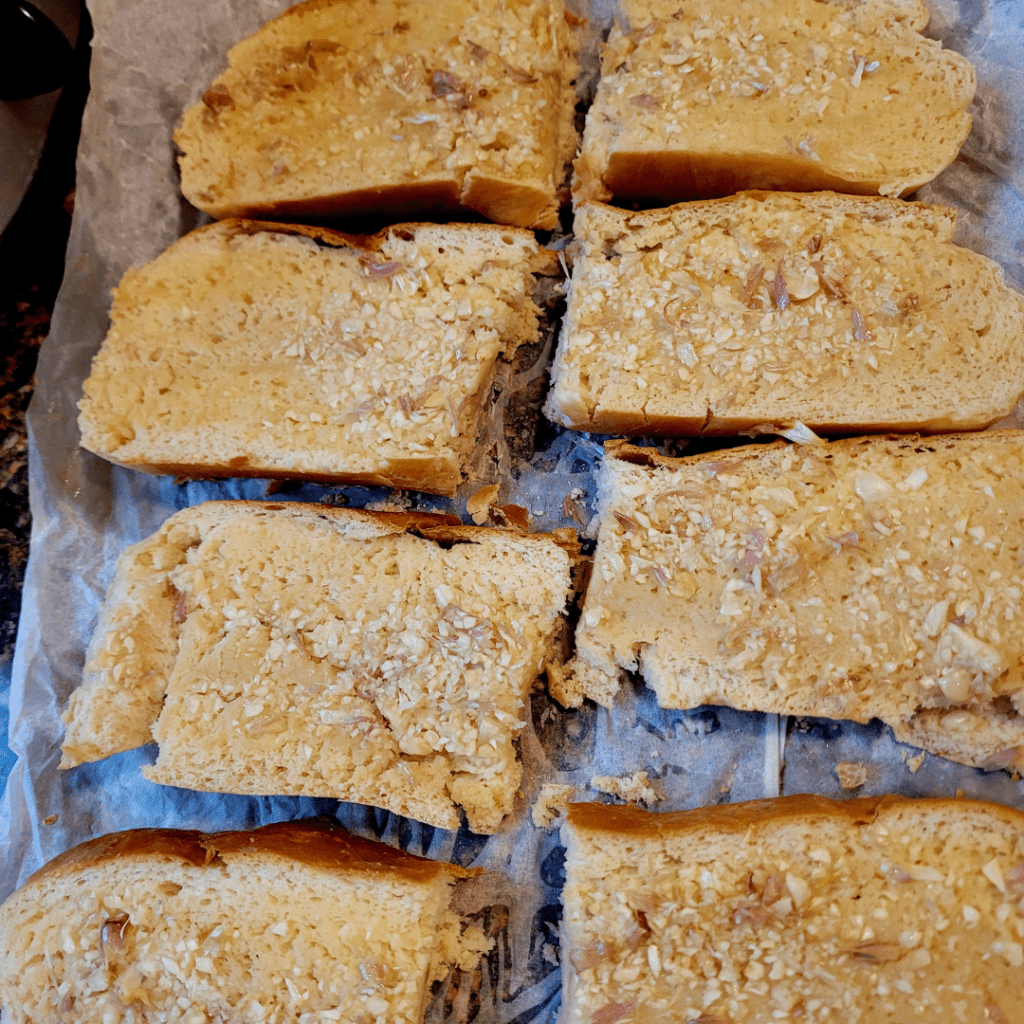
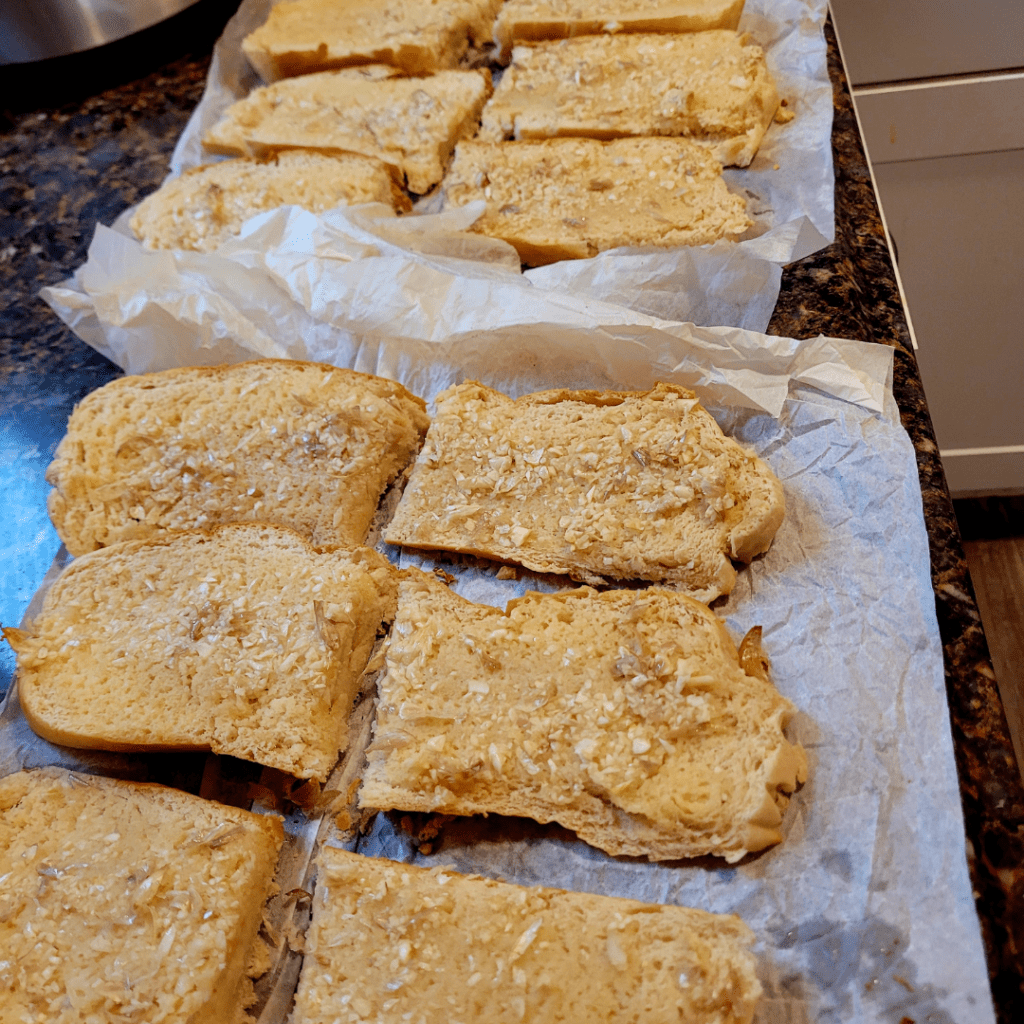
You can then slice each slice in half into 6 inches each, making them perfect sizes for serving, and place them in a napkin-lined basket to serve to your guests. I was preparing mine with garlic bread. I still needed to add butter and cheese to these slices.
Conclusion
Baking Banquet Boule Bread is a wonderful way to bring warmth and homemade charm to your holiday table. With its crisp golden crust and soft, tender interior, this bread is perfect for sharing with a crowd. Whether served with butter, alongside soups and stews, or as part of a festive feast, your guests will appreciate the effort and flavor of a loaf made from scratch. With a few simple steps and quality ingredients, you can create a show-stopping bread that makes any holiday gathering even more memorable.
Resources: Here are some helpful resources for further information.
- The World’s Easiest Cinnamon Rolls – By Minimalist Baker
- 18 Unexpected Fillings to Add to Your Cinnamon Rolls – By Tasting Table
- Think Beyond the Cinnamon Roll – By King Arthur Baking
Frequently Asked Questions
1. What is Banquet Boule Bread?
Banquet Boule Bread is a large, round loaf with a rustic appearance, a golden crust, and a soft, airy interior, ideal for serving multiple people.
2. How many people does one boule serve?
Depending on the size, a single boule can serve 8–12 people, making it perfect for holiday dinners or large gatherings.
3. Can I prepare the dough ahead of time?
Yes! You can prepare the dough the night before and refrigerate it. This slow fermentation enhances flavor and allows for easier holiday scheduling.
4. How should I store leftover bread?
Store leftover boule in an airtight container at room temperature for 2–3 days. For longer storage, slice and freeze in a sealed bag for up to 3 months.

Banquet Boule Bread
Equipment
- 1 12 inch Dutch oven
- 2 zip-lock freezer bags
Ingredients
Proofing the Yeast (add ingredients to each bag)
- 1 cup lukewarm water
- 2 ¼ tsp dry active yeast
- 2 tbsp sugar, honey, or maple syrup
For the Dough
- Proofed yeast mixture as above
- 4 ½ cups all-purpose flour
- ½ cup cup lukewarm water
- 1 ½ tsp sea salt
- 2 tbsp sugar, honey, or maple syrup
- 2 tbsp melted butter oil to brush the bread after baking
Instructions
Proofing the Yeast (add ingredients to each bag)
- Place the water in the zip lock bags, one recipe per bag.
- Add in the sugar, honey, or maple syrup to dissolve, and sprinkle the yeast over the water. Gently knead bottom of bag to mix.
- Allow the yeast to sit in a warm place for about 15 minutes, until it’s activated and becomes bubbly and frothy.
For the Dough
- Add in the flour and oil or butter one batch per bag. Close the bags with the air squeezed out and knead for ten minutes.
The First Rise
- Zip the bags closed and put them aside to rise.
- Once the dough in both bags is doubled in size and both bags are poofed up, open the bags and punch down the dough. Turn the bags inside out onto a floured surface and begin to knead both doughs together into one large, smooth dough ball. Knead for about ten minutes.
- You will end up with a giant smooth dough ball ready for the second rise!
The Second Rise
- Line your Dutch oven with crinkled parchment paper and place the large dough ball in the Dutch oven. Your Dutch oven will not even become dirty with the lining! This will make it easy to remove the bread from the Dutch oven after baking.
- Parchment Paper Tip: Crinkling the parchment paper into a ball and then uncrinkling it helps the parchment paper line pans better and forms a better shape for the pans you use.
- Cover the dough with greased plastic wrap or a clean warm damp towel to rise until doubled in size and it has filled out to the edges of the Dutch oven and risen above the rims.
Baking the Boule Bread
- Bake at 350 degrees for 45 to 50 minutes.
- Immediately after removing it from the oven, brush the top of the loaf with butter.
- Once the parchment paper edges have cooled, carefully lift the loaf out of the Dutch oven with the paper and place it on a cooling rack to completely cool.
Slicing the Bread
- The best thing about this bread recipe is that you can slice this loaf into one-foot-long slices and dress the slices with any toppings you desire and bake for an extra 15 to 20 minutes. You can serve these one-foot-long slices with garlic, parmesan, and shredded cheese, or do a pizza topping!
- Slice the bread lengthwise, making one-foot-long slices. You can then slice each slice in half into 6 inches each, making them perfect sizes for serving, and place them in a napkin-lined basket to serve to your guests. I was preparing mine with garlic bread. I still needed to add butter and cheese to these slices.
Summary
I hope I have inspired you to bake your very own bread loaves to enjoy and share with your friends and family.
If you were encouraged by this post, I invite you to check out my FREE Printables Page for fun free printables, planners, and charts.
ENTER MY FREE Printables Page HERE
Here are some more of my bread-making inspiration posts to check out!
How to Make Sourdough Pumpkin Shaped Cinnamon Rolls
The Best Pumpkin Zucchini Bread
The Only Pumpkin Muffin Recipe You’ll Ever Need!
How to Make Banana Split Quick Bread
How to Make S’mores Quick Bread
How to Make Jelly Donut Quick Bread
Lemon Blueberry: How to Make Lemon Blueberry Sourdough Focaccia
How to Make Sourdough Lemon Supreme Quick Bread
Lemon Supreme: How to Make Sourdough Lemon Supreme Quick Bread
How to Make Sourdough Strawberry Cheesecake Muffins
How to Make Chai-Spiced Sourdough Banana Bread
The Best Old Fashioned Sourdough Banana Muffins
How to Make Honey Sourdough Bread
Blueberry: How to Make Lemon Blueberry Sourdough Quick Bread
Pizza: How to Make Pizza Sourdough Focaccia
Carrot Cake: How to Make Carrot Cake Sourdough Focaccia
Easy and Delicious Hershey’s Kisses Sourdough Bread
How to Make Amish Whoopie Pies!
Lazy Cinnamon Rolls: How to Make Easy Cinnamon Rolls the Lazy Way!
Lembas Bread: How to Make Elven Lembas Bread: A Taste of Rivendell
Gnome Bread: How to Make a Sourdough Gnome Bread
How to Make Sourdough Strawberry Cheesecake Muffins
The Best Hoagie Buns Recipe Made From Scratch!
Pumpkin: How to Make Chocolate Chip Pumpkin Bread
More Recipes!
Sweet Potato Bread: How to Make Sweet Potato Bread
Chocolate Chip Cookies: How to Make Chocolate Chip Cookie Bread
Carrot Cake Quick Bread: How to Make Carrot Cake Quick Bread
How to Make Strawberries and Cream Sourdough Bread
How to Make S’mores Sourdough Bread
July 4th Bread: How to Make a Firecracker Marble Bread Braid
Artisan Bread: How to Make Artisan Bread
Challah Bread: How to Make a 6 Braided Challah Bread
Sweet Bread: How to Make Sweet Bread
Blessings,
The Off Grid Barefoot Girl

