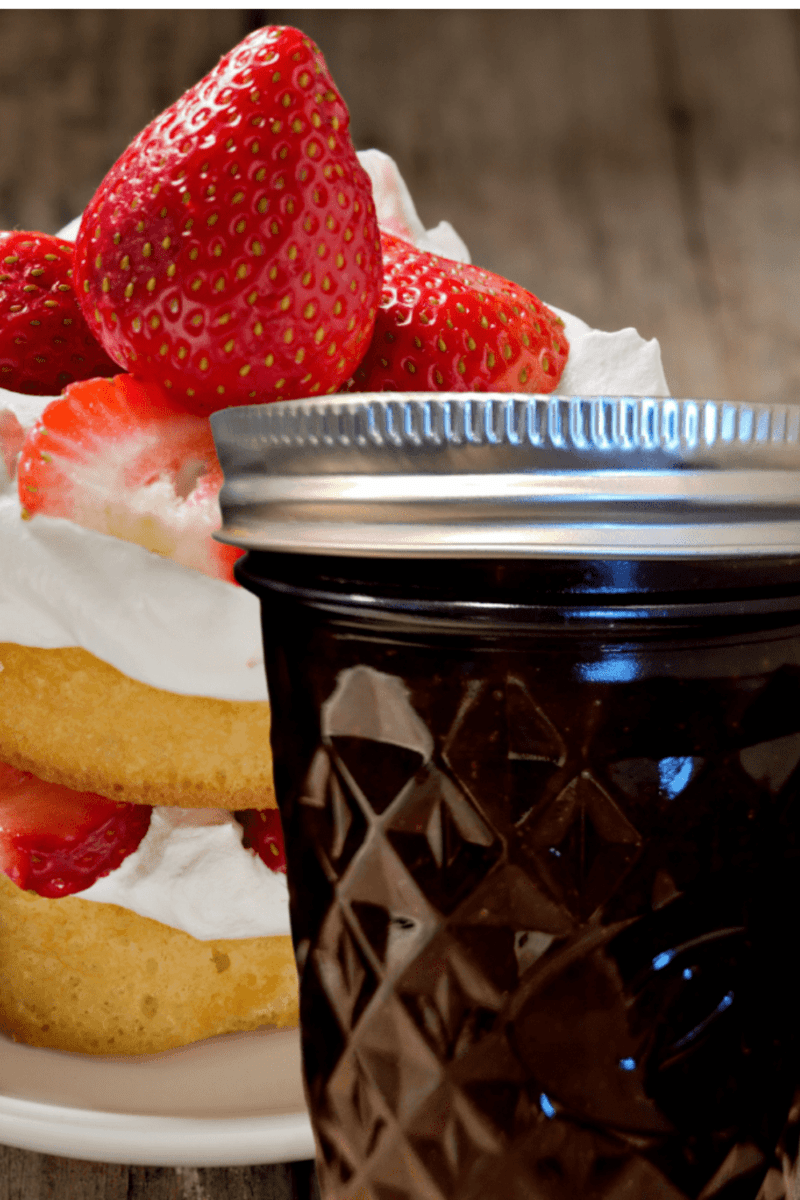
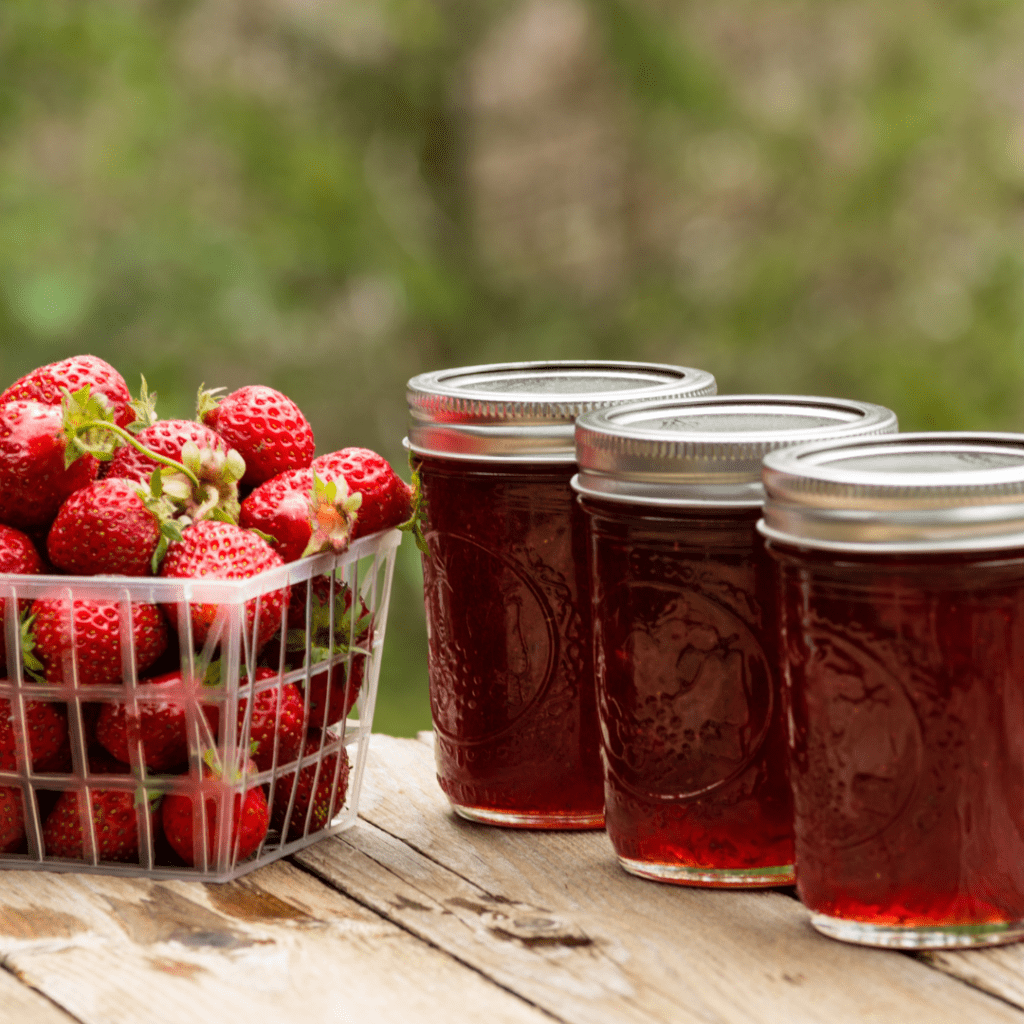
Learn how to make and can strawberry shortcake jam at home with this simple, step-by-step tutorial. Bursting with sweet strawberries and creamy vanilla flavor, this jam is perfect for spreading on toast, biscuits, or even dolloping over pancakes.
Strawberry shortcake has always been one of my favorite treats, and I wanted to capture that flavor in a jar. Making and canning strawberry shortcake jam is easier than you might think, and it’s a fun way to preserve the taste of summer for year-round enjoyment. In this post, I’ll walk you through every step—from selecting the best strawberries and preparing your ingredients to cooking the jam and safely canning it—so you can enjoy that sweet, nostalgic flavor whenever you like.
This is a pinnable post. Tap or hover over any image in this post to pin to your Pinterest Boards.

Introduction to Strawberry Shortcake Jam
Why Strawberry Shortcake Jam?
There’s something magical about a warm slice of homemade strawberry shortcake slathered with sweet and tangy strawberry jam. It’s like summer on a plate, bursting with the flavors of juicy strawberries and buttery biscuits.
So why settle for store-bought jams when you can make your own delicious strawberry shortcake jam right at home? Get ready to elevate your breakfasts, desserts, and everything in between with this delightful concoction.
The Sweet and Tangy Flavor Profile
Strawberry shortcake jam provides the perfect balance of sweetness and tanginess. The natural sweetness of fresh strawberries is combined with a touch of sugar, creating a jam that will make your taste buds dance with joy.
The tanginess comes from the addition of lemon juice, which adds a bright and refreshing note to the jam. This flavor profile makes strawberry shortcake jam incredibly versatile – it’s equally at home on a fluffy pancake as it is on a warm scone.
Gathering Ingredients and Equipment
Fresh Strawberries
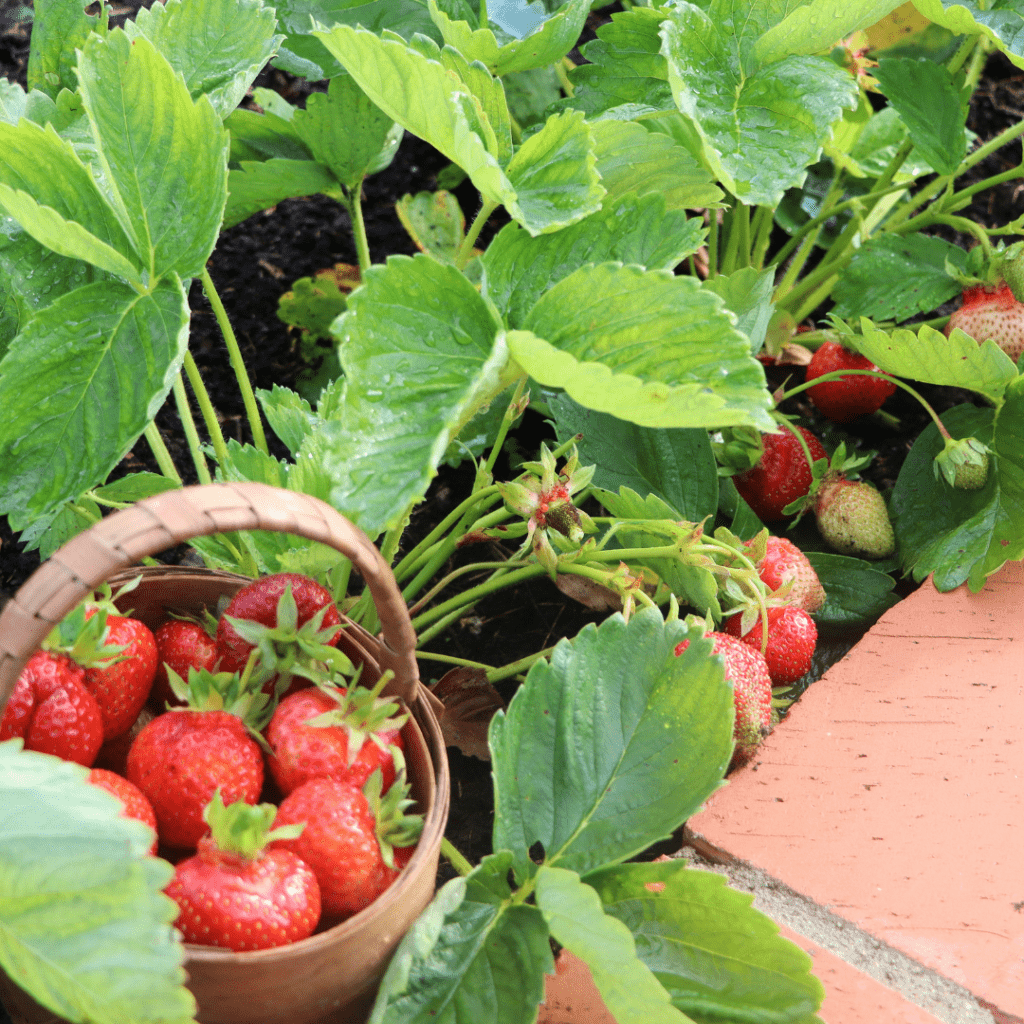
To make the best strawberry shortcake jam, start with fresh, ripe strawberries. Look for strawberries that are bright red, plump, and fragrant. The sweetness and flavor of the jam will greatly depend on the quality of the strawberries, so don’t be afraid to splurge on the best ones you can find. Or gather your strawberry harvest for this fun canning project!
Sugar and Pectin
Sugar is an essential ingredient in jam-making as it helps preserve the fruit and adds sweetness. Pectin, a natural thickening agent, gives the jam its desirable texture. You can find both sugar and pectin at your local grocery store or online.
Vanilla and Almond Extract
Adding vanilla and almond extract to this strawberry shortcake jam recipe creates that cool whip taste, making you believe you are eating a delicious strawberry shortcake even if you are just eating pancakes or tarts!
Essential Equipment
To make and can strawberry shortcake jam, you’ll need a few basic kitchen tools. These include a large pot for cooking the jam, a canning pot or a deep pot for processing the jars, jars with lids for canning, a canning funnel for easy jar filling, and a jar lifter to safely remove hot jars from boiling water.
Preparing Strawberries for Jam-Making
Washing and Hulling the Strawberries
Before making the jam, make sure to wash the strawberries thoroughly under cool water. Gently pat them dry with a kitchen towel. Remove the stems and leaves, also known as hulling, using a sharp knife or a strawberry huller. Tip: Don’t be tempted to skip this step; clean and hulled strawberries will ensure a smooth and delicious jam.
Chopping or Mashing the Strawberries
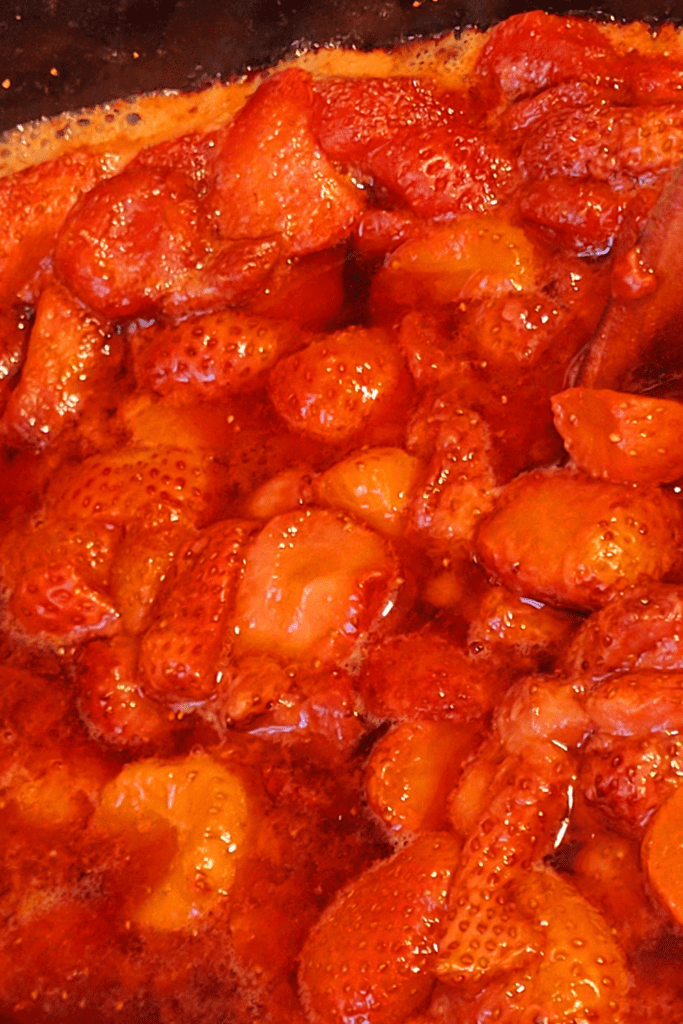
Once the strawberries are hulled, you can choose to either chop them into small pieces or mash them with a potato masher. Chopping will give your jam a chunkier texture, while mashing creates a smoother consistency. You can even combine both methods for a jam with varying textures. The choice is yours!
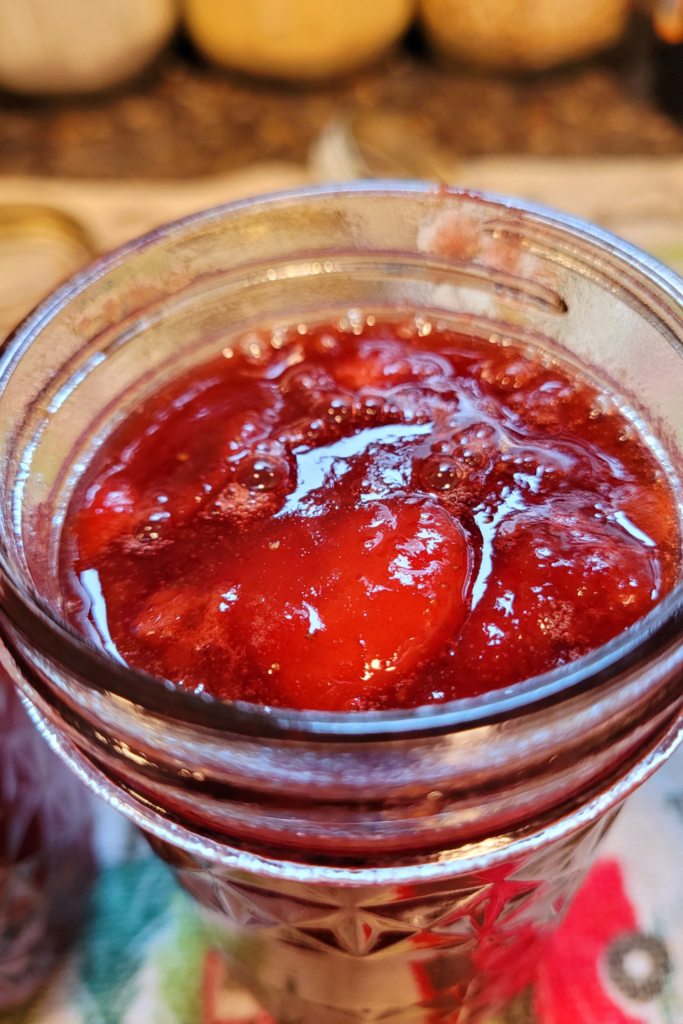
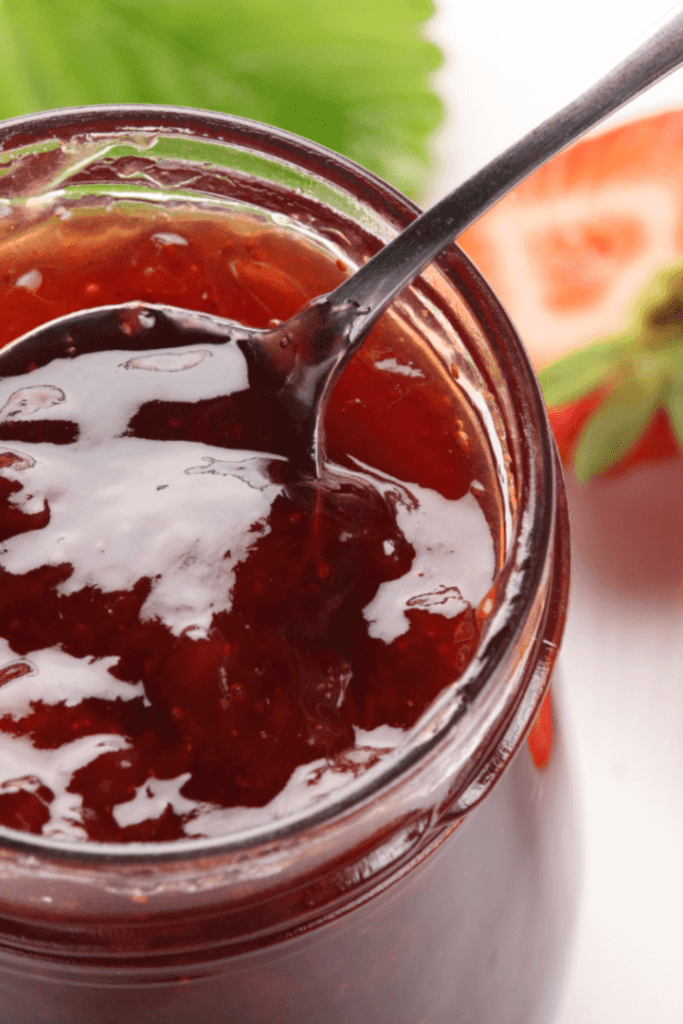
I used a stick blender for my strawberry shortcake jam. I did not blend completely though, I left a few bits of chunkier strawberries for taste and texture.
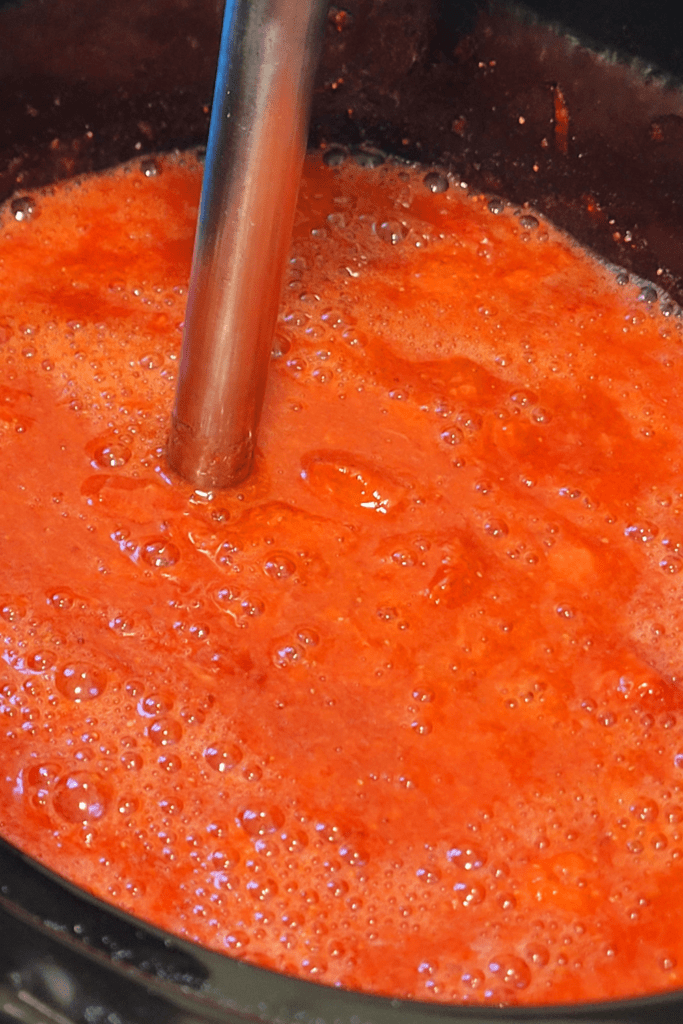
Making and Cooking the Strawberry Shortcake Jam
Combining Ingredients
In a large pot, combine the chopped or mashed strawberries, sugar, lemon juice, pectin, and vanilla and almond extract. Stir the mixture until the sugar and pectin dissolve completely. Make sure to use a pot with enough room for the jam to bubble and expand while cooking.
Bringing the Mixture to a Boil
Place the pot over medium-high heat and bring the strawberry mixture to a rolling boil. Keep stirring frequently to prevent the jam from sticking to the bottom of the pot. This step helps activate the pectin and allows the jam to thicken.
Simmering and Stirring
Once the mixture reaches a rolling boil, reduce the heat to medium-low and let the jam simmer for about 20-30 minutes. Stir occasionally to prevent the jam from scorching. The longer you simmer, the thicker the jam will become.
Sterilizing Jars and Canning the Jam
Preparing the Jars
Before we dive into the fun part of making and canning strawberry shortcake jam, we need to make sure our jars are squeaky clean. No one wants any unwanted surprises in their jam, right?
So, grab those jars and give them a good wash with hot soapy water. Don’t forget to scrub off any labels or sticky residue – we want our jars to look their best!
Filling the Jars with Jam
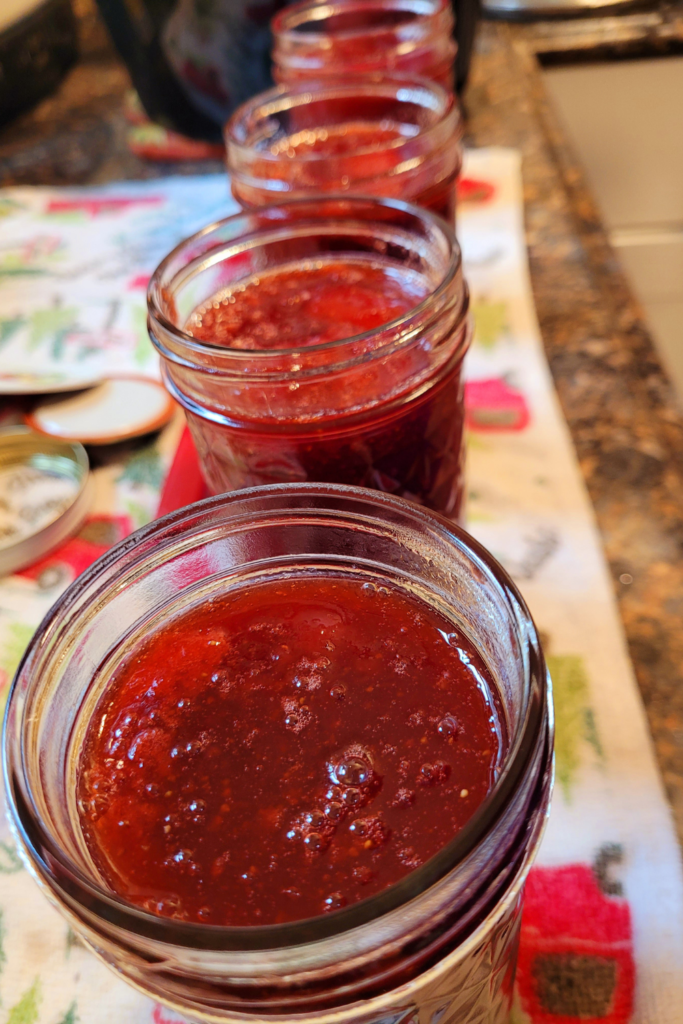
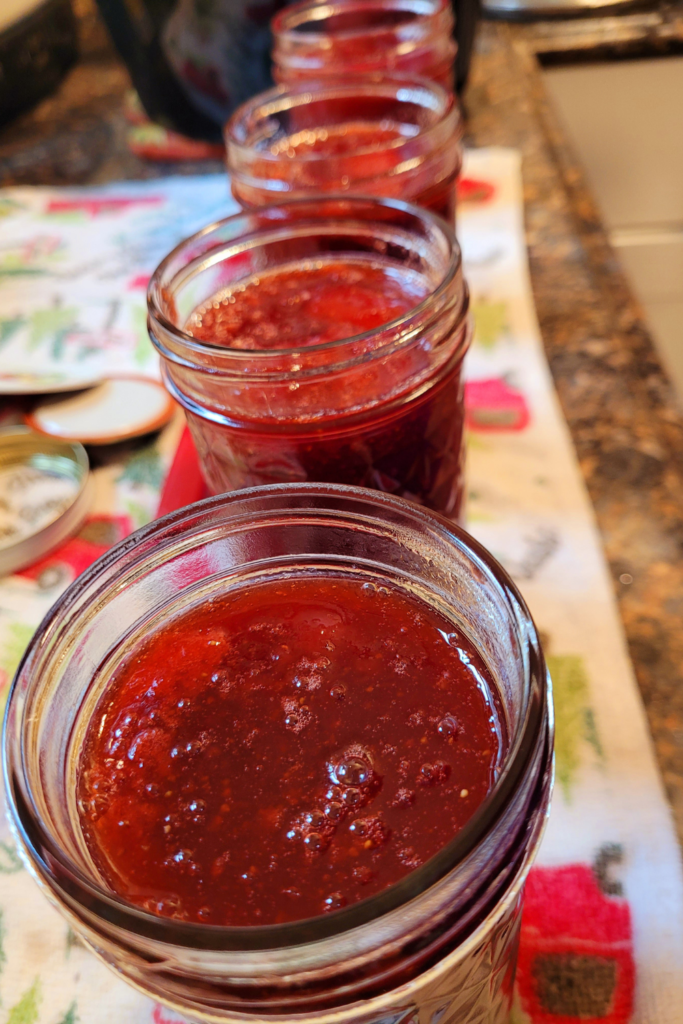
Take your beautifully sterilized jars and start spooning that luscious strawberry shortcake jam into each jar. Fill them up, leaving about half an inch of headspace at the top. We want to make sure there’s enough room for the jam to expand a little as it cools.
Sealing and Processing the Jars
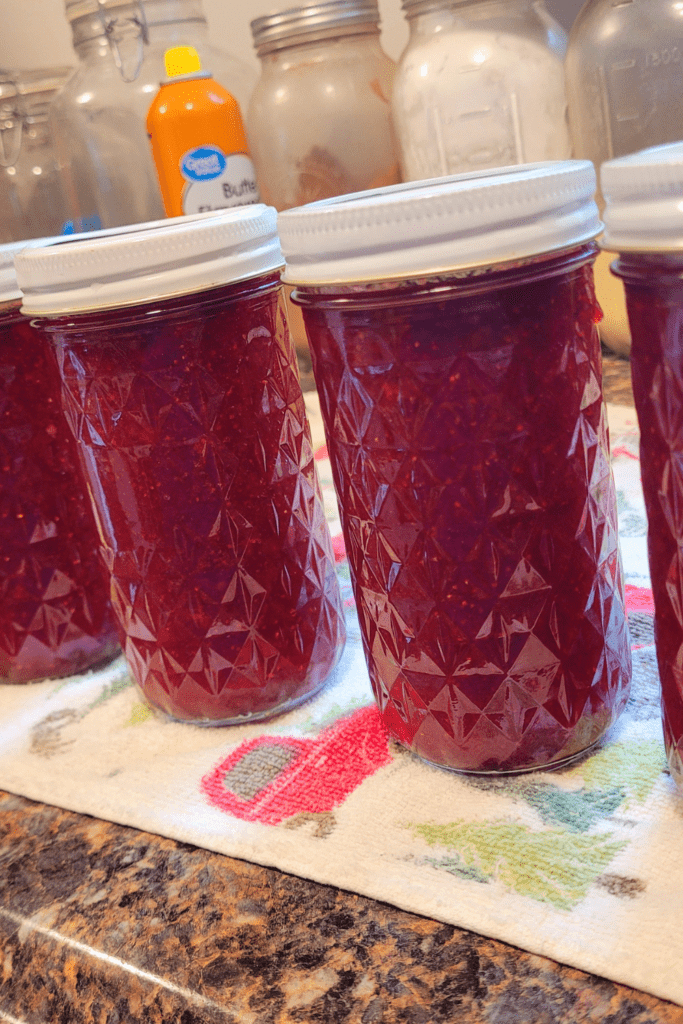
Once your jars are positively bursting with jammy goodness, it’s time to seal the deal. Place those lids on top and tighten them securely. Now, we need to give our jars a little hot tub time. Grab a big pot and fill it with enough water to cover the jars by at least an inch. Carefully lower the jars into the pot and let them process in the boiling water for 10 minutes. This process helps create a vacuum seal and keeps the jam safely preserved.
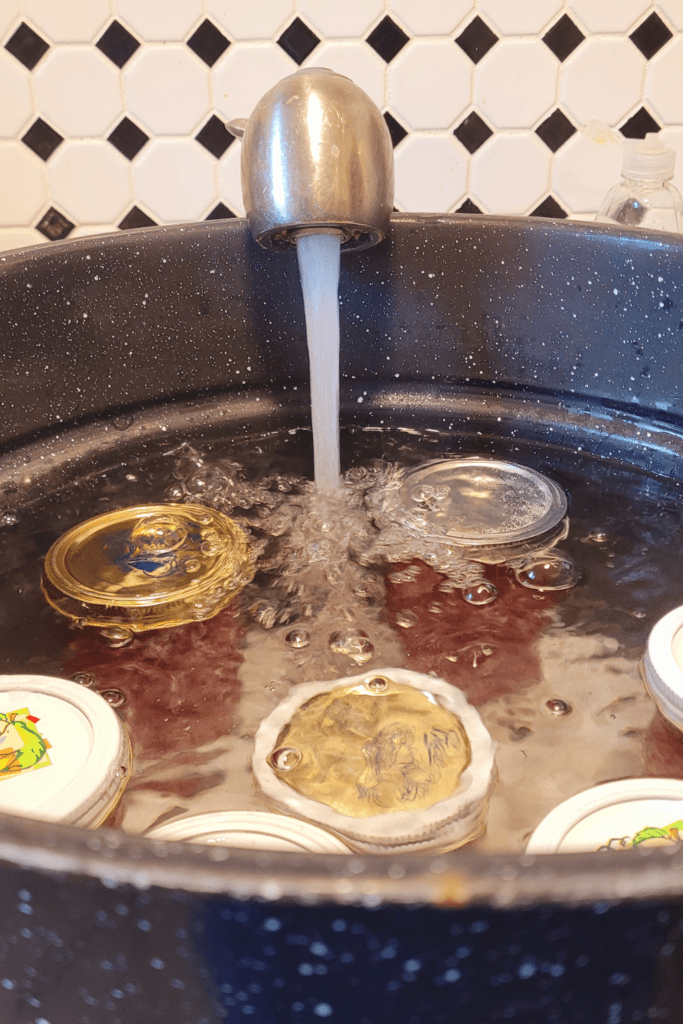
Cooling and Storing the Strawberry Shortcake Jam
Allowing the Jars to Cool
Alright, patience is a virtue, especially when it comes to homemade jam. After the jars have taken their hot bath, it’s time to let them cool their jets. Carefully remove the jars from the pot using jar tongs or kitchen gloves, and place them on a clean towel or cooling rack. Let them sit undisturbed until they reach room temperature. This gives the jam time to set.
Checking for Proper Sealing
Once the jars have cooled down, it’s time for a little inspection. Gently press down on the center of each lid – they should be firm and not pop back up. If any of the lids pop up, sadly, it means they didn’t seal properly. But don’t worry, you can still enjoy that jar right away or store it in the refrigerator for immediate consumption.
The rest of the sealed jars can be stored in a cool, dark place for further seasoning and admiration. Keep in mind that sometimes jars take a bit of time to seal. I have often heard one ding in the middle of the night as he was a late dinger… if that even makes any sense.
Storing the Jam
Now comes the time to find a cozy spot for the strawberry shortcake jam to call home. Store your sealed jars in a cool, dark place like a pantry or cupboard. Make sure to label them with the date so you can keep track of their delicious aging process. Remember, homemade jam is a gift that keeps on giving, so don’t be shy about sharing the sweetness with your loved ones.

Creative Uses and Serving Suggestions for Strawberry Shortcake Jam
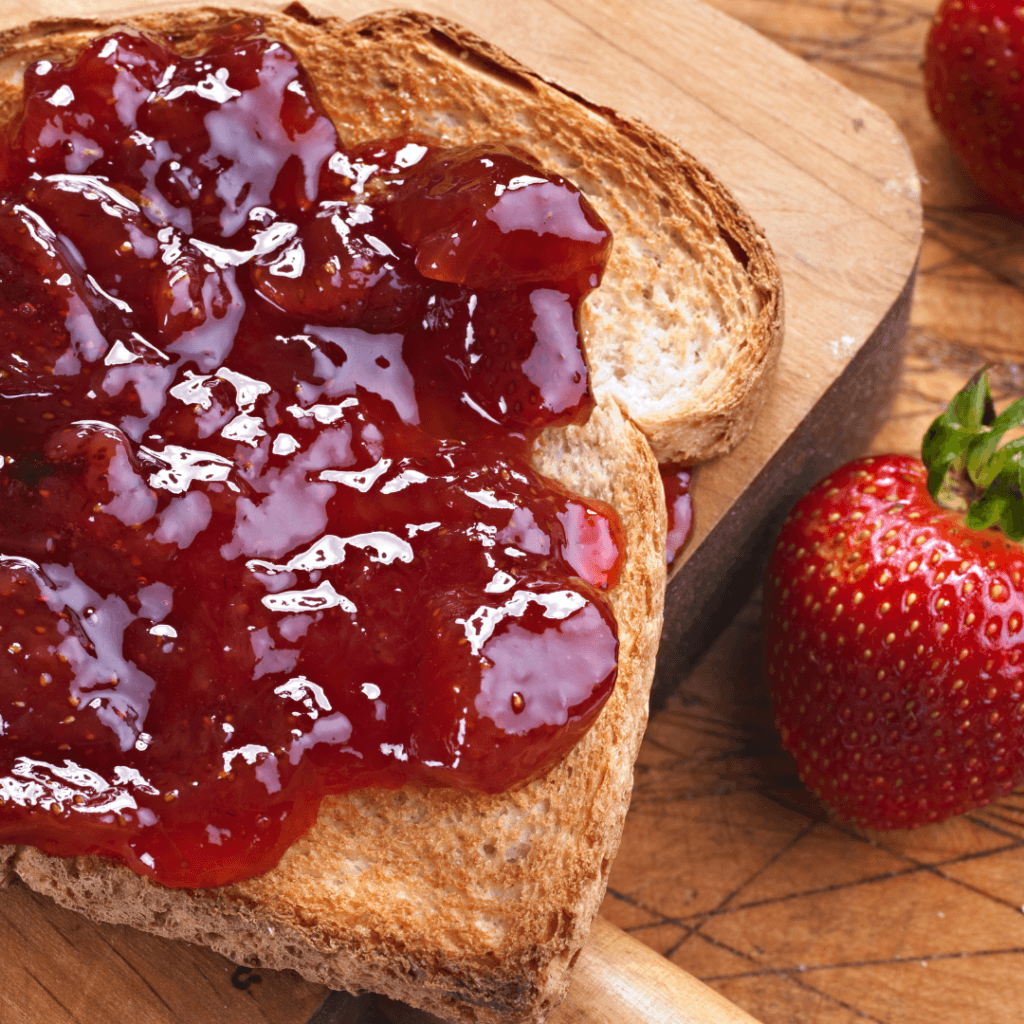
Spreading on Toast or Biscuits
Toast and biscuits become instant rockstars when adorned with a generous slather of strawberry shortcake jam. Nothing is better than homemade jam!
Using as a Filling for Cakes or Pastries
Take your baking creations to the next level by adding a dollop of strawberry shortcake jam between cake layers or inside pastries.
Pairing with Cheese or Yogurt
Get a little fancy and give your cheese board a sweet twist. Serve your favorite cheese alongside a jar of strawberry shortcake jam for a perfect harmony of flavors.
Troubleshooting Tips for Making Strawberry Shortcake Jam
Jam Not Setting Properly
If your jam turns out a little runnier than you’d like, fear not! It happens to the best of us. To fix this, you can bring the jam back to a boil and add a bit more pectin (following the instructions on the packet).
Just think of it as your chance to play scientist and save the day – you’ve got this! If not, you now have yourself some amazing strawberry shortcake syrup!
Excessive Foam Formation
Sometimes, jam gets a little too bubbly, like a science experiment gone wrong. To tame the foam, add a small knob of butter or oil to the pot while the jam is boiling. This will help prevent foam from forming and save you from a sticky kitchen disaster.
Preventing Mold or Spoilage
We all want our jam to last as long as possible, right? To keep those pesky molds away, make sure your jars, utensils, and hands are sparkling clean. Also, don’t forget to properly seal and process your jars – that vacuum seal is like the superhero cape of preserving jam. And when in doubt, throw it out!
So there you have it – the final steps to becoming a strawberry shortcake jam-making pro. Embrace your newfound skills, experiment with flavor combinations, and share the sweetness with those around you.
Remember, making jam is a labor of love, and every jar is like a tiny jar of happiness waiting to be spread. Enjoy!
Conclusion
In conclusion, making and canning your own Strawberry Shortcake Jam is a rewarding and delicious endeavor. With its sweet and tangy flavor, this jam is a versatile addition to your pantry. Whether you spread it on toast, use it as a filling, or get creative with other serving suggestions, this homemade Strawberry Shortcake Jam is sure to bring joy to your taste buds.
So, gather your ingredients, follow the steps outlined in this article, and savor the fruits of your labor with each delightful spoonful of this homemade treat. Enjoy the taste and the satisfaction of preserving the flavors of summer all year long.
Resources: Here are some helpful resources for further information.
- Basic Homemade Fruit Jam – By My Cancale Kitchen
- Easy Homemade Jam – By Lord Byron’s Kitchen
- How to Make the Best Homemade Jams – By Les Menus Plaisir

Frequently Asked Questions
1. Can I use frozen strawberries instead of fresh ones?
You can totally use frozen strawberries instead of fresh ones in a lot of recipes. The great thing about using frozen strawberries is that they are available year-round and are conveniently pre-washed and sliced. It’s important to note that frozen strawberries may be slightly softer than fresh ones, but this won’t impact the taste or texture much.
2. How long does the Strawberry Shortcake Jam stay fresh?
The good news is that if it’s properly stored, this delectable treat can last for quite some time. Generally speaking, homemade strawberry shortcake jam can last in the pantry after being canned for a couple of years.
3. Can I adjust the sweetness of the jam?
You can opt for a less sugary jam by omitting some of the sugar. You may need to cook it for a bit longer to ensure a properly set jam for the end result.
Strawberry Shortcake Jam Recipe
Strawberry Shortcake Jam Recipe
Equipment
- 1 pot.
- 1 water bath canner
- canning supplies
Ingredients
- 5 cups or 5 pounds crushed strawberries.
- ¼ cup cup lemon juice.
- 6 tbsp powdered pectin.
- 7 cups sugar.
- 1 tsp vanilla extract.
- 1 tsp almond extract.
Instructions
Washing and Hulling the Strawberries
- Before making the jam, make sure to wash the strawberries thoroughly under cool water. Gently pat them dry with a kitchen towel. Remove the stems and leaves, also known as hulling, using a sharp knife or a strawberry huller. Tip: Don't be tempted to skip this step; clean and hulled strawberries will ensure a smooth and delicious jam.
Chopping or Mashing the Strawberries
- Once the strawberries are hulled, you can choose to either chop them into small pieces or mash them with a potato masher. Chopping will give your jam a chunkier texture, while mashing creates a smoother consistency. You can even combine both methods for a jam with varying textures. The choice is yours!
Combining Ingredients
- In a large pot, combine the chopped or mashed strawberries, sugar, lemon juice, pectin, and vanilla and almond extract. Stir the mixture until the sugar and pectin dissolve completely. Make sure to use a pot with enough room for the jam to bubble and expand while cooking.
Bringing the Mixture to a Boil
- Place the pot over medium-high heat and bring the strawberry mixture to a rolling boil. Keep stirring frequently to prevent the jam from sticking to the bottom of the pot. This step helps activate the pectin and allows the jam to thicken.
Simmering and Stirring
- Once the mixture reaches a rolling boil, reduce the heat to medium-low and let the jam simmer for about 20-30 minutes. Stir occasionally to prevent the jam from scorching. The longer you simmer, the thicker the jam will become.
Preparing the Jars
- Grab your jars and give them a good wash with hot soapy water. Don't forget to scrub off any labels or sticky residue.
Filling the Jars with Jam
- Take your beautifully sterilized jars and start spooning that luscious strawberry shortcake jam into each jar. Fill them up, leaving about half an inch of headspace at the top. Make sure there's enough room for the jam to expand a little as it cools.
Sealing and Processing the Jars
- Once your jars are positively bursting with jammy goodness, it's time to seal the deal. Place those lids on top and tighten them securely. Now, we need to give our jars a little hot tub time. Grab a big pot and fill it with enough water to cover the jars by at least an inch. Carefully lower the jars into the pot and let them process in the boiling water for 10 minutes. This process helps create a vacuum seal and keeps the jam safely preserved.
Allowing the Jars to Cool
- After the jars have taken their hot bath, it's time to let them cool their jets. Carefully remove the jars from the pot using jar tongs or kitchen gloves, and place them on a clean towel or cooling rack. Let them sit undisturbed until they reach room temperature. This gives the jam time to set.
Checking for Proper Sealing
- Once the jars have cooled down, it's time for a little inspection. Gently press down on the center of each lid – they should be firm and not pop back up. If any of the lids pop up, sadly, it means they didn't seal properly. But don't worry, you can still enjoy that jar right away or store it in the refrigerator for immediate consumption. The rest of the sealed jars can be stored in a cool, dark place for further seasoning and admiration. Keep in mind that sometimes jars take a bit of time to seal. I have often heard one ding in the middle of the night as he was a late dinger… if that even makes any sense.
Storing the Jam
- Store your sealed jars in a cool, dark place like a pantry or cupboard. Make sure to label them with the date so you can keep track of their delicious aging process.
Summary
I hope I have inspired you to stockpile your pantry for your survival needs.
If you were encouraged by this post, I invite you to check out my FREE Printables Page for fun free printables, planners, and charts.
ENTER MY FREE Printables Page HERE
Here are some more of my canning inspiration posts to check out!
Pears: How to Make and Can Pear Honey
Pears: How to Make and Can Salted Caramel Pear Butter
Butternut Squash: How to Make and Can Butternut Squash Butte
Quince: How to Make and Can Fall Spiced Quince Chutney
Quince: How to Can Quince
Carrot Cake Butter: How to Make and Can Carrot Cake Butter
Peach Pie Filling: How to Make and Can Peach Pie Filling
Pear Pie Filling: How to Make and Can Pear Pie Filling
The Best Winter Pantry Staples to Stockpile Now!
More Recipes!
Grapes: How to Make and Can Grape Jam
Apple Cider: How to Make Homemade Apple Cider Vinegar
How to Make and Can Cherry Plum Jam
How to Make and Can Apple Butter In Crockpot
Stockpiling Condiments for Survival: Learn How I Do It!
How to Make and Can Vegetable Pot Pie Filling
Easy Canning Applesauce Recipes to Stalk Your Pantry!
How to Make Peach Jalapeno Jam
Cherries: How to Make Cherry Pie Filling
Cherries: How to Make Cherry Syrup
Salsa: How to Make and Can Cherry Salsa
Peaches: How to Make and Can Peach Salsa
Canning Supplies You Need Now for a Successful Canning Season!
How to Make and Can Balsamic Onion Jam
Cranberry Sauce: How to Make and Can Old Fashioned Cranberry Sauce
How to Make and Can Cranberry Merry Jam
How to Make and Can Strawberry Shortcake Jam
Cherry Jam: How to Make and Can Cherry Pie Jam
Carrot Cake Jam: How to Make and Can Carrot Cake Jam
Quince Jam: How to Can a Year’s Supply of Quince Jam
Root Beer Float Jelly: How to Make and Can Root Beer Float Jelly
Blessings,
The Off Grid Barefoot Girl

