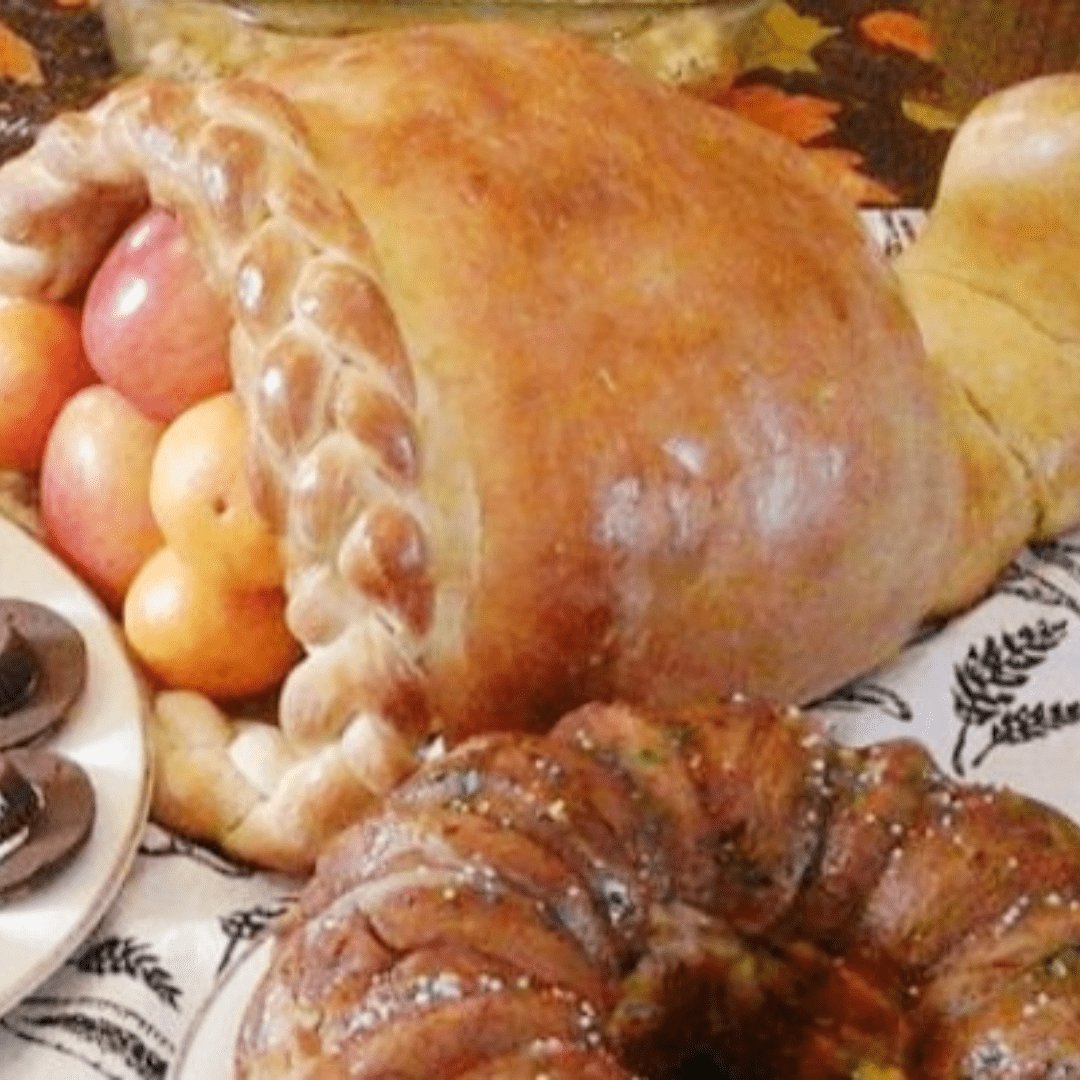
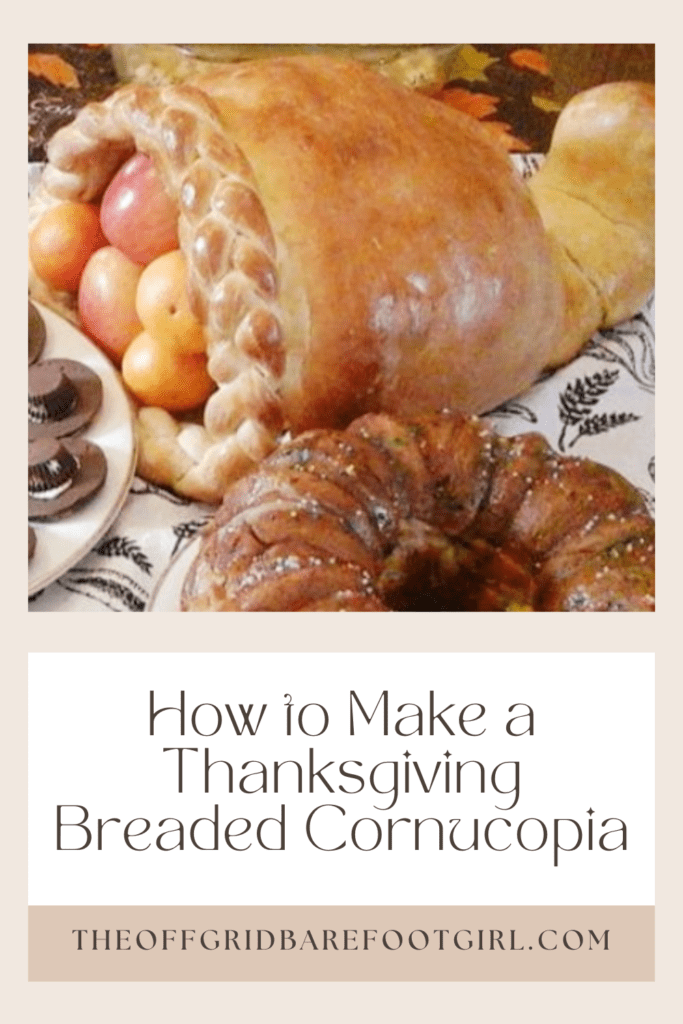
Thanksgiving breaded cornucopia.
Thanksgiving is a time to gather, give thanks, and share delicious food with family and friends. If you’re looking for a unique, edible centerpiece that captures the spirit of the season, a breaded cornucopia is the perfect choice! Also known as the “horn of plenty,” the cornucopia symbolizes abundance and gratitude, making it an ideal decoration for your Thanksgiving table.
In this post, I’ll guide you through the steps to create a beautiful, golden-brown bread cornucopia, ready to be filled with an assortment of fruits, vegetables, or treats. Not only is it a show-stopper, but it’s also a fun project that adds a homemade touch to your holiday spread. Let’s get started on crafting a Thanksgiving centerpiece that’s as delicious as it is meaningful!
This is a pinnable post. Tap or hover over any image in this post to pin to your Pinterest Boards.
Introduction: Thanksgiving Breaded Cornucopia – A Festive and Delicious Centerpiece
Thanksgiving – that magical time of year when we gather with loved ones to enjoy a feast and make memories around the table. This year, why not take your Thanksgiving spread to the next level with a truly unforgettable centerpiece? Meet the Thanksgiving Breaded Cornucopia – a show-stopping creation that’s as delicious as it is beautiful! This breaded version of the traditional cornucopia will bring a rustic charm to your cheese board or dinner table and will surely leave your guests talking about it all night.
Don’t worry about needing fancy equipment or advanced baking skills. I’m here to guide you every step of the way, cheering you on as we craft this incredible holiday addition together. Let’s get started making your very own Thanksgiving breaded cornucopia – a festive, tasty masterpiece that will bring a new level of warmth to your holiday celebration!
The Joy of Showcasing a Festive Cornucopia
Imagine this: a big, beautiful breaded cornucopia, overflowing with vibrant fruits, crisp vegetables, crunchy nuts, and all sorts of delicious treats. It’s nature’s way of saying, “Let’s celebrate the bounty!” The colors, the aromas – it’s enough to make anyone’s mouth water. And the best part? You get to mix and match these flavors to create a little taste adventure all your own. Sweet melon alongside tangy orange slices, crisp apples paired with crunchy carrots – each bite is a surprise! Plus, it’s visually stunning, adding an instant festive flair to your table. Whether you’re hosting a Thanksgiving feast or treating yourself to a special touch, this cornucopia brings extra cheer and beauty to the holiday!
Gathering the Ingredients and Tools
Ingredients for Bread Dough
To make the breaded cornucopia, you’ll need:
- 1/2 cup warm water.
- 2 tbsp white sugar.
- 2 1/4 tsp dry active yeast.
- 4 1/2 cups all-purpose flour.
- 2 tbsp white sugar.
- 2 tbsp melted butter.
Additional Ingredients for Filling
When it comes to filling your edible cornucopia, the possibilities are endless! You can get creative and mix sweet and savory ingredients for a delightful blend of flavors. How about stuffing your cornucopia with a creamy spinach and artichoke dip? It’s tangy, cheesy, and absolutely delicious. Or perhaps you prefer a sweet treat? Fill your cornucopia with an assortment of fresh seasonal fruits like berries, grapes, and sliced melons. For chocolate lovers, try adding some miniature chocolate candies or even drizzling melted chocolate over popcorn and pretzels for an indulgent twist. Don’t forget about the classic fall flavors!
Fillings like caramel popcorn, roasted nuts, or even mini pumpkin pies will add a touch of autumn to your table. The key is to experiment and have fun with different combinations until you find the perfect fillings that will have your guests coming back for more! For the filling, you can get creative and use a variety of Thanksgiving-inspired ingredients. Here are a few suggestions:
- Vegetables.
- Fruit.
- Grapes.
- Crackers.
- Nuts.
- Cheese.
- Candy.
- Popcorn.
- Mini pies.
Feel free to mix and match these fillings or add your own personal favorites!
Essential Tools and Equipment
To bring your breaded cornucopia to life, make sure you have the following tools and equipment:
- A large mixing bowl.
- Measuring cups and spoons.
- A baking sheet.
- Parchment paper.
- Aluminum foil.
- A rolling pin.
- A pastry brush.
- A large serving tray.
Preparing the Bread Dough for Cornucopia Shape
Making the Bread Dough
In a large mixing bowl, combine the active dry yeast, salt, lukewarm water and sugar. Gradually add the all-purpose flour while stirring until a soft dough forms. Knead the dough for about 5 minutes until it becomes smooth and elastic. If the dough feels too sticky, you can sprinkle a little flour to help with the kneading process.
Cover the bowl with plastic wrap and let the dough rise in a warm place for about 1 hour or until it doubles in size. This step, known as proofing, allows the yeast to work its magic and gives the bread its light and fluffy texture.
Shaping and Baking the Cornucopia
Shaping the Cornucopia
While the dough is rising, it is time to shape the aluminum foil cornucopia mold for the shape of the cornucopia. Grab your aluminum foil and start tearing off large square pieces and begin rolling them from one corner to another to form a horn. You will repeat this process over and over again until you have the shape and size of the cornucopia that you want.
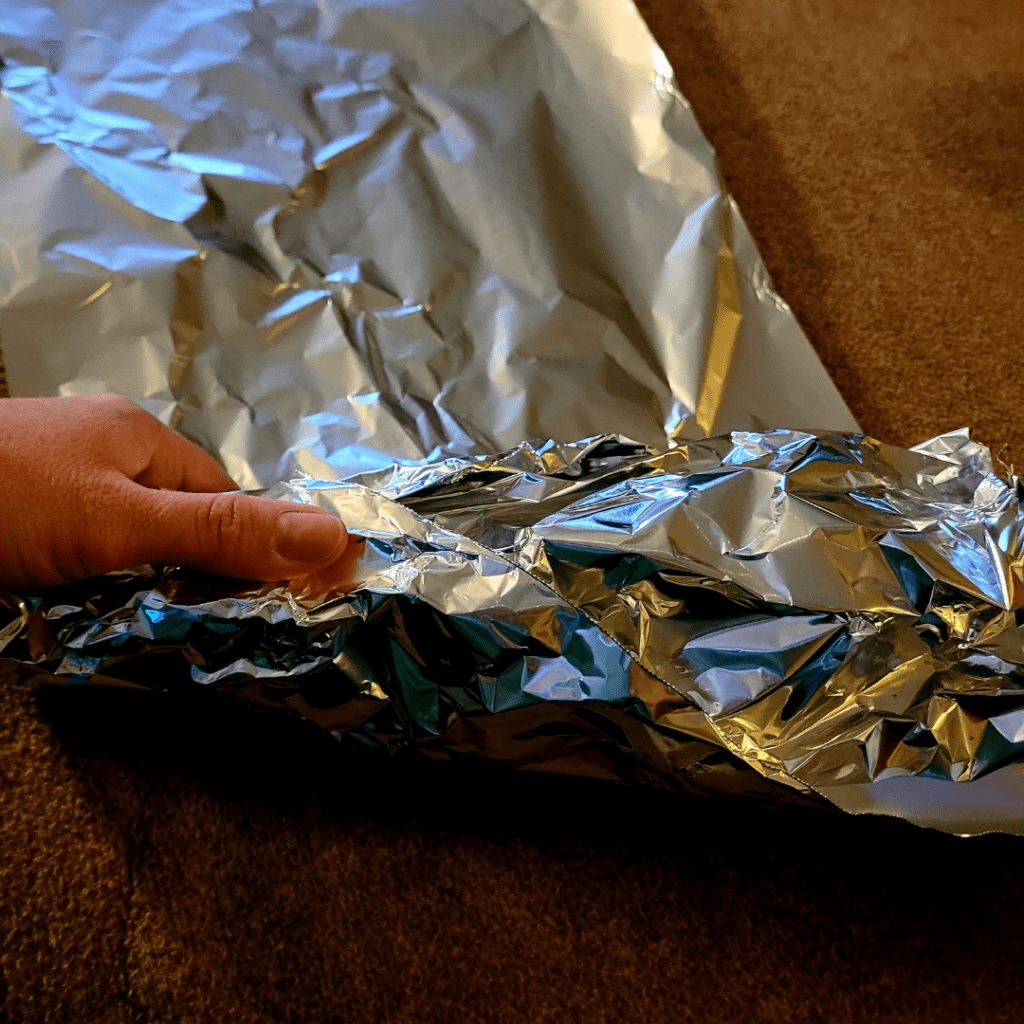
Creating my aluminum foil cornucopia mold took me a bit to make. I moved my workstation into my living room to watch a show to help keep me entertained while I rolled and rolled and rolled the aluminum foil to the size I wanted for my Thanksgiving dinner cornucopia. I spread out a large clean towel on my coffee table and placed the aluminum foil cornucopia on it as my workstation as I sat on the couch watching my show. Confession: I also wanted to watch the Charlie Brown Thanksgiving with my kids while I was making this cornucopia.
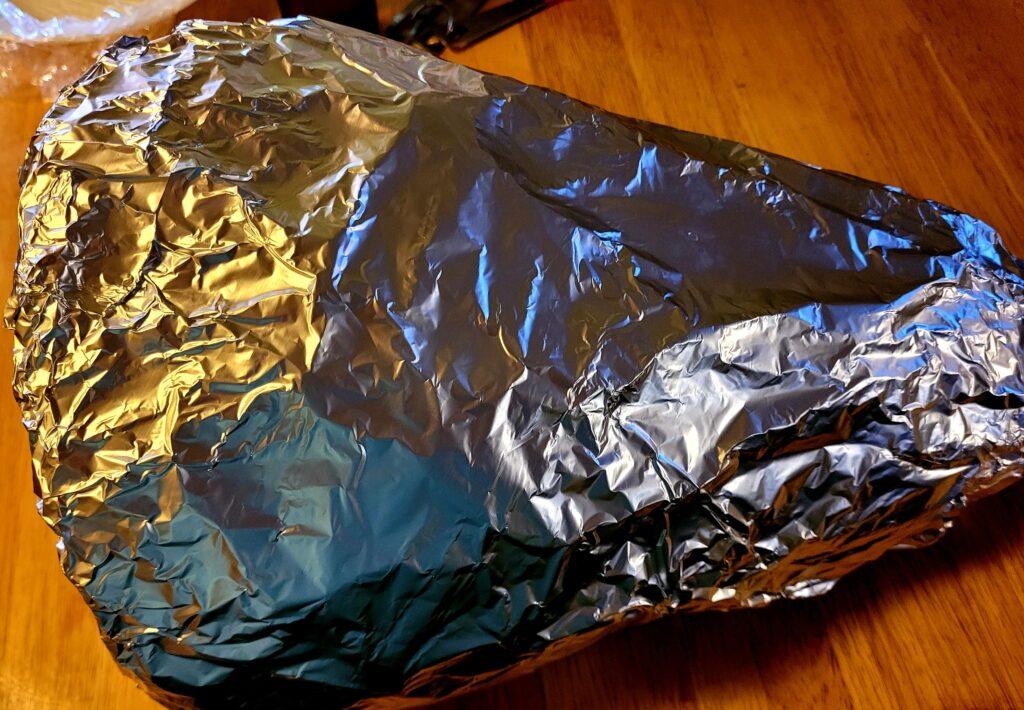
The great thing about this project is that you can make the cornucopia as small or big as you want! You can make two small cornucopias or a dozen roll-sized cornucopias to serve your family at Thanksgiving. Just make the aluminum foil horns the sizes that you want because you will be wrapping your bread dough around it.
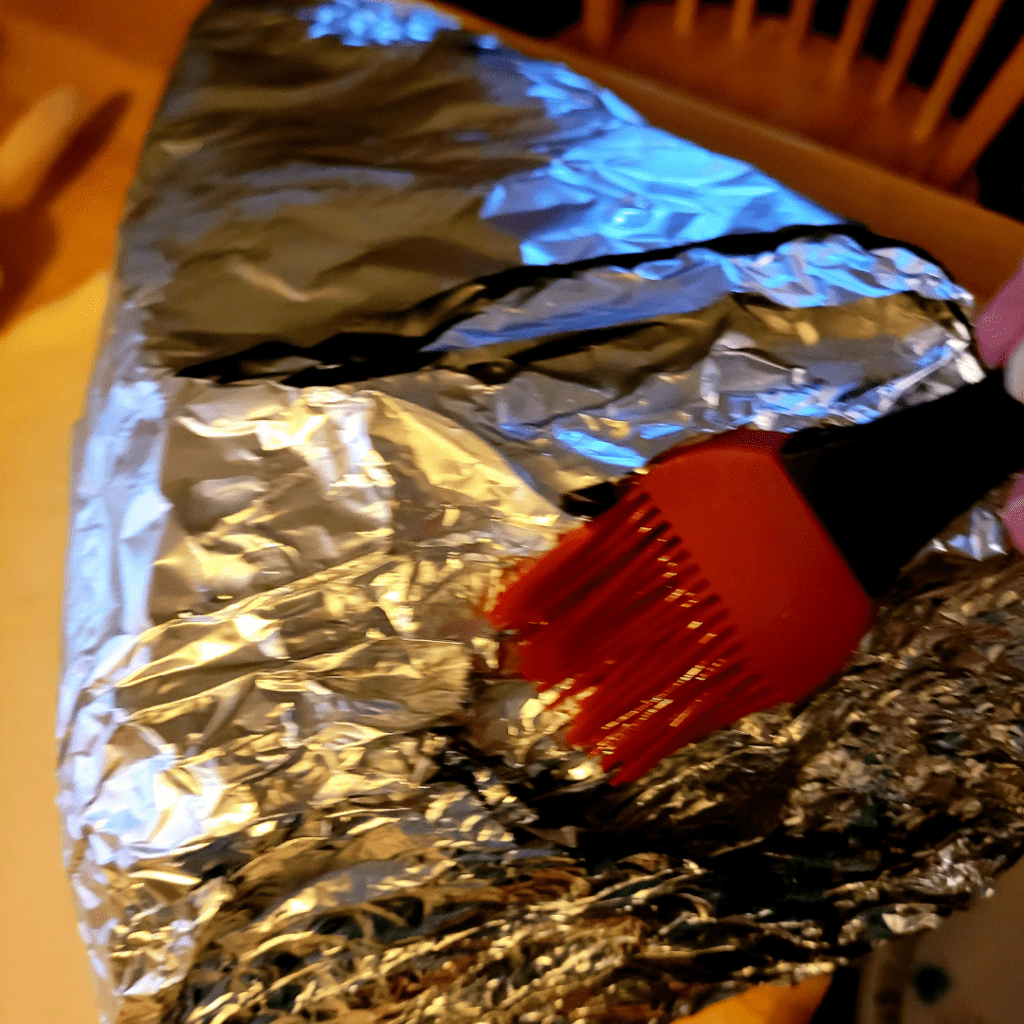
Brushing Oil Over the Aluminum Foil Shaped Cornucopia
Brush your foil cornucopia with oil BEFORE wrapping your rolled-out dough onto it. So prepare it now before you forget and set it aside. This will prevent the breaded cornucopia from sticking to the aluminum foil during the baking process. You can use your pastry brush to brush the oil over the aluminum foil or use cooking spray.
Wrapping the Dough Over the Aluminum Foil Cornucopia Mold
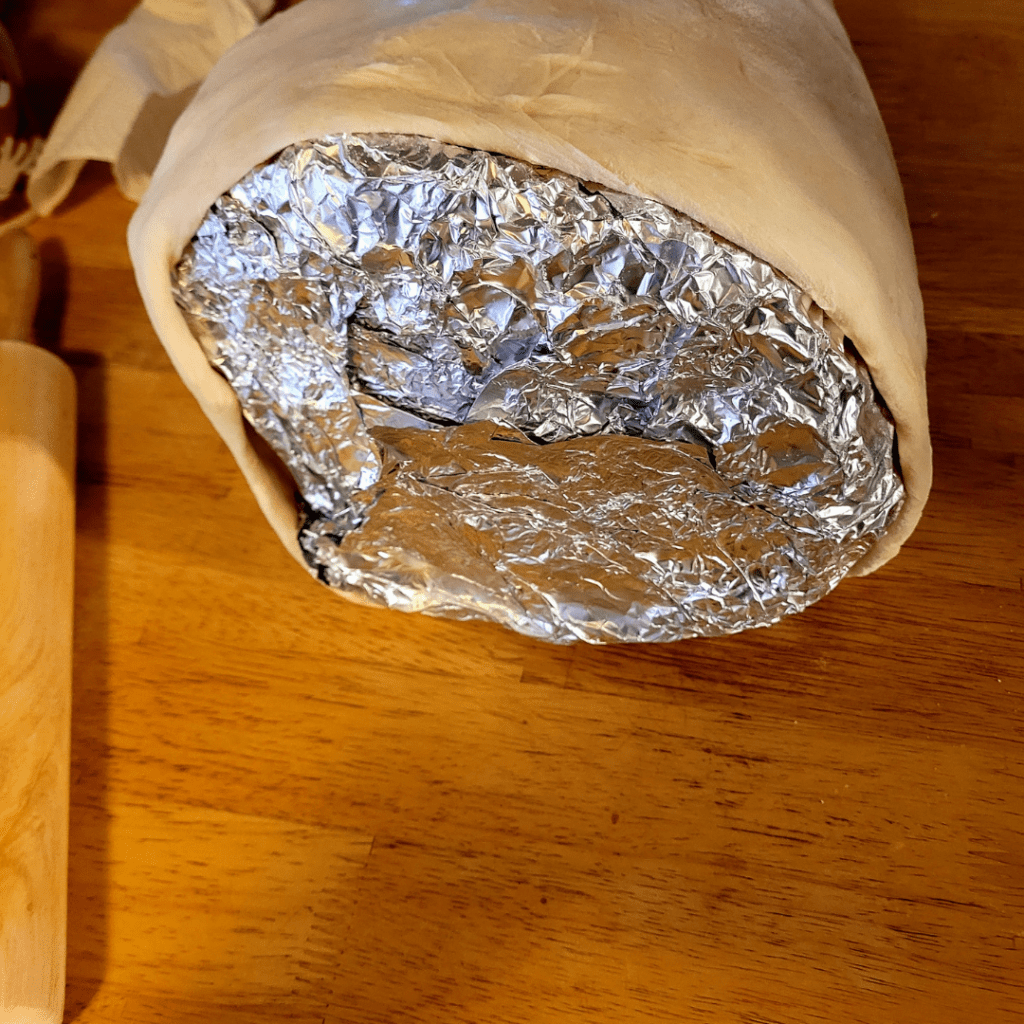
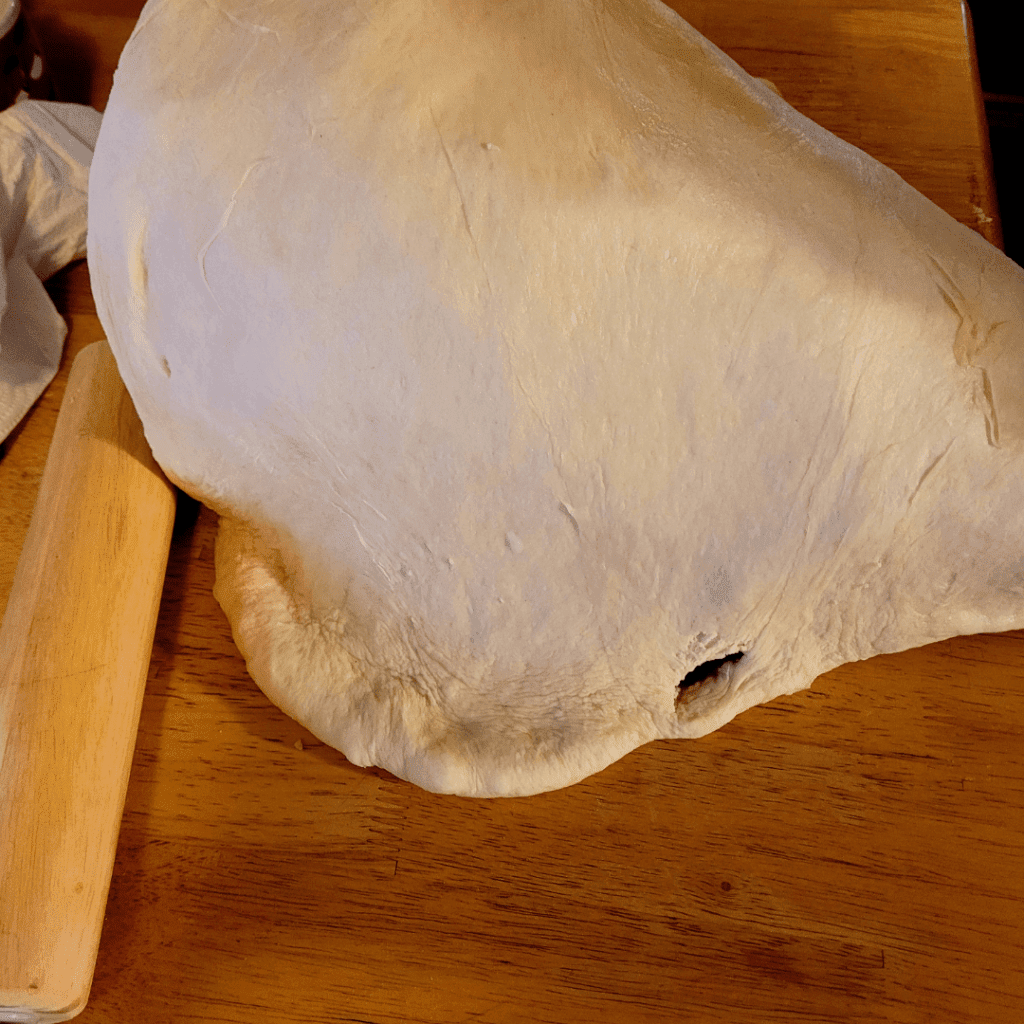
Next, roll out the dough into a large circle or rectangle that will fit over your oiled foil cornucopia like a blanket. Place the dough over the top of the foil cornucopia leaving the entrance hole and tuck the dough under. Carefully pinch the dough together underneath the cornucopia to hold its shape together.
Adding Dough Art Decorations
This part is optional, but fun. Roll out any remaining dough you may have and divide it into three equal parts. Make the three equal parts of dough into dough ropes by rolling them on the table. Remember you did this in kindergarten and Preschool, it is basically the same concept.
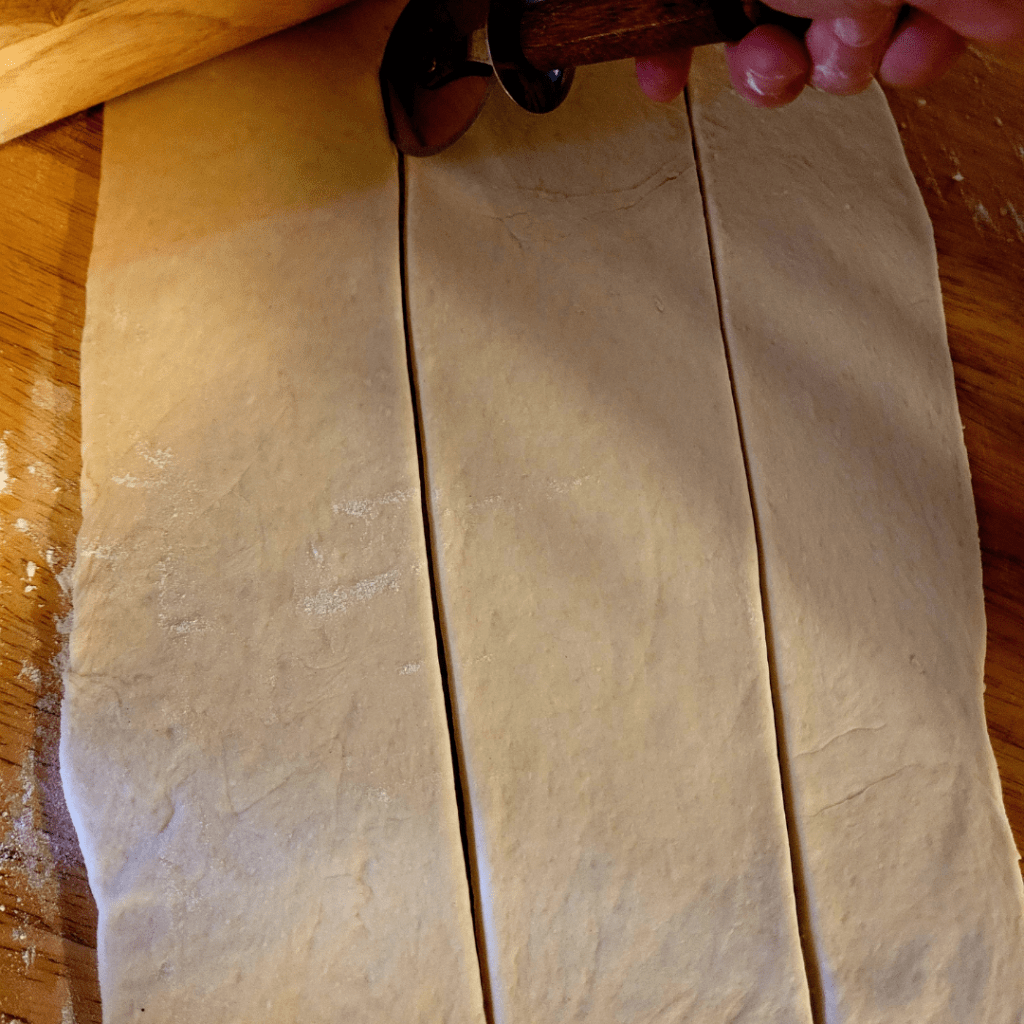
These three dough ropes will be the main braid for your cornucopia. This helps make the breaded cornucopia look amazing! This is my favorite decoration to add to my breaded cornucopia every year. You can wow your guests with your baking artistic skills, knowing yourself just how easy this is to create!
Just make sure the braid is long enough to reach around the front opening of the cornucopia. This dough can take a light stretching too, but be careful not to tear it.
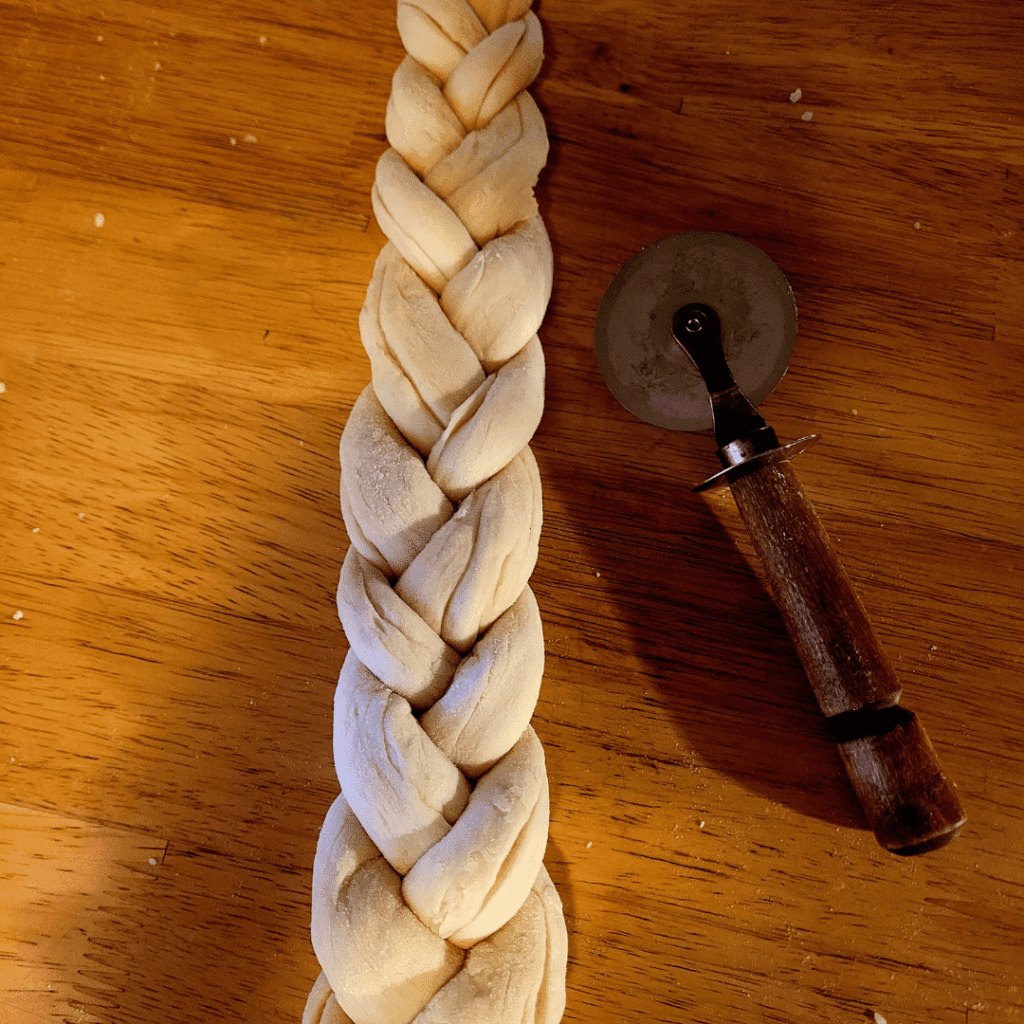
Take the three dough ropes pinch them together at the top and carefully begin braiding them together to form one long braided dough.
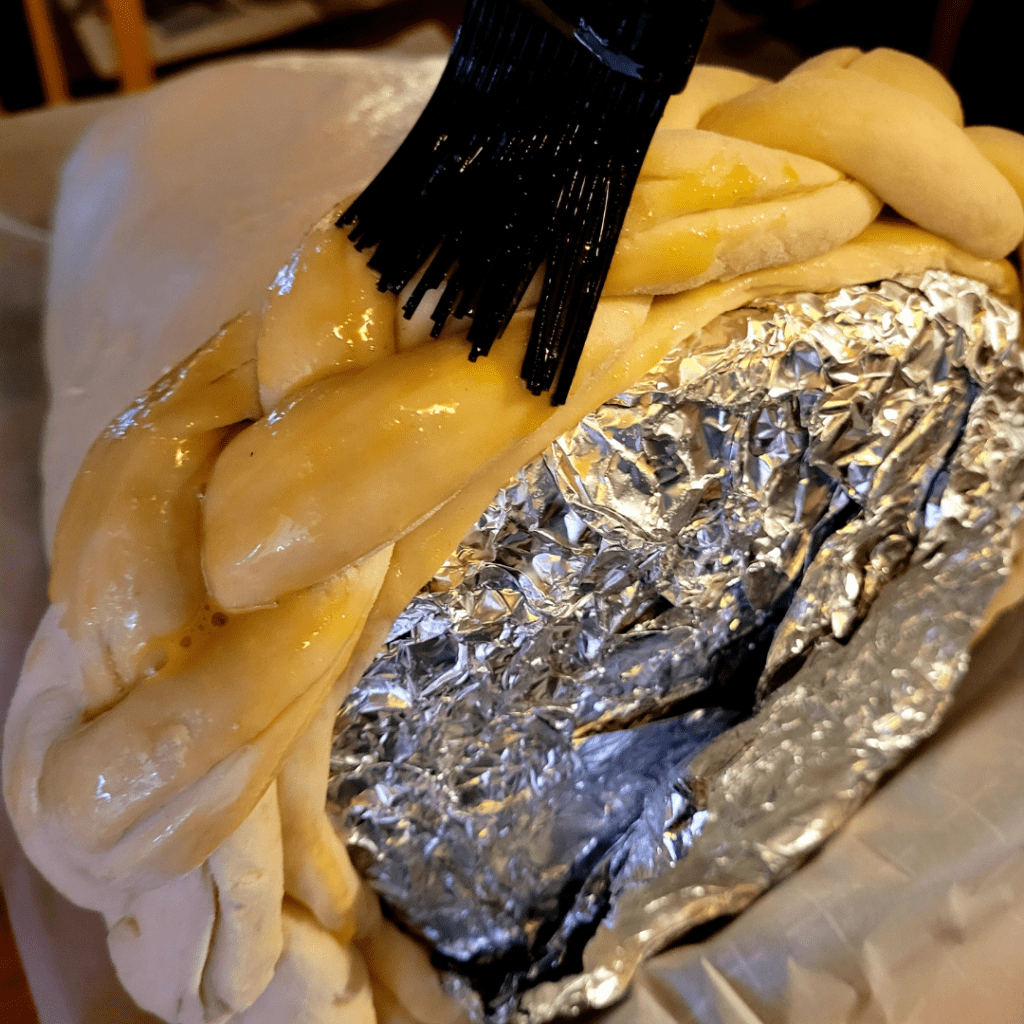
To attach the braid to your cornucopia, wet the dough around the horn opening of the cornucopia as well as wet the side of the braided dough you will be setting it on with water. Carefully pinch the braided dough onto the cornucopia. Use an egg wash to brush all over the braid to help bind it to the cornucopia. This will also help with adding a golden glow to your cornucopia.
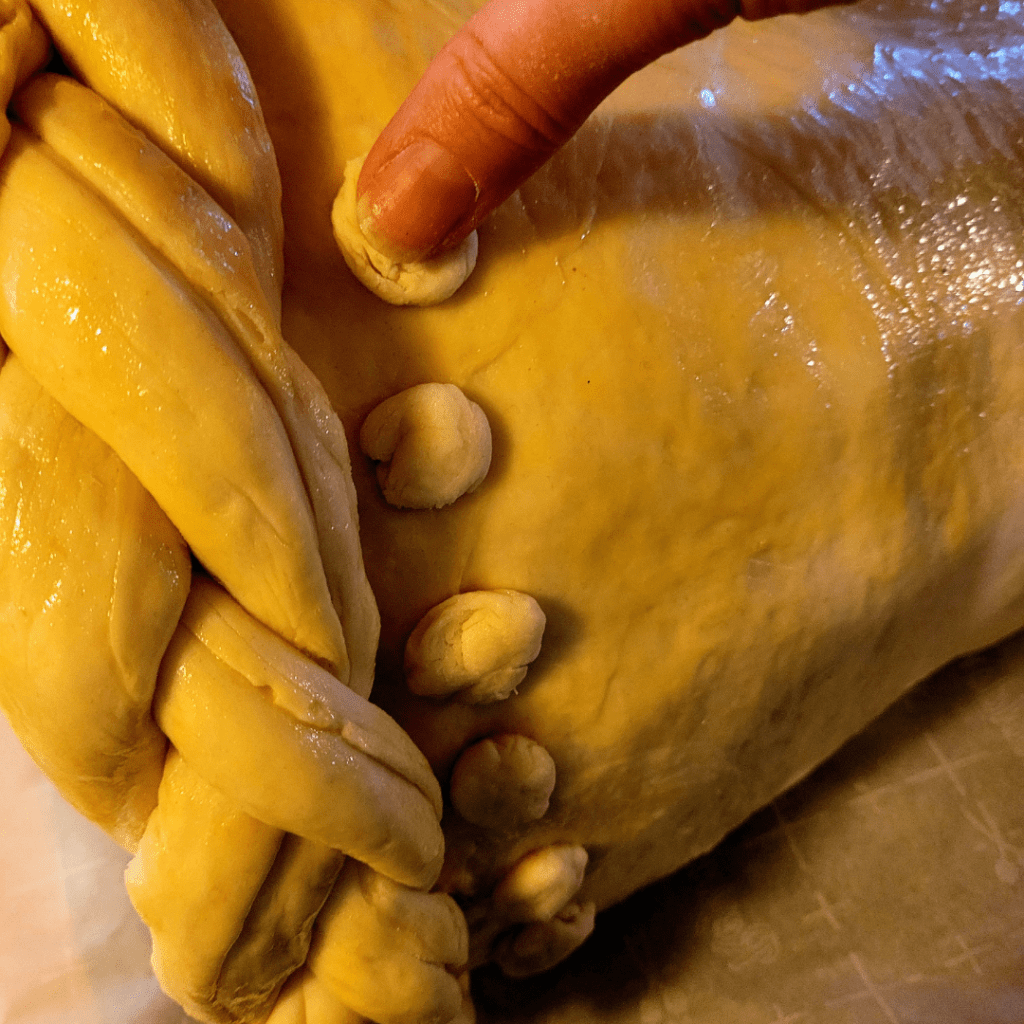
You can add dough dots to your cornucopia by pasting them on with water and pinching them where you want them placed.
It is now time to do an egg wash all over the rest of your cornucopia. Again, this will help with the browning process and give your breaded cornucopia a gorgeous golden glow.
You can also sprinkle some dried herbs or sesame seeds since the egg wash will bind them to the cornucopia during the baking process.
Baking the Cornucopia to Perfection
Depending on the size you have made your cornucopia, you may need to remove a couple of racks from your oven to make it fit.
Carefully transfer your cornucopia onto a parchment-lined baking sheet to prepare it for baking.
Preheat your oven to 350 degrees and bake for 30 minutes or until golden brown. Do not let the size of your cornucopia fool you into thinking you need to bake it for a long time because remember it is hollow. The dough is thinly rolled out and will not take long to bake.
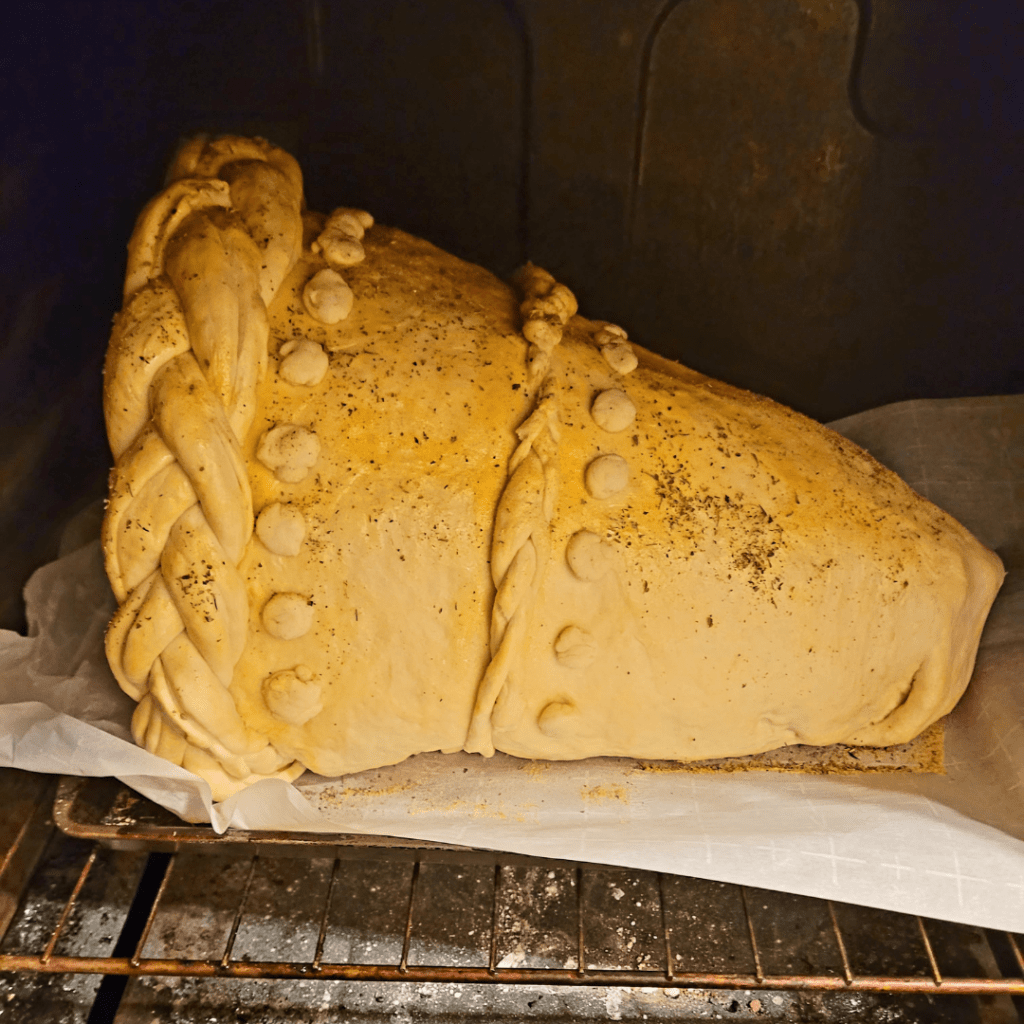
Pop the cornucopia into the preheated oven and bake for approximately 20-25 minutes or until golden brown and crispy. Keep an eye on them to prevent over-browning. Once baked, remove the cornucopias from the oven and let it cool before filling it with your favorite Thanksgiving delights.
Remove your cornucopia from the oven and allow it to completely cool down BEFORE removing the foil inside. If you try to remove the foil inside before it is cooled down, your cornucopia will sadly collapse. Once cooled, it will hold its shape.
As a matter of fact, I do not remove the inside foil UNTIL I am ready to serve it on my Thanksgiving table or cheese board. Keeping your foil inside the cornucopia until you are ready for presentation is a sure way to present a beautifully made Thanksgiving breaded cornucopia that is ready to wow your guests.
Filling the Cornucopia with Savory Delights
The true magic of a Thanksgiving breaded cornucopia lies in the delicious fillings that burst forth from its golden shell. With a variety of savory delights, you can create a mouthwatering masterpiece that will delight your taste buds and impress your guests.
Choosing a Variety of Fillings
When it comes to selecting fillings for your cornucopia, the options are endless. Consider a mix of traditional Thanksgiving flavors and unexpected twists to keep things interesting. You can include classics like roasted turkey slices, cranberry sauce, and stuffing, or get creative with roasted vegetables, gourmet cheeses, or even a savory dip. Serve your breaded cornucopia on a large wooden serving tray and fill the inside with edible goodies that spread out onto the serving tray. Add small dishes of dips into the mix for a real festive display!
Remember to cater to different dietary preferences and restrictions by offering vegetarian or gluten-free options. Variety is the spice of life, and it will ensure that everyone finds something they love in your cornucopia.
Preparing and Combining the Fillings
Once you have chosen your fillings, it’s time to prepare and combine them to create a harmonious blend of flavors. Slice the roasted turkey into thin strips, chop the roasted vegetables into bite-sized pieces, and cube any necessary cheeses.
Arrange the fillings in separate bowls or trays, allowing your guests to pick and choose their favorites. Consider offering small serving spoons or tongs to make it easy for guests to assemble their own mini masterpieces.
Decorating and Presenting the Thanksgiving Breaded Cornucopia
Your homemade breaded cornucopia deserves to be showcased as the star of the Thanksgiving table. With a few festive decorations and careful placement, you can transform it into a stunning centerpiece that will leave your guests in awe.
Decorating and presenting the Thanksgiving breaded cornucopia is a delightful way to add a touch of charm to your holiday table. This classic centerpiece is not only visually appealing, but also serves as a delicious appetizer for your guests. To decorate, start by selecting an assortment of seasonal fruits and vegetables such as apples, pears, small pumpkins, and colorful gourds. Arrange them in an artful manner, ensuring that the colors and shapes complement each other. Don’t forget to sprinkle some autumn leaves or berry sprigs for an extra festive touch.
For presenting the cornucopia, place it on a large platter lined with fresh lettuce leaves or grapevine to create a natural-looking base. This will make it more inviting and give your guests easy access to the bountiful display of treats inside. As you unveil this tasty masterpiece, be prepared for your friends and family to marvel at both its beauty and delectable contents – a true symbol of abundance and gratitude on Thanksgiving day!
Adding Festive Decorations
Get creative with decorations to enhance the festive spirit of your cornucopia. You can use edible elements like fresh herbs, berries, or edible flowers to add pops of color and freshness. Non-edible decorations like mini pumpkins, autumn leaves, or decorative ribbons can also add a touch of charm.
Just remember, the decorations should complement the flavors and not overpower them. After all, the real beauty lies in the delicious fillings that await inside.
Placing the Cornucopia as a Stunning Centerpiece
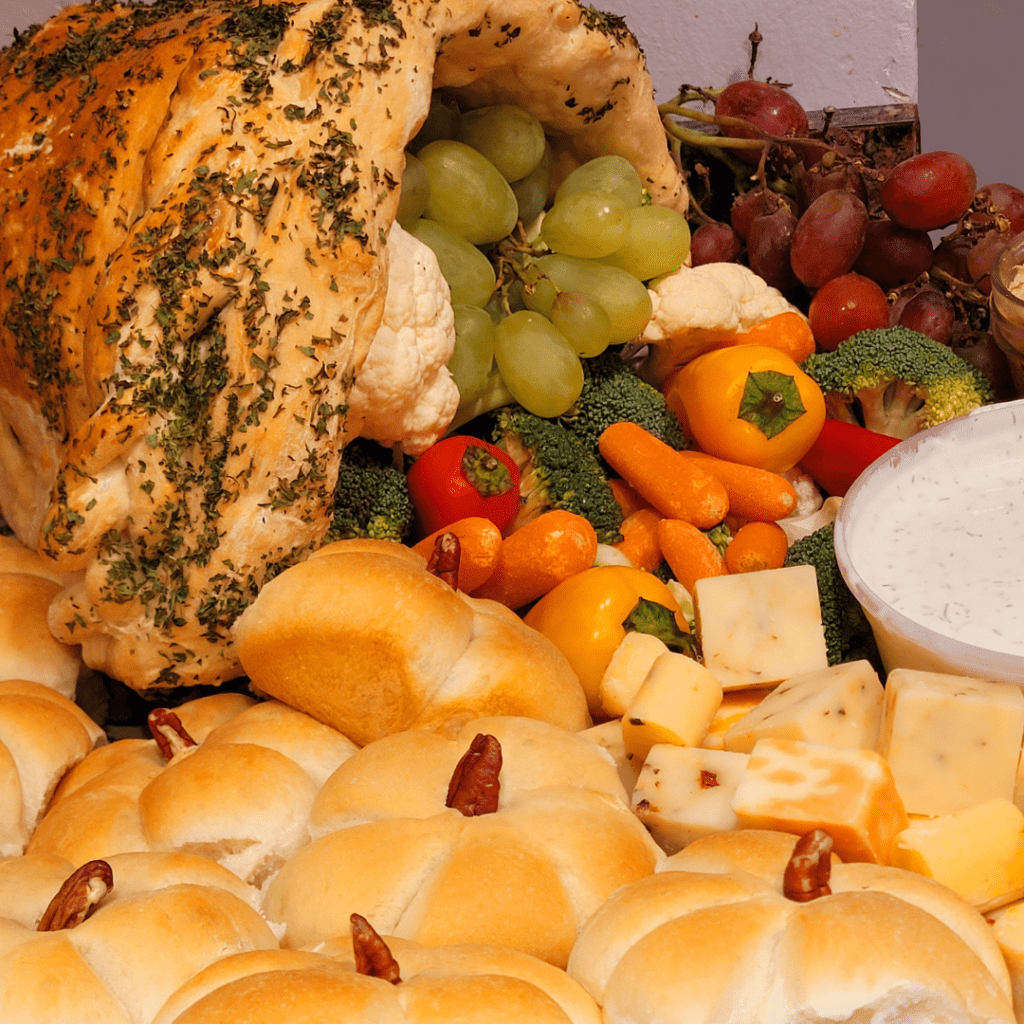
Once your cornucopia is beautifully decorated, it’s time to find its rightful place as the centerpiece of your Thanksgiving table. Consider placing it on a decorative platter or a bed of fall foliage to elevate its grandeur.
Make sure it’s easily accessible to your guests, allowing them to admire and indulge in its bounty. Encourage them to take photos and share the joy of your masterpiece before devouring its scrumptious contents.
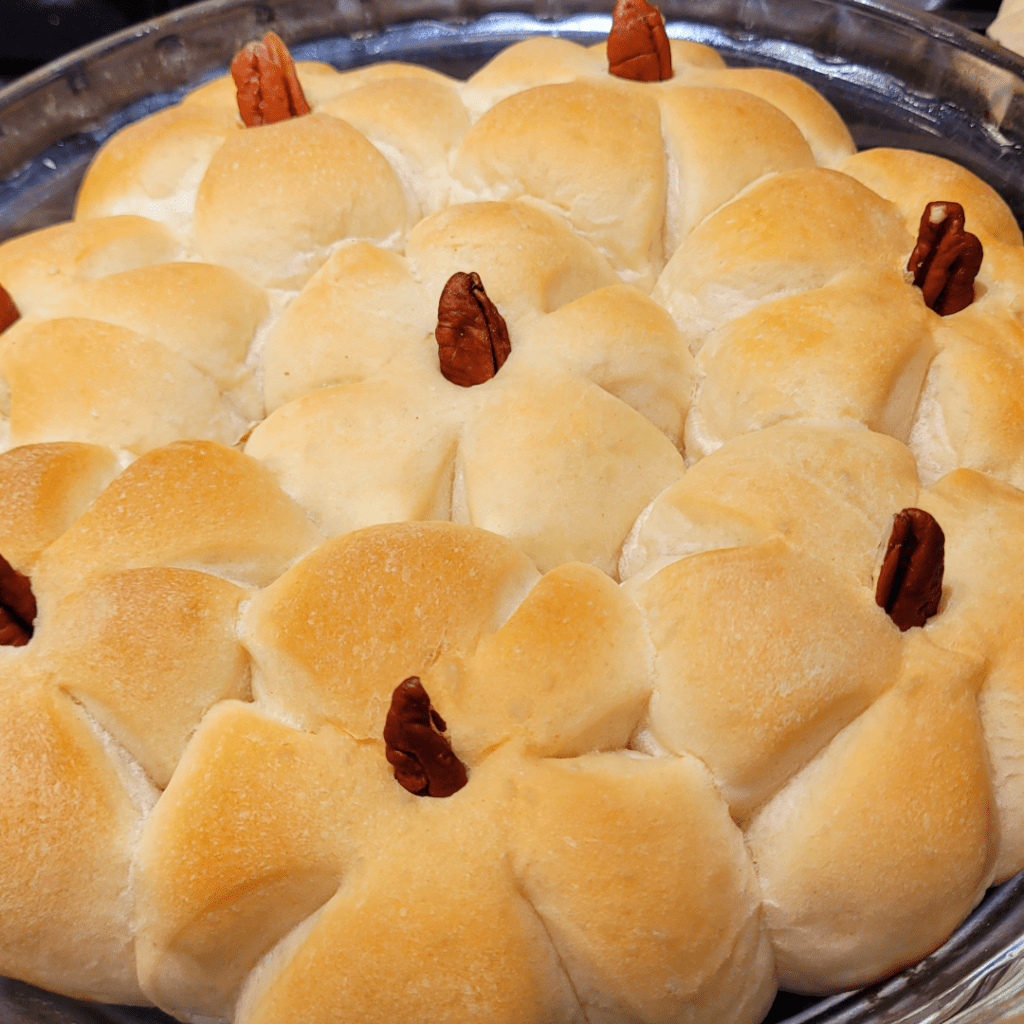
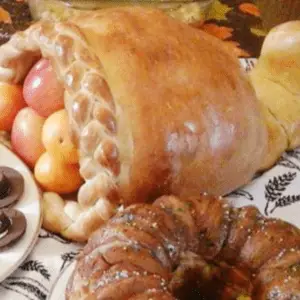
I got to showcase a gorgeous and delicious breaded cornucopia charcuterie board for Thanksgiving 2023! Check out my 2023 cornucopia!
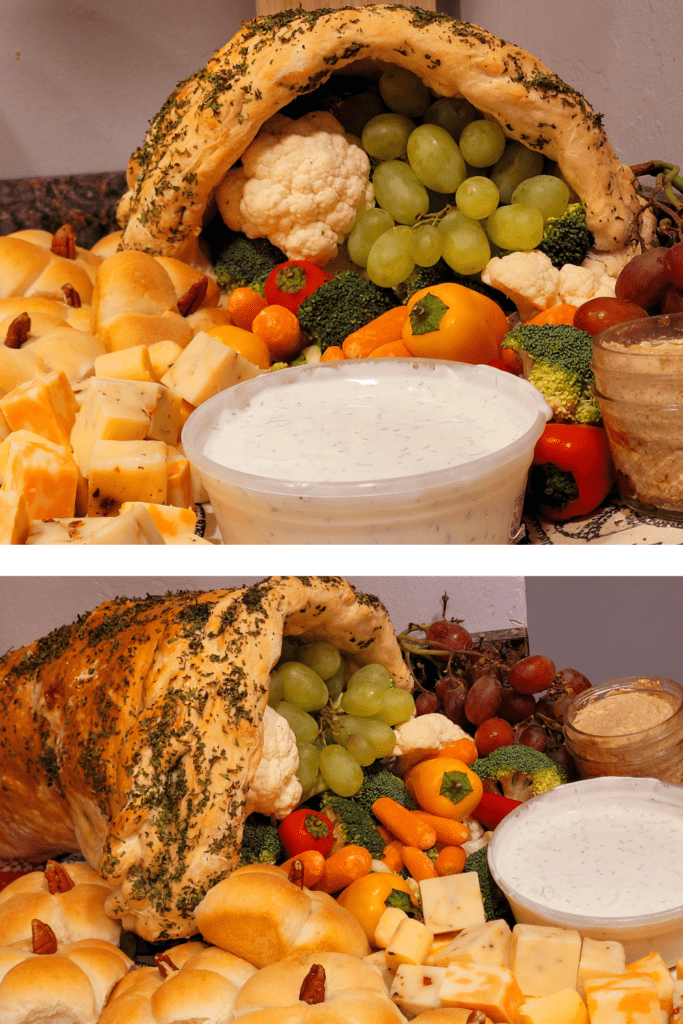
To make the adorable and delicious pumpkin-shaped bread rolls shown here on my Thanksgiving charcuterie board, check out my fun recipe tutorial.
How to Make Pumpkin-Shaped Bread Rolls
Tips and Tricks for a Perfect Cornucopia
- Ensure your breaded cornucopia is fully cooled before filling it to prevent the fillings from becoming soggy.
- Choose a sturdy and crispy bread recipe for the cornucopia shell to support the weight of the fillings.
- Don’t be afraid to experiment with different fillings and flavors to create a unique and personalized cornucopia experience.
- Consider offering a mix of warm and cold fillings to add contrast and depth to each bite.
- Have extra fillings and bread slices on hand in case your guests want to customize their own cornucopia creations.
Conclusion: Enjoying the Thanksgiving Feast with Homemade Breaded Cornucopia
As you gather around the table with your loved ones, ready to indulge in the Thanksgiving feast, the breaded cornucopia will be the centerpiece that brings joy, excitement, and deliciousness to the celebration. From the varied fillings to the decorative presentation, every detail of this homemade masterpiece is designed to create lasting memories and satisfy even the most discerning palates. So, grab a slice, fill it to your heart’s desire, and enjoy the delightful flavors of Thanksgiving in a truly unique and appetizing way.
As you bring your homemade breaded cornucopia to the table, filled with delectable treats and surrounded by loved ones, you can bask in the satisfaction of creating a truly memorable centerpiece for your Thanksgiving feast. The combination of warm, freshly baked bread and flavorful fillings will not only tantalize taste buds, but also create lasting memories. So, embrace the tradition and creativity of making your own cornucopia, and enjoy a Thanksgiving celebration filled with warmth, joy, and delicious abundance.
Resources: Here are some helpful resources for further information.
- Sugar Cone Cornucopia – By Glorious Treats
- Candy Cornucopias Easy Thanksgiving Dessert – By Organized Island
- Cornucopia Charcuterie Cups Recipe – By The Feedfeed
Frequently Asked Questions
1. Can I use store-bought bread dough for the cornucopia?
While it is possible to use pre-made bread dough from the store, homemade dough is recommended for the best results. The process of making the dough from scratch allows you to have better control over the texture and flavor of the cornucopia.
2. Can I make the cornucopia in advance?
It is not recommended to prepare the cornucopia too far in advance as the bread may lose its freshness and crispness. However, you can make the dough a day ahead and shape and bake it on the day of your Thanksgiving celebration for convenience.
3. What fillings can I use for the cornucopia?
You have endless possibilities when it comes to the fillings for your cornucopia. You can use a combination of savory ingredients such as roasted vegetables, cooked meats, cheeses, and dips. Get creative and choose fillings that complement your personal taste and the overall theme of your Thanksgiving feast.
4. How should I store leftovers, if any?
If you have any leftovers from the filled cornucopia, it’s best to store the bread and fillings separately. Place the bread in an airtight container or wrap it tightly in plastic wrap to maintain its freshness. Store the fillings in separate covered containers in the refrigerator. When ready to enjoy the leftovers, reheat the bread in the oven to regain its crispness and warmth before adding the fillings.

Thanksgiving Breaded Cornucopia Recipe
Breaded Cornucopia
Ingredients
For the Yeast
- ½ cup warm water
- 2 tbsp white sugar
- 2 ¼ tsp dry active yeast
Bread Dough
- Proofed yeast mixture as above
- 4 ½ cups all-purpose flour
- 2 tbsp white sugar
- 2 tbsp melted butter
Instructions
Proofing Yeast
- Place the water in a warm mixer bowl.
- Stir in the sugar to dissolve, and sprinkle the yeast over the water. Gently stir to mix.
- Allow the yeast to sit in a warm place for about 15 minutes, until it’s activated and becomes bubbly and frothy.
Bread Dough
- Add the remaining dough ingredients and mix well.
- Knead the dough for approximately 10 minutes. You can use your stand mixer if you desire. Knead until dough is smooth and slightly sticky consistency.
- Place the dough in a lightly oiled bowl, and cover with plastic wrap. Let the dough proof for about 1 hour until it has doubled in size.
Forming the Cornucopia
- Grab your aluminum foil and start tearing off large square pieces and begin rolling them from one corner to another to form a horn. You will repeat this process over and over again until you have the shape and size of the cornucopia that you want.
- Brush your foil cornucopia with oil BEFORE wrapping your rolled-out dough onto it. So prepare it now before you forget and set it aside.
- Next, roll out the dough into a large circle or rectangle that will fit over your oiled foil cornucopia like a blanket. Place the dough over the top of the foil cornucopia leaving the entrance hole and tuck the dough under. Carefully pinch the dough together underneath the cornucopia to hold its shape together.
- This part is optional, but fun. Roll out any remaining dough you may have and divide it into three equal parts. Make the three equal parts of dough into dough ropes by rolling them on the table. Remember you did this in kindergarten and Preschool, it is basically the same concept.
- These three dough ropes will be the main braid for your cornucopia.
- Take the three dough ropes and pinch them together at the top and carefully begin braiding them together to form one long braided dough.
- To attach the braid to your cornucopia, wet the dough around the horn opening of the cornucopia as well as wet the side of the braided dough you will be setting it on. Carefully pinch the braided dough onto the cornucopia.
- You can add dough dots to your cornucopia by pasting them on with water and pinching them on where you want them placed.
- It is now time to do an egg wash all over your cornucopia. This will help with the browning process and give your breaded cornucopia a gorgeous golden glow.
- You can also sprinkle some dried herbs or sesame seeds since the egg wash will bind them to the cornucopia during the baking process.
- Depending on the size you have made your cornucopia, you may need to remove a couple of racks from your oven to make it fit.
- Carefully transfer your cornucopia onto a parchment-lined baking sheet to prepare it for baking.
Baking the Cornucopia
- Preheat your oven to 350 degrees and bake for 30 minutes or until golden brown. Do not let the size of your cornucopia fool you into thinking you need to bake it for a long time because remember it is hollow. The dough is thinly rolled out and will not take long to bake.
- Remove your cornucopia from the oven and allow it to completely cool down BEFORE removing the foil inside. If you try to remove the foil inside before it is cooled down, your cornucopia will sadly collapse. Once cooled, it will hold its shape.
Summary
I hope I have inspired you to bake your very own breaded cornucopia to enjoy and share with your friends and family at Thanksgiving.
If you were encouraged by this post, I invite you to check out my FREE Printables Page for fun free printables, planners, and charts.
ENTER MY FREE Printables Page HERE
Here are some more of my bread-making inspiration posts to check out!
Cinnamon Rolls: How to Make Easy Cinnamon Rolls: Recipe for Beginners
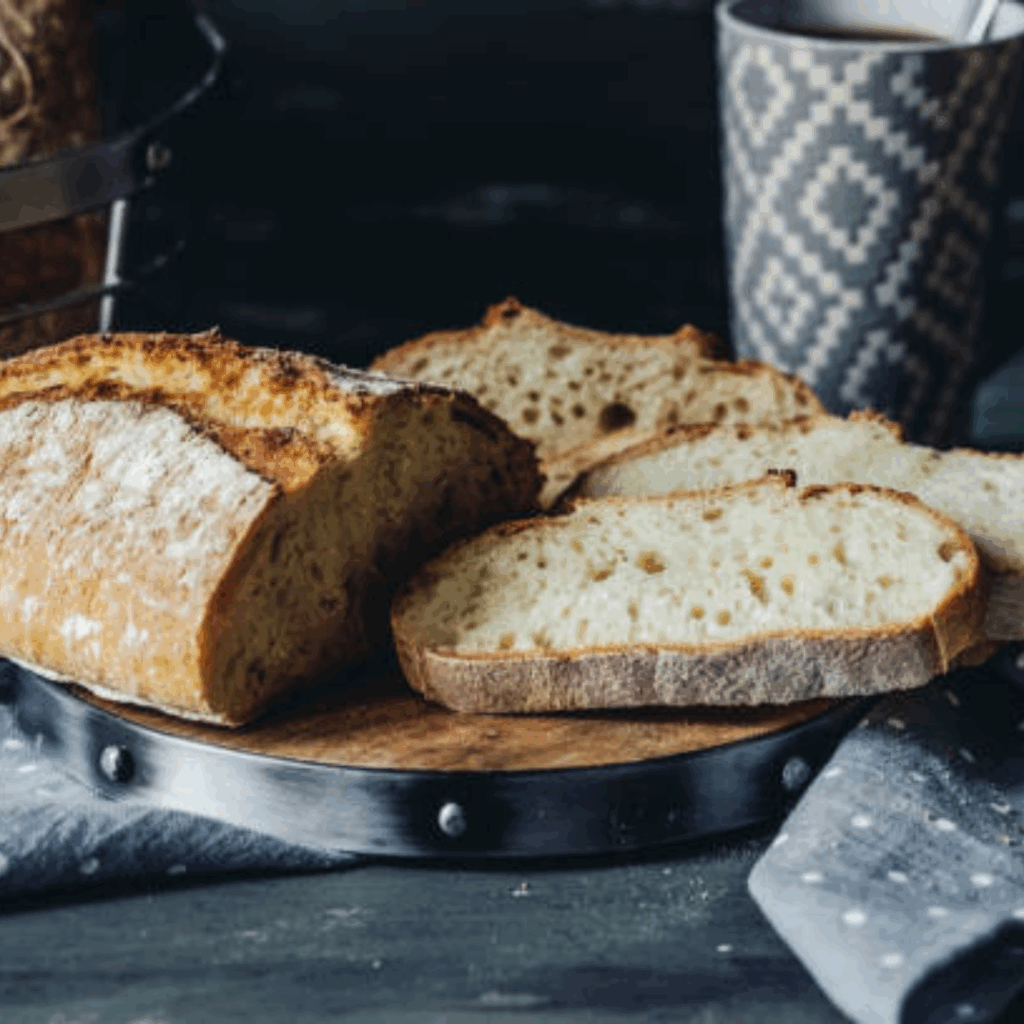
Artisan Bread: How to Make Artisan Bread
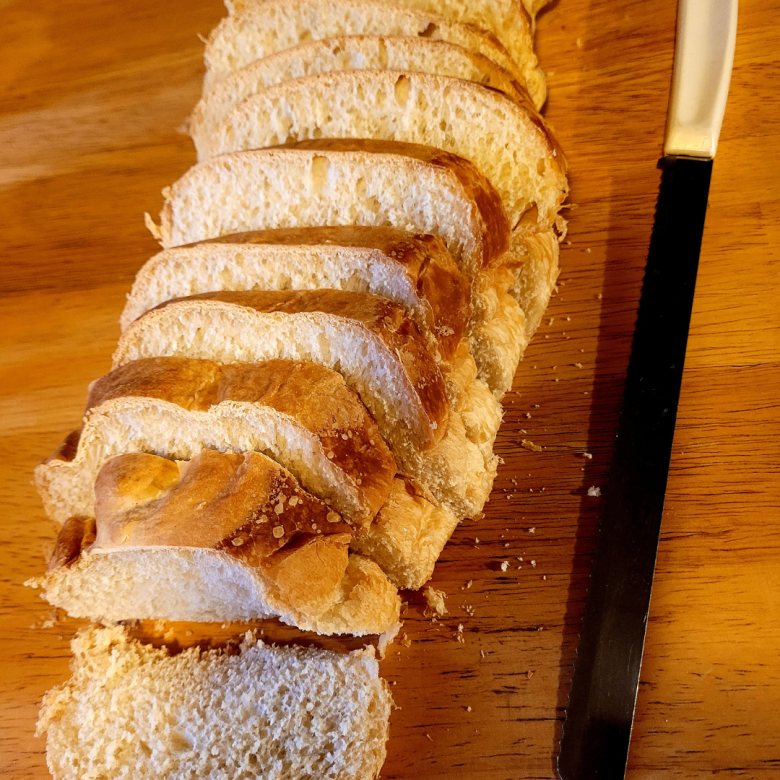
White Bread: How to Make the Best White Bread: Recipe for Beginners
Blessings,
The Off Grid Barefoot Girl

