Learning how to make a 6 braided challah bread is easier than you think! This step-by-step guide will show you how to create a beautifully golden, fluffy loaf with a stunning braid that’s perfect for Shabbat, holidays, or any special meal.
I still remember the first time I tried braiding challah—it felt a little intimidating, but once I got the hang of it, I was hooked. There’s something so rewarding about pulling a golden, glossy 6 braided challah bread from the oven, especially knowing you shaped it with your own hands. In this post, I’ll walk you through my favorite recipe and teach you the braiding technique step by step, so you can bake a loaf that’s as beautiful as it is delicious!
This is a pinnable post. Tap or hover over any image in this post to pin to your Pinterest Boards.
What is Challah Bread
Challah bread is a Jewish tradition eaten on ceremonial occasions and Jewish holidays. It makes a gorgeous centerpiece for special occasions and any holiday celebration. The 6 braided challah bread has a special meaning. Each dough strand represents the 6-day work week and reserves the 7th day of the week for rest, which is the Sabbath. It is perfect to serve on the Sabbath day and any other holiday.
Recipe Tutorial for a 6 Braided Challah Bread
Ingredients
Proofing the Yeast
- 1 cup warm water.
- 2 tsp dry active yeast.
- 2 tsp sugar.
For the Dough
- 4 to 4 1/2 cups of all-purpose flour.
- 1/4 cup sugar.
- 2 tsp salt.
- 2 large eggs.
- 1/4 cup vegetable oil.
Brushing the Dough Before Baking
- 1 small egg.
Instructions
Proofing the Yeast
- Dissolve the dry active yeast and sugar in the warm water and let rest for 10 minutes until foamy and the yeast is activated.
For the Dough
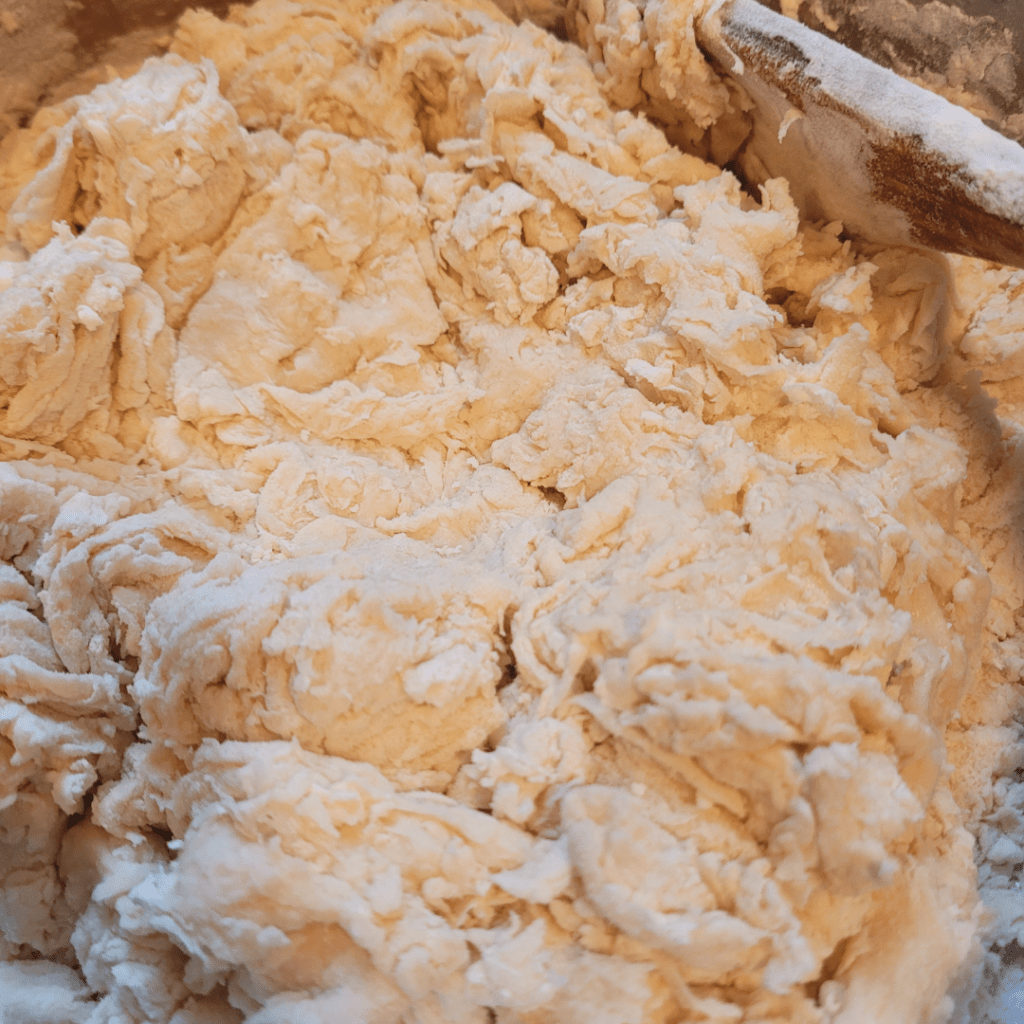
- Add flour, sugar, and salt into the activated yeast mixture and mix well until a shaggy dough forms.
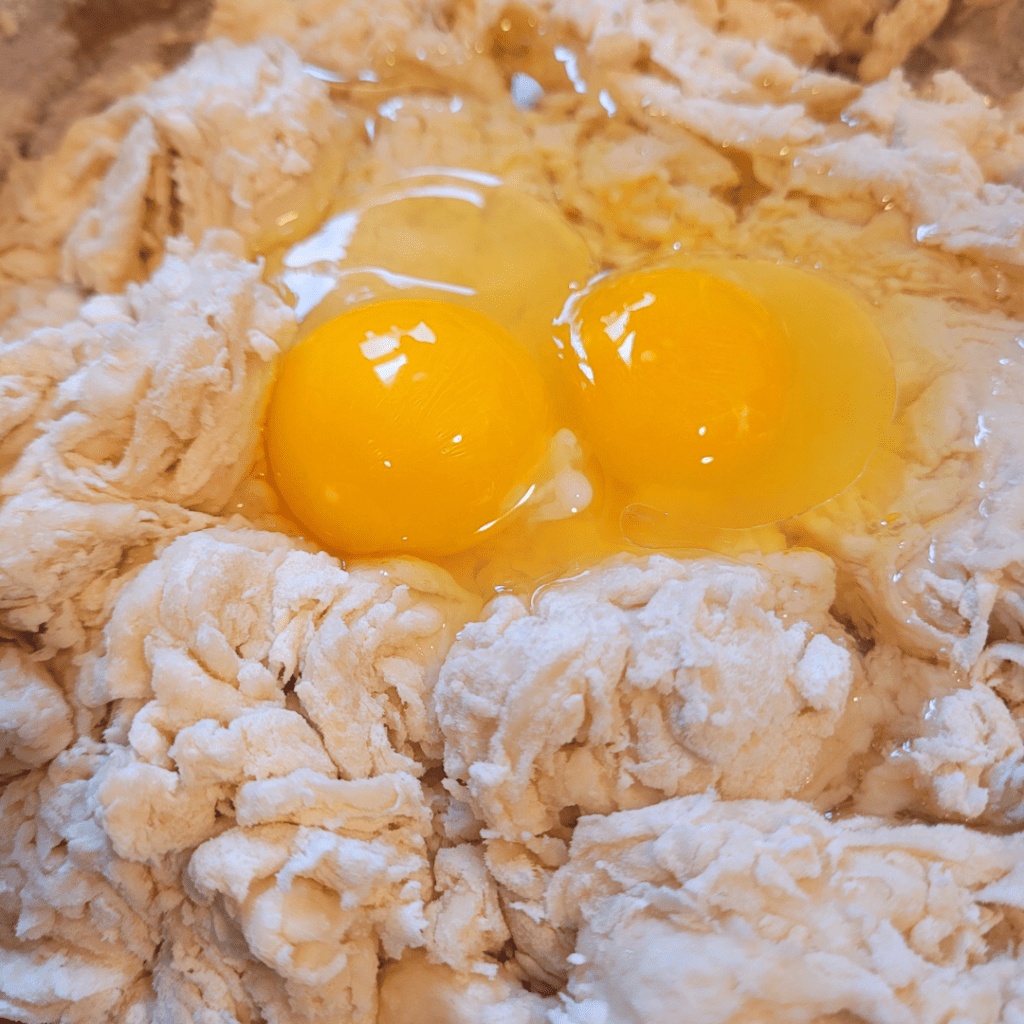
- Make a well in the center of the shaggy dough and add in the eggs and oil, and mix well.
Kneading the Dough
- Knead the dough for 10 minutes, adding small amounts of flour while kneading until the dough forms a smooth ball.
Rising Time
- Place the dough ball in a greased dish and cover it with sprayed plastic wrap, and let it rise for 1 hour until doubled in size.
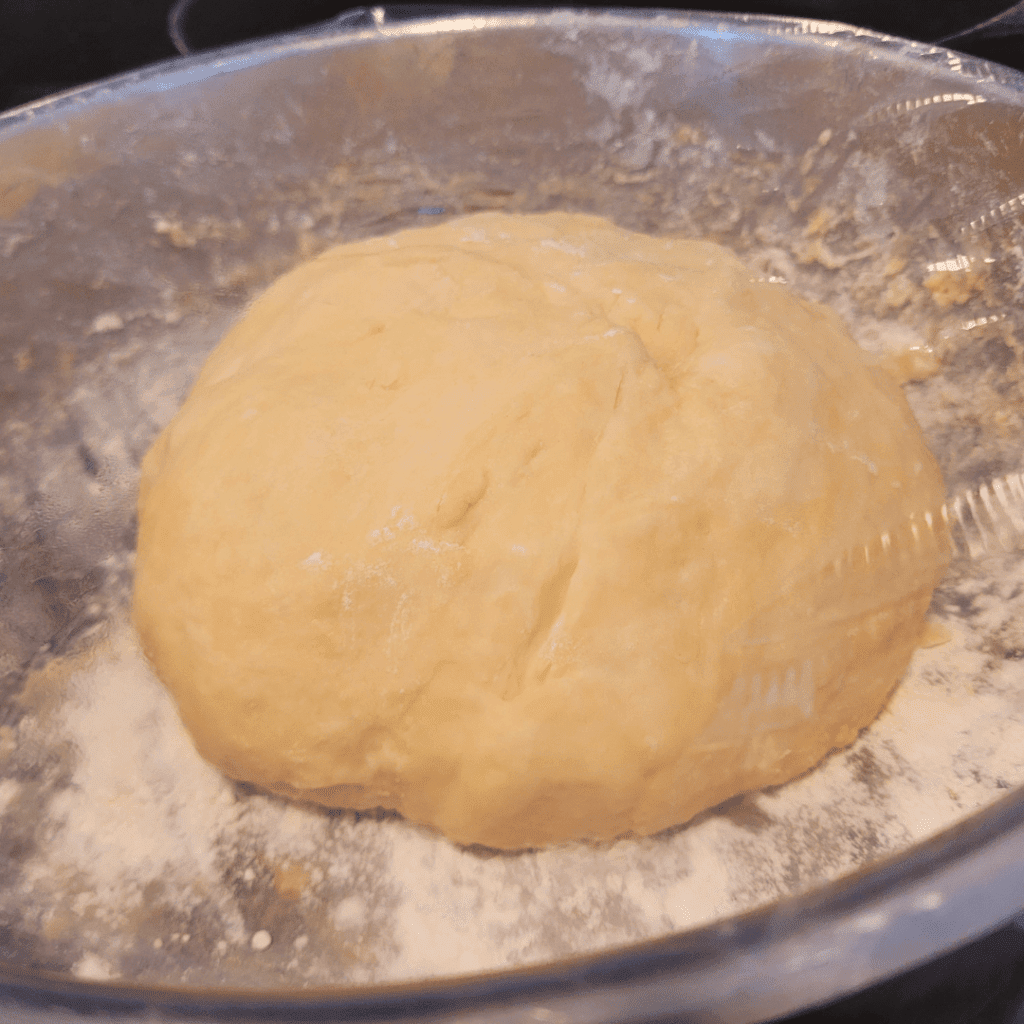
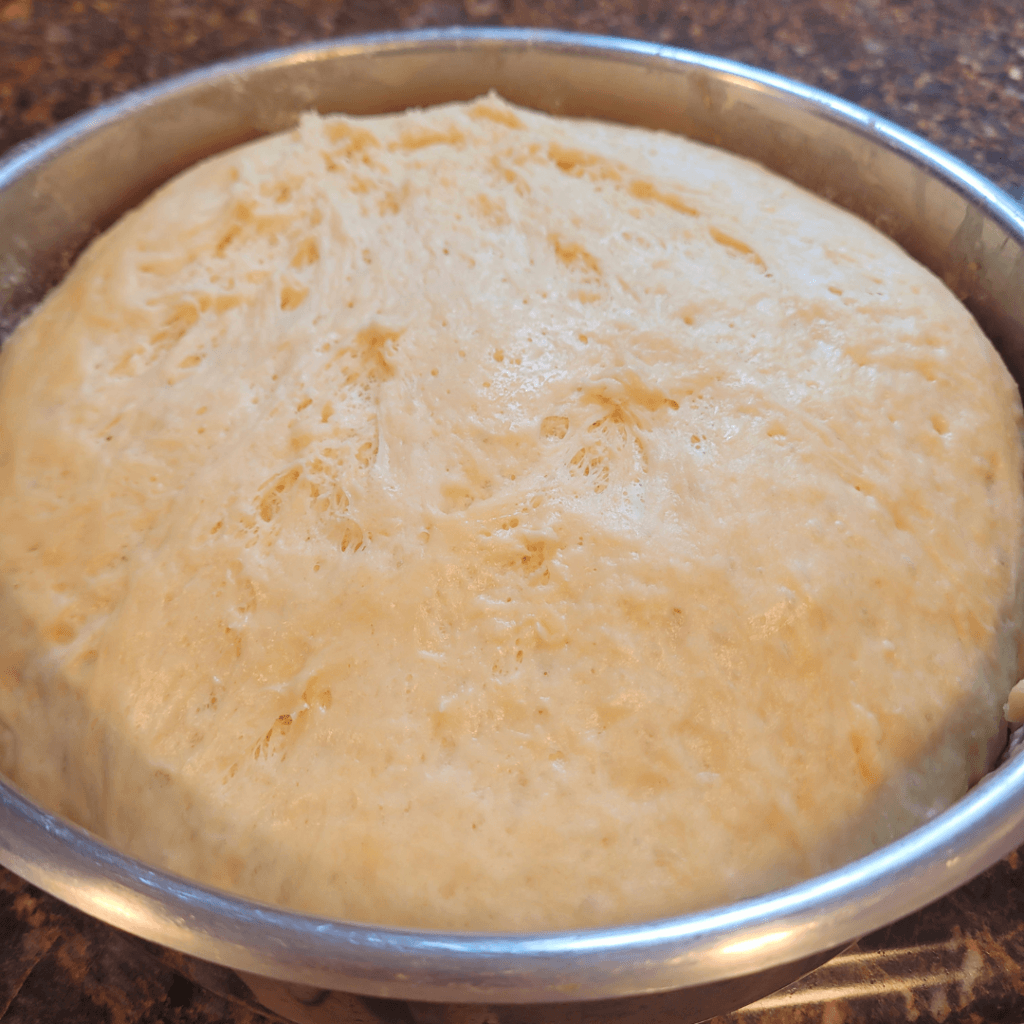
Here is my dough doubled in size. Mine took 2 hours to rise on the day of making this bread due to the record-breaking blizzards we have been experiencing in Northern Utah this year. Temperature can affect the rising time of bread since bread needs a warm environment to rise. The warmer it is, the faster the bread rises.
Braiding the 6 Braided Challah Bread
Braiding a six-strand dough is rather simple, and I hope this tutorial does not scare you off from giving it a try. You will be rather proud of yourself after pulling out your wonderful work of baked art from the oven and giving this recipe a try.
Start by dividing your dough into six equal parts and rolling them out into equally long ropes. Pinch all top ends together at the top and fold underneath to secure the braid.
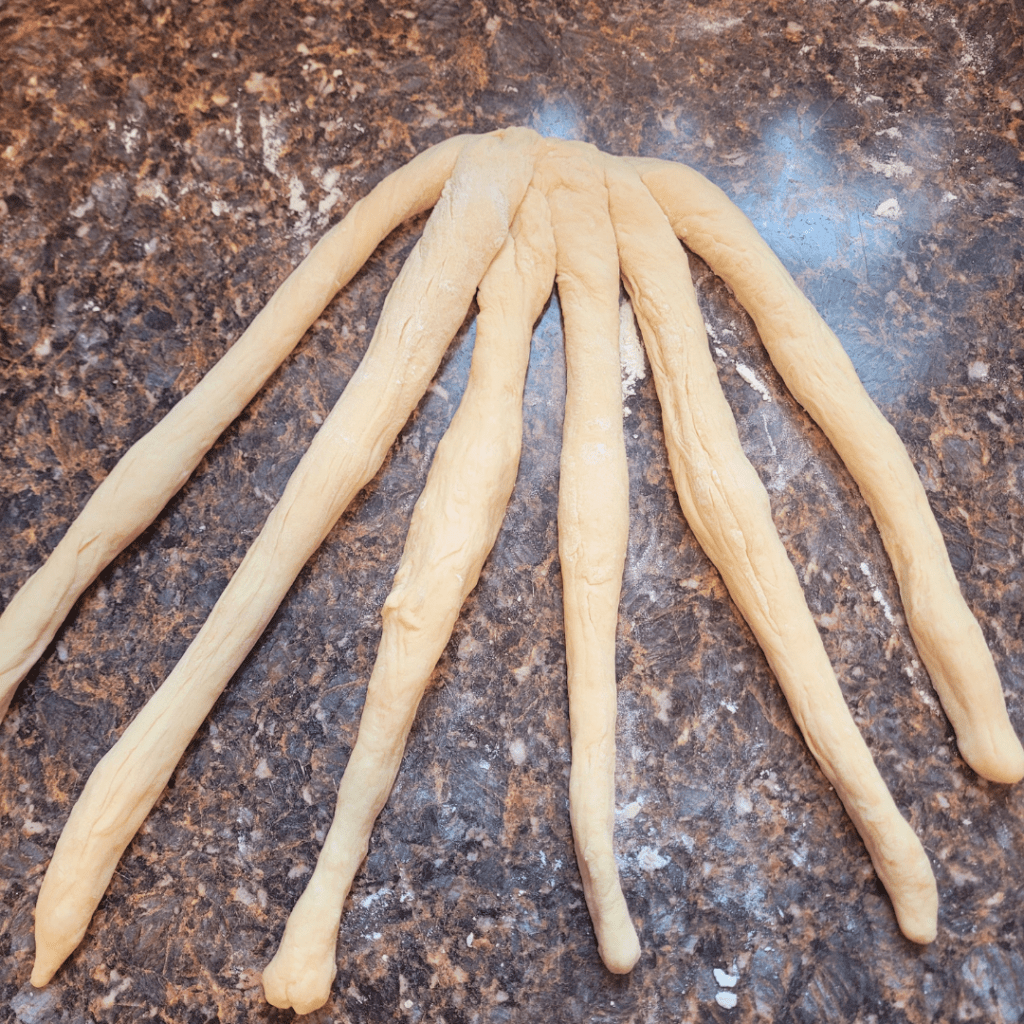
Start with the first strand on the left and bring it over the top toward the right.
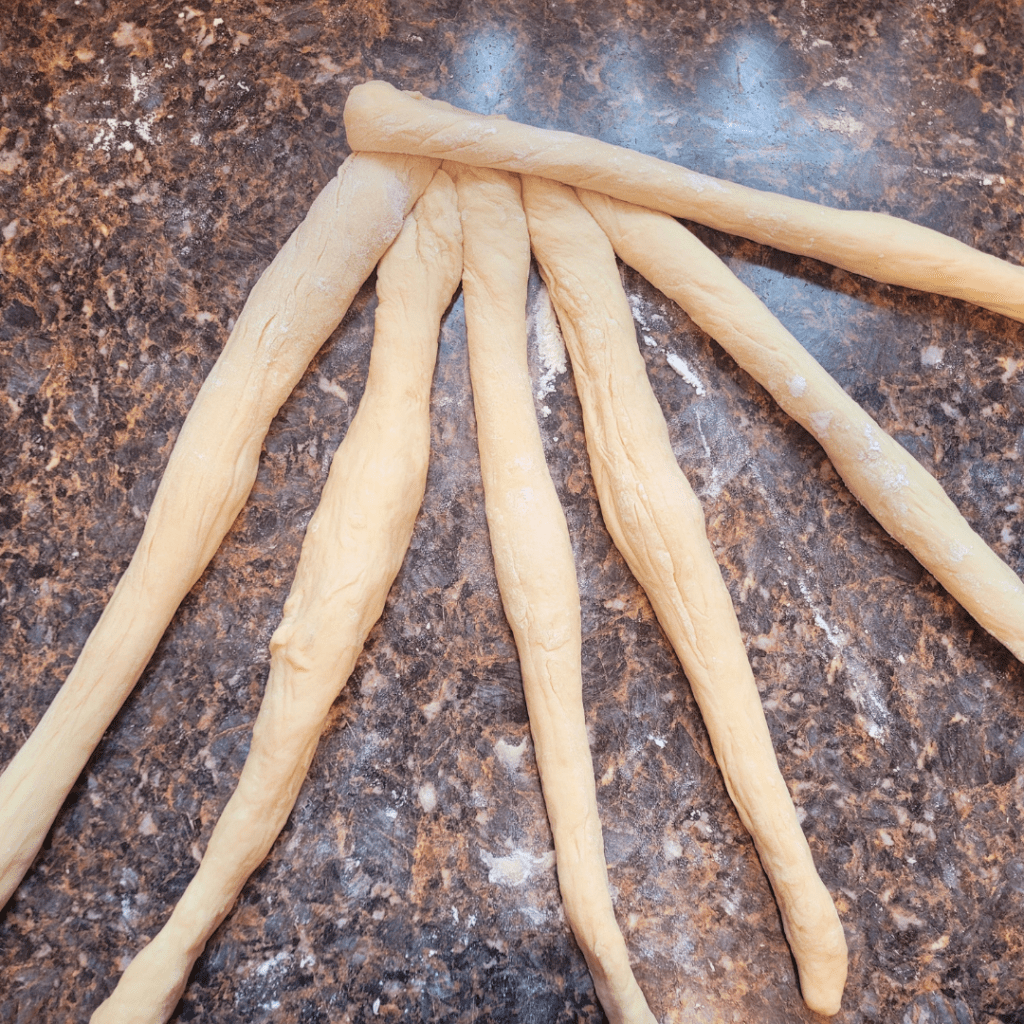
Take the last rope on the right and bring it over toward the left.
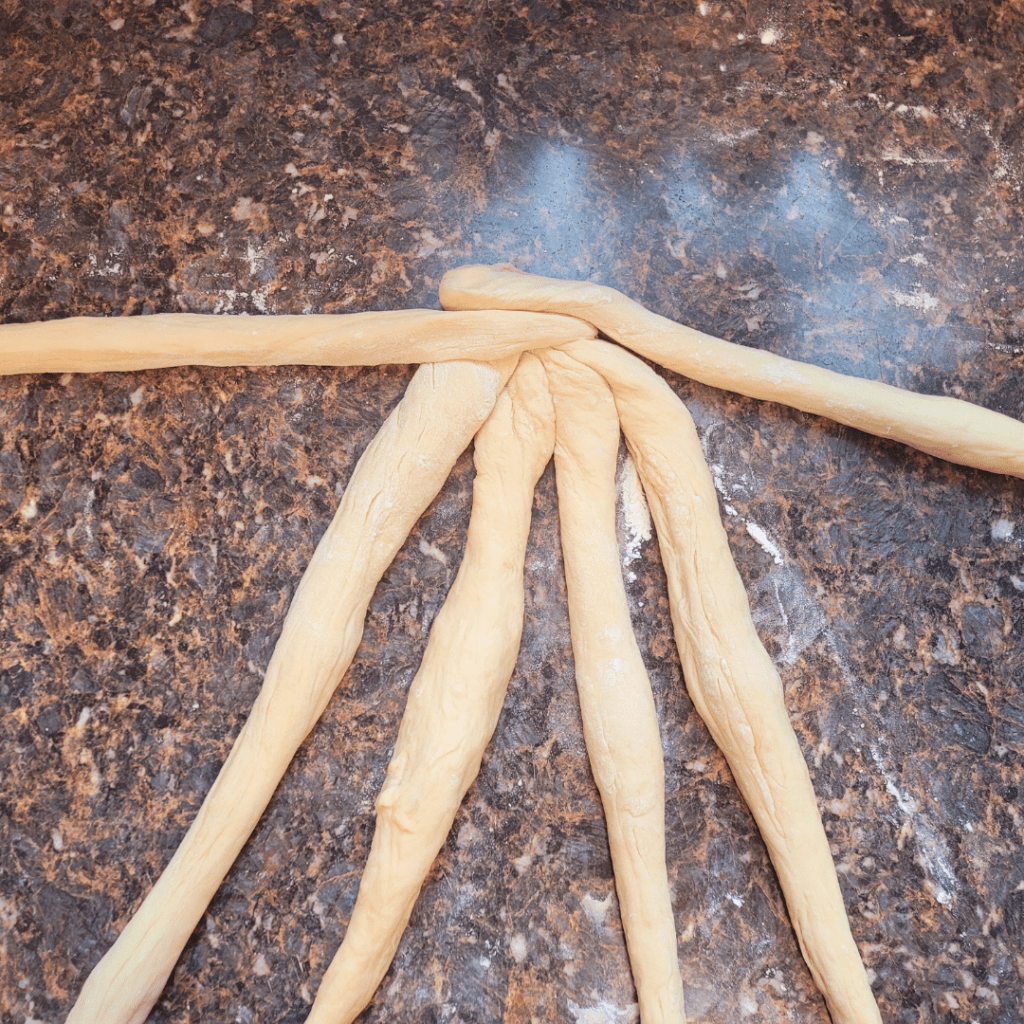
Keep Braiding
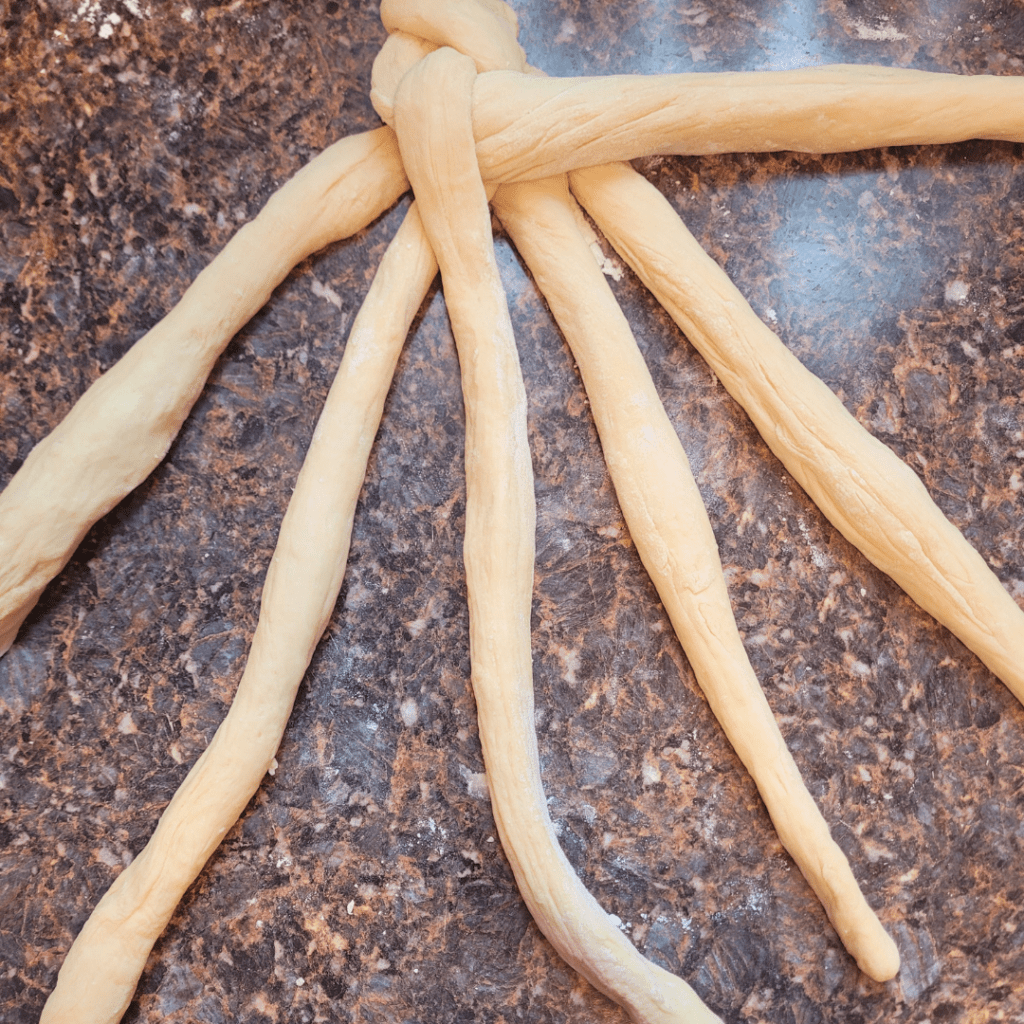
Throughout the braiding process, you will always have two strands out to the sides at the top and four strands down at the bottom. You will braid from between the four strands on the bottom.
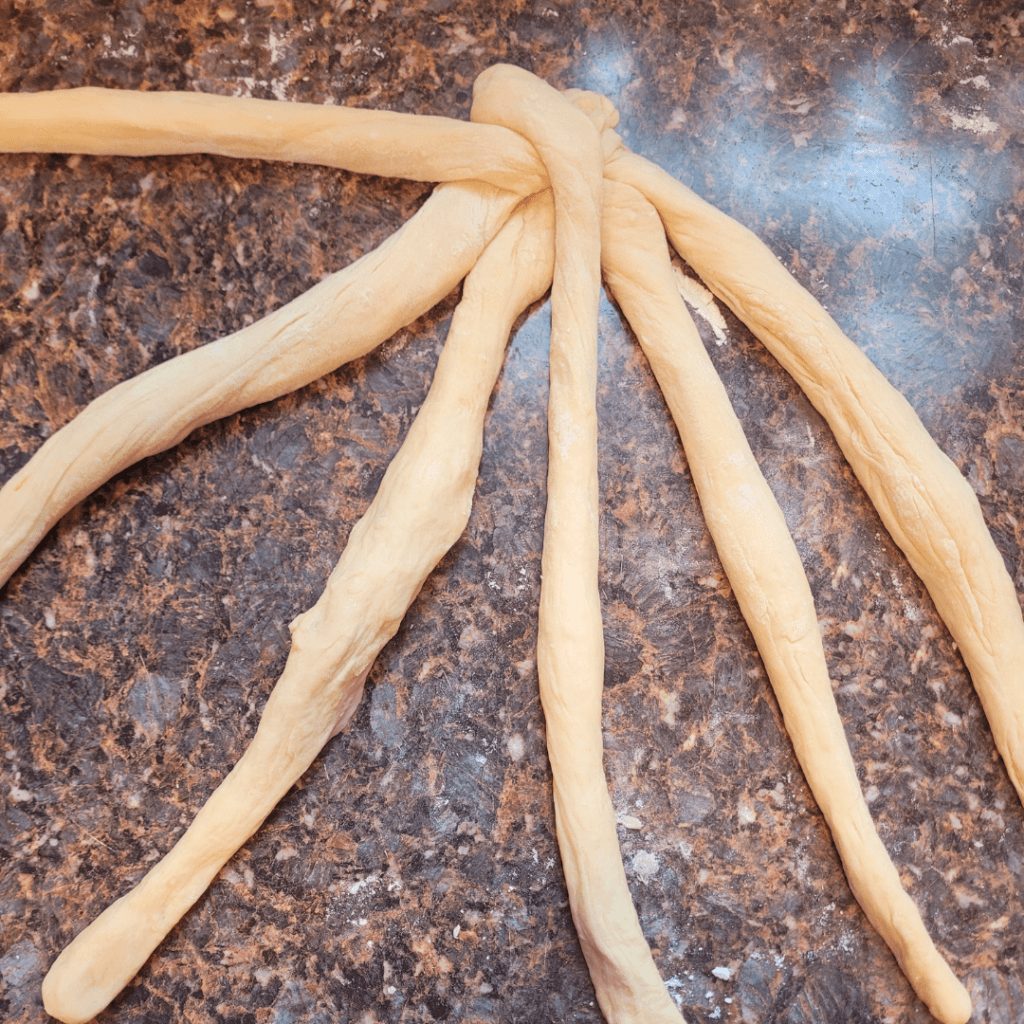
Take the right top strand and bring it in between the four bottom strands.
The image illustrates dough for a 6-braided challah bread recipe, demonstrating how to braid a challah bread.
Grab the first strand from the four strands at the bottom and bring it toward the right at the top.
Braiding Some More
Then take the top left strand and bring it down in between the four bottom strands.
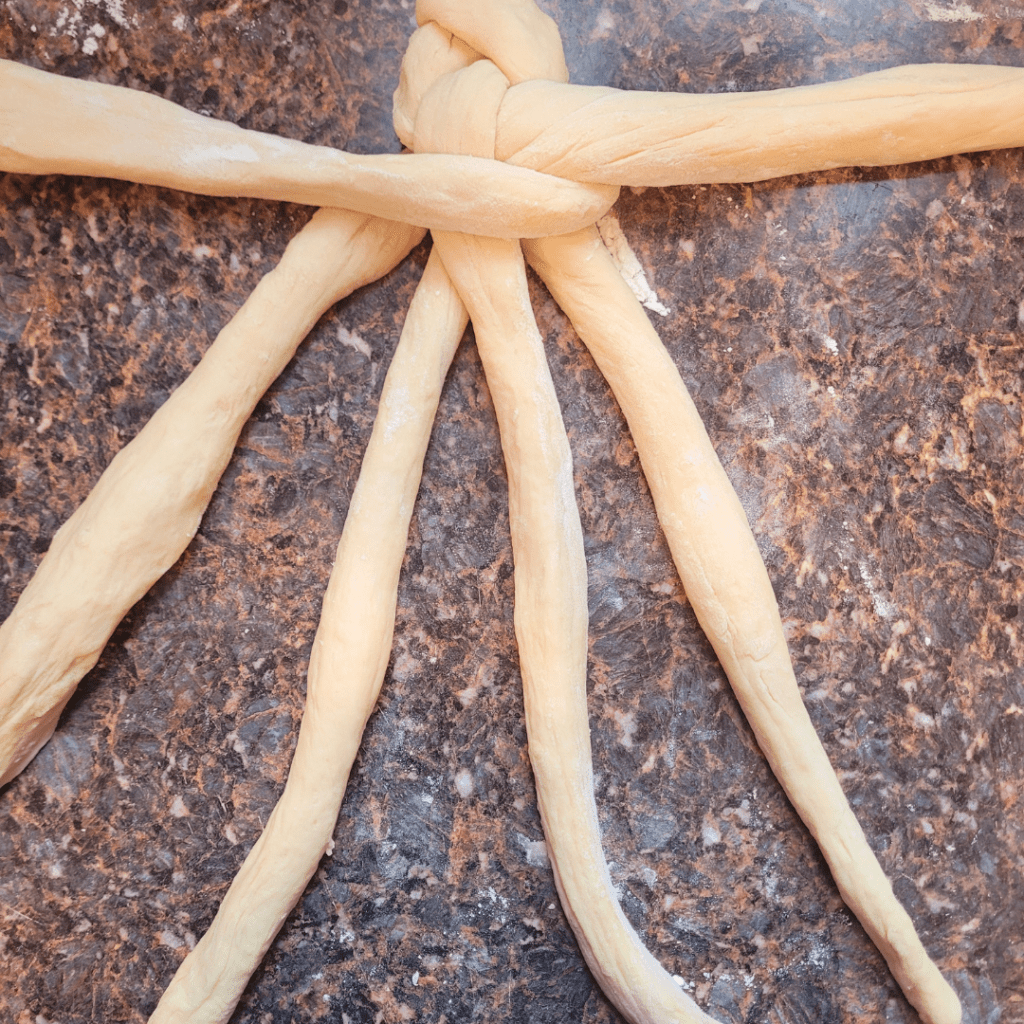
Bring the last bottom strand toward the top left side.
The image illustrates dough for a 6-braided challah bread recipe, demonstrating how to braid a challah bread.
Continue this braiding pattern all the way to the end of the strands and tuck the last parts underneath to seal the end of the braid.
End of the Braid
Fluff your 6-braided challah bread gently like a pillow to secure the braids together. Fluff and squish all the sides together in a very gentle way. Start fluffing the sides and gently squish them together, and then do the same to the top and bottom ends.
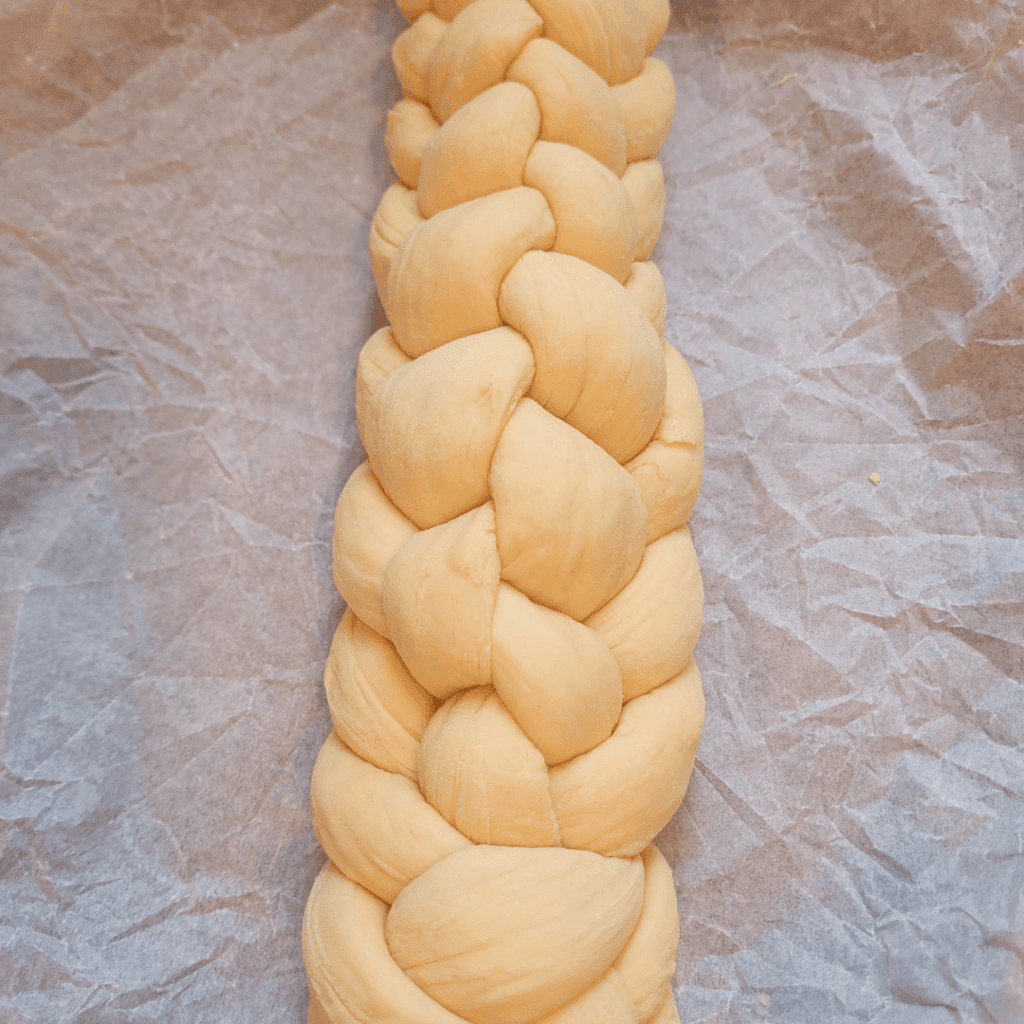
Lightly place a sprayed plastic wrap over the braided dough. Allow the dough to rise for thirty minutes until it is puffed up nicely and doubled in size.
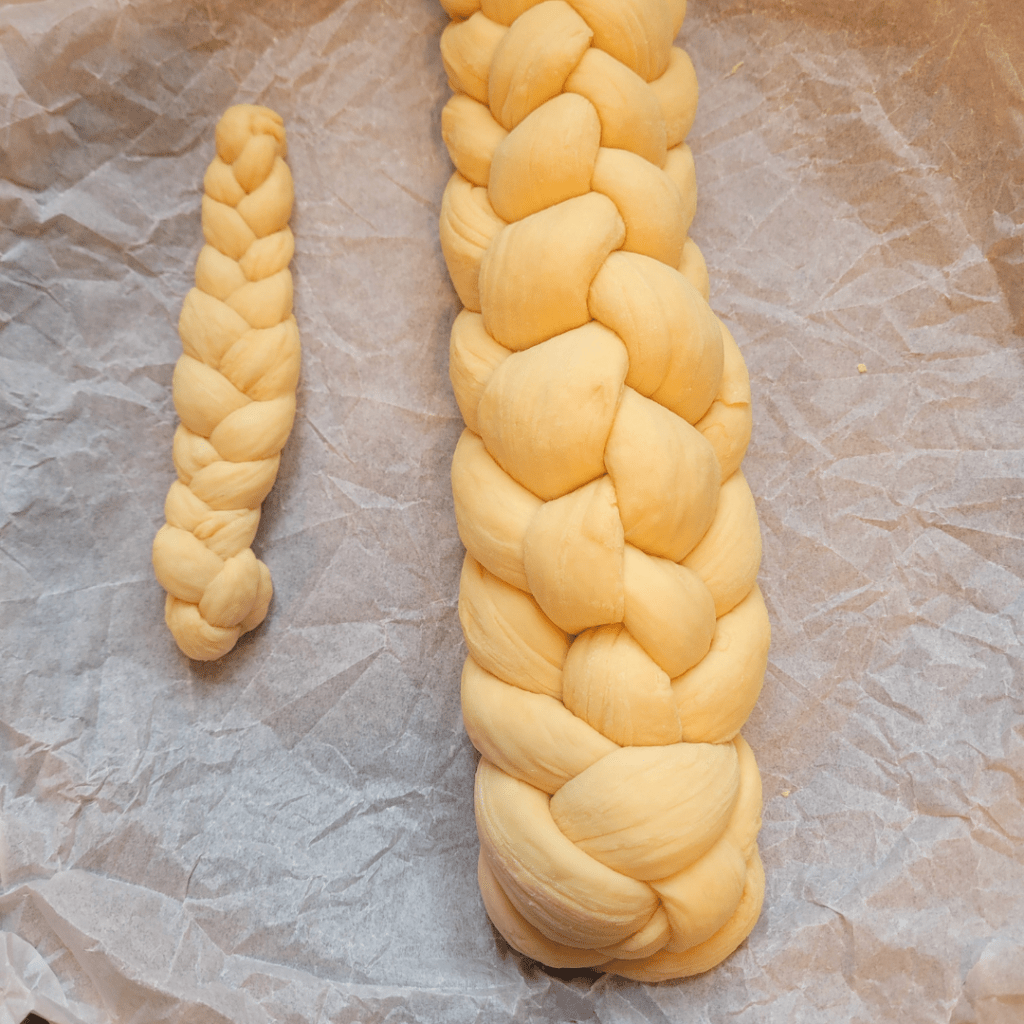
Sometimes when I make this bread, I end up with a little bit of extra dough. This is because some of my strands lengthen too much from my pulling on them during the braiding process, and they end up being way longer than other strands. I just pull off the excess dough on the strands before tucking the ends under the dough.
I like to turn the excess dough into a mini braided challah bread with just a three-strand braid. Isn’t it cute! I think I would love to try making a batch of these cute little mini 3-braided challah bread for Thanksgiving dinner this year!
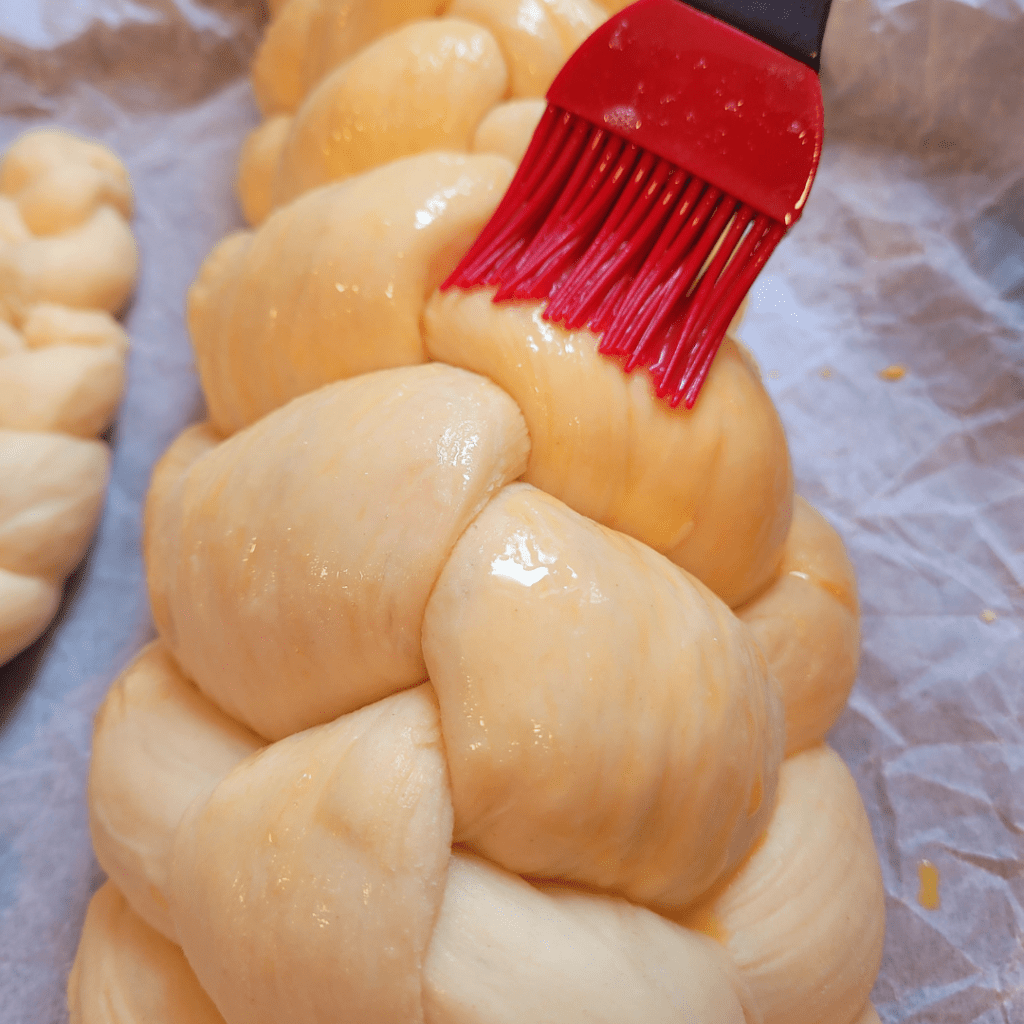
Egg Wash
It is now time to put the egg wash on the 6-braided challah bread. Crack your egg into a bowl and whisk it until smooth, and brush it over the bread with a pastry brush. Be sure to give it a good egg wash all over because this is how you will achieve a gorgeous golden color during the baking process.
Baking the Challah Bread
Preheat your oven to 350 degrees and bake for 30 minutes.
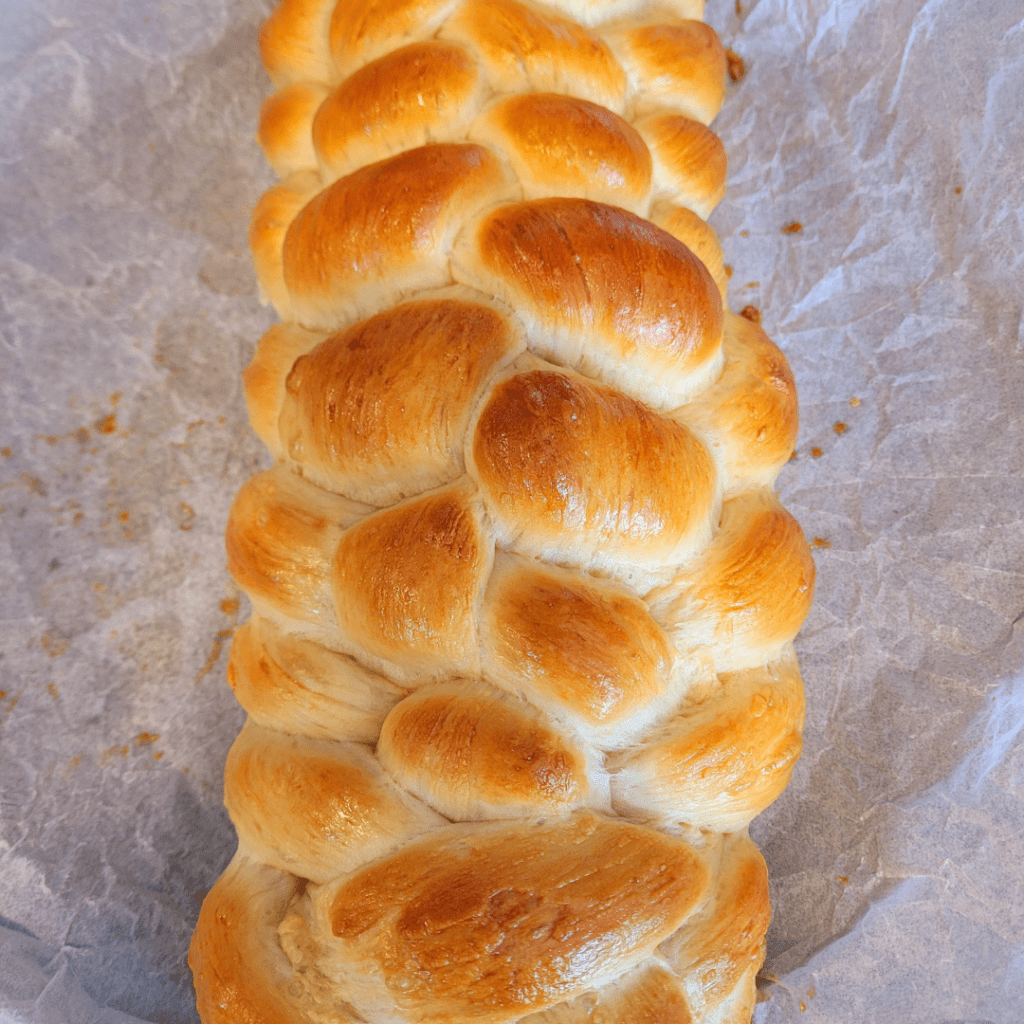
Using parchment paper helps prevent burning on the bottom of the loaf and makes it easy to slice since the bottom will not burn. Parchment paper also helps easily transfer the dough from the baking sheet to a cooling rack.
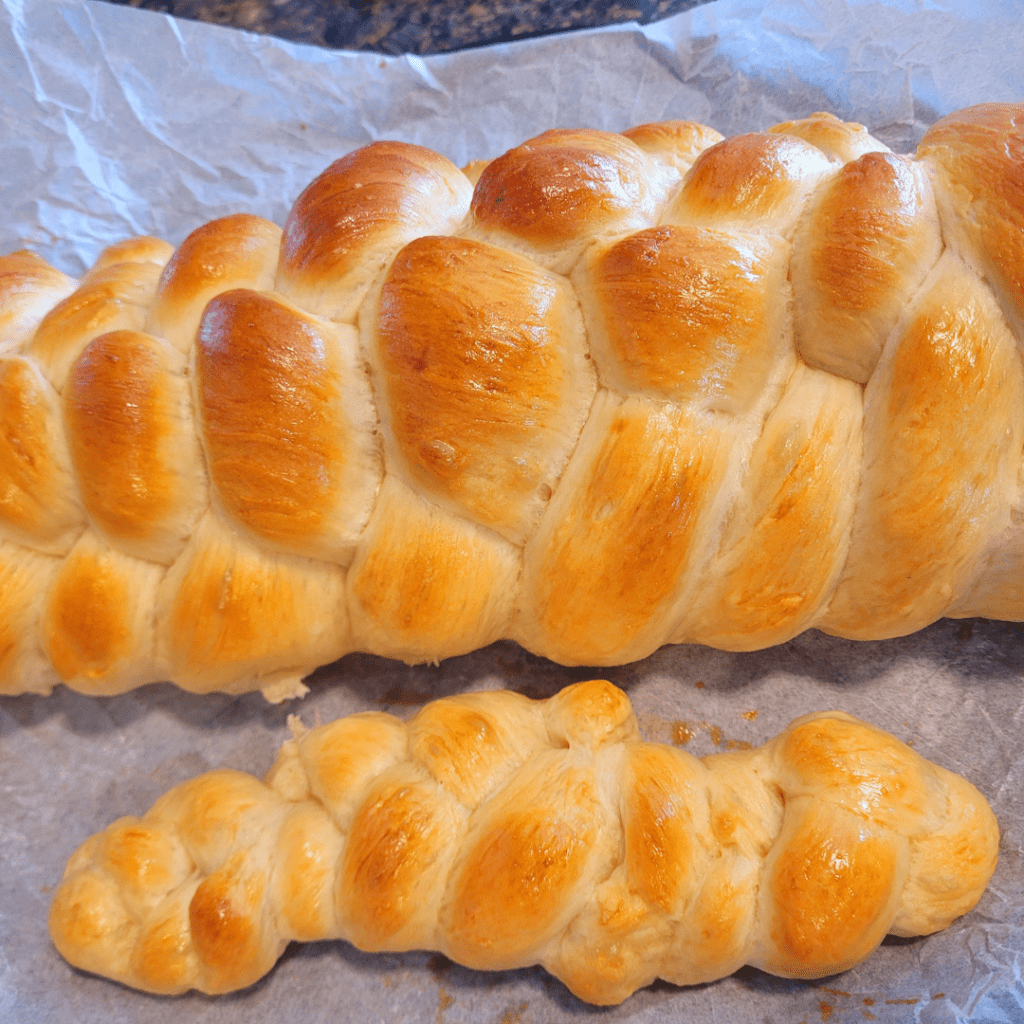
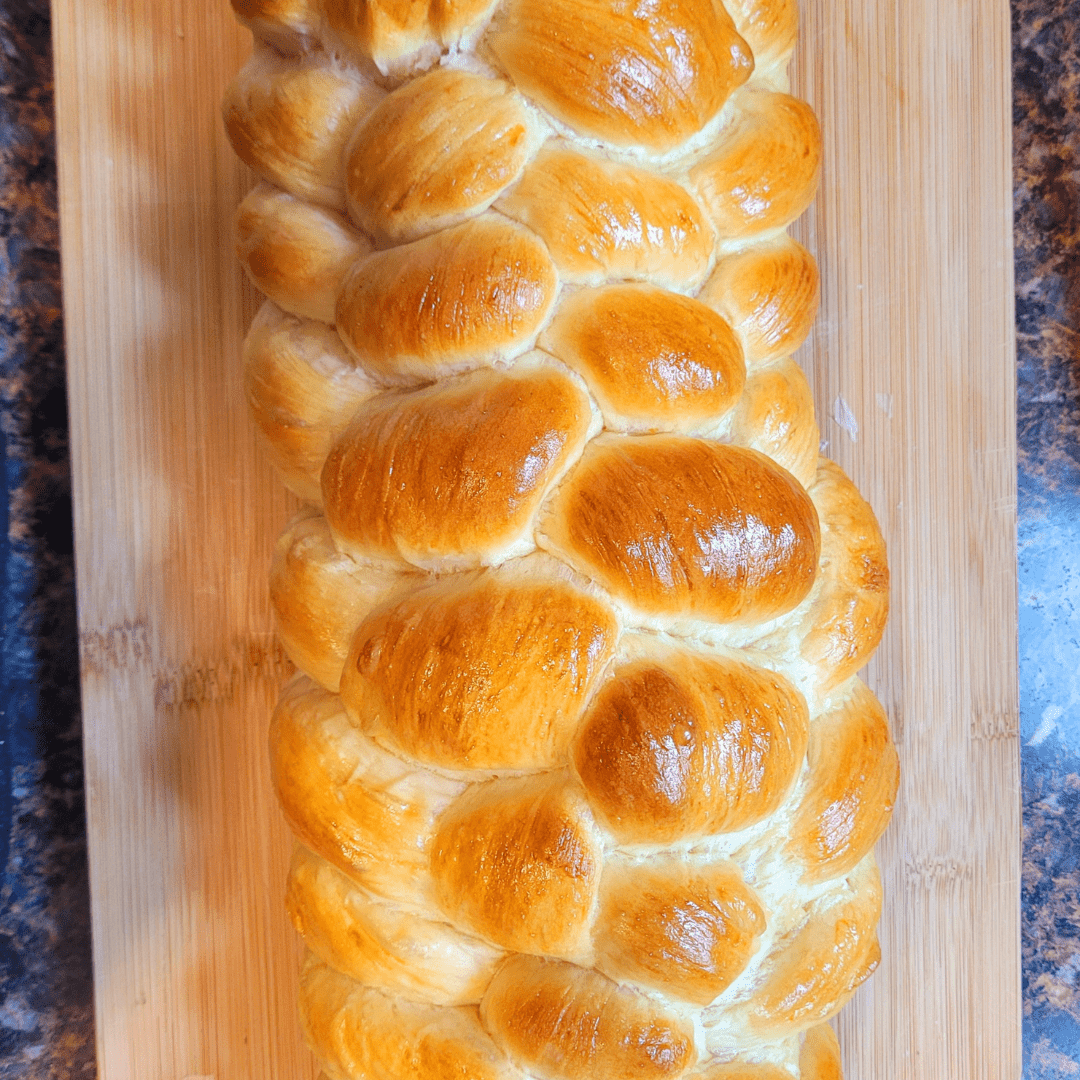
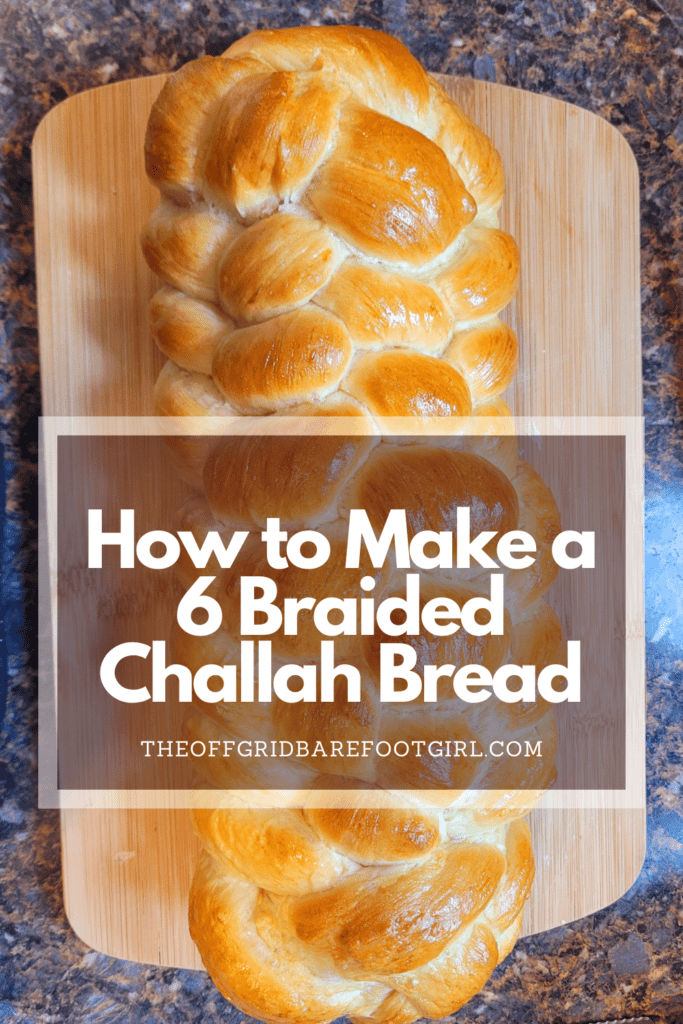
The image illustrates a 6-braided challah bread demonstrating how to braid a challah bread.
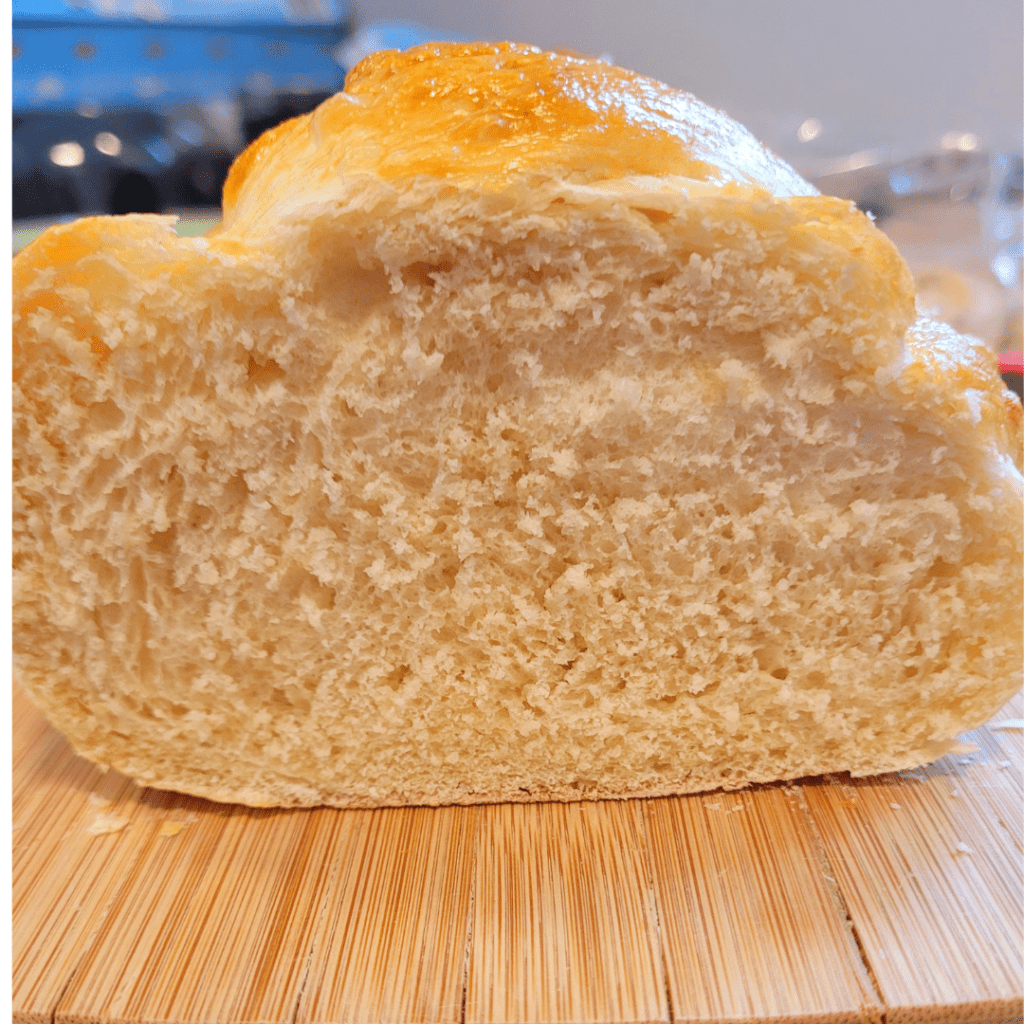
Slicing the Challah Bread
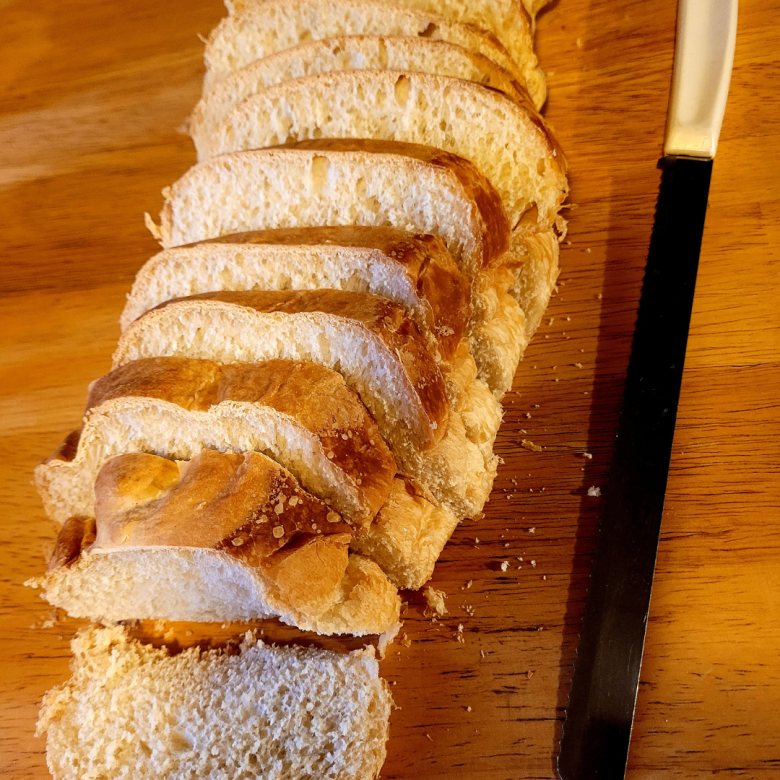
Allow to cool completely before slicing into the bread with a serrated bread knife.
This fluffy, soft, delicious challah bread did not last long in my house after I made this! This is perfectly fine with me since I love baking bread, and it gives me an excuse to whip up another loaf!
Video Tutorial Braiding the Challah Bread
This is a short video tutorial of me showing you how I braid dough with six strands. I am not a YouTuber and this video is definitely not professional. I hope you can still learn from how I braided my dough.
Conclusion
In conclusion, the 6-braided challah bread serves as a perfect centerpiece for any casual gathering or family meal. With its intricate braiding pattern, this traditional Jewish bread not only showcases your baking skills but also provides a delightful burst of flavors and textures. The golden crust adds a satisfying crunch, while the soft and chewy interior melts in your mouth.
Whether you choose to sprinkle sesame or poppy seeds on top, the finishing touches elevate the visual appeal and give it an extra burst of flavor. As you tear into each slice, the aroma of freshly baked dough fills the room, creating an inviting atmosphere that brings loved ones together. So be prepared for compliments and requests for seconds when you present this beautiful loaf at your next casual get-together.
Frequently Asked Questions
1. Can I use instant yeast instead of active dry yeast?
Sure, you can definitely use instant yeast instead of active dry yeast in your recipes. The main difference between the two lies in their granule size and how they are activated. Instant yeast has a finer texture and can be mixed directly into the dough without prior activation, making it more convenient and time-saving. On the other hand, active dry yeast needs to be proofed first by dissolving it in warm water or milk before adding it to the dough. However, keep in mind that when substituting instant yeast for active dry yeast, you may need to adjust the amount as instant yeast is more potent. A general rule of thumb is to reduce the amount of instant yeast by about 25%. Additionally, since instant yeast activates faster, you may also need to decrease the rise time for your dough. Overall, using instant yeast as a substitute for active dry yeast is perfectly fine and won’t significantly affect your final baked goods.
2. Can I substitute whole wheat flour for all-purpose flour in this recipe?
Sure, you can totally substitute whole wheat flour for all-purpose flour in your recipe! Whole wheat flour is a healthier alternative to all-purpose flour, as it contains all parts of the grain, including the bran and germ. This means that it’s higher in fiber and nutrients compared to its refined counterpart. However, keep in mind that whole wheat flour has a denser texture and a nuttier flavor, so it might slightly alter the taste and texture of your dish. To make up for this, you can try using half whole wheat flour and half all-purpose flour for a less pronounced change. Also, don’t forget that whole wheat flour absorbs more liquid than all-purpose flour, so you might need to add some extra moisture to your recipe. Overall, substituting whole wheat flour is a great way to amp up the nutritional value of your dishes while maintaining their deliciousness!
3. Can I add toppings like sesame seeds or poppy seeds to my braided challah bread?
Absolutely! Adding toppings like sesame seeds or poppy seeds to your braided challah bread is a fantastic way to enhance both the flavor and visual appeal of this traditional Jewish bread. The seeds add a pleasant crunch and nutty taste, taking your challah to the next level. Simply brush an egg wash over the dough before baking, then generously sprinkle on your preferred seed variety, whether it’s sesame or poppy. Not only do these toppings create a beautiful contrast against the golden crust of the bread, but they also provide added texture that perfectly complements the soft interior of the challah. So go ahead and get creative with your toppings – you can even try mixing different seeds together for a unique twist. Your braided challah will be irresistibly delicious and visually stunning!
6 Braided Challah Bread Recipe
Ingredients
For the Yeast
- 1 cup warm water
- 2 tsp dry active yeast
- 2 tsp sugar
For the Dough
- 4 to 4 ½ cups all-purpose flour
- ¼ cup sugar
- 2 tsp salt
- 2 large eggs
- ¼ cup vegetable oil
For Brushing the Dough Before Baking
- 1 small egg
Instructions
For the Yeast
- Dissolve the dry active yeast and sugar in the warm water and let rest for 10 minutes until foamy and the yeast is activated.
For the Dough
- Add flour, sugar, and salt into the activated yeast mixture and mix well until a shaggy dough forms.
- Make a well in the center of the shaggy dough and add in the eggs and oil and mix well.
Kneading the Dough
- Knead the dough for 10 minutes adding small amounts of flour while kneading until the dough forms a smooth dough ball.
Rising Time
- Place the dough ball in a greased dish and cover it with sprayed plastic wrap and let rise for 1 hour until doubled in size.
Braiding the 6 Braided Challah Bread
- Start by dividing your dough into six equal parts and roll them out into equally lengthening ropes. Pinch all top ends together at the top and fold underneath to secure the braid.
- Start with the first strand on the left and bring it over top toward the right.
- Take the last rope on the right and bring it over toward the left.
- Throughout the braiding process, you will always have two strands out to the sides at the top and four strands down at the bottom. You will braid from between the four strands on the bottom.
- Take the right top strand and bring it in between the four bottom strands.
- Grab the first strand from the four strands at the bottom and bring it toward the right at the top.
- Then take the top left strand and bring it down in between the four bottom strands.
- Bring the last bottom strand toward the top left side.
- Continue this braiding pattern all the way to the end of the strands and tuck the last parts underneath to seal the end of the braid.
Second Rise
- Fluff your 6 braided challah bread gently like a pillow to secure the braids together. Fluff and squish all the sides together in a very gentle way. Start fluffing the sides and gently squish them together and then do the same to the top and bottom ends.
- Lightly place a sprayed plastic wrap over the braided dough. Allow the dough to rise for thirty minutes until it is poofed up nicely and doubled in size.
For the Egg Wash
- Crack your egg into a bowl and whisk it until smooth and brush it over the bread with a pastry brush. Be sure to give it a good egg wash all over because this is how you will achieve a gorgeous golden color during the baking process.
Baking the Bread
- Preheat your oven to 350 degrees and bake for 30 minutes.
- Allow to cooling completely before slicing into the bread with a serrated bread knife.
Summary
I hope I have inspired you to bake your very own bread loaves to enjoy and share with your friends and family.
If you were encouraged by this post, I invite you to check out my FREE Printables Page for fun free printables, planners, and charts.
ENTER MY FREE Printables Page HERE
Here are some more of my bread-making inspiration posts to check out!
How to Make Sourdough Pumpkin Shaped Cinnamon Rolls
The Best Pumpkin Zucchini Bread
The Only Pumpkin Muffin Recipe You’ll Ever Need!
How to Make Banana Split Quick Bread
How to Make S’mores Quick Bread
How to Make Jelly Donut Quick Bread
Lemon Blueberry: How to Make Lemon Blueberry Sourdough Focaccia
How to Make Sourdough Lemon Supreme Quick Bread
Lemon Supreme: How to Make Sourdough Lemon Supreme Quick Bread
How to Make Sourdough Strawberry Cheesecake Muffins
How to Make Chai-Spiced Sourdough Banana Bread
The Best Old Fashioned Sourdough Banana Muffins
How to Make Honey Sourdough Bread
Blueberry: How to Make Lemon Blueberry Sourdough Quick Bread
Pizza: How to Make Pizza Sourdough Focaccia
Carrot Cake: How to Make Carrot Cake Sourdough Focaccia
Easy and Delicious Hershey’s Kisses Sourdough Bread
How to Make Amish Whoopie Pies!
Lazy Cinnamon Rolls: How to Make Easy Cinnamon Rolls the Lazy Way!
Lembas Bread: How to Make Elven Lembas Bread: A Taste of Rivendell
Gnome Bread: How to Make a Sourdough Gnome Bread
How to Make Sourdough Strawberry Cheesecake Muffins
The Best Hoagie Buns Recipe Made From Scratch!
Pumpkin: How to Make Chocolate Chip Pumpkin Bread
More Recipes!
Sweet Potato Bread: How to Make Sweet Potato Bread
Chocolate Chip Cookies: How to Make Chocolate Chip Cookie Bread
Carrot Cake Quick Bread: How to Make Carrot Cake Quick Bread
How to Make Strawberries and Cream Sourdough Bread
How to Make S’mores Sourdough Bread
July 4th Bread: How to Make a Firecracker Marble Bread Braid
Artisan Bread: How to Make Artisan Bread
Challah Bread: How to Make a 6 Braided Challah Bread
Sweet Bread: How to Make Sweet Bread
Blessings,
The Off Grid Barefoot Girl

