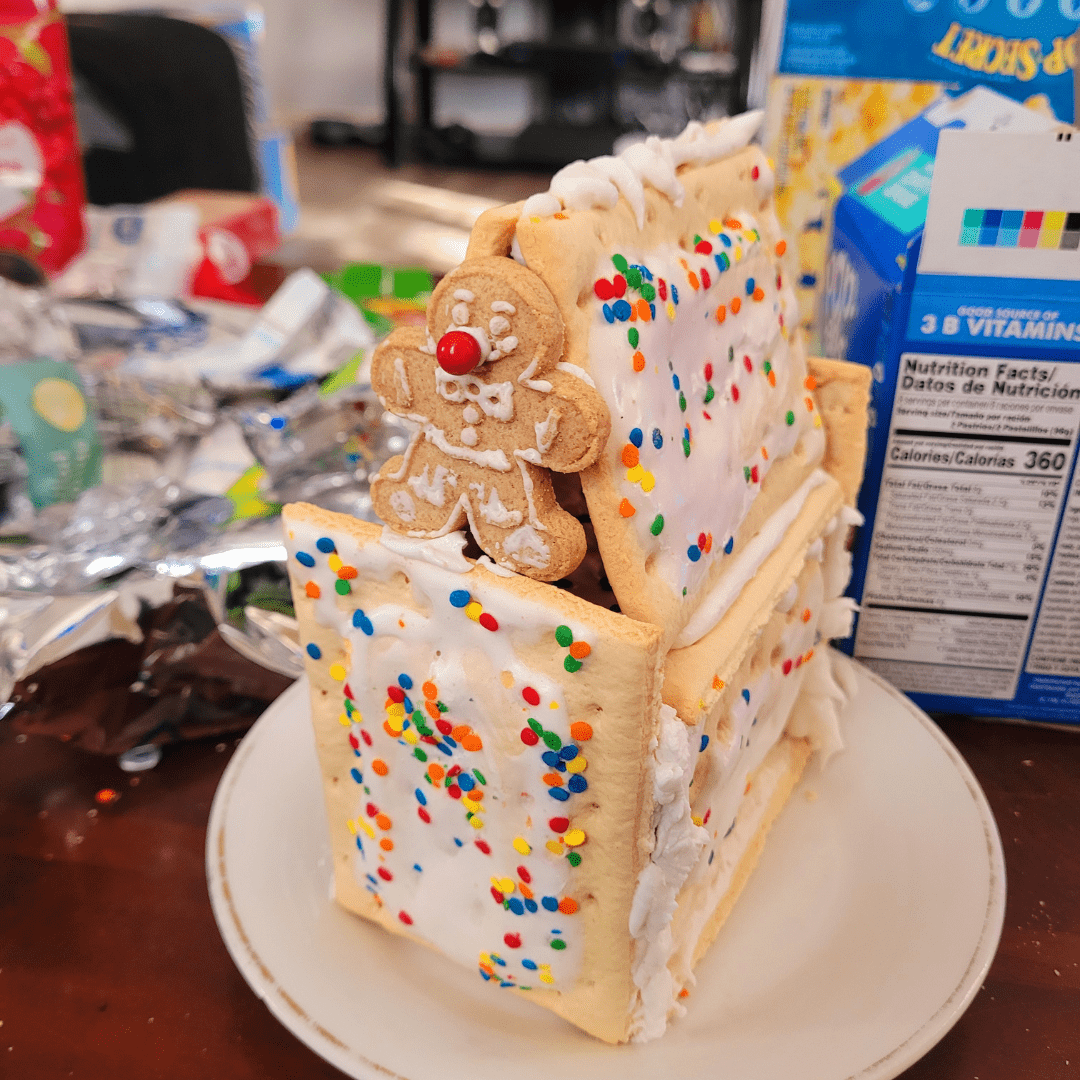
Looking for a fun and easy holiday project? Learn how to make DIY Pop-Tart Gingerbread Houses — the perfect Christmas activity for kids! No baking required, just creativity, candy, and cozy family fun!
One of my favorite parts of the holiday season is finding creative, low-stress ways to make memories with my family — and these DIY Pop-Tart Gingerbread Houses are an absolute hit! They’re simple to make, require no baking, and let the kids go wild with frosting and candy decorations. In this post, I’ll share how I put together this fun holiday craft, what supplies you’ll need, and a few tricks to keep things mess-free and magical. Whether you’re snowed in or just looking for a cozy Christmas afternoon project, this is one activity your kids will love year after year.
This is a pinnable post. Tap or hover over any image in this post to pin to your Pinterest Boards.
The Trend of DIY Pop-Tart Gingerbread Houses
Gingerbread houses have been a staple of holiday traditions for years, but lately, there’s a new twist on the classic activity that is taking the DIY world by storm – Pop-Tart gingerbread houses! Combining the nostalgia of childhood breakfasts with the festive spirit of the holiday season, these edible creations are not only delicious but also incredibly fun to make. Get ready to embark on a unique holiday adventure that will leave your kids (and maybe even you) buzzing with excitement!
Getting Started: Essential Supplies and Ingredients
Gathering the Necessary Materials
To get started on your Pop-Tart gingerbread house endeavor, you’ll need a few key supplies. Here’s what you’ll need to have on hand:
- Pop-Tarts (various flavors, because why limit yourself to just one?)
- Frosting or icing (the stickier, the better).
- Assorted candies and sprinkles (the more colorful, the merrier).
- Wax paper or a sturdy surface for building.
- A sharp knife or scissors (for precise cutting). My sons can attest that scissors work great at cutting Pop-Tarts!
- Ziplock bags or piping bags (for easy decorating).
- Your favorite holiday tunes playing in the background (optional, but highly recommended). (We had a Christmas movie playing since there was some downtime to wait for the icing to dry, to move on to the next step, and a fun holiday movie kept us entertained!)
Preparing the Ingredients: Pop-Tart Gingerbread Houses
Before you can start constructing your Pop-Tart gingerbread house masterpiece, you’ll need to do a little prep work. First, unwrap and separate all your Pop-Tarts, making sure they’re ready to be transformed into building materials. Then, whip up a batch of icing or frosting according to your favorite recipe or opt for store-bought for added convenience.
Keep it thick enough to act as an adhesive, but still spreadable. Finally, gather an assortment of colorful candies and sprinkles for decorating. Remember, this is your chance to let your creative side shine, so go wild!
Step-by-Step Guide: Building the Pop-Tart Gingerbread House
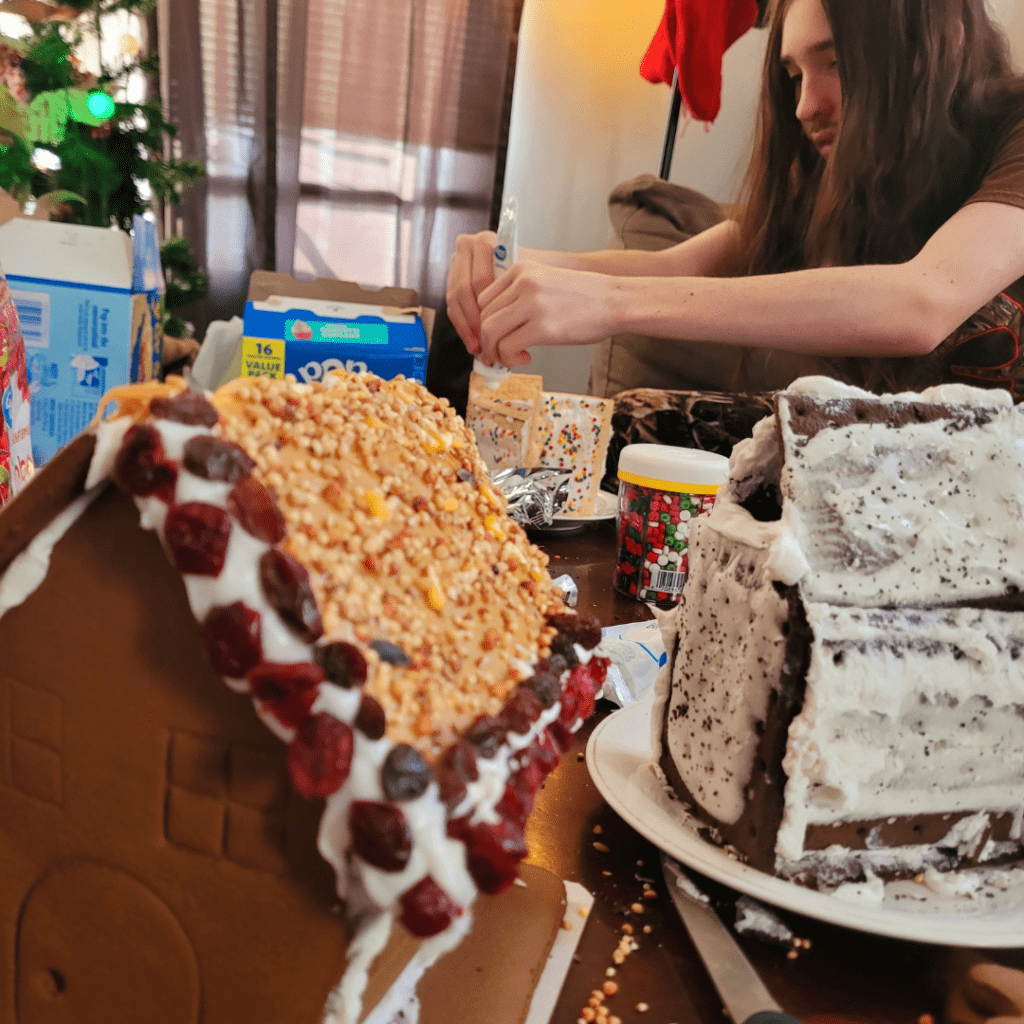
This is also perfect for teenagers! My teenage son loved making these while we watched a Christmas movie!
My house is the peanut butter birdseed-covered one that I was constructing for the birds. You can read more about my birdfeeder gingerbread house at my other post.
How to Build a Birdfeeder Gingerbread House
Constructing the Base: Pop-Tart Gingerbread Houses
Now that you have all your supplies and ingredients ready, it’s time to start building! Begin by laying down a solid foundation for your Pop-Tart gingerbread house. Take two Pop-Tarts of the same flavor and spread a generous amount of frosting on the bottom side of each. Press them together firmly to create the base of your house. This will ensure stability and prevent any accidental collapses.
Assembling the Walls and Roof: Pop-Tart Gingerbread Houses
Once the base is secure, it’s time to construct the walls and roof. Cut additional Pop-Tarts into smaller pieces, depending on the size and shape you desire for your house. Attach them to the base using more frosting, creating the walls and roof as you go. Don’t be afraid to experiment with different flavors and colors for a visually stunning result. My kids loved the fact that the original icing on the Pop-Tarts looked like snow!
Securing the Structure: Pop-Tart Gingerbread Houses
To ensure your Pop-Tart gingerbread house stays intact, reinforce the structure with additional frosting as needed. Spread it along the seams between the walls and roof, as well as any other weak points. Remember, the more frosting, the better! (Just ask one of my kids, he went wild with the icing on his house!) Let your construction skills shine as you add the finishing touches to your edible abode.
Creative Decorating Ideas: Adding a Personal Touch
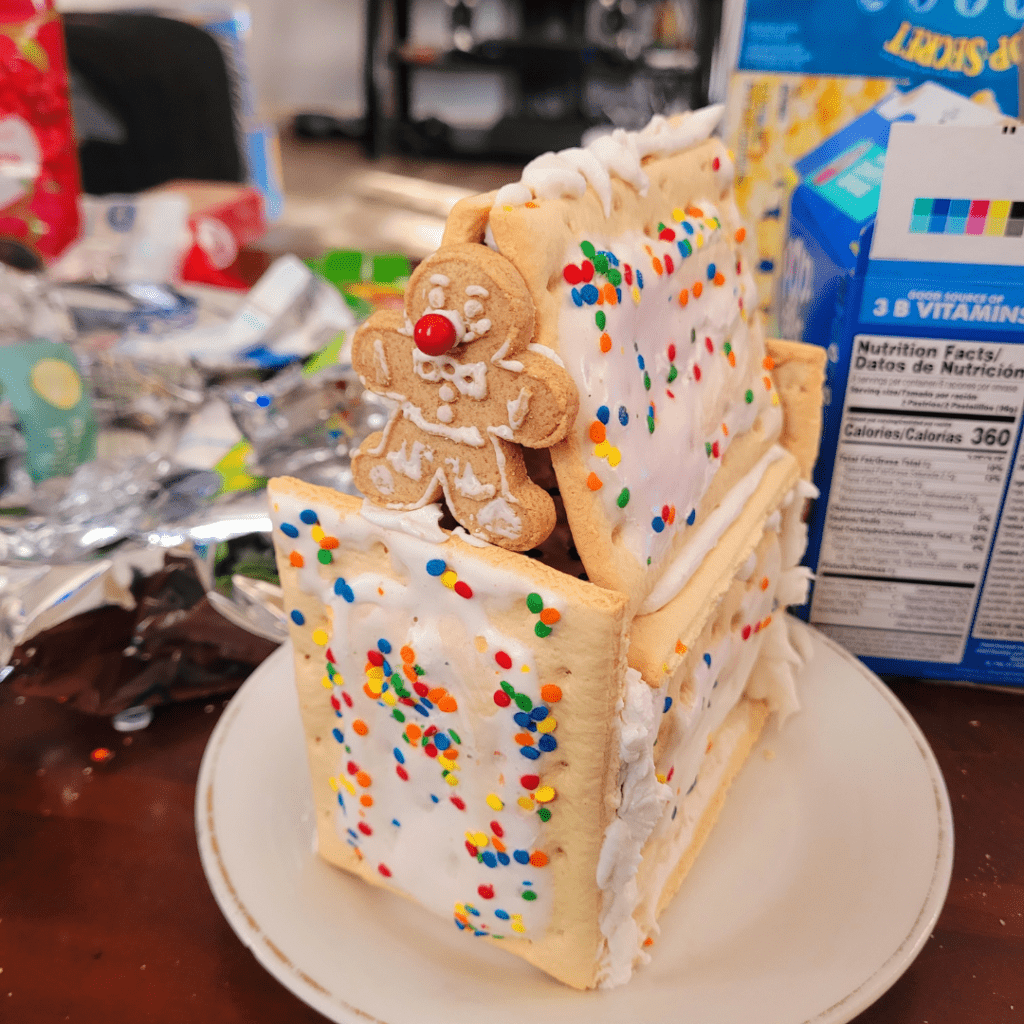
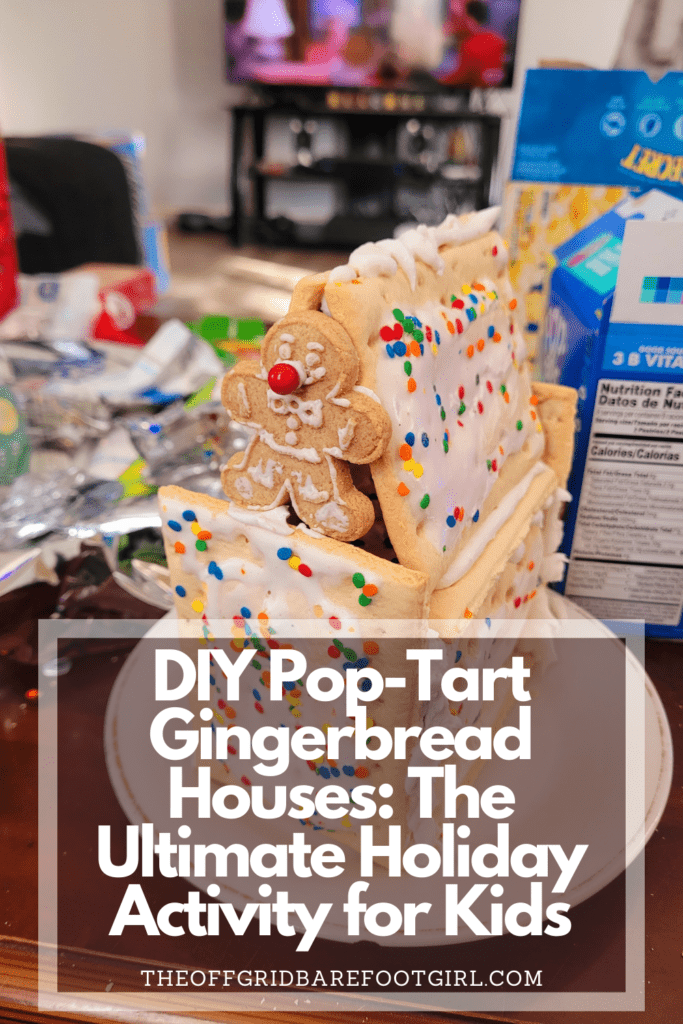
Why not make a gingerbread man with Rudolph’s red nose? One of my kids got creative!
Choosing the Right Icing and Candy Decorations
Now that the structure of your Pop-Tart gingerbread house is complete, it’s time for the really fun part – decorating! Start by selecting the perfect colors and flavors of icing to bring your creation to life. Whether you prefer vibrant red and green or a more whimsical pastel palette, the choice is yours.
Then, go wild with an assortment of candies and sprinkles. From gumdrops and licorice to chocolate chips and gummy bears, let your imagination run wild. We added fun mini gingerbread men cookies to ours!
Experimenting with Different Colors and Patterns
One of my kids is a chocoholic with a frosting addiction, like me!
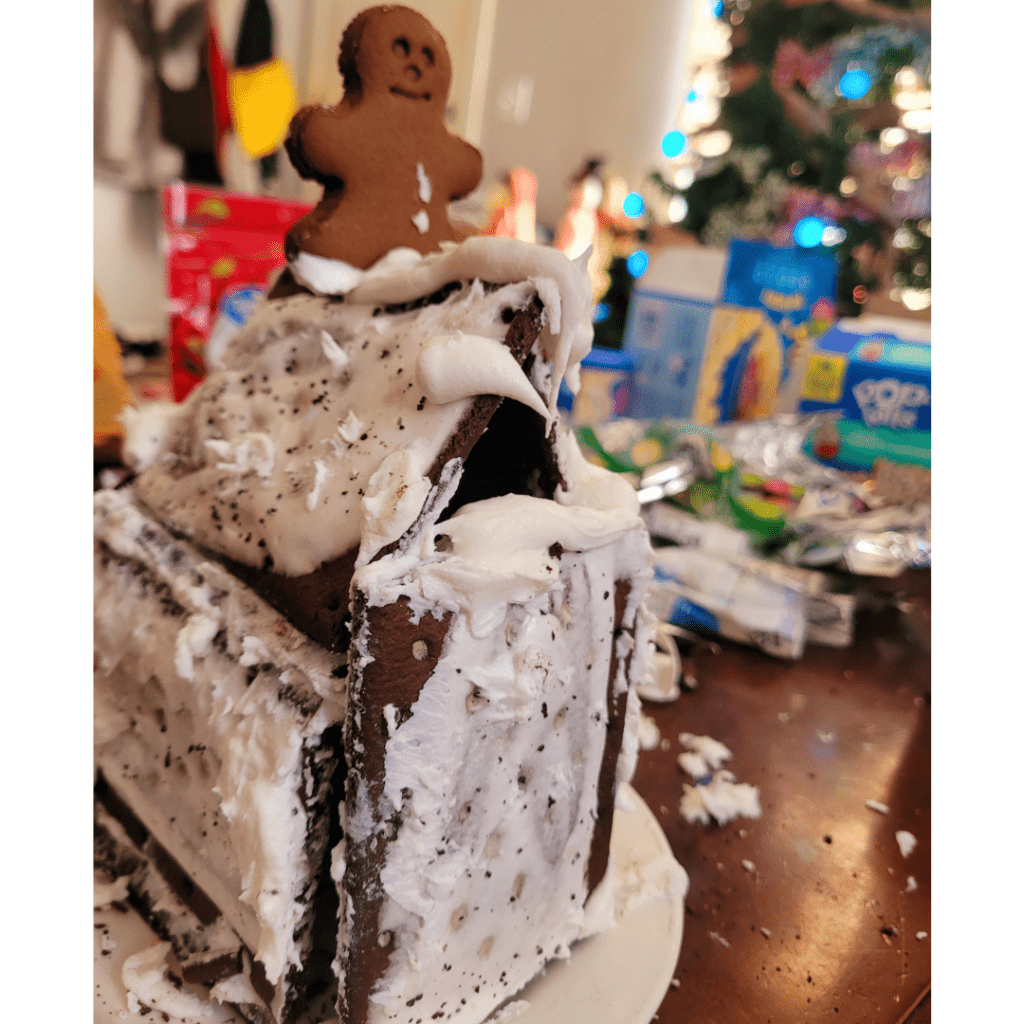
Don’t be afraid to think outside the gingerbread house-shaped box! Get creative with different patterns, like stripes or polka dots, using your icing as a canvas. You can even create a mini winter wonderland by adding powdered sugar for a snowy effect. The possibilities are endless, so let your inner artist shine and make your Pop-Tart gingerbread house truly one-of-a-kind.
Now that you have the insider’s guide to DIY Pop-Tart gingerbread houses, it’s time to gather your supplies, recruit the little ones, and embark on this deliciously memorable holiday adventure. And remember, if your house doesn’t turn out quite as Pinterest-worthy as you imagined, just embrace the imperfections and enjoy the sweet taste of homemade fun and fun memories with your kids!
Troubleshooting Tips: Common Challenges and How to Overcome Them
Dealing with Structural Issues: Pop-Tart Gingerbread Houses
Building a gingerbread house can be a lot like trying to assemble furniture from an uncertain, questionable store – things don’t always stay together as perfectly as you’d hope. So, if you find your walls leaning like the Tower of Pisa, don’t panic! Here are a few tips to save the day:
- Reinforce the Walls: Use extra icing or melted candy to glue the walls together, providing some much-needed support. Just remember, a little extra icing goes a long way.
- Embrace the Leaning Tower: If your structure insists on having a unique architectural flair, go with the flow. Sometimes, a slightly tilted gingerbread house adds character and charm. Embrace its quirkiness and proudly display your masterpiece. (One of my sons had high spirits and laughed at his crooked Dr. Seuss-style masterpiece!)
Handling Icing Mishaps (It will Happen!)
Icing plays a crucial role in keeping your gingerbread house together, but it can also lead to some sticky situations. Here’s how to navigate common icing mishaps:
- Thin Icing Woes: If your icing is too runny, don’t fret! Add more powdered sugar to thicken it up. Just be careful not to add too much at once, or you might end up with icing that’s as stiff as a board.
- Clogged Piping Bag Catastrophe: Nothing is more frustrating than a piping bag that seems to have forgotten how to cooperate. If your bag’s tip is clogged, gently squeeze it to unclog the icing or use a toothpick to clear any blockages. Problem solved!
Fun Activities for Kids: Incorporating Games and Challenges
Gingerbread House Decorating Contest
Turn your gingerbread house activity into a friendly competition by hosting a decorating contest! Set up different categories like “Most Creative,” “Most Festive,” or “Most Likely to Collapse,” and let the kids unleash their artistic skills. Don’t forget to have a panel of esteemed judges (aka, family members or friends) to award the coveted titles.
Designing a Themed Gingerbread Village
Why stop at just one gingerbread house? Take your holiday creativity to the next level by designing a whole gingerbread village. Each child can create their own mini-house and come up with a unique theme, like a Candy Cane Lane or a Winter Wonderland. Once the village is complete, gather around and marvel at the deliciously adorable town you’ve created.
Showcasing and Enjoying the Finished Product: Display and Indulgence
Tips for Displaying Your Creation: Pop-Tart Gingerbread Houses
After all the hard work, you’ll want to proudly display your gingerbread house for all to see. Follow these tips to showcase your masterpiece:
- Find a Sturdy Base: Use a decorative tray or even a wooden board as a stable foundation for your gingerbread house. This will keep it steady and prevent any accidental collapses.
- Add Festive Touches: Sprinkle some powdered sugar on top of your gingerbread house to create a snowy effect. You can also place small figurines or holiday decorations around it for an extra touch of magic.
Sharing and Enjoying the Gingerbread House
Once your gingerbread house is on display, it’s time to indulge in its deliciousness. Invite friends and family to admire your creation and savor its sweet taste. Don’t be surprised if it becomes the centerpiece of your holiday celebrations, drawing “oohs” and “ahhs” from everyone who lays eyes on it. Just make sure to have a few extra napkins handy for the inevitable icing mustaches.
Conclusion: Unleashing Creativity and Spreading Holiday Cheer
DIY Pop-Tart gingerbread houses are the ultimate holiday activity for kids (and kids at heart). With a little bit of patience, a touch of creativity, and a whole lot of sugar, you can create memories that will last a lifetime. So go ahead, gather your supplies, put on your favorite holiday playlist, and embark on a gingerbread adventure like no other. Unleash your imagination, spread holiday cheer, and most importantly, enjoy every delicious bite of your edible masterpiece!
In conclusion, DIY Pop-Tart Gingerbread Houses offer a delightful and innovative way to celebrate the holiday season. By following my step-by-step guide and exploring creative decorating ideas, you can create a unique gingerbread masterpiece that will impress both young and old.
Whether you choose to host a gingerbread house decorating contest or simply enjoy the process with your loved ones, these edible creations are sure to spread holiday cheer and bring joy to all who partake in the delicious fun. So, gather your supplies, unleash your creativity, and embark on a delightful journey of building and decorating your own Pop-Tart Gingerbread House. Happy holidays, and may your festive season be filled with sweetness and laughter!
Frequently Asked Questions
1. Can I use any flavor of Pop-Tarts to build my gingerbread house?
Sure, why not spice up your gingerbread house with some Pop-Tart flair? While traditional gingerbread is typically used for building houses, there’s no hard and fast rule that says you can’t get creative with your materials. Pop-Tarts come in a wide range of flavors, so the possibilities are endless when it comes to adding colorful and tasty details to your edible creation. Imagine using frosted cherry Pop-Tarts as roof tiles or chocolate fudge ones as window frames! Just keep in mind that due to their soft texture, Pop-Tarts may not provide the same sturdy structure as gingerbread. You may need to rely on royal icing or candy supports to keep everything together. Get playful with your designs, experiment with different flavors, and don’t forget to have fun while building a unique twist on the traditional gingerbread house!
2. How long does it take for the icing to dry and the gingerbread house to become sturdy?
An ETERNITY! Ahem, I mean, so you’ve just finished building your gingerbread house, and now comes the waiting game – how long until the icing dries and your masterpiece becomes sturdy? Well, my friend, that all depends on a few factors. Firstly, the type of icing you used will play a role. Royal icing, made with egg whites or meringue powder, tends to dry faster than buttercream icing. On average, royal icing may take anywhere from 2 to 4 hours to fully dry and become sturdy. However, if you used buttercream icing instead, it might require a bit more patience as it can take around 6 to 8 hours or even overnight to set completely. Secondly, think about the humidity level in your environment – higher humidity means longer drying times. Lastly, consider the thickness of the icing layer applied; thicker layers naturally take longer to dry. So be patient, my gingerbread architect! Give it some time, and before you know it, your creation will be rock solid and ready for admiration (or devouring).
3. Can I make the gingerbread house ahead of time and store it for later?
Absolutely! If you’re short on time or want to get a head start on your gingerbread house, making it ahead of time and storing it is a great idea. To ensure the house stays fresh and intact, there are a few tips to keep in mind. First, allow the gingerbread pieces to cool completely before assembling the house. This prevents any residual heat from causing the icing to melt or the structure to collapse. Once cooled, carefully wrap each piece in plastic wrap or place them in an airtight container to prevent any moisture from seeping in and softening the gingerbread. Additionally, avoid decorating the house until you’re ready to display it as decorations like candy can become stale with time. Whether it’s a week or months later, your gingerbread house will be ready for display when stored properly!
Summary
I hope I have inspired you to build fun Pop-Tart gingerbread houses with your kids with these tips and products.
If you were encouraged by this post, I invite you to check out my FREE Printables Page for fun free printables, planners, and charts.
ENTER MY FREE Printables Page HERE
Here are some more of my inspiration posts to check out!
How to Have a Safe and Exciting Mountain Sledding Experience with Teens!
A-maze-ing Fun In a Corn Maze with Teens
17 Free Outdoor Summer Boredom Busters for Kids
Lake Fishing with Kids: What to Know Before You Go
Ultimate Guide on River Safety for Kids
Why Archery for Kids Teaches a Growth Mindset
Homeschooling Teens With Anxiety: How Easy It Can Improve Grades
5 Best Gardening Tools for Kids to Complete Chores
How to Open A Can of Food With Your Bare Hands
The Best Activities for First Aid for Kids
Knife Safety for Kids: Ultimate Guide to Their Safety
Blessings,
The Off Grid Barefoot Girl

