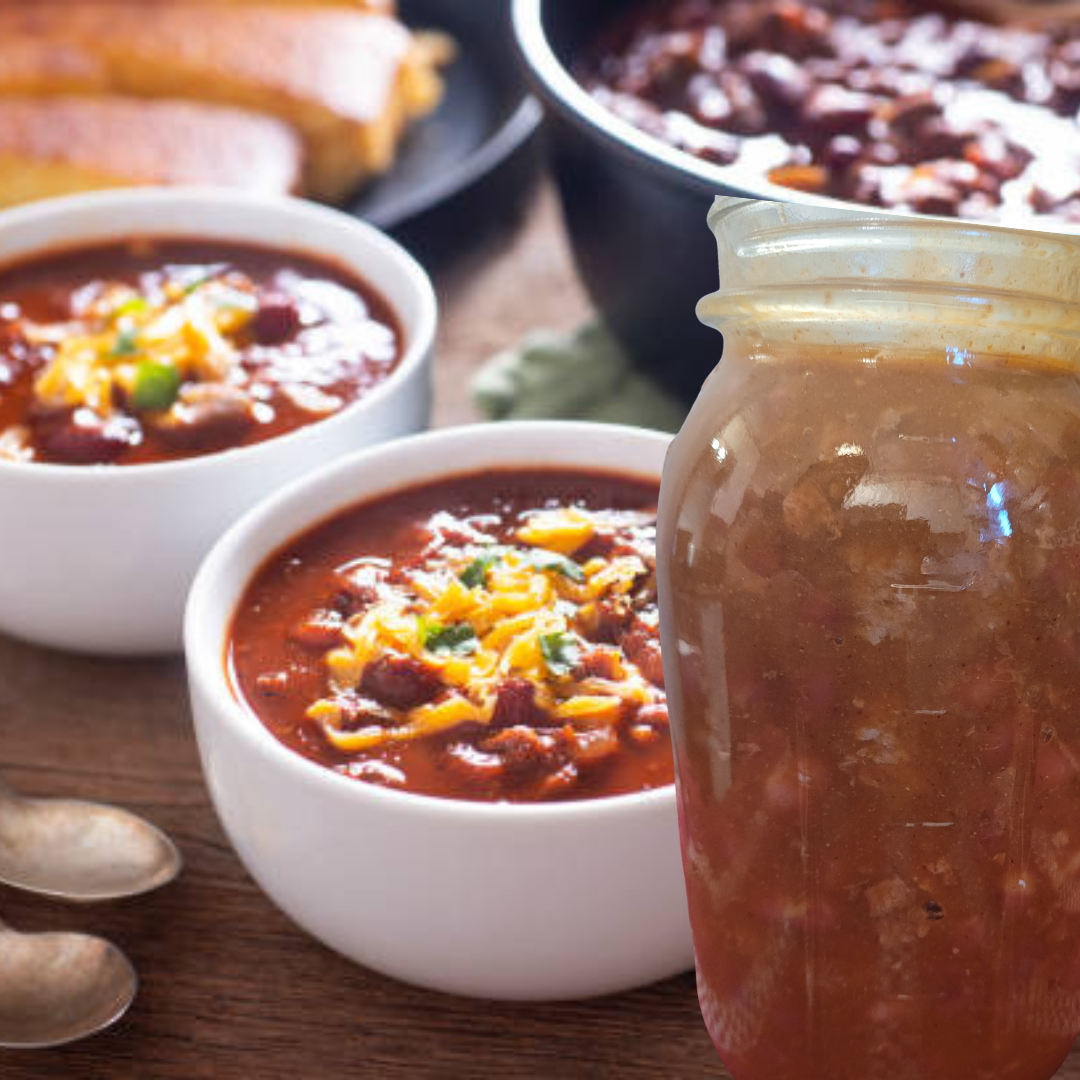
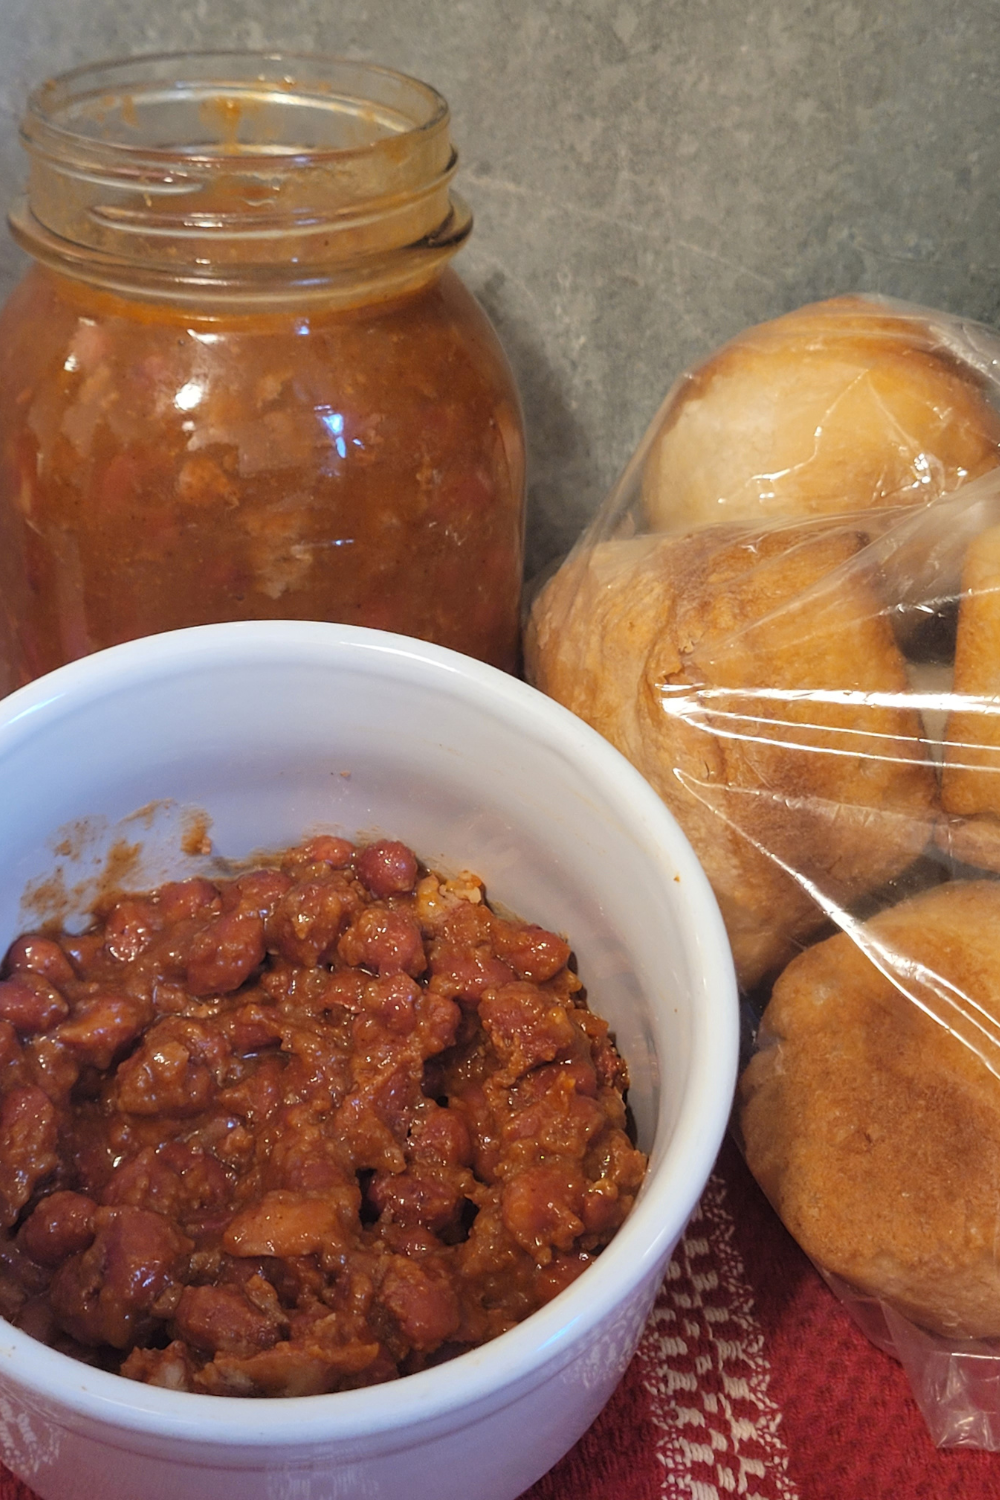
This vegan chili pressure canning recipe is a flavorful, protein-packed meal that’s perfect for plant-based diets and emergency food storage. Adapted from Simply Canning’s trusted recipe, it replaces meat with extra beans and lentils while following strict USDA-aligned safety practices for pressure canning. Whether you’re prepping for busy weeknights or long-term storage, this homemade canned chili is easy to make and delicious.
Disclaimer:
This vegan chili recipe is adapted from the original recipe at Simply Canning’s How to Can Chili. The adaptation replaces the meat with additional cooked beans and lentils to make it vegan-friendly. All canning instructions, including pressure canning times and methods, follow the original recipe’s USDA-aligned safety guidelines to ensure safe home canning of low-acid foods. Please always use a pressure canner, follow recommended processing times and pressures for your altitude, and adhere to safe canning practices.
There’s nothing quite like a warm bowl of chili on a chilly day—it’s the kind of comfort food that feels like a hug in a bowl. This vegan version is hearty, wholesome, and packed with flavor, proving that you don’t need meat to enjoy a rich, satisfying chili. Even better, this recipe is designed to be pressure canned, so you can stock your pantry with jars of ready-to-heat comfort that will last for months. Whether you’re looking for an easy weeknight dinner, a nourishing meal to share with family, or a smart way to build your shelf-stable food supply, this chili delivers all the coziness with none of the hassle!
This is a pinnable post. Tap or hover over any image in this post to pin to your Pinterest Boards.

Why Make Vegan Chili for Canning?
Many traditional chili recipes rely on meat as the main source of protein, but this vegan version takes a different approach by using a hearty mix of beans and lentils. Not only do they provide plenty of protein and fiber, but they also add a rich, satisfying texture that makes the chili both filling and nourishing.
By pressure canning this recipe, you can safely preserve it for months at a time, making it a convenient option for busy weeknights, last-minute meals, or even stocking up for long-term prepping.
It’s a budget-friendly choice that stretches your dollar while keeping everything plant-based, wholesome, and delicious. Whether you’re committed to a vegan lifestyle or simply want to enjoy a meatless meal that doesn’t skimp on flavor, this chili is the perfect solution.
Ingredients for Vegan Chili Canning Recipe
3 cups cooked kidney beans (or 2 cans, drained and rinsed)
3 cups cooked pinto beans (or 2 cans, drained and rinsed)
2 cups cooked lentils (optional, adds extra protein and texture)
2 medium onions, chopped
1 cup chopped green bell pepper
2 cloves garlic, minced
2 (14.5 oz) cans diced tomatoes (with juice)
1 (8 oz) can tomato sauce
2 tbsp chili powder
1 tsp cumin
1 tsp oregano
½ tsp black pepper
¼ tsp cayenne pepper (optional for heat)
1 ½ tsp salt (adjust to taste)
1 ½ cups water or vegetable broth (optional to adjust thickness)
Step-by-Step Vegan Chili Canning Tutorial
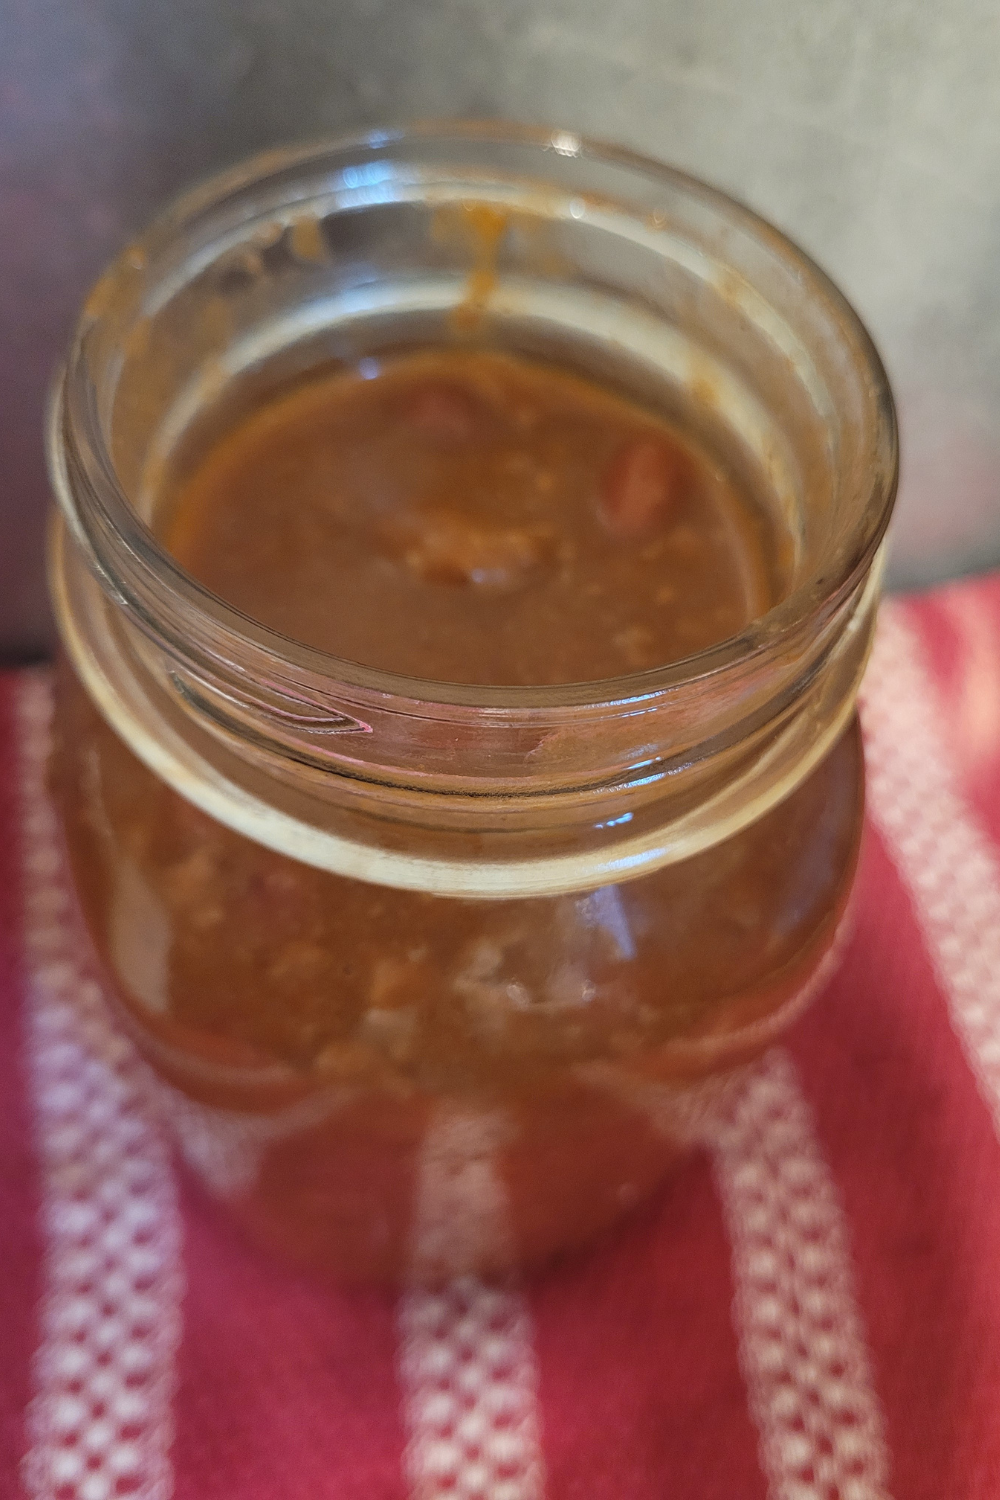
Preparing the Beans and Lentils
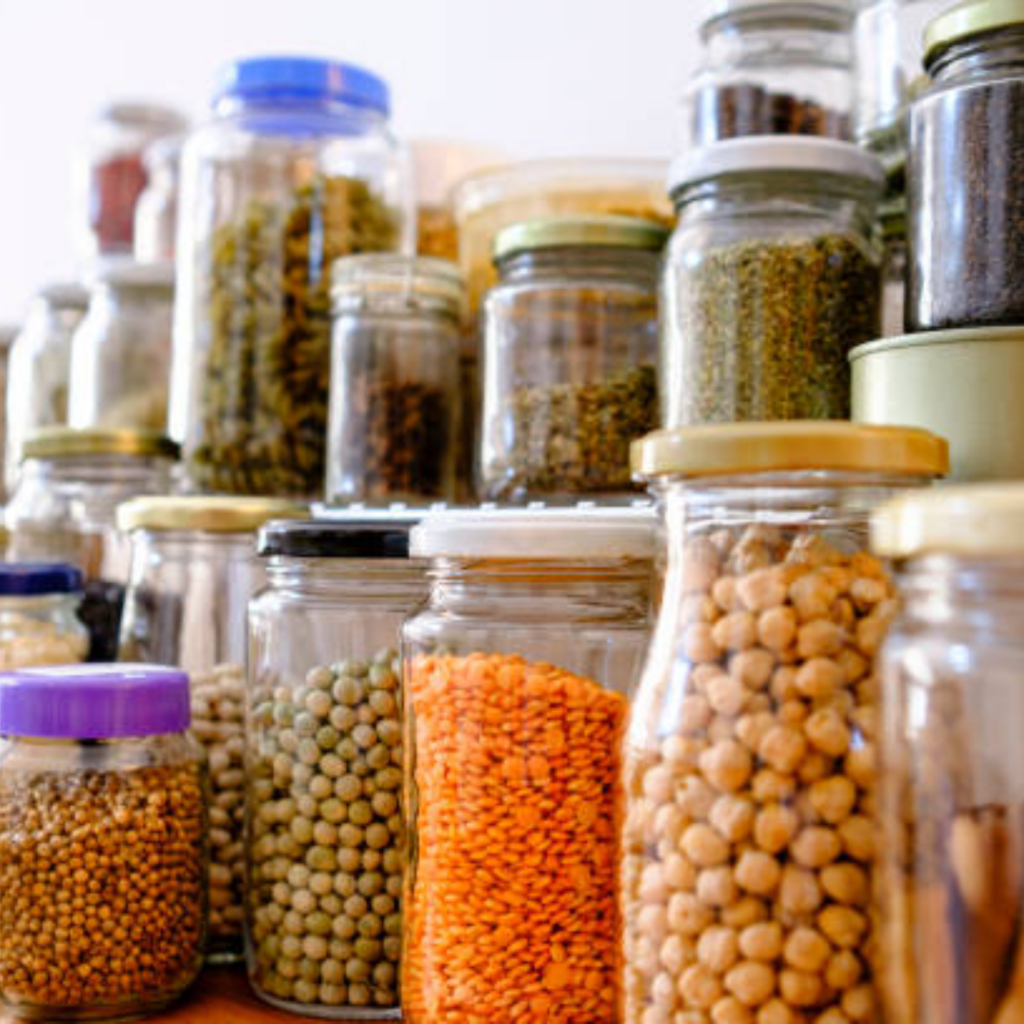
Soak and cook your beans and lentils ahead of time to ensure they’re tender but not mushy.
Mixing and Cooking the Chili
Sauté your onions, peppers, and garlic, then combine with tomatoes, seasonings, and cooked beans. Simmer for 20–30 minutes.
Preparing Jars and Filling
Sterilize your jars, then ladle the hot chili mixture into jars, leaving 1-inch headspace.
Pressure Canning Process
Process jars in a pressure canner at 10–11 PSI for 90 minutes for quarts, adjusting pressure for altitude.
Conclusion
Canning your own vegan chili is more than just a way to stock your pantry—it’s a simple, rewarding practice that lets you enjoy hearty, plant-based meals anytime you want. Each jar is filled with wholesome beans, lentils, and vegetables, making it not only delicious but also packed with protein, fiber, and nutrients. By following this carefully adapted recipe and using a pressure canner, you can feel confident that your chili is shelf-stable, safe, and ready whenever you need a quick, nourishing meal.
It’s perfect for busy weeknights, camping trips, or even emergency preparedness. Plus, there’s something deeply satisfying about lining your shelves with jars of food you’ve made yourself. Give this method a try, and you’ll soon discover the unbeatable convenience, peace of mind, and incredible flavor of homemade canned vegan chili—all year round!

Resources: Here are some helpful resources for further information.
- Strawberry Butter – By Belly Full
- Sunshine Fruit Butter – By Seed to Pantry
- Mixed Fruit Slow Cooker Butter – By Food in Jars
Frequently Asked Questions
1. Can I use canned beans instead of cooking dried beans?
Yes! Just be sure to drain and rinse them well before adding to your chili.
2. Is pressure canning necessary for this chili recipe?
Absolutely. Because chili contains low-acid ingredients like beans and tomatoes, pressure canning is required for safety.
3. Can I add other vegetables to this chili?
Yes, but be careful to keep proportions balanced and follow pressure canning guidelines to ensure safety.
4. How long can I store canned chili?
Properly canned chili can be stored in a cool, dark place for up to 1 year.
Chili Recipe Vegan and Shelf Stable
Ingredients
- 3 cups cooked kidney beans (or 2 cans, drained and rinsed)
- 3 cups cooked pinto beans (or 2 cans, drained and rinsed)
- 2 cups cooked lentils (optional, adds extra protein and texture)
- 2 medium onions, chopped
- 1 cup chopped green bell pepper
- 2 cloves garlic, minced
- 2 (14.5 oz) cans diced tomatoes (with juice)
- 1 (8 oz) can tomato sauce
- 2 tbsp chili powder
- 1 tsp cumin
- 1 tsp oregano
- ½ tsp black pepper
- ¼ tsp cayenne pepper (optional for heat)
- 1 ½ tsp salt (adjust to taste)
- 1 ½ cups water or vegetable broth (optional to adjust thickness)
Instructions
Prepare Beans and Lentils
- Use fully cooked beans and lentils (from dry or canned). Drain and rinse canned beans well.
Mix Ingredients
- In a large pot, combine beans, lentils, onions, bell pepper, garlic, tomatoes, tomato sauce, spices, salt, and water or broth. Simmer for 15-20 minutes to blend flavors.
Fill Jars
- Sterilize 7 quart jars and lids. Ladle hot chili mixture into jars, leaving 1-inch headspace. Remove air bubbles and wipe rims.
Seal Jars
- Place lids and rings on jars, finger-tight.
Pressure Can
- Process in a pressure canner at 10 PSI (adjust for altitude) for 90 minutes (see notes below).
Cool and Store
- Let jars cool naturally. Check seals after 24 hours. Store in a cool, dark place.
Notes
Processing Times (Pressure Canner at 10 PSI)
| Jar Size | Processing Time |
|---|---|
| Quart Pint | 90 minutes 75 minutes |
- 0-1000 ft: 10 PSI
- 1001-6000 ft: 15 PSI
- Above 6000 ft: Follow local extension guidelines
Notes & Tips
- Always use a pressure canner for chili or bean dishes.
- Don’t reduce processing times.
- Use high-quality beans and lentils for best texture.
- You can add other vegetables (like corn or zucchini), but keep quantities balanced.
- Label jars with date and ingredients.
- Let chili rest 24 hours before tasting for best flavor.
Summary
I hope I have inspired you to stockpile your pantry for your survival needs.
If you were encouraged by this post, I invite you to check out my FREE Printables Page for fun free printables, planners, and charts.
ENTER MY FREE Printables Page HERE
Here are some more of my canning inspiration posts to check out!
Pears: How to Make and Can Pear Honey
Pears: How to Make and Can Salted Caramel Pear Butter
Butternut Squash: How to Make and Can Butternut Squash Butter
Quince: How to Make and Can Fall Spiced Quince Chutney
Quince: How to Can Quince
Carrot Cake Butter: How to Make and Can Carrot Cake Butter
Peach Pie Filling: How to Make and Can Peach Pie Filling
Pear Pie Filling: How to Make and Can Pear Pie Filling
The Best Winter Pantry Staples to Stockpile Now!
More Recipes!
Grapes: How to Make and Can Grape Jam
Apple Cider: How to Make Homemade Apple Cider Vinegar
How to Make and Can Cherry Plum Jam
How to Make and Can Apple Butter In Crockpot
Stockpiling Condiments for Survival: Learn How I Do It!
How to Make and Can Vegetable Pot Pie Filling
Easy Canning Applesauce Recipes to Stalk Your Pantry!
How to Make Peach Jalapeno Jam
Cherries: How to Make Cherry Pie Filling
Cherries: How to Make Cherry Syrup
Salsa: How to Make and Can Cherry Salsa
Peaches: How to Make and Can Peach Salsa
Canning Supplies You Need Now for a Successful Canning Season!
How to Make and Can Balsamic Onion Jam
Cranberry Sauce: How to Make and Can Old Fashioned Cranberry Sauce
How to Make and Can Cranberry Merry Jam
How to Make and Can Strawberry Shortcake Jam
Cherry Jam: How to Make and Can Cherry Pie Jam
Carrot Cake Jam: How to Make and Can Carrot Cake Jam
Quince Jam: How to Can a Year’s Supply of Quince Jam
Root Beer Float Jelly: How to Make and Can Root Beer Float Jelly
Blessings,
The Off Grid Barefoot Girl

