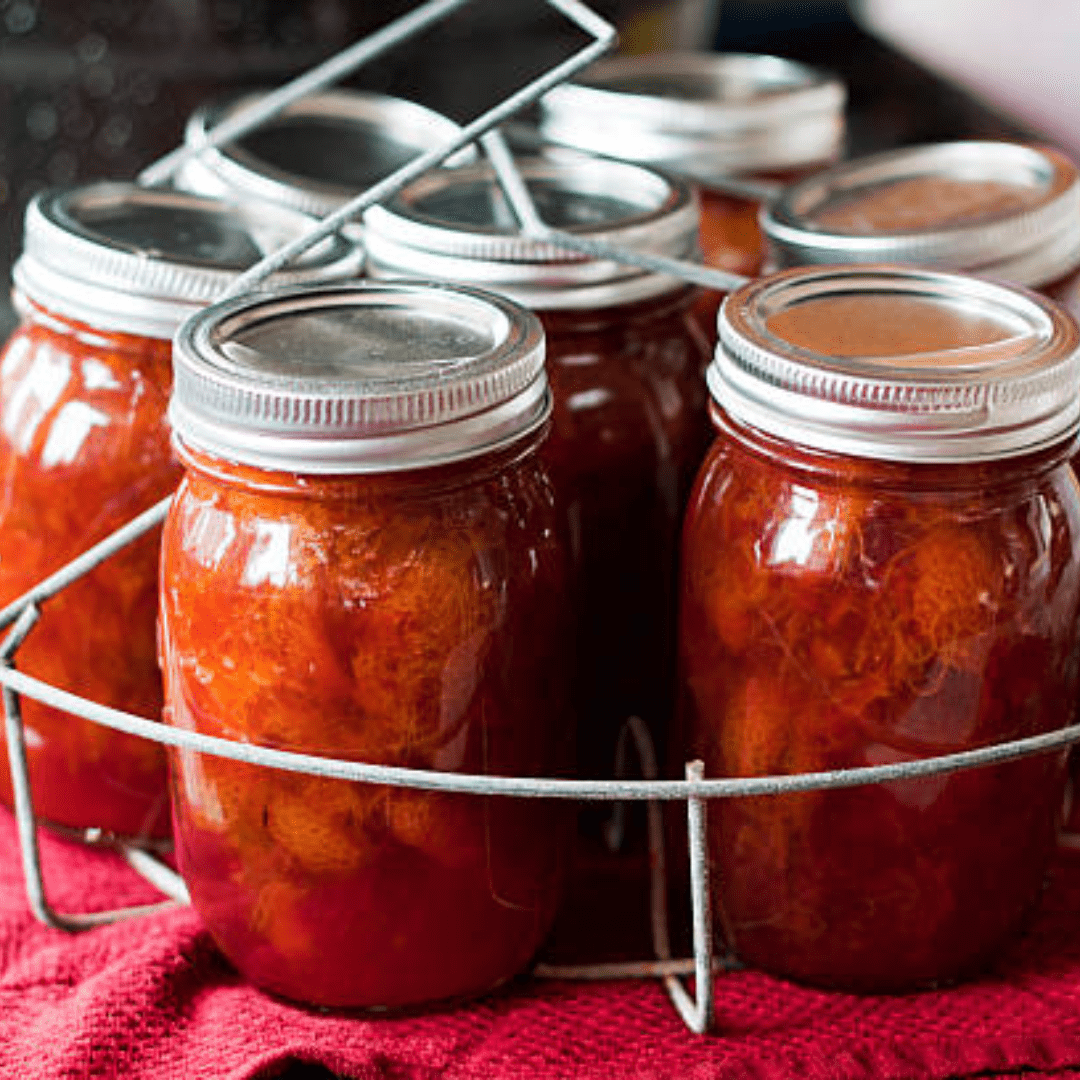
Get ready for a successful canning season with the must-have canning supplies every home preserver needs! From jars and lids to pressure canners and tools, this guide covers the essentials to keep your pantry stocked with safe, delicious homemade goods.
Canning season is one of my favorite times of the year—it’s when the garden’s hard work turns into jars of homemade goodness that last all winter long. But before you begin making jams, pickles, or soups, having the right canning supplies on hand is key to making the process smooth, safe, and enjoyable. In this guide, I’ll walk you through the essential tools and equipment you’ll need for a successful canning season, so you can stock your pantry with confidence.
This is a pinnable post. Tap or hover over any image in this post to pin to your Pinterest Boards.

Introduction to Canning and the Importance of Proper Supplies
Understanding the Basics of Canning
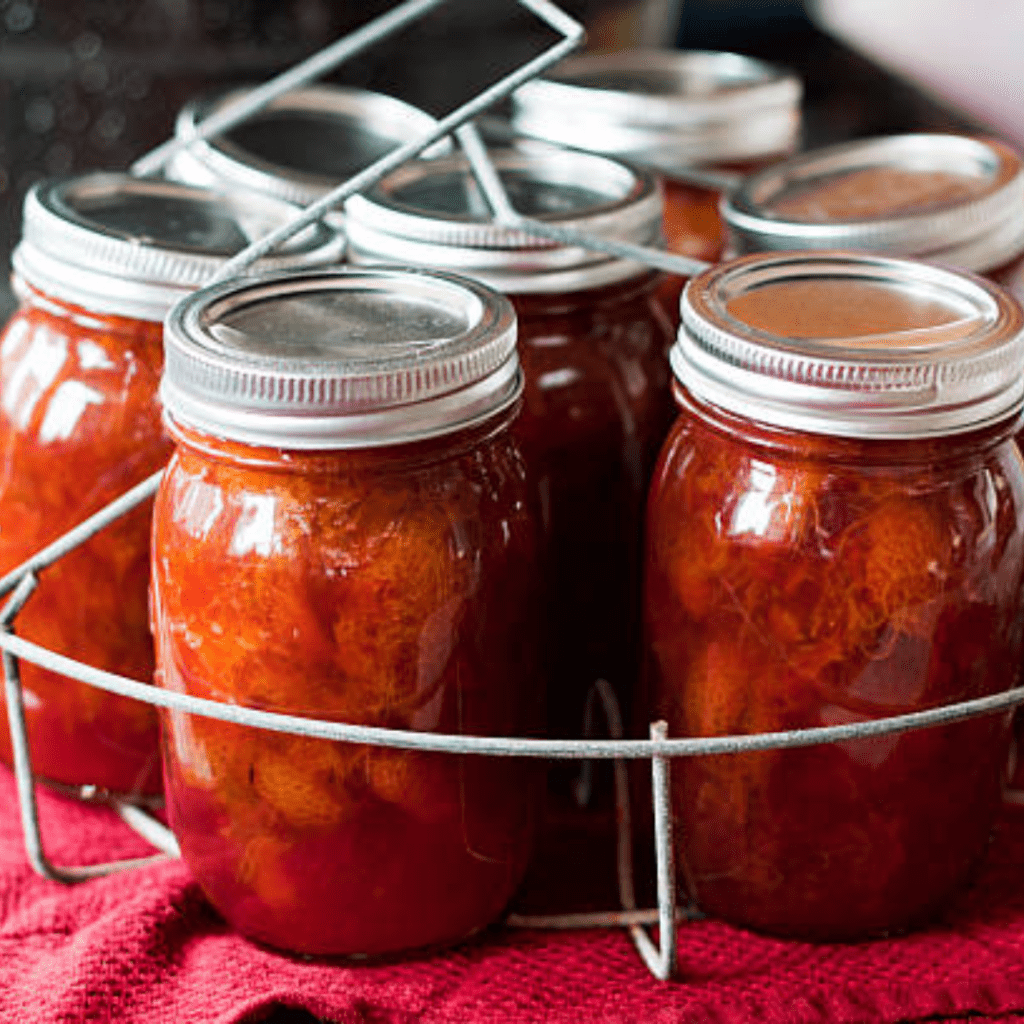
Canning is like magic in a jar. It’s a way to preserve the flavors of fresh produce and enjoy them throughout the year. Whether you have a bountiful garden or you simply love to stock up on seasonal fruits and vegetables, canning allows you to capture their goodness and savor it long after the harvest season is over.
Why Having the Right Supplies is Crucial
While the idea of canning might seem daunting, fear not! With the right supplies, you’ll be well-equipped to tackle the canning process like a pro. Having the proper tools and equipment is crucial for ensuring that your canned goods are safe to eat, properly sealed, and deliciously preserved. So, let’s dive into the essential canning supplies you need to make your canning season a success!
Essential Canning Equipment for Beginners
Water Bath Canner
The water bath canner is the workhorse of the canning world. It’s a large pot with a lid and a rack that holds your jars. This essential tool is used for canning high-acid foods like fruits, jams, jellies, and pickles. It ensures that the food inside the jars reaches the right temperature to kill any potential bacteria and creates a vacuum seal.
Pressure Canner
If you want to can low-acid foods, such as vegetables, meats, and soups, a pressure canner is a must-have. Unlike the water bath canner, the pressure canner reaches higher temperatures, which are necessary to safely can these low-acid foods. So, make sure to invest in a good quality pressure canner if you want to expand your canning repertoire.
Jar Lifter
Those hot jars straight out of the canner are no joke. A jar lifter comes to the rescue, allowing you to safely and securely lift those scorching hot jars without burning your fingers. Trust me, this handy tool will save you from many potential “ouch” moments!
Funnel
One canning essential that often gets overlooked is the humble funnel. It might seem like a small thing, but it makes a big difference when filling your jars with hot liquids or chunky ingredients. A good funnel will help you pour with precision, minimizing spills and messes, and ensuring that your jars are properly filled.
Stocking Up on Jars and Lids: Choosing the Right Sizes and Materials
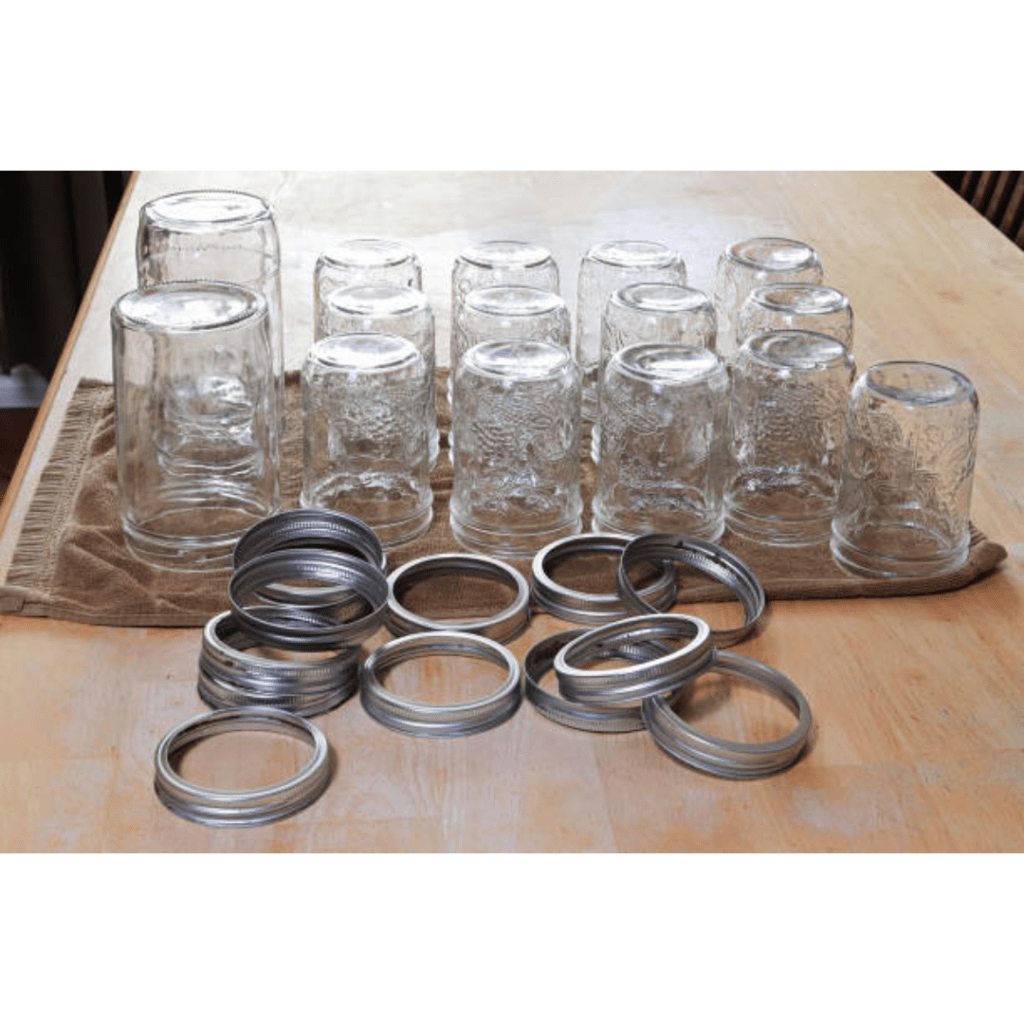
Types of Canning Jars
When it comes to jars, you have a few options: glass jars or plastic containers. For canning, glass jars are the way to go. They are sturdy, heat-resistant, and won’t react with the acidic or high-temperature foods you’ll be canning. Mason jars are a popular choice, and they come in various sizes, from a pint to a quart, allowing you to choose what works best for your canning needs.
Considerations for Jar Sizes
When selecting jar sizes, consider what you’ll be canning and how much you typically use at a time. Pint-sized jars are perfect for jams, jellies, and small batches of pickles, while quart-sized jars are great for larger quantities or items like whole tomatoes and chunks of potatoes. It’s also handy to have a mix of different jar sizes, so you have options on hand.
Understanding Different Lid Options
Lids are a crucial component of canning. There are two main types to choose from: metal canning lids with sealing compounds and reusable plastic lids. Metal lids with sealing compounds provide a reliable and secure seal, but they can only be used once. On the other hand, reusable plastic lids are a more eco-friendly option, but may not provide as tight or long-lasting of a seal. Choose the option that suits your needs and preferences.
Must-Have Canning Tools and Utensils for Efficient Food Preservation
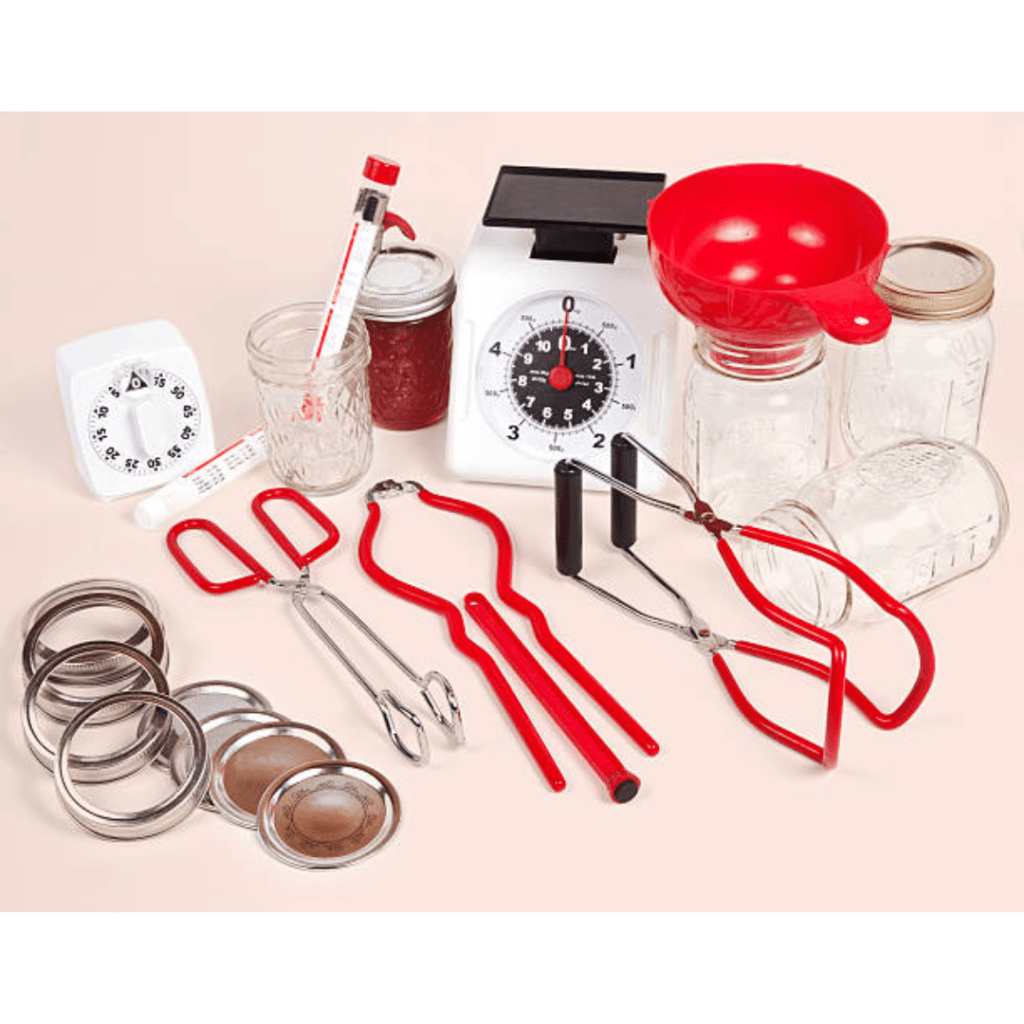
Bubble Remover and Headspace Tool
Say goodbye to trapped air bubbles! A bubble remover and headspace tool is a handy gadget that helps you remove any air bubbles from your jars before sealing them. It also helps measure the proper amount of headspace, the empty space left at the top of the jar, which ensures proper sealing and prevents food spoilage.
Ladle or Spoon
You’ll need a trusty ladle or spoon for transferring your hot liquids, sauces, and soups into the jars. Look for a heat-resistant, non-reactive material like stainless steel or heat-resistant plastic. Remember, you want to preserve the flavors of your food, not introduce any unwanted tastes.
Measuring Tools
Accuracy is key in canning, so having measuring tools like a measuring cup, measuring spoons, and a kitchen scale will help you get the precise amounts of ingredients needed for your recipes.
Essential Ingredients and Spices for Flavorful Canned Goods
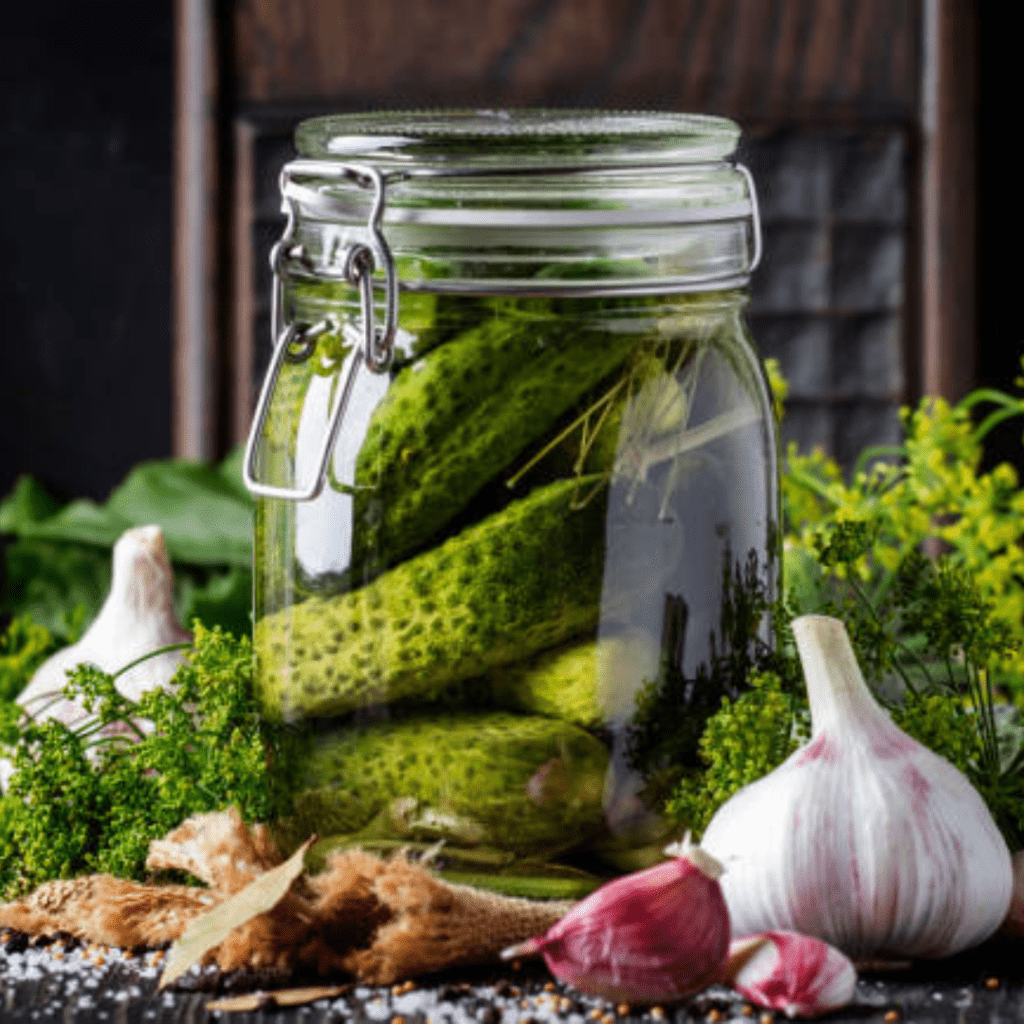
Fresh and Quality Produce
When it comes to canning, your ingredients are the stars of the show. So, it’s important to start with fresh and high-quality produce. Whether you’re canning tomatoes, peaches, or pickles, make sure you choose fruits and vegetables that are at their peak ripeness. Trust me, no one wants lackluster canned goods that taste like disappointment in a jar.
Choosing the Right Spices and Seasonings
Sure, plain canned goods are better than nothing, but let’s spice things up a bit, shall we? Adding the right spices and seasonings can take your canned creations from “meh” to “Oh my goodness, I need to make more!” Experiment with different flavor profiles and find combinations that tickle your taste buds. Just remember, a little goes a long way, so don’t go overboard and turn your canned goods into a spicy inferno.
Safety Precautions and Best Practices for Successful Canning
Proper Sterilization of Jars and Equipment
Imagine this: you spend hours prepping and cooking your ingredients, only to have your hard work spoiled by bacteria. Yikes! That’s where proper sterilization comes in. Before you start canning, make sure your jars and equipment are squeaky clean. Give them a good scrub and then either boil them or run them through the dishwasher. Nobody wants unexpected guests like mold or botulism to crash their canning party.
You will want to use vinegar or warm water to clean the edges of your jar rims before placing the lids on the jars. You will also want to add some vinegar or cream of tarter to the water bath canner to prevent water buildup from hard water. It will help keep the jars clean and not cloudy when they come out of the water bath canner. If you forget this step, do not worry, because you can always wipe each jar clean after the 24-hour resting period. My favorite is to use the cream of tarter to prevent my jar rings from rusting when using the vinegar.
Safe Handling of Hot Jars
Hot jars are like the volcanoes of the canning world. They may look innocent from the outside, but handle them wrong, and you’ll have a hot mess on your hands. Literally. When removing jars from boiling water or a pressure canner, use jar lifters or sturdy oven mitts. Don’t be a hero and try to grab them with your bare hands. Trust me, it’s not worth the potential burns. Safety first!
Accurate Processing Times and Temperatures
Canning is a bit like a science experiment, minus the mad scientist hairdo (or maybe not, if that’s your thing). To ensure your canned goods are safe to consume, it’s crucial to follow the recommended processing times and temperatures. Don’t try to speed things up or guess the cooking times. It’s not worth risking the health of yourself or your loved ones. Stick to the guidelines and your canned goodies will be safe and delicious.
Storing and Organizing Your Canning Supplies for Easy Access
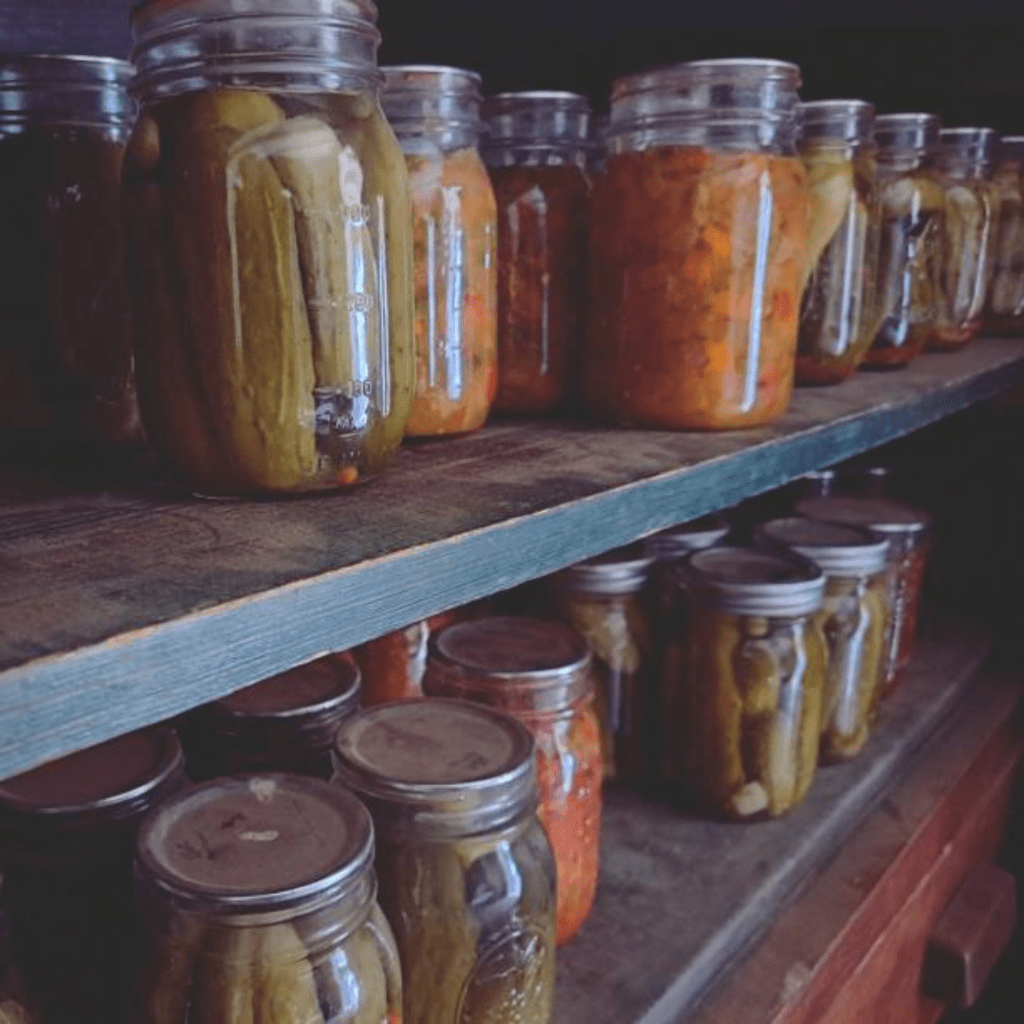
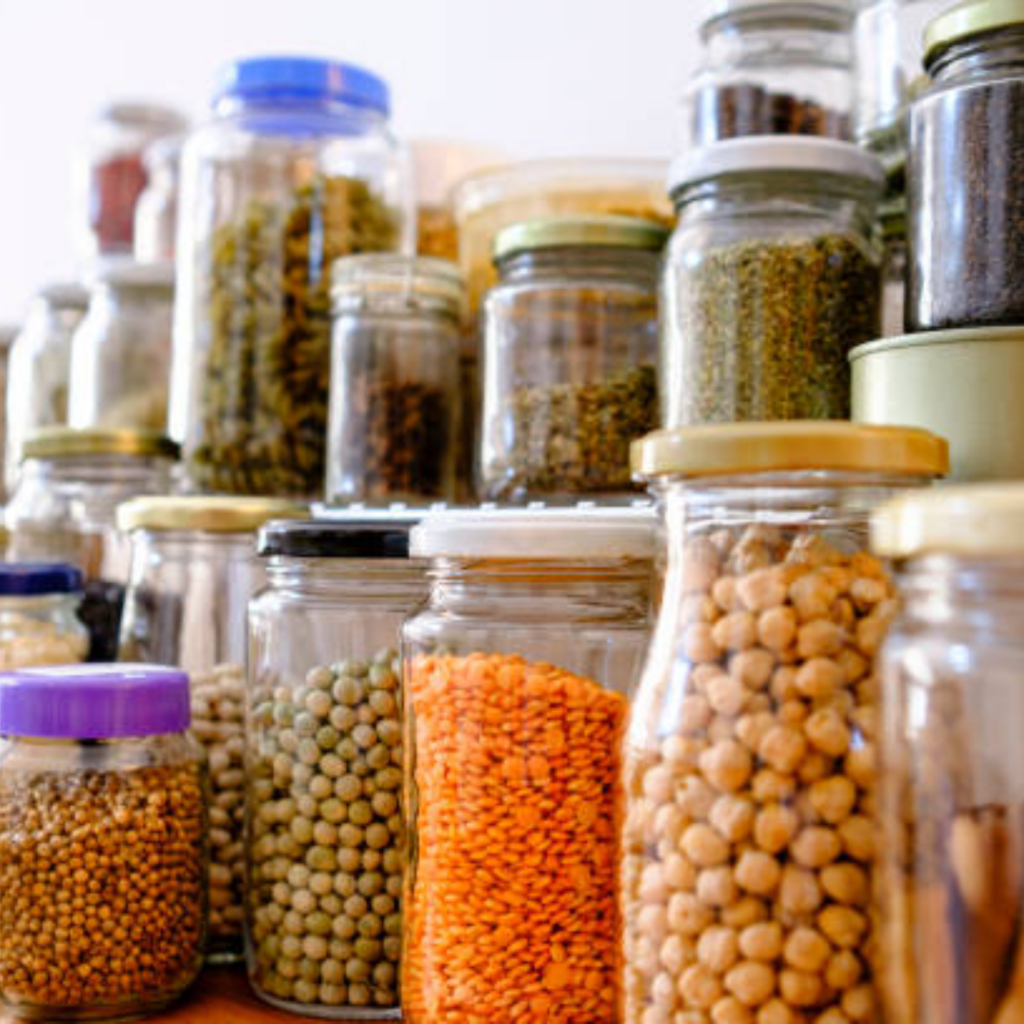
Creating a Dedicated Canning Storage Area
Canning supplies have a knack for hiding when you need them the most. It’s like they have a secret society where they all conspire to play hide-and-seek with you. To avoid this frustration, create a dedicated storage area for your canning supplies. Whether it’s a shelf in your pantry or a section in your kitchen cabinets, having a designated spot will save you time and sanity when you’re ready to whip up another batch of deliciousness.
Organizing Jars, Lids, and Tools
Jars, lids, and tools are like the three amigos of canning. They stick together, but somehow manage to get misplaced in the blink of an eye. Keep these amigos organized by using plastic bins, shelves, or even an old bookcase. Separate jars by size, keep lids within reach and hang tools on hooks for easy access. Trust me, this simple organization trick will make your canning adventures much smoother.
Troubleshooting Common Canning Issues: Tips and Solutions
Dealing with Seal Failures
Ah, seal failures. They’re like the party crashers of the canning world. You think you’ve done everything right, only to discover that your jars aren’t sealed properly. Don’t worry, it happens to the best of us. To tackle this issue, try re-processing the jars with new lids and make sure you have a tight seal this time. And if all else fails, use the fridge for short-term storage and enjoy those unsealed goodies ASAP!
Preventing Spoilage and Mold
Nobody likes surprises, especially when they involve green or white fuzz or weird smells. To prevent spoilage and mold in your canned goods, make sure to check for signs of contamination before opening a jar. If something looks or smells off, it’s better to be safe than sorry. Just throw that jar away and move on. It’s a sad moment, but hey, at least you won’t be playing a game of food poisoning roulette.
Addressing Over-Processing or Under-Processing
Sometimes, we get a little overzealous with the cooking times, resulting in over-processed canned goods that are less than appetizing. On the flip side, under-processing can leave you with jars that are about as safe to eat as a week-old sandwich. The best solution? Stick to the recommended processing times and follow the recipe like your taste buds depend on it.
Conclusion
In conclusion, having the proper canning supplies is key to a successful canning season. By investing in essential equipment, selecting the right jars and lids, and following safety precautions, you can ensure that your preserved foods are flavorful and long-lasting. So, gather your supplies, roll up your sleeves, and embark on a journey of delicious preservation. With the right tools in hand, you’ll be ready to create mouthwatering canned goods that will bring joy to your table year-round. Happy canning!
Resources: Here are some helpful resources for further information.
- Canning for beginners: Best Basic Canning Supplies – By Thrifty Frugal Mom
- Our Must-Have List of Canning Equipment & Supplies – By Mountain Feed & Farm Supply
- Must Have Home Canning Supplies – By Our Simple Homestead
Frequently Asked Questions
1. Do I need special canning equipment to start canning?
No, you don’t necessarily need special canning equipment to start canning, but having the right tools definitely makes the process easier and safer. A basic canning kit usually includes a large pot with a rack for boiling water bath or pressure canning, a jar lifter to remove hot jars from the boiling water, a canning funnel to easily fill jars without making a mess, bubble remover to eliminate trapped air bubbles in jam or preserve, and a magnetic lid lifter for handling lids safely. These tools ensure that you achieve proper sterilization of jars, an airtight seal, and seamless jar removal from boiling water. If you plan on doing a lot of canning or want to expand your possibilities beyond high-acid foods (which require water bath canning), investing in a pressure canner is recommended. However, as long as you have some basic utensils specifically designed for home canning, it’s possible to get started with regular kitchen pots and improvised equipment.
2. Can I reuse jars and lids for canning?
Sure! Reusing jars and lids for canning is a common practice among many home canners. However, there are a few things to consider before reusing them. First, make sure the jars and lids are in good condition with no cracks or chips. These imperfections can prevent proper sealing and lead to spoilage. It’s also vital to use new lids every time you can to ensure a tight seal. The screw bands used for securing the lids, on the other hand, can be reused as long as they are not rusty or damaged. It’s essential to note that not all jar and lid brands are created equal, so it’s wise to stick with reputable brands and follow their specific guidelines for reuse. By following these precautions, you can safely reuse jars and lids for canning, making your preserving experience both economical and sustainable!
3. What is the difference between a water bath canner and a pressure canner?
So, imagine you want to preserve your homemade strawberry jam or tomato sauce, but you’re not sure which canner to use. Well, let me break it down for you! A water bath canner is a large pot used for processing high-acid foods like jams, pickles, and fruits. It involves submerging the jars in boiling water and heating them at a specific temperature for a set time. On the other hand, a pressure canner is designed for low-acid foods such as vegetables, meats, and stews. It works by using steam under pressure to reach higher temperatures than boiling alone to ensure safe preservation. Pressure canners have a locking lid to maintain the necessary pressure levels inside the pot. The key difference lies in the ability of pressure canners to reach higher temperatures, eliminating harmful bacteria that may be present in low-acid foods. So remember: water bath canners are perfect for preserving high-acid goodies while pressure canners are necessary for low-acid delicacies! Choose wisely based on the type of food you wish to preserve and guarantee its safety and yumminess on your table!
4. How long can home canned goods be stored?
Well, let me tell you something about home canned goods – they can last quite a long time if done right! You see, the shelf life of home canned goods depends on several factors such as the type of food, how it was processed, and storage conditions. Generally speaking, high-acid foods like fruits or tomatoes can be stored for 12-18 months in a cool, dark place. On the other hand, low-acid foods like vegetables or meats can easily last 2-5 years if properly canned and stored in ideal conditions. Now, I gotta emphasize the importance of checking your jars regularly for any signs of spoilage like leakage or bulging lids. If there’s anything funky going on with your beloved cans, it’s best to toss them out rather than risk an unhappy tummy later on. So remember, keeping an eye on your stash and rotating it out every so often will ensure you enjoy those tasty home-canned treats for years to come!
Canning Supplies List Printable
Summary
I hope I have inspired you to stockpile your pantry for your survival needs.
If you were encouraged by this post, I invite you to check out my FREE Printables Page for fun free printables, planners, and charts.
ENTER MY FREE Printables Page HERE
Here are some more of my canning inspiration posts to check out!
Pears: How to Make and Can Salted Caramel Pear Butter
Butternut Squash: How to Make and Can Butternut Squash Butter
Quince: How to Make and Can Fall Spiced Quince Chutney
Quince: How to Can Quince
Carrot Cake Butter: How to Make and Can Carrot Cake Butter
Peach Pie Filling: How to Make and Can Peach Pie Filling
Pear Pie Filling: How to Make and Can Pear Pie Filling
The Best Winter Pantry Staples to Stockpile Now!
More Recipes!
Grapes: How to Make and Can Grape Jam
Apple Cider: How to Make Homemade Apple Cider Vinegar
How to Make and Can Cherry Plum Jam
How to Make and Can Apple Butter In Crockpot
Stockpiling Condiments for Survival: Learn How I Do It!
How to Make and Can Vegetable Pot Pie Filling
Easy Canning Applesauce Recipes to Stalk Your Pantry!
How to Make Peach Jalapeno Jam
Cherries: How to Make Cherry Pie Filling
Cherries: How to Make Cherry Syrup
Salsa: How to Make and Can Cherry Salsa
Peaches: How to Make and Can Peach Salsa
Canning Supplies You Need Now for a Successful Canning Season!
How to Make and Can Balsamic Onion Jam
Cranberry Sauce: How to Make and Can Old Fashioned Cranberry Sauce
How to Make and Can Cranberry Merry Jam
How to Make and Can Strawberry Shortcake Jam
Cherry Jam: How to Make and Can Cherry Pie Jam
Carrot Cake Jam: How to Make and Can Carrot Cake Jam
Quince Jam: How to Can a Year’s Supply of Quince Jam
Root Beer Float Jelly: How to Make and Can Root Beer Float Jelly
Blessings,
The Off Grid Barefoot Girl

