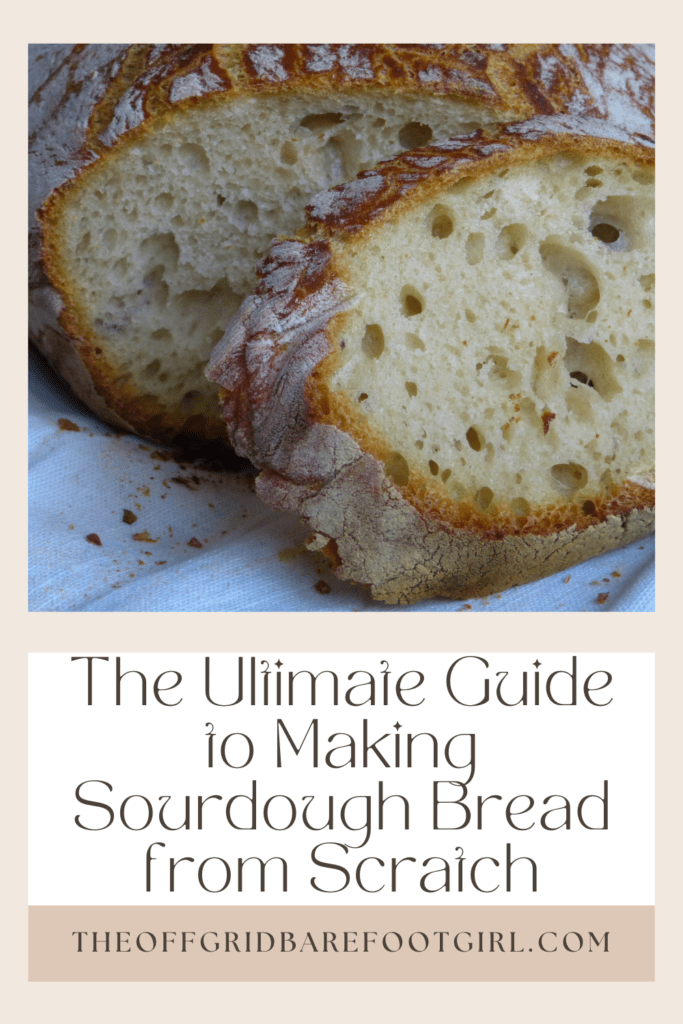
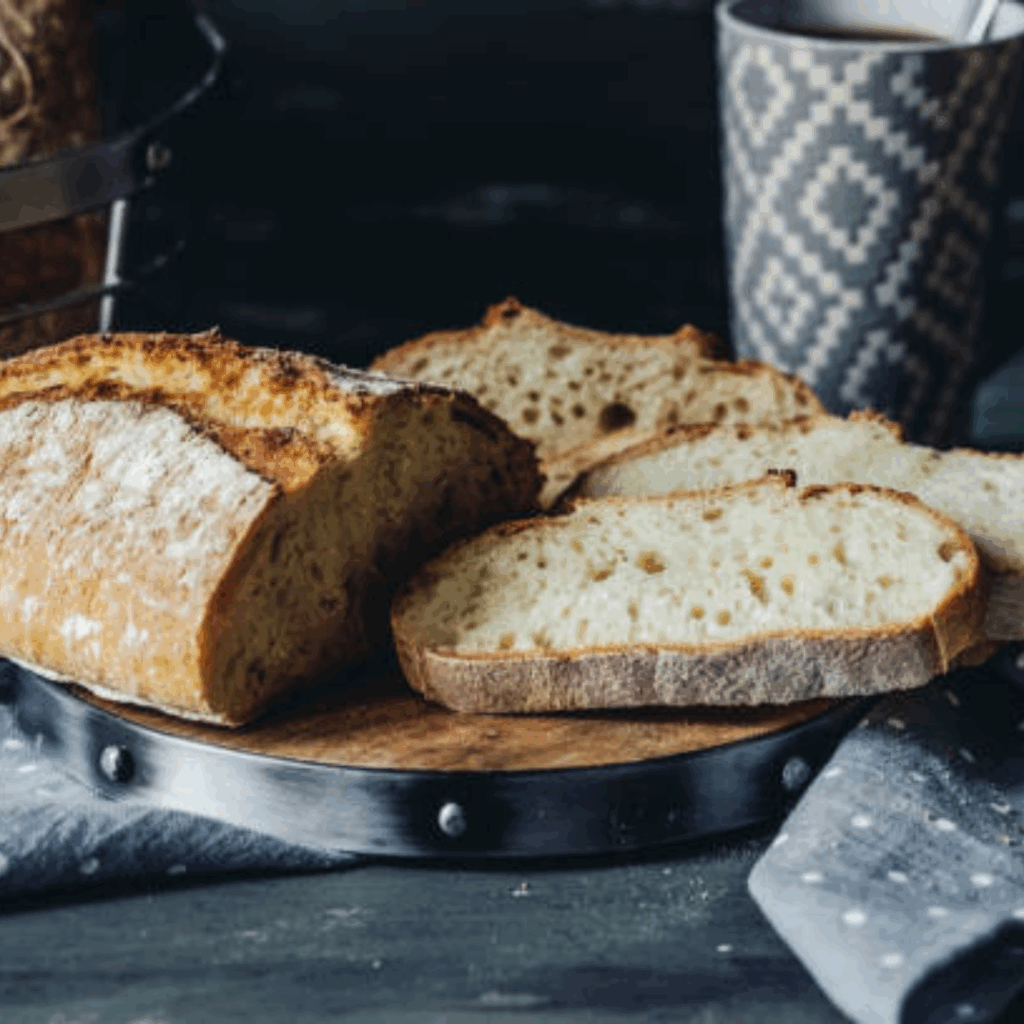
Sourdough bread.
What Is Included in This Post:
- Understanding the Basics: What is Sourdough Bread?
- Building Your Sourdough Starter: A Step-by-Step Guide
- Mastering the Fermentation Process: Techniques for Optimal Flavor Development
- The Perfect Sourdough Recipe: Ingredients and Proportions
- Shaping and Scoring: Techniques for Creating Artful Sourdough Bread
- Baking Sourdough: Tips for Achieving the Ultimate Crust
- Troubleshooting Common Sourdough Bread Challenges
- The Joy of Sourdough: Embracing Imperfection and Enjoying the Process
- FAQ
- Sourdough Bread Recipe
With its tangy flavor, airy crumb, and crunchy crust, sourdough has captured the hearts and taste buds of bread enthusiasts worldwide. But what exactly is sourdough bread, and how can you master the art of making it at home? In this comprehensive guide, I will take you on a journey from creating your sourdough starter to baking a perfectly crusty loaf. Whether you are a beginner or an experienced baker looking to elevate your skills, we will explore the science, techniques, and troubleshooting tips to help you craft irresistible sourdough bread. Get ready to put on your apron, embrace the magic of fermentation, and experience the joy of creating your homemade sourdough bread.
This is a pinnable post. Tap or hover over any image in this post to pin to your Pinterest Boards.

Understanding the Basics: What is Sourdough Bread?
The Science Behind Sourdough Bread
Sourdough bread isn’t just your average loaf. It’s a magical concoction made from flour, water, and wild yeasts and bacteria. Yes, you read that right – wild yeasts and bacteria! These microorganisms unleash their fermentation powers upon the mixture, giving sourdough its distinct tangy flavor and chewy texture.
The secret lies in the process of fermentation, where a symbiotic relationship is formed between wild yeast and bacteria. Wild yeast, present in the air and on surfaces, settles on flour when mixed with water. This yeast, unlike commercial yeast used in regular breadmaking, thrives in the acidic environment produced by lactic acid bacteria. As the fermentation progresses, these tiny organisms consume sugars from flour and convert them into carbon dioxide gas and lactic acid. The carbon dioxide causes the dough to rise, creating those sought-after airy pockets in sourdough bread, while the lactic acid gives it its distinct tangy flavor.
Additionally, long fermentation periods enable enzymes to break down proteins and gluten molecules, making sourdough more easily digestible for those sensitive to wheat. So next time you savor a slice of sourdough bread, know that it’s not just your taste buds enjoying the experience!
Historical Significance of Sourdough Bread
Sourdough has a rich history that predates trendy bakeries and Instagram feeds. Ancient Egyptians, Greeks, and Romans were all sourdough enthusiasts. It was their go-to option for leavening bread long before commercial yeast became popular. Sourdough was the OG rising agent, and it’s still going strong today!
Its historical significance lies in its role as a staple food for various civilizations throughout time, particularly in ancient Egypt, Greece, and Rome. In these cultures, sourdough bread was not only a dietary staple, but also held cultural and symbolic value. The process of sourdough fermentation involved using wild yeasts present in the environment, which gave rise to the unique tangy flavor and chewy texture that distinguishes sourdough from other breads. This method of baking was not only practical in times when baker’s yeast was not readily available, but also resulted in a more digestible loaf with potential health benefits.
Furthermore, the longevity of sourdough starter allowed it to be passed down through generations, creating a sense of tradition and community around baking. Today, despite advancements in technology and the availability of commercial yeast, sourdough bread continues to captivate taste buds and preserve a piece of culinary history.
Building Your Sourdough Starter: A Step-by-Step Guide
Choosing the Right Flour for Your Starter
Flour power! When it comes to selecting the flour for your starter, opt for unbleached, all-purpose, or bread flour. These flours have higher protein content, which provides a better environment for yeast growth and fermentation. However, I have successfully used bleached four and the fermentation process worked out just great.
Creating Your Starter: Feeding and Maintenance
Now the fun begins! To create your starter, mix flour and water in a 1:1 ratio and let it sit in a warm spot, covered with a kitchen towel. Feed your starter daily by discarding part of it and adding fresh flour and water. It’s like having a pet that’s always hungry! Soon enough, your starter will become bubbly and alive, ready to conquer the bread world.
For further instructions on creating your sourdough starter, visit my other article, which goes into details of how to get started.
The Ultimate Guide to Crafting a Perfectly Tangy Wild Sourdough Starter
Troubleshooting Starter Issues: Common Problems and Solutions
Hey, no one said sourdough was foolproof! If your starter is misbehaving, don’t panic. Common problems like a sluggish starter or a funky smell can be fixed. Adjusting the feeding schedule, providing a consistent temperature, or giving it a pep talk (yes, seriously!) might be all it needs to bounce back. Remember, even sourdough starters have their off days.
Mastering the Fermentation Process: Techniques for Optimal Flavor Development
Understanding Fermentation Times and Temperatures
Patience is a virtue, especially in the sourdough game. Fermentation is where the magic happens, so understanding the right times and temperatures is crucial. Longer fermentation at cooler temperatures allows the flavors to develop more fully. Trust the process, and your taste buds will thank you.
When it comes to making that perfect loaf of sourdough bread, time and temperature are two crucial factors to keep in mind. Fermentation refers to the process where good old yeast buddies devour the sugars in your dough and release gas, leading to those lovely air bubbles we all adore. The thing is, different temperatures can have a big impact on this process. Higher temperatures will speed up fermentation, meaning your dough will rise faster, but may lack flavor development.
On the flip side, lower temperatures will cause a slower, but more flavorful fermentation. So my advice? Experiment with different temperatures and timings until you find that sweet spot for your desired flavor profile. Don’t be afraid to trust your gut (pun intended) and enjoy the journey of becoming a sourdough wizard!
Advanced Fermentation Techniques: Cold Fermentation and Autolyse
Ready to level up your fermentation game? Cold fermentation involves placing your dough in the fridge for an extended period. This technique enhances flavor complexity and helps with scheduling your baking adventures. Autolyse, on the other hand, involves mixing flour and water and letting them sit for a short while before adding the remaining ingredients.
The Perfect Sourdough Recipe: Ingredients and Proportions
Selecting High-Quality Flour and Other Key Ingredients
Quality matters, even in the bread world. Choose flour that makes you weak at the knees. Look for freshly milled, organic, and stone-ground options. Other ingredients like water and salt also play a crucial role. Remember to use non-chlorinated water, or your sourdough might throw a fit. And don’t skimp on the salt – it’s the seasoning that brings out the flavors!
Properly Measuring and Scaling Ingredients
Measuring and scaling your ingredients is a crucial step in achieving that picture-perfect loaf. The thing about sourdough is that it’s all about ratios – the right balance of flour, water, and starter. To start off, invest in a good digital scale because we’re not here for those inaccurate cups and spoons! Now, when it comes to scaling your ingredients, remember that every flour has different absorption qualities.
So while one cup of bread flour might weigh around 120 grams, a cup of whole wheat flour could be closer to 140 grams. Don’t panic though! Just stick to your recipe’s weight measurements and adjust accordingly if needed. Trust me; this precision will work wonders for your bakes. Oh, and don’t forget that you can always experiment with different ratios to find your perfect sourdough!
So remember, precision is key when it comes to measuring your ingredients. Invest in a digital kitchen scale for accuracy. Consistency is vital, so make sure each batch of bread is as fabulous as the last.
Balancing Hydration Levels for Different Results
Hydration, hydration, hydration! The level of water in your dough affects everything from texture to crumb structure. A higher hydration level leads to a more open and airy crumb, while a lower hydration level results in a denser, chewier bread.
Understanding how hydration affects the final outcome of your bread is key to success. Again, for a lighter, open crumb structure and a chewy texture, you’ll want to aim for a higher hydration level. This means using more water in your dough recipe. Higher hydration levels allow for better gluten development, resulting in those lovely air pockets we all admire in artisanal loaves.
On the other hand, if you prefer a denser crumb and a crispier crust, lowering the hydration level is the way to go. With less water in the dough, gluten formation is slightly hindered, leading to a tighter crumb structure. Achieving that balance between hydration and desired results depends on factors like flour type and temperature during fermentation. So experiment with different levels until you find what works best for your taste preferences and baking goals!
Shaping and Scoring: Techniques for Creating Artful Sourdough Bread
Pre-shaping and Bench Resting: Setting the Foundation
Creating a beautiful, crusty sourdough loaf starts with proper shaping techniques. But before we dive into that, let’s talk about the importance of pre-shaping and bench resting. Think of it as laying the groundwork for your dough masterpiece.
Pre-shaping is all about gently giving your dough some structure and tension before the final shaping. It helps create a more uniform and well-risen loaf. Once your dough is pre-shaped, it needs a bit of time to relax and spread out on the bench. This is where the bench resting comes in. It allows the gluten to relax and makes the final shaping a breeze. So, be patient and let your dough take a breather.
Final Shaping: Creating the Desired Loaf Structure
Ah, the final shaping. This is when you give your dough its ultimate character and structure. It’s like sculpting, but with edible art. The key here is to gently handle the dough, being careful not to deflate all those lovely air bubbles you’ve worked so hard to create.
There are various shaping techniques out there, depending on the type of loaf you want. Whether you’re going for a boule, a batard, or something more experimental, practice makes perfect. It’s all about finding the method that works best for you and your dough.
The Art of Scoring: Enhancing the Loaf’s Appearance and Oven Spring
Scoring is like giving your bread a stylish design before it goes into the oven. It’s not just for looks; scoring also helps with oven spring, allowing the dough to expand and rise beautifully. Plus, it creates those lovely cracks in the crust that we all love and admire.
Now, scoring can be intimidating at first, but don’t worry, even the wonkiest lines can turn into a work of art once they’re baked. So, grab a sharp blade and let your creativity flow. Just remember to slash confidently and decisively, but also have fun with it. After all, imperfection is what gives your loaf character.
Baking Sourdough: Tips for Achieving the Ultimate Crust
Preheating and Using the Right Oven Setup
While some might say the magic happens in the oven, achieving that ultimate crust requires some preparation. Preheating your oven properly is key to ensuring even heat distribution and a beautiful golden crust.
Also, make sure you have the right setup. A baking stone or steel can work wonders, creating that delightful crusty bottom. And if you don’t have one, no worries! A preheated baking sheet can also do the trick. Just remember to place it on the lowest rack for maximum crustiness.
Steam Management: Creating a Moist Baking Environment
Steam is your best friend when it comes to crusty sourdough. It helps keep the surface of your loaf moist during the initial stages of baking, allowing for that glorious oven spring and crust formation.
There are several ways to introduce steam into your oven, from using a Dutch oven or a steam pan to spritzing water with a spray bottle. Experiment and find the method that works best for your setup. Just be cautious not to burn yourself or your loaves in the process.
Achieving Desired Crust Color and Texture: Sourdough Bread
The crust color and texture can make or break your sourdough experience. So, how do you achieve that perfect balance between a deep, golden hue and a crust that’s delightfully crisp without being overly hard?
It all comes down to timing and temperature. Each recipe and oven are unique, so you’ll need to experiment and adjust accordingly. Keep an eye on your loaf as it bakes, and don’t be afraid to take it out a little earlier or leave it in a bit longer if needed. Trust your instincts and embrace the delicious trial-and-error process.
Troubleshooting Common Sourdough Bread Challenges
Dense and Gummy Loaves: Understanding and Preventing
We’ve all been there – eagerly cutting into a beautiful loaf, only to find a disappointing, dense crumb. But fear not, we can tackle this challenge together. Dense and gummy loaves are often a sign of underdeveloped gluten or insufficient fermentation.
To prevent this, make sure to give your dough enough time to develop during the bulk fermentation and proofing stages. Properly stretch and fold your dough during the process to strengthen the gluten network. And remember, practice makes perfect, so don’t give up if your first few loaves aren’t as light and airy as you’d like.
Over proofing and Underproofing: How to Recognize and Correct
Finding the sweet spot when it comes to proofing can be a bit tricky. Overproofing can lead to a flat loaf with little oven spring, while underproofing can result in a dense crumb and lack of flavor.
Keep a close eye on your dough during the proofing stage. Look for signs like a domed, puffy appearance or a slightly jiggly, but not overly wobbly texture. Adjust the length of your fermentation if needed, and remember that environmental factors like temperature can affect proofing times.
Lack of Oven Spring: Identifying the Culprits and Finding Solutions
Oh, the disappointment of a loaf that doesn’t rise to its full potential. The lack of oven spring can be attributed to various factors, such as underdeveloped gluten, improper shaping, or poor steam management.
To tackle this challenge, ensure your dough is properly developed during the bulk fermentation and shaping stages. Double-check your shaping technique and make sure to score your loaf adequately. And don’t forget about the steam – it’s an essential ingredient for that glorious oven spring. So, play around with your steam setup and see what works best for you.
The Joy of Sourdough: Embracing Imperfection and Enjoying the Process
Last, but not least, embrace the joy of sourdough baking! It’s a craft that combines science and art, and each loaf is a unique creation. Don’t be too hard on yourself if your loaves don’t turn out exactly as planned. Imperfections are what give homemade bread its charm.
Enjoy the process – from feeding your starter to shaping your dough – and relish in the delightful smells and flavors of fresh-baked bread. Share your creations with loved ones and take pride in your efforts. Remember, the journey to perfect sourdough is just as rewarding as the final slice!
As you embark on your sourdough bread-making journey, remember that practice makes perfect. Don’t be discouraged by setbacks or challenges along the way. With time and experience, you’ll become more attuned to the nuances of sourdough baking and develop your own signature loaf. So, keep experimenting, enjoy the process, and share your delicious creations with family and friends. May your home always be filled with the aroma of freshly baked sourdough bread, and may each slice bring you pure delight. Happy baking!
FAQ
1. Can I make sourdough bread if I don’t have a sourdough starter?
While a sourdough starter is a traditional and preferred method for making sourdough bread, it is possible to create a starter from scratch using flour and water. The process will take some time and patience, as you’ll need to cultivate the wild yeast and bacteria naturally present in the environment. Alternatively, you can also find a friend or local bakery willing to share a portion of their established starter to kickstart your sourdough journey.
2. Why does my sourdough bread sometimes turn out dense and heavy?
Density in sourdough bread can be attributed to various factors, such as improper fermentation, underproofing, or using low-quality flour. It’s crucial to ensure your starter is active and healthy, and that you allow enough time for both bulk fermentation and proofing. Additionally, using the correct hydration level and proper shaping techniques can greatly impact the final texture of your loaf.
3. How do I achieve a crispy crust on my sourdough bread?
To achieve a crispy crust, it is essential to create a humid baking environment for the first part of the baking process. This can be done by preheating a baking vessel or using steam in your oven. Additionally, baking at a high temperature during the initial phase helps in crust development. Towards the end of baking, allowing the loaf to cool on a wire rack will help retain the crispness of the crust.
4. Can I incorporate flavors or ingredients into my sourdough bread?
Absolutely! Sourdough bread is incredibly versatile, and you can experiment with various flavors and ingredients to add a personal touch to your loaves. Popular additions include herbs, spices, nuts, dried fruits, cheese, or even roasted garlic. Be mindful of the quantities and how they may impact the dough’s hydration and fermentation process.
Sourdough Bread Recipe

Sourdough Bread Recipe
Equipment
- 2 loaf pans
- 1 large mixing bowl
Ingredients
- 150 grams active sourdough starter
- 300 grams lukewarm filtered water
- 25 grams olive oil
- 500 grams all-purpose flour
- 10 grams fine sea salt
Instructions
Preparing the Dough
- Mix together the active starter, water, and olive oil in a large mixing bowl.
- Add in the flour and salt and knead until all of the flour is mixed. The dough will be shaggy in texture.
Autolyse
- Cover with plastic wrap and allow it to rest on the counter to autolyse for 30 minutes or up to 1 hour.
- Knead the dough for a few minutes, doing a strech and fold method. Pull up on one side of the dough, stretch it out and fold it over the ball. Turn the dough clockwise slightly and stretch and fold again. Turn again and repeat this stretch and fold technique four times. The dough will get harder and harder to stretch and fold, meaning it is ready for the next step.
The First Rise
- Cover the dough in a bowl with plastic wrap and allow it to rise until doubled in size for 4 to 12 hours, depending on the ingredients, starter potency, and the temperature and humidity levels of your kitchen.
- During this time, you can continue the stretch and fold method every hour. This will increase the density and texture of the final loaf. This step is completely optional, however, even if you have time to perform this step only once or twice will help increase the success of a perfect oven spring.
Shaping the Dough
- Cut dough in half to create two separate loaves.
- Roll out each loaf into a rectangle. Roll into a log starting from the wider end to create a tight structure to help create the perfect oven spring.
- Tuck the ends under the dough log to fit into the loaf pan, pinching the seams together.
The Second Rise
- Cover the loaves with plastic wrap for the second rise up to 1 to 2 hours until puffy and rounded in the loaf pan. Do not allow it to rise over the loaf pan.
Scoring the Loaves
- Make a thin slice down the middle leaving a few inches from both ends of the loaf.
Baking the Loaves
- Bake in the oven at 450 degrees for 1 hour until the loaves have reached a deep golden brown.
- Remove the loaves from the oven and cool on a wire rack until completely cooled.
Summary
I hope I have inspired you to bake your own sourdough bread to enjoy and share with your friends and family.
If you were encouraged by this post, I invite you to check out my FREE Printables Page for fun free printables, planners, and charts.
ENTER MY FREE Printables Page HERE
Here are some more of my bread-making inspiration posts to check out!
The Ultimate Guide to Crafting a Perfectly Tangy Wild Sourdough Starter
Artisan Bread: How to Make Artisan Bread
Challah Bread: How to Make a 6 Braided Challah Bread
Sweet Bread: How to Make Sweet Bread
Blessings,
The Off Grid Barefoot Girl


