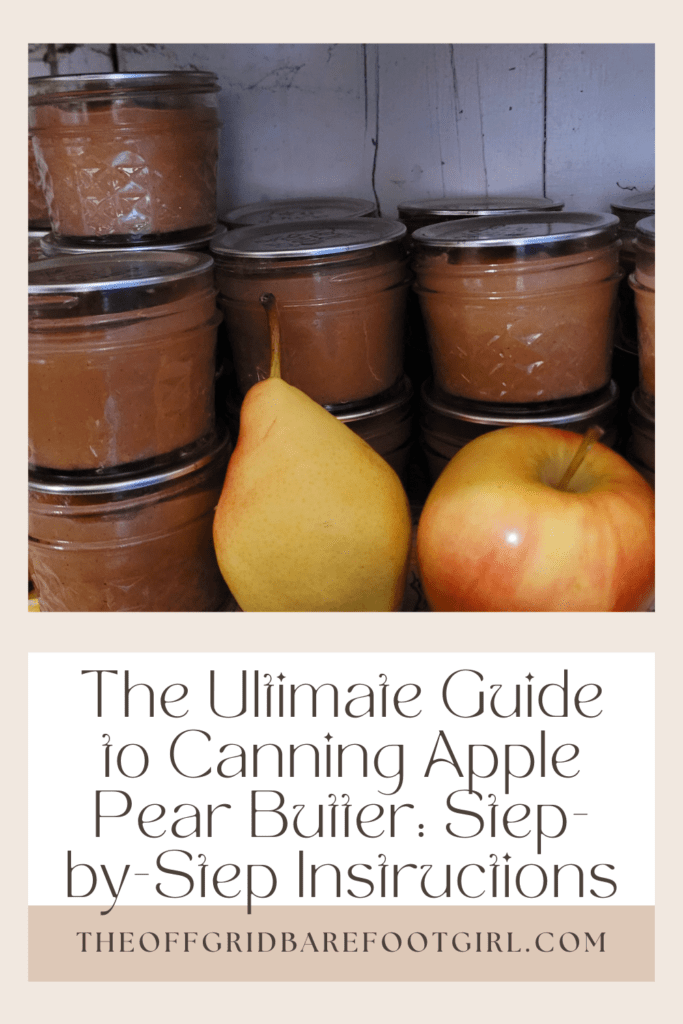
Discover how to make and can delicious apple pear butter with this ultimate step-by-step guide. From prepping your fruit to safely preserving it in jars, this comprehensive tutorial walks you through every stage of the process. Whether you’re new to canning or a seasoned homesteader, you’ll love this flavorful way to preserve your fall harvest and stock your pantry with homemade goodness.
Canning apple pear butter is a delightful way to preserve the flavors of these two delicious fruits and enjoy them throughout the year. In this comprehensive guide, I will walk you through the entire process of canning apple pear butter, from gathering the necessary ingredients and equipment to processing and storing the final product.
Whether you are a seasoned canner or a beginner looking to try your hand at canning for the first time, this guide will provide you with all the information you need to create homemade apple pear butter that is bursting with flavor and can be enjoyed long after the harvest season has passed.
This is a pinnable post. Tap or hover over any image in this post to pin to your Pinterest Boards.
Introduction to Canning Apple Pear Butter
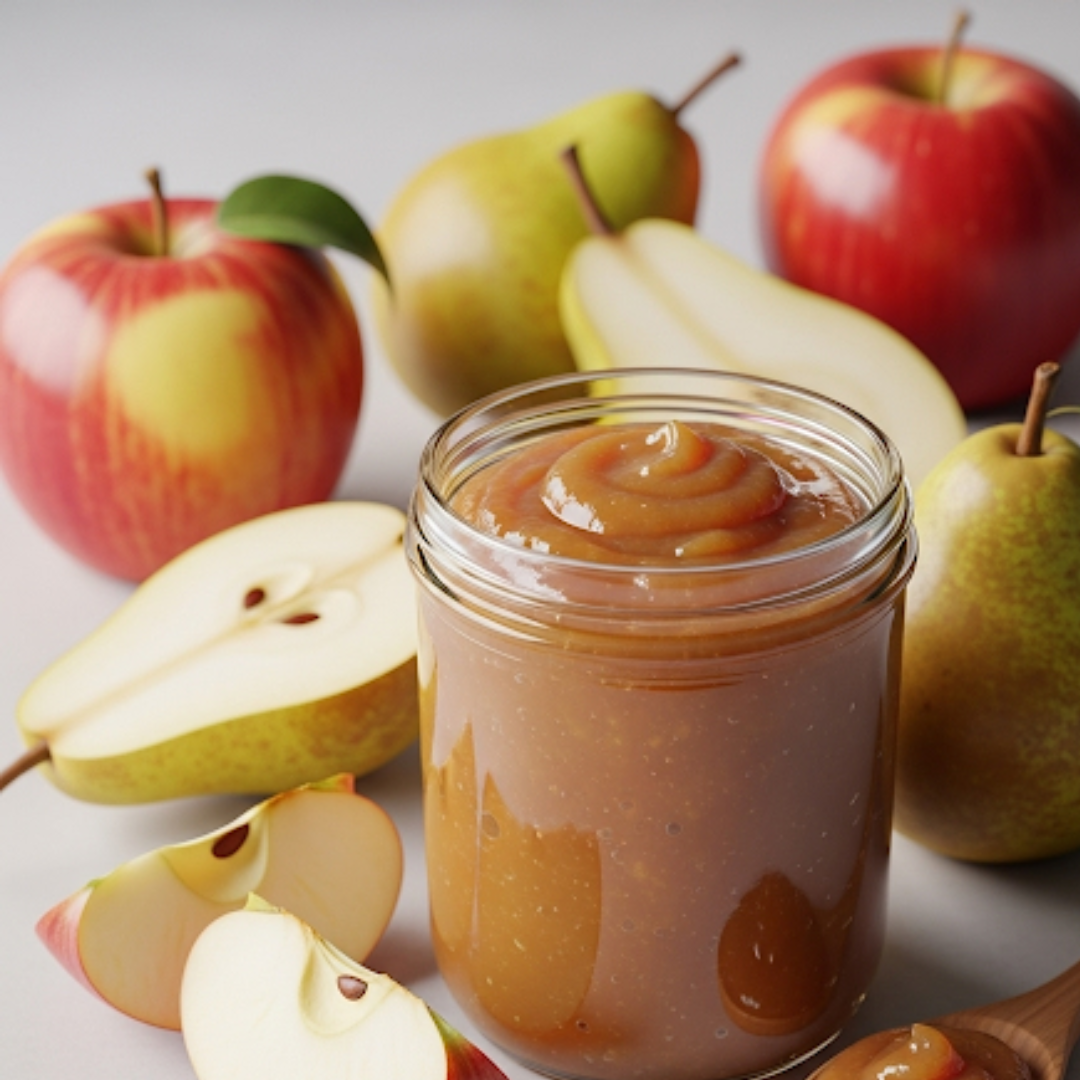
Calling all fruit lovers! If you’re looking for a deliciously spreadable way to enjoy the flavors of fall, look no further than apple pear butter. This smooth and velvety concoction is the perfect combination of juicy apples, ripe pears, and warm spices. And the best part? You can preserve it for months to come through the magic of canning. In this ultimate guide, I’ll walk you through the step-by-step process of canning apple pear butter, ensuring that you have jars of this delectable treat on hand whenever a craving strikes.
The best thing about fall apple pear butter is its delectable taste and comforting warmth. Made by slow cooking a mix of apples, pears, sugar, and spices until it reaches a lusciously thick consistency, this spread is perfect for spreading on toast or dolloping onto yogurt. With each bite, you are greeted with the sweet and tangy flavor of the seasonal fruits. The combination of apples and pears produces a unique blend of flavors that is both familiar and intriguing.
The addition of warm spices like cinnamon, nutmeg, and cloves creates a cozy aroma that evokes memories of crisp autumn days spent by the fireplace. One cannot help but appreciate the versatility of fall apple pear butter; it can be enjoyed in endless ways – mixed into oatmeal for a hearty breakfast treat or incorporated into baked goods for an extra layer of deliciousness. This flavorful condiment truly embodies all the best aspects of autumn, making it the perfect companion to enjoy during the cozy season.
Gathering the Ingredients and Equipment
Selecting the Right Apples and Pears
Before you embark on your apple pear butter journey, it’s important to choose the right fruits for the job. Look for apples that are slightly tart and firm, like Granny Smith or Honeycrisp. As for pears, opt for varieties that are sweet and juicy, such as Bartlett or Bosc. The combination of these two fruits will give your butter a perfect balance of flavors.
And if you are blessed with owning both an apple and pear tree, then this is the ultimate recipe to preserve your trees for the winter. I own a mature Bartlett pear tree that produces an abundance of juicy pears. My future goal is to also own an apple tree in my backyard micro orchard.
One of the best things about owning apple and pear trees is that they are typically harvested at approximately the same time of the year, making it easy to process apples and pears together. And what better way to process apples and pears together than with this warm spicy fall apple pear butter recipe!
Essential Ingredients for Apple Pear Butter
To create the ultimate apple pear butter, you’ll need a few key ingredients. In addition to your apples and pears, you’ll want to have some sugar or other sweeteners, such as honey or maple syrup, on hand to enhance the natural sweetness. You will also need vanilla extract to add a hint of warmth to this recipe. Additionally, spices like cinnamon, nutmeg, ginger, and cloves will take your butter to the next level, so don’t forget those! Seriously, the spices are what make this recipe so delicious and warm!
The best thing about fall baking spices is the warm, cozy feeling they bring to any dish. As the weather starts to cool down and leaves change colors, there’s nothing quite like the comforting aroma of cinnamon, nutmeg, and cloves permeating through the kitchen. These spices add depth and richness to baked goods like apple pies, pumpkin breads, and ginger cookies. The earthy sweetness of cinnamon pairs perfectly with the tartness of apples or the juices smoothness of pears, creating a flavor combination that is quintessentially autumn.
Not only do these spices enhance taste, but they also provide numerous health benefits. Cinnamon is known for its anti-inflammatory properties and can help regulate blood sugar levels while nutmeg aids in digestion and offers anti-bacterial properties. So when it comes to fall baking spices, not only do they make everything taste better, but they also contribute to our overall well-being during this cozy season.
Necessary Canning Equipment: Apple Pear Butter
Now that you have your ingredients sorted, it’s time to gather the necessary equipment for the canning process. You’ll need jars with lids, a large stockpot or canner, a canning rack or silicone trivet, a jar lifter or tongs, a funnel, and a ladle. These tools will ensure that your apple pear butter is safely preserved and ready to be enjoyed at any time.
If you are a regular canner, you most likely contain all of the required equipment. This is the best thing I love about canning. Once you have your equipment purchased, you can reuse them over and over including the jars! This makes for an extremely self-sufficient kitchen and pantry, which I absolutely love and talk so much about here on my blog!
Preparing the Apples and Pears
Washing and Peeling the Apples and Pears
Now, let’s get our hands dirty, or rather, fruity! Start by giving your apples and pears a good wash to remove any dirt or residue. Then, using a peeler or a sharp knife, meticulously peel the skin off the fruits. Trust me, this step may be a bit tedious, but it’s well worth it for a smooth and silky butter.
While I stood in my kitchen peeling and chopping fruit with my puppy at my feet eagerly waiting for anything to “accidentally” fall to the floor for his delight, I listened to my favorite podcasts to keep me motivated. Engulfed in the entertainment of the narrative of the story, I realized how quickly the peeling and chopping of fruits can become.
Coring and Chopping the Apples and Pears
Once your fruits are all nice and naked without their skins, it’s time to remove the cores. Slice your apples and pears in half and use a knife or a handy-dandy corer to get rid of the pesky cores. After that, chop the fruits into small, uniform pieces. The smaller the pieces, the faster they’ll cook down into that luscious buttery consistency. Ensure no seeds get into the pot for a smooth texture.
Cooking and Seasoning the Apple Pear Butter
Combining Apples, Pears, and Sweeteners
Bring out the big guns, or in this case, a large saucepan or Dutch oven. Add your chopped apples and pears to the pot, along with your chosen sweetener. Whether you prefer the classic taste of sugar or the natural sweetness of honey or maple syrup, be generous, but mindful of your taste buds. Remember, you can always adjust the sweetness later on if needed.
I like to cook my apple pear butter in my crockpot all day, which allows for a hands-off approach! After adding all the warm fall spices to the apples and pears in the crockpot, I get to smell the fall aroma throughout my whole house all day long!
Adding Flavorful Spices and Seasonings: Apple Pear Butter
To give your apple pear butter that irresistible autumnal aroma, it’s time to spice things up. Add a sprinkle of ground cinnamon, a pinch of nutmeg, and a touch of cloves to the pot. These warm spices will complement the natural flavors of the fruits and take your butter to a whole new level of deliciousness. Feel free to adjust the spice quantities to suit your personal taste.
Simmering and Reducing the Fruit Mixture: Apple Pear Butter
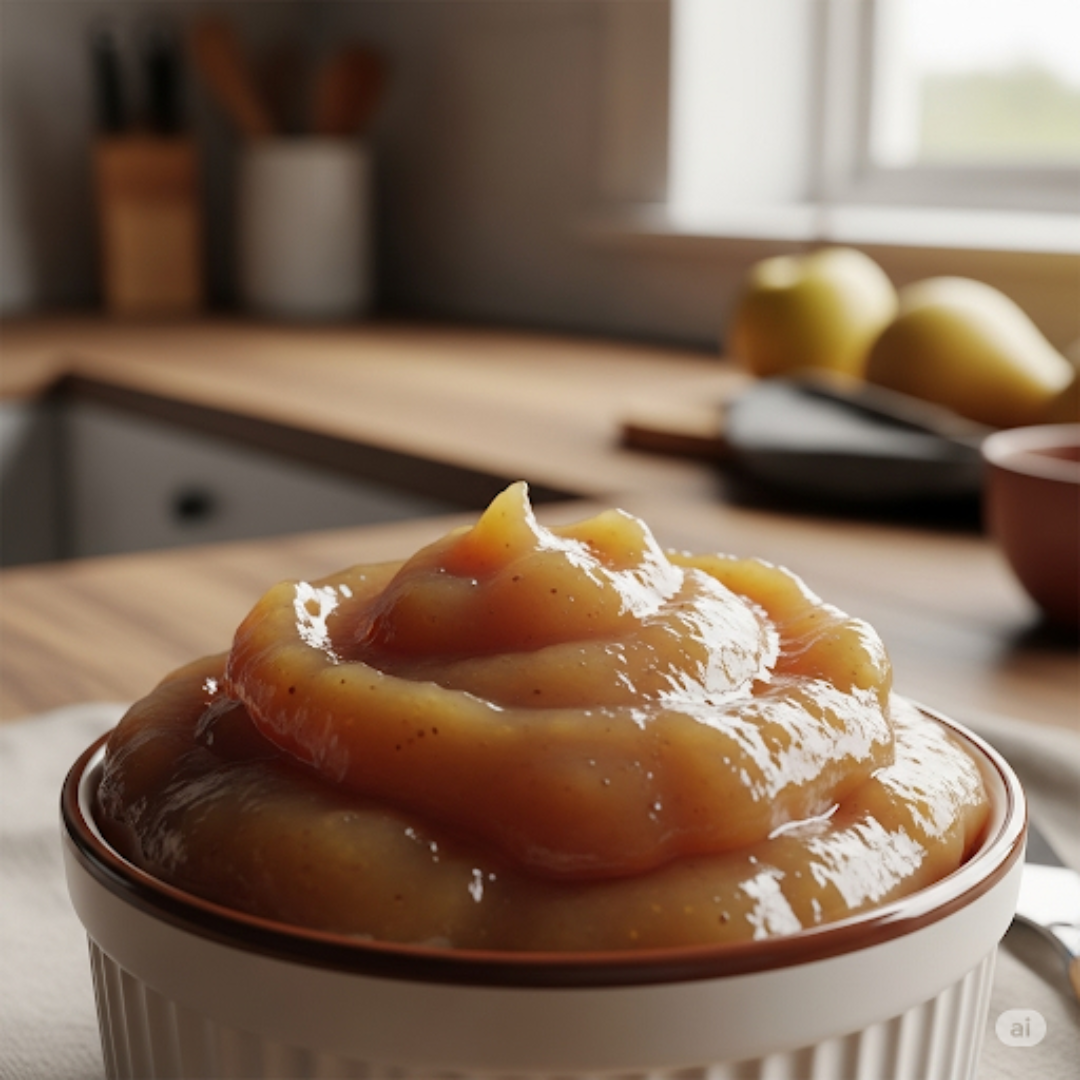
Now comes the easy part. Simmer the fruit mixture over medium-low heat, stirring occasionally to prevent sticking. Let the apples and pears break down and release their juices, creating a thick and velvety consistency. Be patient, as this process can take anywhere from 1 to 2 hours. As the mixture cooks down, the flavors will intensify, giving you that heavenly apple pear butter you’ve been dreaming about.
Once the apples and pears have cooked down long enough to soften, blend them up to a nice smooth consistency. You can do this by either pouring it into your blender and allowing it to cool before pushing that button! Or you can use your immersion blender right in your pot or crockpot to blend to a buttery consistency.
Sterilizing and Preparing the Jars
Washing and Sterilizing the Jars
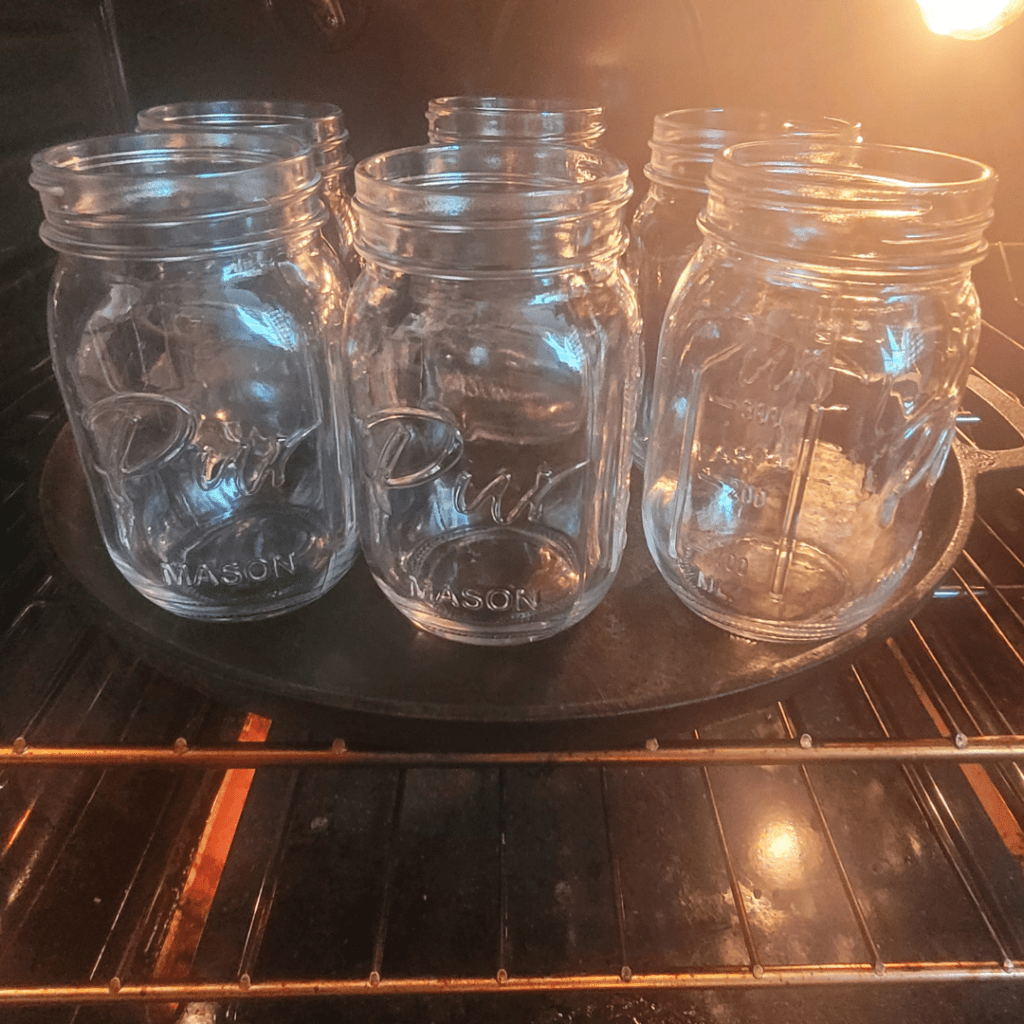
Before you start canning your delicious apple pear butter, it’s crucial to ensure that your jars are squeaky clean. Give them a good wash with hot, soapy water, making sure to rinse them thoroughly afterward.
To take it up a notch and ensure that your jars are properly sterilized, you have a few options. One method is to place them in a large pot of boiling water for about 10 minutes. Alternatively, you can pop them in the dishwasher on the hottest setting.
Remember, cleanliness is key! So, avoid touching the inside of the jars after they’ve been sterilized, and handle them with clean tongs or a jar lifter.
Preparing the Lids and Bands
While your jars are being prepared for their big moment, don’t forget about the lids and bands. These little guys play a crucial role in sealing your jars properly.
Start by washing the lids and bands with warm, soapy water, then rinse them thoroughly. Avoid using abrasive materials to scrub them, as this can damage the sealing surface.
Once they’re clean, you have two options. You can either simmer them in a pot of hot water (not boiling) to soften the sealing compound, or you can follow the manufacturer’s instructions for preparing the lids and bands.
Remember, the lids and bands need to be prepared just before using them, so don’t get too ahead of yourself and do this step too early!
Filling and Sealing the Jars
Transferring the Apple Pear Butter into the Jars
Now comes the fun part – filling your sterilized jars with that luscious apple pear butter! Using a wide-mouth funnel can make this step a breeze, preventing any messy spills.
You’ll want to leave about 1/2 inch of headspace at the top of each jar to allow for expansion during processing. This is particularly important for ensuring proper sealing.
Removing Air Bubbles and Wiping Jar Rims
Air bubbles are sneaky little culprits that can interfere with the sealing process. Don’t worry, though! They’re easy to deal with.
After filling your jars, gently run a non-metallic utensil, such as a wooden skewer or bubble remover tool, along the inside edge of the jar to release any trapped air bubbles. Move the utensil up and down a few times, swirling it around to get rid of those pesky bubbles.
Applying Lids and Bands for Proper Sealing
Once you’ve dealt with the air bubbles, it’s time to give those jar rims some attention. Take a clean, damp cloth or paper towel and carefully wipe the rims to remove any apple pear butter residue. A clean rim is crucial for achieving a proper seal, so don’t skip this step!
With the jars filled, air bubbles banished, and rims wiped clean, it’s time to seal the deal – quite literally. Grab your prepared lids and bands and place them on the jars. Remember, the sealing compound on the lids needs to come into contact with the jar rim for a successful seal.
Tighten the bands until they’re fingertip tight – that is, tight enough so they’re snug, but not overly so. You don’t want to go all Hulk on them!
And just like that, your jars are ready to be processed!
Processing and Storing the Canned Apple Pear Butter
Using a Water Bath Canner
Now that your jars are filled, sealed, and looking oh-so-tempting, it’s time to give them a nice hot bath – a water bath canner, that is.
Place your sealed jars in a water bath canner, ensuring that they’re fully submerged in water. The water level should be at least 1 to 2 inches above the tops of the jars. If you need to, add more hot water to achieve the appropriate level.
Processing Time and Temperature
To achieve that perfectly preserved apple pear butter, you’ll need to process the jars at the right time and temperature. Follow the recipe below for specific instructions on processing time, temperature, altitude, and jar size.
Grab your FREE water bath canning altitude chart from my FREE Self-Sufficiency Academy page full of FREE helpful downloads!
Properly Storing Canned Apple Pear Butter
Congratulations, you’ve successfully canned your apple pear butter! Now it’s time to properly store your hard-earned creations.
Once the jars have been processed and removed from the water bath canner, place them on a clean towel or cooling rack. Let them cool undisturbed for 12 to 24 hours. You may hear the satisfying “pop” of the lids sealing as they cool – music to any canner’s ears!
After the cooling period, check each jar to ensure a proper seal. Press down on the center of each lid to check for any movement or give. If a lid pops back or makes a clicking sound, the jar does not seal properly. These jars should be refrigerated and consumed within a few weeks.
Properly sealed jars can be stored in a cool, dark place for up to a year. Just make sure to label them with the date so you can keep track of their shelf life.
Tips and Troubleshooting for Successful Canning
Canning can be a delightful and rewarding experience, but it’s not without its challenges. Here are some tips and troubleshooting strategies to help you achieve canning greatness:
- Always use fresh, high-quality ingredients for the best results.
- Follow a trusted recipe to ensure proper acidity levels and safe canning practices.
- Be patient and don’t rush the process. Take your time to achieve the best possible outcome.
- Pay attention to headspace, air bubbles, and clean jar rims for a successful seal.
- Keep an eye out for signs of spoilage, such as bulging lids or strange odors, and discard any jars that show these signs.
- Don’t be discouraged by the occasional jar that doesn’t seal properly. It happens to the best of us! Enjoy those jars immediately or refrigerate them for short-term storage.
Conclusion
With these tips in your canning arsenal, you’re ready to conquer the world of apple pear butter canning! So, don your apron, grab your jars, and get ready to savor the fruits of your labor.
With this step-by-step guide, you now have all the knowledge and confidence to embark on your journey of canning apple pear butter. The process may seem daunting at first, but with practice, you will master the art of canning and enjoy the rewards of homemade preserves. Remember to follow proper canning techniques, sterilize your equipment, and store your canned apple pear butter in a cool, dark place. Soon enough, you’ll be able to savor the delicious taste of this sweet and tangy spread whenever you please. Happy canning!
Frequently Asked Questions
1. Can I use different varieties of apples and pears for the butter?
Yes, you can experiment with different varieties of apples and pears to create unique flavors in your butter. However, keep in mind that the texture and sweetness of different varieties may vary, which can affect the final consistency and taste of the butter.
2. How long does the canned apple pear butter last?
When properly canned and stored in a cool, dark place, homemade apple pear butter can last up to 1 year. However, it’s recommended to consume it within 6-8 months for the best quality and flavor.
3. Can I use a pressure canner instead of a water bath canner?
While a water bath canner is commonly used for canning high-acid foods like apple pear butter, some people prefer using a pressure canner for added convenience and faster processing times. If you decide to use a pressure canner, make sure to follow the manufacturer’s instructions and adjust the processing time accordingly.
4. Can I reduce the amount of sugar or use alternative sweeteners in the recipe?
Absolutely! You can adjust the amount of sugar based on your personal preference or dietary needs. You can also experiment with alternative sweeteners like honey or maple syrup. Just keep in mind that altering the sweetener might affect the taste and texture of the final product.
Apple Pear Butter Recipe
Apple Pear Butter Recipe
Equipment
- 1 water bath canner
- canning supplies
- 1 crockpot or heavy-bottomed pot
- 6 pint jars or 12 half pint jars
- 6 or 12 rings and lids
Ingredients
- 2 pounds apples washed, peeled, cored, and chopped
- 1 pound Bartlett pears washed, peeled, cored, and chopped
- ½ cup apple cider
- ½ tsp cinnamon
- ¼ tsp ground ginger
- ¼ tsp cloves
- 2 tbsp maple syrup
- ½ tsp vanilla extract
Instructions
- Place chopped fruit in a slow cooker or heavy-bottomed pot.
- Stir in the rest of the ingredients and combine well.
- Cook until fruit is tender.
- Puree with an immersion blender until a smooth consistency.
- Continue cooking until a desired thickened consistency, stirring frequently.
- Heat up water bath canner and prepare jars, lids, and other canning equipment.
- Carefully ladle apple pear butter into each jar using a funnel leaving 1/2 inch of headspace.
- Wipe rims clean.
- Place on lids and rings to each jar.
- Place in water bath canner and process for 10 minutes for half pints and 15 minutes for pints.
- Remove from canner and cool on a towel on the counter for up to twenty-four hours.
- Remove rings and check for proper seals. Store in a cool dark pantry for up to one year.
Summary
I hope I have inspired you to can your own apple pear butter to enjoy and share with your friends and family and store on your pantry shelves!
Check out my Jam with Me page for more delicious jam recipes!
If you were encouraged by this post, I invite you to check out my FREE Self-Sufficiency Academy for fun free printables, planners, and charts.
ENTER MY FREE SELF-SUFFICIENCY ACADEMY HERE
I invite you to check out some more of my posts!
Canning Pear Sauce: An Easy Step-by-Step Guide
How to Make and Can Cherry Pie Jam
How to Can a Year’s Supply of Quince Jam
Stockpiling MRE Meals for Survival: Prep Your Pantry
Best Foods to Stockpile for Survival Now: Prep Your Pantry
Blessings,
The Off Grid Barefoot Girl


