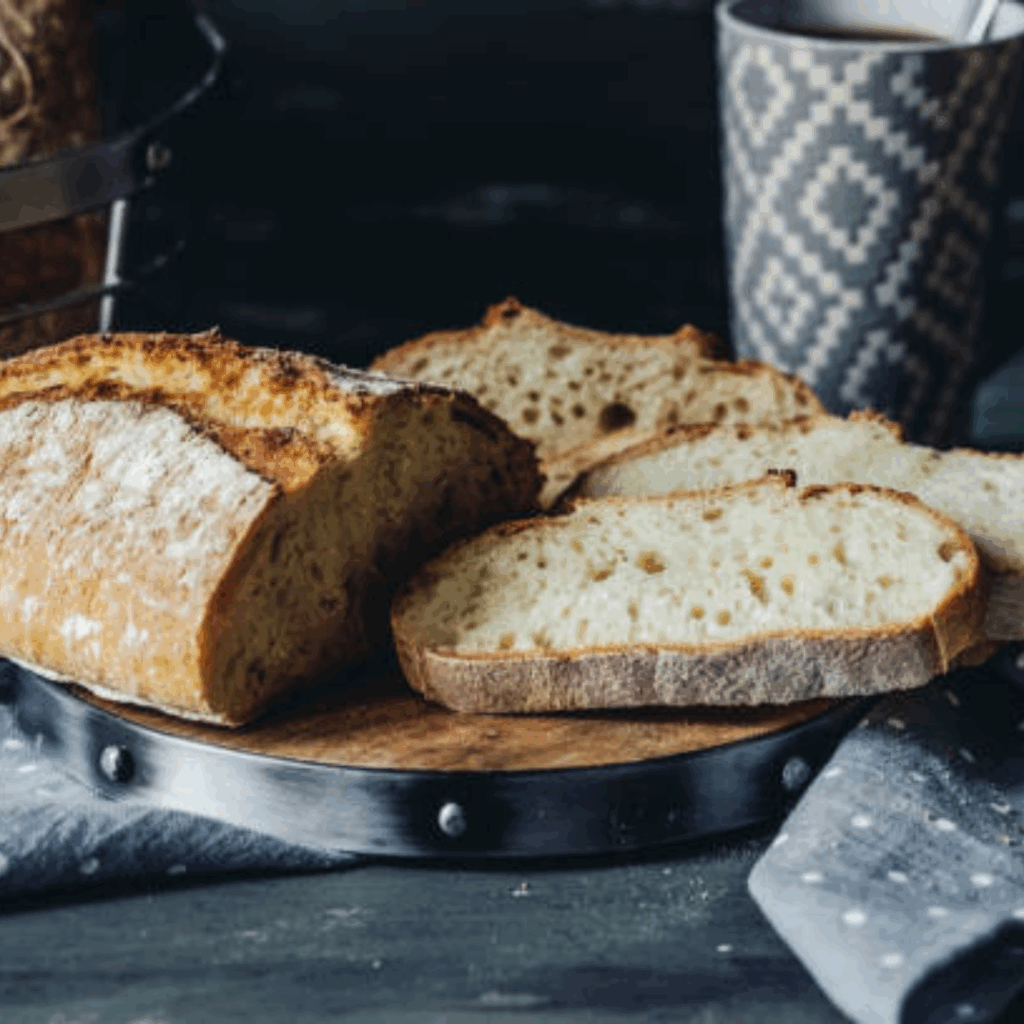
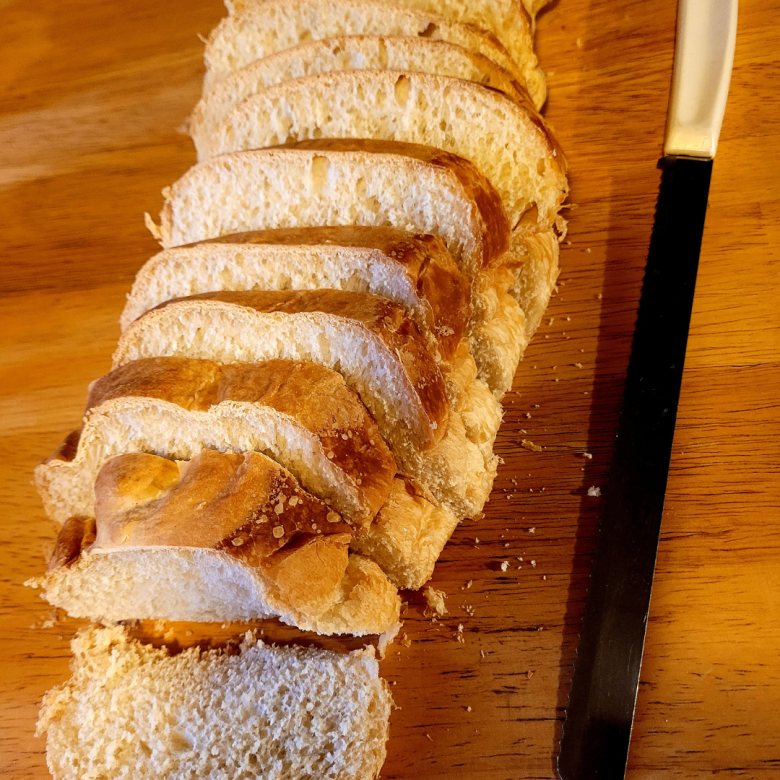
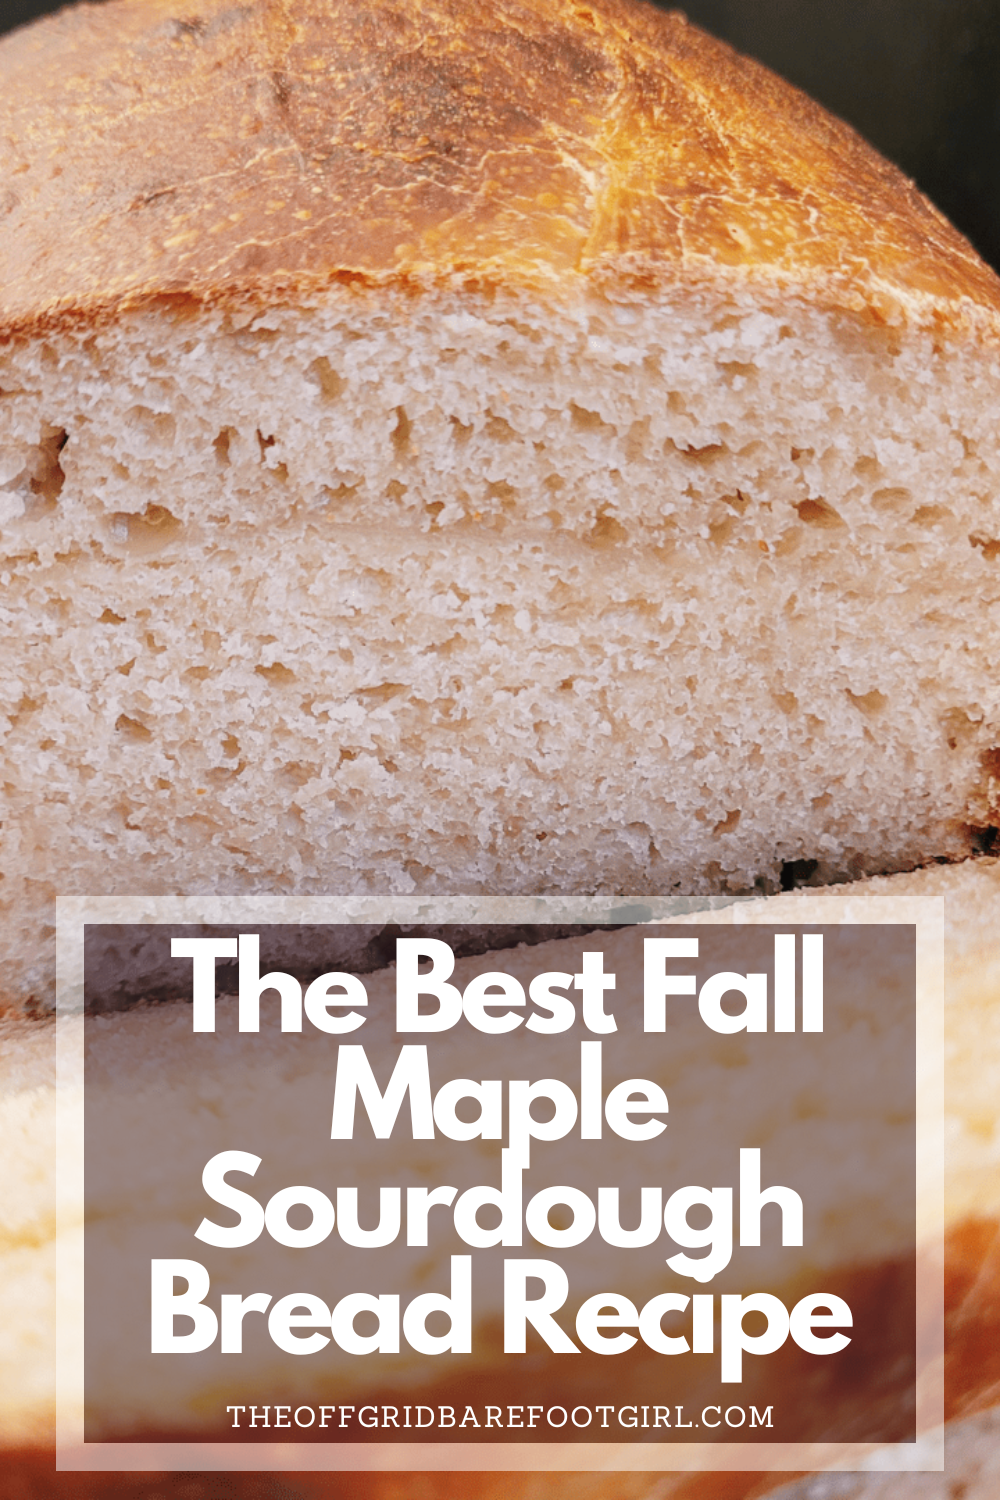
Warm, comforting, and full of autumn flavor, this Fall Maple Sourdough Bread recipe is perfect for cozy mornings. With a subtle tang from the sourdough and the rich sweetness of pure maple syrup, it’s an easy-to-follow recipe that yields a soft, golden loaf every time. Ideal for breakfast, snacks, or gift-giving, this bread brings the taste of fall right to your kitchen.
There’s something magical about the smell of freshly baked bread filling the kitchen in the fall. This Best Fall Maple Sourdough Bread combines the tangy goodness of sourdough with the warm, sweet flavor of maple syrup, creating a loaf that’s soft on the inside with a perfectly golden crust. Whether you’re enjoying it with butter on a crisp autumn morning or sharing it with friends and family, this bread captures the essence of fall in every bite.
This is a pinnable post. Tap or hover over any image in this post to pin to your Pinterest Boards.
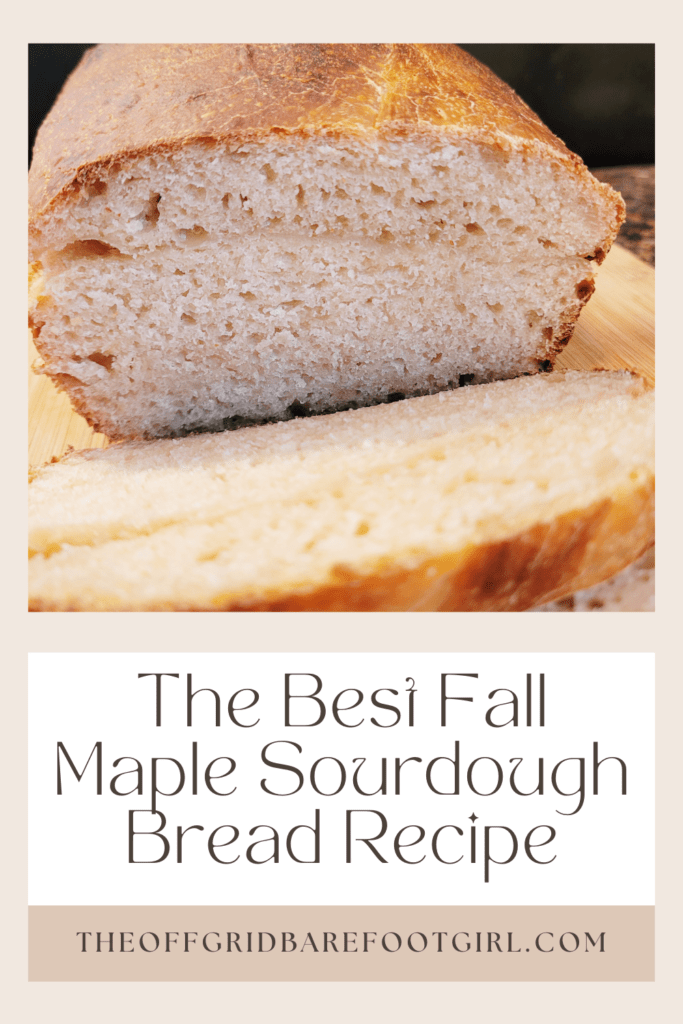
Introduction to Fall Maple Sourdough Bread
Exploring the Flavors of Fall
When the leaves start changing colors and there’s a chill in the air, it’s time to embrace the flavors of fall. From pumpkin spice to apple cinnamon, there’s something about the autumn season that makes our taste buds tingle with excitement. One flavor that perfectly captures the essence of fall is maple. Its rich, sweet, and slightly smoky taste adds warmth and depth to any dish. So why not bring the magic of fall into your homemade bread with a touch of maple goodness?
One of my sons absolutely loves pancakes smothered in maple syrup. The creation of this bread in my kitchen is dedicated to him so he can enjoy the maple goodness of this bread that has all the flavors he loves. Since he loves pancakes with maple syrup, he will devour this maple sourdough bread for sure!
Why Maple and Sourdough Make a Perfect Combination
Maple syrup and sourdough bread may seem like an unlikely pair, but trust me, they are a match made in culinary heaven. The tangy and slightly sour notes of sourdough perfectly complement the sweet and earthy flavors of maple syrup. The bready texture of sourdough also provides a wonderful canvas for the maple flavors to shine through.
The slightly tangy undertones of sourdough bread effortlessly complement the natural sweetness of maple syrup, resulting in a delectable combination that is both satisfying and comforting. The signature nutty aroma and complex, earthy notes of sourdough enhance the richness of maple syrup, adding depth to every bite. The chewy crust and airy interior of a well-baked sourdough loaf provide an ideal canvas for drizzling velvety maple syrup.
Whether it’s a classic morning toast or a divine dessert topped with maple glaze, this pairing marries together sweet and savory elements harmoniously. Indulging in the marriage of maple and sourdough is like savoring nostalgia wrapped in unmatched deliciousness – a treat that awakens your senses with each delightful mouthful. Together, maple and sourdough create a harmonious combination that will make your taste buds dance with joy.
Ingredients for the Perfect Fall Maple Sourdough Bread
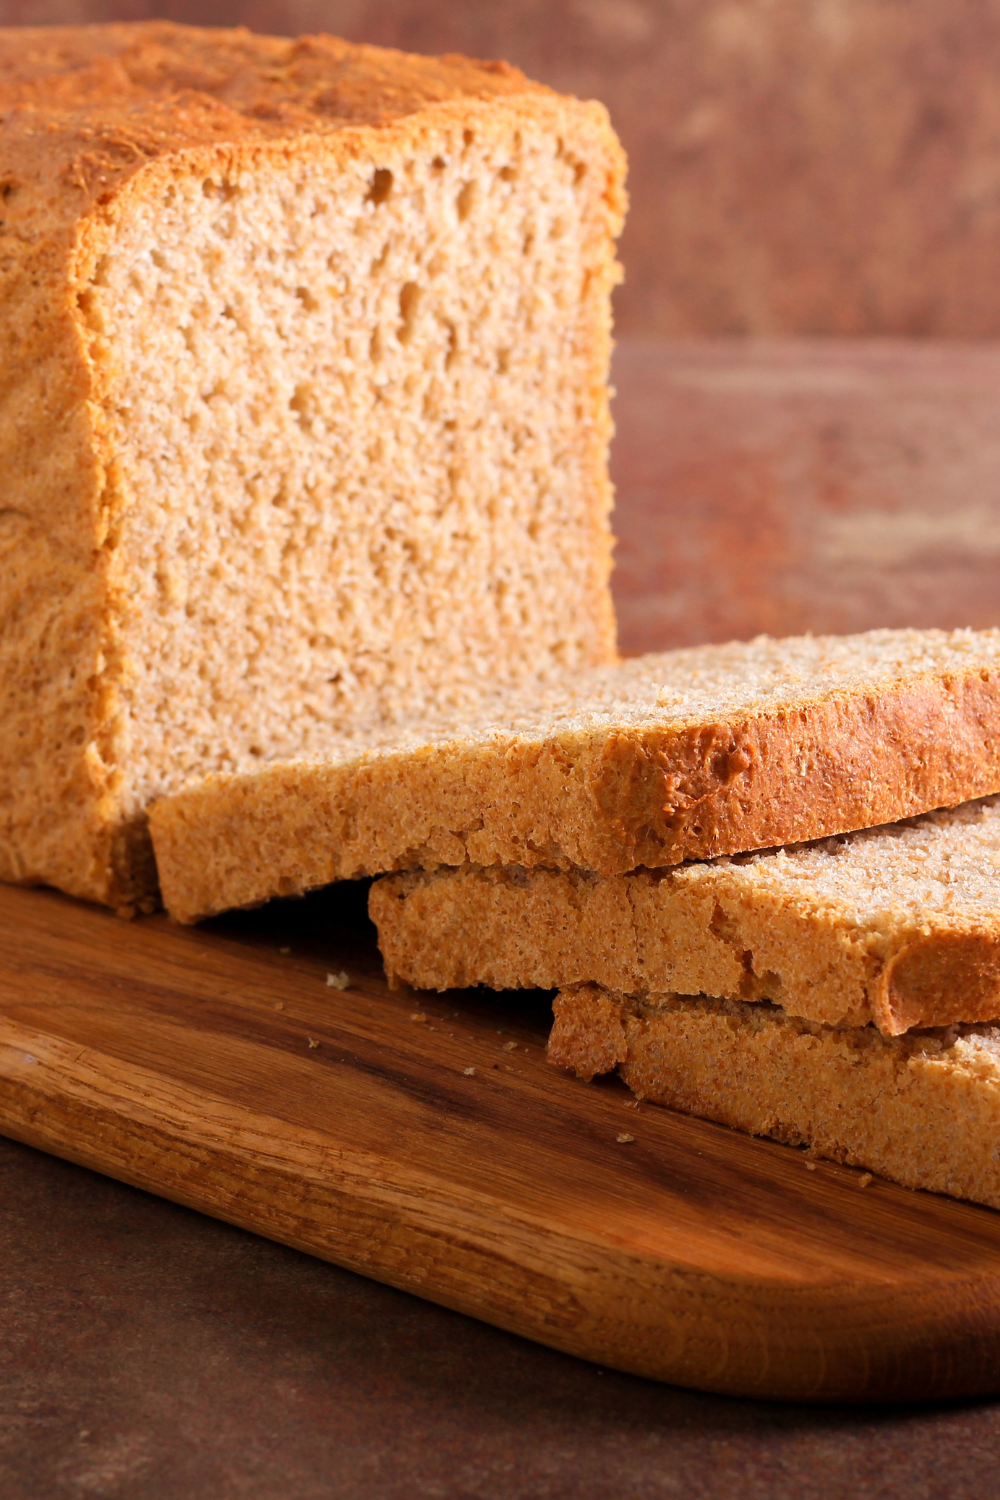
Gathering the Essential Ingredients
To create the best fall maple sourdough bread, you’ll need a handful of essential ingredients. Here’s what you’ll need to gather:
- Sourdough Starter: A living organism that gives your bread a unique flavor and texture.
- Flour: Both all-purpose and whole wheat flour work well in this recipe.
- Maple Syrup: The star of the show, so make sure to use high-quality maple syrup for the best results.
- Salt: To enhance the flavors and balance the sweetness.
- Water: The magic liquid that brings all the ingredients together.
- Butter: To add richness, tenderness, and structure.
If you notice, these ingredients are staple ingredients. Most likely, you already have everything in your pantry for this bread recipe. This is especially true if you are an avid sourdough baker as you most likely also already have your sourdough starter crafted. If not, do not worry because making homemade sourdough starter is fairly easy and I have a step-by-step recipe tutorial to help you craft your very own sourdough starter.
Learn more about how to make your own sourdough starter in my other post.
The Ultimate Guide to Crafting a Perfectly Tangy Wild Sourdough Starter
Understanding the Role of Each Ingredient
Each ingredient plays a crucial role in creating the perfect fall maple sourdough bread. The sourdough starter adds tanginess and helps with the bread’s rise, while the flours provide structure and texture. Maple syrup not only sweetens the bread, but also adds the distinct fall flavor we’re after. Salt enhances the overall taste, water ensures everything combines smoothly, and butter gives this bread a full rich flavor! It’s a delicious symphony of ingredients that will make your taste buds sing.
Preparing and Feeding the Sourdough Starter: Fall Maple Sourdough Bread
Maintaining a Healthy Sourdough Starter
Before diving into the bread-making process, it’s essential to have a healthy sourdough starter. Your starter is like a pet that needs regular feeding and care. Store it in the refrigerator when not in use and take it out a day or two before baking to activate it.
You want to make sure you feed it regularly. A well-fed starter is a happy starter. Most bakers recommend a 1:1:1 ratio of flour, water, and starter when feeding it. This means that for every part of your existing starter, add an equal amount of flour and water. Maintaining a consistent temperature is key. Sourdough starters thrive in warmth, around 70-75°F (21-24°C). You can achieve this by placing your jar near a warm spot in your kitchen or even wrapping it with a towel for insulation. Remember to always cover your starter loosely to allow gas exchange while protecting it from any contaminants.
Keep an eye on the activity level of your sourdough. Bubbles are a good sign! If you notice the activity decreasing or any strange smell or discoloration, discard half of your starter and refresh with fresh flour and water following the feeding ratio mentioned earlier. With these simple steps, you’ll be on your way to maintaining a healthy sourdough starter!
For more information on crafting your sourdough starter, visit my other post for the full recipe tutorial.
The Ultimate Guide to Crafting a Perfectly Tangy Wild Sourdough Starter
Feeding and Activating the Starter: Fall Maple Sourdough Bread
To feed your sourdough starter, mix equal parts of flour and water and let it sit at room temperature for several hours or overnight until bubbly and active. This process helps the natural yeasts in the starter to thrive and create those beautiful air pockets in your bread. Once your starter is bubbly and active, it’s ready to work its magic in the maple sourdough bread creation.
I keep my sourdough starter on my stovetop above the timers. This is an ideal place for it to remain warm throughout the day and night, with perfect fermentation temperature. I keep my stove light on during the night as a night light for my kids to walk through since it is on the way to the bathroom. While the light acts as a night light, it also warms the environment for the starter to remain happy and healthy through the cold nights.
Mixing and Kneading the Dough: Fall Maple Sourdough Bread
Combining the Dry Ingredients
In a large bowl, combine the flour and salt. Mix them together until they’re well incorporated. This dry mixture will provide the base for your dough and ensure the flavors are evenly distributed.
Incorporating the Sourdough Starter
Now it’s time to bring your sourdough starter and a generous drizzle of maple syrup into the mix. Add a healthy dollop of the activated starter to the dry ingredients. This will infuse your bread with that tangy goodness and start the fermentation process.
Kneading the Dough to the Right Consistency
Using your hands or a dough hook, start kneading the dough until it reaches a smooth and elastic consistency. This process helps develop gluten, which gives the bread structure and a chewy texture. As you knead, you’ll notice the dough becoming springy and easier to work with.
Now that your dough is ready, it’s time to let it rise, shape it into a loaf, and bake it to golden perfection. Get ready to fill your home with the aroma of maple and enjoy the irresistible flavors of fall in every bite of your homemade maple sourdough bread. This is by far one of the best sourdough loaves I have ever made!
Adding the Maple Flavors: Incorporating Maple Syrup and Maple Extract
Selecting High-Quality Maple Syrup
Maple syrup is the star of this fall-inspired sourdough bread recipe, so it’s crucial to choose a high-quality syrup that will enhance the flavor of your bread. Look for maple syrup that is pure and free from any artificial additives or sweeteners. Grade A or Grade B maple syrup is recommended for its rich, distinctive taste.
Enhancing the Flavor with Maple Extract: Fall Maple Sourdough Bread
To amplify the maple flavor in your bread, you can also add a touch of maple extract. Maple extract is a concentrated flavoring that packs a punch of maple goodness. Just a small amount can go a long way in making your bread taste extra maple-y. Be sure to use a pure maple extract without any artificial flavors or additives.
Fermenting and Proofing the Maple Sourdough Bread
Allowing the Dough to Ferment
Once you’ve incorporated the maple flavors into your dough, it’s time to let it ferment. Fermentation is a crucial step in sourdough bread-making as it develops the flavor and texture of the bread. Letting the dough sit at room temperature for several hours allows the natural yeasts to work their magic, resulting in a tangy, aromatic loaf.
Providing Optimal Conditions for Proofing: Fall Maple Sourdough Bread
After the initial fermentation, it’s time to shape your dough and let it proof. Proofing refers to the final rise of the dough before baking. To ensure optimal proofing, find a warm spot in your kitchen. You can even use your oven with the light turned on to create a slightly warm environment for the dough to rise. Patience is key here, as proofing can take several hours, but the end result will be worth it.
Baking and Achieving the Perfect Golden Crust: Fall Maple Sourdough Bread
Preheating the Oven and Preparing the Bread for Baking
To achieve that coveted golden crust, it’s important to preheat your oven properly before baking. Make sure to preheat at a high temperature, typically around 450°F (230°C), to give the bread an initial burst of heat that will contribute to the crust’s color and texture. Additionally, dusting the loaf with flour or scoring the dough can help create a beautiful pattern on the crust.
Preparing Bread Dough in Greased Loaf Pans
When it comes to preparing bread dough in greased loaf pans, the first step is ensuring that you have the correct pan size. Too small of a pan can cause your dough to overflow during baking, while too large of a pan may result in a flat and dense loaf. Once you have the right size pan, generously grease it to prevent your dough from sticking. Use unsalted butter or cooking spray for an even and thorough coating.
After greasing, carefully transfer your prepared dough into the greased loaf pan, making sure to shape it evenly for consistent baking. Cover the pan with a clean towel and let it rise until doubled in size before placing it in the preheated oven. During baking, keep an eye on your loaf’s color and internal temperature to avoid under- or over-baking. Once golden brown and when tapped on top sounds hollow, remove from the oven and let cool slightly before slicing into warm slices of freshly baked bread.
Baking Techniques for a Golden Crust: Fall Maple Sourdough Bread
Let’s dive into some baking techniques that will give you that tantalizing golden-brown shade we all crave. First things first, temperature control is key! Preheat your oven to the suggested temperature and use an oven thermometer to ensure accuracy. Maintaining a consistent temperature throughout baking is crucial for achieving that lovely hue.
Secondly, consider using an egg wash or milk glaze before popping your creation into the oven. This simple step adds a glossy finish and promotes browning. If you’re feeling adventurous, sprinkle a touch of sugar on top for added caramelization and flavor.
Next, don’t forget to pay attention to timing – no one wants an undercooked or burnt crust! Keep a close eye on your baked loaves towards the end of their cooking time to guarantee that perfect golden outcome.
Lastly, spraying water into the oven at the beginning of the baking process creates steam, which promotes crust development and adds an extra crispness to the bread. You can also place a pan of water in the oven while baking to maintain a humid environment. Remember to keep an eye on the bread as it bakes, adjusting the temperature or baking time if necessary, to achieve that perfect golden brown color.
Serving and Enjoying the Fall Maple Sourdough Bread
Tips for Serving and Storing the Fall Maple Sourdough Bread
Once your maple sourdough bread is baked to perfection, it’s time to enjoy it! Let the bread cool completely before slicing to allow the flavors to settle. To keep the bread fresh, store it in a paper bag or bread box to maintain its crust. Avoid storing it in a plastic bag, as this can cause the crust to become soft and lose its texture.
After all, you have worked very hard to achieve a crusty crust, so do not ruin it by storing it improperly with plastic wrap or a plastic bag. While I have mentioned storing my bread in plastic bags, I like to do that with my white bread recipe because my family loves super soft white bread. However, with sourdough, we like to keep a crusty crust with sourdough bread.
Pairing Suggestions and Enjoying the Flavors of Fall
The fall maple sourdough bread is delicious on its own, but it can also be paired with various toppings or enjoyed alongside soups, stews, or seasonal spreads. Try spreading some creamy butter or a drizzle of honey on a warm slice, or use it to make a delightful sandwich filled with seasonal ingredients. Whatever way you choose to enjoy it, savor the flavors of fall, and share the bread with your loved ones.
As you take the first bite of your freshly baked Fall Maple Sourdough Bread, savor the harmonious blend of tangy sourdough and the sweet warmth of maple. This homemade delicacy is perfect for cozy mornings, afternoon snacks, or even as a complement to a hearty fall meal. Whether you enjoy it toasted with a smear of butter, as a base for a delicious sandwich, or simply on its own, this bread will surely become a fall favorite in your household.
Conclusion
Baking this Fall Maple Sourdough Bread is more than just making a loaf—it’s creating a cozy, comforting experience that fills your home with the sweet aroma of autumn. With its perfect balance of tangy sourdough and rich maple flavor, this bread is sure to become a seasonal favorite. Serve it warm with butter, pair it with your favorite jam, or gift it to someone special—every bite is a taste of fall. Don’t forget to explore more of my seasonal bread recipes for even more delicious ways to celebrate the flavors of the season!
Resources: Here are some helpful resources for further information.
- The World’s Easiest Cinnamon Rolls – By Minimalist Baker
- 18 Unexpected Fillings to Add to Your Cinnamon Rolls – By Tasting Table
- Think Beyond the Cinnamon Roll – By King Arthur Baking
Frequently Asked Questions
1. Can I substitute the maple syrup with another sweetener?
While maple syrup adds a distinct flavor to the sourdough bread, you can experiment with other sweeteners like honey or agave syrup. Keep in mind that the flavor profile might vary, so it’s recommended to start with a smaller quantity and adjust according to your taste preferences.
2. Can I use a different type of flour for the sourdough bread?
Absolutely! While this recipe calls for a specific type of flour, you can try using different flours like whole wheat, spelt, or rye to add unique flavors and textures to your bread. Just keep in mind that the dough consistency and fermentation time might require adjustments when using different flours.
3. How do I know if the sourdough starter is ready to use?
A sourdough starter is typically ready to use when it has doubled in size, becomes frothy, and has a pleasant sour aroma. To ensure that your sourdough starter is active and ready, you can perform a simple float test. Drop a small spoonful of the starter into a glass of water, and if it floats, it indicates that the starter is active and ready for baking.
4. How do I store the Fall Maple Sourdough Bread?
To keep your Fall Maple Sourdough Bread fresh, it is best to store it in a paper bag or a bread box at room temperature. Avoid storing it in the refrigerator, as it can make the bread go stale faster. If you have leftover bread, you can also freeze it in airtight containers or freezer bags for longer storage. Just make sure to slice it before freezing for easier thawing and consumption.
Fall Maple Sourdough Bread Recipe
Equipment
- 1 loaf pan
- 1 large mixing bowl
Ingredients
Preparing the Dough
- 150 grams active sourdough starter
- ½ cup maple syrup
- 2 cups lukewarm filtered water
- 1 ½ tsp sea salt
- 1 Tbsp warm butter
- 6 ½ cups all-purpose flour
Instructions
Preparing the Dough
- Mix together the active starter, water, salt, maple syrup, and butter in the large mixing bowl together until well combined.
- Gently add in the flour one cup full at a time. This will be a shaggy appearing dough.
- Cover the dough with plastic wrap and allow it to ferment for approximately 10 hours.
Shaping the Dough
- Separate the dough into two equal parts.
- Roll each section into a rectangle. Roll up the dough from the wide end to create a log. Tuck the ends to seal under the log and to fit inside the loaf pan.
- Place each loaf into two greased loaf pans. Cover with plastic wrap and allow them to rise up to 2 hours. They will fill out the pans and slightly rise.
Scoring the Bread
- Make a small slit down the center of the two loaves.
Baking the Bread
- Bake at 325 degrees for 35 minutes.
Summary
I hope I have inspired you to bake your very own bread loaves to enjoy and share with your friends and family.
If you were encouraged by this post, I invite you to check out my FREE Printables Page for fun free printables, planners, and charts.
ENTER MY FREE Printables Page HERE
Here are some more of my bread-making inspiration posts to check out!
The Best Pumpkin Zucchini Bread
The Only Pumpkin Muffin Recipe You’ll Ever Need!
How to Make Banana Split Quick Bread
How to Make S’mores Quick Bread
How to Make Jelly Donut Quick Bread
Lemon Blueberry: How to Make Lemon Blueberry Sourdough Focaccia
How to Make Sourdough Lemon Supreme Quick Bread
Lemon Supreme: How to Make Sourdough Lemon Supreme Quick Bread
How to Make Sourdough Strawberry Cheesecake Muffins
How to Make Chai-Spiced Sourdough Banana Bread
The Best Old Fashioned Sourdough Banana Muffins
How to Make Honey Sourdough Bread
Blueberry: How to Make Lemon Blueberry Sourdough Quick Bread
Pizza: How to Make Pizza Sourdough Focaccia
Carrot Cake: How to Make Carrot Cake Sourdough Focaccia
Easy and Delicious Hershey’s Kisses Sourdough Bread
How to Make Amish Whoopie Pies!
Lazy Cinnamon Rolls: How to Make Easy Cinnamon Rolls the Lazy Way!
Lembas Bread: How to Make Elven Lembas Bread: A Taste of Rivendell
Gnome Bread: How to Make a Sourdough Gnome Bread
How to Make Sourdough Strawberry Cheesecake Muffins
The Best Hoagie Buns Recipe Made From Scratch!
Pumpkin: How to Make Chocolate Chip Pumpkin Bread
More Recipes!
Sweet Potato Bread: How to Make Sweet Potato Bread
Chocolate Chip Cookies: How to Make Chocolate Chip Cookie Bread
Carrot Cake Quick Bread: How to Make Carrot Cake Quick Bread
How to Make Strawberries and Cream Sourdough Bread
How to Make S’mores Sourdough Bread
July 4th Bread: How to Make a Firecracker Marble Bread Braid
Artisan Bread: How to Make Artisan Bread
Challah Bread: How to Make a 6 Braided Challah Bread
Sweet Bread: How to Make Sweet Bread
Blessings,
The Off Grid Barefoot Girl


