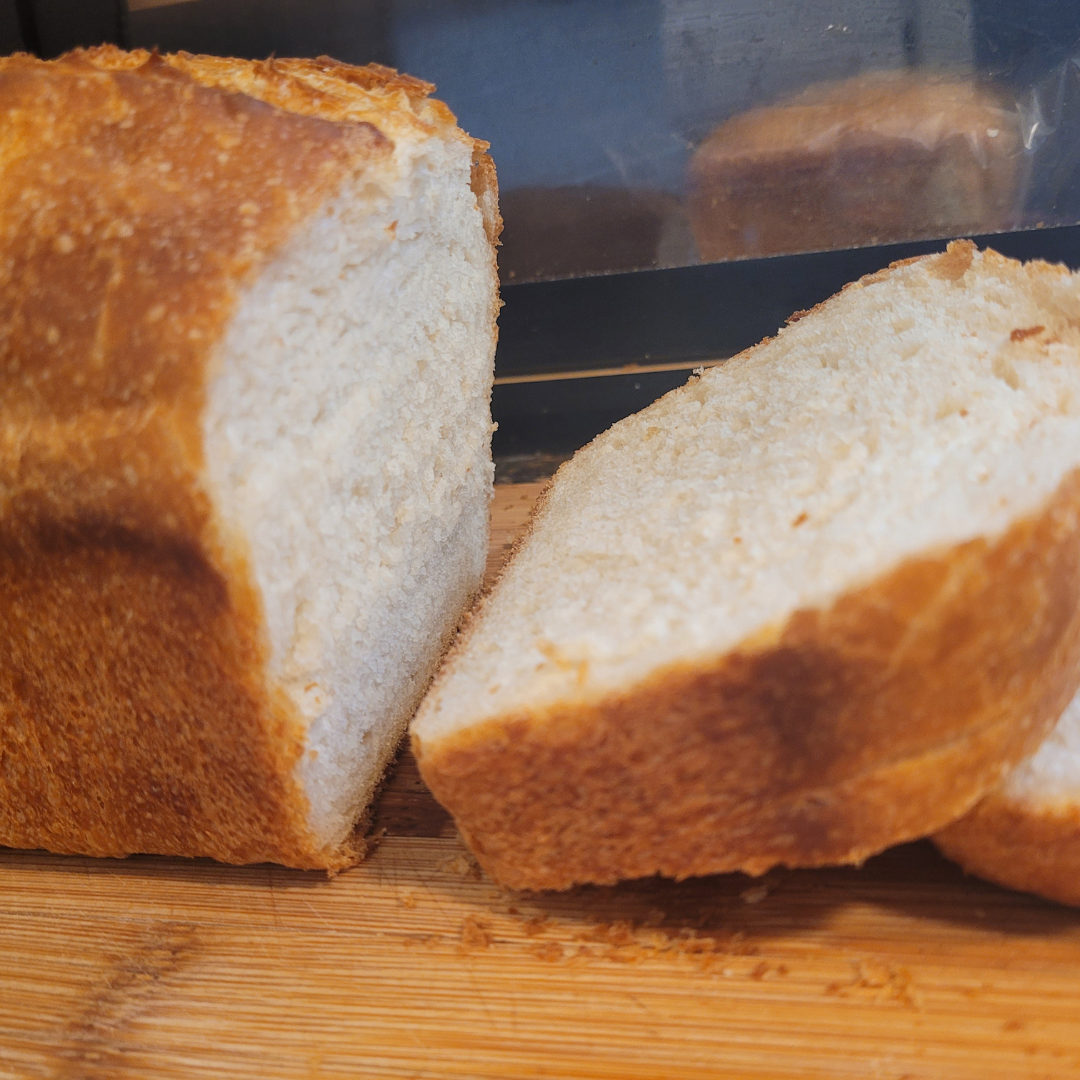
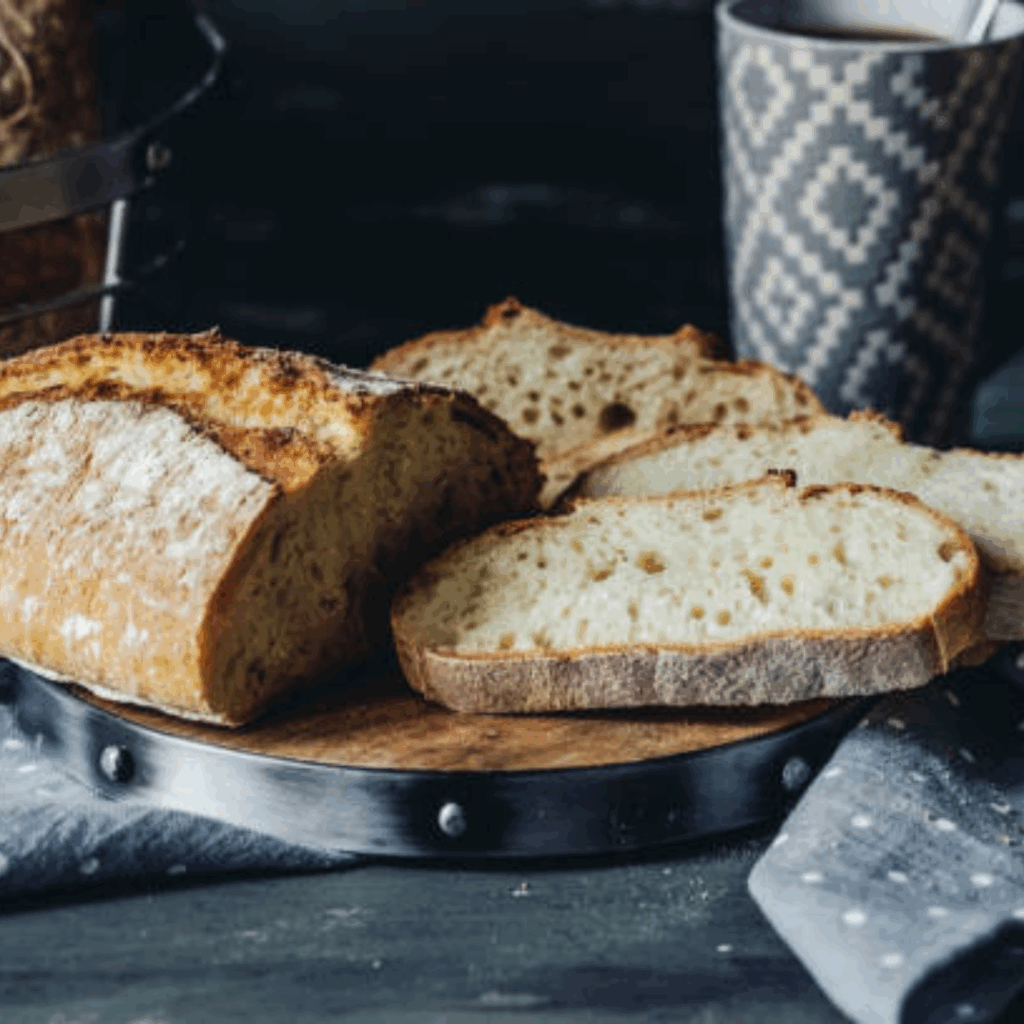
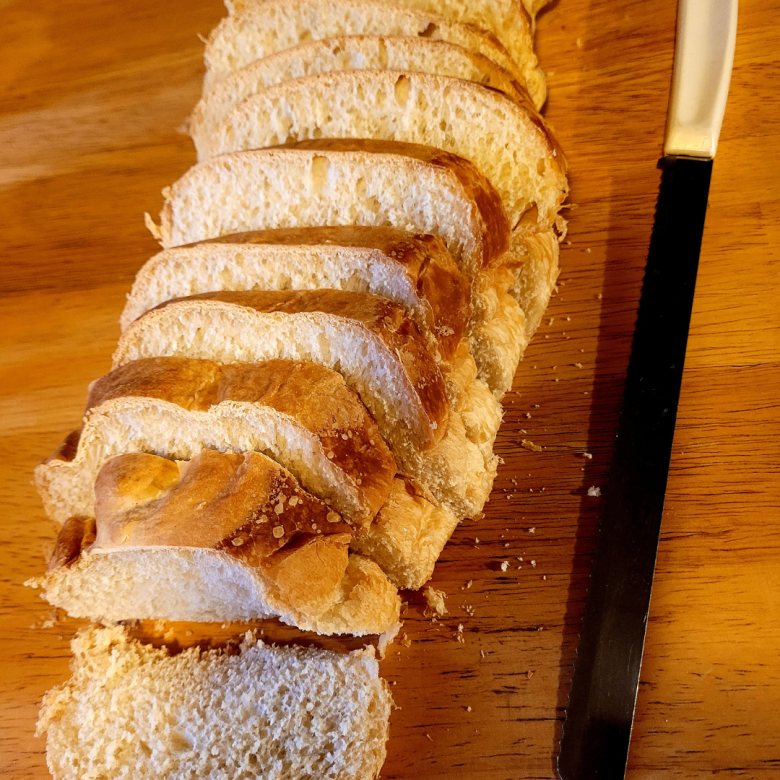
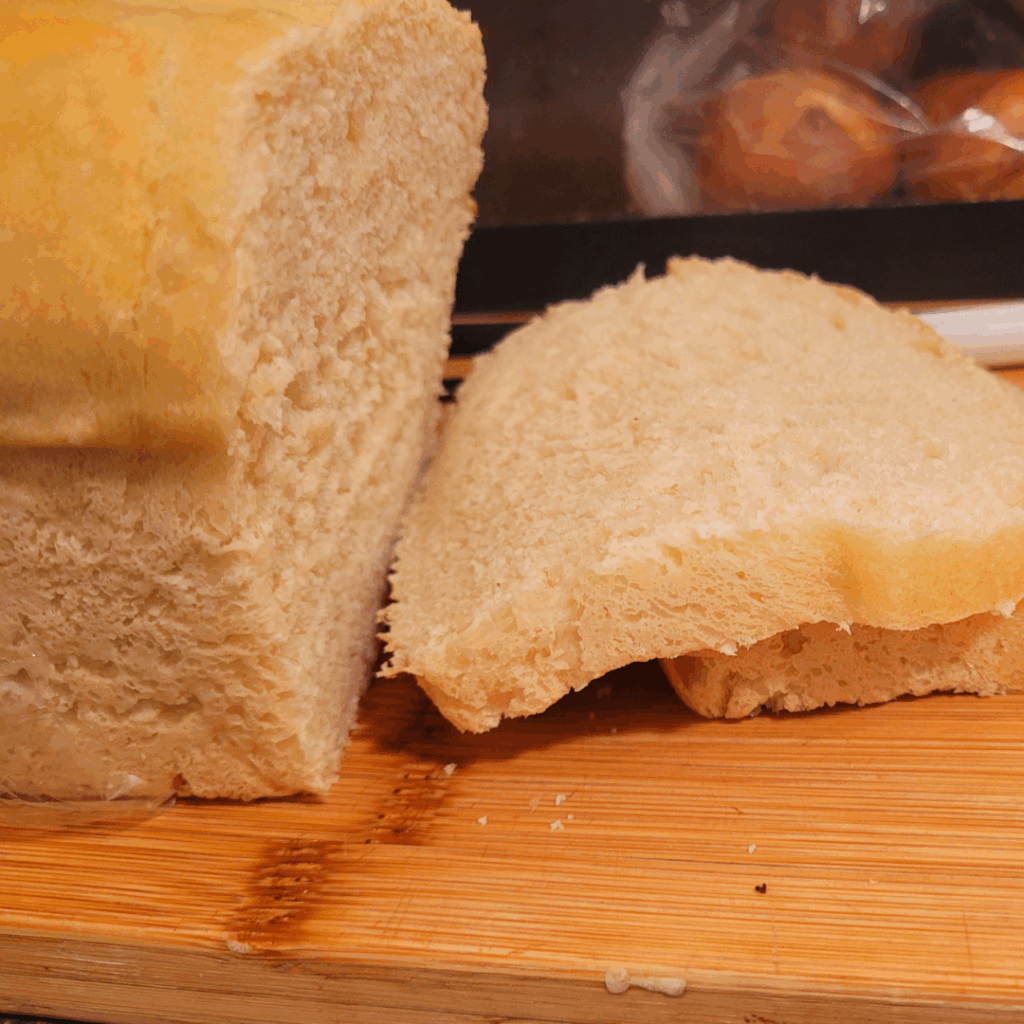
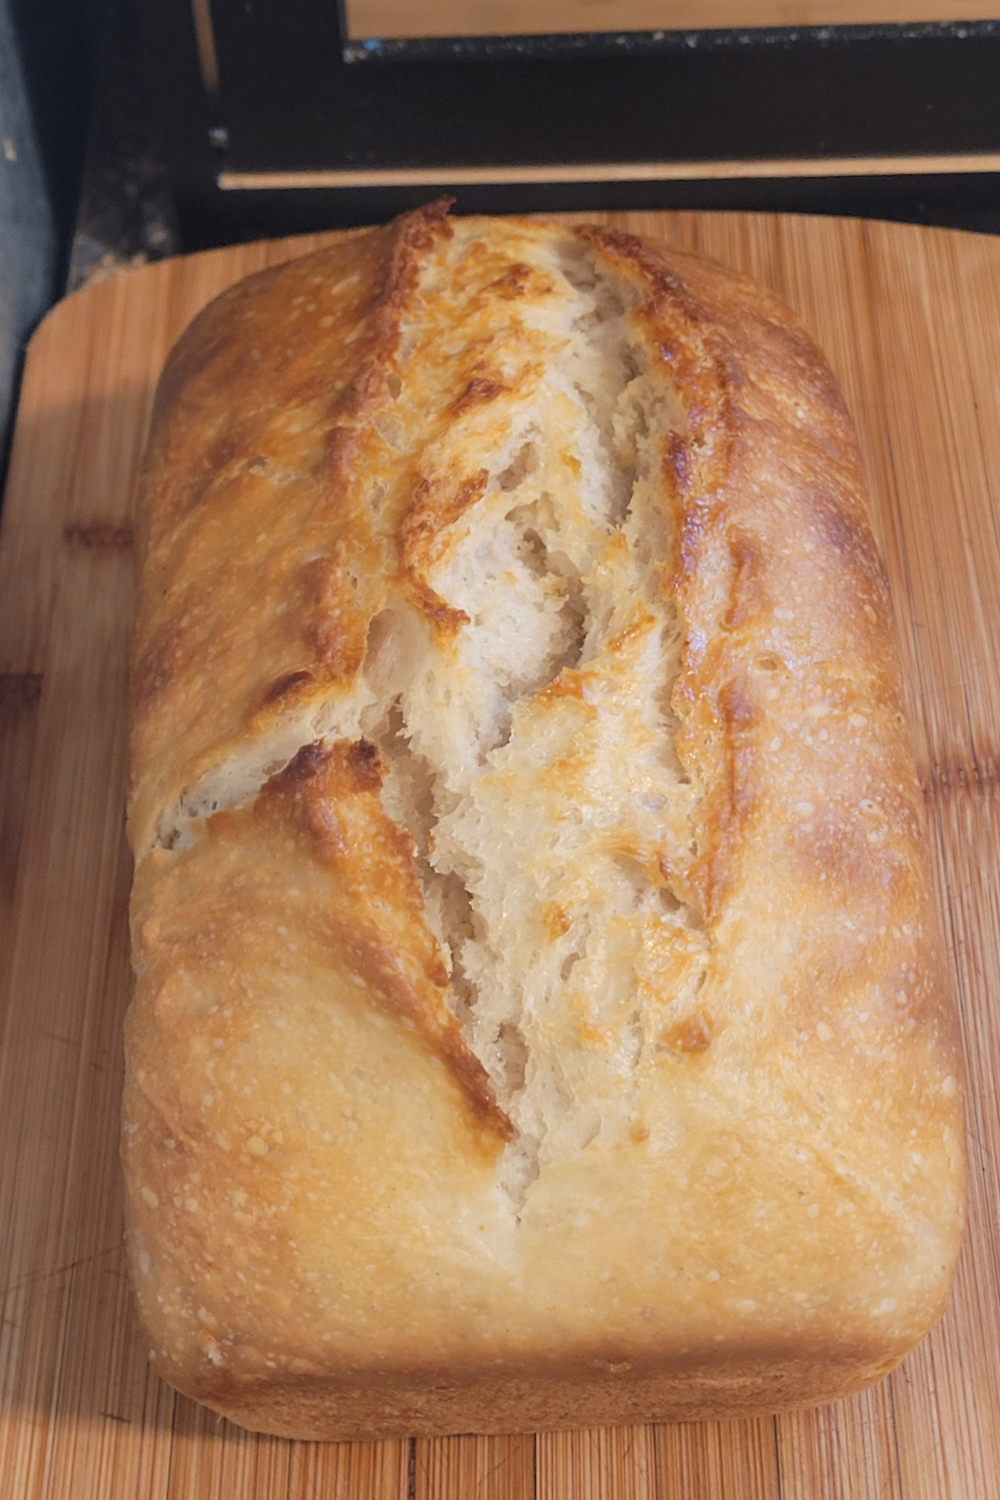
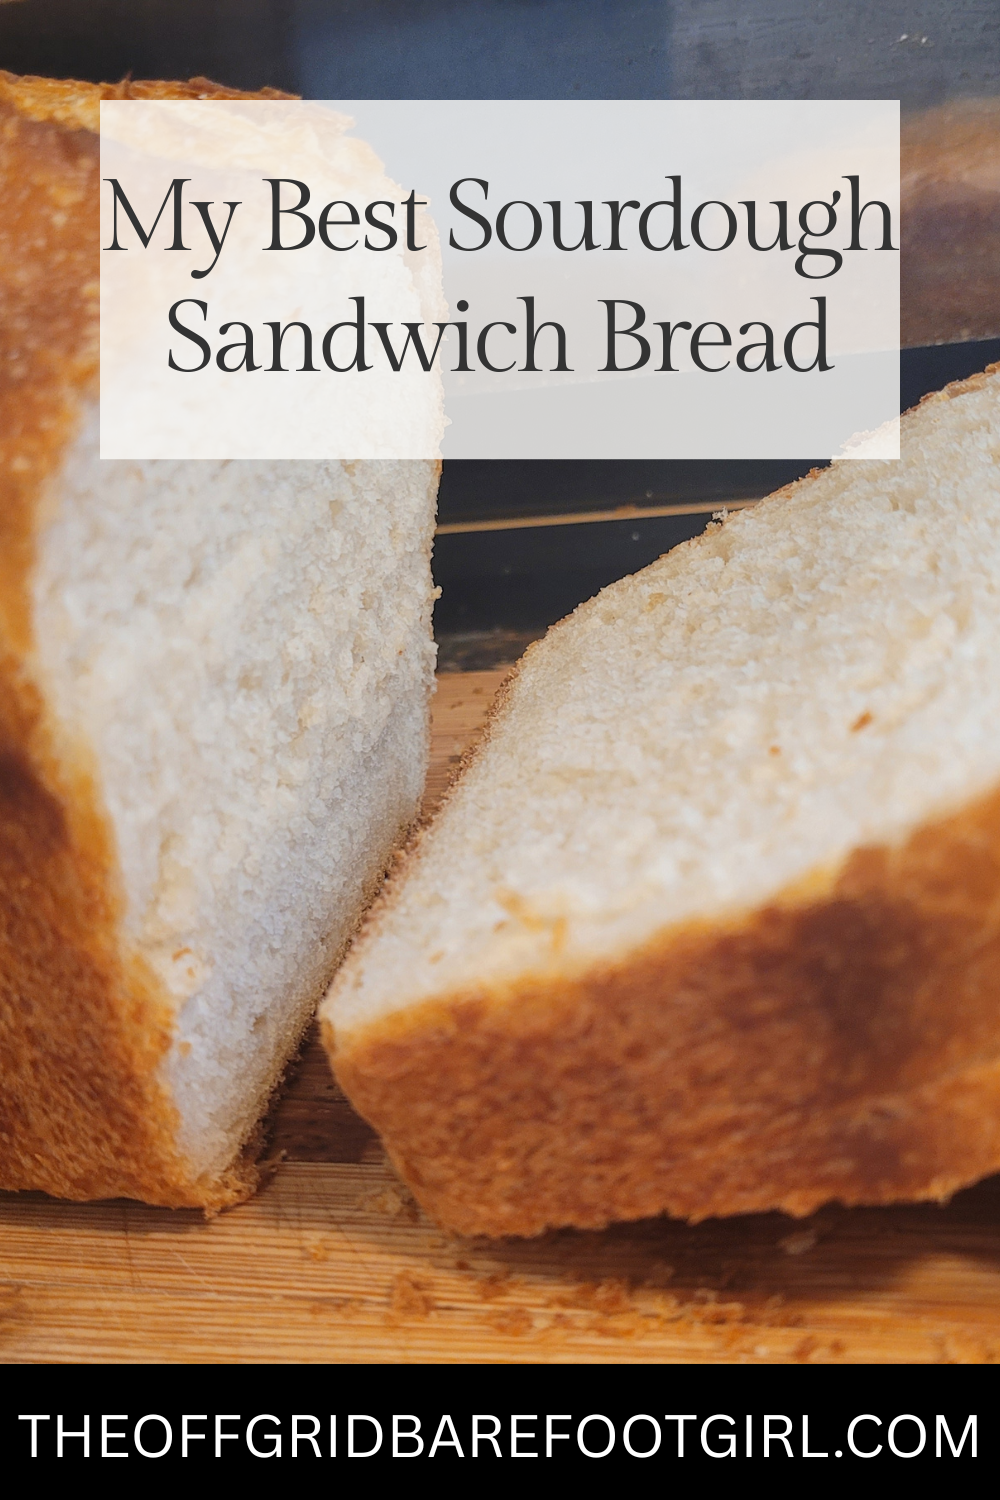
Bake the best sourdough sandwich bread with this simple, foolproof recipe! Made with an active sourdough starter, butter, and a touch of sweetness, this loaf has a golden crust, soft crumb, and just the right tang. Perfect for toast, sandwiches, or enjoying fresh from the oven, this homemade sourdough bread will quickly become your family’s favorite.
There’s something special about a warm loaf of sourdough sandwich bread cooling on the counter. The aroma alone makes your kitchen feel cozy and alive. Over the years, I’ve experimented with dozens of recipes, but this one has become my go-to — soft, buttery, and slightly tangy, just the way my family loves it. This sourdough sandwich bread slices beautifully for sandwiches and toast, stays fresh for days, and turns every meal into comfort food. If you’ve been looking for a reliable homemade sourdough bread recipe that’s easy enough for everyday baking, this is it!
This is a pinnable post. Tap or hover over any image in this post to pin to your Pinterest Boards.
Ingredients You’ll Need
Here’s what you’ll need to make one perfect loaf of sourdough sandwich bread:
- ½ cup active sourdough starter (fed and bubbly)
- 4 ½ cups all-purpose flour
- 1 ½ cups lukewarm water
- 1 tsp sea salt
- 1 egg
- 2 tbsp sugar, honey, or maple syrup
- 4 tbsp melted butter
Tip: Make sure your starter is active and bubbly before you begin. I usually feed mine in the evening, the night before I want to bake, and bake in the afternoon the following day.
Time Overview
- Prep Time: 30 minutes
- First Rise (Bulk Ferment): 4–6 hours
- Second Rise: 1–2 hours
- Bake Time: 35–40 minutes
- Total Time: Around 6–8 hours (plus cooling time)
Bread baking with sourdough takes patience, but it’s worth every minute — your home will smell amazing!
Step 1: Mix the Wet Ingredients
In a large bowl, whisk together your active sourdough starter, lukewarm water, melted butter, egg, and sweetener of choice. Whether you use honey, sugar, or maple syrup, each gives a slightly different flavor — I personally love the hint of richness from honey.
Mix until everything is well combined.
Step 2: Add the Dry Ingredients
Add the flour and sea salt to your wet mixture. Stir with a wooden spoon or dough whisk until it forms a shaggy, sticky dough.
Cover the bowl with a towel and let it rest for 30 minutes.
This step, called the autolyse, allows the flour to hydrate and makes the dough easier to knead later.
Step 3: Knead the Dough
After resting, knead the dough for 8–10 minutes. You can do this by hand on a lightly floured surface or in a stand mixer with a dough hook.
The dough should become smooth and elastic but not sticky. If it’s too sticky, add a small sprinkle of flour — but don’t overdo it. A slightly tacky dough makes softer bread.
Step 4: Bulk Fermentation (First Rise)
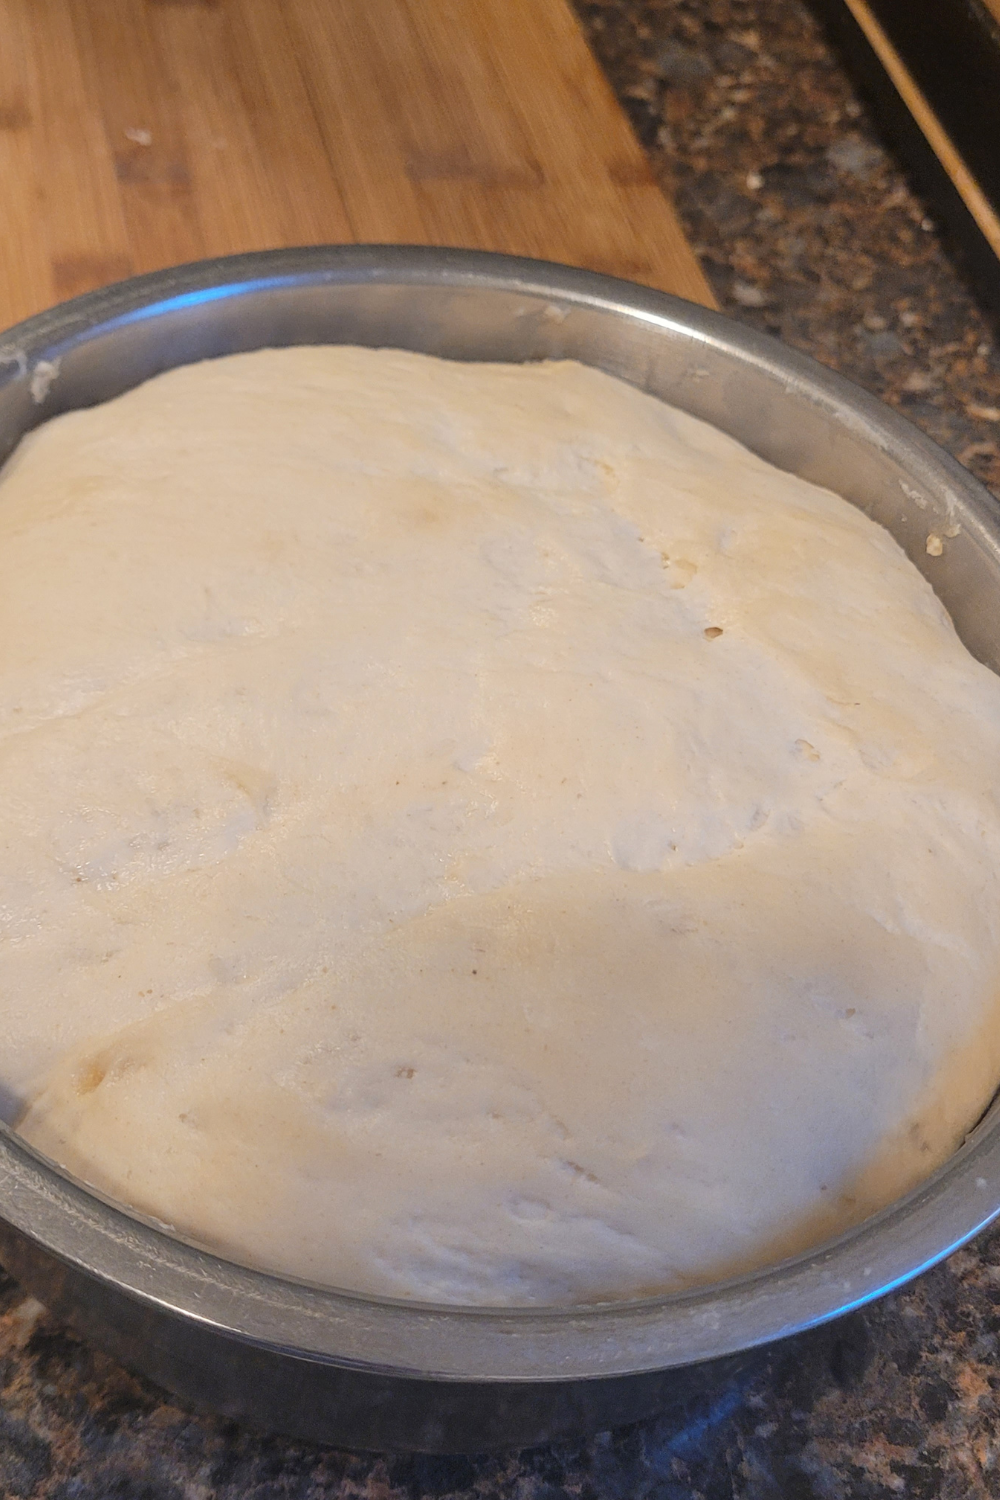
Lightly oil a clean bowl and place your dough inside. Cover with a damp towel or plastic wrap and let it rise at room temperature for 4–6 hours, or until doubled in size.
If your kitchen is cool, you can set it near a warm appliance or inside your oven with the light on (but no heat).
Tip: Don’t rush this step. The longer, slower rise develops that classic sourdough flavor we all love.
Step 5: Shape the Loaf
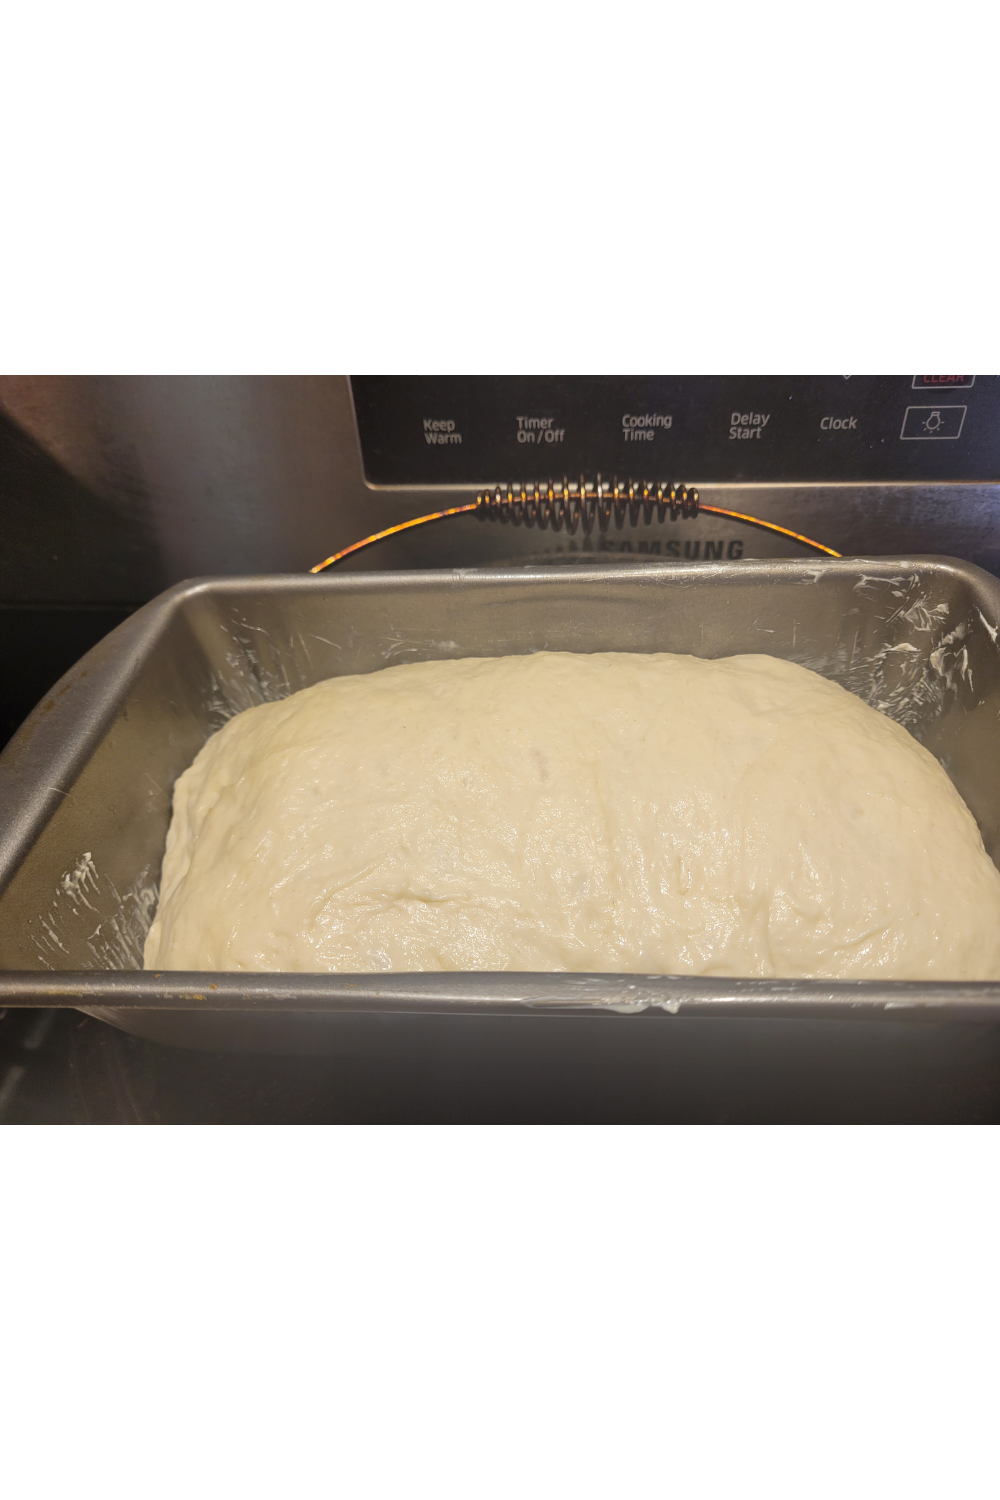
Once the dough has doubled, gently punch it down to release excess gas. Turn it out onto a lightly floured surface, flatten it slightly, and roll it up into a loaf shape.
Place it seam-side down into a greased loaf pan.
Cover again and let it rise for another 1–2 hours, or until the dough domes just above the rim of the pan.
Step 6: Score the Dough
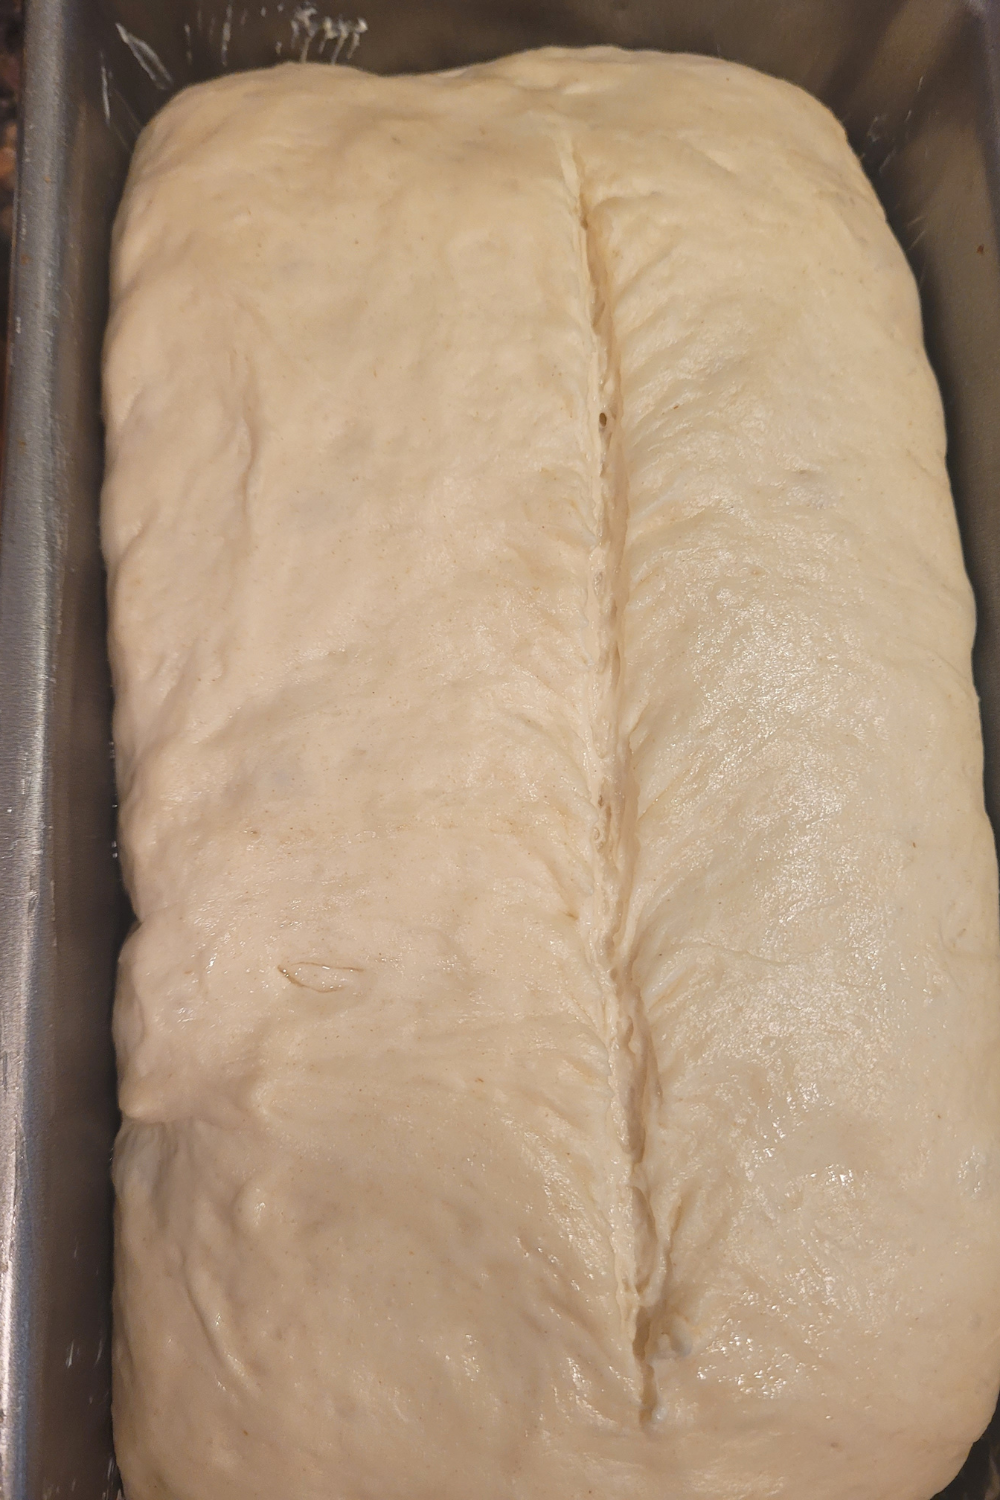
When the dough is ready to bake, use a sharp knife or bread blade to score a single line down the center of the loaf.
This step is important — it controls how your bread expands during baking and gives that beautiful split top you see on bakery loaves.
Step 7: Bake
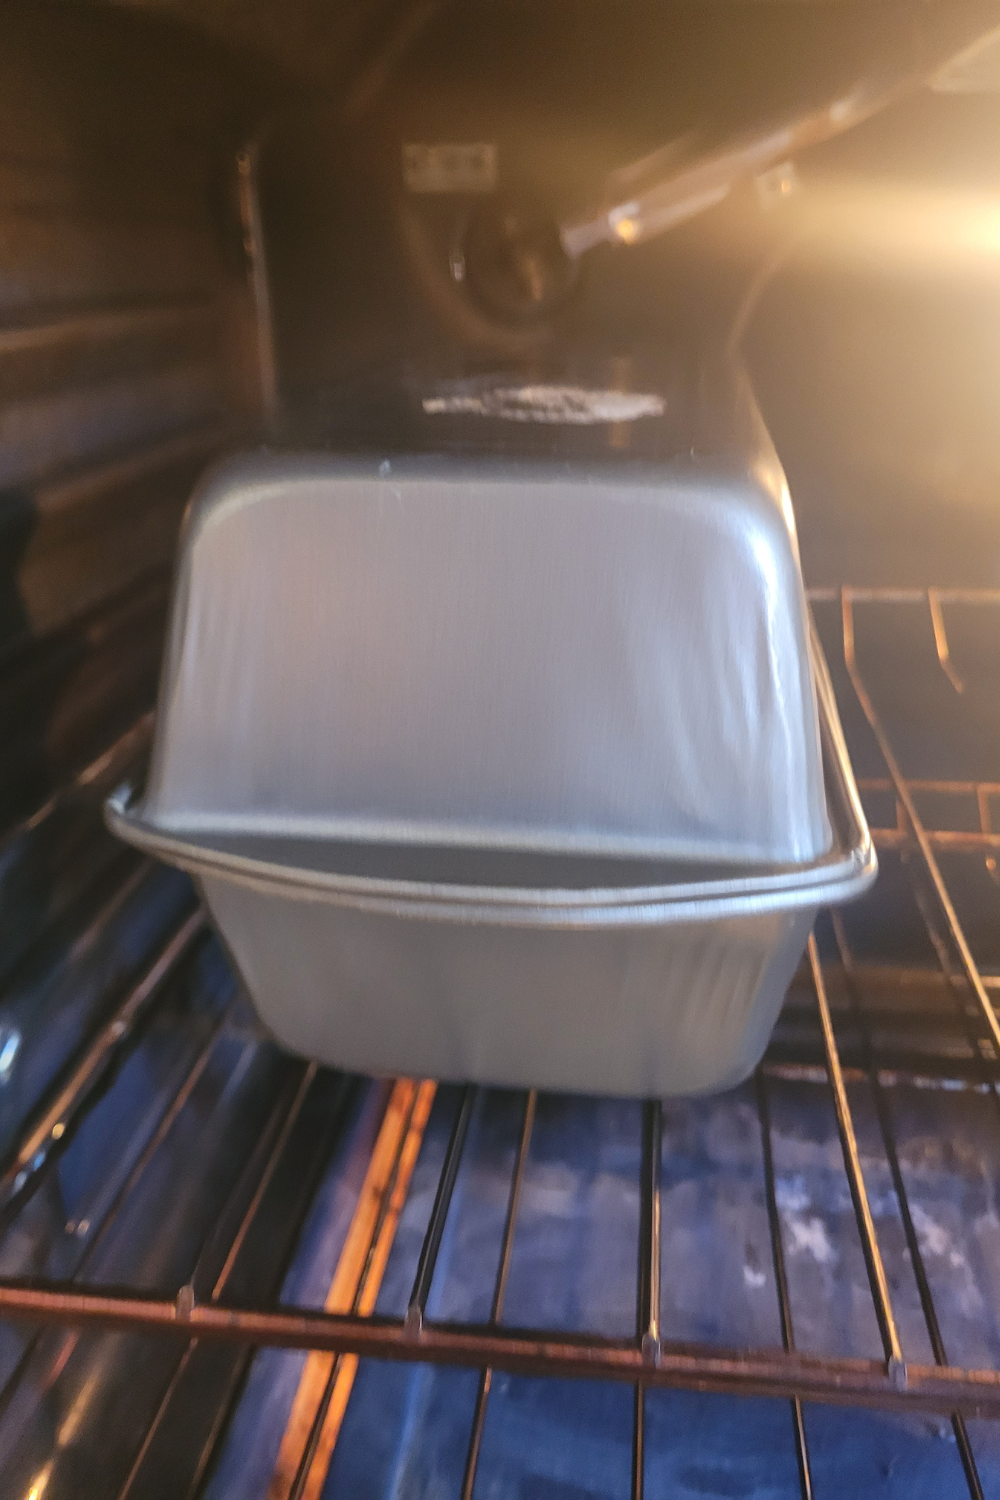
Preheat your oven to 375°F (190°C).
Bake for 35–40 minutes, or until the top is golden brown and the loaf sounds hollow when tapped on the bottom. I put an extra loaf pan on top during the first 15 minutes of the bake then remove it for the remainder of the time.
For accuracy, you can check the internal temperature — it should read 190°F (88°C).
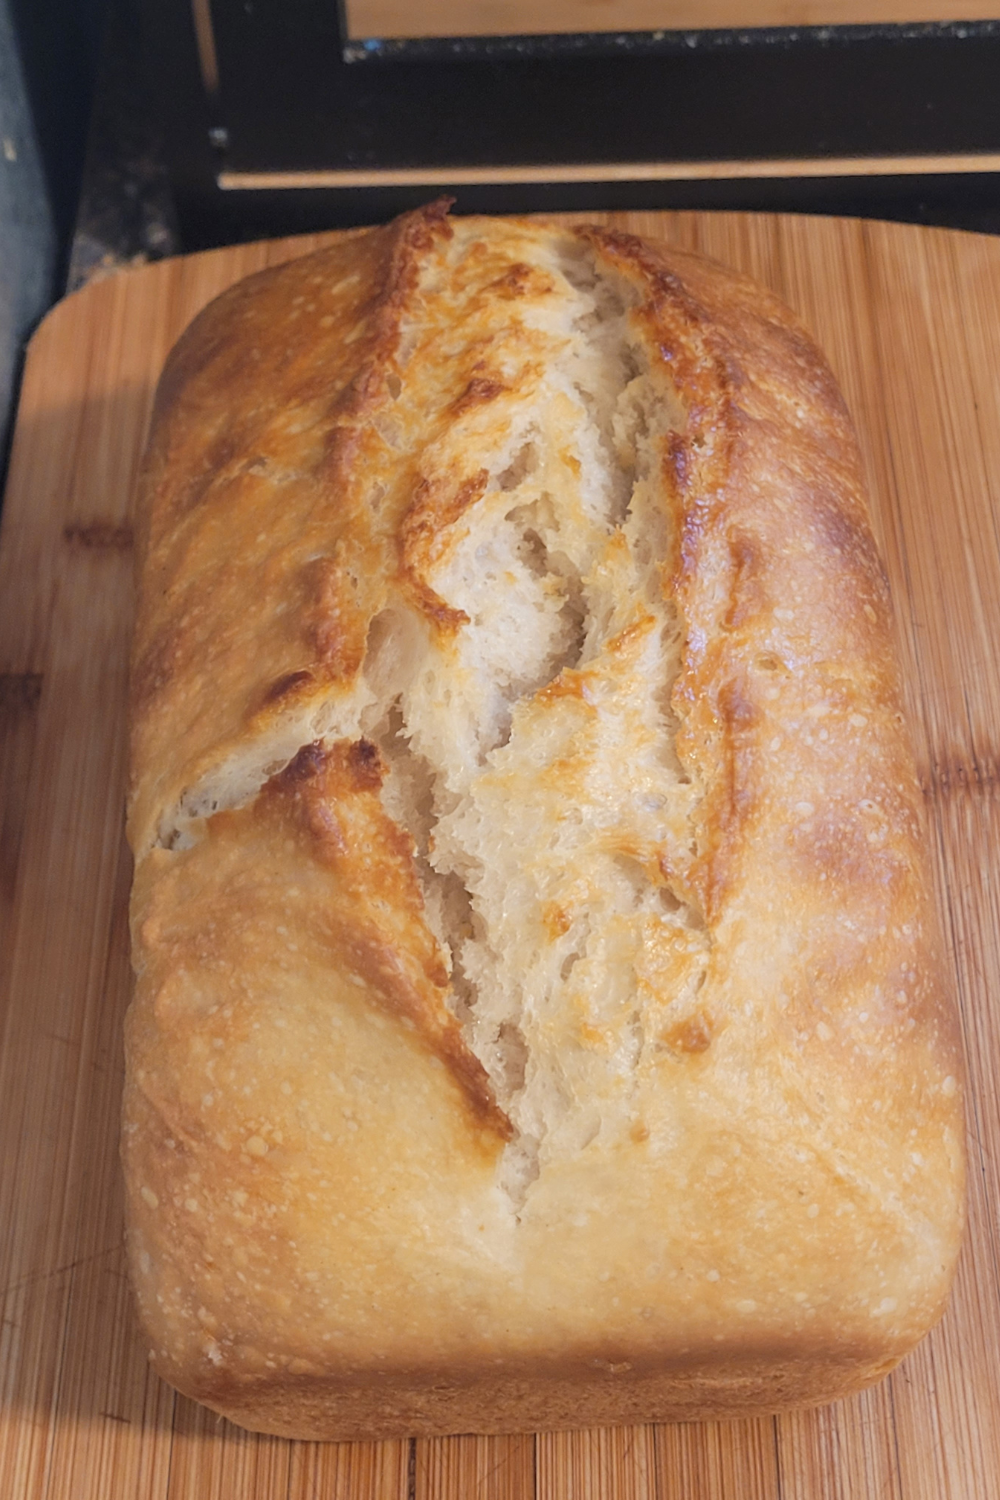
Step 8: Cool & Slice
Remove the bread from the pan and transfer it to a wire rack.
Let it cool completely before slicing (I know, it’s tempting — but this keeps the texture perfect).
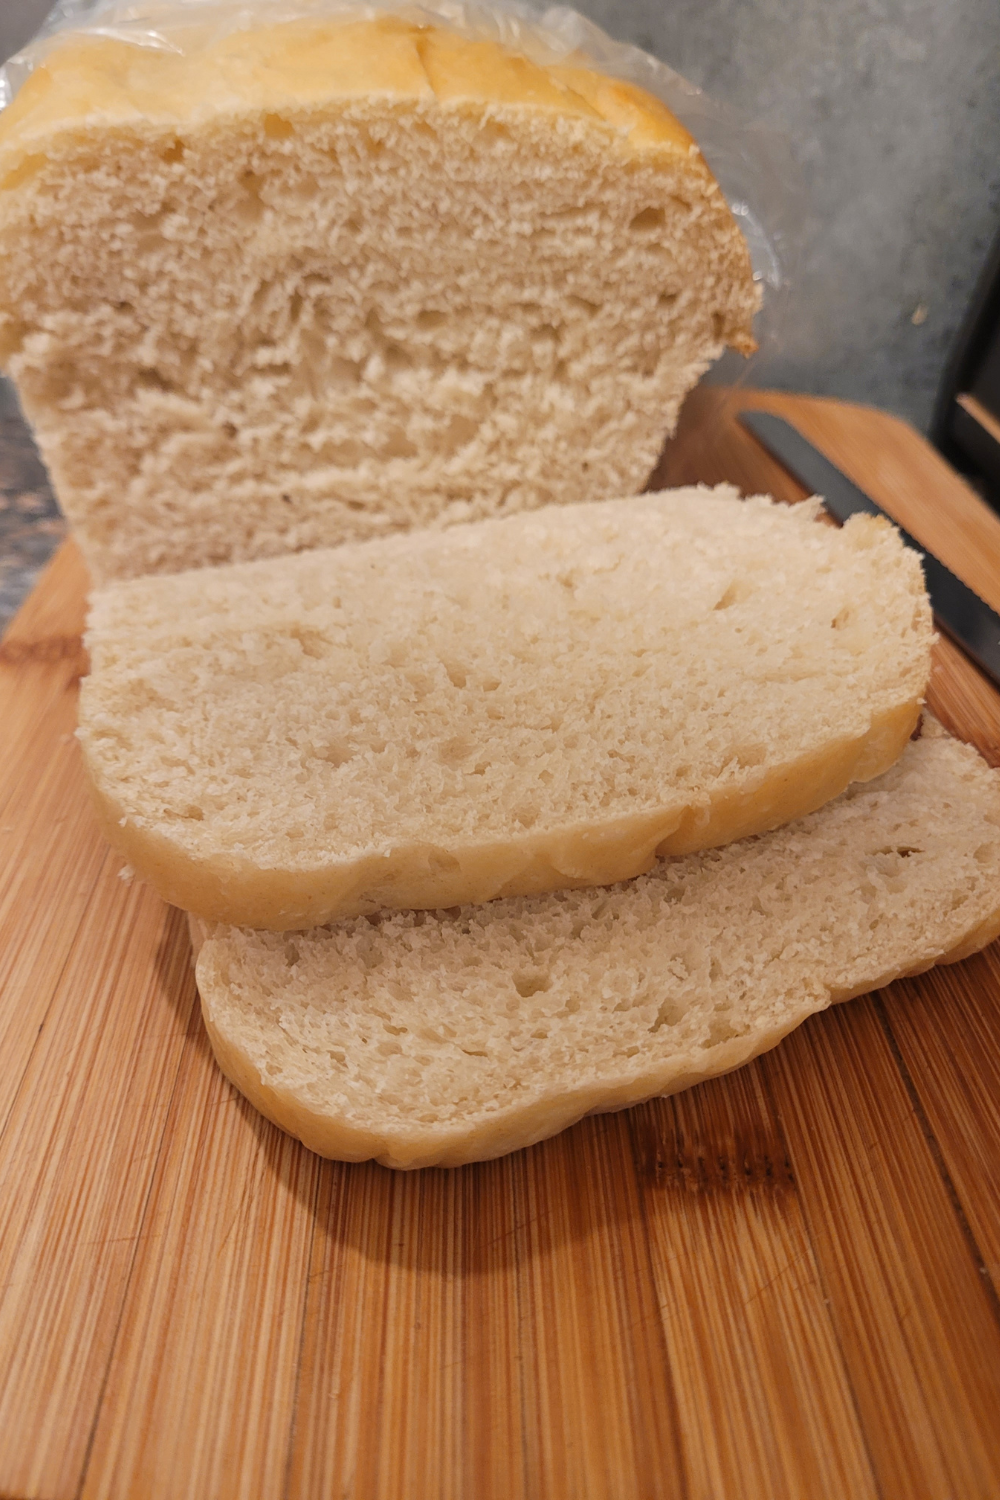
Once cooled, slice and enjoy your sourdough sandwich bread with butter, homemade jam, or use it for the best grilled cheese ever. 🧈
Storage Tips
- Room Temperature: Store in a bread bag or wrapped in a towel for up to 3 days.
- Freezer: Wrap tightly and freeze for up to 3 months. Slice before freezing so you can grab one piece at a time.
- To Refresh: Toast or warm in the oven for a few minutes to bring back that fresh-baked softness.
Conclusion
Baking a loaf of sourdough sandwich bread is one of those simple pleasures that connects you to the rhythm of your kitchen. From the first bubbly rise to the moment it comes out of the oven golden and fragrant, every step feels rewarding. Once you bake this recipe a few times, it becomes second nature — soft, buttery, and perfect for everything from toast to hearty sandwiches. There’s truly nothing quite like the taste of fresh, homemade sourdough to bring warmth and comfort to your table.
Resources: Here are some helpful resources for further information.
- Homemade Bread Recipe – By Tastes Better from Scratch
- My Favorite White Bread Recipe – By Brown Eyed Baker
- The Simplest White Bread Ever Recipe – By Serious Eats
Frequently Asked Questions
1. Why didn’t my sourdough sandwich bread rise properly?
If your loaf didn’t rise much, your starter may not have been active enough. Always use a bubbly, recently fed starter, and allow enough time for both rises. Temperature plays a big role — a cooler kitchen will need more time.
2. Can I use whole wheat flour instead of all-purpose?
Yes! You can replace up to half of the all-purpose flour with whole wheat flour. Whole wheat absorbs more water, so you might need to add a little extra lukewarm water to keep the dough soft and workable.
3. How do I know when my sourdough bread is fully baked?
Your bread should have a golden-brown crust and sound hollow when tapped on the bottom. For best results, check the internal temperature — it should be around 190°F (88°C) when fully baked.
4. How can I store sourdough sandwich bread to keep it fresh?
Keep your loaf in a bread bag, beeswax wrap, or clean towel at room temperature for up to 3 days. For longer storage, slice it and freeze — then toast slices straight from the freezer for that fresh-baked taste anytime.
Sourdough Sandwich Bread
Ingredients
- ½ cup sourdough starter (fed and bubbly)
- 4 ½ cups all-purpose flour
- 1 ½ cups lukewarm water
- 1 tsp sea salt
- 2 tbsp sugar, honey, or maple syrup
- 4 tbsp melted butter
- 1 large egg, room temperature
Instructions
Feed the Starter
- Make sure your sourdough starter is active and bubbly before you begin.
- Feed it 4–6 hours before mixing the dough if needed.
Mix Wet Ingredients
- In a large bowl, whisk together the sourdough starter, lukewarm water, melted butter, egg, and your chosen sweetener.
Add Dry Ingredients
- Stir in the flour and salt until a shaggy dough forms.
- Let it rest for 30 minutes (autolyse) to allow the flour to hydrate.
Knead the Dough
- Knead for 8–10 minutes by hand or mixer until smooth and elastic. The dough should be soft but not sticky.
Bulk Fermentation
- Place the dough in a greased bowl, cover with a damp towel, and let rise at room temperature for 4–6 hours, or until doubled in size. (Time may vary depending on room temperature and starter strength.)
Shape the Loaf
- Gently deflate the dough, shape it into a loaf, and place it into a greased loaf pan.
- Cover and let rise again for 1–2 hours, or until it reaches just above the rim of the pan.
Score the Loaf
- Score the loaf by slicing a thin, straight line down the middle of the loaf.
Bake
- Preheat your oven to 375°F (190°C).
- Bake for 35–40 minutes, until golden brown and the internal temperature reaches 190°F (88°C).
Cool Completely
- Remove the bread from the pan and cool on a wire rack before slicing.
- Enjoy your fresh, homemade sourdough sandwich bread warm or toasted!
Notes
-
Use an active starter:
Make sure your sourdough starter is bubbly and at its peak before mixing your dough. A weak starter will give you a dense loaf. -
Don’t skip the autolyse:
Letting your dough rest after mixing the flour and water helps with gluten development and makes kneading easier. -
Temperature matters:
Dough rises faster in a warm kitchen and slower in a cool one. Be patient — sourdough doesn’t follow the clock, it follows the dough! -
Oil your hands, not your counter:
When shaping, a little oil on your hands keeps the dough from sticking without drying it out like extra flour can. -
Score confidently:
A single, clean slice down the middle of the loaf helps it rise evenly and gives that beautiful split-top look. -
Don’t underbake:
A golden crust is your friend. If you’re unsure, check the internal temperature — it should be around 190°F (88°C) when done. -
Cool completely:
Cutting too soon can make your loaf gummy inside. Let it cool at least 1 hour before slicing. -
For a softer crust:
Brush the top with melted butter right after baking — it adds flavor and keeps the crust tender. -
Flavor twist idea:
Add 1 tablespoon of milk powder or a sprinkle of rolled oats on top before baking for a classic sandwich loaf touch. -
Save the starter discard:
Use your extra sourdough starter in pancakes, crackers, or biscuits — no waste, just flavor!
Summary
I hope I have inspired you to bake your very own bread to enjoy and share with your friends and family.
If you were encouraged by this post, I invite you to check out my FREE Printables Page for fun free printables, planners, and charts.
ENTER MY FREE Printables Page HERE
Here are some more of my bread-making inspiration posts to check out!
Cinnamon Raisin: How to Make Cinnamon Raisin Bagels
How to Make Sourdough Buttermilk Waffles
How to Make Homemade French Toast Sticks
Cinnamon Raisins: How to Make Cinnamon Raisin Bread
Cinnamon Raisins: How to Make Cinnamon Raisin Rolls
Brownies: How to Make Peanut Butter Brownie Mini Loaves
How to Make Sourdough Pumpkin Shaped Cinnamon Rolls
The Best Pumpkin Zucchini Bread
The Only Pumpkin Muffin Recipe You’ll Ever Need!
How to Make Banana Split Quick Bread
How to Make S’mores Quick Bread
How to Make Jelly Donut Quick Bread
More Recipes!
Lemon Blueberry: How to Make Lemon Blueberry Sourdough Focaccia
How to Make Sourdough Lemon Supreme Quick Bread
Lemon Supreme: How to Make Sourdough Lemon Supreme Quick Bread
How to Make Sourdough Strawberry Cheesecake Muffins
How to Make Chai-Spiced Sourdough Banana Bread
The Best Old Fashioned Sourdough Banana Muffins
How to Make Honey Sourdough Bread
Blueberry: How to Make Lemon Blueberry Sourdough Quick Bread
Pizza: How to Make Pizza Sourdough Focaccia
Carrot Cake: How to Make Carrot Cake Sourdough Focaccia
Easy and Delicious Hershey’s Kisses Sourdough Bread
How to Make Amish Whoopie Pies!
Lazy Cinnamon Rolls: How to Make Easy Cinnamon Rolls the Lazy Way!
Lembas Bread: How to Make Elven Lembas Bread: A Taste of Rivendell
Gnome Bread: How to Make a Sourdough Gnome Bread
How to Make Sourdough Strawberry Cheesecake Muffins
The Best Hoagie Buns Recipe Made From Scratch!
Pumpkin: How to Make Chocolate Chip Pumpkin Bread
More Recipes!
Sweet Potato Bread: How to Make Sweet Potato Bread
Chocolate Chip Cookies: How to Make Chocolate Chip Cookie Bread
Carrot Cake Quick Bread: How to Make Carrot Cake Quick Bread
How to Make Strawberries and Cream Sourdough Bread
How to Make S’mores Sourdough Bread
July 4th Bread: How to Make a Firecracker Marble Bread Braid
Artisan Bread: How to Make Artisan Bread
Challah Bread: How to Make a 6 Braided Challah Bread
Sweet Bread: How to Make Sweet Bread
Blessings,
The Off Grid Barefoot Girl

