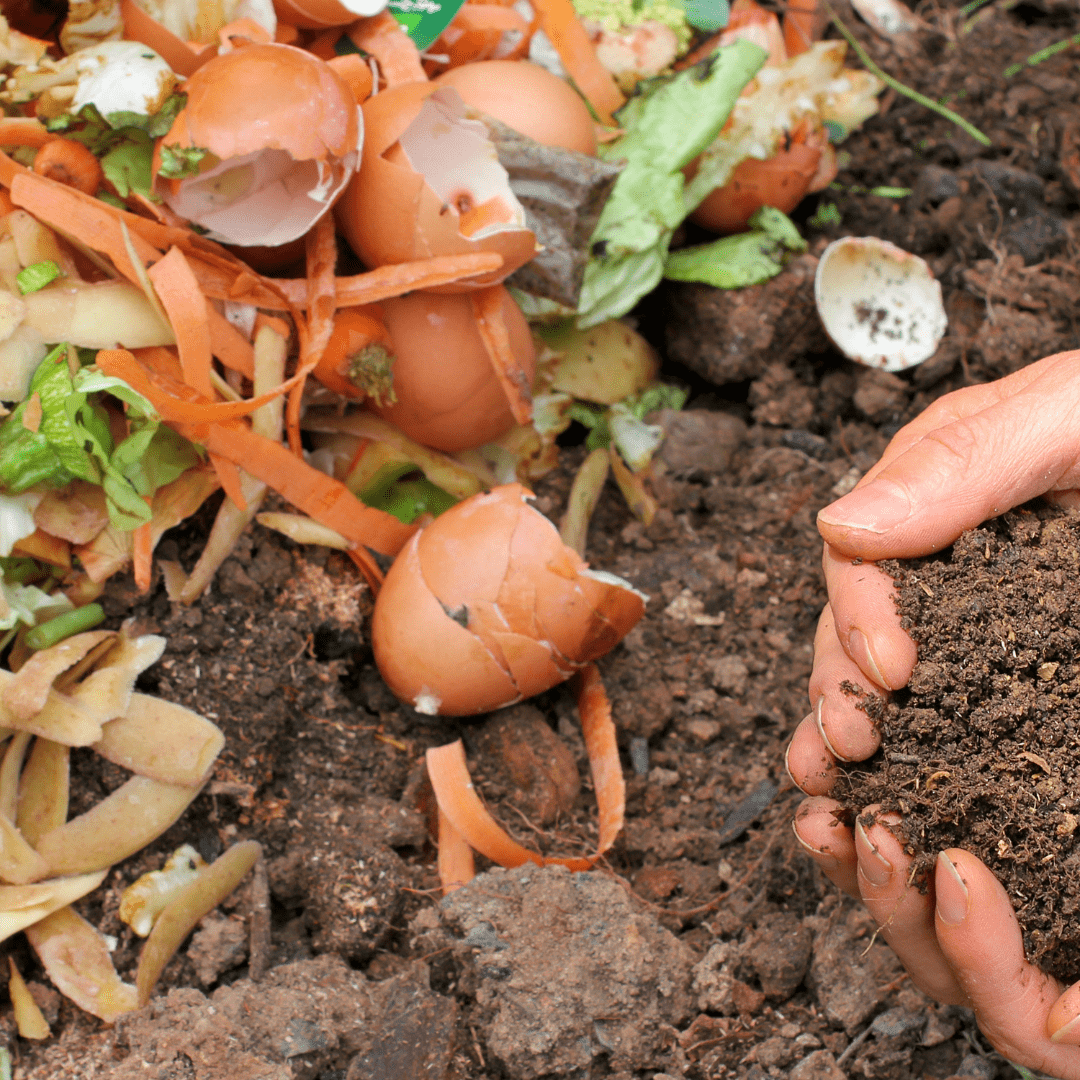
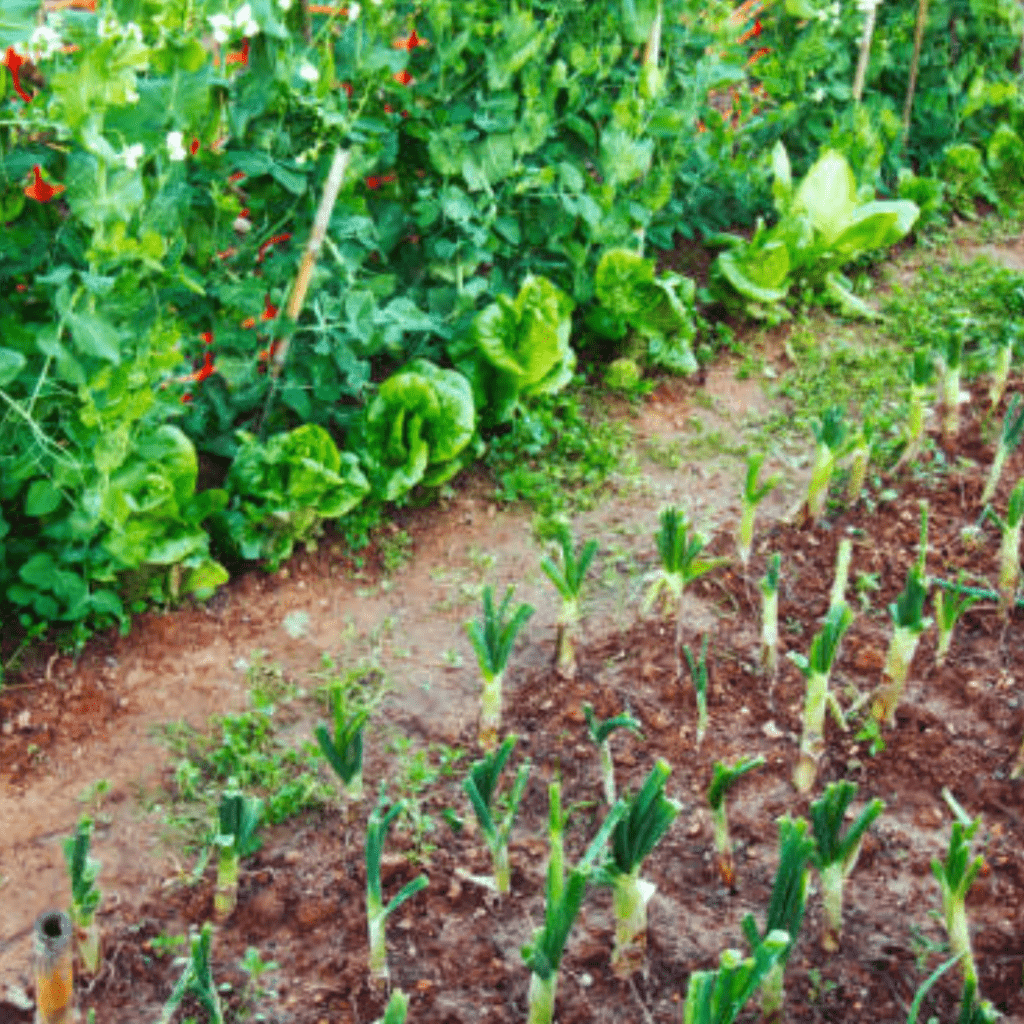
Learn how to start composting for your garden with this step-by-step guide. Turn kitchen scraps and yard waste into rich soil for healthier plants.
Starting a compost pile can feel intimidating, but it doesn’t have to be. With just a little space and some everyday scraps, you can create rich, fertile soil that nourishes your garden all season long.
I started composting with a small corner of my backyard and a simple bin, and over time, it became one of the most rewarding parts of my garden routine. Composting is about more than soil—it’s about turning what we often throw away into something valuable, and quietly building a healthier, more self-sufficient garden right at home.
In this step-by-step guide, I’ll walk you through everything you need to know to start composting successfully, whether you’re a complete beginner or just looking to improve your garden’s soil naturally.
This is a pinnable post. Tap or hover over any image in this post to pin to your Pinterest Boards.
Introduction to Composting
Understanding the Benefits of Composting
First off, composting is not just a way to dispose of your kitchen and yard waste; it’s actually a natural process that turns all that organic material into nutrient-rich soil. When you compost, you’re creating a sustainable solution for waste management that helps reduce methane emissions from landfills. Plus, it’s super easy and cost-effective!
Compost can be used as a soil amendment in gardens and lawns, improving soil structure and water retention while providing essential nutrients to plants. By choosing to compost, you’re not only decreasing your carbon footprint but also contributing to healthier ecosystems by promoting biodiversity and reducing the need for chemical fertilizers. So why not give it a try? It’s nature’s way of recycling, and your garden will thank you for it!
Exploring Different Composting Methods
When it comes to composting, there’s no one-size-fits-all approach. You have options, my friend! Traditional composting involves creating a pile in your backyard and letting nature do its thing, which is called cold composting. If you’re short on space or live in an apartment, vermicomposting might be more your style. This method uses worms to break down organic matter into nutrient-rich worm castings. So, whether you’re a traditionalist or a worm enthusiast, there’s a composting method just waiting for you.
Composting is an amazing process that transforms your kitchen and yard waste into nutrient-rich soil for your plants. One of the most popular ones is called “hot composting,” where you mix together a good ratio of green and brown materials, keep it moist, and turn it regularly to generate heat and speed up the decomposition process.
For those who have limited space or live in apartments, vermicomposting or worm composting could be the way to go. This method allows you to use worms to break down your food scraps into super-rich castings. No matter which method you choose, though, exploring different composting techniques is not only great for the environment but also a satisfying way to connect with nature and reduce waste in our day-to-day lives.
Choosing the Right Composting Method
Comparing Traditional Composting with Vermicomposting
Traditional composting is like the tried-and-true method. You pile up your compostable materials, give them a good mix every now and then, and let nature take its course. It’s low maintenance and great for larger gardens or yards. On the other hand, vermicomposting is perfect for those with limited space or a desire to compost indoors. With worms as your little helpers, you can turn your kitchen scraps into nutrient-rich worm castings, also known as black gold, in a compact bin.
Traditional composting involves the decomposition of organic waste materials like fruit and vegetable scraps, yard trimmings, and even paper products. These materials are piled up outdoors in a compost bin or heap, where they undergo a natural process of breaking down into nutrient-rich humus.
On the other hand, vermicomposting takes a slightly different approach by utilizing worms to aid in the decomposition process. Red worms, also known as red wigglers or Eisenia fetida, are added to a special worm bin along with the organic waste materials. These little critters feed on the organic matter and excrete nutrient-rich castings called vermiculture.
Both methods have their benefits; traditional composting is great for larger quantities of waste and allows for a broader range of ingredients, while vermicomposting is ideal for smaller spaces like apartments and produces concentrated fertilizer that plants absolutely love!
Evaluating the Available Space and Resources
Before diving headfirst into composting, take a moment to evaluate your space and resources. If you have a spacious backyard, traditional composting might be the way to go. All you need is a designated area and some basic tools like a pitchfork or shovel. However, if you’re tight on space, consider vermicomposting. A small bin and some worms are all you need for this compact composting method. Plus, it’s perfect for apartment dwellers or those with limited outdoor space.
Setting Up Your Composting Area
Selecting a Suitable Location for Your Compost Pile
When it comes to setting up your composting area, location matters. Choose a spot that’s conveniently accessible, but still somewhat hidden from view. You don’t want your compost pile to become an eyesore. Make sure the location is well-drained and receives a good amount of sunlight. Oh, and also keep it away from your neighbor’s prize-winning rose bushes. Trust me, they won’t appreciate the aroma of a well-aged compost pile wafting into their garden. Keeping the compost pile far enough away from property lines will help avoid any complaints about unpleasant smells.
Additionally, find an area that is easily accessible so you can regularly add materials and turn the pile. It’s also important to consider nearby plants and structures; keep your compost pile at least 3 feet away from trees or buildings to ensure adequate airflow and minimize potential damage to roots or foundations.
Gathering the Necessary Composting Tools and Equipment
Composting doesn’t require fancy gadgets or expensive equipment. You just need a few basic tools to get started. A pitchfork or shovel will come in handy for turning your compost pile and adding airflow, helping the decomposition process. If you’re into traditional composting, a compost bin or enclosure can help keep things contained and tidy. For vermicomposting, all you need is a worm bin, some bedding material like shredded newspaper, and, of course, some wriggly worms. It’s like setting up a cozy worm hotel for your composting guests.
Collecting Compostable Materials
Identifying Green and Brown Compostable Materials
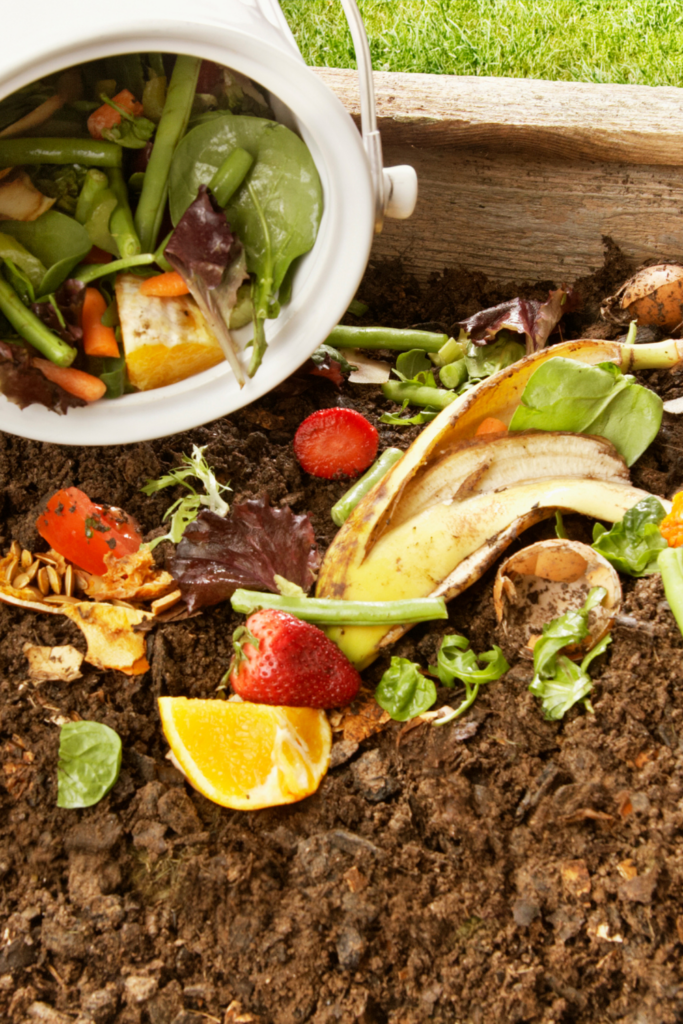
When it comes to composting, not all materials are created equal. You need a balance of green and brown compostable materials for optimal decomposition. Green materials include things like kitchen scraps, fresh grass clippings, and coffee grounds. These provide nitrogen and moisture to your compost pile. On the other hand, brown materials include dry leaves, straw, and shredded paper. These provide carbon and help aerate the pile. So, think of green as wet and brown as dry, and aim for a 50/50 ratio for best results.
Avoiding Certain Items That Should Not Be Composted
As much as we’d like to throw everything into our compost pile, there are a few items that should be kept out. Avoid adding meat, dairy products, and oily items, as they can attract unwanted pests and slow down the decomposition process. It’s also best to steer clear of weeds that have gone to seed, as you don’t want to unintentionally spread them in your garden. And please, for the love of all things compostable, avoid tossing in any plastic or metal. They don’t break down, and your compost pile will not appreciate the company.
Building and Maintaining Your Compost Pile
So, you’ve gathered all your compostable materials, and you’re ready to dive into the world of composting. But how exactly do you build and maintain a compost pile? Don’t worry, I’ve got you covered.
Building and maintaining your own compost pile is not only great for the environment, but can also be quite rewarding. Start by layering your organic waste, such as vegetable scraps, coffee grounds, and grass clippings, with brown materials like dried leaves or shredded newspaper. Keep the pile moist, but not too wet, ensuring proper decomposition. Turn the pile every couple of weeks to aerate it and speed up the process.
Remember to avoid adding any meat or dairy products, which may attract unwanted pests. As time goes on, you’ll notice the pile shrink in size and transform into rich dark soil – a gardener’s goldmine! Using this nutrient-rich compost in your garden will promote healthy plant growth and reduce the need for chemical fertilizers. So get out there and embrace the art of composting!
Layering the Compostable Materials
When building your compost pile, it’s important to layer your compostable materials properly. Think of it like making a lasagna, but instead of pasta and cheese, you’ll be using greens and browns. Greens, such as kitchen scraps and fresh grass clippings, provide nitrogen, while browns, like dry leaves and twigs, offer carbon. Alternate layers of greens and browns to create a well-balanced compost pile that decomposes efficiently.
Turning and Aerating the Compost Pile
Just like how we need to stretch and move our bodies to stay healthy, compost piles need a little exercise too. Turning and aerating the pile helps to speed up the decomposition process by providing oxygen to the microorganisms breaking down the materials. Use a pitchfork or shovel to turn the pile every few weeks, making sure to mix the outer materials to the center. Your compost pile will thank you for the fresh air!
Maintaining the Ideal Moisture and Temperature Levels
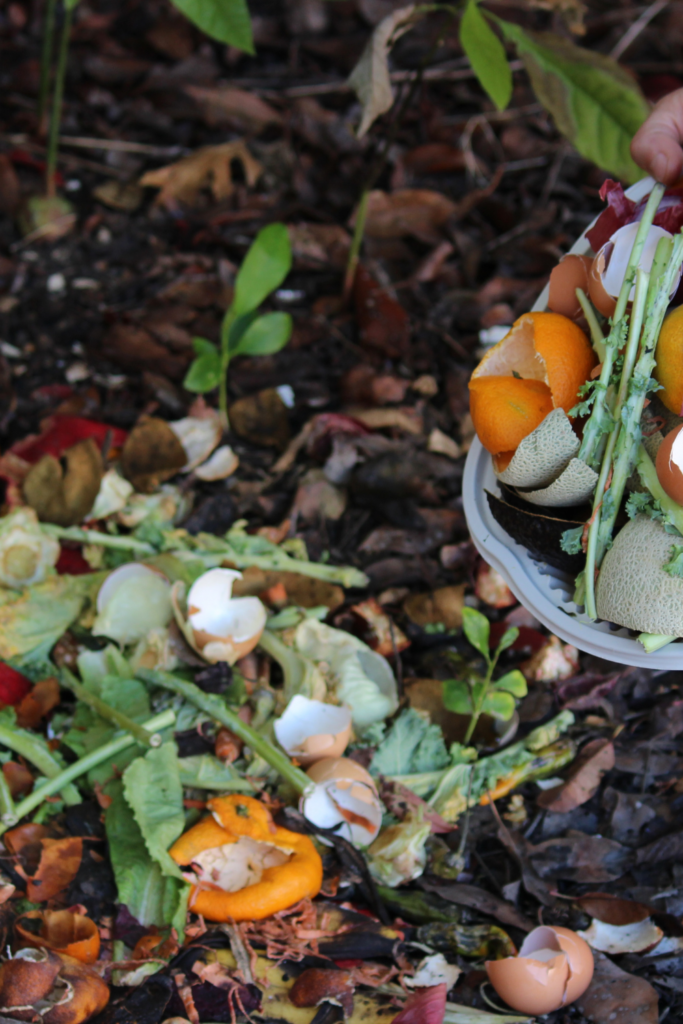
Composting is a delicate dance between wet and dry. You want your compost pile to be moist, but not sopping wet. Aim for a consistency similar to a damp sponge. If your pile seems too dry, add some water. Conversely, if it’s too wet, add more browns to help soak up the excess moisture. It’s also important to monitor the temperature of your compost pile. Ideally, it should be between 110-160°F (43-71°C) to encourage decomposition. If it gets too hot, simply turn the pile to cool it down.
Troubleshooting Common Composting Issues
Ah, the joys of composting aren’t without their challenges. But fear not, fellow composter, I’ve got some solutions to help you overcome common composting issues.
One common problem many people face is a smelly compost pile. Now, it’s not exactly pleasant to have a funky odor wafting through your backyard, but fear not! This can usually be fixed by balancing the carbon-to-nitrogen ratio in your compost. If it smells like ammonia or is too wet, add some dry materials like leaves or newspaper to soak up the excess moisture. On the other hand, if it smells like rotting food or is too dry, toss in some fresh fruit and vegetable scraps to provide more nitrogen.
Another issue you might encounter is slow decomposition. If your compost is taking forever to break down, try turning it more frequently to introduce oxygen or chop up larger materials into smaller pieces for quicker decomposition. And remember, patience is key when it comes to composting – so keep adjusting and experimenting until you find that perfect balance! Let’s discuss these common issues further.
Addressing Foul Odors and Pests
Nobody wants their compost pile to become a stinky nuisance or a buffet for unwanted critters. If you notice a funky smell, it’s likely due to too much moisture or inadequate airflow. Adjust the moisture levels by adding more browns or turning the pile more frequently. To keep pests at bay, avoid adding meat, dairy, or oily foods to your compost, as they can attract unwanted visitors. If pests persist, consider using a compost bin with a secure lid.
Dealing with Slow Decomposition
Is your compost taking longer to decompose than you expected? Patience is key, but there are a few things you can do to speed up the process. Make sure your compost pile has a good balance of greens and browns, as too much of either can slow down decomposition. Chopping up larger materials into smaller pieces can also help break them down faster. Additionally, keeping your compost pile properly aerated and at the right moisture levels will provide a conducive environment for those microorganisms to work their magic.
Harvesting and Using Your Finished Compost
Congratulations, you’ve successfully transformed your organic waste into beautiful, nutrient-rich compost! Now it’s time to reap the rewards of your hard work.
Once you’ve successfully composted your organic waste and allowed it to decompose into nutrient-rich soil, it’s time to harvest and put that black gold to good use! Start by inspecting your compost pile for signs of maturity – a dark brown color, crumbly texture, and an earthy smell are all indicators that your compost is ready.
To make the harvesting process easier, position a tarp nearby or place a screen over a wheelbarrow. Shovel small sections of the finished compost onto the screen or tarp, sifting out any large particles or unfinished materials. The resulting fine compost can be used immediately in garden beds or added to potting mixes. Alternatively, store it in containers with tight-fitting lids until needed.
Remember that using your homemade compost not only nourishes plants but also helps retain moisture in the soil, suppresses weeds, and reduces the need for synthetic fertilizers. So don’t let all your hard work go to waste – celebrate by giving life back to your plants with rich, nourishing compost!
Determining When Your Compost is Ready for Use
But how do you know when your compost is ready for action? The magic happens when your compost transforms into a dark, crumbly material that resembles rich soil. It should have an earthy smell and be free of any recognizable bits of the original materials. If you’re unsure, you can perform a quick test by placing a handful of compost in a sealed bag with a few seeds. If the seeds germinate, your compost is good to go!
Application Methods and Benefits of Using Compost in the Garden
Now that you have your finished compost, it’s time to put it to good use. You can spread it directly on your garden beds as a top dressing or mix it into the soil to improve its structure and fertility. Compost provides essential nutrients, enhances moisture retention, promotes beneficial microbial activity, and helps suppress plant diseases. It’s like giving your plants a VIP ticket to the garden party!
Tips for Successful Composting in the Garden
Now that you’re a composting pro, here are some additional tips to keep your composting game strong.
If you want to step up your gardening game and create some nutrient-rich soil, then listen up for these helpful tips for successful composting. First off, it’s all about the ingredients. Make sure your pile has a good mix of green materials like grass clippings and kitchen scraps, as well as brown materials like leaves and twigs. This balance ensures the right amount of nitrogen and carbon for decomposition.
Remember to chop up larger materials to speed up the process. Secondly, keep things moist but not drenched. A damp pile is ideal for bacterial growth, but too much water can lead to a sludgy mess. Turn the pile regularly to aerate it and speed up decomposition – trust me, those microbes will appreciate the fresh air!
Lastly, be patient; composting requires time and patience, so don’t rush it. With these tips in mind, you’ll soon have beautiful black gold that will keep your plants happy and thriving!
Best Practices for Ongoing Composting Maintenance
Consistency is key when it comes to composting. Try to add a mix of greens and browns to your compost pile regularly to keep the decomposition process going. Keep an eye on the moisture and temperature levels, turn the pile as needed, and be mindful of the size of the materials you add. The more attention you give your compost pile, the more it will give back to your garden.
Utilizing Composting to Improve Soil Health and Fertility
Composting isn’t just about reducing waste; it’s also about building healthier, more fertile soil. By adding compost to your garden regularly, you’re enriching the soil with organic matter, improving its structure, and providing a buffet for beneficial soil organisms. Embrace the power of composting to transform your garden into a thriving ecosystem that will have your plants singing your praises.
Conclusion
Starting your composting journey is a small step that can make a big difference. By following this step-by-step guide, you can create a thriving compost pile, reduce waste, and nourish your garden naturally. Remember to choose the right composting method, set up your composting area, collect the right materials, and maintain your compost pile. Troubleshoot any issues that may arise, and soon you’ll be rewarded with rich, dark compost that will enhance the health and vitality of your plants. Embrace the power of composting and enjoy the benefits it brings to your garden and the environment.
For more of my food security resources, check out my resource hub: Food Security Resources.
Frequently Asked Questions
1. Can I compost meat and dairy products?
Yes, you can compost meat and dairy products, but it is generally not recommended. These items can attract pests and may create unpleasant odors. It is best to stick to composting plant-based materials such as fruit and vegetable scraps, yard trimmings, and coffee grounds.
2. How long does it take for compost to be ready?
The time it takes for compost to be ready can vary depending on several factors such as the composting method, materials used, and environmental conditions. Generally, it can take anywhere from a few months to a year for compost to fully decompose and become ready for use. Regular turning and proper maintenance can help speed up the composting process.
3. Can I compost weeds or diseased plants?
Yes, you can compost weeds and diseased plants. However, it is essential to follow proper composting techniques to ensure that the high temperatures reached during decomposition kill weed seeds and pathogens. Avoid adding mature weeds with seeds or heavily diseased plants to your compost pile to prevent the spread of weed seeds or diseases.
4. Can I compost in an apartment or without a backyard?
Absolutely! Even if you don’t have a backyard or outdoor space, you can still compost in an apartment or small living space. Consider using a vermicomposting system with worms, which can be kept indoors. There are also compact composting systems available that are suitable for limited spaces, such as countertop composters or bokashi bins. These options allow you to compost effectively even in small living situations.
Summary
I hope I have inspired you to live sustainably with these tips and products.
If you were encouraged by this post, I invite you to check out my FREE Printables Page for fun free printables, planners, and charts.
ENTER MY FREE Printables Page HERE
Here are some more of my gardening inspiration posts to check out!
How to Feed Your Family During the Government Shutdown
12 Best Tips for Creating an Eco-Friendly Household
Survival Lessons from the Great Depression
The Best 15 Homesteading Blogs to Follow for Inspiration
How to Criminal-Proof Your Home with These 5 Steps
How to Create Your Cottagecore Aesthetic Dream Home
Ideas for Rustic Living Room Vibes You’ll Love All Year Round!
How to Prep Your Home for Chilly Fall Nights
Bring Back the Magic of Fireflies and Lightning Bugs with Solar Power!
The Ultimate Portable Power Bank for Homesteaders and Preppers!
A Bug Out Bag That’s Actually Ready — When You Need It Most!
Magical Ways to Use Fairy Lights in Your Off-Grid Home
How to Live a Cozy Off-Grid Life
The Best Off-Grid Kitchen Tools for Indoors (No Power Needed!)
DIY Solar Made Simple: How I Powered My Off-Grid Life with Practical Preppers!
Sleeper Cells in America: What You Need to Know Now!
How People Are Surviving in Broken Cities with Broken Systems
When the World Hurts, We Prepare with Purpose
How to Live On Raw Land: Everything You Need to Know!
How to Do Off-Grid Laundry with Eco-Friendly Laundry Detergent!
Hollywood on Fire! What Secrets Are In the Ashes?
FEMA Concentration Camps? Are Echos of the Past Returning?
How Likely Is a Russian EMP? One Pulse Could Black Us Out!
What Dark Secrets Lie in The Bird Flu Symptoms?
The Blackout Sun: Who Is Blacking Out Our Sunlight?
More Posts!
How to Bug-In During a Deep Freeze!
‘FOGVID-24?’ What’s in the Mysterious Fog That’s Making Everyone Sick?
From Snow to Sow: Plan Your Spring Garden Now!
11 Fun Ways to Brighten Your Spring Garden with Personality
Top 10 Spring Garden Crops to Harvest in 30 Days and Eat Now!
The Best Survival Crops for Caloric Survival
More Posts!
My Victory Garden: What I Learned from 5+ Years
Why Every Family Should Have a Victory Garden in Their Backyard Now!
The Best Perennials for a Long-Term Survival Garden
The Best Essential Oils for Plants That Repel Garden Bugs
How to Grow Green Garden Peas: Perfect Plump Peas!
Hugelkultur: Does This Epic Pioneering Method Actually Work?
9 Ways to Celebrate Earthing Day in Your Garden!
Gardening Indoors: Secrets of Growing Your Food Inside!
How to DIY a Milk Jug Drip Irrigation System!
Why Cedar Mulch Is The Perfect Natural Weed Barrier
Gardening Projects
Onions: How to Grow Onions for Storage
Peas: How to Grow Garden Peas for a Bumper Crop
Carrots: How to Grow Carrots for a Bountiful Harvest
Prep Your Garden for Spring Planting with These Expert Tips!
How to Grow a Prepper Garden to Survive and Thrive
The Best Garden Tools You Need for a Productive Season
Fastest Growing Vegetables for Your Survival Garden
How to Grow Marigolds As Pest Control In Your Vegetable Garden
Must-Have Tools for a Successful Balcony Vegetable Garden
How to Effectively Combat Powdery Mildew in Your Garden
The Best Tips for Organic Gardening
More Posts!!
The Best Garden Snail Control Strategies
The Best Spring Vegetables to Grow in Your Garden
Seed Starter Mix: How To Make Your Organic Seed Starter Mix At Home
How to Grow a Productive Canning Garden
How to Plant and Grow a Salsa Garden
Easiest Heirloom Vegetable Seeds to Grow Now
How to Use the Hand Twist Claw Tiller: Tackling Tough Soil
More Fun Gardening Posts to Check Out!
Planning Your Garden: How to Plan a Vegetable Garden: Expert Green Thumb Tips!
Winterizing the Garden: How to Winterize Your Vegetable Garden: Step-by-Step Checklist
Mulching the Garden: How to Make Leaf Litter Mulch
Grow a Pumpkin Patch: How to Grow a Pumpkin Patch in Your Backyard
How to Grow a Fall Garden: 9 Best Fall Crops
Clever Ways to Incorporate Indoor Composting into Your Home
How to Start Composting for the Garden: A Step-by-Step Guide
The Ultimate Guide to Composting in Your Suburban Backyard
Why I Built A Survival Garden in My Backyard
16 Best Medicinal Herbs to Grow in Your Garden Now
Blessings,
The Off Grid Barefoot Girl

