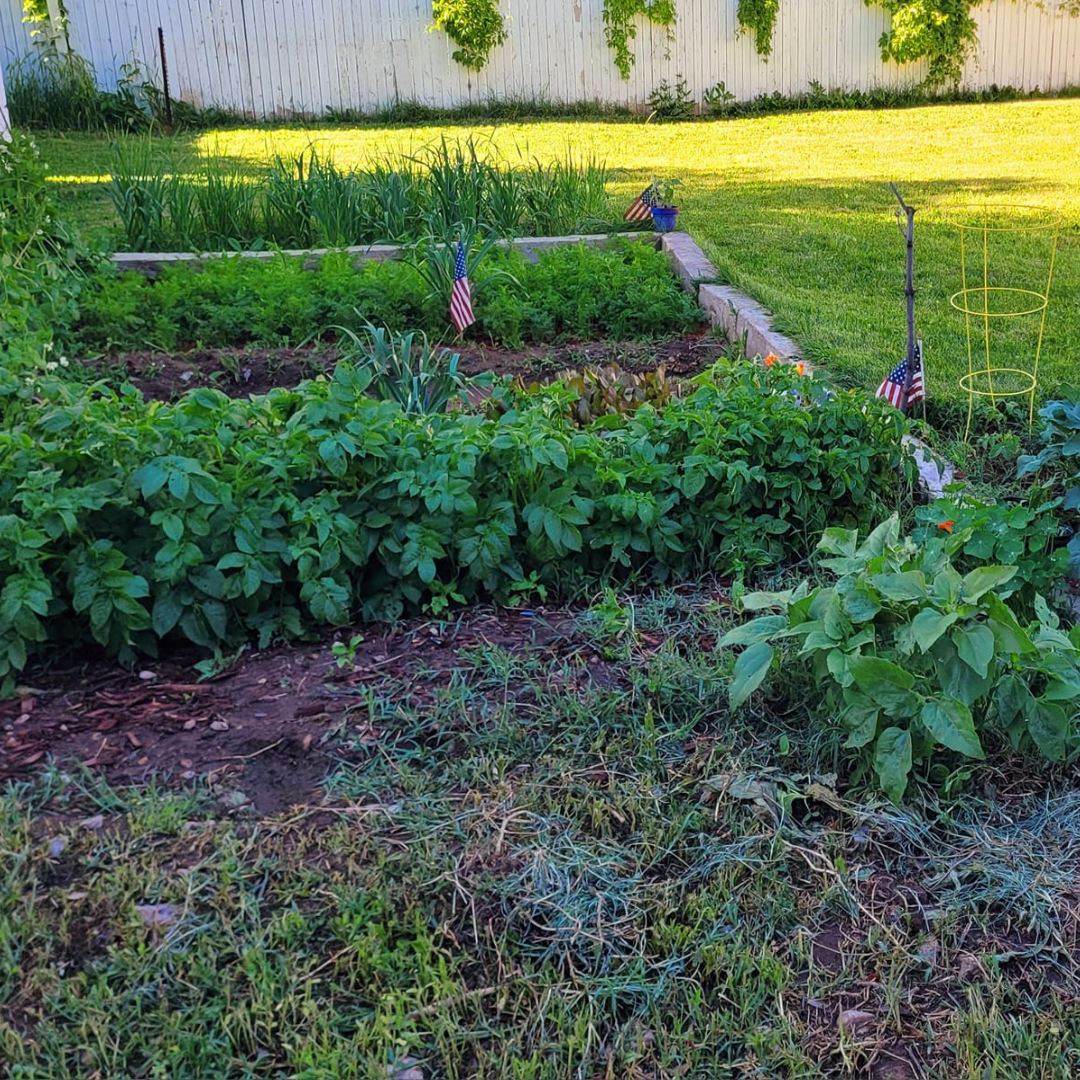
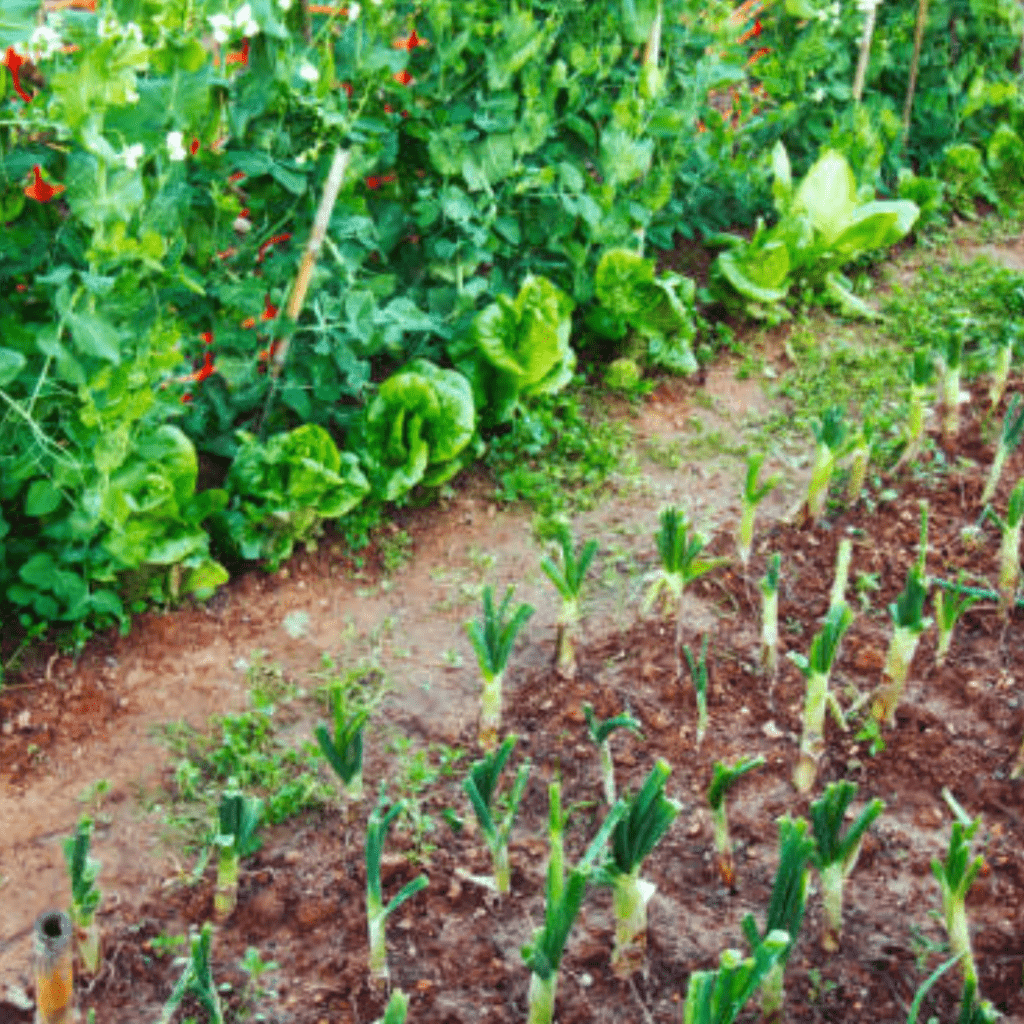
Vegetable garden layout.
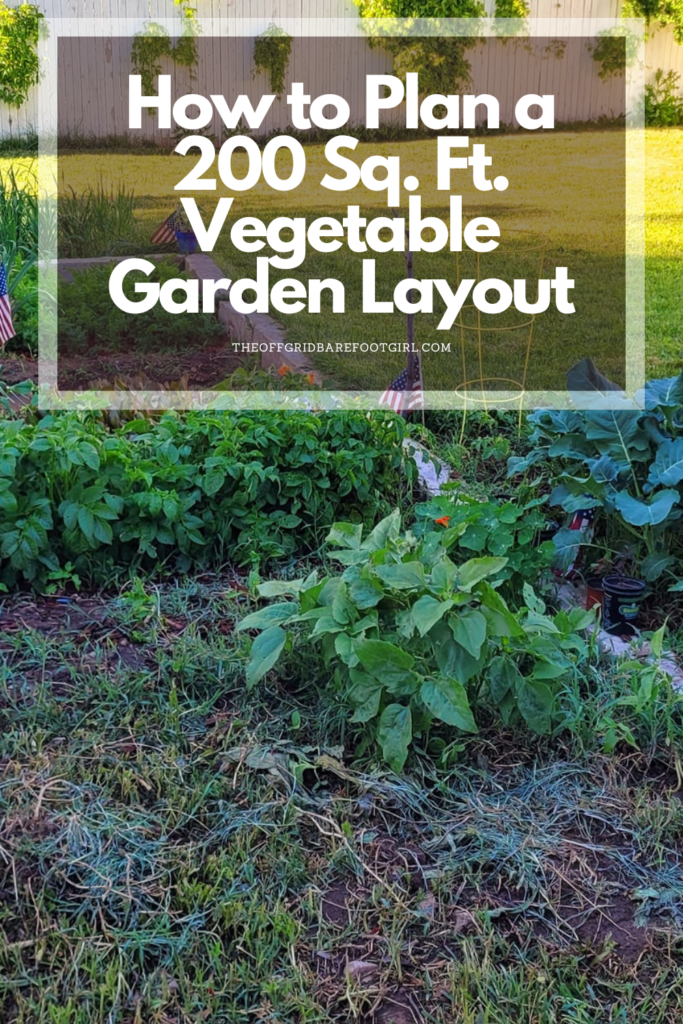
If you’ve ever felt like your garden isn’t producing as much as it should, the secret might be in the layout! Planning your vegetable garden layout is essential, especially when working with a smaller space like 200 sq. ft. With a well-organized design, you can grow an incredible amount of food while making it easier to maintain.
By mapping things out ahead of time, you’ll maximize every square foot and ensure your plants thrive—without overcrowding or wasted space. Most urban backyards can host a 200-square-foot garden space and I am going to show you how I do it!
Smart Planning for a Productive Garden
A well-thought-out garden layout isn’t just about cramming in as many plants as possible—it’s about making smart choices. Grouping plants with similar needs together, using vertical space wisely, and rotating crops each season all play a role in keeping your garden healthy and productive.
Smart planning also means fewer weeds, better airflow (which reduces disease), and an easier time harvesting. Trust me, taking the time to plan now will save you a lot of work later!
What’s in My 200 Sq. Ft. Garden Layout?
So, what exactly am I growing in this space? My layout includes a variety of vegetables that provide a well-rounded harvest. I have a tomato patch, a bean teepee for climbing beans, a potato tower to maximize space, and rows of cucumbers, zucchini, peppers, onions, and peas.
For winter storage, I’ve added winter squash and butternut squash, and of course, I couldn’t forget a small patch of corn! I also make room for flowers to attract pollinators, and I’ve even included a worm tunnel to improve soil health. With the right planning, this little 200 sq. ft. garden becomes a powerhouse of fresh food all season long!
This is a pinnable post. Tap or hover over any image in this post to pin to your Pinterest Boards.
Assessing Your Space
Understanding the Space
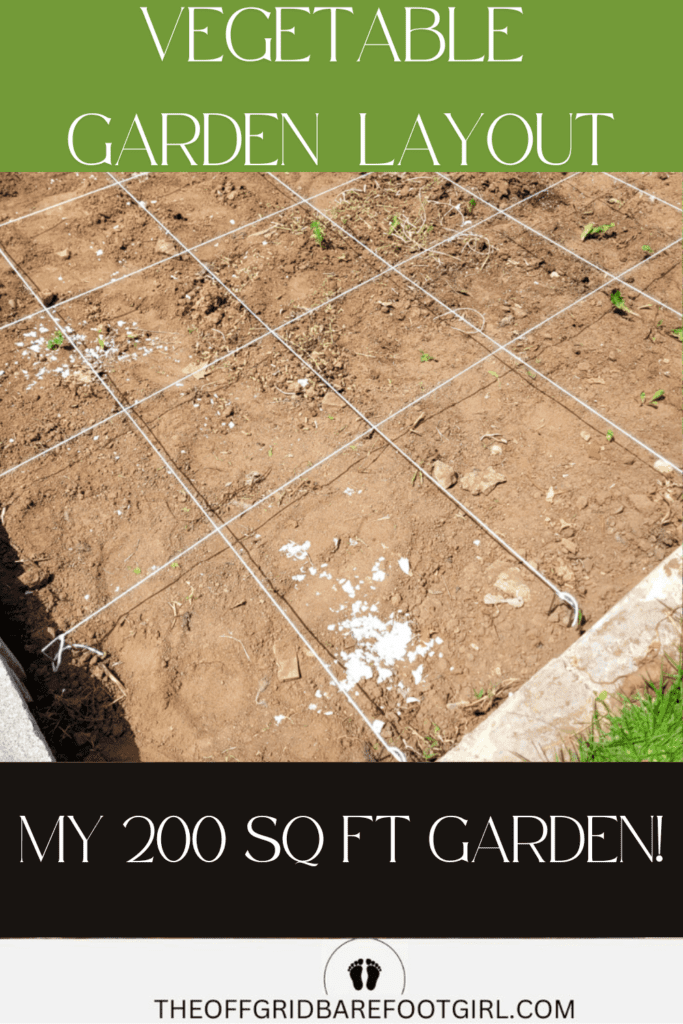
Before planting a single seed, I like to get a good sense of the space I’m working with. My 200 sq. ft. garden might sound small, but with smart planning, it’s more than enough to grow a bountiful harvest. To visualize it, I measure and mark out the area with stakes and string, ensuring I have a clear layout before digging in.
It’s also crucial to observe how sunlight moves across the space throughout the day—some areas may get full sun while others get shade, and that impacts where I place certain plants. Wind patterns also play a role; strong gusts can damage delicate plants, so I plan accordingly, using natural windbreaks like trellises or taller crops.
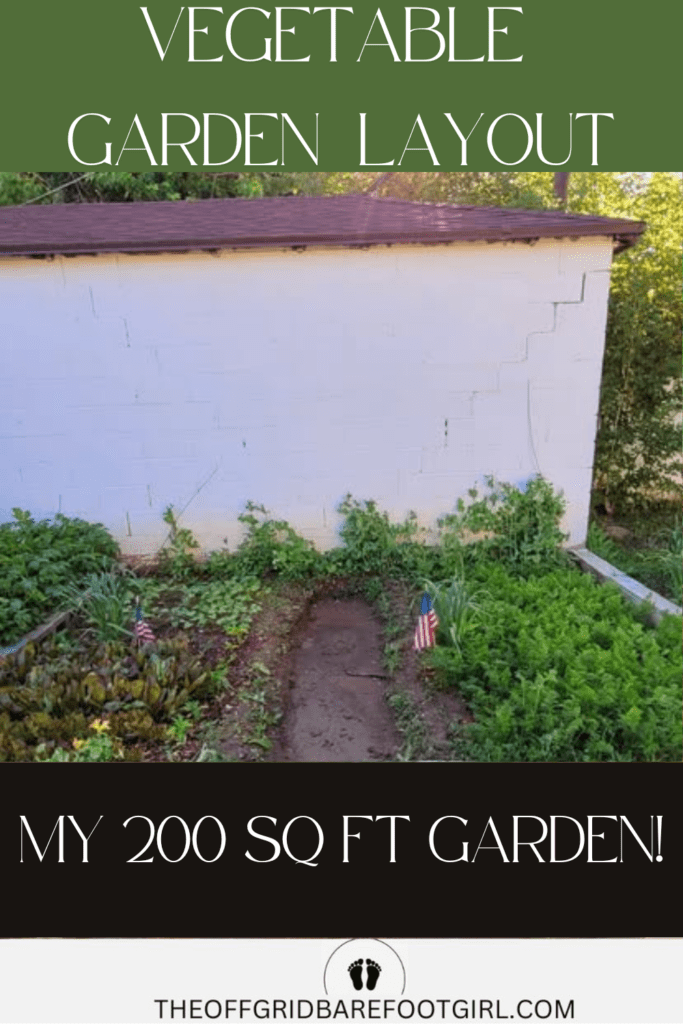
My garden is right next to the wall of my garage so it is very much protected and receives tons of sunlight daily.
Choosing the Right Garden Location
The perfect garden spot makes all the difference! I always make sure my garden gets at least 6-8 hours of direct sunlight daily—without enough light, my veggies won’t thrive. If I have to choose between morning or afternoon sun, I go for morning sun since it’s gentler and helps dry off moisture that could lead to disease.
Another key factor? Accessibility! I need to be able to reach everything easily for watering, weeding, and harvesting, so I avoid spots that are too far from a water source. Trust me, dragging a hose across the yard every day gets old fast! By placing my garden in the right location, I set myself up for a stress-free and productive growing season.
Garden Layout Basics
Key Principles for Small Garden Layouts
When working with a 200 sq. ft. garden, every inch counts! I make sure to maximize space by using intensive planting methods, like square-foot gardening and vertical structures for climbing plants. Instead of planting in traditional rows, I stagger my crops to fit more in while still allowing enough airflow.
Companion Planting & The 3 Sisters Method
Another trick I swear by is companion planting—certain plants thrive when grown together, like tomatoes and basil or corn, beans, and squash (the Three Sisters method). I also rotate crops each season to prevent soil depletion and keep pests guessing. By thinking strategically about space and plant relationships, I get a thriving, productive garden without wasting a single square foot!
I have written a whole guide on companion planting so be sure to check that out!
How to Do Companion Planting: Friends or Foes?
Garden Zones
To keep my garden organized and productive, I break it into zones. I dedicate sections for different crops based on their growing needs—tall plants like corn go on the north side so they don’t shade shorter crops while vining plants like cucumbers and peas get trellises along the edges.
Narrow Paths
I also make sure to leave narrow walking paths so I can reach everything without compacting the soil. So part of my square footage is taken up with small paths, but it is so worth it! I used to tread around and accidentally trample all over my poor plants like a mean giant squishing everything. So be sure to make some narrow paths for yourself!
Raised Beds & Rows
Raised beds help me maintain good soil structure, while row planting works best for crops I’ll harvest all at once, like onions or corn. For vertical space, I use cages, teepees, and trellises, which let me grow more food in less ground space.
Worm Tunnels
And right in the corner, I have my worm tunnel, a simple way to compost scraps while feeding my soil with nutrient-rich worm castings. Each section has a purpose, making my garden easy to manage and incredibly efficient!
I have a whole guide on my worm tunnel so be sure to check it out!
How to Install a Worm Tunnel and Improve Your Garden Soil
Planning for Vertical Growth
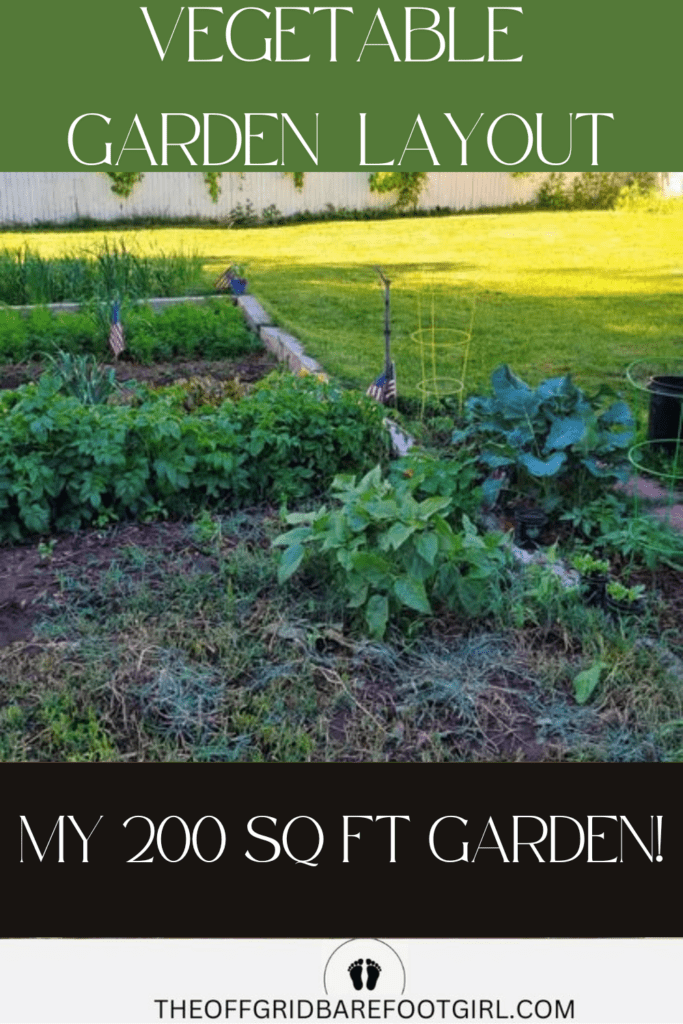
Bean Teepee
A bean teepee is one of my favorite ways to grow pole beans while adding a bit of charm to the garden. To build one, I arrange six to eight sturdy poles (like bamboo or wooden stakes) in a circle, leaning them together at the top and securing them with twine. Around the base, I plant pole bean seeds, which quickly climb up the structure as they grow.
This setup saves space, keeps beans off the ground (which helps prevent rot), and makes harvesting so much easier since the beans dangle from the vines. Plus, if you have kids, a bean teepee doubles as a fun, shady hideout in the summer!
I will also plant bush variety beans around the outsides of the bean teepee for extra growing space and more beans!
Cucumbers on Trellises
If you’ve ever grown cucumbers sprawling on the ground, you know they take up a ton of space. That’s why I grow mine on trellises! A simple cattle panel arch, wooden A-frame, or even sturdy tomato cages can give cucumbers the vertical space they need.
Training them to climb not only saves room, but also improves airflow, reducing the risk of powdery mildew. Plus, hanging cucumbers grow straighter and are much easier to pick than ones hidden under vines on the ground. I always tuck a few nasturtiums or marigolds at the base to deter pests naturally!
Peas and Squash
Peas love to climb, so I give them plenty of support with netting, string trellises, or wire fencing. Cascadia peas, in particular, are eager climbers and will latch onto anything nearby. I position their trellis on the north side of my garden so they don’t shade other crops. As for winter squash and butternut squash, I use sturdy trellises or fences to support the weight of the vines.
While smaller squash varieties can climb with ease, larger ones may need extra support—sometimes I even create little fabric slings to hold the heaviest fruit. Growing both peas and squash vertically means I have more ground space for other crops, and my plants stay healthier with better airflow and less contact with the soil!
Companion Planting & Crop Placement
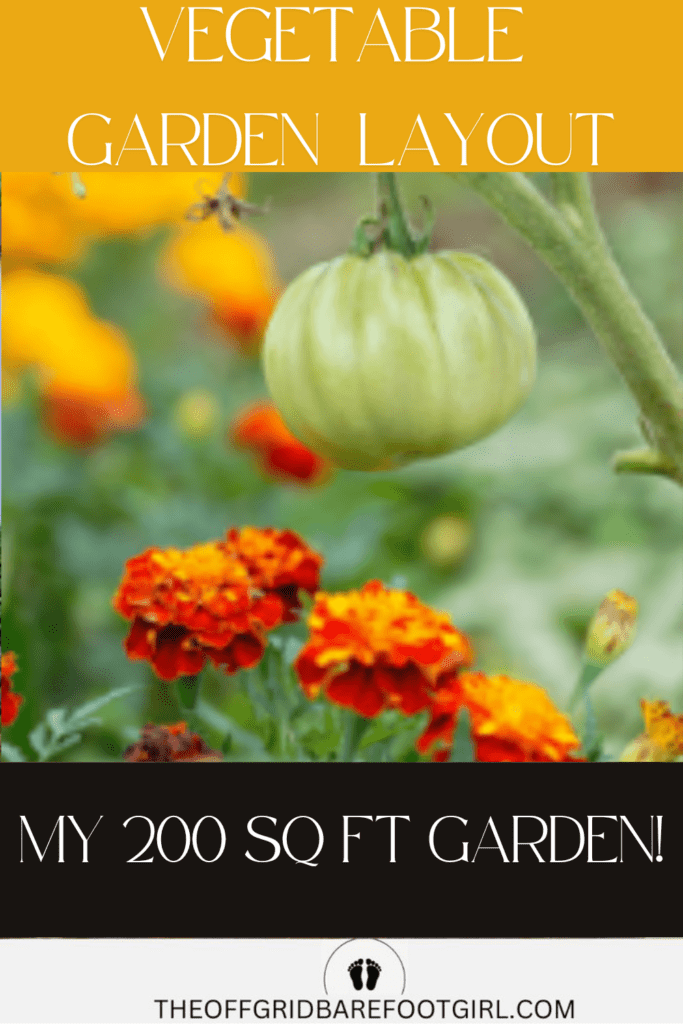
Grouping Plants Based on Needs
One of the best ways to get the most out of a small garden is by companion planting—pairing plants that help each other thrive. For example, I love growing beans with corn because the beans fix nitrogen in the soil, which feeds the corn, while the corn provides a natural trellis for the beans to climb.
Tomatoes and basil are another perfect pair—not only do they taste amazing together in the kitchen, but basil helps repel pests that love to munch on tomato plants. By strategically grouping plants that benefit each other, I can maximize space, improve plant health, and even boost flavor in my harvest!
As mentioned previously, I have written a whole guide on companion planting to help you plan your garden space.
How to Do Companion Planting: Friends or Foes?
Plant Spacing
Giving each plant enough room to grow is crucial for healthy, productive crops. Overcrowding leads to poor airflow, which can cause disease and stunted growth. I follow spacing recommendations, leaving about 18 inches between tomato plants, 12 inches for peppers, and 4 inches for onions to ensure they have room to spread out.
In my 200 sq. ft. layout, I plant tomatoes near basil, tuck marigolds between peppers, and leave space between rows for easy access. By keeping things well-spaced, I get higher yields and healthier plants without my garden turning into a jungle!
Specific Plant Layouts
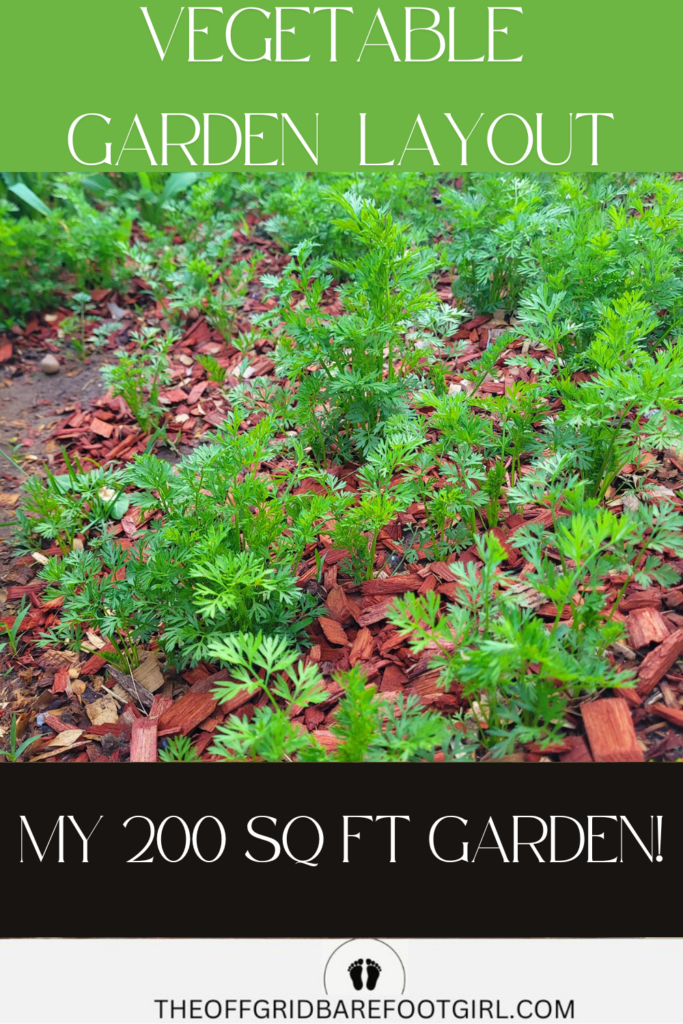
Tomato Patch
Planning my tomato patch is one of my favorite parts of designing my garden! Since tomatoes love support, I’ll be weaving twine through the rows of my plants as a trellis system, just like I’ve seen on Yellow Door Homestead. This method keeps the plants upright, promotes airflow, and makes harvesting so much easier.
I’ll space my tomatoes about 18 inches apart and plant basil and marigolds nearby to help deter pests and improve growth. With a little structure and smart companion planting, my tomato patch will be thriving all season long!
Potato Tower
Instead of using up valuable ground space, I’m building a potato tower toward the back of my tomato patch. I’ll be using a 3-foot radius, 3-foot high tower, secured with chicken wire and a board stake, then layering straw, compost, and seed potatoes inside.
This vertical method allows me to grow a big harvest in a small space, and as I add layers throughout the season, the potatoes will keep growing upward. By harvest time, I’ll be digging into a tower packed full of homegrown spuds!
Zucchini and Peppers
Zucchini tends to spread out of control, so I’ll be giving it plenty of room along one edge of my garden, training the vines to grow outward rather than sprawling over everything else. Since peppers grow upright, they can be nestled into a more compact space nestled inside tomato cages.
I’ll be placing my peppers in rows near my tomatoes so they can benefit from the similar watering schedule while making sure they have enough airflow to prevent disease. This setup keeps my garden productive without wasting space!
The 3 Sisters Method
Corn needs to be planted in blocks rather than rows for proper pollination, so I’m dedicating one edge of my garden to a small corn patch. By planting them in a square or rectangle rather than a single row, the wind can carry pollen between the plants more effectively, leading to better ear development.
Since corn grows tall, placing it on the outer edge helps keep it from shading smaller crops while still allowing easy access for harvesting.
I will then grow some pole beans up the stalks of the corn and some squash at the bottom. This method was very popular in the Native American gardens and I can see why! It is a great way to save space and grow a ton of food!
Onions, Winter Squash, and Butternut Squash
I’m planting my onions in a 3 x 10 bed to grow a huge harvest on the edge of my garden. My winter squash and butternut squash will be placed near the outer edge, where they have room to spread out or climb a trellis without smothering other plants.
By using smart spacing and vertical support when needed, I can fit all these crops into my 200 sq. ft. layout without feeling overcrowded!
Adding Flowers to the Garden
Benefits of Flower Planting
Flowers aren’t just pretty additions to the garden—they play a crucial role in attracting pollinators, repelling pests, and adding beauty to the space. Bees, butterflies, and other pollinators help increase vegetable yields, ensuring my tomatoes, squash, and peas set plenty of fruit.
Certain flowers, like marigolds, naturally deter pests with their strong scent, while others provide a habitat for beneficial insects that keep harmful bugs in check. Plus, let’s be honest—a garden filled with bright, cheerful blooms just makes the space feel more inviting and enjoyable!
Choosing the Right Flowers
Not all flowers thrive in a vegetable garden, so I choose hardy, beneficial blooms that serve a purpose. Marigolds are my go-to for repelling nematodes and aphids, while nasturtiums act as a trap crop, luring pests away from my veggies.
Sunflowers create a beautiful backdrop and can even provide some shade for delicate plants, and a mix of wildflowers brings in diverse pollinators to keep my garden buzzing with life. These flowers aren’t just decorative—they’re an essential part of my garden’s ecosystem.
Flower Placement
The strategic placement of flowers makes a big difference in how well they benefit my garden. I like to plant marigolds along the borders of my beds to help keep pests out, while nasturtiums weave between my vegetable rows to act as a natural pest barrier. Taller flowers, like sunflowers, go along the northern edge so they don’t shade out smaller crops.
Scattering wildflowers in open spaces and corners creates a welcoming habitat for pollinators and beneficial insects. With a little planning, flowers can make my garden healthier, more productive, and absolutely stunning!
Integrating a Small Worm Tunnel
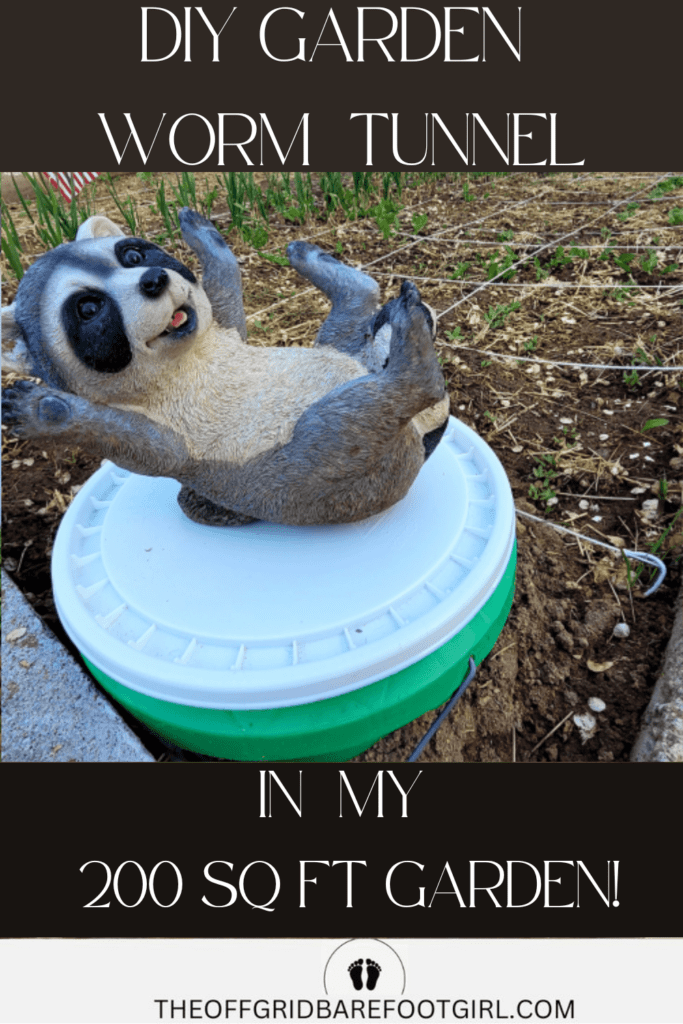
What is a Worm Tunnel?
A worm tunnel is a simple but powerful way to boost soil health and create nutrient-rich compost right in the garden. It’s essentially a buried container, like a perforated bucket or pipe, where I add kitchen scraps and let worms do the work of breaking them down.
As the worms move in and out of the tunnel, they aerate the soil and spread natural fertilizer, improving plant growth without any extra effort on my part. It’s a low-maintenance, sustainable composting solution that works especially well in small garden spaces like my 200 sq. ft. layout.
How to Set Up a Worm Tunnel
Building a worm tunnel is super easy and requires minimal materials. I start with a large plastic container, bucket, or PVC pipe, drill holes in the sides for worm access, and bury it a few inches into the soil, leaving the top accessible for adding scraps.
I fill it with a mix of vegetable peels, coffee grounds, and other compostable kitchen waste, and over time, worms naturally find their way in to break everything down. Every few weeks, I check on it, add more scraps, and let the worms keep enriching my soil—it’s composting without the hassle of turning a big pile! By the way, I keep a huge compost pile too anyway!
Placement and Benefits
I keep my worm tunnel near the corner of my garden, close to heavy feeders like tomatoes and corn, so they get a steady supply of nutrients. Keeping it easily accessible ensures I can regularly add scraps without disturbing my plants.
The beauty of a worm tunnel is that it improves the soil right where my vegetables need it most, meaning less work for me and stronger, healthier plants. Plus, it helps reduce food waste and supports a thriving ecosystem in my garden—win-win!
How to Install a Worm Tunnel and Improve Your Garden Soil
Irrigation and Watering Plans
Watering Strategies for Small Gardens
When it comes to watering my small garden, I have a few options that work wonders without wasting water. For consistent and efficient watering, I use a combination of drip irrigation, soaker hoses, and watering cans. Drip irrigation is great for deeply watering plant roots, while soaker hoses allow water to gently seep into the soil, minimizing evaporation.
If I need to spot water, a watering can give me more control. I’ve found that using a blend of these methods helps me stay on top of watering while making the most out of every drop.
Watering Considerations
In my 200 sq. ft. garden, I want to make sure that every corner gets the right amount of water, and that’s why even coverage is key. For my beds, I run soaker hoses along the rows to ensure all my vegetables—whether in raised beds or directly in the ground—receive water evenly.
I also use drip lines near plants like tomatoes and peppers that need extra attention. The key is to keep an eye on the different moisture needs of various plants, so no area is overlooked, and everything stays hydrated.
Importance of Regular Watering Schedules and Checking Soil Moisture
Watering isn’t just about quantity—it’s about regularity. I try to stick to a consistent watering schedule, watering deeply early in the morning to prevent the heat from evaporating too much moisture. Checking the soil’s moisture level is equally important.
Before watering, I check a few inches down into the soil—if it’s dry, it’s time to water. But if it’s still damp, I wait until the next day. Staying on top of watering is one of the easiest ways to help my plants thrive without over or underwatering.
My Backyard Orchard
My backyard orchard is a cornerstone of my commitment to food sustainability, providing a variety of fruits year-round, from cherries and pears to peaches and quinces. It’s a living testament to the idea that I can grow much of what we need right at home. The orchard works hand-in-hand with my vegetable garden, where I grow everything from tomatoes and beans to leafy greens and herbs.
Together, they form a harmonious ecosystem that supports my family’s self-sufficiency journey. The trees provide an abundance of fruits, while the garden feeds us with fresh produce that nourishes our family. Every season brings new harvests, giving us the satisfaction of knowing we are contributing to a more sustainable way of living, one fruit and veggie at a time.
Learn more about my backyard orchard!
Conclusion
As we wrap up this garden planning guide, let’s quickly revisit the key strategies that will help you make the most out of your 200 sq. ft. garden.
First, smart planning is crucial, from choosing the right location to dividing your space into zones for different plants. I recommend using vertical gardening for crops like beans, cucumbers, and peas, and incorporating features like a potato tower and a bean teepee for efficient use of space.
Companion planting can also improve plant health and maximize your harvest. Don’t forget the power of good watering systems and the beauty that flowers can bring to the garden while helping with pollination.
And finally, integrate a worm tunnel for natural soil enrichment. With these strategies in place, your garden can thrive in a small space and produce an abundance of food.
Encouragement for Planning
I’m so excited for you to begin planning your own garden! Whether you have a small backyard or a balcony, you can absolutely create a garden layout that works for you. Don’t be afraid to get creative and adapt the tips I’ve shared to suit your own space.
Even though it may feel overwhelming at first, remember that smart planning is your secret weapon. Take it one step at a time—start by sketching your layout, and then move on to choosing the right plants and building your garden infrastructure. You’ve got this!
Final Thought
The best part about planning a garden, especially in a small space like 200 sq. ft., is that with a little effort and smart design, you can grow an abundant harvest and enjoy a garden filled with beauty. Even small spaces can become a source of fresh, homegrown food and a peaceful retreat. By using the strategies shared here, you can make your garden not only productive but also a delightful part of your everyday life.
I’d love to hear about your garden plans! If you’ve been inspired by this post or have some unique ideas of your own, feel free to share them in the comments below. Whether you’re working with a 200 sq. ft. space or something smaller or bigger, every garden layout is different, and it’s always exciting to see what others are growing.
Let’s create a community of gardeners who can share tips, and tricks, and support each other through the growing season. Your ideas might just spark someone else’s next gardening project!
Stay Connected for More Gardening Tips
If you’re ready for more gardening inspiration, don’t forget to follow my blog for future posts packed with helpful tips and creative gardening ideas. I also offer a gardening newsletter that delivers fresh insights directly to your inbox—perfect for staying up-to-date on seasonal planting schedules, soil health advice, and how-to guides for small-space gardening. Signing up will make sure you never miss out on any helpful gardening content, so join me, and let’s grow together!
Happy gardening!
Resources: Here are some helpful resources for further information.
- 20 Vegetable Garden Layout Ideas – By The Old Farmer’s Almanac
- How to Design the Perfect Vegetable Garden Layout – By Plant Perfect
- A Vegetable Garden Planner for High Yields & Healthy Plants – By Savvy Gardening
Frequently Asked Questions
1. What vegetables can I grow in a 200 sq. ft. garden?
In a 200 sq. ft. garden, you can grow a variety of vegetables, including tomatoes, beans, cucumbers, zucchini, peppers, corn, peas, and even flowers! You can also include specialty plants like a potato tower or bean teepee.
2. How do I design a vegetable garden layout for a small space?
Use vertical gardening techniques like trellises or towers to maximize space. Group plants with similar needs together and rotate crops to keep the soil healthy. Consider growing climbing plants such as peas and beans to save room for other vegetables.
3. Can I grow enough food in a 200 sq. ft. garden for my family?
Yes, a 200 sq. ft. garden can provide a decent amount of food for a small family, especially if you carefully plan your layout and grow high-yield crops like tomatoes, peppers, and potatoes.
4. How do I plan for variety in my garden?
Plan your garden with a mix of seasonal vegetables and crops that complement each other, such as root vegetables (like potatoes), climbing vegetables (like peas), and leafy greens. Incorporate flowers for pollination and beauty as well!
Summary
I hope I have inspired you to plant your garden with these tips and products.
If you were encouraged by this post, I invite you to check out my FREE Printables Page for fun free printables, planners, and charts.
ENTER MY FREE Printables Page HERE
Here are some more of my gardening inspiration posts to check out!
How I Easily Start My Seeds Without Expensive Grow Lights!
How to Create a Smart Garden: Tech Meets Nature!
The Best Cheap Raised Vegetable Garden Beds
How to Grow Artichokes: Plant Once and Harvest for 5 Years!
The Best 8 Fast-Growing Vegetables In Just 45 Days!
From Snow to Sow: Plan Your Spring Garden Now!
11 Fun Ways to Brighten Your Spring Garden with Personality
Top 10 Spring Garden Crops to Harvest in 30 Days and Eat Now!
The Best Survival Crops for Caloric Survival
My Victory Garden: What I Learned from 5+ Years
Why Every Family Should Have a Victory Garden in Their Backyard Now!
The Best Perennials for a Long-Term Survival Garden
The Best Essential Oils for Plants That Repel Garden Bugs
How to Grow Green Garden Peas: Perfect Plump Peas!
Hugelkultur: Does This Epic Pioneering Method Actually Work?
9 Ways to Celebrate Earthing Day in Your Garden!
Gardening Indoors: Secrets of Growing Your Food Inside!
How to DIY a Milk Jug Drip Irrigation System!
Why Cedar Mulch Is The Perfect Natural Weed Barrier
Gardening Projects
Onions: How to Grow Onions for Storage
Peas: How to Grow Garden Peas for a Bumper Crop
Carrots: How to Grow Carrots for a Bountiful Harvest
Prep Your Garden for Spring Planting with These Expert Tips!
How to Grow a Prepper Garden to Survive and Thrive
The Best Garden Tools You Need for a Productive Season
Fastest Growing Vegetables for Your Survival Garden
How to Grow Marigolds As Pest Control In Your Vegetable Garden
Must-Have Tools for a Successful Balcony Vegetable Garden
How to Effectively Combat Powdery Mildew in Your Garden
The Best Tips for Organic Gardening
How to Release Ladybugs In Your Garden for Organic Pest Control
The Best Garden Snail Control Strategies
The Best Spring Vegetables to Grow in Your Garden
Seed Starter Mix: How To Make Your Organic Seed Starter Mix At Home
How to Grow a Productive Canning Garden
How to Plant and Grow a Salsa Garden
Easiest Heirloom Vegetable Seeds to Grow Now
How to Use the Hand Twist Claw Tiller: Tackling Tough Soil
More Fun Gardening Posts to Check Out!
Planning Your Garden: How to Plan a Vegetable Garden: Expert Green Thumb Tips!
Winterizing the Garden: How to Winterize Your Vegetable Garden: Step-by-Step Checklist
Mulching the Garden: How to Make Leaf Litter Mulch
Grow a Pumpkin Patch: How to Grow a Pumpkin Patch in Your Backyard
How to Grow a Fall Garden: 9 Best Fall Crops
Clever Ways to Incorporate Indoor Composting into Your Home
How to Start Composting for the Garden: A Step-by-Step Guide
The Ultimate Guide to Composting in Your Suburban Backyard
Why I Built A Survival Garden in My Backyard
16 Best Medicinal Herbs to Grow in Your Garden Now
Blessings,
The Off Grid Barefoot Girl

