Learn how to make sourdough pizza dough with a perfectly chewy crust, crispy edges, and incredible flavor—no commercial yeast required! This easy recipe uses a natural fermentation process that not only enhances the taste but also makes the dough easier to digest. Whether you’re baking in a home oven or on a pizza stone, this step-by-step guide will help you create artisan-style pizza right from your own kitchen using your sourdough starter.
Making sourdough pizza dough is an art that combines the rich flavors of traditional sourdough bread with the deliciousness of freshly baked pizza. With its unique tangy taste and chewy texture, sourdough pizza dough has gained popularity among pizza enthusiasts and home cooks alike.
In this article, I will guide you through the process of creating your own sourdough pizza dough from scratch, exploring the benefits of using sourdough, gathering the necessary ingredients and equipment, creating and maintaining a sourdough starter, mixing and fermenting the dough, shaping and proofing the pizza dough, preparing toppings and assembling the pizza, baking it to perfection, and finally, serving up a slice of mouthwatering sourdough pizza. Get ready to elevate your pizza game to a whole new level!
This is a pinnable post. Tap or hover over any image in this post to pin to your Pinterest Boards.
Introduction to Sourdough Pizza Dough
What is Sourdough Pizza Dough?
Picture this: a crispy, chewy crust with a tangy, complex flavor that perfectly complements the melty cheese and smoky toppings on your pizza. That, my friends, is what sourdough pizza dough is all about. Unlike your typical pizza dough made with commercial yeast, sourdough pizza dough is leavened naturally with wild yeast and lactic acid bacteria. This fermentation process gives the dough its distinct flavor and makes it easier to digest. Say goodbye to boring pizza and hello to a taste sensation!
Benefits of Making Sourdough Pizza Dough
Why bother with sourdough pizza dough when you can just grab a pre-made crust from the store? Well, let me tell you a few reasons why it’s worth the effort. First off, sourdough fermentation breaks down the phytic acid in the dough, making it easier for your body to absorb the nutrients. Plus, the slow fermentation process increases the dough’s flavor complexity, resulting in a more delightful bite. And let’s not forget the satisfaction of creating something from scratch and impressing your friends and family with your culinary skills. Trust me, once you taste the difference, you’ll never go back to store-bought crusts again!
Gathering the Ingredients and Equipment
Essential Ingredients for Sourdough Pizza Dough
Now that you’re excited about diving into the world of sourdough pizza dough, let’s get to the nitty-gritty. To make a basic sourdough pizza dough, you’ll need flour, water, salt, oil, and, of course, your trusty sourdough starter. Feel free to experiment with different types of flour to find your favorite flavor and texture. Pro tip: Using a combination of all-purpose and bread flour can give you a nice balance of chewiness and crispiness!
- Sourdough starter.
- All-purpose flour.
- Water.
- Salt.
- Oil.
Recommended Equipment for Making Sourdough Pizza Dough
While you don’t need fancy gadgets to make sourdough pizza dough, a few tools can make the process easier. A digital kitchen scale is your best friend when it comes to measuring ingredients accurately. A large mixing bowl, a dough scraper, and a good sturdy spatula will also come in handy. And if you want to take your pizza-making game to the next level, a pizza stone or steel can help you achieve that perfect crust with a beautiful char. But hey, if all you have is a baking sheet, don’t let that stop you from enjoying some homemade sourdough pizza goodness!
Creating and Maintaining a Sourdough Starter
Understanding Sourdough Starters
Before you can make sourdough pizza dough, you need a lively sourdough starter. Think of it as your pizza dough’s secret power source. A sourdough starter is a combination of flour and water that captures wild yeast and friendly bacteria from the environment. With regular feedings, it becomes a potent leavening agent. Don’t worry; it’s easier to maintain than it sounds!
Crafting a Sourdough Starter
If you do not already have a sourdough starter living in your kitchen, I can help you create one! It is fairly easy to craft your own sourdough starter and highly beneficial too! All you need is flour, water, and time! Here is how I did it!
The Ultimate Guide to Crafting a Perfectly Tangy Wild Sourdough Starter
Feeding and Maintaining a Sourdough Starter
Congratulations! You have a bubbling sourdough starter ready to use. But, like any living thing, it needs to be fed regularly to stay active. Feeding your starter with fresh flour and water helps it grow and develop its signature tangy flavor. Don’t worry; it’s not as high-maintenance as a pet. With a little attention every week, your sourdough starter will reward you with beautifully leavened pizza dough. Follow the instructions in my sourdough starter guide.
The Ultimate Guide to Crafting a Perfectly Tangy Wild Sourdough Starter
Mixing and Fermenting the Dough
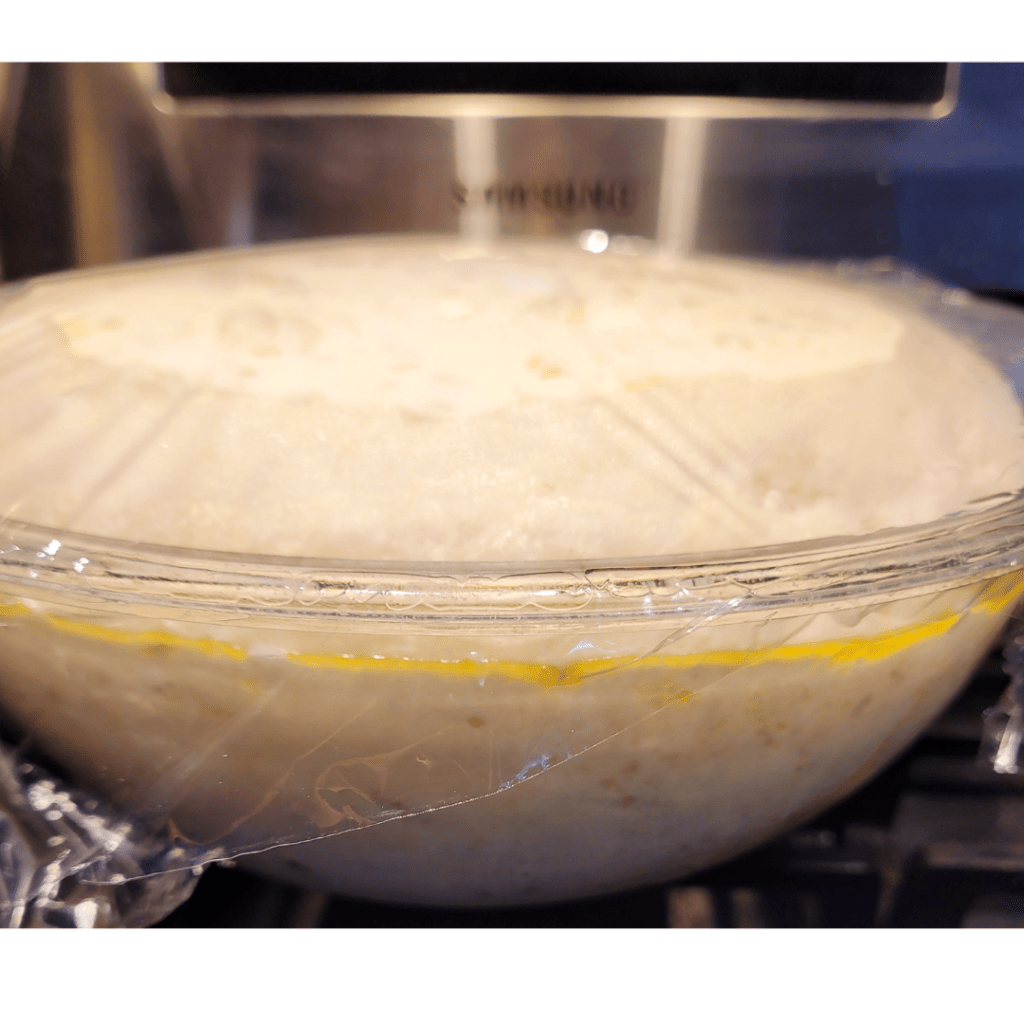
Combining the Ingredients
Now comes the exciting part—mixing up the dough. It’s as simple as combining your flour, water, salt, and a generous dollop of your active sourdough starter. Mix it all together until you have a shaggy dough, and let it rest for a while to allow the gluten to develop.
Kneading and Developing Gluten in the Dough
Time to get those arm muscles working! Kneading the dough helps develop gluten, giving your pizza that desired chewy texture. It can be a satisfying workout, but don’t overdo it; you want the dough to be stretchy, not tough. In about 10-15 minutes of kneading, you’ll have a smooth, elastic dough ready to rise.
Fermenting the Dough for Optimal Flavor
Now, here’s where the magic happens. Let your dough ferment slowly in the fridge for at least 8 hours, allowing the flavors to deepen and the gluten to relax. This long, cool fermentation creates an incredible depth of flavor and enhances the dough’s texture. Trust me, the patience will pay off when you take that first bite of your homemade, sourdough-fermented pizza crust!
Dividing and Shaping the Dough Into Balls
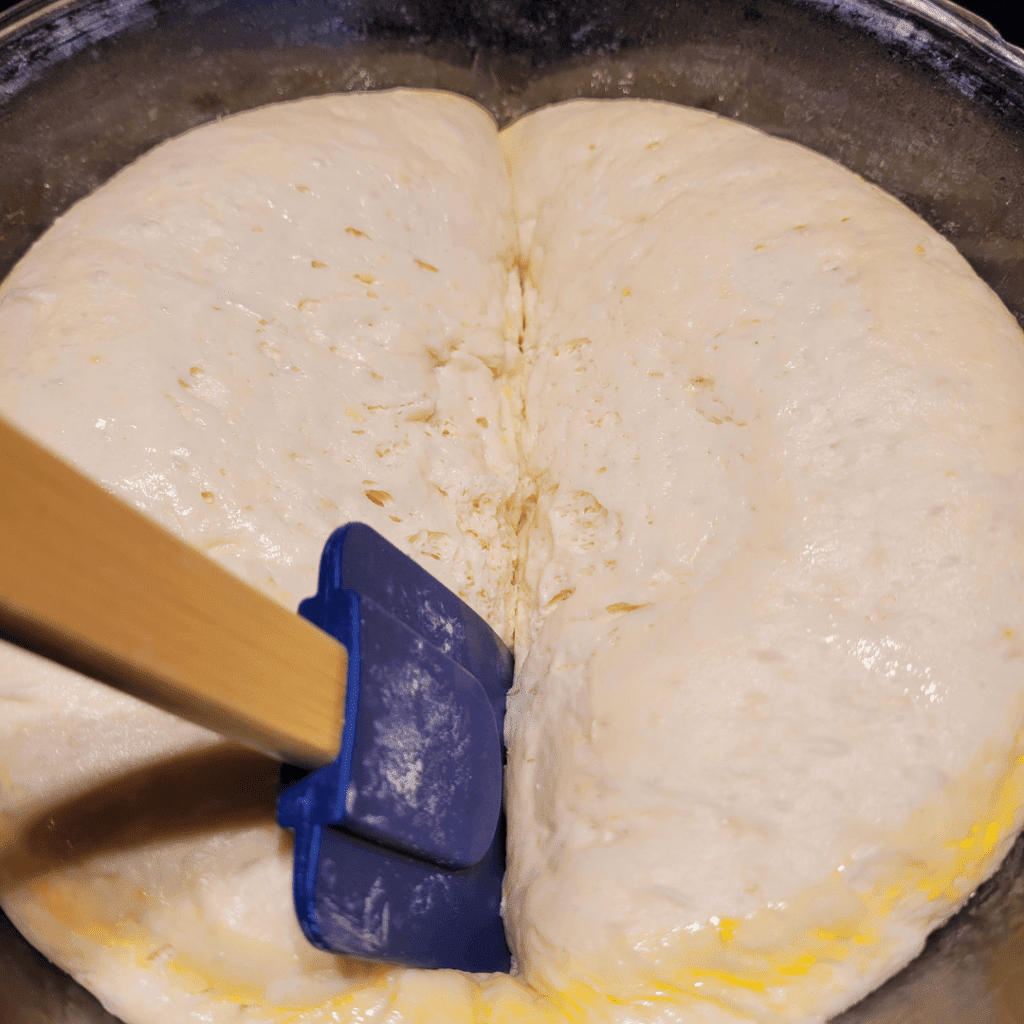
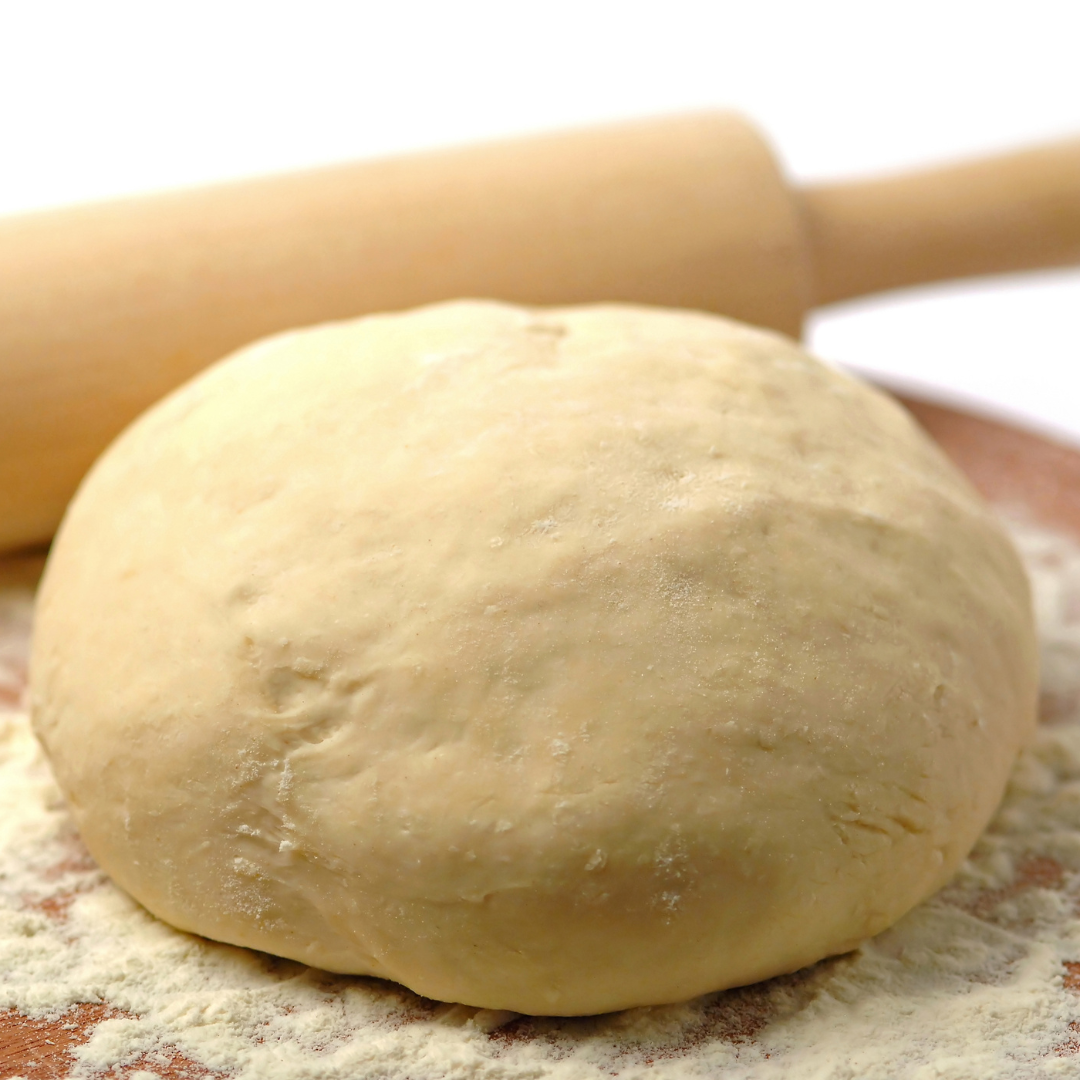
Now that your sourdough pizza dough has risen to its fluffy glory, it’s time to shape it into individual pizza balls. This step is crucial because it determines the size and thickness of your pizzas. I separated my dough into two equal parts to make two large pizzas.
Divide the dough into equal portions, depending on how many pizzas you want to make. Don’t be afraid to get a little hands-on here. Gently shape each portion into a ball by stretching the dough and tucking the edges underneath.
Properly Proofing the Dough for the Desired Texture
Proofing is like the spa day for your dough. It allows it to relax and develop its flavors fully. Plus, it gives you time to clean up the flour explosion in your kitchen.
Place the shaped dough balls on a lightly floured surface, leaving enough space between them for expansion. Cover them with a clean kitchen towel and let them rest for another 1-2 hours. This gives the dough time to rise a little more and develop that desirable chewy texture.
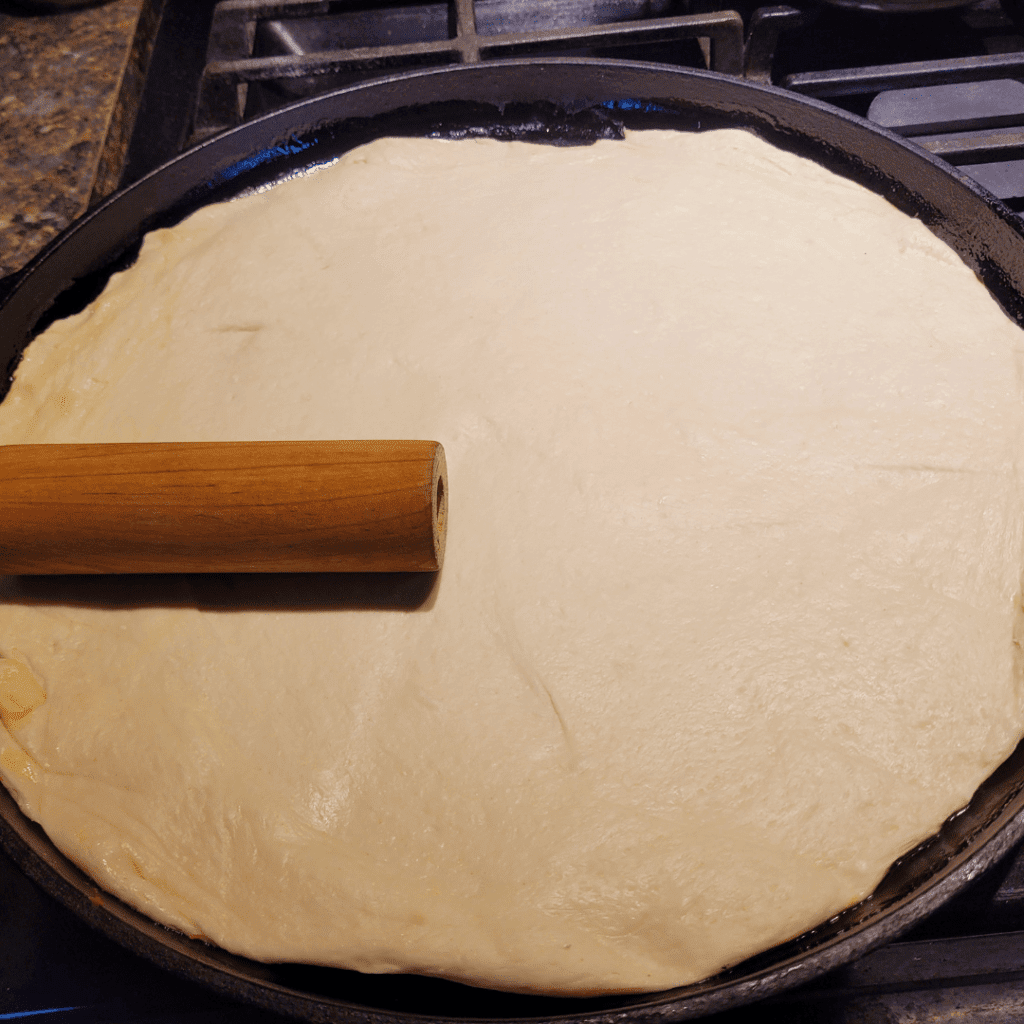
Roll out as many pizzas as you want! If you need more, be sure to prep more batches of dough, but this recipe can give you two 12-inch pizzas!
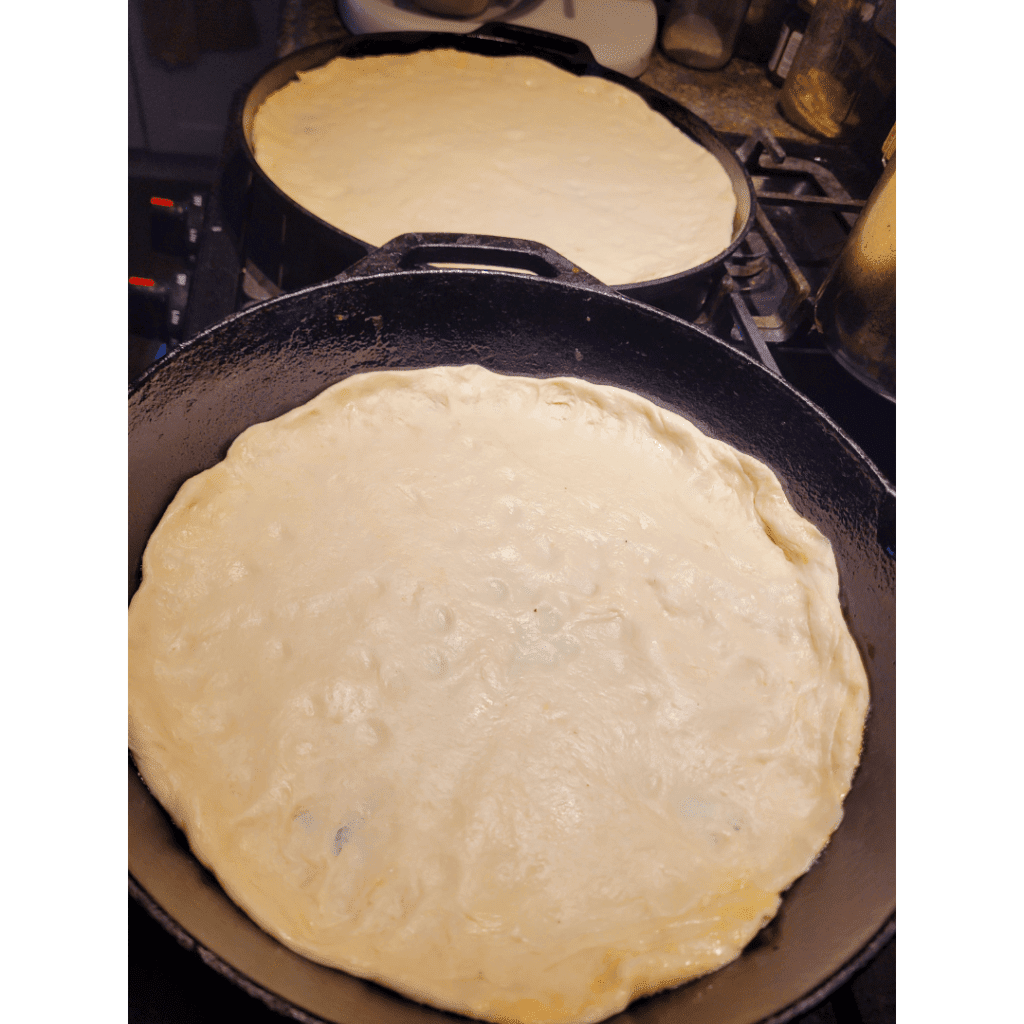
Preparing Toppings and Assembling the Pizza
Choosing the Right Toppings for Sourdough Pizza
Now comes the fun part—the toppings! When it comes to sourdough pizza, you want to let the dough shine while complementing it with flavorful and fresh ingredients.
Opt for vibrant and seasonal toppings like juicy tomatoes, fresh basil, creamy mozzarella, and perhaps a sprinkle of salty Parmesan. Don’t be afraid to get creative and experiment with different flavors. Just remember to strike a balance between toppings that enhance the sourdough crust and those that steal the limelight.
Preparing and Organizing the Toppings
Before you start topping your pizza, it’s essential to have everything organized and ready to go. Chop, slice, and grate your ingredients.
Assembling the Pizza with the Desired Flavors
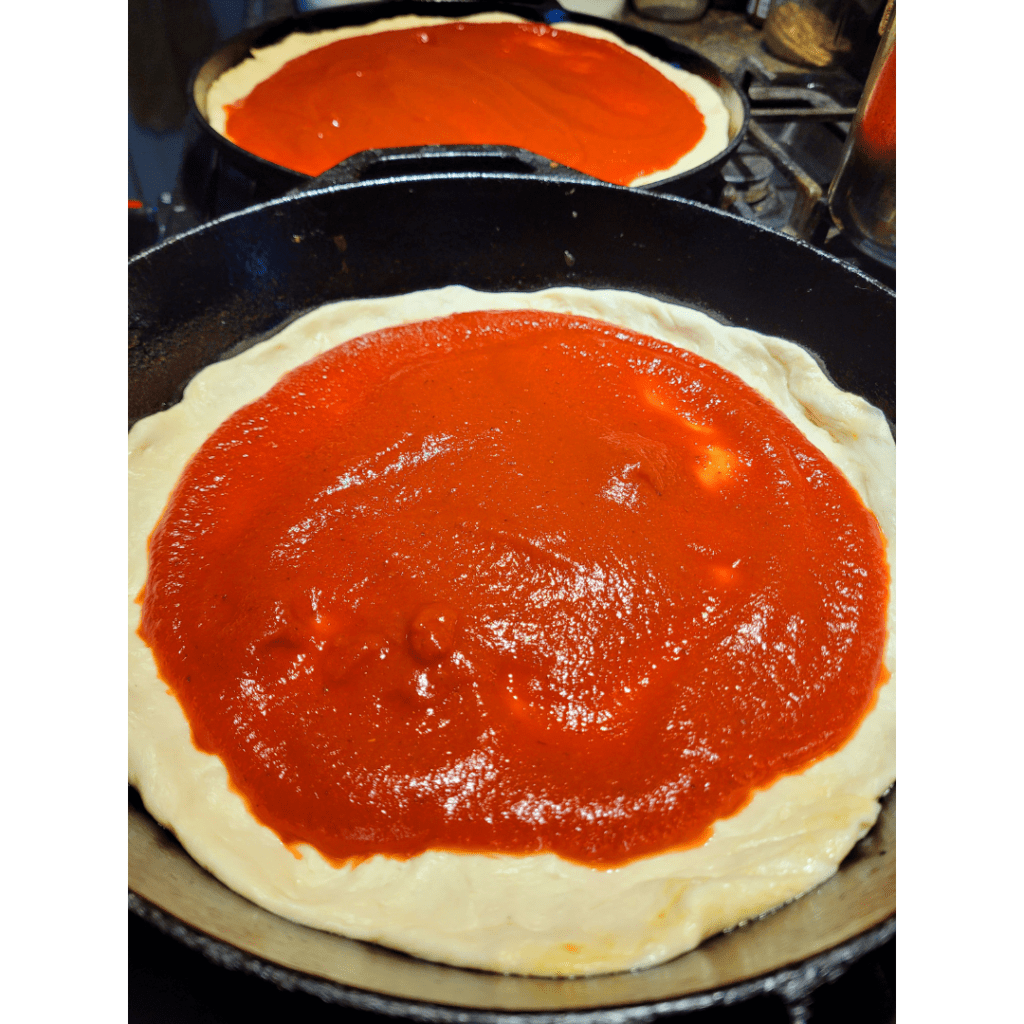
Take one of your proofed dough balls and place it on a floured surface. Gently press down on the center and start pushing the dough outward with your fingertips, creating a thin and even circle. You don’t have to strive for perfection here; rustic shapes are part of the charm of homemade sourdough pizza.
Transfer the stretched dough to a pizza pan or baking sheet lined with parchment paper. Now comes the exciting part—adding the toppings! Spread a thin layer of your favorite sauce, sprinkle on the cheeses, and artfully arrange your chosen ingredients. Remember to leave a little empty border around the edges for that signature crusty goodness.
Baking and Serving the Sourdough Pizza
Preheating the Oven and Preparing the Baking Surface
Preheat your oven to a high temperature setting around 475°F. If you have a pizza stone or baking steel, place it in the oven during the preheating process. These surfaces help create that coveted crispiness in your crust.
If you don’t have a pizza stone or baking steel, no worries! A baking sheet will do the trick. Just make sure to preheat it in the oven as well. You want that heat to greet your pizza dough as soon as it hits the surface.
Determining the Optimal Baking Time and Temperature
Every oven is different, so it’s essential to keep an eye on your pizza as it bakes. Generally, sourdough pizza takes around 10-15 minutes to fully cook. You’ll know it’s ready when the crust turns golden brown, the cheese is bubbly and melty, and your kitchen smells like a pizzeria.
Serving and Enjoying the Freshly Baked Sourdough Pizza
Congratulations! Your sourdough pizza is now ready to be devoured. Carefully remove it from the oven and let it cool for a couple of minutes. This helps the flavors settle and prevents any accidental burning of your taste buds.
Slice it up, grab a plate, and dig in. Don’t forget to savor the slightly tangy notes of the sourdough crust, the ooey-gooey cheese, and the explosion of flavors from your toppings. And remember, sharing is optional!
Tips and Variations for Perfect Sourdough Pizza
Troubleshooting Common Issues with Sourdough Pizza Dough
Sometimes, even the most experienced dough whisperers encounter hiccups in their sourdough pizza journey. If your crust is too dense, try increasing the hydration in your dough or giving it a longer rise. If it’s too sticky, add a little more flour during the mixing process. And if it’s not rising enough, make sure your sourdough starter is healthy and active.
Experimenting with Different Flavors and Toppings
Sourdough pizza is a blank canvas waiting to be adorned with your culinary masterpieces. Don’t be afraid to venture beyond the traditional tomato and mozzarella. Create exciting flavor combinations by adding caramelized onions, roasted garlic, tangy goat cheese, or even a drizzle of balsamic glaze. Let your taste buds guide you on this delicious exploration.
Storing and Reheating Leftover Sourdough Pizza
If you somehow manage to resist finishing the entire pizza in one go, don’t worry. Leftover sourdough pizza can be just as tasty the next day. Store it in an airtight container in the fridge, and when you’re ready to indulge, reheat it in a preheated oven or on a stovetop skillet for that crispy revival.
Conclusion
Now that you’ve mastered the art of making sourdough pizza, you’re officially a “dough ninja”! So gather your friends, have a pizza party, and let the deliciousness begin.
By following these steps, you can enjoy the satisfaction of making your own sourdough pizza dough and savor the incredible flavors it brings. Don’t be afraid to experiment with different toppings and variations to create your perfect sourdough pizza. With a little practice and patience, you’ll be able to impress your family and friends with your homemade sourdough pizza creations. So go ahead, take the plunge into the world of sourdough pizza dough, and enjoy the delicious rewards that await you!
Frequently Asked Questions
1. Can I make sourdough pizza dough without a sourdough starter?
While sourdough pizza dough gets its distinct flavor and texture from a sourdough starter, you can still make a version of sourdough pizza dough without it. Simply substitute the sourdough starter with a combination of commercial yeast and a longer fermentation time to achieve a similar result.
2. How long does it take to create and maintain a sourdough starter?
Creating a sourdough starter from scratch can take around 7-10 days. During this time, you will need to feed the starter regularly to develop a stable and active culture. Once established, maintaining a sourdough starter requires regular feeding and occasional use to keep it healthy and active.
3. Can I freeze sourdough pizza dough?
Absolutely! Sourdough pizza dough can be frozen for future use. After shaping the dough into balls, wrap them tightly in plastic wrap or place them in airtight containers before freezing. When ready to use, thaw the dough in the refrigerator overnight and bring it to room temperature before baking.
4. What if my dough doesn’t rise properly?
If your sourdough pizza dough doesn’t rise as expected, there could be a few reasons. It could be due to a weak or inactive starter, insufficient fermentation time, or improper proofing conditions. Ensure that your starter is healthy and active, give the dough enough time to ferment and proof, and provide a warm environment for proper rising.
Sourdough Pizza Dough
Equipment
- 1 kitchen scale.
- 1 large mixing bowl
- 1 spatula.
- 1 pizza stone.
Ingredients
- ½ cup sourdough starter.
- ½ cup warm water.
- 2 tsp salt.
- 2 tbsp oil.
- 4 cups all-purpose flour.
Instructions
Combining the Ingredients
- Combine your flour, water, salt, oil, and your active sourdough starter. Mix it all together until you have a shaggy dough, and let it rest for a while to allow the gluten to develop, about 10 minutes.
Kneading and Developing Gluten in the Dough
- Knead the dough, but don’t overdo it; you want the dough to be stretchy, not tough. In about 10-15 minutes of kneading, you’ll have a smooth, elastic dough ready to rise.
Fermenting the Dough for Optimal Flavor
- Let your dough ferment slowly in the fridge for at least 8 hours, allowing the flavors to deepen and the gluten to relax. This long, cool fermentation creates an incredible depth of flavor and enhances the dough’s texture.
Dividing and Shaping the Dough Into Balls
- Divide the dough into equal portions, depending on how many pizzas you want to make. Don’t be afraid to get a little hands-on here.
- Gently shape each portion into a ball by stretching the dough and tucking the edges underneath.
Properly Proofing the Dough for the Desired Texture
- Place the shaped dough balls on a lightly floured surface, leaving enough space between them for expansion.
- Cover them with a clean kitchen towel and let them rest for another 1-2 hours. This gives the dough time to rise a little more and develop that desirable chewy texture.
Rolling Out the Dough Balls
- Take one of your proofed dough balls and place it on a floured surface.
- Gently press down on the center and start pushing the dough outward with your fingertips, creating a thin and even circle. You don’t have to strive for perfection here; rustic shapes are part of the charm of homemade sourdough pizza.
- Transfer the stretched dough to a pizza pan or baking sheet lined with parchment paper.
Preparing Toppings and Assembling the Pizza
- Top your pizza with your desired toppings.
Baking and Serving the Sourdough Pizza
- Preheat your oven to a high temperature setting around 475°F. If you have a pizza stone or baking steel, place it in the oven during the preheating process. These surfaces help create that coveted crispiness in your crust.
- If you don’t have a pizza stone or baking steel, no worries! A baking sheet will do the trick. Just make sure to preheat it in the oven as well. You want that heat to greet your pizza dough as soon as it hits the surface.
- Bake at 475 degrees for 20 minutes.
Summary
I hope I have inspired you to bake your very own bread loaves to enjoy and share with your friends and family.
If you were encouraged by this post, I invite you to check out my FREE Printables Page for fun free printables, planners, and charts.
ENTER MY FREE Printables Page HERE
Here are some more of my bread-making inspiration posts to check out!
The Only Pumpkin Muffin Recipe You’ll Ever Need!
How to Make Banana Split Quick Bread
How to Make S’mores Quick Bread
How to Make Jelly Donut Quick Bread
Lemon Blueberry: How to Make Lemon Blueberry Sourdough Focaccia
How to Make Sourdough Lemon Supreme Quick Bread
Lemon Supreme: How to Make Sourdough Lemon Supreme Quick Bread
How to Make Sourdough Strawberry Cheesecake Muffins
How to Make Chai-Spiced Sourdough Banana Bread
The Best Old Fashioned Sourdough Banana Muffins
How to Make Honey Sourdough Bread
Blueberry: How to Make Lemon Blueberry Sourdough Quick Bread
Pizza: How to Make Pizza Sourdough Focaccia
Carrot Cake: How to Make Carrot Cake Sourdough Focaccia
Easy and Delicious Hershey’s Kisses Sourdough Bread
How to Make Amish Whoopie Pies!
Lazy Cinnamon Rolls: How to Make Easy Cinnamon Rolls the Lazy Way!
Lembas Bread: How to Make Elven Lembas Bread: A Taste of Rivendell
Gnome Bread: How to Make a Sourdough Gnome Bread
How to Make Sourdough Strawberry Cheesecake Muffins
The Best Hoagie Buns Recipe Made From Scratch!
Pumpkin: How to Make Chocolate Chip Pumpkin Bread
More Recipes!
Sweet Potato Bread: How to Make Sweet Potato Bread
Chocolate Chip Cookies: How to Make Chocolate Chip Cookie Bread
Carrot Cake Quick Bread: How to Make Carrot Cake Quick Bread
How to Make Strawberries and Cream Sourdough Bread
How to Make S’mores Sourdough Bread
July 4th Bread: How to Make a Firecracker Marble Bread Braid
Artisan Bread: How to Make Artisan Bread
Challah Bread: How to Make a 6 Braided Challah Bread
Sweet Bread: How to Make Sweet Bread
Blessings,
The Off Grid Barefoot Girl

