Looking for a natural way to support your immune system this season? Making elderberry syrup at home is easier than you think! In this guide, I’ll walk you through the ingredients, step-by-step preparation, and storage tips to create a potent, flavorful syrup. Perfect for boosting wellness during cold and flu season, this homemade elderberry syrup is safe, effective, and delicious—plus it’s a fun DIY project you can enjoy with your family.
Every fall, I start thinking about how to keep my family healthy naturally. Elderberry syrup has been a go-to for me for years, and I love making it from scratch. It’s rich in antioxidants, easy to prepare, and tastes amazing on toast, in teas, or straight from the spoon. Whether you’re new to herbal remedies or just looking for a tried-and-true recipe, this guide will walk you through everything you need to know about making elderberry syrup at home—from ingredients and step-by-step instructions to storage tips and helpful FAQs.
This is a pinnable post. Tap or hover over any image in this post to pin to your Pinterest Boards.
Why Elderberry Syrup Supports Immunity
I love using elderberries because they’re packed with antioxidants, including flavonoids like anthocyanins, which help protect our cells from oxidative stress and free radical damage. These compounds really support overall immune function and can even help reduce inflammation. Elderberries are also rich in vitamins, especially vitamin C, which I rely on to help keep my family’s defenses strong during cold and flu season. Making elderberry syrup at home is such an easy way to get these nutrients naturally while enjoying a delicious, sweet syrup. I’ve found it to be a simple, nutrient-dense addition to our wellness routine.
Beyond the vitamins and antioxidants, elderberries also have antiviral properties. From my experience and from reading the research, elderberry extracts can help slow down the replication of certain viruses, which may reduce the severity and duration of colds or the flu. While it’s not a replacement for medical care if someone gets really sick, I love knowing that I can make something natural that helps our bodies fight off seasonal bugs more efficiently.
Benefits for Cold and Flu Season
I start thinking about elderberry syrup every fall because it’s such a helpful way to stay ahead of cold and flu season. I’ve noticed that it can help reduce the length and severity of symptoms like congestion, sore throats, and fatigue. My family takes a small daily dose when the weather turns colder, and it gives me peace of mind knowing we’re supporting our immune systems naturally.
Another thing I love about elderberry syrup is how soothing it can be when anyone in my household is feeling under the weather. The natural compounds in the berries help ease inflammation in the respiratory system, and it just feels comforting to know we’re using something wholesome and homemade. Paired with rest, warm drinks, and good nutrition, elderberry syrup has become a staple in our home for keeping everyone healthier during the fall and winter months.
Studies and Traditional Use for Credibility
I’ve always been fascinated by the history of elderberries. People across Europe and North America have used elderberry syrup for centuries to treat colds, fevers, and other minor illnesses. I love that I’m continuing this tradition in my own kitchen—it feels like connecting with generations of natural wellness practices.
There’s also modern research that backs up what herbalists have known for years. Studies show that elderberry extracts may help reduce the duration and severity of flu symptoms when taken at the first sign of illness. I like knowing that my homemade syrup combines the wisdom of tradition with the evidence of modern science, making it a safe and effective way to support my family’s immune health.
Ingredients Needed to Make Elderberry Syrup
Fresh or Dried Elderberries
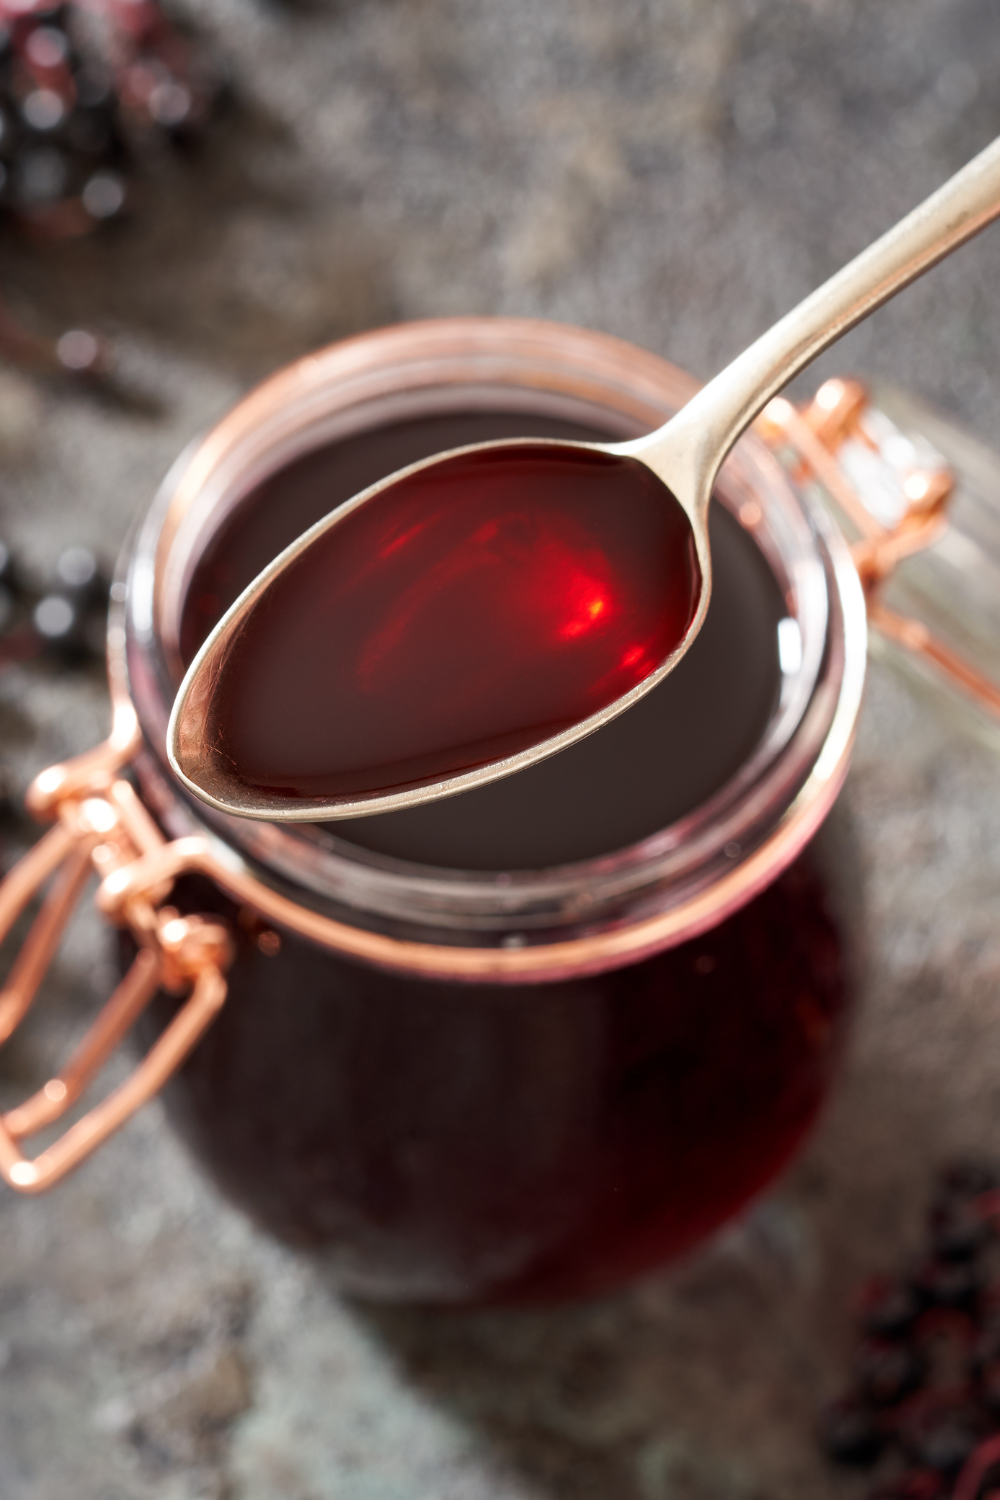
When I make elderberry syrup, I love using either fresh or dried elderberries. Fresh berries are wonderful if you can find them, offering a vibrant flavor, but dried elderberries are my go-to because they’re easy to store and always ready to use. Both work beautifully, and I always make sure to cook them thoroughly to release their nutrients and make the syrup safe to consume.
Water, Honey, and Spices
The base of my syrup is simple: water to simmer the berries, and raw honey added at the end for natural sweetness and immune support. I always include warming spices like cinnamon sticks, cloves, and fresh ginger—they add depth to the flavor and boost the syrup’s health benefits. Sometimes I like to brighten it with a touch of citrus zest, like lemon or orange, which gives the syrup a fresh, tangy note while adding extra vitamin C.
Tips for Sourcing Elderberries Safely
Safety is my top priority when making elderberry syrup. I never pick berries from unknown plants because some parts of the elderberry, like the stems and leaves, can be toxic if eaten raw. I usually buy my elderberries from trusted organic suppliers or harvest from trees I know are safe. Cooking the berries thoroughly is essential, and I always follow reliable recipes to make sure my syrup is both safe and effective. Taking these precautions makes me feel confident that the syrup I serve my family is healthy, safe, and packed with goodness. My goal one day is to grow my own elderberry plant in my backyard orchard.
Step-by-Step Guide to Making Elderberry Syrup
Simmer Berries and Spices in Water
I start by adding my fresh or dried elderberries to a saucepan with water, along with cinnamon sticks, cloves, and sliced fresh ginger. I bring the mixture to a gentle boil, then reduce the heat and let it simmer for about 45–60 minutes. This allows all the natural goodness from the berries and spices to infuse into the liquid, creating a rich, flavorful base for the syrup. I love how the kitchen fills with the warm, comforting aroma during this step—it’s one of my favorite parts of making elderberry syrup.
Mash Berries and Strain the Liquid
Once the berries have simmered and released their nutrients, I use a spoon or potato masher to gently crush them, making sure to extract as much juice as possible. Then I carefully strain the mixture through a fine mesh sieve or cheesecloth to remove the solids. I always take my time here because I want a smooth, silky syrup that’s easy to pour and enjoy.
Add Honey When Syrup is Cool
After straining, I let the liquid cool slightly before stirring in raw honey. Adding honey while the syrup is still hot can destroy some of its beneficial enzymes, so I make sure the syrup is warm, not boiling. The honey not only sweetens the syrup but also adds an extra immune-boosting component, making it a perfect natural remedy for the season.
Optional Variations for Flavor or Potency
Sometimes I like to experiment with the flavor or potency of my syrup. Adding a splash of fresh lemon or orange juice gives it a bright, zesty flavor, while a few extra slices of ginger can make it more warming and invigorating. You can also adjust the spices to taste—some people like a stronger cinnamon or clove flavor, and I encourage you to make the syrup your own.
Storage Tips and Shelf Life
How I Store My Elderberry Syrup
Best Containers: Glass Jars and Airtight Bottles
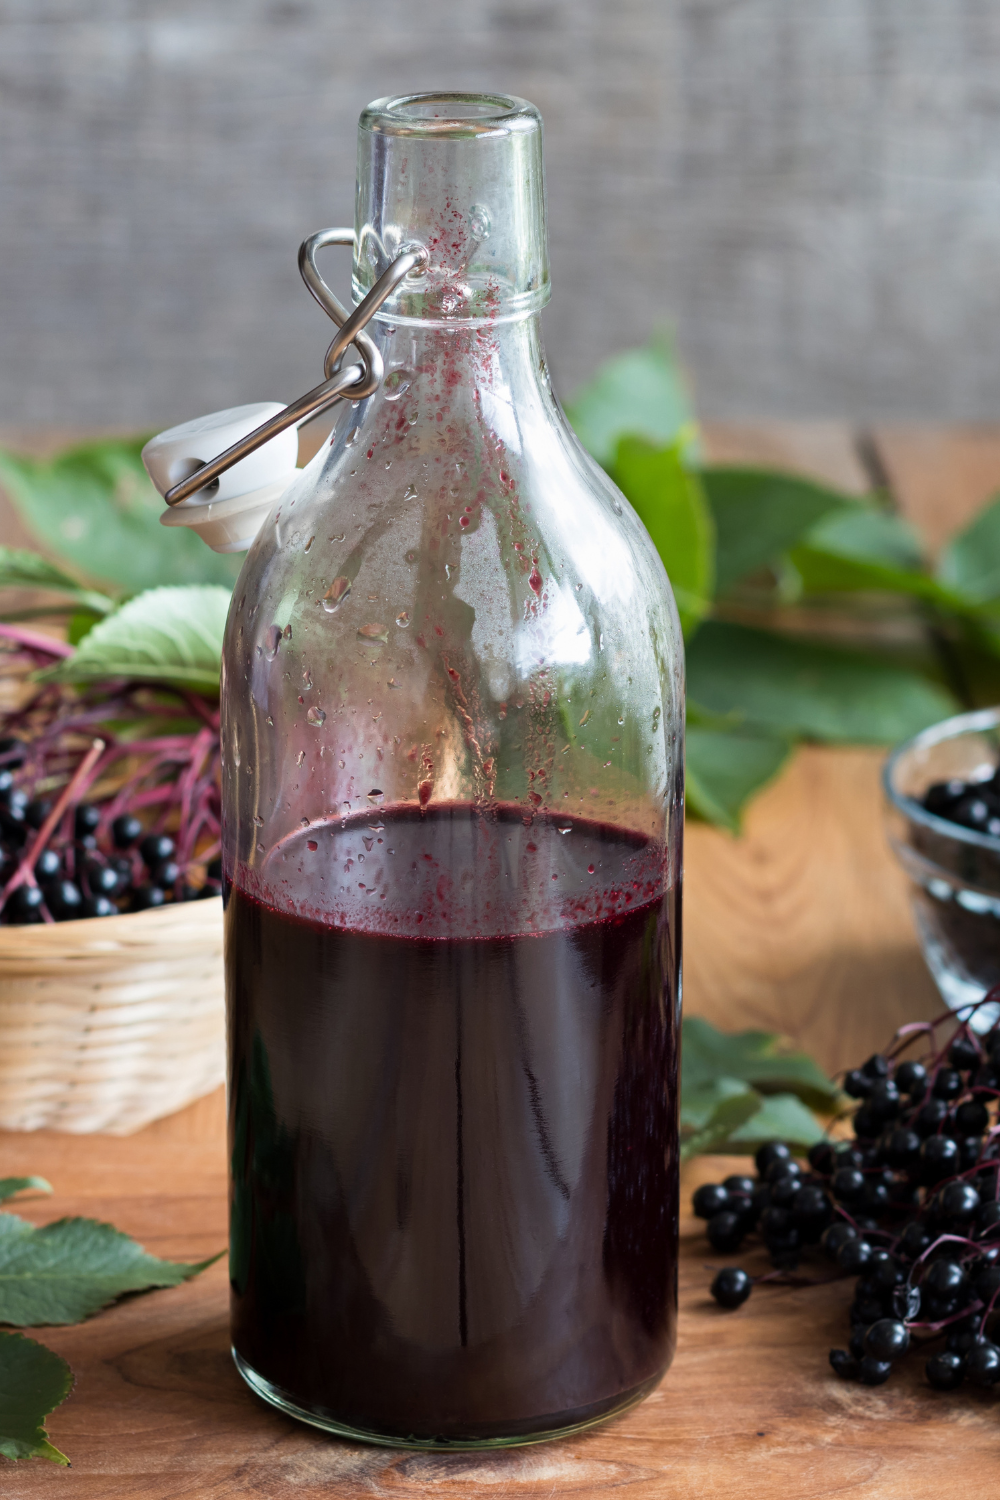
When it comes to storing elderberry syrup, I always use glass jars or airtight bottles. Glass is my favorite because it doesn’t react with the syrup and keeps the flavor pure. I make sure the jars are clean and sterilized before pouring in the syrup, which helps it last longer and stay fresh. Using airtight bottles also prevents contamination and keeps the syrup from absorbing any unwanted odors from the fridge.
Refrigeration vs Freezing
I usually keep my elderberry syrup in the refrigerator for daily use. It stays fresh for a few weeks and is easy to grab whenever we need a boost. For longer storage, I love freezing extra batches in ice cube trays or freezer-safe jars. Freezing keeps the syrup potent for several months, and it’s so convenient to have little cubes ready to thaw whenever I need them. I’ve found that freezing doesn’t affect the flavor at all, and it’s a great way to make sure I always have syrup on hand throughout the season.
How Long It Lasts and When Potency May Decline
In my experience, homemade elderberry syrup lasts about three months in the fridge. After that, the flavor might start to change, and some of the potency can slowly decline. Freezing helps extend its shelf life up to six months or more, but I try to use it within that timeframe to enjoy the best flavor and immune-boosting benefits. I always label my jars with the date I made them so I know exactly how fresh they are, which makes keeping track simple and stress-free.
Want an Extra Immunity Boost? Try Fire Cider
If you’re looking for another natural way to support your immune system, my Easy Fire Cider Recipe is a perfect complement to elderberry syrup. I love making fire cider with ingredients like apple cider vinegar, garlic, ginger, horseradish, and hot peppers—it’s zesty, potent, and packed with immune-boosting properties.
I usually take a small shot daily during cold and flu season, or add it to dressings and teas for a flavorful kick. Pairing fire cider with elderberry syrup gives your body a double layer of natural protection, and it’s become a staple in my home for keeping the whole family healthy throughout the season.
Conclusion
Making your own elderberry syrup is not only easy but also one of my favorite ways to care for my family naturally. I love that with just a handful of simple, wholesome ingredients—elderberries, honey, spices, and a touch of citrus—you can create something that’s both delicious and incredibly good for you. Every time I make a batch, I feel a sense of satisfaction knowing that I’m crafting a potent immune booster right in my own kitchen, something that will help my family stay healthy throughout cold and flu season.
I’ve found that making elderberry syrup is more than just a recipe; it’s a ritual that brings a little bit of coziness and calm into my day. The warm aroma of simmering berries and spices fills the kitchen, and it’s a comforting reminder that natural remedies can be simple, effective, and enjoyable. Once the syrup is ready, I store it carefully in glass jars or freezer-safe containers so we always have it on hand, whether for everyday wellness or when someone needs a little extra immune support.
Giving this recipe a try is easier than most people think, and the rewards go far beyond the syrup itself. Knowing that you have a homemade wellness staple ready whenever you need it brings a kind of peace of mind that’s hard to beat. It’s empowering to know that you can nourish your loved ones naturally, safely, and deliciously—and that’s exactly why I keep making elderberry syrup year after year.
For more information on holistic health nutrition, check out my article: The Ultimate Guide to Holistic Health Nutrition
Resources: Here are some helpful resources for further information.
- Fire Cider Tonic – By Herbal Revolution
- Fire Cider Recipe – Sour and Sweet – By The Kitchn
- Homemade Fire Cider Recipe – By Good Food Baddie
Frequently Asked Questions
1. Can kids take elderberry syrup?
Yes! It’s generally safe for children, but always check with your pediatrician for proper dosage.
2. Can I use fresh elderberries instead of dried?
Absolutely! Fresh berries work well; just adjust simmering time slightly and always cook thoroughly.
3. How much syrup should I take daily?
Typically, 1 tablespoon for kids and 1–2 tablespoons for adults, once or twice daily during cold and flu season.
4. Can I freeze elderberry syrup?
Yes! Pour into ice cube trays or freezer-safe jars. Thaw as needed; it maintains flavor and potency for several months.
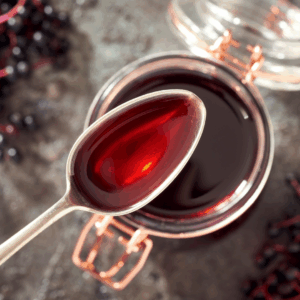
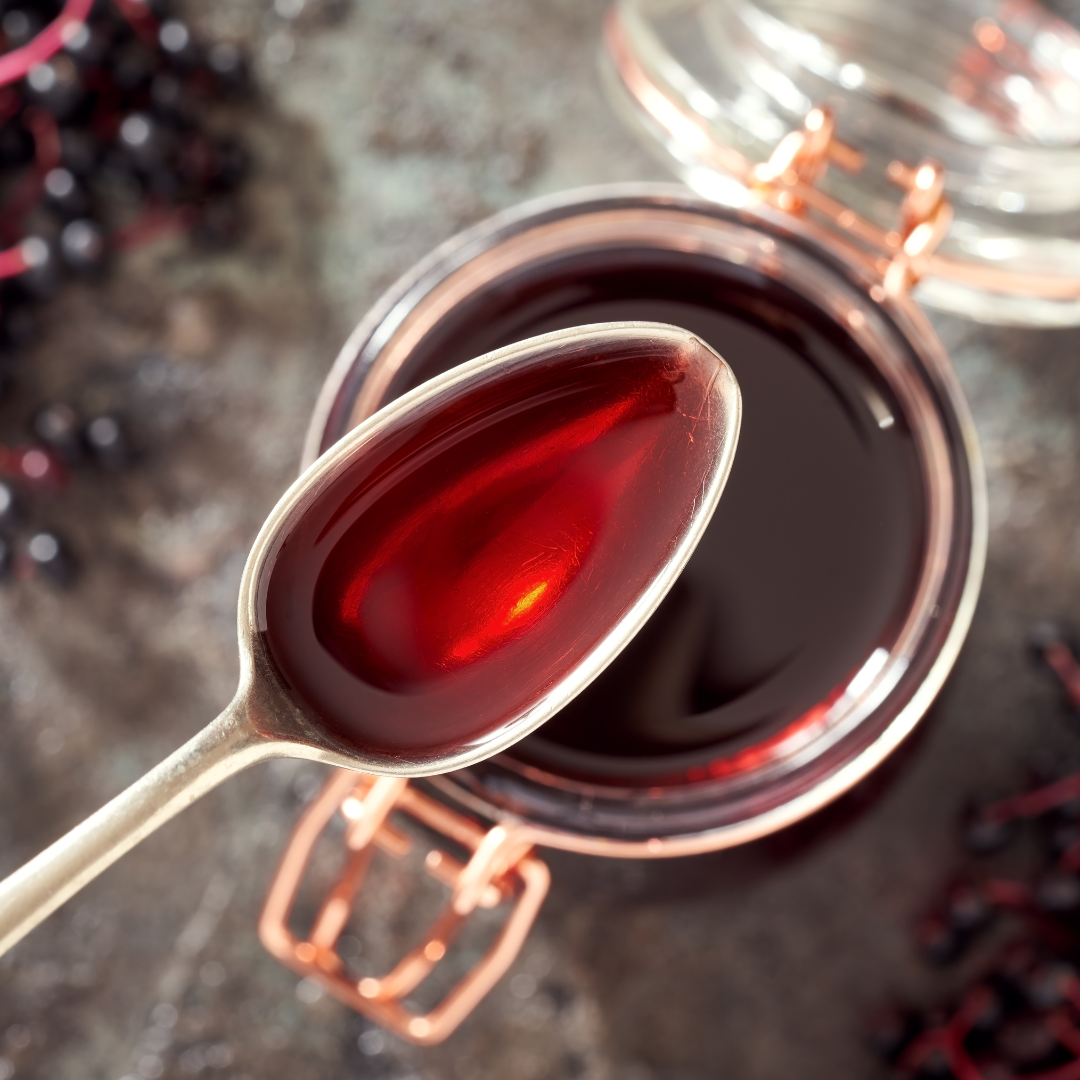
Elderberry Syrup
Equipment
- 1 Medium saucepan
- 1 Wooden spoon or potato masher
- 1 Fine mesh sieve or cheesecloth
- 1 Glass jars or airtight bottles for storage
Ingredients
- 1 cup dried elderberries (or 2 cups fresh)
- 4 cups water
- 1-2 pieces cinnamon sticks
- 1 tsp cloves (whole or ground)
- 1-2 inch piece fresh ginger, sliced
- 1 cup raw honey
- 1 zest of lemon or orange (optional)
Instructions
- Combine elderberries, water, cinnamon, cloves, and ginger in a saucepan.
- Bring to a boil, then reduce heat and simmer for 45–60 minutes.
- Remove from heat, mash berries, and strain through a fine mesh sieve.
- Allow liquid to cool slightly, then stir in honey.
- Pour into glass jars and store in the refrigerator for up to 3 months, or freeze for longer storage.
Notes
- Never add honey to boiling liquid; it destroys beneficial enzymes.
- Adjust spices to taste.
- Use a clean glass jar for maximum shelf life.
Summary
I hope I have inspired you to improve your health with herbal medicine under the guidance of your physician and begin to reap the benefits of what medicinal herbs offer.
If you were encouraged by this post, I invite you to check out my FREE Printables Page for fun free printables, planners, and charts.
ENTER MY FREE Printables Page HERE
Here are some more of my gardening inspiration posts to check out!
The Ultimate Guide to Holistic Health Nutrition
Barefoot Grounding: 7 Best Surfaces to Revitalize Your Power!
Discover the #1 Secrets of Growing a Japanese Tea Garden!
Thyme: Powerful Health Benefits of Thyme
Lavender: Powerful Health Benefits of Lavender
Chamomile: Powerful Health Benefits of Chamomile
Sage: Powerful Health Benefits of Sage and Its Effects
Garlic: Powerful Health Benefits of Garlic and Its Effects
Holy Basil: Powerful Health Benefits of Holy Basil and Its Effects
16 Best Medicinal Herbs to Grow in Your Garden Now
8 Best Natural Pain Relievers For Survival Without Pharmaceuticals
Blessings,
The Off Grid Barefoot Girl



I made the elderberry syrup. It was so easy not to mention it is delicious!!
Great to hear!! So glad you now have this amazing stuff to enjoy!!