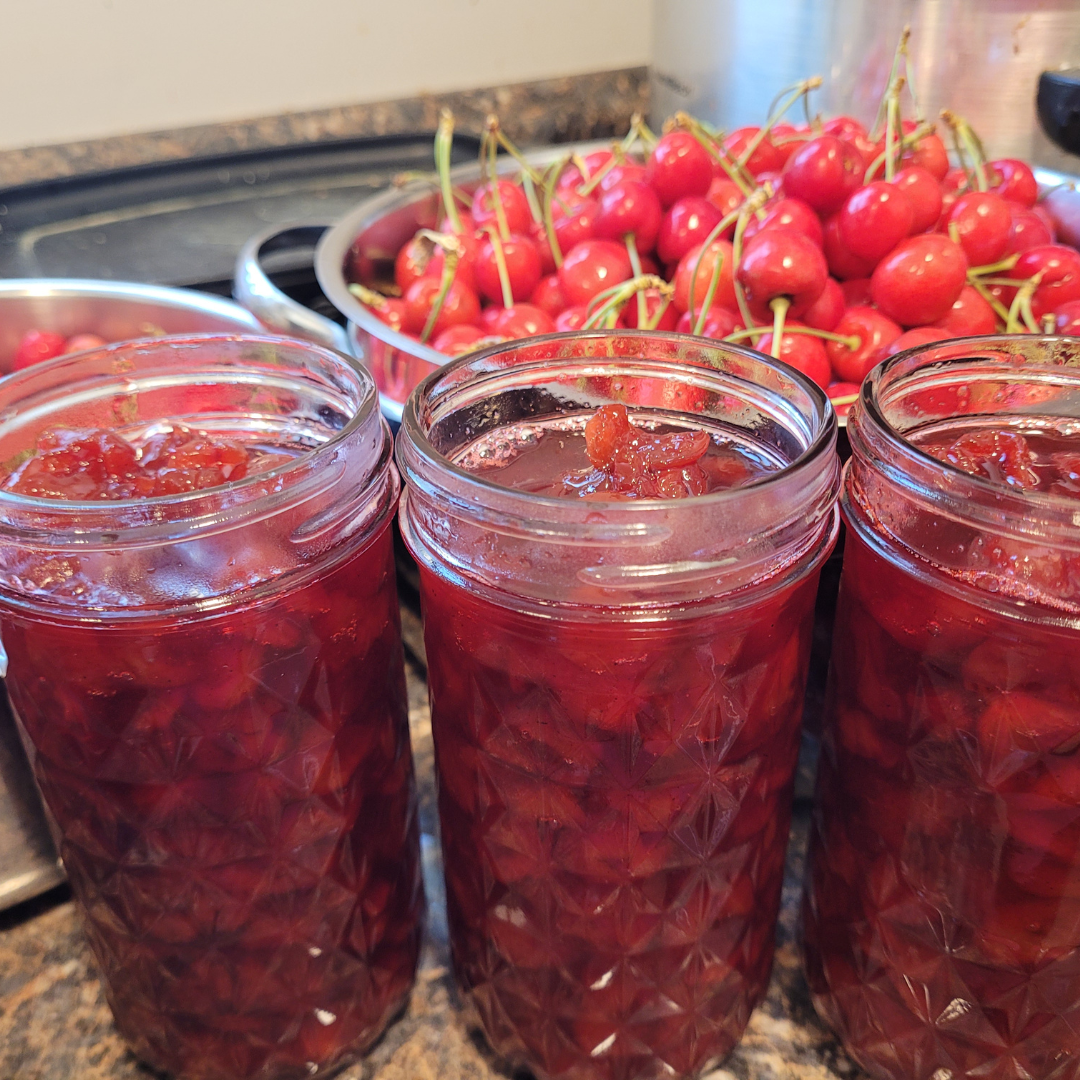
Make homemade cherry pie filling with fresh or frozen cherries using simple ingredients and easy steps. Perfect for pies, tarts, and desserts, this sweet and tangy filling brings the taste of summer right to your table.
Homemade cherry pie filling is a simple way to capture the vibrant flavor of fresh cherries. Using either fresh or frozen cherries, you can make a sweet and tangy filling that elevates pies, tarts, or even ice cream. In this guide, you’ll learn step by step how to make cherry pie filling that tastes far better than anything from a jar and brings the essence of summer to your desserts all year long.
This is a pinnable post. Tap or hover over any image in this post to pin to your Pinterest Boards.

Cherry Pie Filling Recipe Tutorial
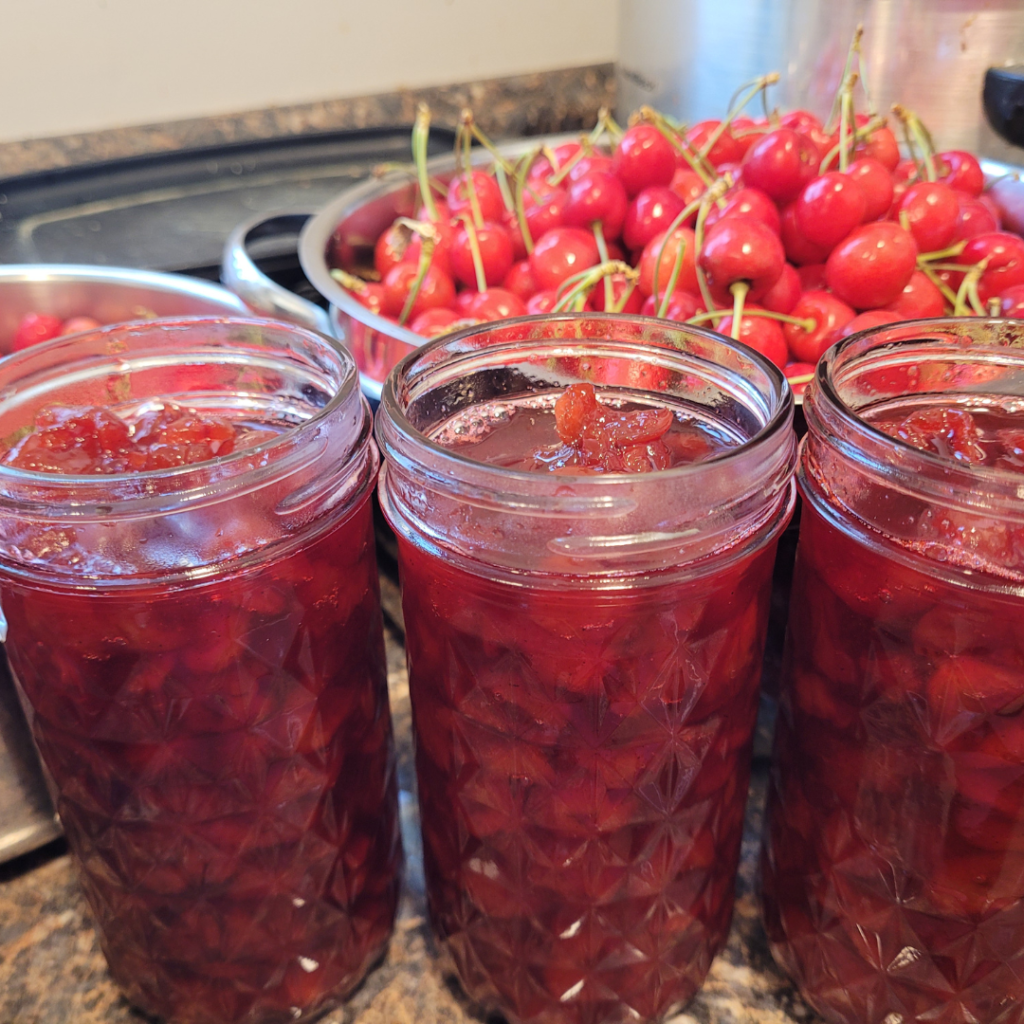
Creating homemade cherry pie filling is a delightful way to capture the sweet and tangy essence of fresh cherries in a versatile and delicious form. Whether you’re a baking enthusiast looking to elevate your pies or simply seeking a flavorful topping for various desserts, mastering the art of cherry pie filling opens up a world of culinary possibilities.
In this comprehensive guide, I will explore the step-by-step process of making cherry pie filling from scratch, from selecting the perfect cherries to incorporating your own unique touch to enhance the flavor profile.
Choosing the Right Cherries

Now, before we get started into cherry pie paradise, let’s make sure we’re picking the perfect cherries for the job. Not all cherries are created equal when it comes to pie filling, so let’s break it down.
Types of Cherries for Pie Filling

When it comes to cherry pies, sour cherries are the MVPs. They bring that perfect tartness and juicy flavor that will make your taste buds do a happy dance. Look for varieties like Montmorency or Morello for that classic cherry pie taste.
Quality and Ripeness
Make sure your cherries are top-notch by choosing ones that are firm, plump, and deeply colored. Avoid cherries that are mushy or overly soft, as they might not hold up well in your pie filling. And remember, the riper the cherry, the sweeter the filling!
Preparing the Cherries
Now that you’ve snagged the best cherries in town, it’s time to get them prepped and ready for their starring role in your pie filling. Let’s roll up our sleeves and get into the cherry prep process.
Washing and Pitting Cherries
Give your cherries a good rinse under cold water to remove any dirt or pesticides. Once they’re squeaky clean, it’s time to pit them (you know, the fun part). You can use a cherry pitter if you have one, or go old-school and carefully slice around the pit with a sharp knife. Just watch those fingers!
Slicing or Chopping Techniques
Depending on your pie preference, you can slice your cherries in half for a chunkier filling or chop them into smaller pieces for a smoother texture. Whichever way you slice it (pun intended), just make sure your cherries are evenly sized for a pie that bakes up beautifully.
Making the Cherry Pie Filling
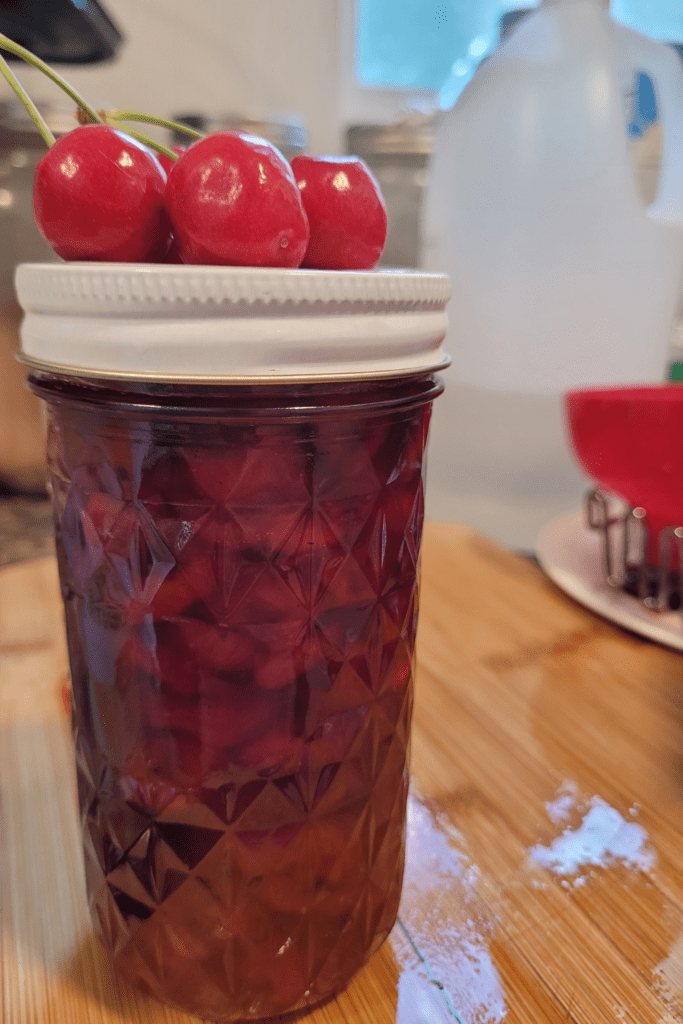
Alright, we’ve got our cherries prepped and raring to go. Now it’s time to bring all those fruity flavors together in a luscious cherry pie filling that will have everyone begging for more!
Ingredients Needed
- Fresh Cherries: Makes up the recipe and ensures a burst of natural sweetness and intense fruit flavor in every delightful bite.
- Cherry Juice: Adds an extra depth of flavor and enhances the luscious taste of the filling, creating a truly indulgent dessert experience.
- Sugar: Sugar not only balances the natural tartness of the cherries, but also helps to create a rich and syrupy consistency that complements the fruit perfectly.
- ClearJel Starch: Ensures a smooth and consistent texture without the risk of the filling becoming too runny or watery.
- Lemon Juice: Adds a subtle hint of brightness and tangy flavor and helps to balance the sweetness of the cherries, creating a well-rounded and refreshing filling for your delicious pies.
- Cinnamon: Imparts a warm and aromatic spice that enhances the overall flavor profile, adding a subtle depth and complexity to the sweet and tangy cherries.
Step-by-Step Instructions
- Pit the cherries. Turn on a television show or some music, as this is going to be a good minute or two or more like 2 hours!
- In a saucepan, combine 4 cups of cherry juice, sugar, ClearJel, and cinnamon over medium heat and bring to a boil, stirring constantly until thickened.
- Add lemon juice and boil for 1 minute.
- Add the cherries and bring to a boil.
- Fill each jar leaving 1 inch headspace and remove air bubbles.
- Wipe each jar rim clean and add on the lids and rings.
- Place the jars in a boiling-water canner with 1 inch of water over the jars.
- Process pint jars for 35 minutes, adjusting for your altitude.
- Turn off the heat and allow the canner to cool for 5 minutes.
- Remove each jar from the canner and place them onto a towel-lined countertop and do not disturb them for up to 12 to 24 hours.
- Store them in the pantry for up to 1 year.
Cooking and Thickening the Filling
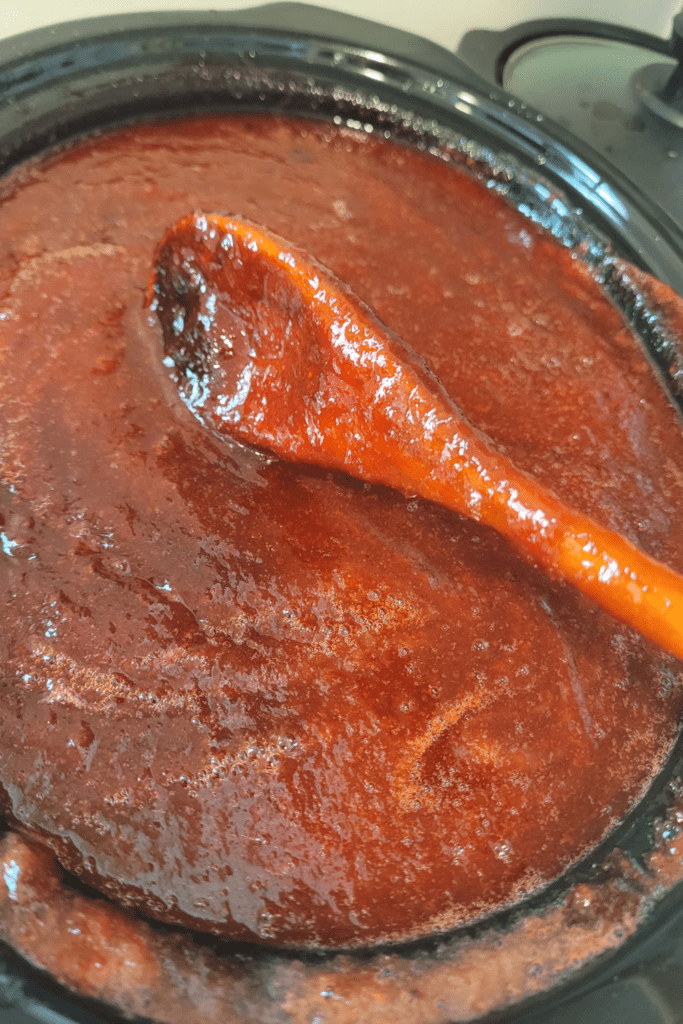
Cooking Process
Cook the ingredients as above on the stovetop or do what I did. I slow-cooked my cherry syrup in my crockpot on high for 4 to 5 hours.
Thickening Agents
Popular thickening agents for cherry pie filling include cornstarch, flour, tapioca, and instant clear gel. These ingredients help absorb excess liquid and give the filling a luscious consistency without making it too runny. If you will be canning your syrup, do not use flour.
Sweetening and Flavoring Options
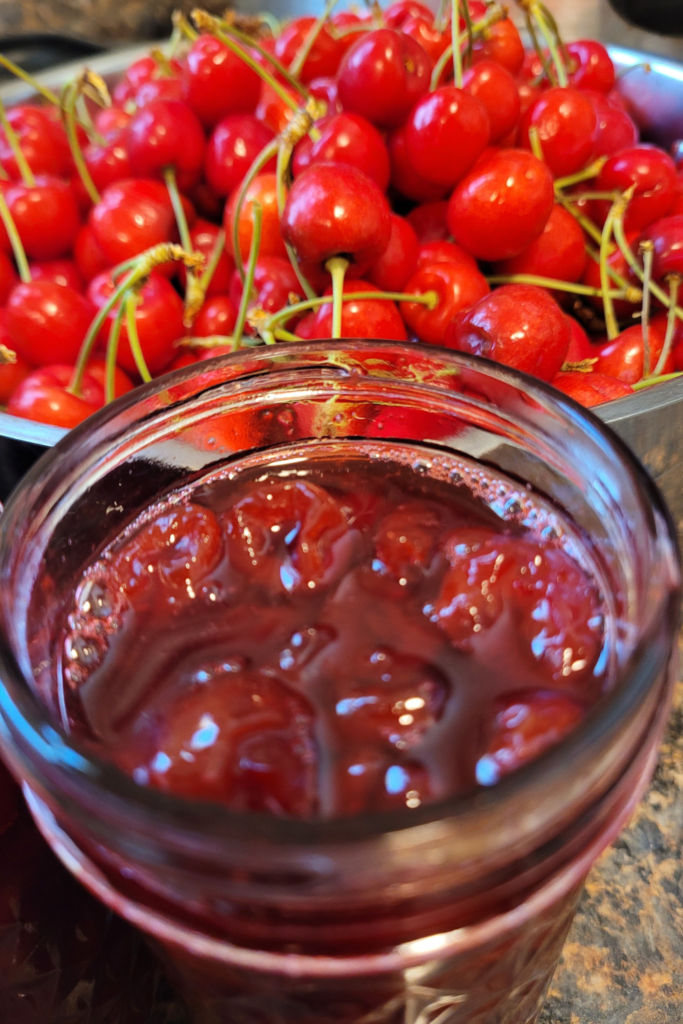
Sugar and Sweeteners
Traditional cherry pie filling is sweetened with granulated sugar. You can also use brown sugar, honey, maple syrup, or alternative sweeteners like stevia or agave nectar for a different flavor profile.
Enhancing Flavors with Spices or Extracts
Spice up your cherry pie filling with cinnamon, nutmeg, almond extract, or vanilla extract. These add depth and complexity to the filling, elevating the overall flavor of your pie.
Storing and Using Cherry Pie Filling
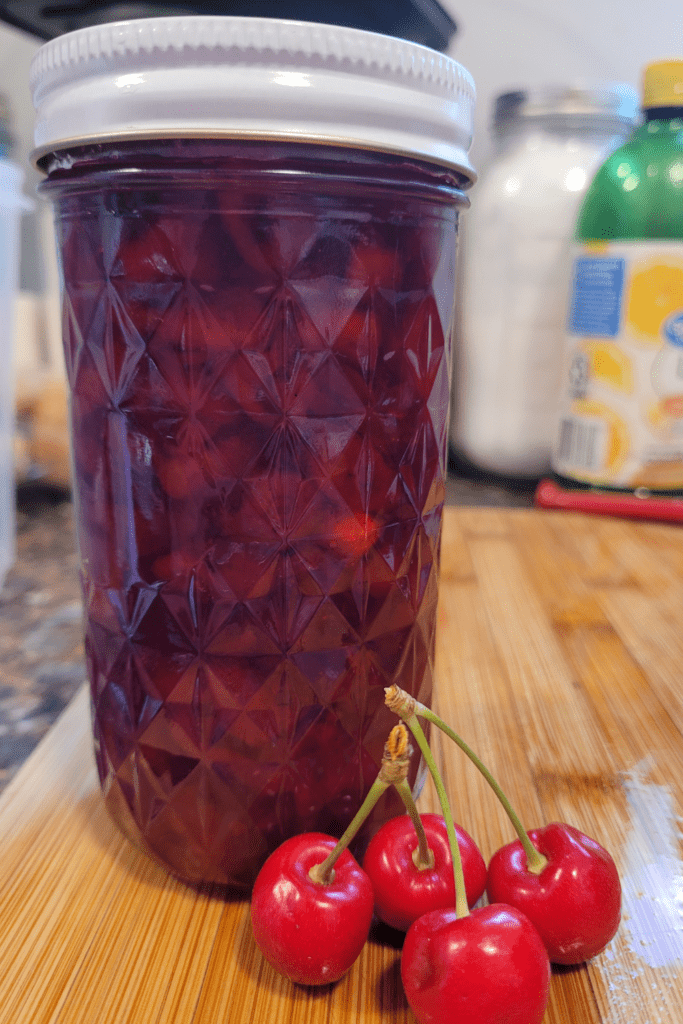
Proper Storage Methods
Store homemade cherry pie filling in airtight containers in the refrigerator for up to a week or freeze it for a longer shelf life. Remember to cool the filling completely before storing them. Alternatively, water bath can and seal your jars and store in your pantry for up to one year.
Recipes and Dishes to Use Cherry Filling In
Besides classic cherry pie, use the filling in turnovers, tarts, crumbles, parfaits, or as a topping for cheesecakes, pancakes, ice cream, or yogurt for a burst of fruity goodness.
Creative Ways to Enjoy Cherry Pie Filling
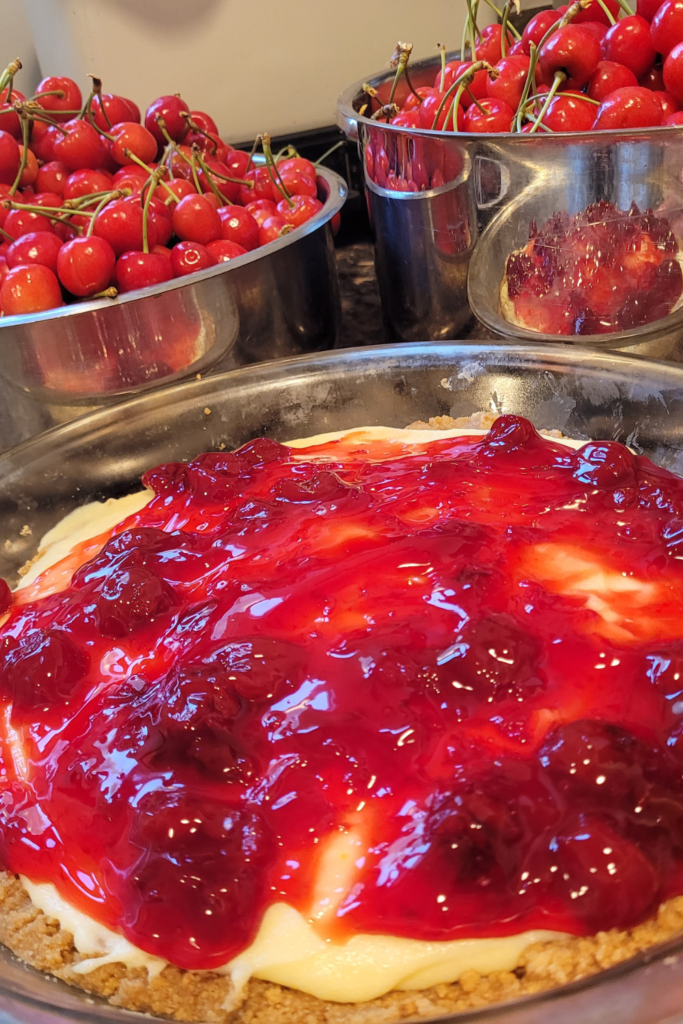
Alternative Uses Beyond Pie
Get inventive and use cherry pie filling as a topping for waffles, oatmeal, or pound cake. Mix it into smoothies, and yogurt bowls, or bake it into muffins for a surprise filling.
Incorporating Filling into Dessert Recipes
Experiment with incorporating cherry pie filling into desserts like cobblers, trifles, or even as a filling for hand pies or crepes. The versatile filling can bring a pop of color and flavor to various sweet treats.
Mastering the art of making cherry pie filling is not only a rewarding culinary experience, but also a delightful way to infuse your dishes with the vibrant flavors of fresh cherries. Whether you use it as a filling for pies, as a topping for ice cream, or as a flavorful addition to cakes and pastries, homemade cherry pie filling adds a touch of homemade goodness to any dessert.
With a few simple steps, you can create a versatile and delicious filling that will impress your family and friends. So, gather your ingredients, get creative in the kitchen, and savor the sweet taste of success with every bite of your homemade cherry pie filling creation!
Conclusion
As you savor the rich aroma wafting from your oven and anticipate the moment when your perfectly crafted cherry pie emerges, remember that the journey began with the simple act of making the cherry pie filling from scratch.
With each step, from selecting the finest cherries to simmering them into a luscious, flavorful filling, you have infused your creation with care and artistry. Now, as you slice into that first piece of pie, let the sweet essence of homemade cherry pie filling transport you to a realm of pure culinary delight. May your desserts be always filled with the warmth and sweetness of homemade goodness!
Resources: Here are some helpful resources for further information.
- Apple Pie Filling Recipe – By Spend with Pennies
- Stovetop Fruit Pie Filling – By Leite’s Culinaria
- Basic Cream Pie Filling – By Just A Pinch

Frequently Asked Questions
1. Can I use frozen cherries to make cherry pie filling?
Yes, you can use frozen cherries to make cherry pie filling. Make sure to thaw and drain the cherries before incorporating them into the recipe for the best results.
2. How long can I store homemade cherry pie filling?
Homemade cherry pie filling can be stored in an airtight container in the refrigerator for up to 5-7 days. You can also freeze the filling for longer storage, typically up to 3 months.
3. Can I adjust the sweetness of the cherry pie filling?
Yes, you can adjust the sweetness of the cherry pie filling according to your preference. Simply taste the filling as you add the sugar and adjust the amount to suit your desired level of sweetness.
4. What desserts can I make with cherry pie filling besides pies?
Cherry pie filling can be used in a variety of desserts, including turnovers, crumbles, cobblers, tarts, cheesecakes, and even as a topping for ice cream or pancakes. Let your creativity shine with this versatile and delicious filling!
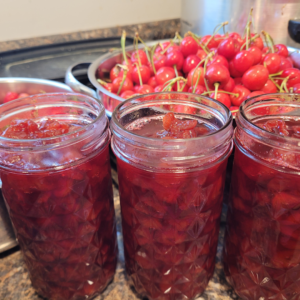
Cherry Pie Filling Recipe
Equipment
- 1 large stock pot.
- 1 water bath canner
- 8 pint jars, lids, and rings.
- canning supplies
Ingredients
- 15 cups cherries.
- 4 cups cherry juice.
- 4 cups sugar.
- 1 cup ClearJel starch.
- ¼ cup lemon juice.
- ½ tsp cinnamon.
Instructions
- Pit the cherries. Turn on a television show or some music, as this is going to be a good minute or two or more like 2 hours!
- In a saucepan, combine 4 cups of cherry juice, sugar, ClearJel, and cinnamon over medium heat and bring to a boil, stirring constantly until thickened.
- Add lemon juice and boil for 1 minute.
- Add the cherries and bring to a boil.
- Fill each jar leaving 1 inch headspace and remove air bubbles.
- Wipe each jar rim clean and add on the lids and rings.
- Place the jars in a boiling-water canner with 1 inch of water over the jars.
- Process pint jars for 35 minutes, adjusting for your altitude.
- Turn off the heat and allow the canner to cool for 5 minutes.
- Remove each jar from the canner and place them onto a towel-lined countertop and do not disturb them for up to 12 to 24 hours.
- Store them in the pantry for up to 1 year.
Summary
I hope I have inspired you to make and can this recipe to enjoy and share with your friends and family.
If you were encouraged by this post, I invite you to check out my FREE Printables Page for fun free printables, planners, and charts.
ENTER MY FREE Printables Page HERE
Here are some more of my jam inspiration posts to check out!
How to Make and Can Peach Salsa
Canning Supplies You Need Now for a Successful Canning Season!
How to Make and Can Balsamic Onion Jam
Cranberry Sauce: How to Make and Can Old Fashioned Cranberry Sauce
How to Make and Can Cranberry Merry Jam
How to Make and Can Strawberry Shortcake Jam
Cherry Jam: How to Make and Can Cherry Pie Jam
Carrot Cake Jam: How to Make and Can Carrot Cake Jam
Quince Jam: How to Can a Year’s Supply of Quince Jam
Root Beer Float Jelly: How to Make and Can Root Beer Float Jelly
Blessings,
The Off Grid Barefoot Girl

