Learn how to make and can root beer float jelly at home. Step-by-step tips for a sweet, fizzy, nostalgic treat your family will love.
I’ll admit it—root beer floats have always been a favorite in our house. So naturally, when I discovered you could turn that classic flavor into a jelly, I had to try it! Making and canning root beer float jelly is easier than it sounds, and it’s a fun way to bring a little nostalgia to your pantry. In this guide, I’ll walk you step by step through my process, from mixing the fizzy root beer flavors to safely canning jars so they’re ready for toast, biscuits, or even as a sweet gift. It’s one of those simple recipes that feels special, yet is easy enough to make on a busy day.
This recipe tutorial walks you through step-by-step how to make and can root beer float jelly.
This is a pinnable post. Tap or hover over any image in this post to pin to your Pinterest Boards.
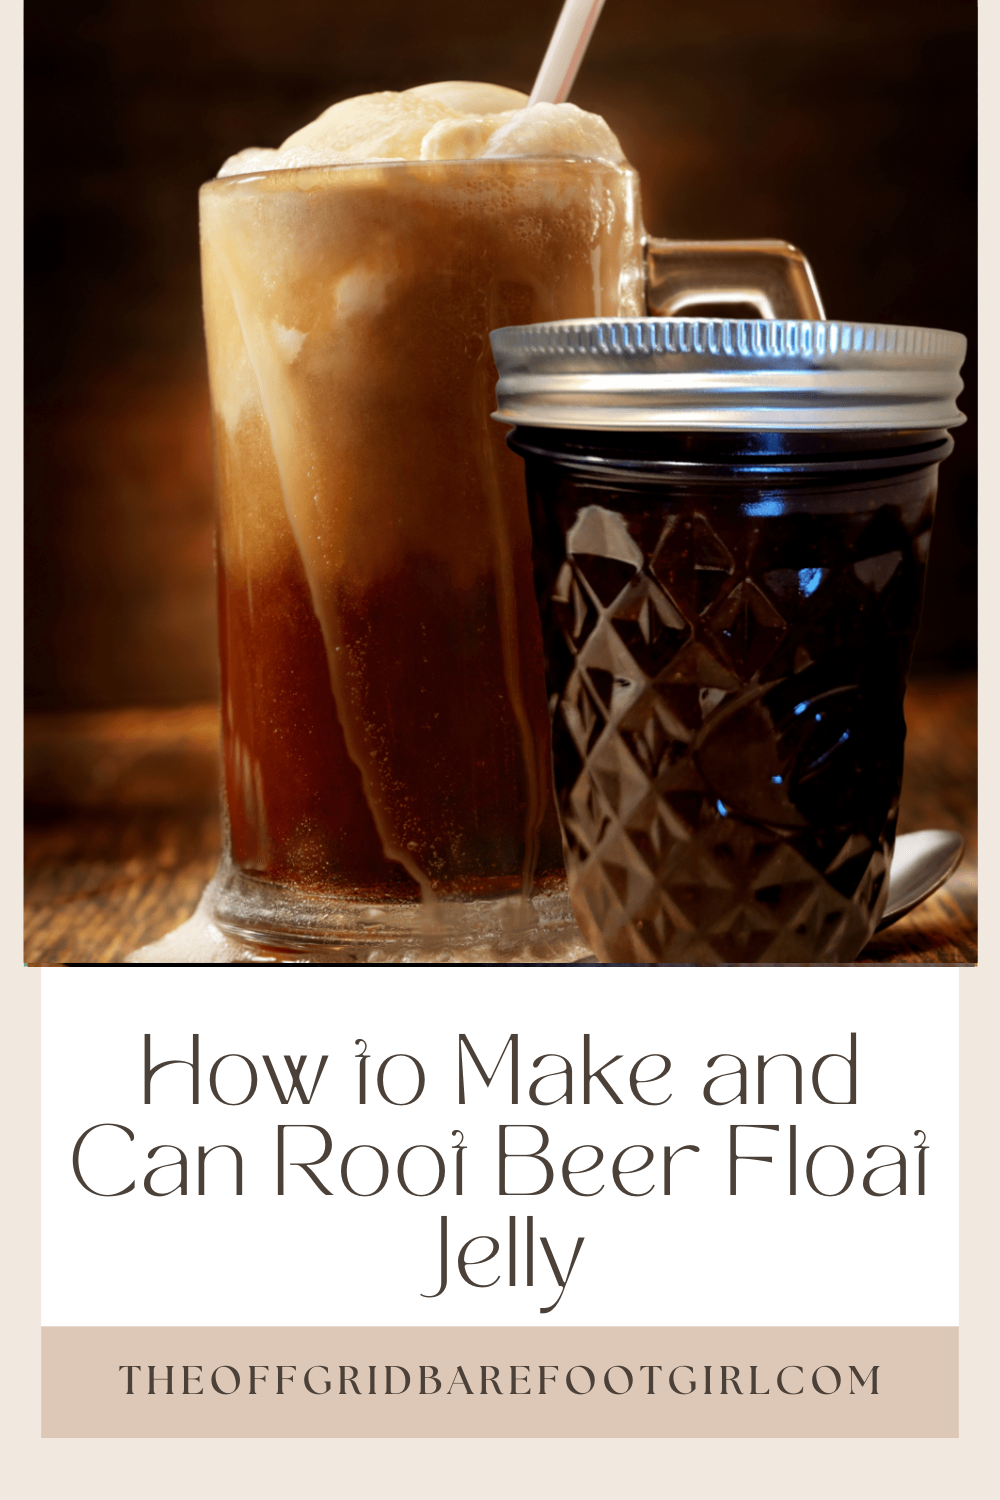
Recipe Tutorial for Root Beer Float Jelly

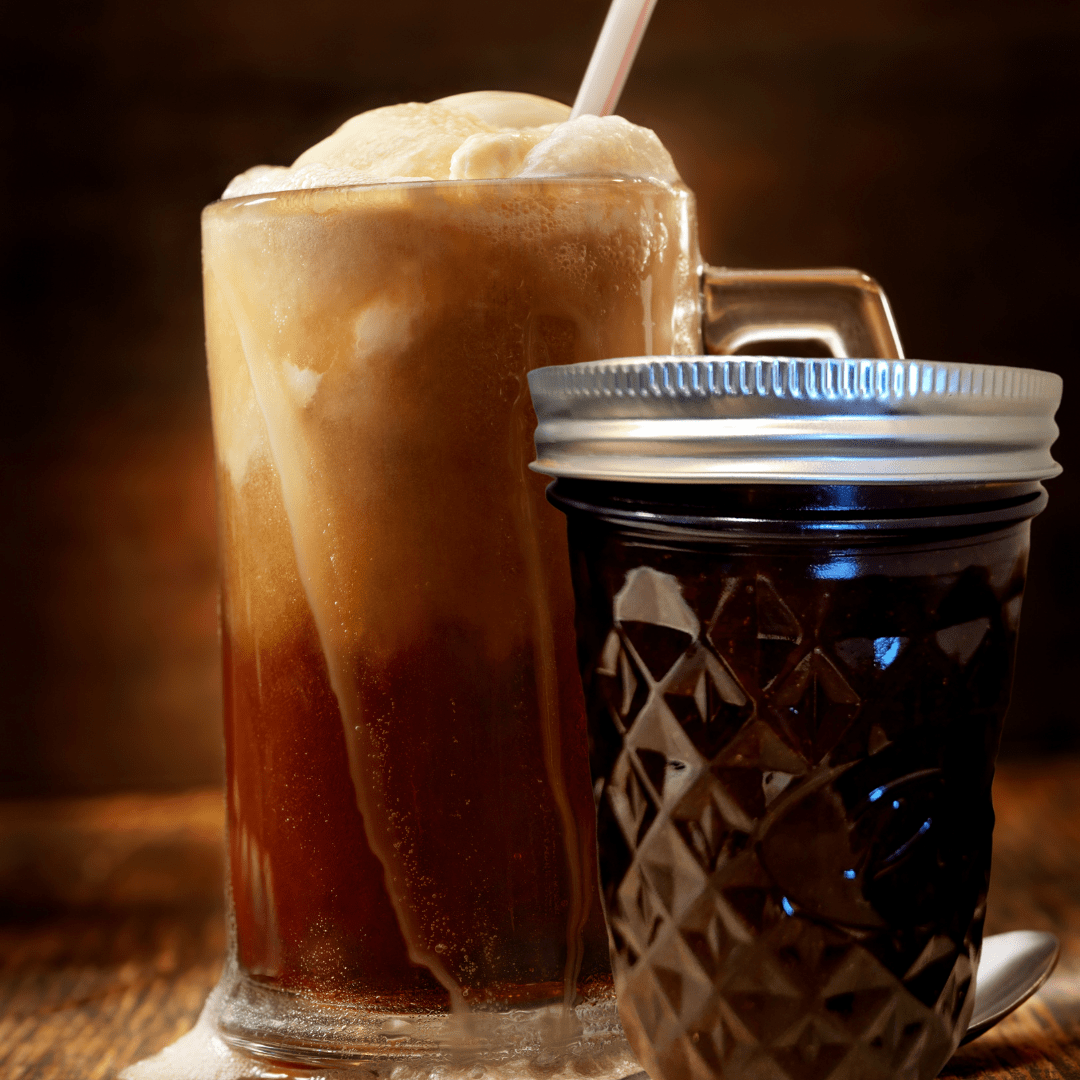
As I write this post, I am enjoying a tall glass of root beer float with chocolate syrup for inspiration!
Root beer floats on a hot summer day has been enjoyed for decades all over the world. My finest childhood memories are sitting by the lake at a shop with my grandparents and sisters enjoying old-fashioned root beer floats and watching the boat parade float by.
Why Did I Make This Recipe?
Well, why not? Have you ever heard of someone making root beer float jelly? There are root beer jelly recipes you can find on the internet, but I went a step further on this one to add the flavor profiles of root beer floats. You cannot buy this jelly at your grocery stores and probably not at any local farmer’s market.
Could you imagine selling this root beer float jelly at your local farmer’s market on a hot summer day? I bet people would buy these jars because this recipe is different and screams of summer childhood memories.
Recipe Ingredients and Equipment
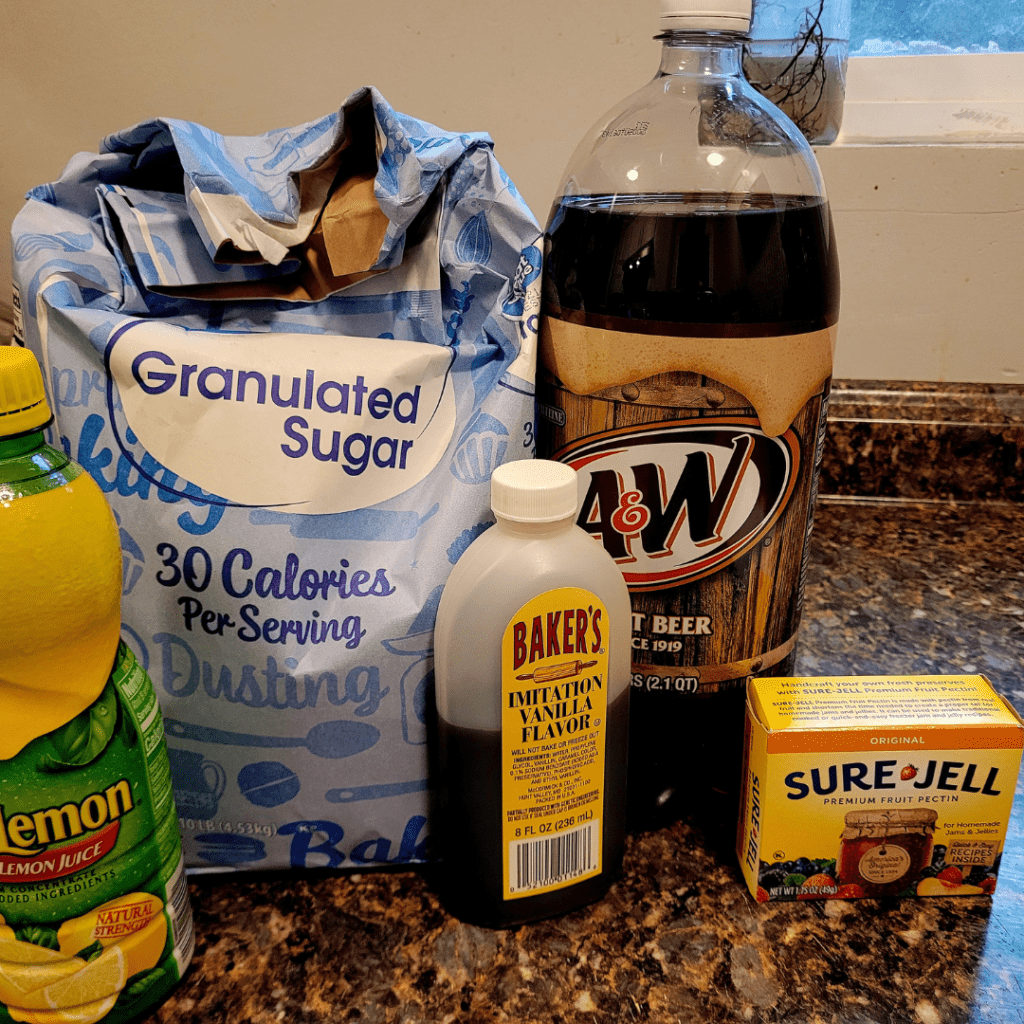
The ingredients for this recipe of course calls for real root beer soda. You will also need sugar, powdered pectin, lemon juice, and vanilla extract to give the jelly that vanilla ice cream flavor in root beer floats. You may think that adding lemon juice to this recipe is weird, but do not worry since you will not be able to taste it. The lemon juice makes this recipe safe for water bath canning.
This recipe makes 4 half pint jars or 2 to 3 pint jars. I make this into half pint jars since it is very sweet and having a small jar opened at a time is well enough for my family. I still love serving my family healthy foods, but they also want to have sweet treats every now and then and this recipe is perfect to adding a touch of sweetness to breakfast meals or dessert treats.
You will also need your water bath canner so go ahead and grab it from your pantry, I’ll wait right here.
Don’t forget to grab your canning supplies like your jar funnel, ladle, wand debubbler, jar lifter, jars, lids, rings, and whatever else you like to use in your canning projects.
If you do not have any water bath canning supplies, they are pretty cheap to obtain. You can get the whole canning kit on Amazon and be able to do many canning projects. Be careful, canning is addictive! You’ll want to can up everything and join all the canning groups on Facebook like I did.
Ingredients
- 4 1/4 cups root beer soda.
- 4 1/2 cups sugar.
- 1 pk or 6 tbsp powdered pectin.
- 2 tbsp lemon juice.
- 1 tbsp vanilla extract for the vanilla ice cream flavor!
Equipment
- 1 water bath canner.
- 4 half pint jars or 2 pint jars.
- Jar lids and rings.
- Canning supplies jar funnel, ladle, wand debubbler, jar lifter, etc.
Now that we have everything we need, let’s get started, but first what exactly is root beer float jelly you might ask?
What Is Root Beer Float Jelly and How to Use It
When I initially made and posted a picture of my proud root beer float jelly on my personal Facebook page and Facebook canning groups, everyone asked me what this was and how can they make it. Well, root beer float jelly is exactly what it sounds like, a root beer float in a jelly form! It is made spreadable for pancakes, waffles, biscuits, and scones. You can top your ice cream with it and swirl it in cheesecakes. You can even add it to oatmeal and have root beer float oatmeal! The possibliities are endless and you can enjoy having the taste of root beer floats whenever you want.
- Pancakes.
- Waffles.
- Biscuits.
- Scones.
- Ice cream topping.
- Cheesecake.
- Oatmeal.
Cooking the Ingredients

It was the 4th of July when I made this recipe so I was using my fun Americana whisk! You will need to add all of your ingredients to a heavy thick bottomed pot and bring to a boil, stirring consistently. Boil at a roaring boil for one minute.
Turn off the heat and get prepared for the next step.
Cook Your Root Beer Float Jelly All Day with Your Crockpot!
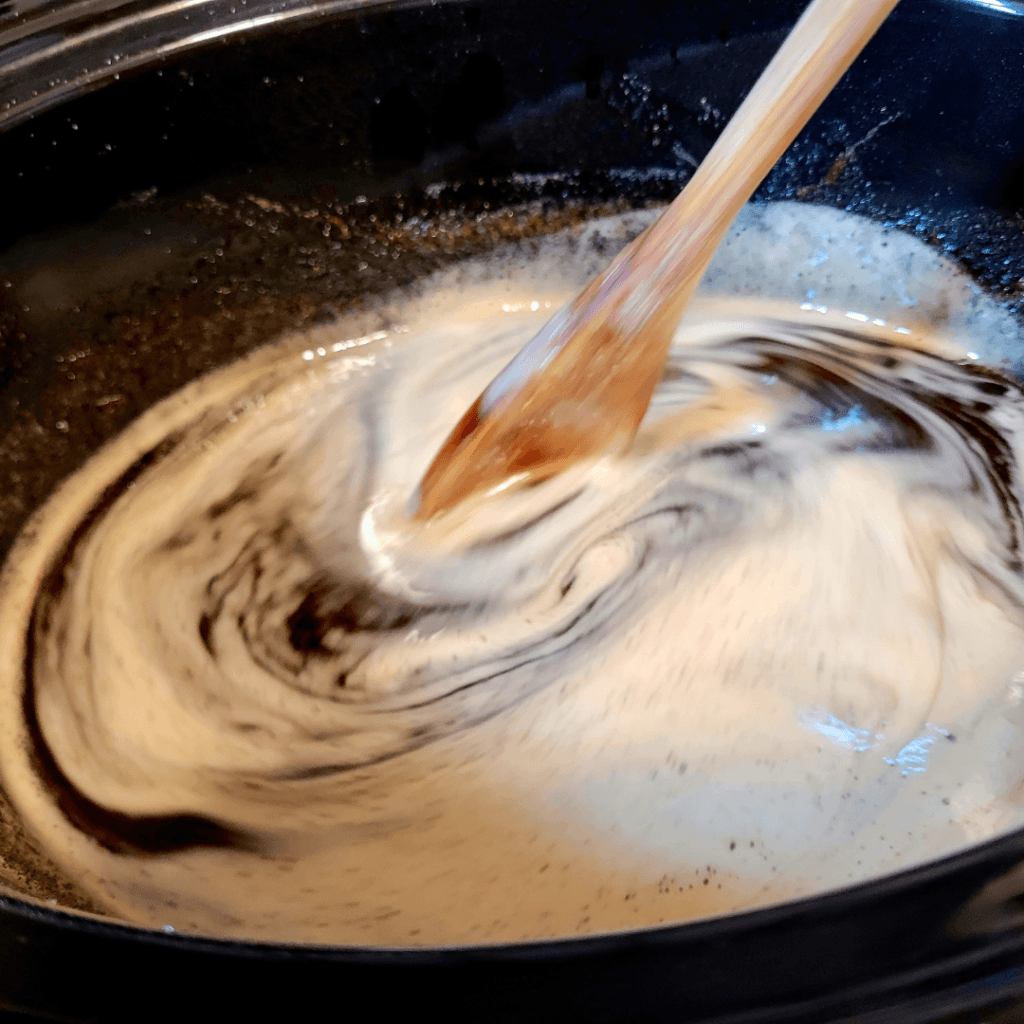
If you are lazy like me (or busy doing other things) and hate the idea of standing and stirring like I do, then you can make this recipe in your crockpot all day. It just takes longer, but it is completely hands-off. I make all of my jams and jellies in the crockpot as it will sit and thicken throughout the day. At the end of the day, or when you are in your kitchen making dinner, you can jar up the jelly and toss it in your water bath canner that you have heated up and prepared. It really is my favorite way to water bath can foods.
Just cook this recipe on high all day long and stir it throughout the day as you walk by or as you remember that you have it out.
Testing the Root Beer Float Jelly Before Canning (The Gel Test)
You will want to test the jelly to see if it will set in the jars once cooled. To do this, you will take a spoon and dip it in the hot jelly and allow the jelly to set and cool for a few minutes on the spoon. Also, you can drip a drop of jelly onto a plate and wait. Once the jelly has cooled, tip the spoon or plate and see if the jelly has formed a jelly form. It should not be runny.
Once the jelly is ready, you are ready for the next step.
Warming Up Your Batch of Jars

Heat up your jars in the oven. I put my jars on a cast iron griddle in the oven to prevent them from tipping over onto the oven racks. This will not take long at all to get your jars heated enough to withstand the hot jelly when added. You never want to add hot foods into cold jars as that will break the jars. Also, never add cold jars to hot water or hot jars to cold water. Everything needs to be the same temperature at all times.
When adding your jars to the oven to heat them, you need to add them in while preheating the oven. Do not add them to the hot oven. Put the jars on the oven racks and then turn on the oven to 200 degrees and wait for them to preheat with the oven. They will soon be hot and ready for jaring the jelly.
Remove the jars from the oven once the oven is preheated. You can then turn off the oven and place the jars on the counter on a kitchen towel. Never allow the hot jars to touch a cold counter as that could result in a shattered jar!
This is the perfect time to heat up your water bath canner. Fill your canner full of water, enough that will cover 4 pint jars or more, depending if you are doubling your batch.
Filling Up the Jars with Root Beer Float Jelly
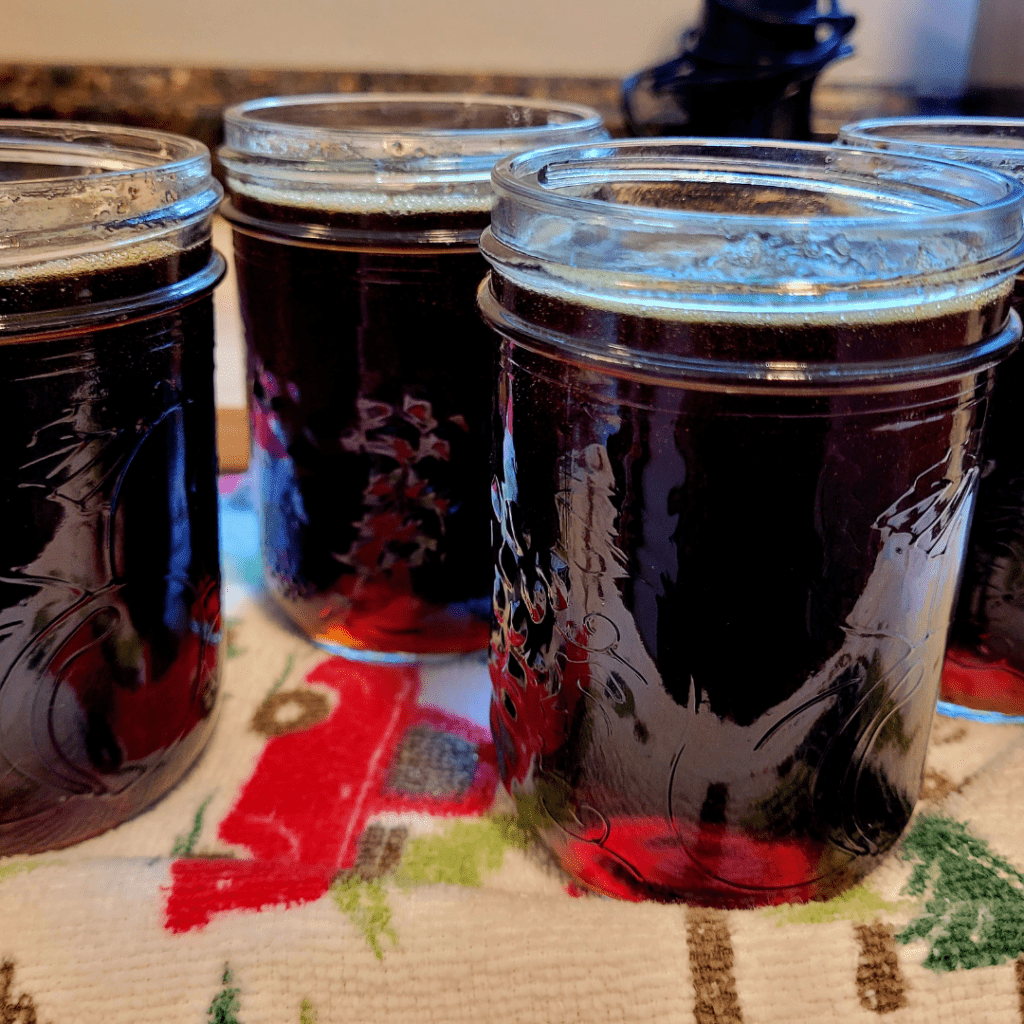
Carefully using your ladle and jar funnel, add the hot jelly to the hot jars. You need to leave 1/4 inch of headspace in each jar. This recipe is perfectly made to fill 4 half pint jars with 1/4 inch of headspace.
Remove any air bubbles with the debubbler wand by dipping the wand in and out of each jar around the insides.
Wipe each jar rim clean to remove any sticky residue for a proper seal. Then add a lid and ring to each jar.
Adding the Jars to the Canner
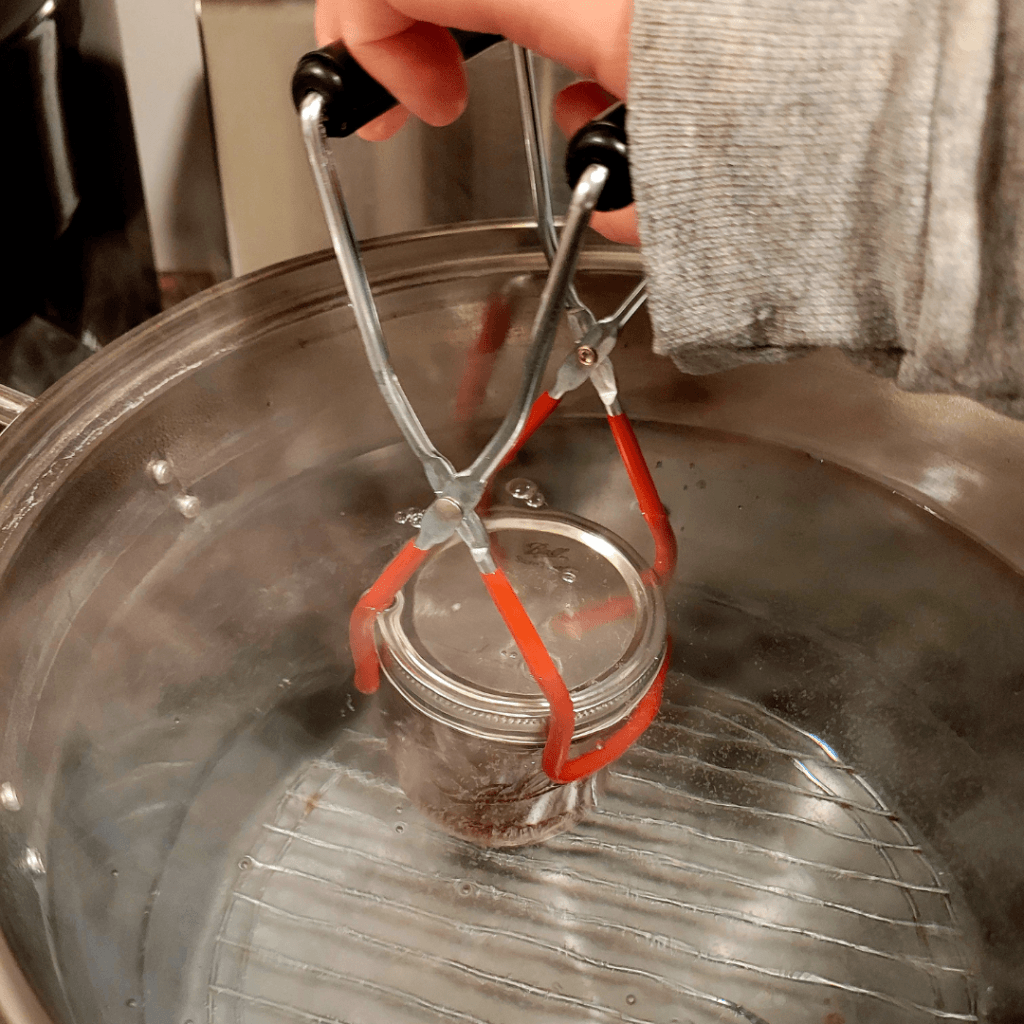
It is time to add your hot jars to your hot water bath canner. Carefully using your jar lifter, add each jar to the canner onto the canning racks or a dish cloth in the bottom of the canner.
Place the lid on the canner and bring to a boil. Once the canner has come to a roaring boil, set a timer for ten minutes and allow the jars to water bath until the timer goes off.
Removing the Jars From the Canner
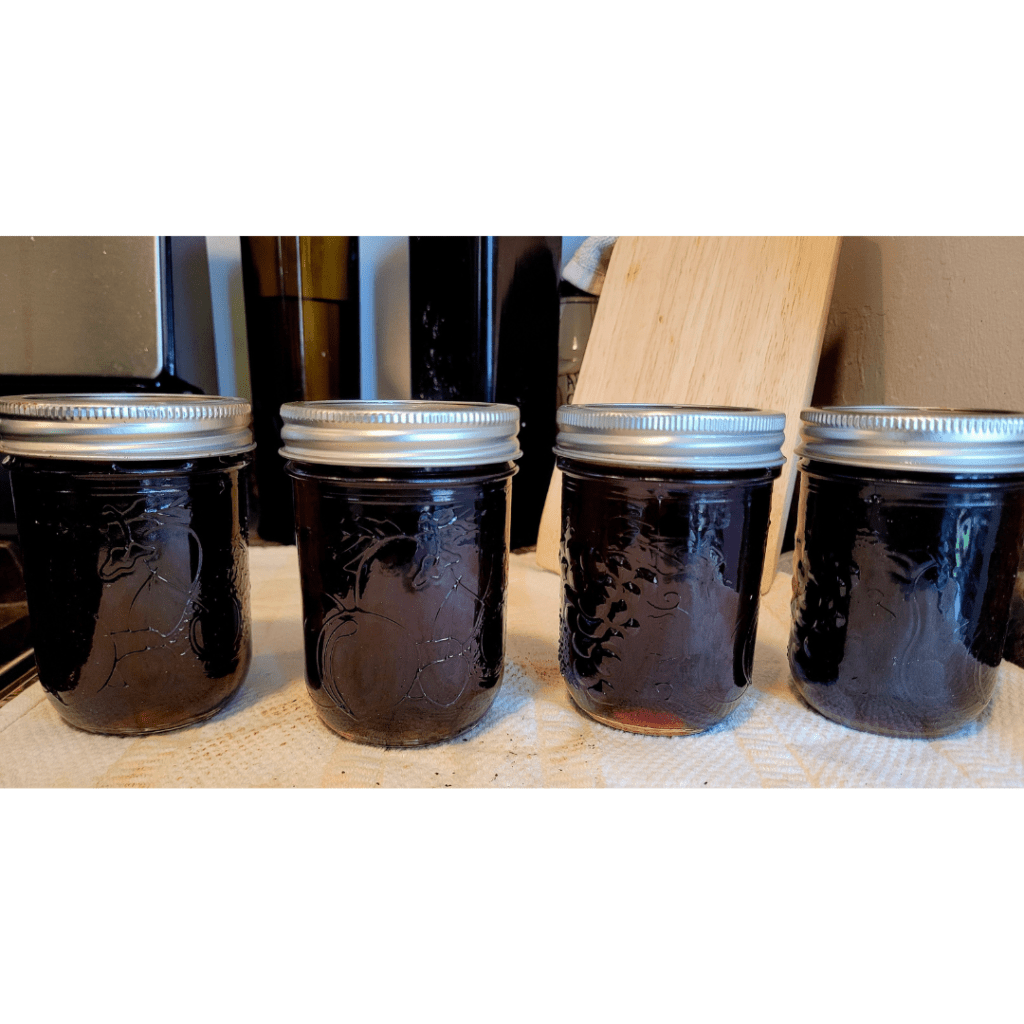
Once the timer has gone off, carefully lift off the canner lid and remove each jar with the jar lifter. Place the jars onto a prepared dish cloth on the counter. Do not set them on a cold countertop! Leave them undisturbed for up to 24 to 48 hours. Jelly can take a while to form so I like to leave them untouched for at least 48 hours. If they for some reason do not set, you get to have root beer float syrup! Still delicous! However, I have never had any issues of any of my jams and jellies not forming properly.
Listen to the sound of each jar popping, which means you have done your job well and they are sealed! The popping sounds are satisfying to hear!
Conclusion
Making and canning root beer float jelly is one of those fun, nostalgic projects that turns a classic treat into something you can enjoy all year long. It’s sweet, fizzy, and perfect for toast, biscuits, or even gifting to friends and family. With a few simple ingredients, a little patience, and some basic canning tools, you can create a jelly that brings smiles and a taste of childhood back to your kitchen. Once you try it, you’ll see why this quirky, delicious jelly deserves a spot on your pantry shelf.
Frequently Asked Questions
1. Can I use diet or sugar-free root beer for this jelly?
It’s best to stick with regular root beer, as sugar-free versions may not set properly and can affect the flavor.
2. How long does canned root beer float jelly last?
Properly canned and sealed, jars can last up to a year in your pantry. Once opened, store in the fridge and enjoy within a month.
3. Do I need a special canning pot for this recipe?
A standard water bath canner or a large stockpot with a rack works perfectly for safely sealing your jars.
4. Can I adjust the sweetness or flavor?
Yes! You can tweak the sugar slightly to your taste, but too much alteration may change the jelly’s consistency or how well it sets.
Root Beer Float Jelly
Equipment
- 1 water bath canner
- 4 half pint jars or 2 to 3 pint jars
- 4 jar lids
- 4 jar rings
- canning supplies jar funnel, ladle, wand debubbler, jar lifter, etc.
Ingredients
- 4 ¼ cups root beer soda
- 4 ½ cups sugar
- 1 pk or 6 tbsp powdered pectin
- 2 tbsp lemon juice
- 1 tbsp vanilla extract for the vanilla ice cream flavor!
Instructions
- Add all ingredients to a heavy-bottomed pan and bring to a boil, stirring consistently.
- Boil for 1 minute at a roaring boil.
- Ladle hot jelly into prepared heated jars, leaving 1/4 inch of headspace. Use the debubbler wand to remove any air bubbles.
- Wipe the rims of each jar clean and add a lid and ring to each jar.
- Add each jar to the heated water bath canner and process for 10 minutes.
- Remove the jars and place them on a dishcloth on the counter and leave them there for 24 to 48 hours.
Summary
I hope I have inspired you to stockpile your pantry for your survival needs.
If you were encouraged by this post, I invite you to check out my FREE Printables Page for fun free printables, planners, and charts.
ENTER MY FREE Printables Page HERE
Here are some more of my canning inspiration posts to check out!
Pears: How to Make and Can Pear Honey
Pears: How to Make and Can Salted Caramel Pear Butter
Butternut Squash: How to Make and Can Butternut Squash Butter
Quince: How to Make and Can Fall Spiced Quince Chutney
Quince: How to Can Quince
Carrot Cake Butter: How to Make and Can Carrot Cake Butter
Peach Pie Filling: How to Make and Can Peach Pie Filling
Pear Pie Filling: How to Make and Can Pear Pie Filling
The Best Winter Pantry Staples to Stockpile Now!
More Recipes!
Grapes: How to Make and Can Grape Jam
Apple Cider: How to Make Homemade Apple Cider Vinegar
How to Make and Can Cherry Plum Jam
How to Make and Can Apple Butter In Crockpot
Stockpiling Condiments for Survival: Learn How I Do It!
How to Make and Can Vegetable Pot Pie Filling
Easy Canning Applesauce Recipes to Stalk Your Pantry!
How to Make Peach Jalapeno Jam
Cherries: How to Make Cherry Pie Filling
Cherries: How to Make Cherry Syrup
Salsa: How to Make and Can Cherry Salsa
Peaches: How to Make and Can Peach Salsa
Canning Supplies You Need Now for a Successful Canning Season!
How to Make and Can Balsamic Onion Jam
Cranberry Sauce: How to Make and Can Old Fashioned Cranberry Sauce
How to Make and Can Cranberry Merry Jam
How to Make and Can Strawberry Shortcake Jam
Cherry Jam: How to Make and Can Cherry Pie Jam
Carrot Cake Jam: How to Make and Can Carrot Cake Jam
Quince Jam: How to Can a Year’s Supply of Quince Jam
Root Beer Float Jelly: How to Make and Can Root Beer Float Jelly
Blessings,
The Off Grid Barefoot Girl

