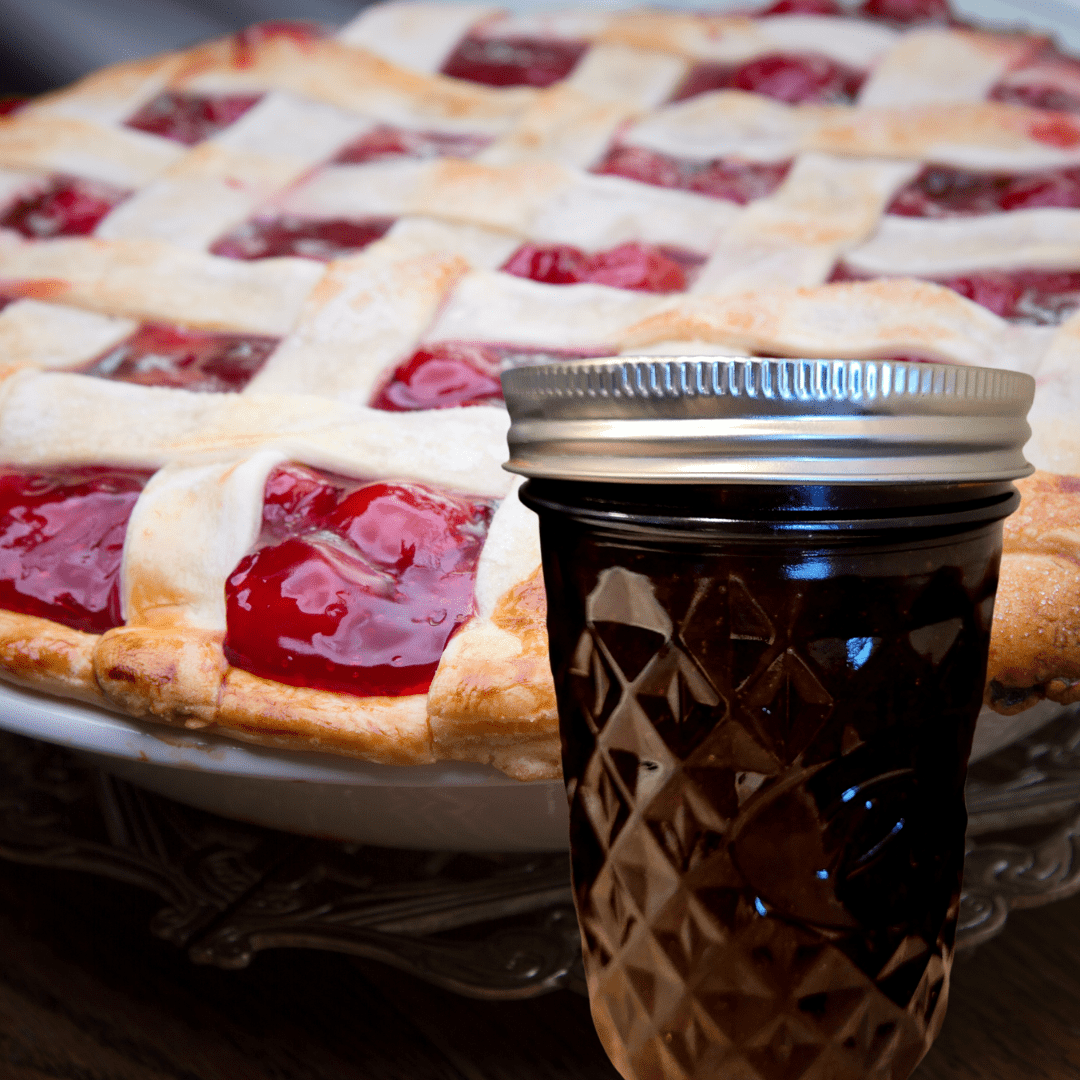
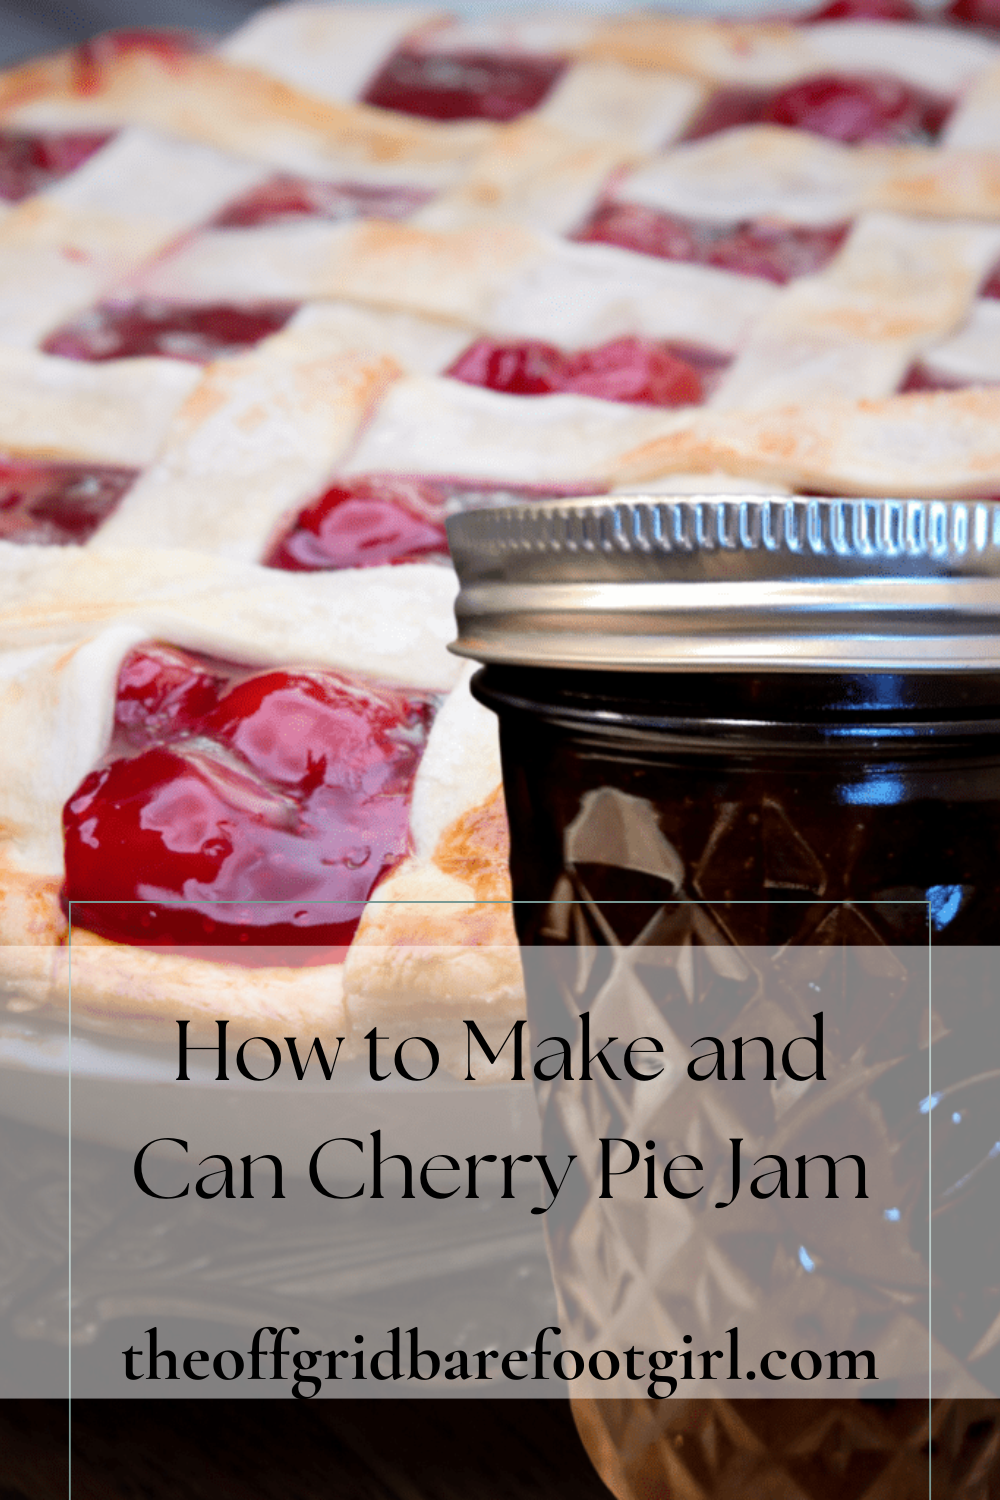
Learn how to make and can cherry pie jam at home. Step-by-step tips for a sweet, tangy preserve that’s perfect for gifts, breakfast, or snacking.
When cherry season arrives, one cannot help but think of all the deliciousness that cherries bring! Cherry pies, jams, syrups, jellies, tarts, cobblers, and cakes, oh my! This recipe shows you how to make and can cherry pie jam and syrup. When making this recipe, I could not help but enjoy the aroma of vanilla cherries flowing through my house! Think of how yummy adding vanilla cherry syrup would be to a soda beverage!
This recipe tutorial walks you through step-by-step how to make and can cherry pie jam and vanilla cherry syrup.
This is a pinnable post. Tap or hover over any image in this post to pin to your Pinterest Boards.
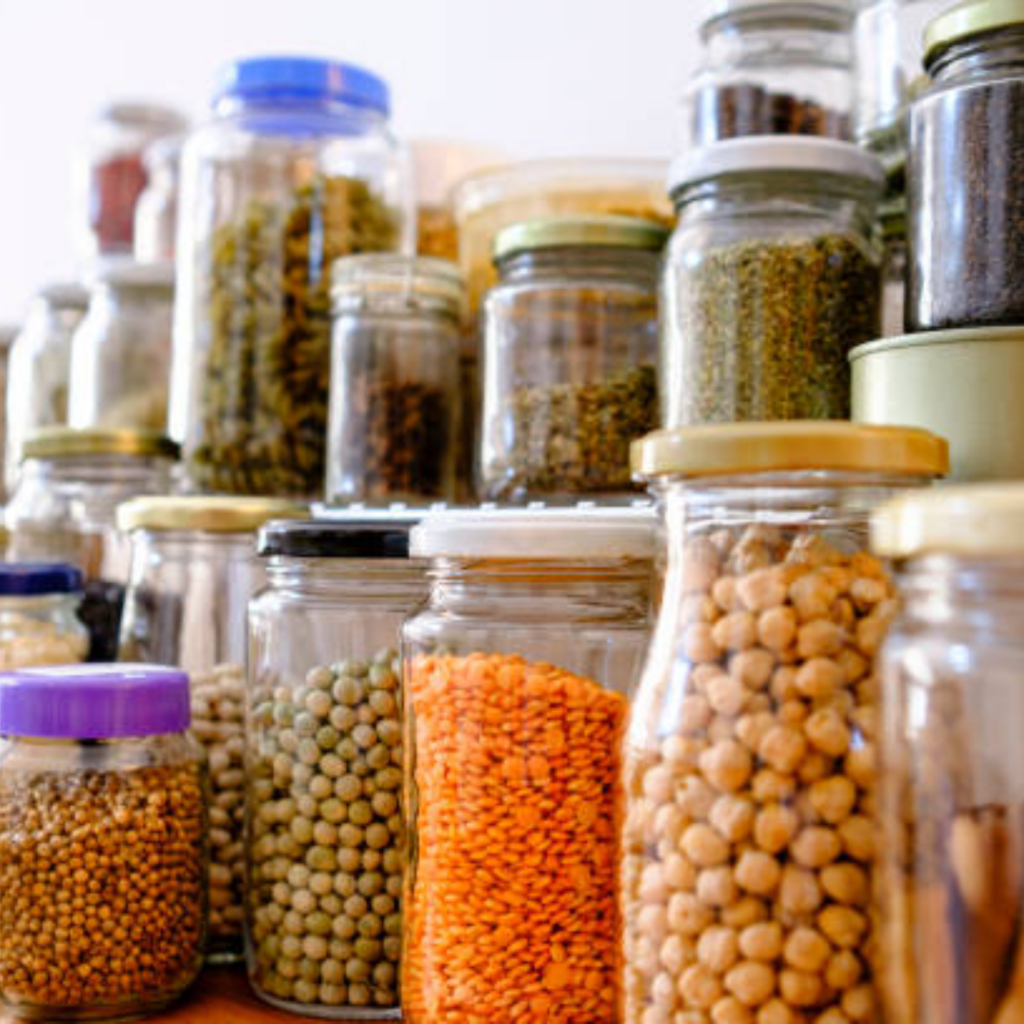
Recipe Ingredients and Equipment

To make cherry pie jam and vanilla cherry syrup, you will of course need a ton of cherries! You will also need a good quality cherry pitter!
If you plan to can your jams and syrups, you will need a water bath canner, jars, and canning supplies.
Ingredients:
- Cherries.
- Sugar.
- Vanilla extract.
- Powdered pectin.
- Lemon juice.
Equipment:
- Cherry pitter.
- Stick blender.
- Heavy-bottomed stockpot.
- Water bath canner.
- Canning supplies.
- Canning jars.
What Is Cherry Pie Jam
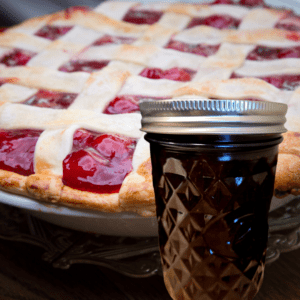
Cherry pie jam is a jam that tastes just like you are eating a delicious cherry pie without the crust! Spread cherry pie jam over toast, pancakes, bagels, tarts, biscuits, and peanut butter and jelly sandwiches. Dump cherry pie jam in cobblers, pastry puffs, and pies.
Want to make some cherry pie jam? Keep reading and follow along with me!
Harvesting Cherries or Buying From the Farmer’s Market
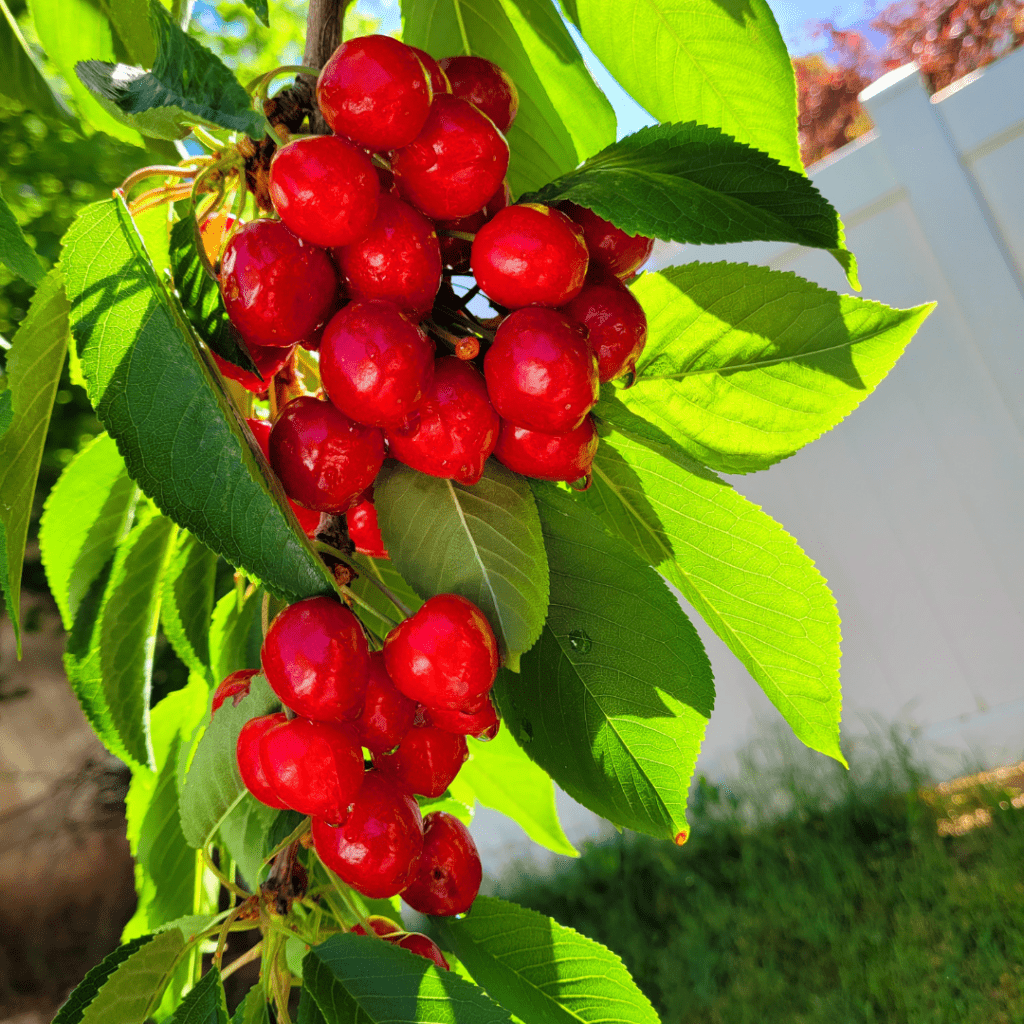
If you are lucky enough to own a cherry tree (like me!), harvest your cherries at the peak time of the cherry season. Cherries will not ripen off the tree once picked, so picking them at the right time is crucial.
I have a separate post all about cherry trees, All About Cherry Trees: Ultimate Guide to help you learn more about growing and caring for cherry trees.
Otherwise, buying bulk cherries locally is the other best option. Find your local farmer’s market or U-Pick farms near you to acquire your cherries for these recipes.
Preparing the Cherries
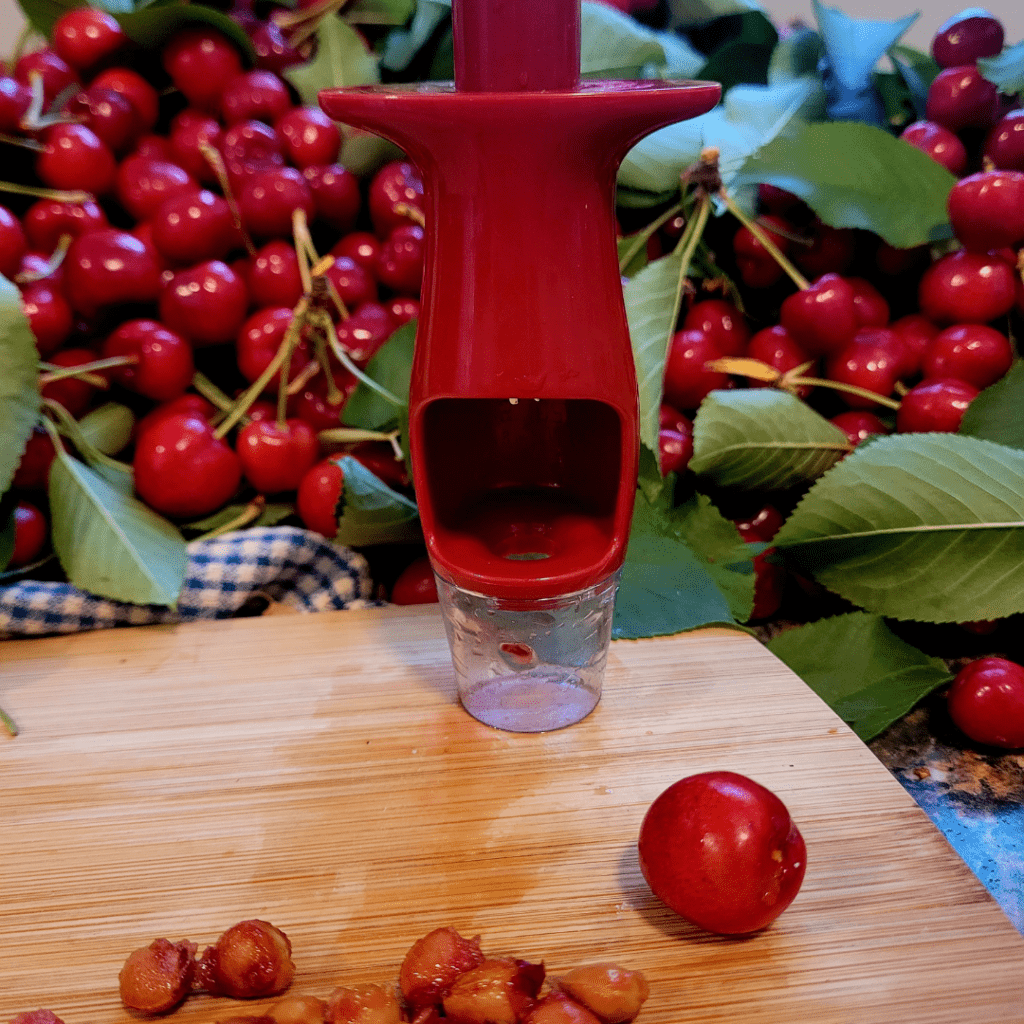
You are going to need a good-quality cherry pitter! Last year, I pitted all the cherries from my tree with a straw. While this method works, it is not ideal for a large quantity such as a full harvest from a tree!
I bought a nice cherry pitter from my local grocery store. It works great and is fast for pitting cherry after cherry. I can place a cherry inside the pitter and squish down the top handle and out comes the pit!
P.S. Buy one that has good reviews!
Cooking the Ingredients
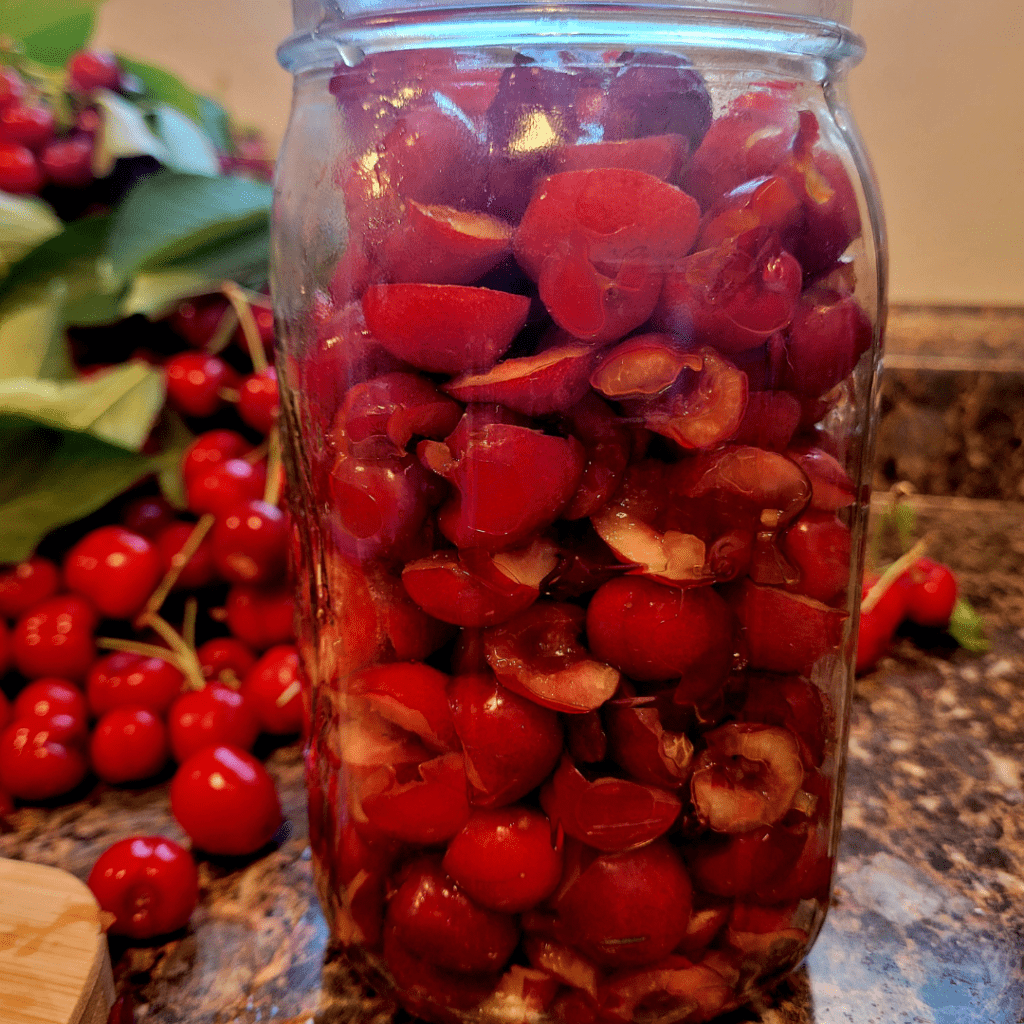
Measure out two quarts of washed pitted and chopped cherries per batch. Place cherries in a heavy-bottomed stockpot.
Add powdered pectin and lemon juice and cook on medium heat.
Carefully use a stick blender to blend cherries to the consistency you desire. Blend cherries smooth for syrup.
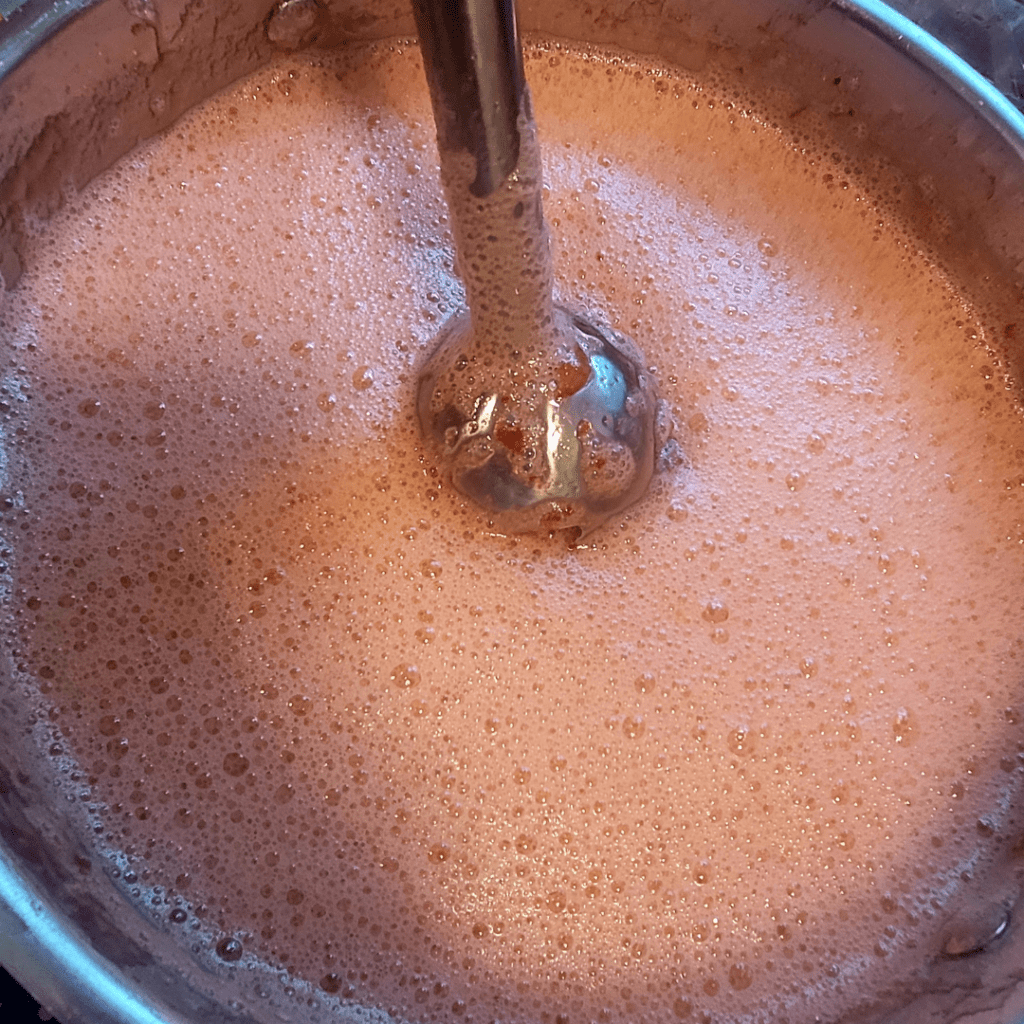
Add the sugar and cook until thickened.
Cook Your Cherry Pie Jam All Day with Your Crockpot!
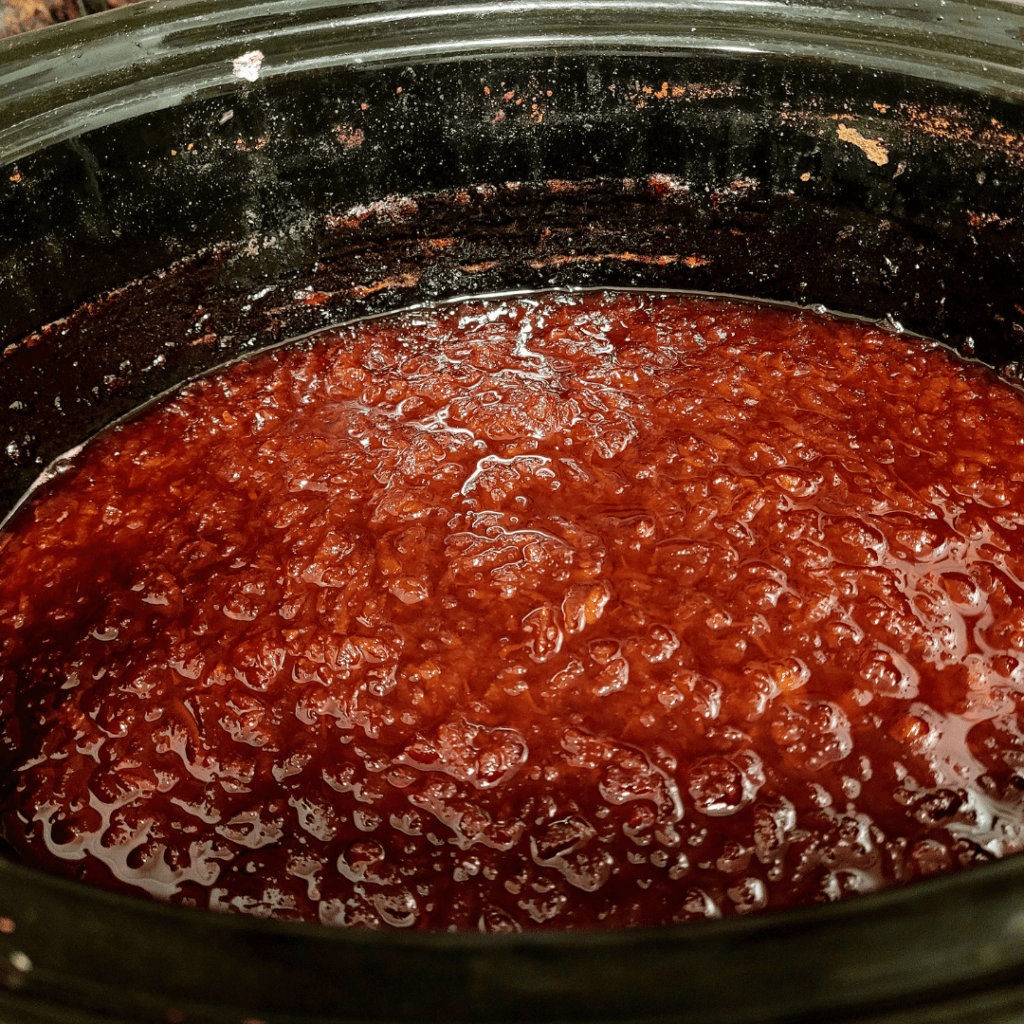
If you do not want to babysit this project, you can cook it all day in the crockpot! Just add all ingredients and cook on high and go about your day. The jam or syrup will be ready once thickened.
Using a crockpot is my favorite way to make large batches of jam while doing other chores.
Testing the Cherry Pie Jam Before Canning (The Gel Test)
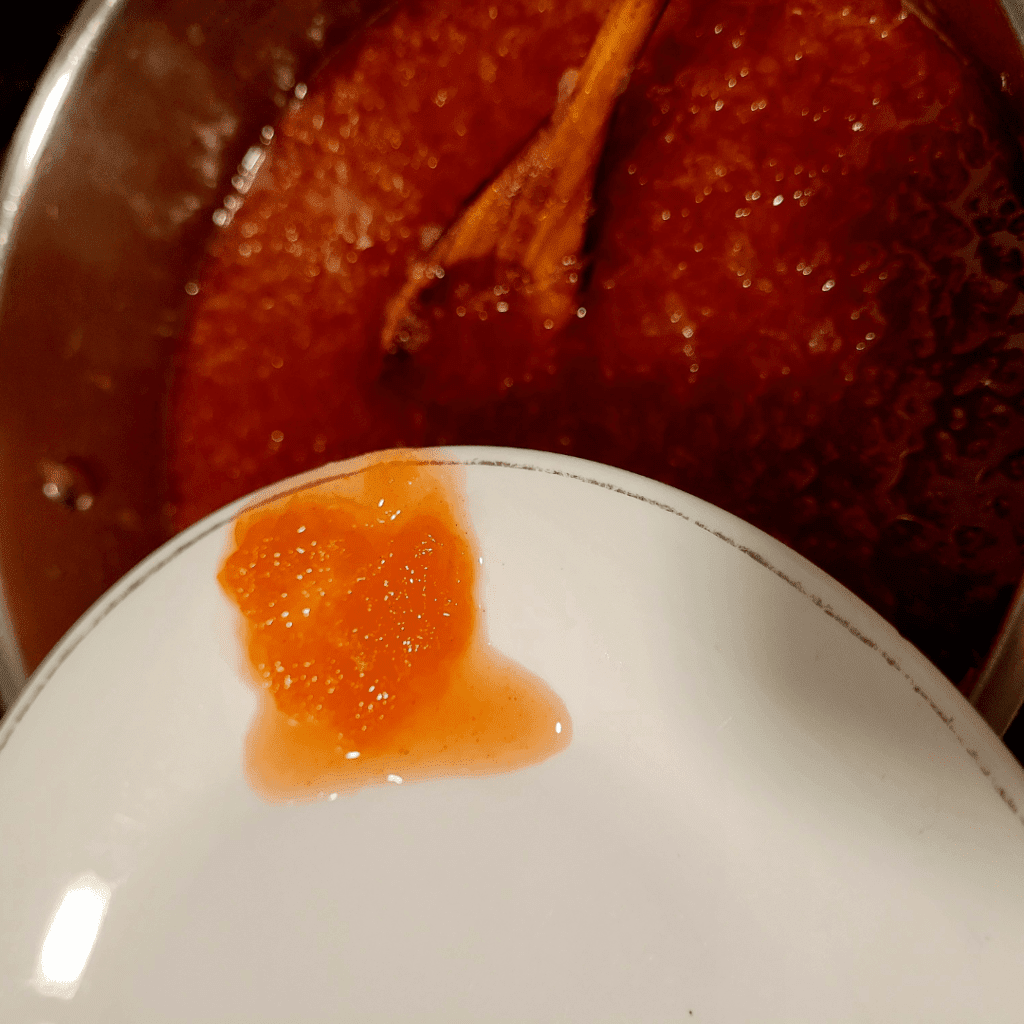
Place a small amount of jam on a plate. Let it sit for a minute to cool and then tip the plate. If the jam is runny, cook a bit longer until it sets. It should be gooey and stick to the plate if tipped.
Warming Up Your Batch of Jars

I used to warm my jars right inside the canner with the water. However, I find that I prefer to warm them in the oven at a low temperature. I crank up the oven temperature to 250 degrees and once it is preheated, I turn it off and leave the jars in there until I am ready to pour hot jam or syrup in them.
I put them on my cast iron griddle to keep them from falling over in the oven, but a cookie sheet will do the trick too.
Filling Up the Jars with Cherry Pie Jam
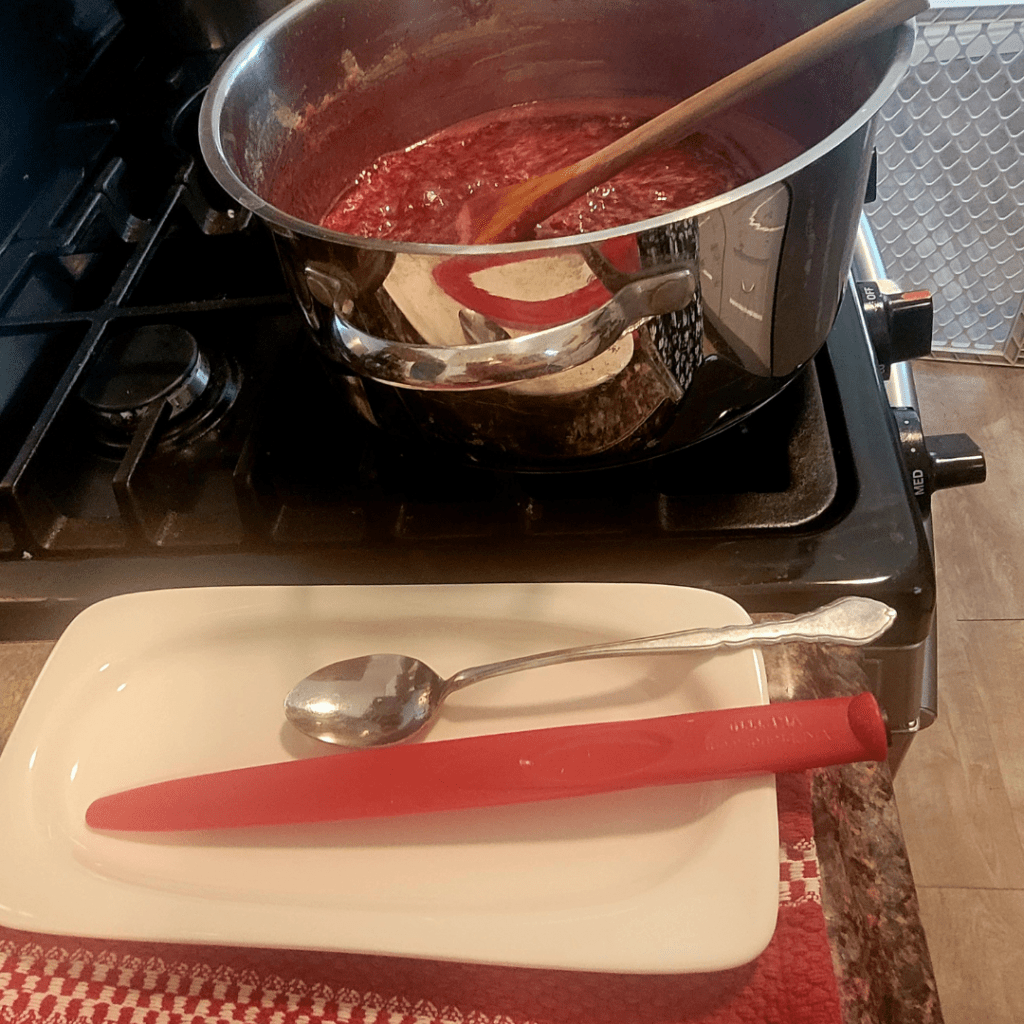
This is a photo of a small batch of vanilla cherry syrup, like only two pint jars worth. I was at the end of my cherry harvest and wanted to use them up.
Carefully ladel the jam into each jar leaving 1/4 inch of headspace using the jar funnel. Use the wand to debubble the jars and wipe the jar rims clean.
Add the lids and rings to each jar.
Adding the Jars to the Canner
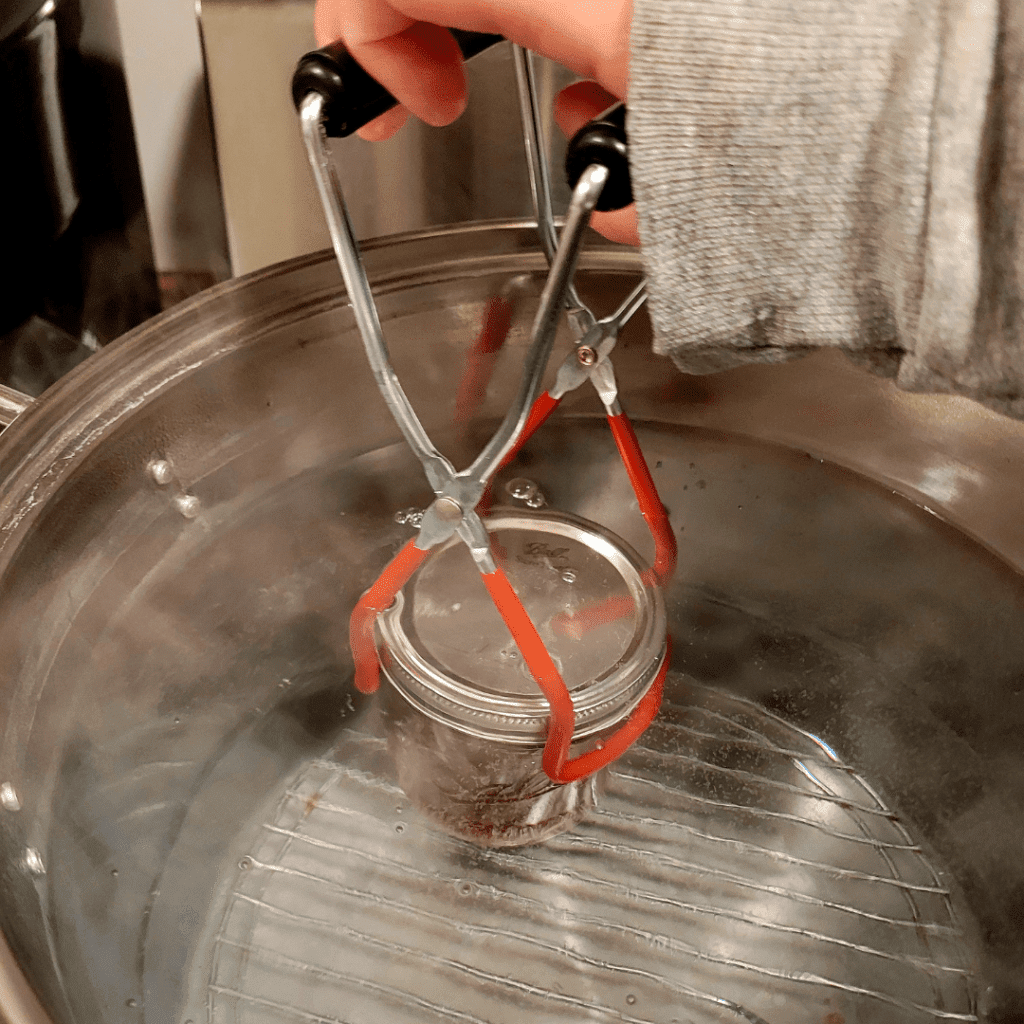
Carefully add the jars to the water bath canner with the canning jar tongs. Water bath the jars for 20 minutes at a roaring boil.
Removing the Jars From the Canner

When it is time to remove the jars from the canner, place them on the counter on a towel and never on the cold countertop. Leave them alone and do not disturb them for twenty-four hours.
Making Vanilla Cherry Syrup

My family loves pancakes and flavored syrups. We own a cherry tree and I wanted to learn how to make a cherry syrup to can this year.
I used the same recipe as the cherry pie jam and just omitted the powdered pectin and just a tad bit more sugar to the consistency of syrup I wanted using my stick blender.
I served this delicious vanilla cherry syrup with pancakes and whole cherries! For an even more delicious treat, add a squirt of this syrup to your soda beverages!
Conclusion
Making and canning cherry pie jam is one of those simple joys that brings a little homemade magic to your kitchen. Not only does it taste amazing, but it also gives you a pantry full of ready-to-enjoy treats for breakfast, snacks, or gifts. With a few fresh cherries, some sugar, and a little patience, you can create a batch that will make your family smile and keep your shelves stocked with something special. Once you try it, you’ll see why this jam is a staple in my kitchen year after year.
Frequently Asked Questions
1. Can I use frozen cherries for this jam?
Yes! Frozen cherries work just fine. Thaw them first and drain any excess liquid before cooking to get the right consistency.
2. How long will the canned cherry pie jam last?
Properly canned and sealed, it can last up to a year in your pantry. Once opened, store in the fridge and enjoy within a month.
3. Do I need a special canning pot for this recipe?
A standard large pot works for cooking the jam, but a water bath canner or a large stockpot with a rack is recommended for safely sealing jars.
4. Can I reduce the sugar in the recipe?
You can, but sugar helps preserve the jam and develop the classic cherry pie flavor. Reducing too much may affect both texture and shelf life.
Cherry Pie Jam
Equipment
- 1 cherry pitter or more if you are able to recruit helpers!
- 1 water bath canner
- canning supplies pint jars, lids, rings, funnel, jar tongs, wand, etc.
- 1 heavy-bottomed stockpot
- 1 stick blender
Ingredients
- 2 quarts pitted and chopped cherries
- 4 ½ cups sugar
- ¼ cup lemon juice
- 1 tsp vanilla extract
- 1 envelope powdered pectin
Instructions
Cherry Pie Jam
- Add prepared cherries, powdered pectin, lemon juice, and vanilla extract to a heavy-bottomed stockpot.
- Combine and cook until thickened.
- Use a stick blender to blend cherries to the consistency you desire.
- Add in sugar and cook until thickened and gooey. Test a small amount on a plate or spoon. Let the jam cool and tip the plate or spoon to test of the jam is too runny. It should stick as a goop and not run off the plate or spoon.
Water Bath Canning Instructions
- Heat the water bath canner to a boil and heat the jars in the oven at a low temperature.
- Prepare the lids and rings and set aside.
- Fill each jar with the jam using the ladle and funnel, leaving 1/4 inch of head space.
- Clean each jar rim and place a lid and ring on each jar.
- Place each jar in the water bath canner using the jar tongs.
- Water bath the jam for 20 minutes at a roaring boil.
- Remove the jars from the canner and place them on a prepared towel on the counter for 24 hours.
Vanilla Cherry Syrup
- Add prepared cherries, 6 cups sugar, lemon juice, and vanilla extract to a heavy-bottomed stockpot.
- Combine and cook until thickened.
- Use a stick blender to blend cherries until smooth.
- Use the water bath canning instructions to can the syrup.
- Use in any way you would use regular syrup. Add some in your soda beverages for a yummy treat!
Summary
I hope I have inspired you to stockpile your pantry for your survival needs.
If you were encouraged by this post, I invite you to check out my FREE Printables Page for fun free printables, planners, and charts.
ENTER MY FREE Printables Page HERE
Here are some more of my canning inspiration posts to check out!
Pears: How to Make and Can Pear Honey
Pears: How to Make and Can Salted Caramel Pear Butter
Butternut Squash: How to Make and Can Butternut Squash Butter
Quince: How to Make and Can Fall Spiced Quince Chutney
Quince: How to Can Quince
Carrot Cake Butter: How to Make and Can Carrot Cake Butter
Peach Pie Filling: How to Make and Can Peach Pie Filling
Pear Pie Filling: How to Make and Can Pear Pie Filling
The Best Winter Pantry Staples to Stockpile Now!
More Recipes!
Grapes: How to Make and Can Grape Jam
Apple Cider: How to Make Homemade Apple Cider Vinegar
How to Make and Can Cherry Plum Jam
How to Make and Can Apple Butter In Crockpot
Stockpiling Condiments for Survival: Learn How I Do It!
How to Make and Can Vegetable Pot Pie Filling
Easy Canning Applesauce Recipes to Stalk Your Pantry!
How to Make Peach Jalapeno Jam
Cherries: How to Make Cherry Pie Filling
Cherries: How to Make Cherry Syrup
Salsa: How to Make and Can Cherry Salsa
Peaches: How to Make and Can Peach Salsa
Canning Supplies You Need Now for a Successful Canning Season!
How to Make and Can Balsamic Onion Jam
Cranberry Sauce: How to Make and Can Old Fashioned Cranberry Sauce
How to Make and Can Cranberry Merry Jam
How to Make and Can Strawberry Shortcake Jam
Cherry Jam: How to Make and Can Cherry Pie Jam
Carrot Cake Jam: How to Make and Can Carrot Cake Jam
Quince Jam: How to Can a Year’s Supply of Quince Jam
Root Beer Float Jelly: How to Make and Can Root Beer Float Jelly
Blessings,
The Off Grid Barefoot Girl

