Learn how to make and can carrot cake jam—a sweet, spiced spread that tastes just like your favorite dessert. I’ll walk you step-by-step through turning fresh carrots into a shelf-stable jam that’s perfect for toast, muffins, or gifting during the holidays!
If you love carrot cake but don’t want to bake a whole cake, carrot cake jam is a delicious shortcut. I’ve been making this sweet, spiced jam for years, and it’s always a hit on toast, scones, or even stirred into yogurt. Best of all, you can can it and store it on your pantry shelf, so a little taste of carrot cake is always within reach. In this post, I’ll show you exactly how to make and can carrot cake jam, step by step, so you can enjoy the flavors of this classic dessert any time of year.
This is a pinnable post. Tap or hover over any image in this post to pin to your Pinterest Boards.

Recipe Ingredients and Equipment
- 3 cups shredded carrots (about 6 carrots)
- 3 cups chopped pears
- 2 (20 oz) cans of unsweetened crushed pineapples, undrained
- 1 cup shredded coconut
- 1 cup raisins
- 6 Tbs lemon juice
- 1 tablespoon ground cinnamon
- 1 tsp ground nutmeg
- 1 tsp ground cloves
- 1 teaspoon vanilla extract
- 10 cups sugar
- 1 (1 3/4 oz) package powdered pectin
- 5 pint jars
- Water bath canner
- Canning supplies (ladle, tongs, and funnel)
- Thick-bottomed pan
- Crockpot (optional)
What Is Carrot Cake Jam
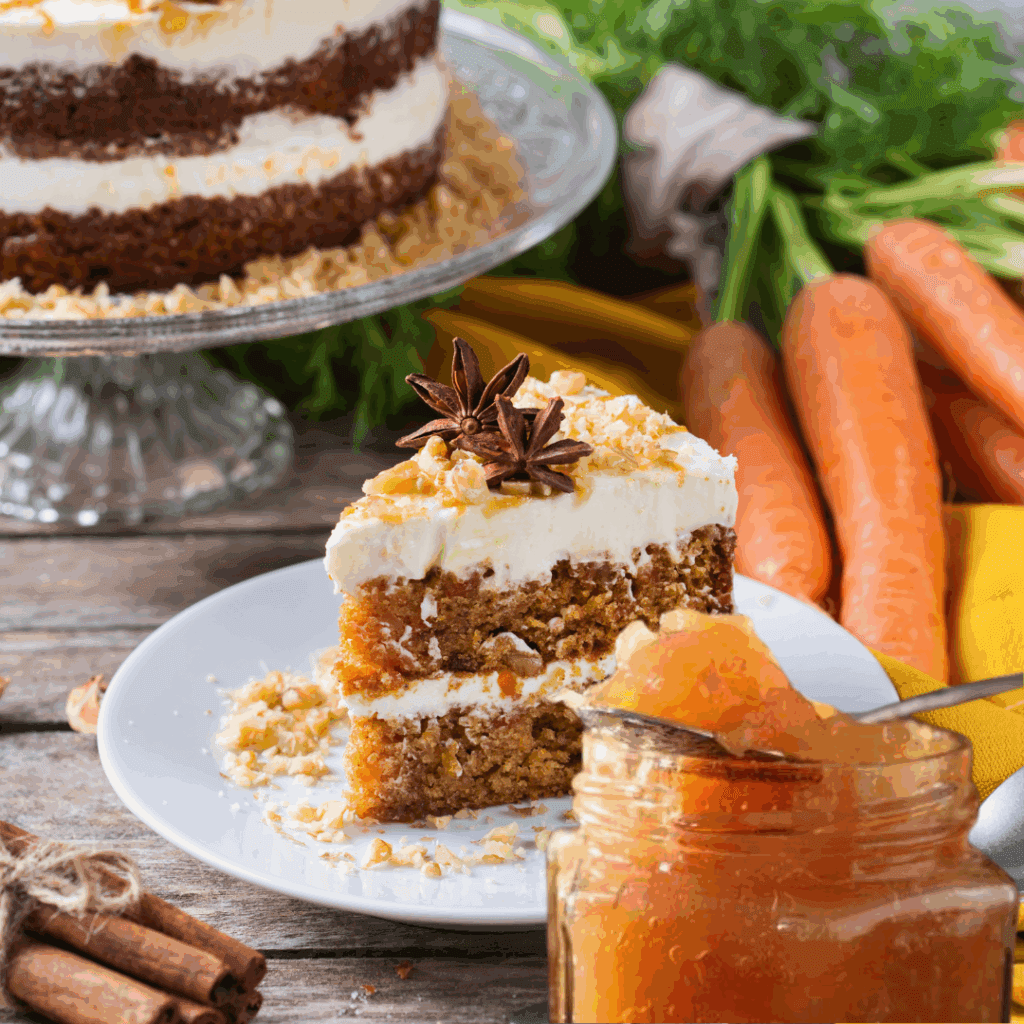
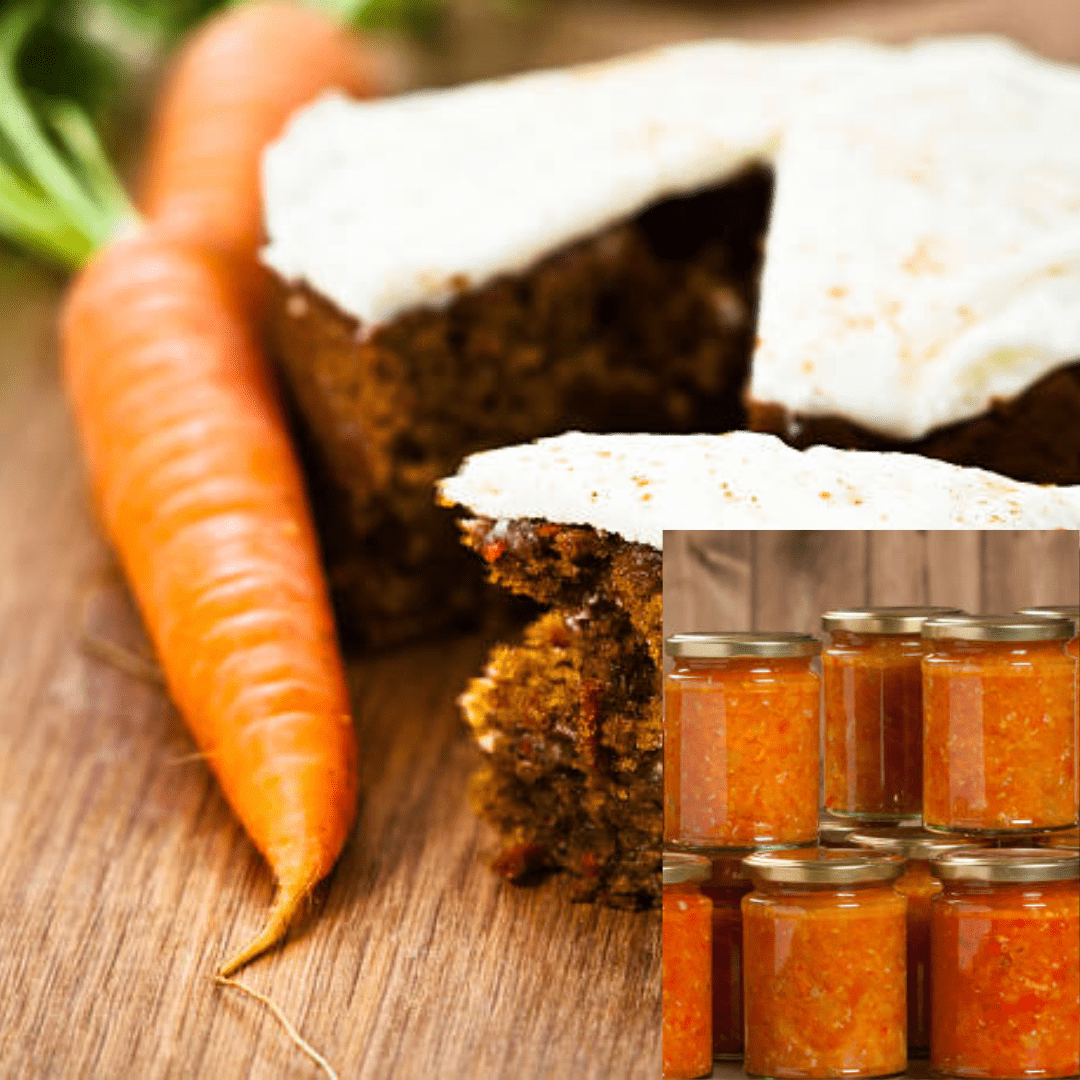
Carrot cake jam is carrot cake in a jar, minus the baking ingredients like flour, baking powder, etc. It is carrots, pears, vanilla, warm spices, coconut, raisins, lemon juice, pineapples, and sugar, all cooked together and blended into a smooth jam. Carrot cake jam is heaven in a jar!
If you were blessed with an abundance of carrots from your garden or the farmer’s market, this is a great way to use them up and can them into a delicious dessert jam rather than the typical sliced canned carrots (of course, you will want to do that too for your pantry!)
BONUS: You can use this jam to use in real carrot cake! Just think of this jar as a carrot cake filling and add it to the cake batter for a really quick carrot cake to bake up in no time!
Harvesting Carrots or Buying From the Farmer’s Market

When carrots are in season, this is a great time to can up a bunch of carrots in any way possible to preserve your bounty. Whether you grow and harvest them or buy them in bulk at the farmer’s market, it is a great time to make a large batch of carrot cake jam along with your regularly canned carrots.
Carrots are pretty easy to grow and cheap to buy. Making a ton of carrot cake jam every year to stock your pantry is a delicious way to have desserts all year long. Carrot cake jam jams up the typical peanut butter and berry jam sandwich. Bring a jar along on your picnics and gatherings, along with a basket of biscuits, and you can’t go wrong!
Canning Carrot Cake Jam
It is best to can your carrot cake jam in batches for a proper gel set.
One batch of this recipe makes 5 pint jars. If you prefer to use half-pint jars, you certainly can, though just divide the jam into 10 half-pint jars. My family goes through a lot of jam quickly, so pint jars work best for my household. We love dressing up our pancakes with jam and eating peanut butter and jelly for snacks.
Cooking the Ingredients
Wash and peel the carrots. Chop off the ends of each carrot and shred them either with a cheese grater or a food processor. Shredding the carrots helps them cook faster. You can either compost the scraps or toss them to the chickens for a snack.
Since this recipe calls for chopped pears, you will need to wash, peel, and chop them as well. This recipe also calls for unsweetened crushed pineapples without draining them because the pineapple-infused liquid will enhance the flavor of the carrot cake jam, and is the liquid required for making the jam.
Cook Your Carrot Cake Jam All Day with Your Crockpot!
If you really want a hands-off approach to cooking carrot cake jam through the busy canning season, cooking it down in your crockpot is fun and easy! Just toss all of the ingredients except the sugar and powdered pectin, and cook on high all day. You will want to check on it throughout the day and give it a good stir.
After a few hours of allowing the ingredients to flavor and simmer together, use your stick blender to blend to a smooth consistency. You certainly could use a regular blender; however, having a stick blender (immersion blender) saves time and keeps the dirty dishes to a minimum. Life is easier with a stick blender!
Once the jam is ready and gelled, you can quickly can it up in the evening after adding the sugar and pectin.
About thirty minutes before the cooking is complete, heat up your water bath canner since it will take some time to do that part. Don’t forget to add 5 empty pint jars without the lids to the canner to warm up with the water.
Testing the Carrot Cake Jam Before Canning (The Gel Test)
To test to see if the jam will gel and set before canning, grab a small plate and spoon. Put a drop of jam on the plate and let it sit for a few minutes. Then tip the plate slightly to see if it sets or runs down the plate.
If it sets like jam and does not run, then the cooking part is done. If it is too runny, then you need to keep cooking it until it sets firmly on the plate, while tipped without running down.
Warming Up Your Batch of Jars
Place 5 pint jars into your water bath canner, which is enough for one batch of jam. While some people attest to skipping this step, I still like to keep my jars from shattering when I place the hot jam into the jars. I want my jars warm before adding the hot jam first.
To warm up the jars, I place them in the water bath canner at the same time I am heating up the water for thirty minutes. If you have forgotten to add them to the canner when you first started heating it up, it is still okay to add them to the canner for a few minutes to heat them up.
Filling Up the Jars with Carrot Cake Jam
Using your canning funnel and ladle, fill each jar with jam, leaving 1/4 inch of headspace. Wipe the rims clean and place a lid, and screw it on until finger-tight.
The jars will be pretty hot, so take care of how you handle them. Do not pick them up with your bare hands, as you may burn yourself and drop and shatter a jar, which will be okay, but also devastating. Always use the canning tongs when handling hot jars for safety!
Adding the Jars to the Canner
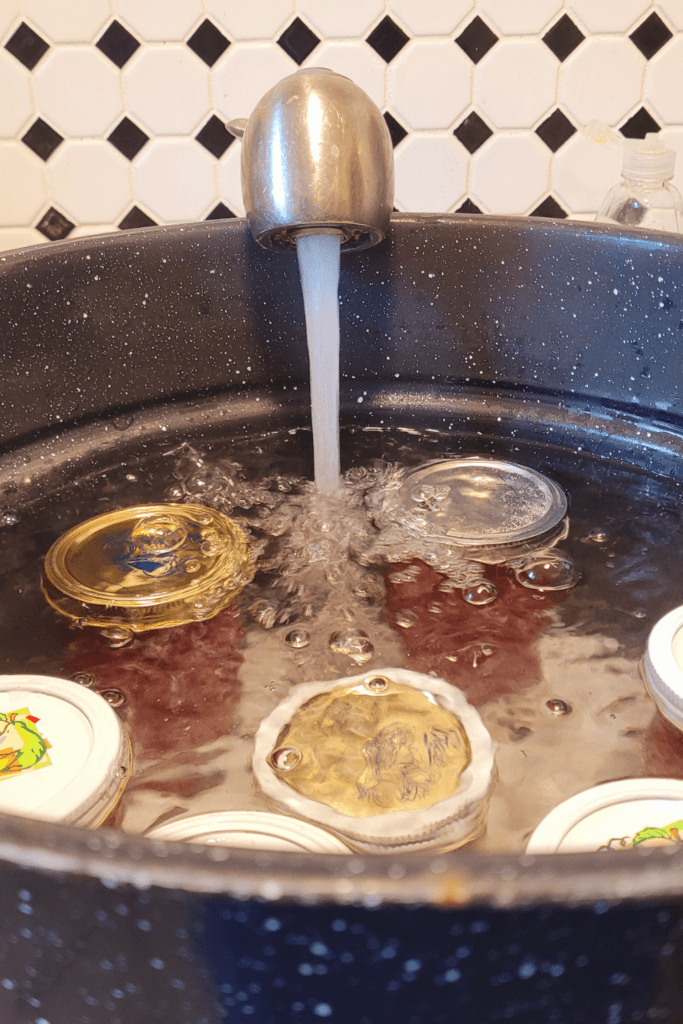
Carefully add each jar to the water bath canner using the canning tongs.
TIP! If you use an aluminum canner as I do, you may find the water makes it rusty or cloudy, which is very unpleasant. Add a few tablespoons of white vinegar to the water bath canner, and it will help clear the water perfectly.
Be sure to leave one inch of water above the jars while canning. The water will rise each time a jar is placed. Sometimes I have had to take cupsful out of the canner once my whole batch was in there, as it was too much water. (I am definitely getting better at estimating my water bath level each time I do a new canning project!)
Water bath your jam according to your elevation. For me, it takes approximately 10 minutes at a rolling boil.
You can grab my water bath canning altitude chart I created using the link provided.
FREE Water-Bath-Canning-Altitude Chart
Removing the Jars From the Canner
Once the canning time is up, remove each jar carefully from the water bath canner and place them on a towel on the counter where they will be undisturbed for the next twenty-four hours.
It is necessary to place them on a towel rather than on the cold counter to prevent the hot jars from shattering.
You can label the jars however you want to by using labeling stickers or just a marker. Now dance in your kitchen and enjoy your carrot cake jam!
Conclusion
Making and canning carrot cake jam is a delightful way to preserve the flavors of a classic dessert in a versatile spread. This process involves cooking a combination of shredded carrots, crushed pineapple, and spices to create a jam that captures the essence of carrot cake.
By following proper canning procedures, you ensure the jam’s safety and longevity, allowing you to enjoy it throughout the year. Whether used as a topping for toast, a filling for pastries, or a unique gift, carrot cake jam brings a touch of homemade goodness and nostalgia to any occasion.
Enjoy the satisfaction of preserving a beloved flavor while sharing the joy of your culinary creation with others. Did I make you hungry for real carrot cake? Check out the resources for some amazing carrot cake recipes to try!
Resources: Here are some helpful resources for further information.
- Easy Carrot Cake Recipe – By Inspired Taste
- The Best Carrot Cake Recipe – By Sugar Spun Run
- Carrot Cake with Cream Cheese Frosting – By Butternut Bakery
Frequently Asked Questions
1. What basic ingredients are needed?
You will need shredded carrots, crushed pineapple, granulated sugar, ground cinnamon, nutmeg, cloves, raisins, pectin, and lemon juice.
2. What essential equipment is required for canning?
You’ll need canning jars with lids and bands, a water bath canner, a jar lifter, a funnel, a ladle, and a clean cloth.
3. How do I ensure the jars are properly sealed?
After filling the jars with hot jam, leave 1/4-inch headspace, remove air bubbles, wipe the rims, apply the lids and bands, process in a boiling water bath for 10-15 minutes, and ensure the lids seal properly by checking for a non-moving center.
4. Can I reduce the sugar in the recipe?
It’s not recommended to reduce the sugar for canning purposes as it ensures proper preservation and setting. Adjusting spices is fine, but follow tested recipes for safety.

Carrot Cake Jam
Equipment
- 5 pint jars
- 1 water bath canner
- canning supplies (ladle, tongs, and funnel)
- 1 thick-bottomed pan
- 1 crockpot (optional)
Ingredients
- 3 cups shredded carrots (about 6 carrots)
- 3 cups chopped pears
- 2 20 oz cans unsweetened crushed pineapples, undrained
- 1 cup shredded coconut
- 1 cup raisins
- 6 tbsp lemon juice
- 1 tbsp ground cinnamon
- 1 tsp ground nutmeg
- 1 tsp ground cloves
- 1 tsp vanilla extract
- 10 cups sugar
- 1 1 3/4 oz package powdered pectin
Instructions
Preparing the Ingredients
- Wash and peel the carrots. Chop off the ends of each carrot and shred them either with a cheese grater or a food processor. Shredding the carrots help them cook faster. You can either compost the scraps or toss them to the chickens for a snack.
- Since this recipe calls for chopped pears you will need to wash, peel, and chop them as well. This recipe also calls for unsweetened crushed pineapples without draining them because the pineapple-infused liquid will enhance the flavor of the carrot cake jam and is the liquid required for making the jam.
Cook Your Carrot Cake Jam All Day with Your Crockpot!
- If you really want a hands-off approach to cooking carrot cake jam through the busy canning season, cooking it down in your crockpot is fun and easy! Just toss all of the ingredients except the sugar and powdered pectin and cook on high all day. You will want to check on it throughout the day and give it a good stir.
- After a few hours of allowing the ingredients to flavor and simmer together, use your stick blender to blend to a smooth consistency. You certainly could use a regular blender, however, having a stick blender (immersion blender) saves time and keeps the dirty dishes to a minimum. Life is easier with a stick blender!
- Once the jam is ready and gelled, you can quickly can it up in the evening after adding the sugar and pectin.
- About thirty minutes before the cooking is complete, heat up your water bath canner since it will take some time to do that part. Don’t forget to add 5 empty pint jars without the lids to the canner to warm up with the water.
Testing the Carrot Cake Jam Before Canning (The Gel Test)
- To test to see if the jam will gel and set before canning, grab a small plate and spoon. Put a drop of jam on the plate and let it sit for a few minutes. Then tip the plate slightly to see if it sets or runs down the plate.
- If it sets like jam and does not run, then the cooking part is done. If it is too runny, then you need to keep cooking it until it sets firmly on the plate while tipped without running down.
Warming Up Your Batch of Jars
- Place 5 pint jars into your water bath canner, which is enough for one batch of jam. While some people attest to skipping this step, I still like to keep my jars from shattering when I place the hot jam into the jars. I want my jars warm before adding the hot jam first.
- To warm up the jars, I place them in the water bath canner at the same time I am heating up the water for thirty minutes. If you have forgotten to add them to the canner when you first started heating it up, it is still okay to add them to the canner for a few minutes to heat them up.
Filling Up the Jars with Carrot Cake Jam
- Using your canning funnel and ladle, fill each jar with jam leaving 1/4 inch of headspace. Wipe the rims clean and place a lid and screw them on until finger tight.
- The jars will be pretty hot, so take care of how you handle them. Do not pick them up with your bare hands as you may burn yourself and drop and shatter a jar, which will be okay, but also devastating. Always use the canning tongs when handling hot jars for safety!
Adding the Jars to the Canner
- Carefully add each jar to the water bath canner using the canning tongs.
- TIP! If you use an aluminum canner as I do, you may find the water makes it rusty or cloudy, which is very unpleasant. Add a few tablespoons of white vinegar to the water bath canner and it will help clear the water perfectly.
- Be sure to leave one inch of water above the jars while canning. The water will rise each time a jar is placed. Sometimes I have had to take cupsful out of the canner once my whole batch was in there as it was too much water. (I am definitely getting better at estimating my water bath level each time I do a new canning project!)
- Water bath your jam according to your elevation. For me, it takes approximately 10 minutes at a rolling boil.
- You can grab my water bath canning altitude chart I created using the link provided.
Removing the Jars From the Canner
- Once the canning time is up, remove each jar carefully from the water bath canner and place them on a towel on the counter where they will be undisturbed for the next twenty-four hours.
- It is necessary to place them on a towel rather than on the cold counter to prevent the hot jars from shattering.
- You can label the jars however you want to by using labeling stickers or just a marker. Now dance in your kitchen and enjoy your carrot cake jam!
Summary
I hope I have inspired you to stockpile your pantry for your survival needs.
If you were encouraged by this post, I invite you to check out my FREE Printables Page for fun free printables, planners, and charts.
ENTER MY FREE Printables Page HERE
Here are some more of my canning inspiration posts to check out!
Pears: How to Make and Can Pear Honey
Pears: How to Make and Can Salted Caramel Pear Butter
Butternut Squash: How to Make and Can Butternut Squash Butter
Quince: How to Make and Can Fall Spiced QuinceChutney
Quince: How to Can Quince
Carrot Cake Butter: How to Make and Can Carrot Cake Butter
Peach Pie Filling: How to Make and Can Peach Pie Filling
Pear Pie Filling: How to Make and Can Pear Pie Filling
The Best Winter Pantry Staples to Stockpile Now!
More Recipes!
Grapes: How to Make and Can Grape Jam
Apple Cider: How to Make Homemade Apple Cider Vinegar
How to Make and Can Cherry Plum Jam
How to Make and Can Apple Butter In Crockpot
Stockpiling Condiments for Survival: Learn How I Do It!
How to Make and Can Vegetable Pot Pie Filling
Easy Canning Applesauce Recipes to Stalk Your Pantry!
How to Make Peach Jalapeno Jam
Cherries: How to Make Cherry Pie Filling
Cherries: How to Make Cherry Syrup
Salsa: How to Make and Can Cherry Salsa
Peaches: How to Make and Can Peach Salsa
Canning Supplies You Need Now for a Successful Canning Season!
How to Make and Can Balsamic Onion Jam
Cranberry Sauce: How to Make and Can Old Fashioned Cranberry Sauce
How to Make and Can Cranberry Merry Jam
How to Make and Can Strawberry Shortcake Jam
Cherry Jam: How to Make and Can Cherry Pie Jam
Carrot Cake Jam: How to Make and Can Carrot Cake Jam
Quince Jam: How to Can a Year’s Supply of Quince Jam
Root Beer Float Jelly: How to Make and Can Root Beer Float Jelly
Blessings,
The Off Grid Barefoot Girl

