Dreaming of a charming backyard pumpkin patch? Learn how to grow a pumpkin patch at home from seed to harvest with this easy step-by-step guide. Whether you’re planning for fall decorations, homemade pies, or family fun, discover the best pumpkin varieties, soil prep tips, watering routines, and pest control strategies to ensure a bountiful harvest right in your own backyard.
Welcome to my simple guide to growing your own pumpkin patch right in your backyard. Whether you’re brand new to gardening or you’ve been getting your hands dirty for years, I’ll walk you through everything you need to know to grow a beautiful, healthy crop of pumpkins. From picking the right varieties and prepping your soil to planting, tending, and keeping pests at bay—I’ve got you covered. Growing pumpkins is one of my favorite ways to celebrate the season, whether it’s for cooking up fall recipes, decorating the porch, or just having fun with the kids. So grab your gloves and let’s get started growing a pumpkin patch you’ll be proud of!
This is a pinnable post. Tap or hover over any image in this post to pin to your Pinterest Boards.
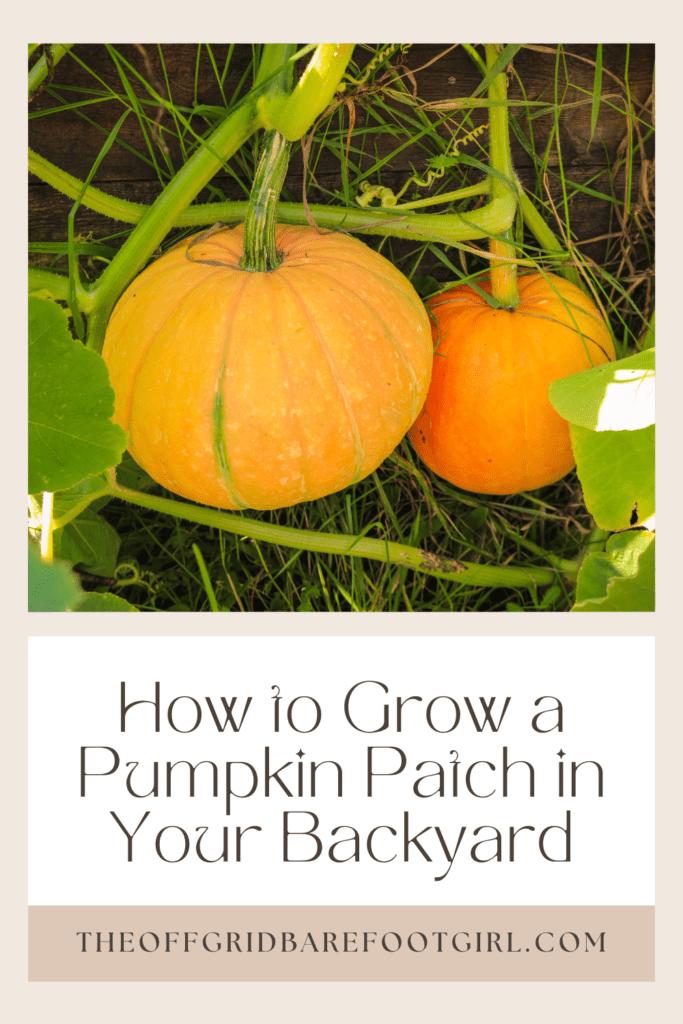
Selecting the Right Pumpkin Varieties
When it comes to growing a pumpkin patch in your backyard, selecting the right pumpkin varieties is essential. There are a few factors to consider before settling on the perfect pumpkins for your patch.
Factors to Consider
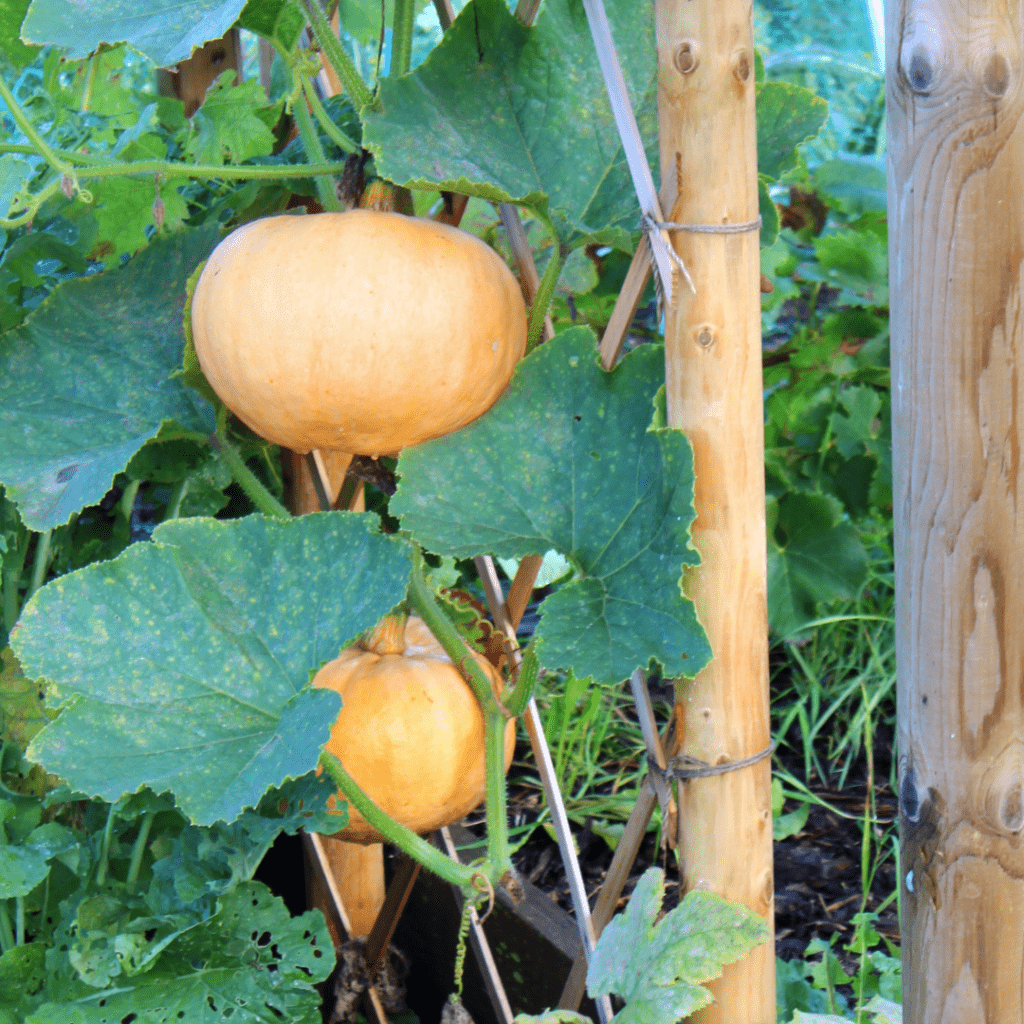
First and foremost, think about the size of your backyard. If you’re blessed with acres of land, you can go all out and choose large-sized pumpkins that will make your neighbors green with envy. However, if you’re working with limited space, opt for smaller or even mini pumpkins that pack a punch without taking up too much real estate. Remember, pumpkins grow on vines so you can grow them vertically to save space!
Next, consider the climate in your area. Pumpkins thrive in warm weather, so if you live in a region with a short growing season, it’s best to choose varieties that mature quickly. On the other hand, if you reside in a place with a longer growing season, you can experiment with larger pumpkins that take their time to reach their full potential.
Also, think about your personal preferences. Do you want pumpkins for carving spooky Jack-o’-lanterns, or are you more interested in ones that are perfect for pies and other culinary creations? There are specific pumpkin varieties tailored to suit each purpose, so choose wisely!
Popular Pumpkin Varieties for Backyard Growing
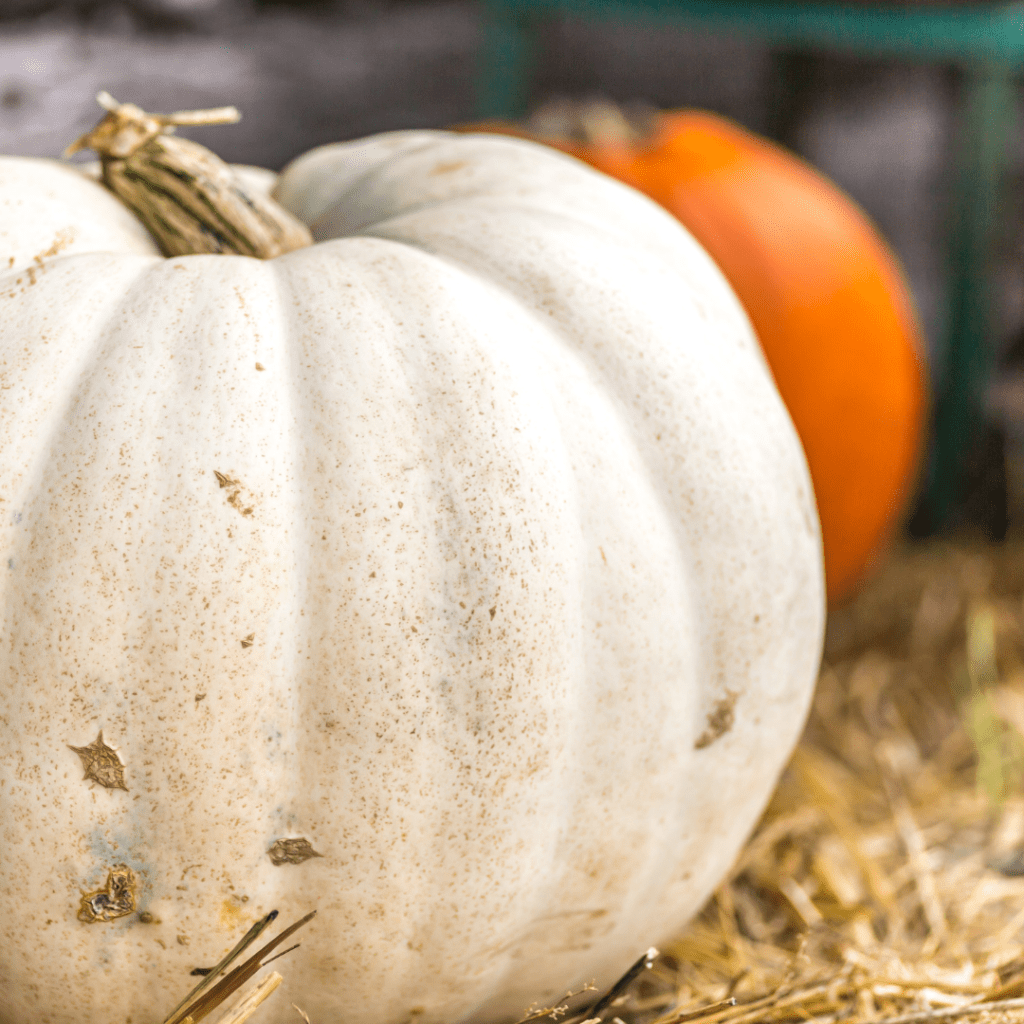
Now that you understand the factors to consider, let’s talk about some popular pumpkin varieties that are perfect for growing in your backyard.
- Carving Pumpkins: For carving enthusiasts, the classic ‘Jack O’Lantern’ variety is a reliable choice.
- Pumpkin Pie: If you’re looking to make delectable pies, ‘Sugar Pie’ and ‘Cinderella’ pumpkins are sure to impress your taste buds.
- Pumpkin Decor: And for those who want to add some pizzazz to their fall decor, ‘Baby Boo’ and ‘Miniature Tiger’ pumpkins are absolutely adorable.
Remember, the key is to choose pumpkin varieties that will grow well in your specific conditions and bring you the most joy!
Preparing the Soil for a Pumpkin Patch
Before you drop a single seed into the ground, you’ve got to give your soil some love. Pumpkins are heavy feeders, and they won’t thrive in poor, neglected dirt. Think of this step like setting up your garden for success—adding compost, loosening the soil, and making sure it drains well. A little prep now means healthier vines and bigger, better pumpkins down the road.
Testing and Amending Soil
Start by testing the pH level of your soil. You can either use a DIY soil testing kit or send a sample to a local agricultural extension office. This information is valuable because pumpkins prefer slightly acidic soil, with a pH ranging from 6.0 to 6.8. If your soil’s pH is off, you can amend it by adding organic matter such as compost or well-rotted manure.
To learn more about your garden soil, I have written a post on how to perform four easy soil tests yourself with just simple items from your home that you may already have on hand. Check it out at the following link.
4 Easy DIY Garden Soil Tests to Do Now
Clearing and Preparing the Planting Area
Once you’ve sorted out the pH, it’s time to clear the area where your pumpkin patch will reside. Remove any rocks, weeds, or debris that might hinder pumpkin growth. Pumpkins need plenty of space to stretch their vines, so make sure the planting area is free from any competition. Loosen the soil with a gardening fork or tiller, creating a nice bed for your pumpkins to call home.
With your soil prepped and the area cleared, you’re one step closer to having a pumpkin patch that will make even the squirrels jealous!
Planting and Caring for Pumpkin Seeds
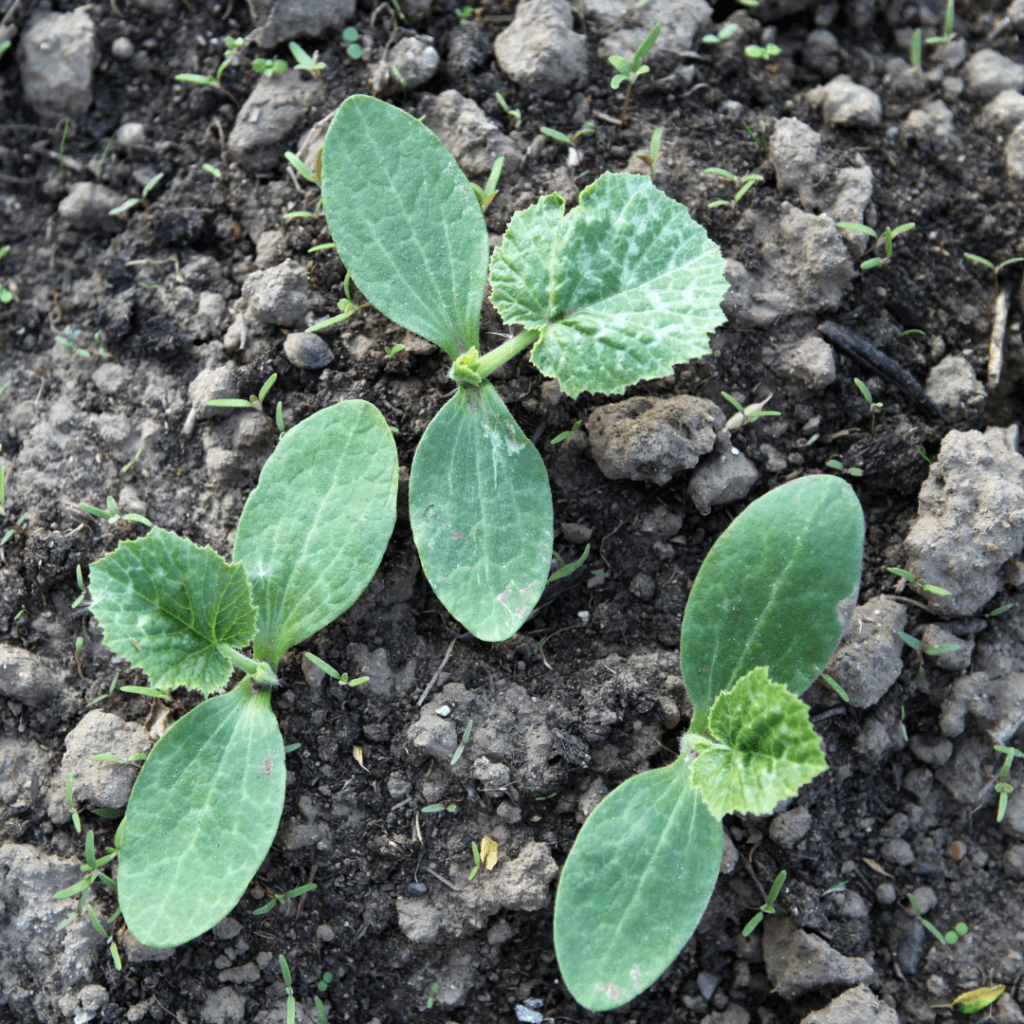
Now that you’ve prepared the soil, it’s time to get your hands dirty and plant those pumpkin seeds. Whether you choose to start your seeds indoors or sow them directly in the ground, there are a few things to keep in mind to ensure your pumpkin seedlings thrive.
Starting Pumpkin Seeds Indoors
If you want a head start on the growing season, starting pumpkin seeds indoors is a great option. Plant the seeds in biodegradable pots about two weeks before the last frost date in your area. Make sure the pots receive plenty of sunlight, and keep the soil consistently moist. Once the danger of frost has passed, transplant the seedlings into your pumpkin patch, gently removing the pots without disturbing the roots.
Direct Sowing Pumpkin Seeds
For those who prefer a more direct approach, you can sow pumpkin seeds directly in the ground after the danger of frost has passed and the soil temperature reaches at least 60°F (15°C). Dig small holes, about one inch deep, and place a few seeds in each hole. Cover the seeds with soil and water thoroughly.
Proper Spacing and Planting Techniques
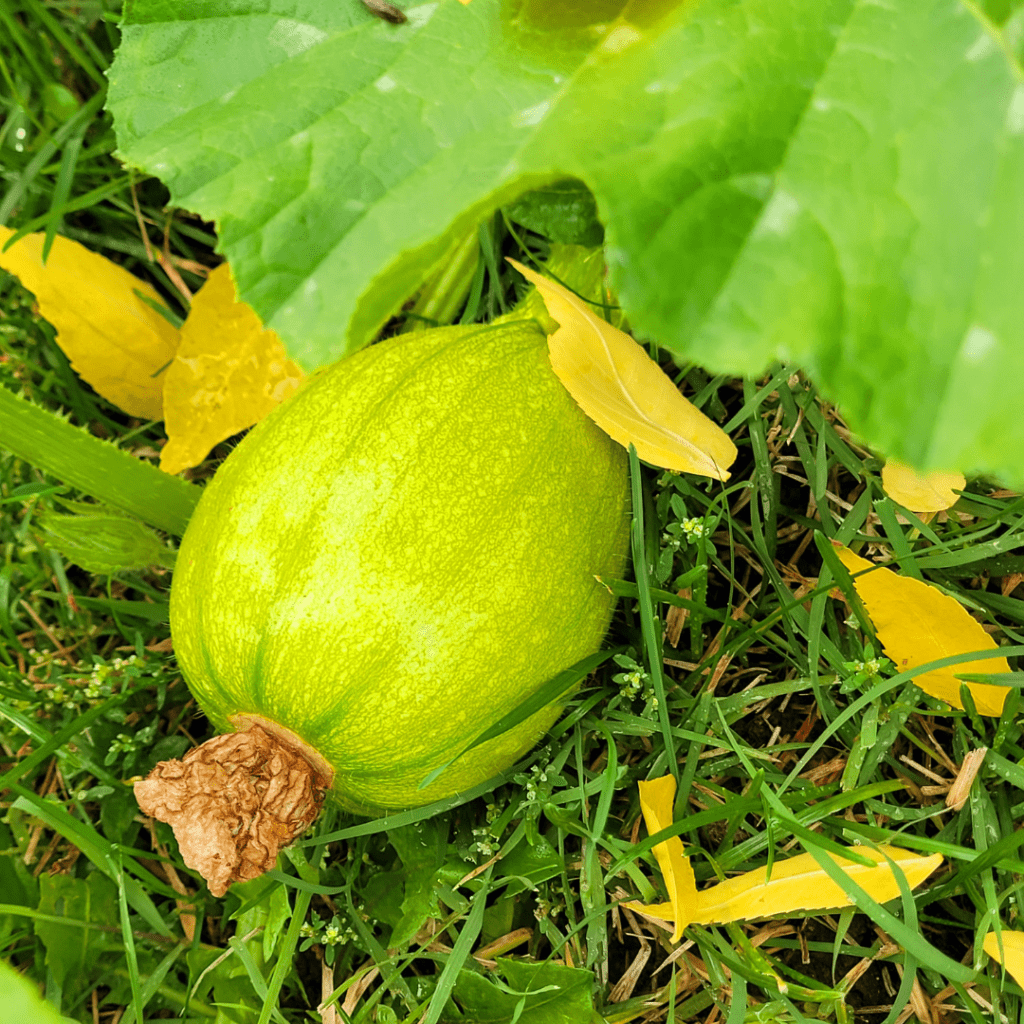
Proper spacing is vital to ensure your pumpkin plants have enough room to sprawl and produce beautiful pumpkins. Allow at least 6 feet between each pumpkin plant, giving them ample space to spread their vines. If you’re short on space, you can grow pumpkins vertically by creating trellises or supporting structures.
Remember to water your pumpkin seeds regularly, keeping the soil consistently moist, but not waterlogged. With a little love and care, your pumpkin patch will soon be bursting with new pumpkins!
Watering and Fertilizing Your Pumpkin Plants
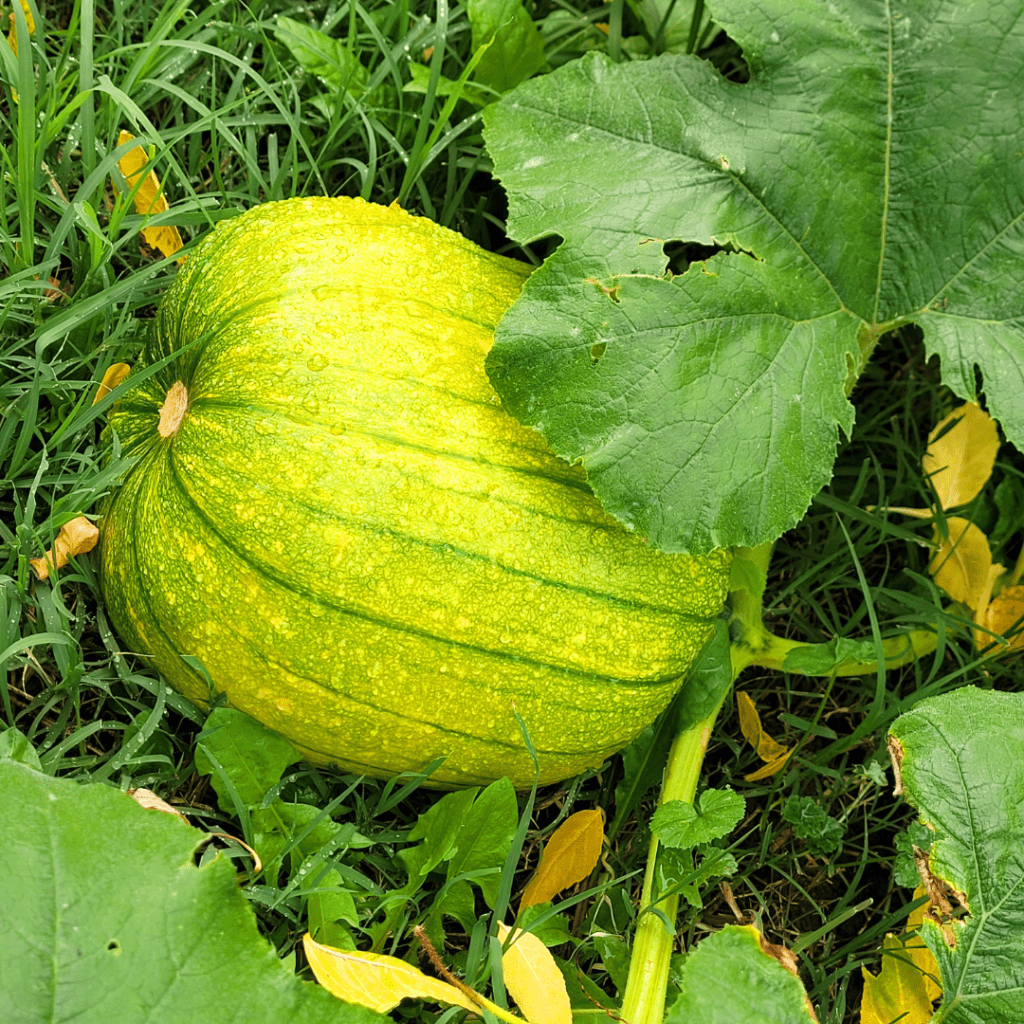
Like humans, pumpkins need water and nourishment to thrive. To ensure your pumpkin plants reach their full potential, establish a watering routine and choose the right fertilizers.
Establishing a Watering Routine
Pumpkins are thirsty plants, especially during the hot summer months. Aim to provide your pumpkin plants with about 1 to 2 inches of water per week, either through rainfall or supplemental irrigation. To prevent diseases, it’s best to water the soil directly rather than wetting the leaves. Consider using a soaker hose or drip irrigation system to deliver water directly to the root zone.
Choosing the Right Fertilizers
Pumpkins are heavy feeders, so they benefit from regular fertilization. Before planting, incorporate a balanced organic fertilizer into the soil to provide essential nutrients. Once the plants start to grow, switch to a fertilizer high in phosphorus to promote healthy root development and fruit production. Organic options such as compost, well-rotted manure, or fish emulsion are excellent choices for feeding your pumpkin plants.
Applying Fertilizers at the Right Time
Timing is everything when it comes to fertilizing pumpkins. Apply the initial round of fertilizer when planting the seeds or transplanting seedlings. Then, continue fertilizing every two to three weeks throughout the growing season. Be cautious not to over-fertilize, as this can lead to excessive vine growth with few pumpkins to show for it.
With proper watering and fertilization, your pumpkin plants will flourish, and you’ll be one step closer to having an impressive pumpkin patch that will make even the Great Pumpkin jealous!
Protecting Your Pumpkin Patch from Pests and Diseases
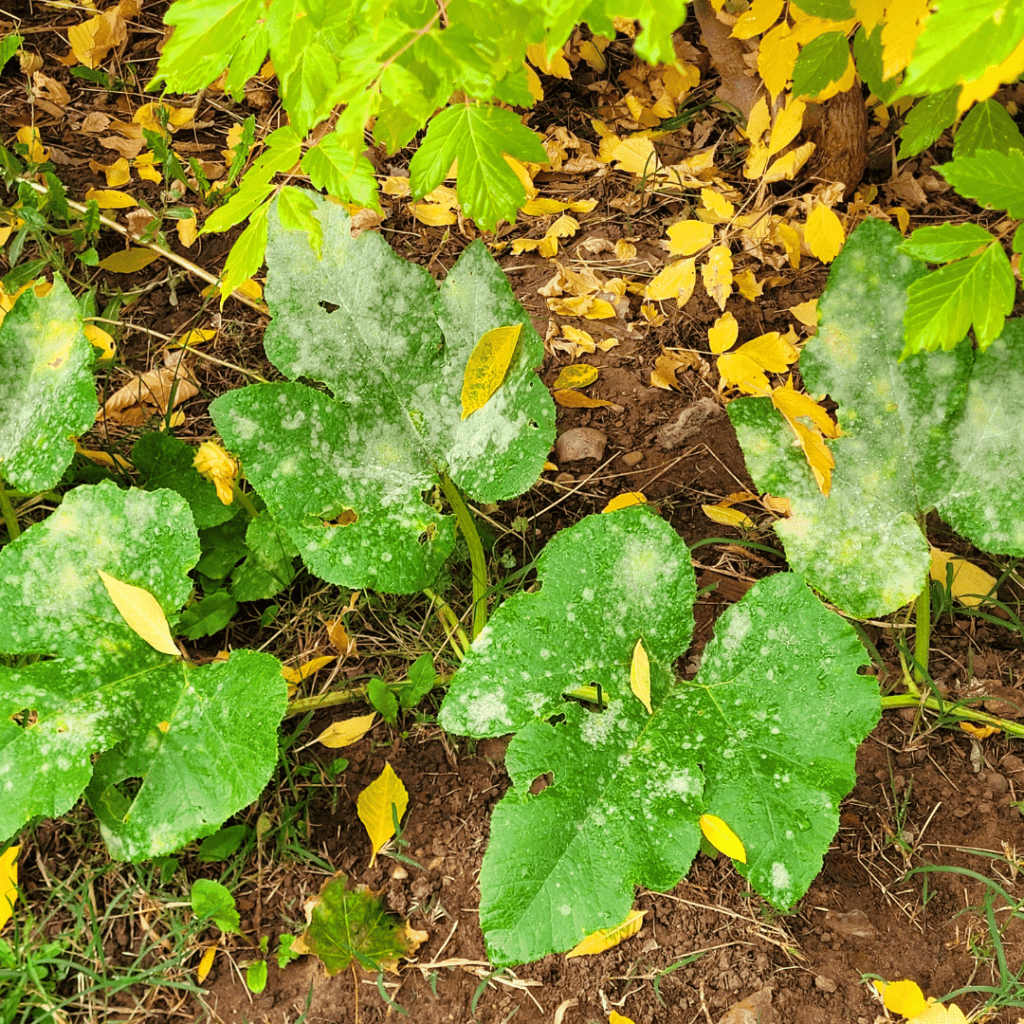
My pumpkin patch developed powdery mildew, which I treated weekly with Neem Oil and baking soda spray, and my pumpkins turned out great at the end of the season!
Identifying Common Pumpkin Pests
Pumpkin patches can be a veritable buffet for pesky critters! By learning to identify common pumpkin pests, you can take action before they wreak havoc. Look out for sneaky cucumber beetles, which can transmit diseases, and those notorious vine borers that target your precious pumpkin vines. Don’t forget about the rascally squash bugs and powdery mildew, which can quickly turn your lovely patch into a sad sight.
Implementing Natural Pest Control Methods
Now that you know your pumpkin enemies, it’s time to fight back, naturally! Instead of reaching for harsh chemicals, consider some organic pest control methods. Introduce beneficial insects like ladybugs and lacewings to your patch, as they feast on those troublesome pests. You can also handpick and dispose of any unwanted visitors, just be sure to wear a superhero cape to complete the image! And let’s not forget the age-old wisdom of companion planting; marigolds and nasturtiums can act as natural pest repellents for your pumpkins.
Preventing and Managing Pumpkin Diseases
Diseases can be a real buzzkill on your pumpkin-growing journey. But fret not, dear grower, there are ways to prevent and manage pumpkin diseases. Firstly, start with healthy seeds or seedlings, as they are more resistant to diseases. Proper spacing and good airflow between plants can also help prevent the spread of diseases. And if you notice any signs of trouble, like rapidly spreading spots or wilting leaves, act quickly! Remove and dispose of infected plants to prevent the disease from spreading further. Remember, when it comes to diseases, prevention is worth a pound of pumpkin cure!
Harvesting and Storing Pumpkins
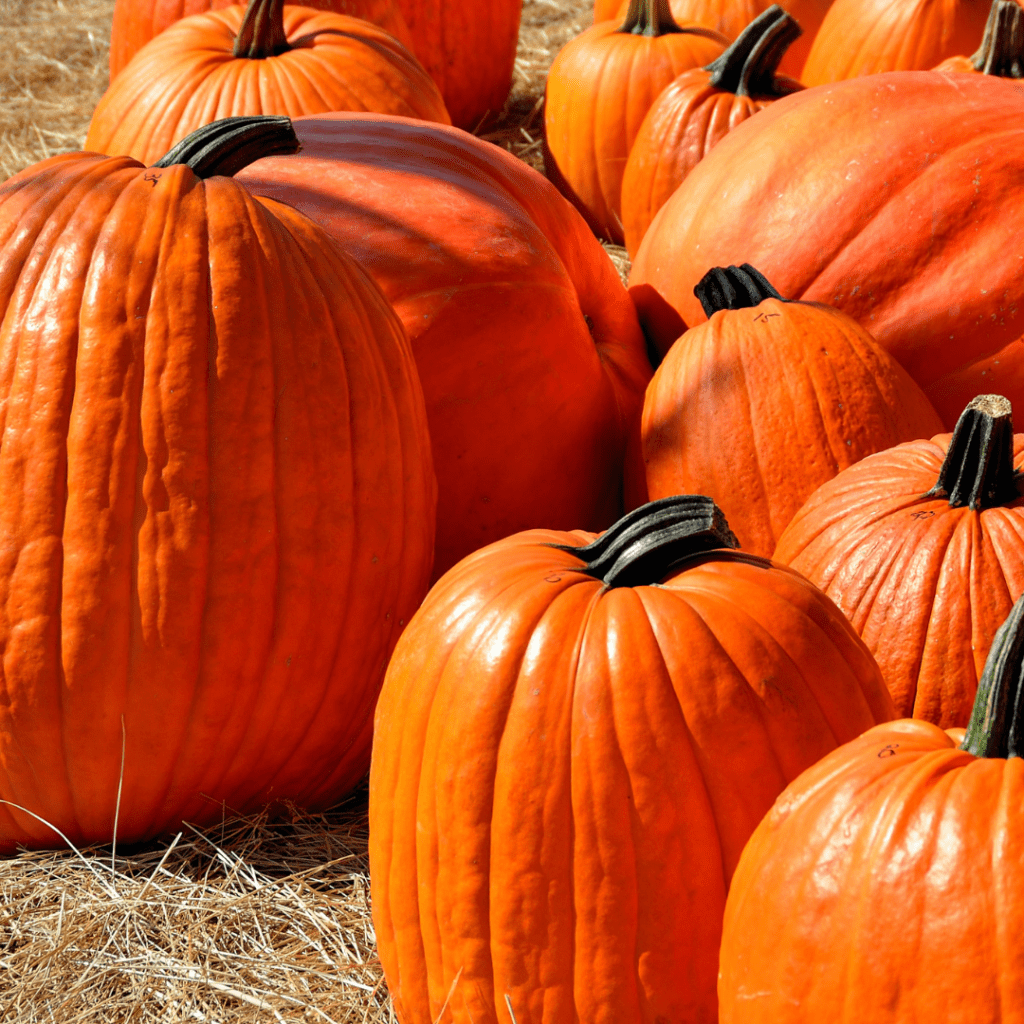
Signs of Pumpkin Maturity
Oh, the anticipation of pumpkin maturity! But how do you know when your pumpkin is ready for the big harvest? Look for a deep, consistent color on the outer skin. The stem should also be dry and starting to crack, indicating that your pumpkin is fully mature. Give it a tap – if it sounds hollow, it’s a good sign that it’s ready to be picked.
Harvesting Techniques
It’s harvest time, pumpkin lovers! To safely separate your ripened pumpkins from their vines, use a sharp knife or pruning shears to cut the stem about two inches above the pumpkin. Leave a bit of stem attached, as it helps prolong the pumpkin’s shelf life. Be gentle, like a pumpkin whisperer, and handle those pumpkins with care.
Proper Pumpkin Storage Methods
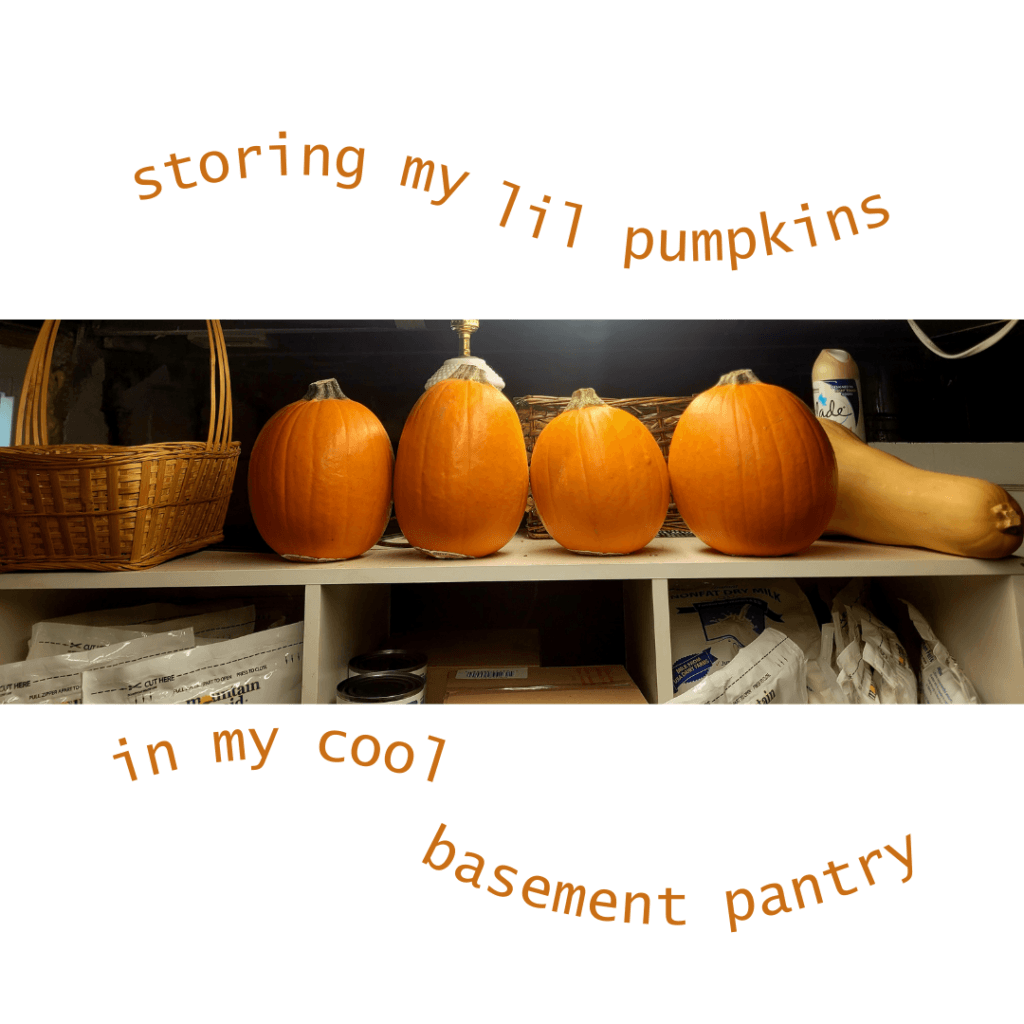
Now that you’ve harvested your pumpkins, it’s time to think about their long-term happiness. Find a cool, dry place to store them, like a well-ventilated basement or a garage. Avoid placing them directly on the ground, as this can cause rotting. If you want to get fancy, wrap each pumpkin in a newspaper or store them individually in cardboard boxes for added protection. Remember, a happy pumpkin is a delicious pumpkin.
Tips for Growing Giant Pumpkins
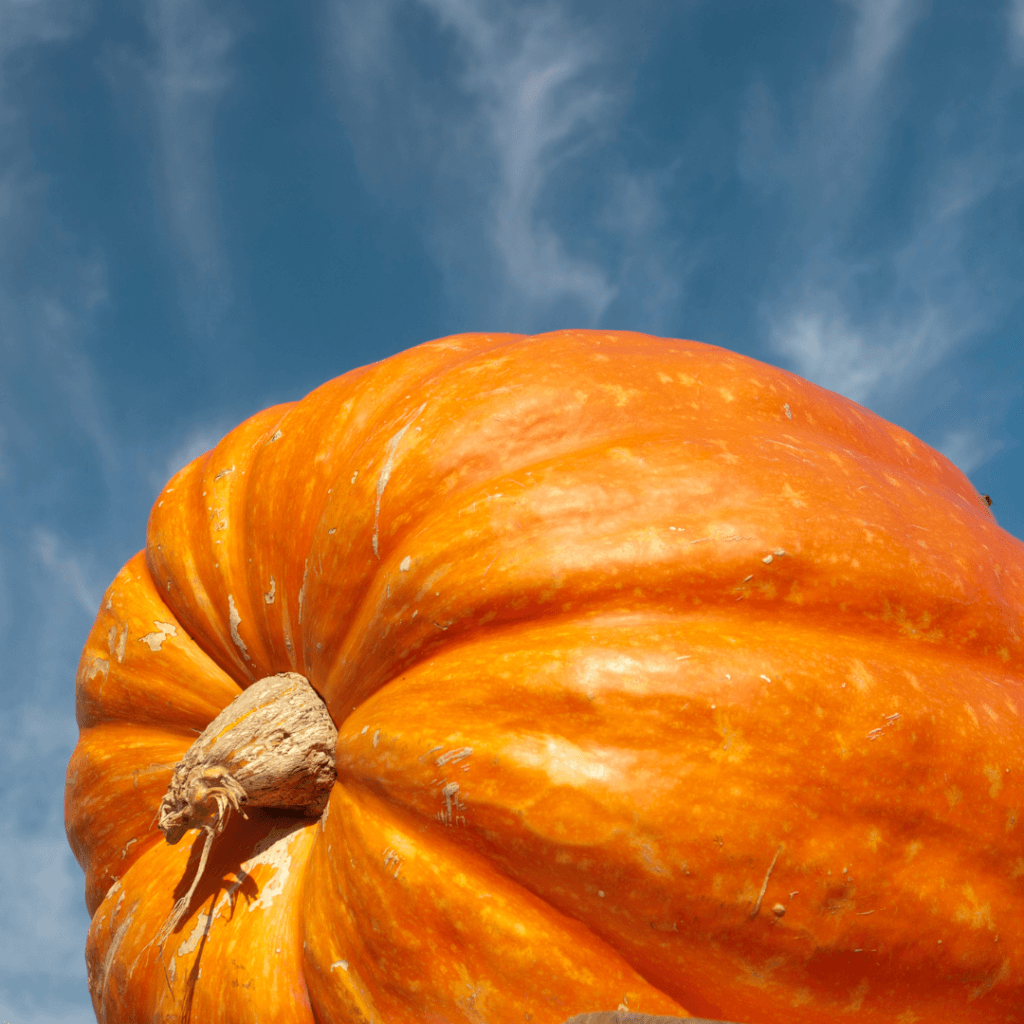
Choosing the Right Giant Pumpkin Varieties
For those who dream big, giant pumpkins are the way to go! But not all pumpkins are created equal in the world of giants. Look for specific varieties bred for size, such as Atlantic Giant or Big Max. These monstrous pumpkins have the genetics to reach awe-inspiring proportions and make your neighbors green with envy (or should we say, orange with envy?).
Special Care and Techniques for Giant Pumpkins
Growing giant pumpkins requires a little extra TLC, but it’s worth it for the bragging rights. Provide your giants with plenty of space to spread their vines, as they need room to grow their colossal fruits. Regularly prune the secondary vines to allow the plant to focus its energy on the main vine, where the giants will form. Don’t forget to pamper them with nutrient-rich soil, ample water, and perhaps a lullaby or two for good measure. Growing giants is serious business, but remember to have fun along the way!
How to Win a Giant Pumpkin Contest
I have written more tips on how to grow giant pumpkins in my fun How to Win a Giant Pumpkin Contest post for further valuable tips and tricks, so don’t forget to check out that post and start growing your own fun giant pumpkins!
Fun Activities and Decorations with Pumpkins

Pumpkin Carving Ideas
Ah, the classic Halloween tradition of pumpkin carving! Get creative and let your inner artist shine. From a spooky Jack-o’-lantern to a friendly face or even a famous celebrity likeness (can you say “pumpkin Gaga”?), the possibilities are endless. Don’t forget to save the seeds for roasting, a tasty treat to enjoy while admiring your masterpiece.
Creating a Festive Pumpkin Display
If carving isn’t your thing, I have just the thing for you! Pumpkins can be transformed into festive masterpieces without picking up a knife. Arrange them in a colorful pyramid, create a pumpkin family with paint and props, or turn them into charming flower vases – the options are as varied as the spices in a pumpkin spice latte. Let your creativity run wild and let those pumpkins steal the show in your fall decor.
Remember, fellow pumpkin enthusiasts, whether you’re battling pests and diseases, harvesting your precious pumpkins, growing giants, or getting crafty with your decorations, the most important thing is to have fun. Embrace the quirks of pumpkin growing, celebrate your successes, and laugh at the occasional mishap. Happy pumpkin adventures await you!
Conclusion
In conclusion, growing a pumpkin patch in your backyard can be a rewarding and enjoyable experience. By following the tips and techniques outlined in this guide, you’ll be well-equipped to nurture healthy pumpkin plants and witness the transformation from seeds to fully grown pumpkins. Whether you’re looking to create a festive fall display, engage in fun activities with your family, or simply enjoy the flavors of freshly harvested pumpkins, the effort you put into growing your own patch will be well worth it. So go ahead, roll up your sleeves, and start planning your backyard pumpkin patch adventure today!
You can find more of my food security resources here: Food Security Resources
Resources: Here are some helpful resources for further information.
- How to Grow Your Own Backyard Pumpkin Patch – By Spooky Little Halloween
- Planting a Backyard Pumpkin Patch – By Probably This
- DIY Pumpkin Patch FAQ’s – By We Lived Happily Ever After
Frequently Asked Questions
1. How much space do I need to grow a pumpkin patch in my backyard?
Typically, pumpkin plants require quite a bit of room to thrive and produce healthy pumpkins. Each plant needs around 50-100 square feet of space to spread out comfortably. But keep in mind that this may vary depending on the variety you choose. It’s important to allow enough space between the plants for adequate air circulation, which helps prevent diseases. If your backyard is limited in size, you can also try trellising or training the vines vertically to save space while still enjoying a bountiful harvest.
2. Can I grow pumpkins in containers or pots?
Sure, you can definitely grow pumpkins in containers or pots! It may come as a surprise, but pumpkins are actually quite versatile and can thrive in limited space. The first step is to select a container that is at least 15 gallons in size and has good drainage. Choose a location where the plants will receive plenty of sunlight, as pumpkins require full sun to produce fruit. Fill the container with a well-draining potting mix rich in organic matter.
3. When is the best time to plant pumpkin seeds?
The best time to plant pumpkin seeds is in late spring or early summer when the soil has warmed up and all danger of frost has passed. Typically, this would be around May or June in most regions. Pumpkins need warm temperatures to germinate and grow, so it’s important to wait until the soil temperature reaches at least 60°F (15°C). Planting too early can result in poor seed germination or stunted growth. Additionally, pumpkins require a long growing season, usually ranging from 75 to 120 days depending on the variety. It’s vital to consider your local climate and frost dates when deciding on the appropriate time. By planting your pumpkin seeds at the right moment, you’ll give them the best chance for success and ensure a bountiful harvest come autumn.
4. How long does it take for pumpkins to grow and ripen?
Generally, from the time you plant pumpkin seeds in your garden or patch, it can take around 90 to 120 days for them to fully mature. Of course, this can vary depending on the variety of pumpkins you’re growing and the specific environmental conditions of your area. Pumpkins start off as small green fruits that continue to grow gradually until they reach their full size and vibrant orange color. As they grow, you’ll notice their stems become dry and brown, indicating that they’re getting ready for harvest. It’s important to keep an eye on your pumpkins during this period and provide adequate water, sunlight, and nutrients to ensure healthy growth. So be patient; before you know it, you’ll have some plump pumpkins just waiting to be carved or turned into delicious pies!
Summary
I hope I have inspired you to grow a pumpkin patch with these tips and products.
If you were encouraged by this post, I invite you to check out my FREE Printables Page for fun free printables, planners, and charts.
ENTER MY FREE Printables Page HERE
Here are some more of my composting and gardening inspiration posts to check out!
How to Use the Hand Twist Claw Tiller: Tackling Tough Soil
Planning Your Garden: How to Plan a Vegetable Garden: Expert Green Thumb Tips!
Winterizing the Garden: How to Winterize Your Vegetable Garden: Step-by-Step Checklist
Mulching the Garden: How to Make Leaf Litter Mulch
How to Win a Giant Pumpkin Contest
How to Grow a Fall Garden: 9 Best Fall Crops
Clever Ways to Incorporate Indoor Composting into Your Home
How to Start Composting for the Garden: A Step-by-Step Guide
The Ultimate Guide to Composting in Your Suburban Backyard
Why I Built A Survival Garden in My Backyard
How to Grow A Foodscape Garden From Scratch
16 Best Medicinal Herbs to Grow in Your Garden Now
Blessings,
The Off Grid Barefoot Girl


