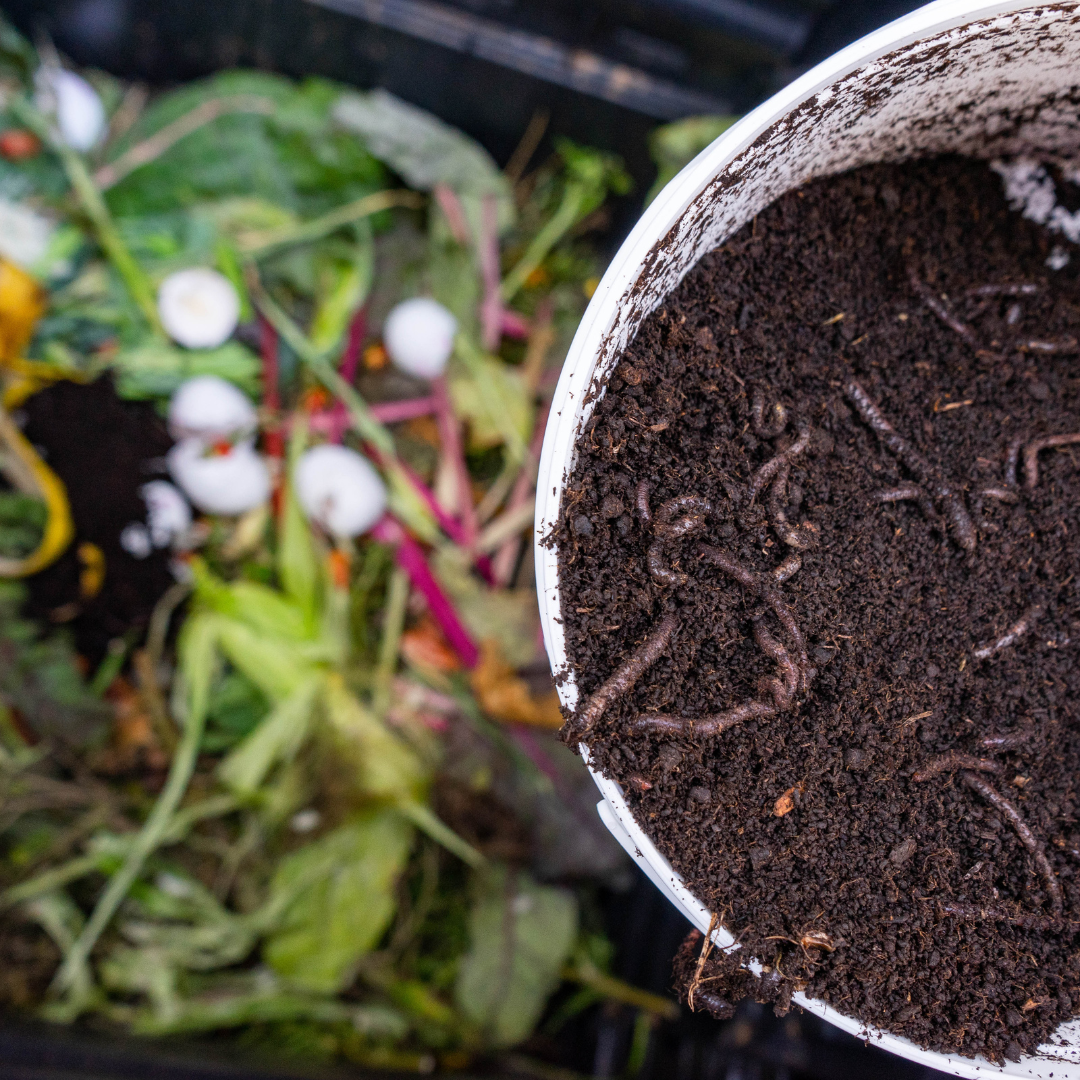
Learn how to start a worm bin and turn your kitchen scraps into nutrient-rich compost for your garden. Discover simple steps to create, maintain, and harvest your very own “black gold” while reducing food waste.
I’ve always loved finding ways to recycle kitchen scraps and enrich my garden naturally, and starting a worm bin has been one of the most rewarding projects I’ve tried. Worm composting not only reduces food waste, but it also creates incredibly rich soil — often called “black gold” by gardeners. In this post, I’ll share my step-by-step process for setting up a worm bin, feeding and caring for your worms, and harvesting nutrient-packed compost to boost your plants. Whether you’re a seasoned gardener or just looking for a fun, eco-friendly project, worm composting is surprisingly easy and incredibly satisfying!
This is a pinnable post. Tap or hover over any image in this post to pin to your Pinterest Boards.
Understanding Vermicomposting
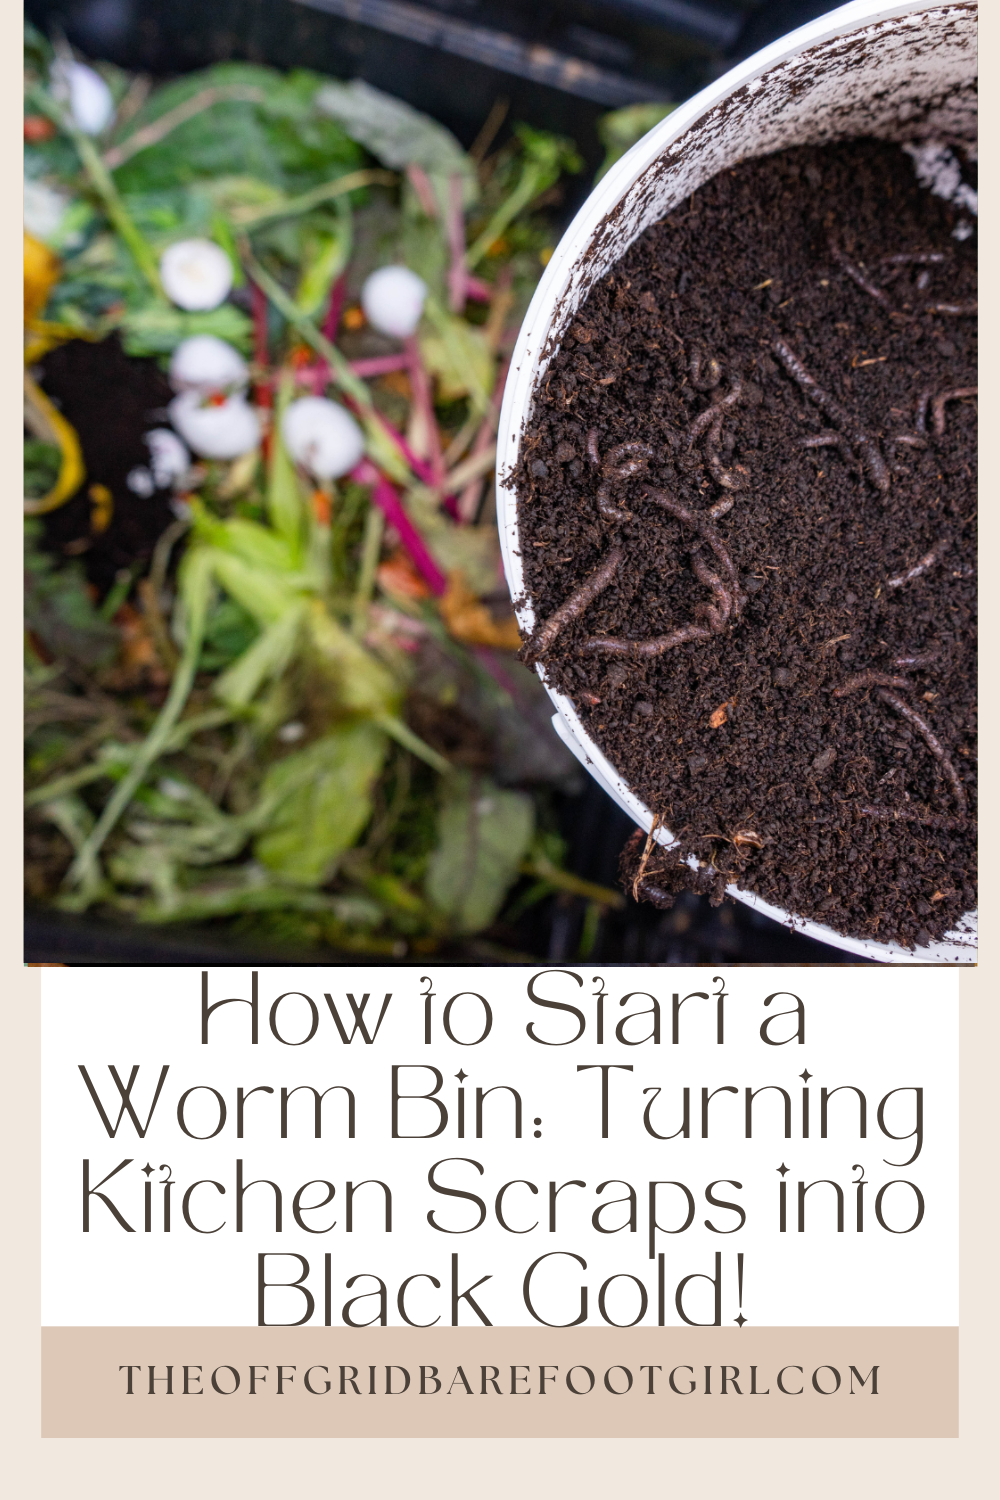
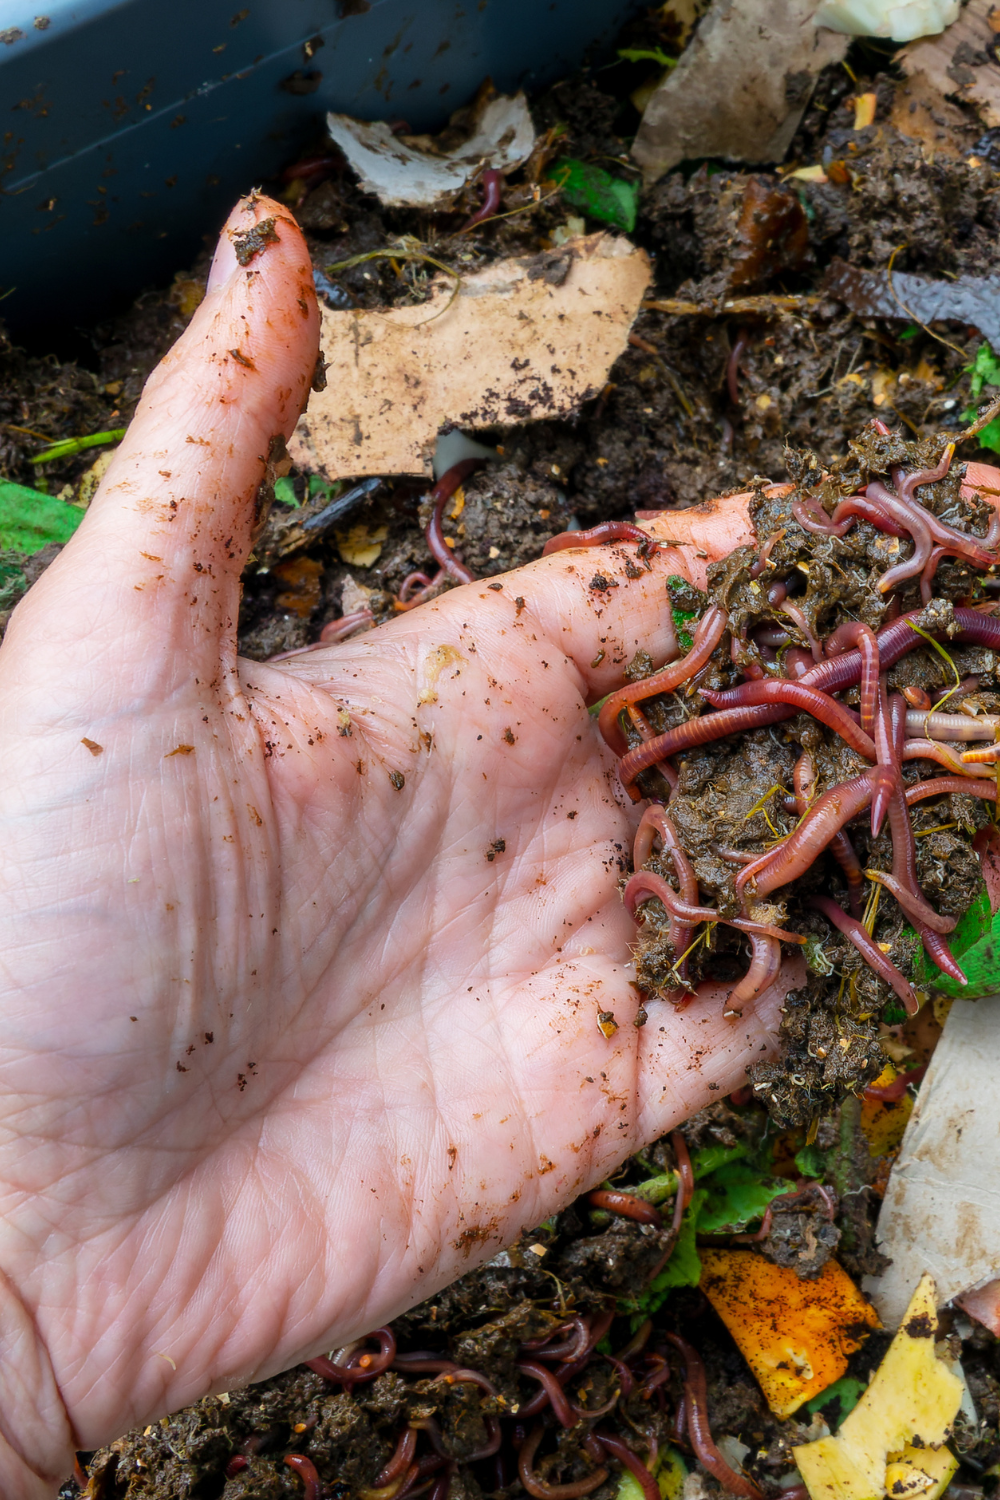
Before diving into the practicalities, it’s essential to understand the science behind vermicomposting. Worms, specifically red wigglers (Eisenia fetida), play a crucial role in breaking down organic material. They consume kitchen scraps, turning them into nutrient-rich castings – a potent and natural fertilizer for plants.
Why Vermicomposting?
Vermicomposting offers several benefits, including:
- Waste Reduction: Reducing kitchen waste sent to landfills.
- Soil Enrichment: Producing nutrient-dense compost for plants.
- Sustainable Living: Contributing to a more eco-friendly lifestyle.
Selecting the Right Worms
Choosing the right type of worm is crucial for the success of your worm bin. While various types of worms exist, red wigglers are the preferred choice for vermicomposting due to their voracious appetite and ability to thrive in confined spaces.
Red Wigglers Characteristics
Red wigglers are distinguishable by their red-brown color, slender bodies, and segmented appearance. They are prolific eaters, capable of consuming half their body weight in organic matter each day. Additionally, they thrive in the temperature range of 55-77°F (13-25°C) – ideal for indoor worm bins.
Where to Get Red Wigglers
You can obtain red wigglers from reputable sources such as local gardening stores, online suppliers, or even from fellow vermicomposters. Purchase a sufficient quantity based on the amount of kitchen waste you generate.
Choosing a Worm Bin
Container Size
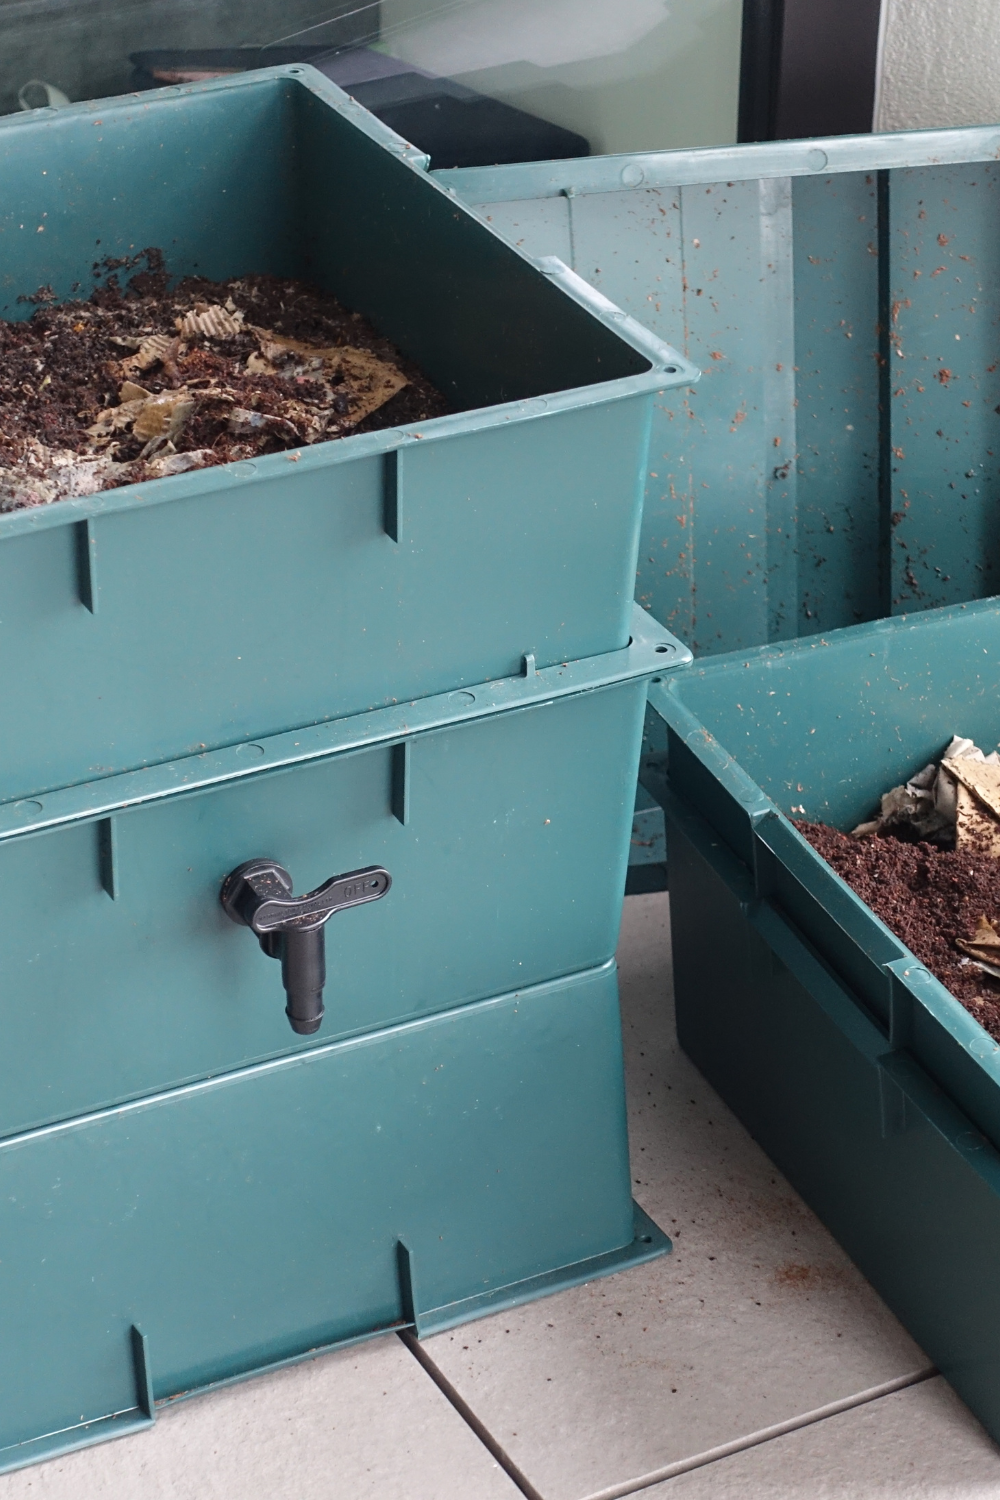
The size of your worm bin should correspond to the amount of kitchen waste your household generates. A small bin is suitable for beginners, while larger bins accommodate more waste and worms.
Ventilation
Adequate ventilation is essential to prevent the buildup of excess moisture, which can lead to unpleasant odors and anaerobic conditions. Many commercial bins come with ventilation holes, while DIY options may require modifications.
Material and Durability
Select a bin made from durable, non-toxic materials. Common materials include plastic, wood, and metal. Ensure that the chosen material is breathable and provides insulation for the worms.
Setting Up Your Worm Bin
Once you have your worms and bin, it’s time to set up your vermicomposting system. Follow these steps for a successful start.
Bedding Material
Create a comfortable environment for your worms by adding bedding material to the bin. Shredded newspaper, cardboard, and coconut coir are excellent choices. Moisten the bedding until it reaches the consistency of a wrung-out sponge.
Adding Kitchen Scraps
Introduce kitchen scraps to provide the worms with their primary source of nutrition. Ideal scraps include fruit and vegetable peelings, coffee grounds, and crushed eggshells. Avoid oily, citrus, and dairy-based items, as well as meat and fish.
Introducing Red Wigglers
Place the red wigglers on top of the bedding and kitchen scraps. Allow them some time to acclimate to their new environment. Start with a moderate amount of worms, and adjust based on the rate of waste production.
Maintaining Your Worm Bin
Successful vermicomposting requires consistent maintenance to ensure a healthy environment for the worms. Follow these guidelines to keep your worm bin thriving.
Feeding Schedule
Establish a regular feeding schedule based on the amount of waste your household generates. Overfeeding can lead to excess moisture and unpleasant odors, while underfeeding may cause the worms to consume their bedding.
Moisture Control
Maintain the right level of moisture in the bin by periodically checking the bedding. If the bin becomes too dry, mist it with water. Conversely, if it’s too wet, add dry bedding material and increase ventilation.
Turning the Bedding
To aerate the bedding and promote even decomposition, gently turn it with a fork or hand rake every few weeks. This helps prevent compacting and ensures that the worms can access all parts of the bin.
Harvesting Worm Castings
Worm castings, also known as vermicompost, are ready for harvest when they form a dark, crumbly layer on top of the bedding. To collect the castings, gently move the top layer of bedding to one side and scoop out the castings from the other.
Worm Tunnels
Another way to use vermicomposting in your garden is by installing worm tunnels to improve your garden soil. I built my worm tunnel with a 5-gallon bucket with holes in it, and I feed them via the bucket. The worms are free to come and go as they please, leaving me with a pile of fresh, new black gold I can use for the garden!
Read more about how I installed my worm tunnel in my garden!
How to Install a Worm Tunnel and Improve Your Garden Soil
Troubleshooting Common Issues
Even with proper care, you may encounter challenges while managing your worm bin. Here are some common issues and how to address them.
Foul Odors
Unpleasant odors often result from overfeeding, inadequate ventilation, or excess moisture. Adjust your feeding habits, increase ventilation, and ensure proper moisture levels to eliminate odors.
Fruit Flies
Fruit flies can be attracted to the bin if exposed food scraps are not covered. Keep the surface covered with additional bedding material, and avoid overfeeding to reduce the likelihood of fruit fly infestations.
Worm Migration
Worms may migrate to the edges of the bin if conditions inside are unfavorable. Check for factors such as moisture, temperature, or acidity, and adjust as needed to encourage the worms to stay in the bedding.
Utilizing Vermicompost in Your Garden
The final product of your vermicomposting efforts – worm castings – is a nutrient-rich fertilizer that can significantly benefit your garden. Here’s how to incorporate vermicompost into your gardening routine.
Application Rates
Apply vermicompost to your garden soil at a rate of about 1/4 to 1/2 inch per month. Mix it thoroughly with the soil or use it as a top dressing around your plants.
Soil Amendment
Vermicompost improves soil structure, water retention, and nutrient availability. It also enhances microbial activity, creating a healthy environment for plants to thrive.
Seed Starting Mix
Create a nutrient-rich seed starting mix by blending vermicompost with potting soil. This provides young plants with essential nutrients for robust growth.
Expanding Your Vermicomposting Knowledge
As you become more experienced with vermicomposting, consider exploring advanced techniques and experimenting with different bin setups. Here are a few ideas to take your vermicomposting skills to the next level.
Multiple Bins
Consider maintaining multiple worm bins to manage varying stages of composting. This allows you to rotate bins and harvest castings more efficiently.
Outdoor Vermicomposting
If space permits, explore outdoor vermicomposting setups like worm trenches or composting piles. Outdoor systems can accommodate larger quantities of kitchen waste and provide a more natural environment for the worms.
Worm Tea
Worm tea, a liquid fertilizer produced by steeping worm castings in water, is an excellent way to extract the nutrients from vermicompost. Dilute the worm tea with water and use it to nourish your plants directly through irrigation.
Experimenting with Worm Species
While red wigglers are the go-to species for vermicomposting, consider experimenting with other worm species as well. Some composting worms have unique characteristics and may thrive in specific conditions.
Vermicomposting Challenges
Challenge yourself by tackling more complex vermicomposting scenarios, such as composting pet waste (from herbivorous animals only), or exploring niche applications like vermicomposting in aquaponics systems.
Sustainable Living and Vermicomposting
Vermicomposting aligns with the principles of sustainable living by minimizing waste and promoting ecological balance. Integrating this practice into your lifestyle contributes to a more environmentally friendly and self-sufficient existence.
Community Vermicomposting
Consider sharing your vermicomposting knowledge with your community. Collaborate with neighbors, schools, or local community gardens to set up communal worm bins, fostering a sense of shared responsibility for waste reduction.
Educational Outreach
Educate others about the benefits of vermicomposting through workshops, blog posts, or social media. Encouraging wider adoption of this eco-friendly practice can have a positive impact on the environment.
Grab the FREE Printable Guide for Building Your Worm Bin!
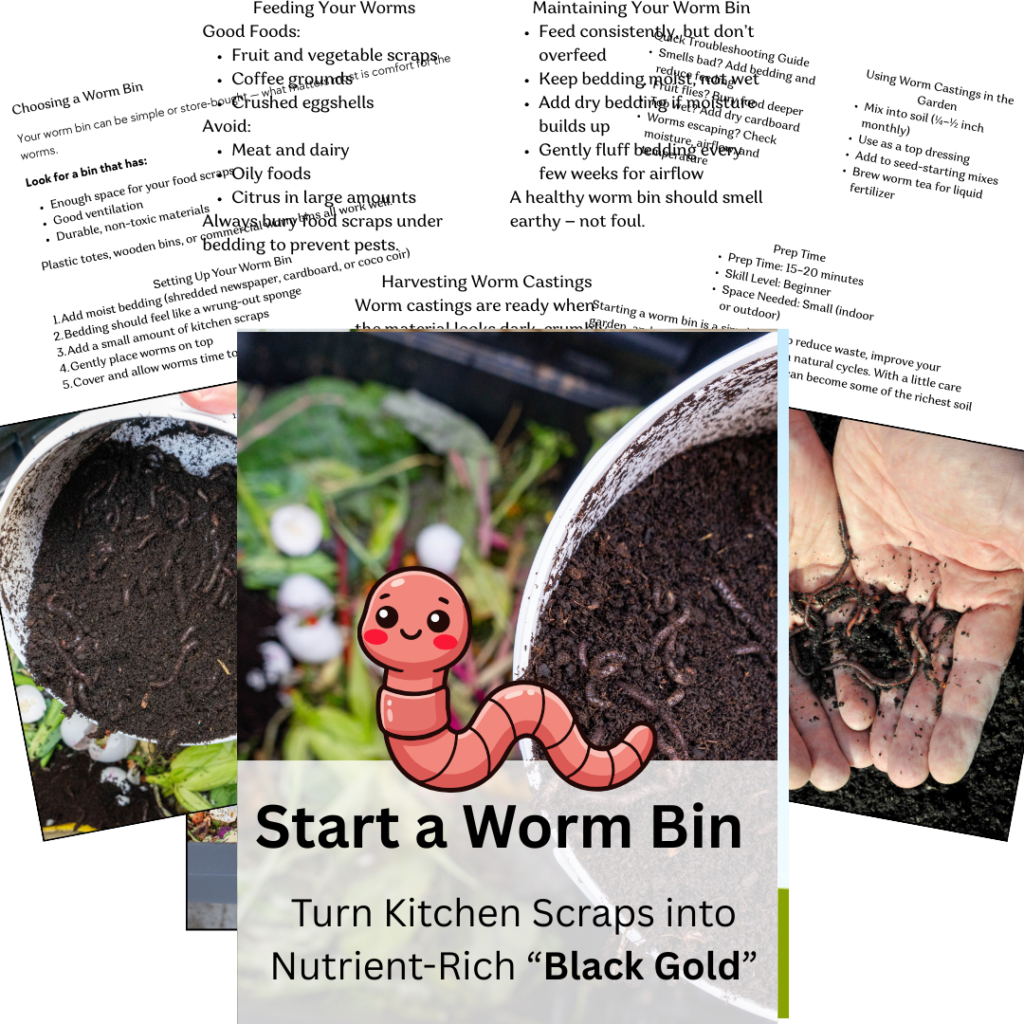
If you’d like an easy way to reference everything in this post, I’ve created a free printable guide on how to start a worm bin you can save, print, or keep in your garden binder. It walks you through setting up a worm bin, caring for your worms, troubleshooting common issues, and harvesting nutrient-rich “black gold” without having to scroll back through the post. It’s perfect for beginners or anyone who wants a simple, step-by-step reminder on hand while getting started.
Conclusion
Starting a worm bin is a journey that not only transforms kitchen scraps into valuable compost but also fosters a deeper connection with the natural cycles of life. Whether you’re a seasoned gardener or a novice looking to reduce your ecological footprint, vermicomposting offers a practical and sustainable solution.
By understanding the basics of vermicomposting, selecting the right worms and bins, and consistently maintaining your worm bin, you’ll soon be reaping the rewards of nutrient-rich worm castings for your garden. As you gain experience, feel free to explore advanced techniques and share your knowledge with others, contributing to a more sustainable and environmentally conscious community.
Start on your vermicomposting journey today, and witness firsthand the positive impact you can make by turning kitchen waste into black gold for your garden.
You can find more of my food security resources here: Food Security Resources
Frequently Asked Questions
1. Can I start a worm bin if I live in an apartment?
Starting a worm bin in an apartment is absolutely possible! You can use a compact container like a plastic bin or a specialized worm bin designed for indoor use. Just make sure to manage the bin properly, control moisture levels, and avoid overfeeding to prevent any potential odor issues.
2. How long does it take for the worms to produce usable compost?
The time it takes for worms to produce usable compost, also known as worm castings, can vary depending on various factors such as the number of worms, the feeding schedule, and the environmental conditions. Generally, it takes around 3-6 months for worms to convert kitchen scraps into nutrient-rich compost. However, it’s important to note that worm castings can continuously accumulate in the bin, allowing you to harvest smaller amounts periodically.
3. Can I use any type of worms for vermicomposting?
Not all worms are suitable for vermicomposting. The best worms for worm bins are typically Red Wiggler worms (Eisenia fetida), also known as composting worms. These worms are voracious eaters, reproduce quickly, and thrive in the conditions provided in a worm bin. Avoid using garden earthworms or other species, as they may not adapt well to the bin’s environment or efficiently process organic waste.
4. How do I prevent fruit flies or other pests in my worm bin?
To prevent fruit flies or other pests in your worm bin, it’s crucial to maintain a proper balance of moisture and avoid overfeeding. Fruit flies are often attracted to overly moist or rotting food. Ensure that the bedding remains slightly damp but not too wet, and bury fresh food scraps under the bedding to discourage pests. Additionally, covering the surface of the worm bin with a breathable material like burlap can help deter flies while still allowing proper airflow.
Summary
I hope I have inspired you to plant your garden with these tips and products.
If you were encouraged by this post, I invite you to check out my FREE Printables Page for fun free printables, planners, and charts.
ENTER MY FREE Printables Page HERE
Here are some more of my gardening inspiration posts to check out!
How to Grow Your Own Food Without a Backyard!
My Best Spring Garden Posts in One Spot!
Spring Garden Soil Prep: How to Improve Your Soil
Seed Starting Mix 101: Everything You Need to Know!
How to Plan a 200 Sq. Ft. Vegetable Garden Layout
How I Easily Start My Seeds Without Expensive Grow Lights!
How to Create a Smart Garden: Tech Meets Nature!
The Best Cheap Raised Vegetable Garden Beds
How to Grow Artichokes: Plant Once and Harvest for 5 Years!
The Best 8 Fast-Growing Vegetables In Just 45 Days!
From Snow to Sow: Plan Your Spring Garden Now!
11 Fun Ways to Brighten Your Spring Garden with Personality
Top 10 Spring Garden Crops to Harvest in 30 Days and Eat Now!
The Best Survival Crops for Caloric Survival
My Victory Garden: What I Learned from 5+ Years
Why Every Family Should Have a Victory Garden in Their Backyard Now!
The Best Perennials for a Long-Term Survival Garden
The Best Essential Oils for Plants That Repel Garden Bugs
More Gardening Projects!
How to Grow Green Garden Peas: Perfect Plump Peas!
Hugelkultur: Does This Epic Pioneering Method Actually Work?
9 Ways to Celebrate Earthing Day in Your Garden!
Gardening Indoors: Secrets of Growing Your Food Inside!
How to DIY a Milk Jug Drip Irrigation System!
Why Cedar Mulch Is The Perfect Natural Weed Barrier
Gardening Projects
Onions: How to Grow Onions for Storage
Peas: How to Grow Garden Peas for a Bumper Crop
Carrots: How to Grow Carrots for a Bountiful Harvest
Prep Your Garden for Spring Planting with These Expert Tips!
How to Grow a Prepper Garden to Survive and Thrive
The Best Garden Tools You Need for a Productive Season
Fastest Growing Vegetables for Your Survival Garden
How to Grow Marigolds As Pest Control In Your Vegetable Garden
Must-Have Tools for a Successful Balcony Vegetable Garden
How to Effectively Combat Powdery Mildew in Your Garden
The Best Tips for Organic Gardening
How to Release Ladybugs In Your Garden for Organic Pest Control
The Best Garden Snail Control Strategies
The Best Spring Vegetables to Grow in Your Garden
Seed Starter Mix: How To Make Your Organic Seed Starter Mix At Home
How to Grow a Productive Canning Garden
How to Plant and Grow a Salsa Garden
Easiest Heirloom Vegetable Seeds to Grow Now
How to Use the Hand Twist Claw Tiller: Tackling Tough Soil
More Fun Gardening Posts to Check Out!
Planning Your Garden: How to Plan a Vegetable Garden: Expert Green Thumb Tips!
Winterizing the Garden: How to Winterize Your Vegetable Garden: Step-by-Step Checklist
Mulching the Garden: How to Make Leaf Litter Mulch
Grow a Pumpkin Patch: How to Grow a Pumpkin Patch in Your Backyard
How to Grow a Fall Garden: 9 Best Fall Crops
Clever Ways to Incorporate Indoor Composting into Your Home
How to Start Composting for the Garden: A Step-by-Step Guide
The Ultimate Guide to Composting in Your Suburban Backyard
Why I Built A Survival Garden in My Backyard
16 Best Medicinal Herbs to Grow in Your Garden Now
Blessings,
The Off Grid Barefoot Girl

