Learn how to make leaf litter mulch to improve soil health, retain moisture, and reduce weeds in your garden. Simple steps for a sustainable, eco-friendly mulch.
Leaf litter mulch is one of the easiest and most sustainable ways to nourish your garden. Instead of tossing fallen leaves, you can turn them into a natural blanket that protects soil, conserves moisture, suppresses weeds, and adds valuable nutrients as it breaks down. In this guide, I’ll show you step by step how to make your own leaf litter mulch, whether you’re working with a small backyard garden or a larger homestead plot. With a little effort and some simple tools, you can transform ordinary fallen leaves into a powerhouse soil booster.
This is a pinnable post. Tap or hover over any image in this post to pin to your Pinterest Boards.
Introduction to Leaf Litter Mulch
Understanding the Concept of Leaf Litter Mulch
Welcome to the world of leaf litter mulch, where we turn those pesky fallen leaves into something useful! Leaf litter mulch is a fantastic way to improve your garden’s soil quality, conserve moisture, and say “sayonara” to those annoying weeds. Also, it is a fantastic way to use up all those fallen leaves in your yard! So, put on your gardening gloves, and let’s dive into the wonderful world of leaf litter mulch!
Benefits of Using Leaf Litter Mulch
Enhancing Soil Quality and Fertility
Ah, the sweet benefits of leaf litter mulch. First up, it works wonders in improving soil quality and fertility. As the mulch decomposes, it releases valuable nutrients into the soil, creating a happy and healthy environment for your plants to thrive.
Conserving Moisture and Regulating Temperature
But that’s not all! Leaf litter mulch also acts as a moisture superhero, helping to conserve water and regulate temperature. It keeps the soil cool during scorching hot summer days and retains moisture, so your plants won’t go thirsty.
Preventing Weed Growth and Erosion
And let’s not forget about those pesky weeds. Leaf litter mulch forms a protective barrier, making it harder for weeds to sprout and take over your garden. Plus, it helps prevent erosion by reducing the impact of heavy rain and keeping your soil in place.
Choosing the Right Leaves for Mulching
Identifying Suitable Leaf Types for Mulching
Now, not all leaves are created equal when it comes to mulching. You want to pick the right leaves to ensure the best results. Opt for leaves that break down easily, like maple, oak, or ash. These leaves are like the softies of the leaf world and will decompose quickly, providing your soil with a nutrient-rich feast. It is even better if these trees are grown naturally in your yard!
Avoiding Leaves from Toxic or Invasive Plants
On the flip side, you want to steer clear of leaves from toxic or invasive plants. We don’t want any unwanted surprises popping up in our garden! So, avoid using leaves from plants like poison ivy or invasive species that can wreak havoc on your green oasis.
Collecting and Preparing the Leaf Litter
Tips for Collecting Fallen Leaves
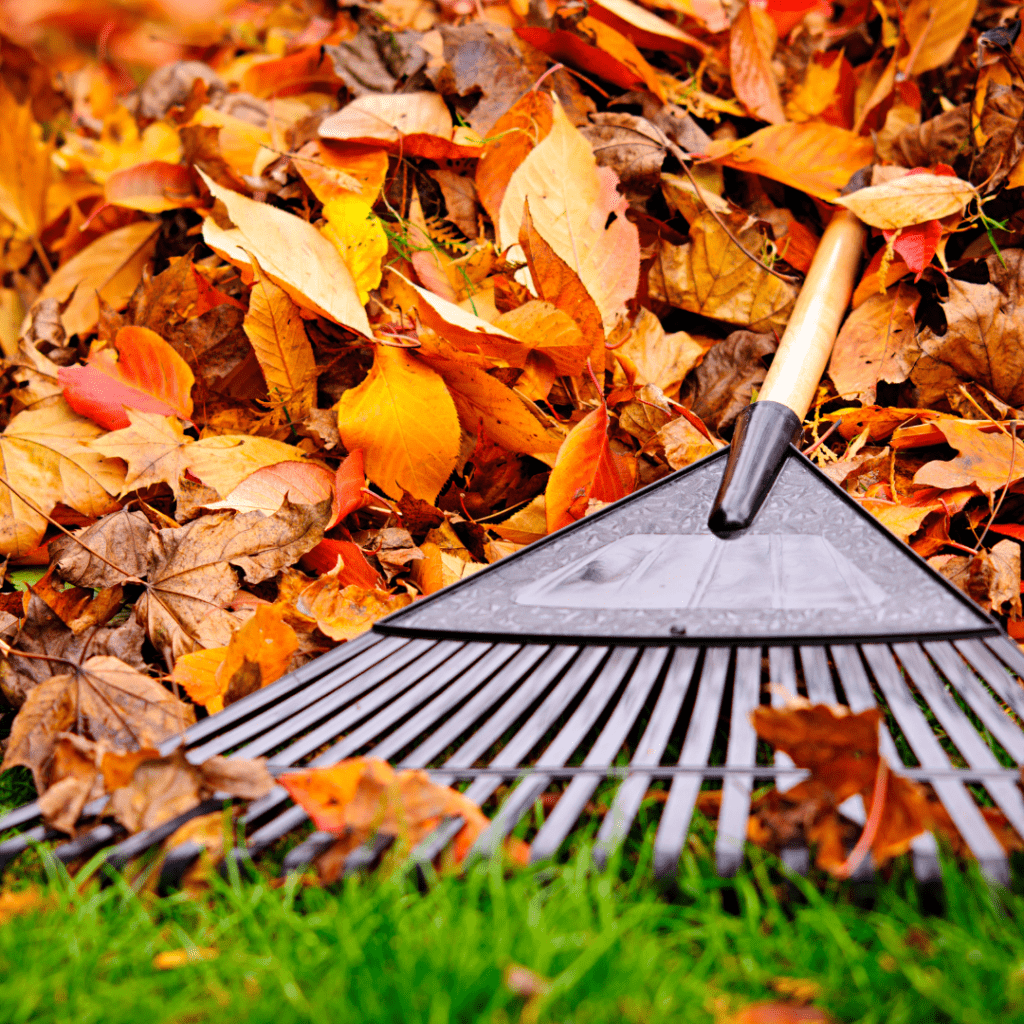
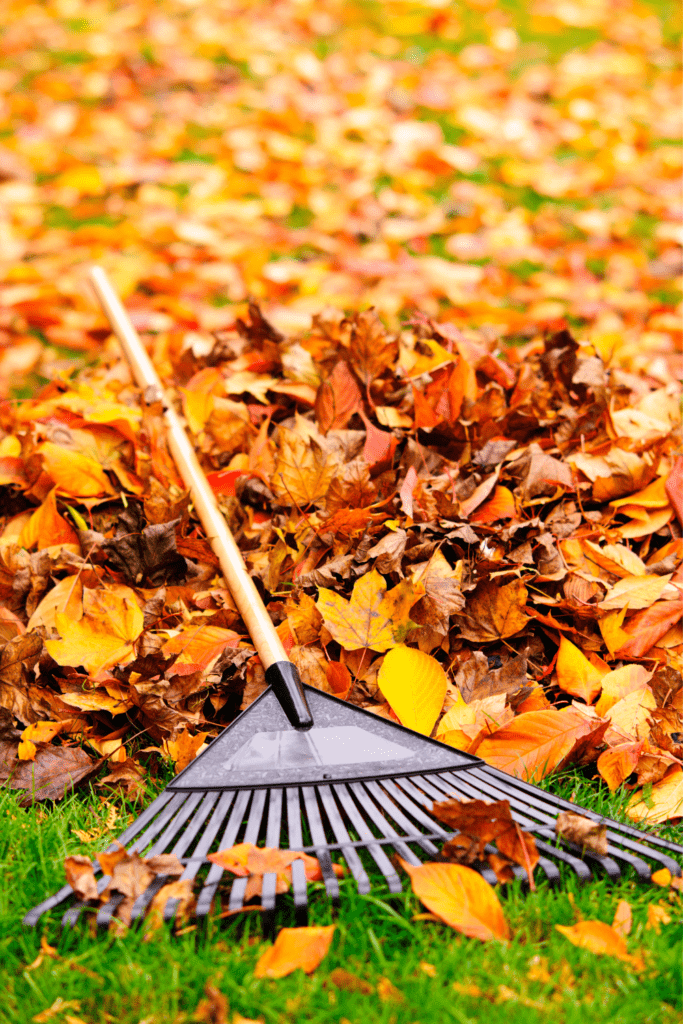
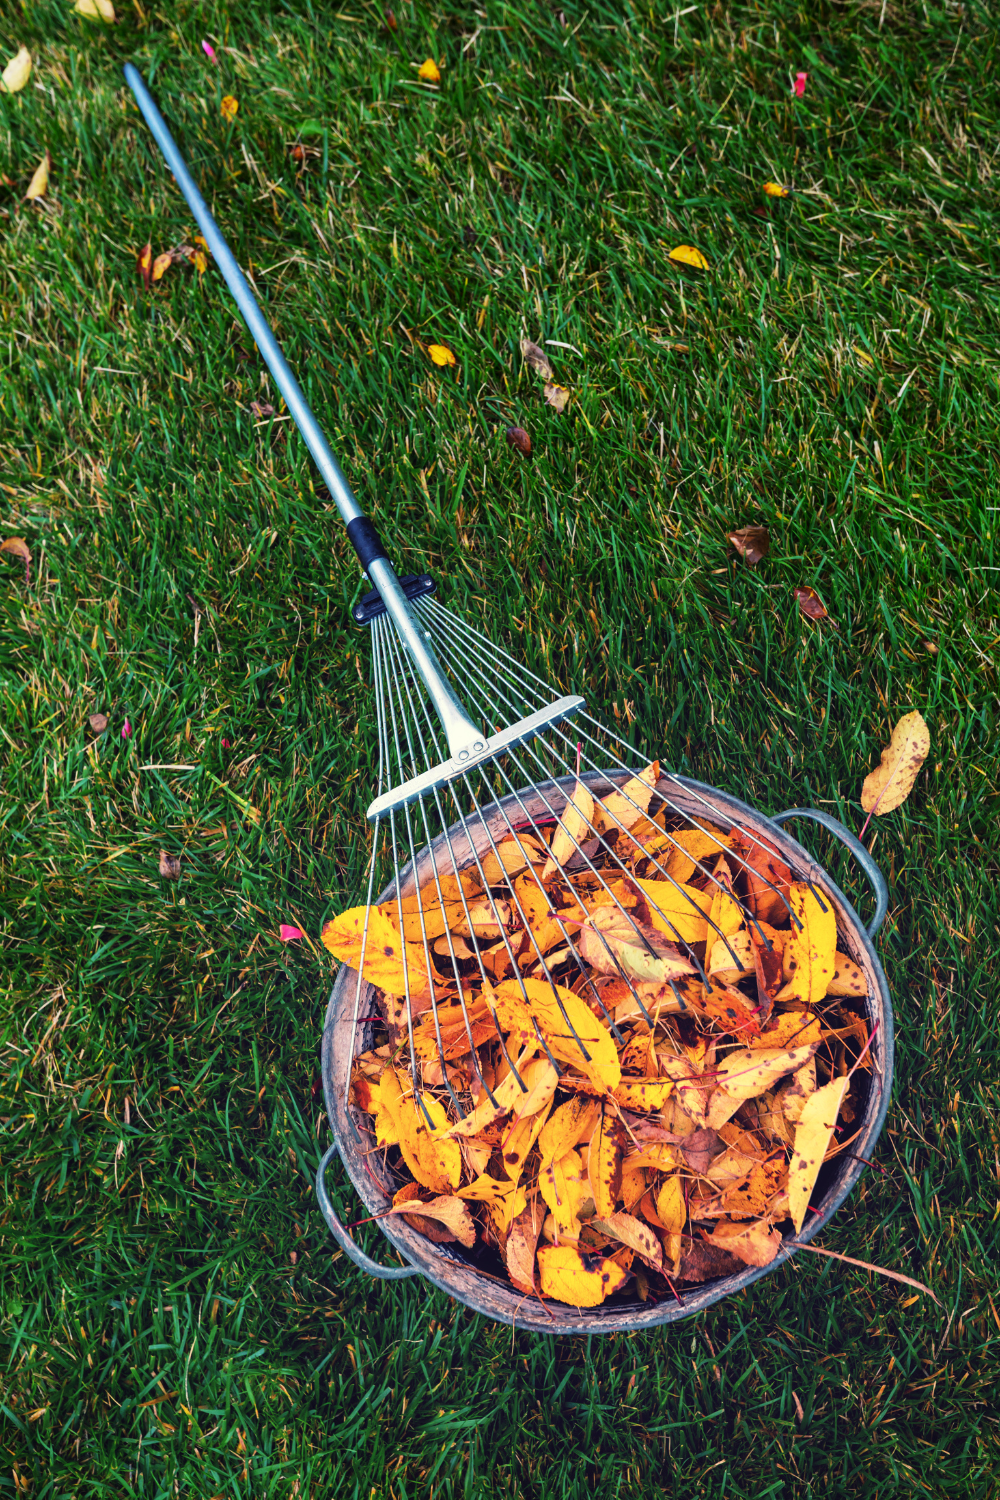
Time to put on your leaf-hunting hat and collect some fallen leaves! Grab a rake, head outside, and start gathering those leafy treasures. Make sure to collect leaves that are free from mold or disease, as we want to keep things healthy and happy.
Composting or Aging Leaves for Better Mulch Quality
Once you’ve collected your bounty, you have a few options: composting, aging, or mowing. You can either add the leaves to your compost pile, where they’ll break down and transform into nutrient-rich goodness, or you can let them age in a separate pile. The aging process allows the leaves to decompose partially, making them even more mulch-worthy.
Mowing Over a Pile of Leaves to Create Leaf Mulch
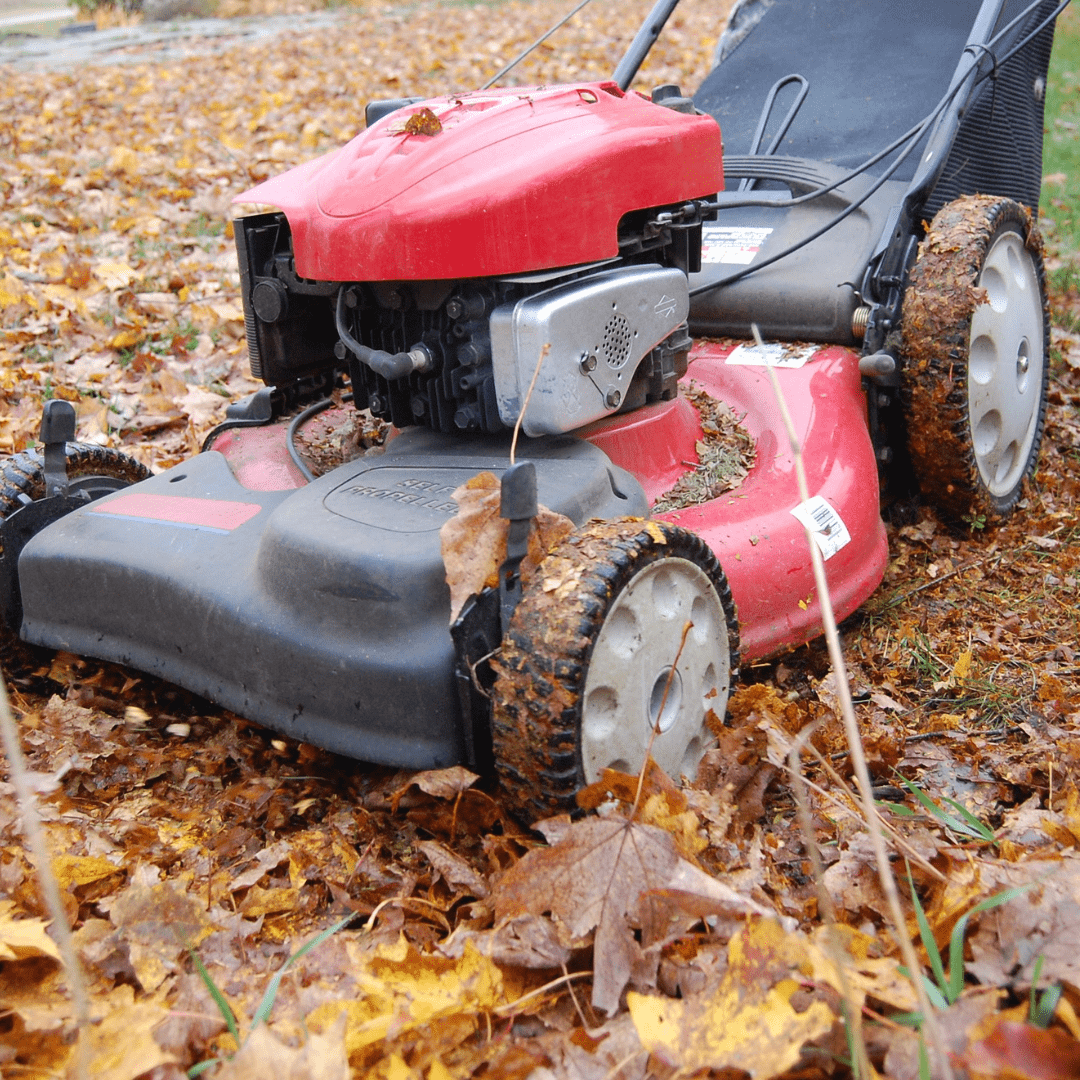
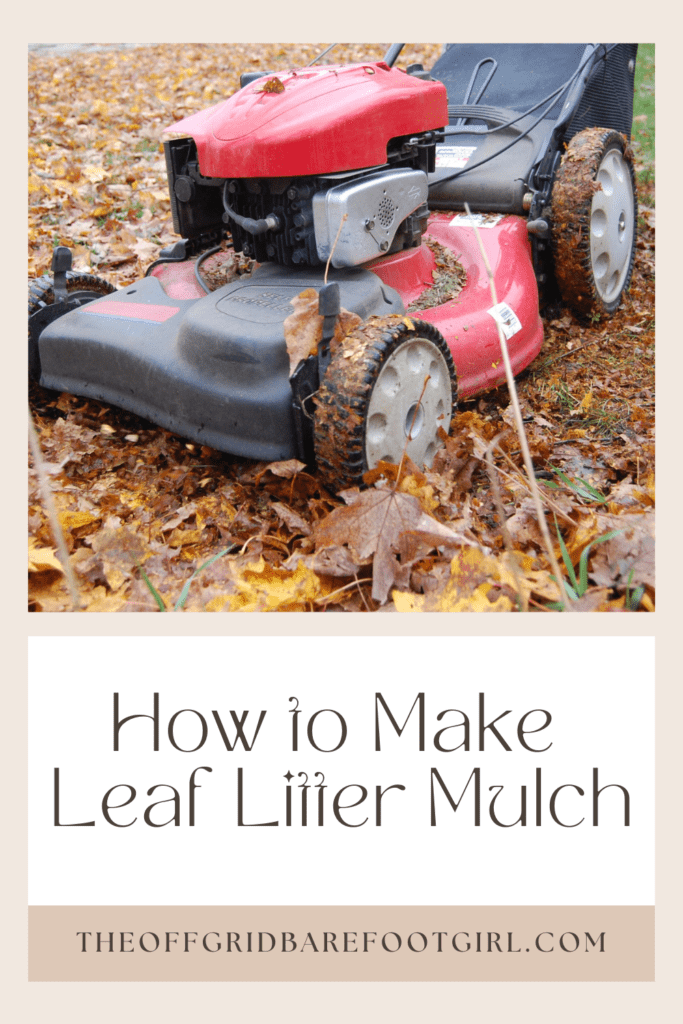
Mow over that pile of leaves to create leaf mulch! It might sound a bit unconventional, but trust me, it works wonders for your garden. When you run your lawnmower over those fallen leaves, they get shredded into smaller pieces, which break down faster and more effectively. This leaf mulch not only enriches the soil by providing essential nutrients but also helps retain moisture and suppress weeds. Plus, it saves you the trouble of bagging up those pesky leaves or burning them. So go ahead, and embrace this simple yet highly efficient technique to transform your yard waste into a valuable resource.
How to Make Leaf Litter Mulch
Leaf litter mulch is a great way to repurpose fallen leaves, enrich soil, and improve the overall health of your garden. By creating your own leaf litter mulch, you can save money and reduce waste. If you’re ready to start making your own leaf litter mulch, here are quick step-by-step instructions to help you get started.
- The first step in making leaf litter mulch is to collect fallen leaves. You can do this by raking them up from your lawn or gathering them from nearby areas. It’s important to note that not all leaves are suitable for mulching. Avoid using leaves from trees or plants that are known to have diseases or pests, as this can transfer the problems to your garden.
- Once you have collected the leaves, it’s time to prep them for mulching. Start by shredding or chopping the leaves into smaller pieces. This will help speed up decomposition and make it easier for the leaves to break down into the soil. Again, you can use a leaf shredder or simply run over the leaves with a lawnmower.
- Catch the leaf litter in a lawn mower bag or rake it into a yard bag after mowing and shredding the leaves into leaf litter.
- After shredding the leaves, you can choose to add other organic materials to enhance the mulch. This can include grass clippings, kitchen scraps, or other compostable materials. This will add nutrients to the mulch and help it break down more quickly.
How to Use Leaf Litter Mulch
- It’s time to spread the shredded leaves in your garden. You can distribute them around plants, trees, or over larger areas like vegetable beds. Aim for a layer of mulch that is about 2-3 inches deep. Be careful not to pile the mulch up against the stems or trunks of plants, as this can promote rotting and disease.
- Once you have spread the mulch, you can choose to water it lightly. This will help the leaves settle and prevent them from blowing away. However, avoid overwatering, as this can create a soggy environment that promotes disease.
- As the mulch decomposes, it will improve soil structure and fertility. It will also help retain moisture, suppress weeds, and regulate soil temperature. Additionally, leaf litter mulch creates a habitat for beneficial organisms like earthworms and insects, which further improve soil health.
- Over time, the mulch will break down and become a part of the soil. To maintain the effectiveness of the mulch, you may need to replenish it periodically. This can be done by adding more shredded leaves or other organic materials.
- When using leaf litter mulch, it’s important to monitor the moisture levels in your garden. While the mulch helps retain moisture, it can also prevent rain or irrigation water from reaching the soil. Adjust your watering routine accordingly to ensure that plants receive adequate hydration.
Making leaf litter mulch is a simple and effective way to improve your garden’s health. By repurposing fallen leaves, you can enrich your soil, retain moisture, and suppress weeds. Follow the steps outlined above to create your own leaf litter mulch and start reaping the benefits for your garden.
Applying Leaf Litter Mulch in the Garden
Preparing the Garden Beds for Mulching
Before you start mulching like a pro, you need to prepare your garden beds. Clear away any debris and weeds, and make sure the soil is moist. You want everything to be a clean slate for your mulch to work its magic.
Applying Mulch in Proper Depth and Coverage
When it comes to applying leaf litter mulch, you don’t want to go overboard or skimp on it like a stingy chef with salt. Aim for a depth of about 2 to 4 inches, making sure to cover the entire surface of your garden bed. This will help retain moisture, suppress weeds, and keep your plants cozy.
Avoiding Common Mistakes During Application
Mulching may seem like a walk in the park, but there are a few common mistakes to avoid. First, don’t pile the mulch against the stems or trunks of your plants – they need room to breathe! Also, resist the temptation to create a mulch mountain. Too much mulch can suffocate your plants and lead to root rot. Remember, moderation is key.
Maintaining and Caring for Leaf Litter Mulch
Inspecting and Adjusting Mulch as Needed
Just like a good gardener checks on their plants, you should keep an eye on your mulch. Inspect it regularly to ensure it hasn’t become compacted or developed any mold or funky smells. If you notice any issues, fluff it up with a rake or add a thin layer of fresh mulch to rejuvenate it. Mulch can be high-maintenance, but hey, they’re worth it.
Renewing Mulch Layer Annually or As Necessary
Mulch may not last forever, much like the battery life of your smartphone. Over time, it decomposes and loses its effectiveness. So, make it a yearly tradition to renew your mulch. Ideally, do it in the spring or fall when your plants are less active. If you notice your mulch has become thin or patchy, don’t wait for a sign from above – just freshen it up!
Dealing with Pests or Diseases in the Mulch
Ah, pests and diseases – the unwelcome party crashers of any garden. If you spot any critters or suspicious growth in your mulch, act swiftly. Remove any affected mulch and dispose of it properly. You don’t want those unwanted guests spreading havoc in your garden.
Troubleshooting Common Issues with Leaf Litter Mulch
Addressing Mold or Fungal Growth in Mulch
If you’ve noticed some funky-looking mold or fungal growth in your leaf mulch, don’t panic just yet. Mold or fungal growth is a common issue that many gardeners face when using leaf mulch. The first thing you’ll want to do is identify the type of mold or fungus present. Some varieties are harmless and won’t cause any damage to your plants or soil, while others may be more harmful. If you’re dealing with harmless mold, simply turning the mulch and providing better airflow can help alleviate the problem.
However, if it’s a destructive pathogen that’s taking over your precious garden, you’ll need to take more aggressive action. This can include removing infected mulch and replacing it with fresh material or adding fungicides to combat the growth. Overall, staying vigilant and taking preventative measures such as proper maintenance and ensuring adequate drainage can go a long way in keeping this unwelcome intruder at bay.
Mold and fungi can bring the party down really quickly. If you spot them in your mulch, again, don’t panic. Simply rake the affected areas and let the sunshine in. Mold and fungi thrive in damp environments, so improving airflow and reducing moisture can help kick them to the curb. Remember, you’re the bouncer in your garden – no molds allowed!
Dealing with Excessive Water Retention or Drainage Issues
Too much of a good thing can sometimes be a problem. If your mulch is causing water to pool or your plants to drown, it’s time to take action. Rake away excess mulch or create channels to redirect water flow. Your plants will thank you for preventing their roots from turning into swamps.
Managing Potential Nutrient Imbalances or Deficiencies
Mulch is a nutrient-rich superhero, but it can also throw things out of balance. If you notice your plants showing signs of nutrient deficiencies (like yellowing leaves or stunted growth), it’s time for a soil check. Adjust the nutrients or pH levels accordingly, and your plants will be back on track. Remember, it’s all about finding that sweet spot.
It’s important to manage potential nutrient imbalances or deficiencies that can arise from using this type of mulch. You see, leaf litter is primarily made up of carbon-rich materials, which means it has a high carbon-to-nitrogen ratio. While this is beneficial for soil structure and organic matter accumulation, it can hinder the availability of nitrogen to plants if not managed properly. To counteract this issue, it’s recommended to add nitrogen-rich amendments like compost or manure when applying leaf litter mulch. This will help provide a balanced nutrient profile for your garden plants and ensure they have access to the nitrogen they need for healthy growth. Additionally, regular monitoring of plant health and periodic soil testing can also guide you in adjusting nutrient inputs accordingly. So remember, while leaf litter mulch is fantastic for many reasons, keep an eye on those nutrients to maximize its benefits!
Conclusion and Final Tips for Successful Mulching
Summarizing the Benefits and Steps of Leaf Litter Mulching
Leaf litter mulching is like a warm hug for your garden. It conserves moisture, suppresses weeds, improves soil health, and creates a cozy environment for your plants to thrive. Remember to prepare your garden beds, apply the right amount of mulch, and avoid common mistakes along the way. Give your garden the love it deserves!
Again, leaf litter mulching offers numerous benefits for your garden. Firstly, it helps to retain moisture in the soil, reducing the need for frequent watering. This is particularly useful during hot summer months when water scarcity can be a concern. Additionally, leaf litter mulch acts as an insulating layer that keeps the soil temperature consistent, protecting plant roots from extreme heat or cold. It also acts as a natural weed suppressor, preventing unwanted plants from sprouting and competing with your garden favorites.
The decomposition of the leaves enriches the soil by adding essential nutrients, promoting healthier plant growth. Regularly replenish the mulch throughout the year as needed, ensuring a healthy and thriving garden environment!
Additional Tips for Maximizing Mulching Effectiveness
Here are a few final tips to take your mulching game to the next level. First, choose a mulch that suits your garden’s needs, whether it’s leaves, shredded bark, or straw. Second, consider utilizing mulch around trees and shrubs to protect their delicate roots. And finally, don’t forget to water your plants deeply before mulching.
Leaf litter mulch serves as an excellent way to improve your garden’s health and productivity. By utilizing fallen leaves, you can create a natural, nutrient-rich mulch that enhances soil fertility, conserves moisture, and prevents weed growth. Remember to choose the right leaves, properly collect and prepare them, and apply the mulch in the appropriate manner. Regular maintenance and troubleshooting will ensure the ongoing effectiveness of your mulching efforts. With these tips in mind, you can enjoy a thriving garden and reap the benefits of leaf litter mulch for years to come.
You can find more of my food security resources here: Food Security Resources
Frequently Asked Questions
1. Can I use any type of leaves for leaf litter mulch?
Leaf litter mulch can be made from a variety of leaves, but it is important to choose the right ones. Avoid using leaves from toxic or invasive plants, as they can harm your garden. Additionally, certain leaves, such as those from oak or eucalyptus trees, may take longer to decompose. Aim for a mix of leaves from deciduous trees, as they tend to break down more easily.
2. How often should I renew the leaf litter mulch?
Leaf litter mulch should be renewed annually or as needed. Over time, the mulch will break down and decompose, losing its effectiveness. By replenishing the mulch layer each year, you ensure a consistent supply of nutrients and benefits for your garden.
3. What should I do if I notice mold or fungal growth in the mulch?
If you observe mold or fungal growth in the mulch, it is generally not a cause for concern. However, you can reduce the risk by ensuring proper airflow around the mulch layer. Avoid piling the mulch too deeply or compacting it tightly, as this can create a moist, anaerobic environment that promotes fungal growth. If the issue persists or if you are concerned, you can remove the affected mulch and replace it with fresh, well-aerated mulch.
4. Can I use leaf litter mulch for potted plants or indoor gardening?
Leaf litter mulch is primarily used for outdoor gardens and landscapes. It may not be suitable for potted plants or indoor gardening due to the potential for mold growth and moisture retention. Instead, consider using other types of mulch, such as compost or coconut coir, that are better suited for container plants.
Summary
I hope I have inspired you to plant your garden with these tips and products.
If you were encouraged by this post, I invite you to check out my FREE Printables Page for fun free printables, planners, and charts.
ENTER MY FREE Printables Page HERE
Here are some more of my gardening inspiration posts to check out!
How to Grow Your Own Food Without a Backyard!
My Best Spring Garden Posts in One Spot!
Spring Garden Soil Prep: How to Improve Your Soil
Seed Starting Mix 101: Everything You Need to Know!
How to Plan a 200 Sq. Ft. Vegetable Garden Layout
How I Easily Start My Seeds Without Expensive Grow Lights!
How to Create a Smart Garden: Tech Meets Nature!
The Best Cheap Raised Vegetable Garden Beds
How to Grow Artichokes: Plant Once and Harvest for 5 Years!
The Best 8 Fast-Growing Vegetables In Just 45 Days!
From Snow to Sow: Plan Your Spring Garden Now!
11 Fun Ways to Brighten Your Spring Garden with Personality
Top 10 Spring Garden Crops to Harvest in 30 Days and Eat Now!
The Best Survival Crops for Caloric Survival
My Victory Garden: What I Learned from 5+ Years
Why Every Family Should Have a Victory Garden in Their Backyard Now!
The Best Perennials for a Long-Term Survival Garden
The Best Essential Oils for Plants That Repel Garden Bugs
More Gardening Projects!
How to Grow Green Garden Peas: Perfect Plump Peas!
Hugelkultur: Does This Epic Pioneering Method Actually Work?
9 Ways to Celebrate Earthing Day in Your Garden!
Gardening Indoors: Secrets of Growing Your Food Inside!
How to DIY a Milk Jug Drip Irrigation System!
Why Cedar Mulch Is The Perfect Natural Weed Barrier
Gardening Projects
Onions: How to Grow Onions for Storage
Peas: How to Grow Garden Peas for a Bumper Crop
Carrots: How to Grow Carrots for a Bountiful Harvest
Prep Your Garden for Spring Planting with These Expert Tips!
How to Grow a Prepper Garden to Survive and Thrive
The Best Garden Tools You Need for a Productive Season
Fastest Growing Vegetables for Your Survival Garden
How to Grow Marigolds As Pest Control In Your Vegetable Garden
Must-Have Tools for a Successful Balcony Vegetable Garden
How to Effectively Combat Powdery Mildew in Your Garden
The Best Tips for Organic Gardening
How to Release Ladybugs In Your Garden for Organic Pest Control
The Best Garden Snail Control Strategies
The Best Spring Vegetables to Grow in Your Garden
Seed Starter Mix: How To Make Your Organic Seed Starter Mix At Home
How to Grow a Productive Canning Garden
How to Plant and Grow a Salsa Garden
Easiest Heirloom Vegetable Seeds to Grow Now
How to Use the Hand Twist Claw Tiller: Tackling Tough Soil
More Fun Gardening Posts to Check Out!
Planning Your Garden: How to Plan a Vegetable Garden: Expert Green Thumb Tips!
Winterizing the Garden: How to Winterize Your Vegetable Garden: Step-by-Step Checklist
Mulching the Garden: How to Make Leaf Litter Mulch
Grow a Pumpkin Patch: How to Grow a Pumpkin Patch in Your Backyard
How to Grow a Fall Garden: 9 Best Fall Crops
Clever Ways to Incorporate Indoor Composting into Your Home
How to Start Composting for the Garden: A Step-by-Step Guide
The Ultimate Guide to Composting in Your Suburban Backyard
Why I Built A Survival Garden in My Backyard
16 Best Medicinal Herbs to Grow in Your Garden Now
Blessings,
The Off Grid Barefoot Girl

