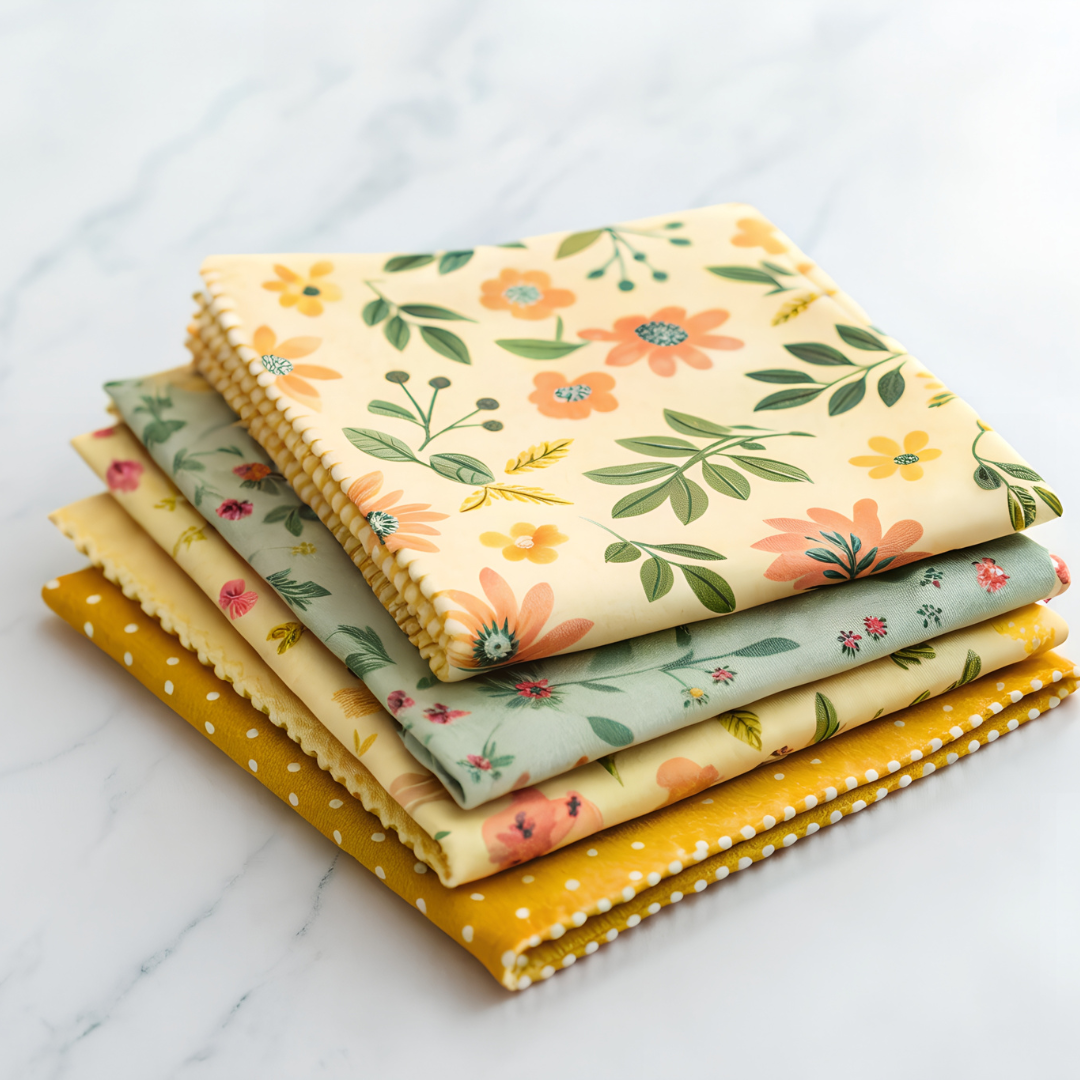
Learn how to make beeswax wraps at home with simple, natural ingredients. This easy DIY tutorial will show you the supplies you need, step-by-step instructions, and tips for using your wraps to reduce plastic waste and keep food fresh longer. Perfect for sustainable living and eco-friendly kitchens.
Beeswax wraps are a natural, eco-friendly alternative to single-use plastic wrap, offering a sustainable way to store food while reducing household waste. Making your own wraps at home is surprisingly simple, and the process can even be a fun, creative project. With just a few basic supplies—like cotton fabric, beeswax, and a touch of natural oil—you can craft reusable wraps that mold to bowls, cover leftovers, and wrap fruits, vegetables, and sandwiches.
Not only do these wraps help keep your food fresh, but they also give you the satisfaction of using something handmade and environmentally conscious every day. In this guide, I’ll walk you step by step through making your own beeswax wraps, show you the materials you’ll need, and share tips for using and caring for them in your kitchen routine.
This is a pinnable post. Tap or hover over any image in this post to pin to your Pinterest Boards.

Supplies Needed to Make Beeswax Wraps
- 100% cotton fabric (cut into squares or rectangles)
- Beeswax pellets or grated beeswax
- Pine resin (optional, for extra stickiness)
- Jojoba oil or coconut oil (for flexibility)
- Parchment paper
- Baking sheet
- Iron or oven
- Brush (for spreading the wax, optional)
How to Make Beeswax Wraps
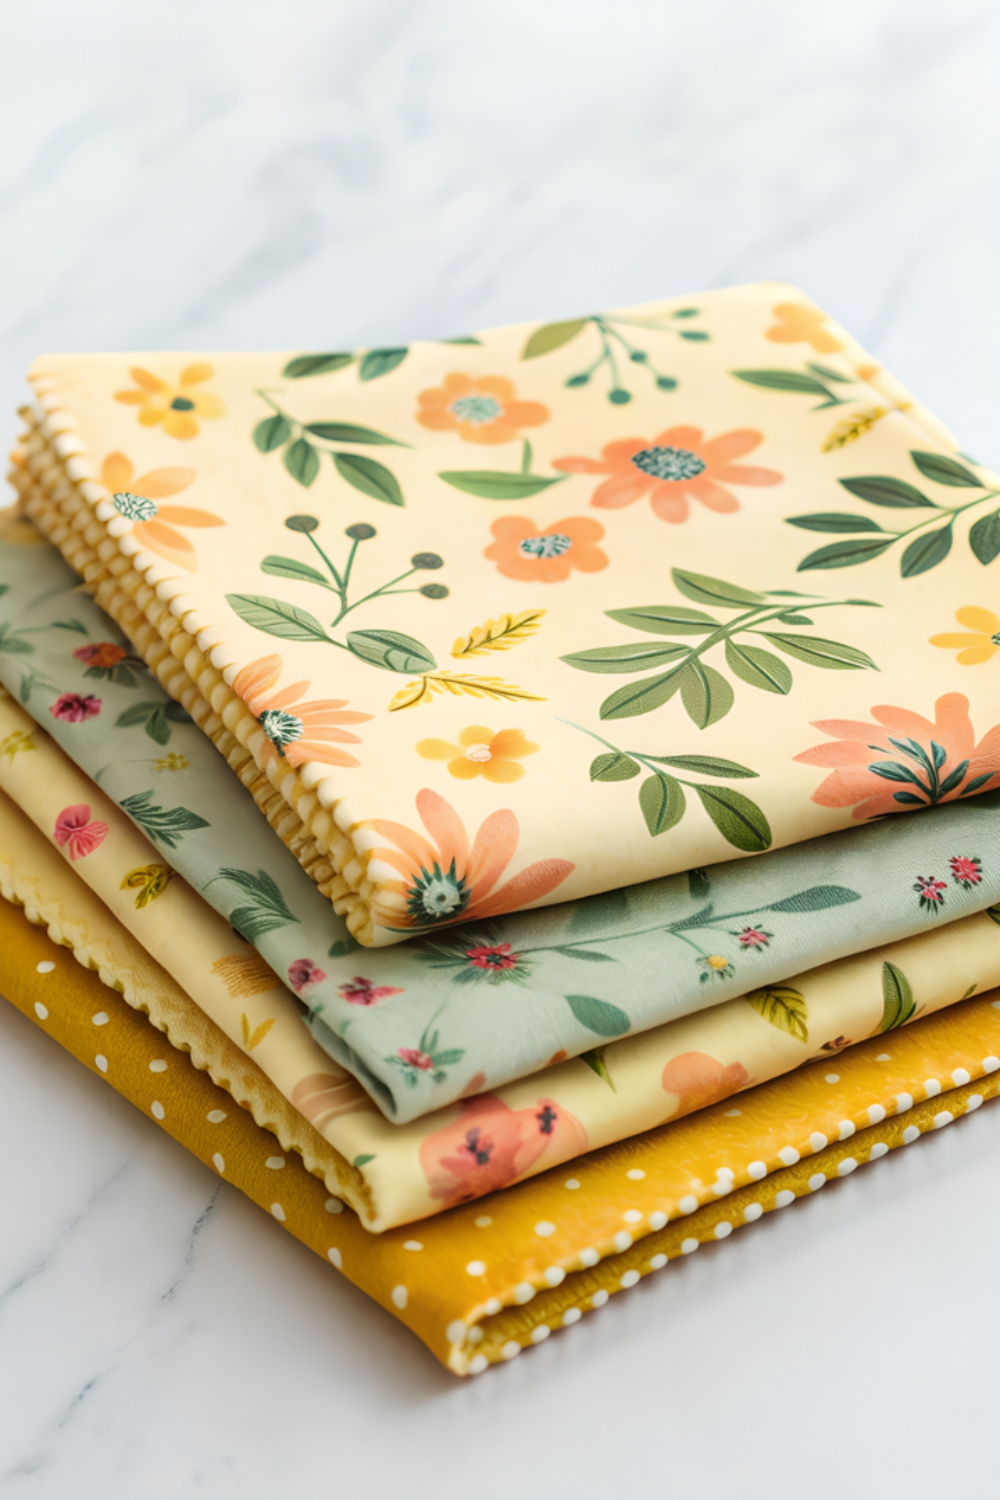
1. Prepare Your Fabric
Cut your cotton fabric into the sizes you want for your wraps. Before applying any wax, wash and dry the fabric to remove any chemicals, dirt, or residue. This ensures that your wraps are clean and ready to safely store food.
2. Mix the Wax
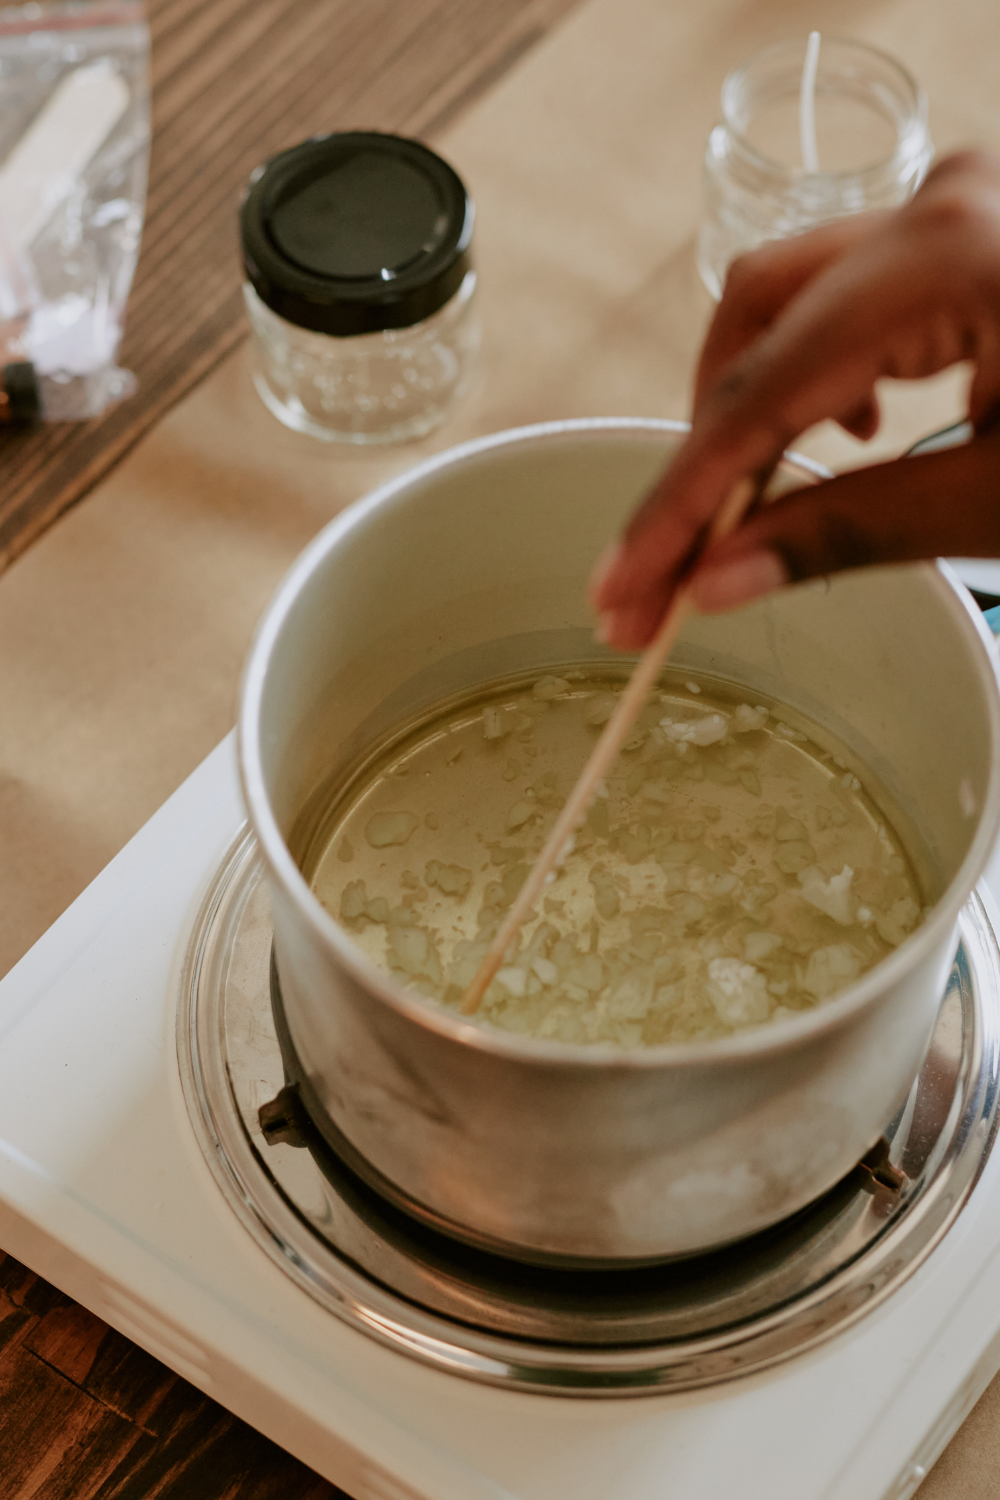
Gently melt the beeswax pellets using a double boiler or a small saucepan. For added flexibility and stickiness, you can mix in a small amount of pine resin and a few drops of oil, such as jojoba or coconut oil. Stir gently until the mixture is fully melted and combined.
3. Apply the Wax
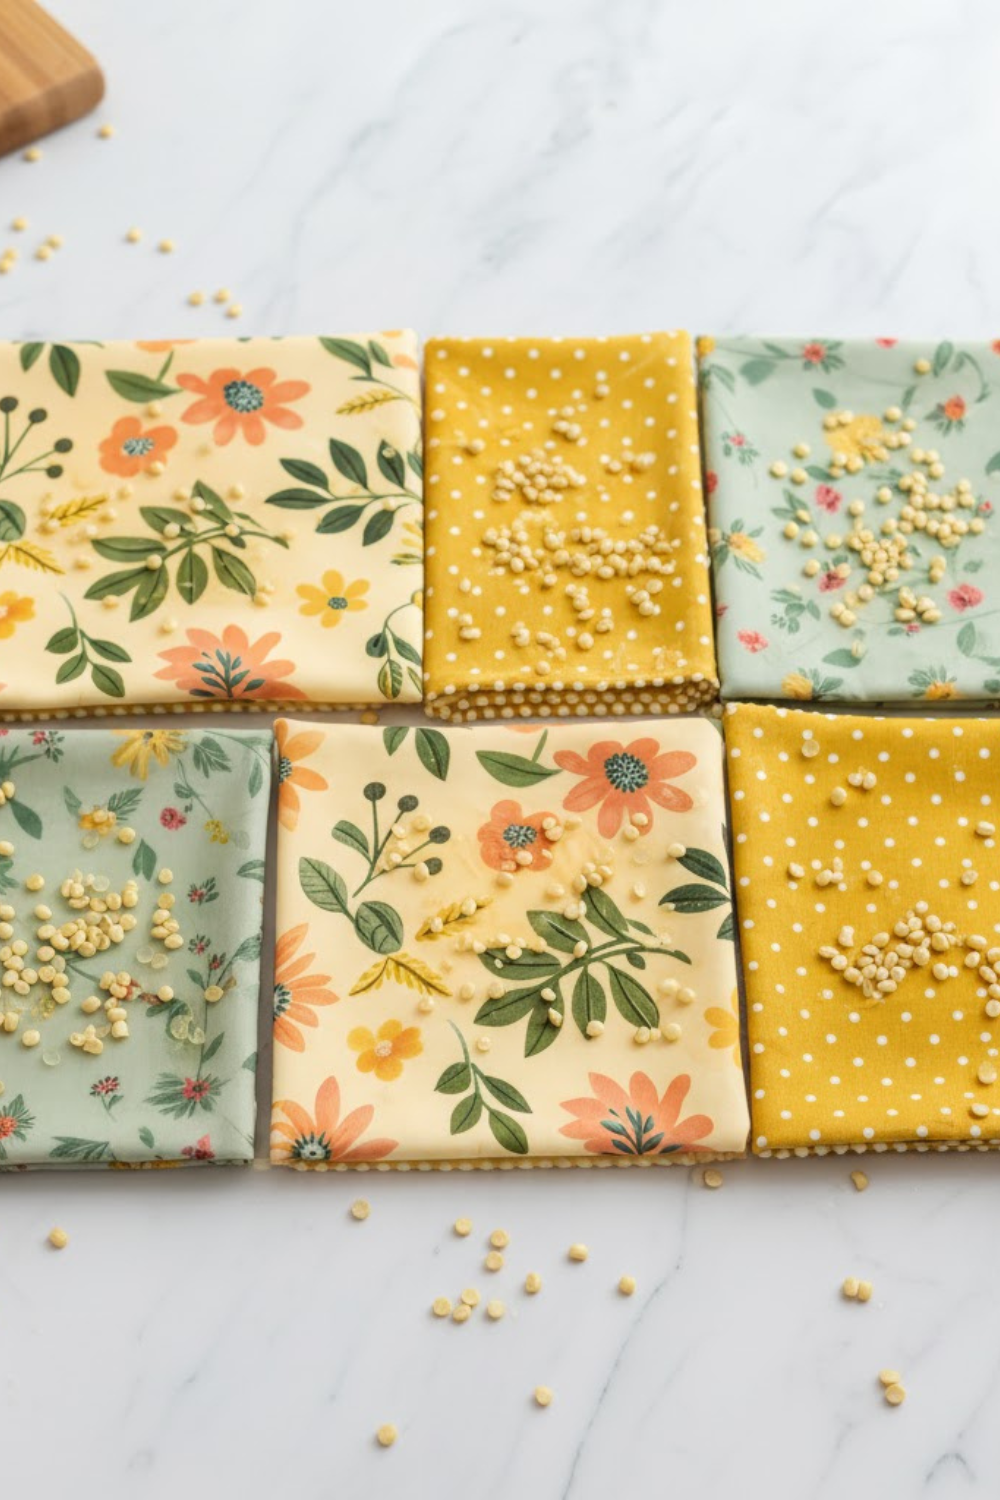
Place your prepped fabric on a baking sheet lined with parchment paper. Use a brush or sprinkle the melted wax evenly across the surface of the fabric. Make sure the entire piece is coated for consistent coverage.
4. Melt the Wax Into the Fabric
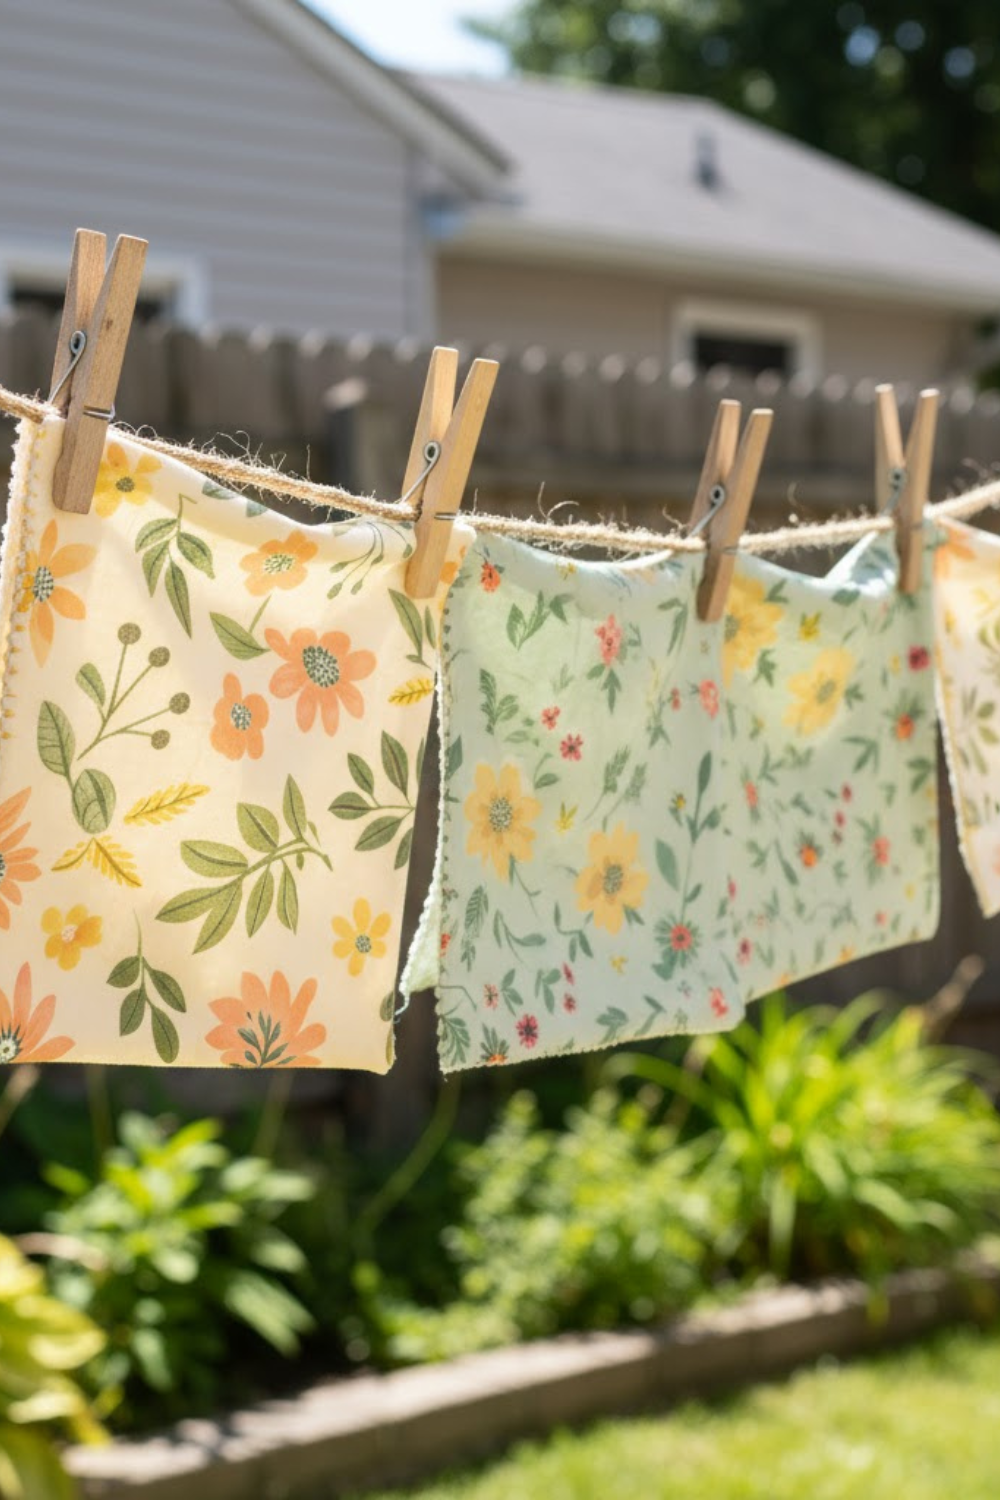
To help the wax fully penetrate the fabric, either press it with a warm iron on low heat or place the baking sheet in a preheated oven at around 200°F (93°C) for a few minutes. Watch carefully until the wax is absorbed, then remove the fabric and let it cool completely.
I hang them out on the line to dry completely.
5. Final Touches
Trim any uneven edges if needed. Your wraps are now ready to use, providing a sustainable, reusable solution for storing food.
How to Use and Why
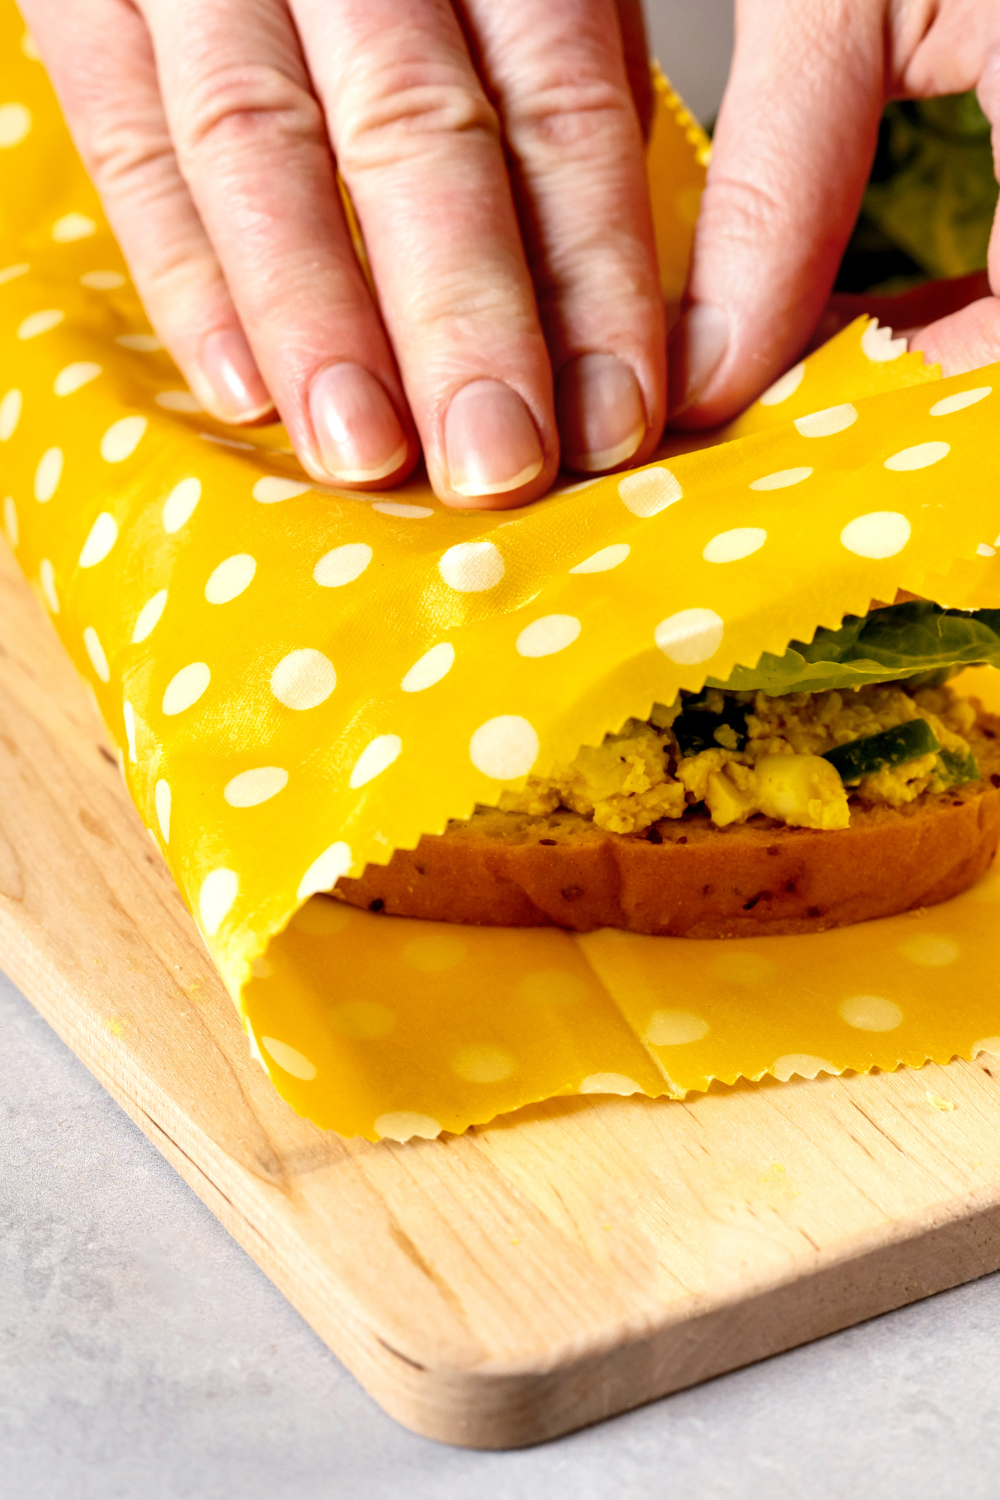
Beeswax wraps are incredibly versatile and perfect for a wide range of kitchen uses. You can use them to cover bowls, wrap sandwiches, store cheese, or keep fruits and vegetables fresh. They’re also great for wrapping any leftover food, giving you an eco-friendly alternative to disposable plastic wrap. Using them is simple: just press the wrap gently with the warmth of your hands, and it will mold to the shape of your container or food, creating a secure seal.
Unlike plastic wrap, beeswax wraps are reusable, compostable, and completely free of harmful chemicals, making them a safe and sustainable choice for both your family and the environment. With proper care, they can last up to a year, saving you money while reducing household waste and your overall environmental footprint. Plus, their natural, handmade charm adds a personal touch to your kitchen routine, making every meal a little more mindful and sustainable.
How to Maintain Your Beeswax Wraps
Proper care will help your beeswax wraps last longer and stay effective. Always wash them by hand in cool or lukewarm water with a mild dish soap—hot water can melt the wax. Avoid scrubbing too harshly; instead, gently wipe them clean with a soft sponge or cloth. After washing, let them air dry completely before storing. To keep them fresh and pliable, you can occasionally refresh the wax by lightly ironing the wrap between parchment paper or placing it in a low-temperature oven for a few minutes. Store your wraps in a cool, dry place, away from direct sunlight or heat. With these simple steps, your beeswax wraps can remain a durable, sustainable kitchen staple for up to a year.
Buying Beeswax Wraps
If DIY isn’t your thing or you’re short on time, beeswax wraps are widely available for purchase. Many eco-friendly brands offer a variety of sizes, patterns, and designs, so you can find wraps that suit your style and kitchen needs. Buying ready-made wraps is a convenient way to start reducing plastic waste immediately, without the time and effort of making them yourself. Look for wraps made with natural ingredients like organic cotton and sustainably sourced beeswax to ensure you’re getting a safe, high-quality product. Using purchased beeswax wraps still gives you the same benefits as homemade ones: they’re reusable, compostable, and help keep your food fresh while supporting a more sustainable lifestyle.
Here are a few beeswax wrap products to check out!
1. Bee’s Wrap Beeswax Wraps – Honeycomb 3-Pack
The Bee’s Wrap Honeycomb 3-Pack offers a convenient and eco-friendly solution for storing food without plastic. Made in the USA from organic cotton and sustainably sourced beeswax, these reusable wraps come in three versatile sizes—small, medium, and large—perfect for sandwiches, snacks, or covering bowls. Their honeycomb design adds a stylish touch while making them easy to use and mold around your food. As a natural alternative to aluminum foil and plastic wrap, Bee’s Wrap helps reduce waste in your kitchen while keeping food fresh. Durable and reusable, these wraps are a practical, sustainable choice for anyone looking to live a greener lifestyle.
2. Bee’s Wrap Honeycomb Bread Wrap
The Bee’s Wrap Honeycomb Bread Wrap is a reusable, eco-friendly solution for keeping your bread fresh without plastic. Made in the USA from organic cotton and sustainably sourced beeswax, this wrap is designed specifically for loaves of bread, including sourdough, sandwich bread, and artisan loaves. Its honeycomb pattern not only looks stylish but also helps the wrap mold easily around your bread to maintain freshness. As a sustainable alternative to aluminum foil, plastic wrap, or disposable bread bags, this wrap reduces waste while keeping your baked goods protected. Durable and reusable, it’s a practical and environmentally conscious choice for any kitchen.
3. Reusable Beeswax Wrap 9-Pack
The Reusable Beeswax Wrap 9-Pack is a versatile, eco-friendly set designed to replace single-use plastic in your kitchen. Made from organic cotton and coated with natural beeswax, these wraps come in nine assorted sizes—1 extra-large, 3 medium, and 5 small—perfect for covering bowls, wrapping sandwiches, storing bread, or keeping fruits and vegetables fresh. Durable and reusable, they are a sustainable, zero-waste alternative to plastic wrap, aluminum foil, and disposable food bags. Lightweight and easy to use, these wraps help reduce household waste while keeping your food fresh naturally, making them an essential addition to any eco-conscious kitchen.
Conclusion
Making your own beeswax wraps is a fun, simple, and deeply rewarding DIY project that blends creativity with sustainability. It’s a chance to craft something useful with your own hands while making a positive impact on the environment. By choosing reusable beeswax wraps over single-use plastic, you actively reduce household waste and help protect the planet. Beyond the environmental benefits, these wraps bring a personal, handmade touch to your kitchen, allowing you to mix and match fabrics, colors, and patterns to suit your style.
Once you start using them, you’ll quickly notice how practical, versatile, and eco-friendly they are—and you may even wonder why you didn’t make the switch sooner. With proper care, beeswax wraps can last up to a year, making them a cost-effective and sustainable addition to your daily kitchen routine.
Take your sustainable kitchen habits further by visiting my full guide to eco-friendly living at home for practical tips across every area of your household.
Resources: Here are some helpful resources for further information.
- Beeswax Wraps & Bags – By Super Bee
- Beeswax Wrap DIY Kit – By Ames Farm
- The Complete Guide to DIY Beeswax Wraps – By Mountain Rose Herbs Blog

Frequently Asked Questions
1. What fabrics work best for beeswax wraps?
100% cotton works best. Avoid synthetic fabrics, as they won’t absorb the wax properly.
2. How long do beeswax wraps last?
With proper care, they can last 6–12 months before needing replacement.
3. Can I wash beeswax wraps?
Yes! Hand wash with cool water and mild soap. Avoid hot water as it can melt the wax.
4. Can beeswax wraps be recycled?
Beeswax wraps are compostable. Once they wear out, simply add them to your compost or use them in the garden.
Summary
I hope I have inspired you to enjoy crafts and decor with these tips and products.
If you were encouraged by this post, I invite you to check out my FREE Printables Page for fun free printables, planners, and charts.
ENTER MY FREE Printables Page HERE
Here are some more of my gardening inspiration posts to check out!
How to Make a Scarecrow for Your Garden
Pomanders: How to Make Clove-Studded Pomanders
Pumpkins: How to Make Cozy Plaid Fabric Pumpkins for Rustic Fall Decor
Candles: How to Make Candles
Best Christmas Vintage Decor for Your Home
How to Create Your Cottagecore Aesthetic Dream Home
Ideas for Rustic Living Room Vibes You’ll Love All Year Round!
Blessings,
The Off Grid Barefoot Girl

