Drip irrigation system.
Drip irrigation systems offer an efficient and targeted way to water plants, delivering water directly to the roots where it is needed most. In this guide, I will explore how you can repurpose a common household item – the milk jug – to create a DIY drip irrigation system for your garden. By following a few simple steps and using basic materials, you can set up a cost-effective and sustainable watering solution that promotes healthy plant growth while conserving water. Let’s dive into the world of DIY milk jug drip irrigation systems and discover the benefits they offer for your garden!
This is a pinnable post. Tap or hover over any image in this post to pin to your Pinterest Boards.
Introduction to Drip Irrigation Systems
What is Drip Irrigation?
Alright, picture this: instead of drowning your plants with a deluge from a watering can or overhead hose sprays, drip irrigation gently doles out water droplets directly to the roots.
Drip irrigation is a method of watering plants by delivering water directly to the roots of plants, minimizing water wastage and maximizing efficiency. In a drip irrigation system, water is distributed through a network of pipes, tubing, and emitters that are placed near the base of plants or in this case, through the holes of milk jugs!
The system operates by slowly dripping water onto the soil at a low and controlled rate, ensuring that the water is absorbed directly by the roots where it is needed most. This method helps to conserve water by reducing evaporation and runoff compared to traditional methods like sprinkler irrigation.
Why I Love Milk Jug Irrigation Systems In My Garden!
In my garden, I’ve discovered the ingenious magic of milk jug irrigation systems, and let me tell you, they’re a game-changer! Picture this: rows of vibrant veggies and lush flowers, all thriving under the gentle care of recycled milk jugs filled with water, slowly dripping it into their roots. Not only do they keep my plants perfectly hydrated, but they also do wonders for my wallet, saving me from splurging on expensive irrigation setups. It’s a win-win!
Plus, there’s something oddly satisfying about repurposing those jugs that would otherwise end up in the recycling bin. With just a few simple tools and a sprinkle of creativity, I’ve transformed my garden into a sustainable oasis, where every drop counts and every plant flourishes. So, if you’re looking to add a sprinkle of eco-friendly charm to your gardening routine, join me in the milk jug revolution—it’s a journey you won’t regret!
Benefits of Drip Irrigation Systems
Step into the future of gardening with drip irrigation systems! These marvels of modern technology are like precision artists for your garden, delivering just the right amount of moisture directly to your plants’ roots. Say goodbye to wasteful watering methods and hello to happy, thriving plants without the risk of drowning them. And the best part? Your wallet will feel lighter thanks to the savings on your water bill! Embrace efficiency, precision, and minimalism in your gardening routine with drip irrigation.
What Drip Irrigation Systems Offer for Your Garden!
- Water Efficiency: Drip irrigation delivers water directly to the roots of plants, minimizing water wastage due to evaporation, runoff, and overspray. This targeted approach ensures that plants receive the water they need while reducing overall water consumption.
- Improved Plant Health: By delivering water directly to the root zone, drip irrigation helps to maintain optimal soil moisture levels, promoting healthier root development and reducing the risk of water stress or water-related diseases.
- Reduced Weed Growth: Drip irrigation systems deliver water specifically to the root zone of plants, minimizing moisture on the soil surface where weeds typically thrive. This can help reduce weed growth and the need for manual weeding or herbicides.
- Enhanced Nutrient Delivery: Some drip irrigation systems can be equipped with fertilizer injectors or nutrient delivery mechanisms. This allows for precise and efficient application of fertilizers directly to the root zone of plants. This helps to improve nutrient uptake and plant growth.
WAIT! Here Are Some More Effective Benefits!
- Soil Erosion Prevention: By delivering water slowly and evenly to the soil, drip irrigation systems help to prevent soil erosion caused by runoff, especially on sloped terrain. This helps to maintain soil structure and fertility over time.
- Conservation of Resources: Drip irrigation systems require less water, energy, and labor compared to traditional irrigation methods, making them a more sustainable option for water management in agricultural, residential, and commercial settings.
- Versatility and Customization: Drip irrigation systems can be tailored to meet the specific needs of different plants, soil types, and growing conditions. They can be easily adapted for use in gardens, farms, vineyards, orchards, and other landscapes.
- Reduced Disease Risk: Since drip irrigation delivers water directly to the root zone without wetting the foliage, it can help reduce the spread of foliar diseases caused by moisture-loving pathogens.
Overall, drip irrigation systems offer a cost-effective, efficient, and environmentally friendly solution for watering plants while promoting healthy growth and conserving resources.
Materials Needed for DIY Milk Jug Drip Irrigation
List of Required Materials
Grab a few jugs and a nail to get started. Really, that is all that is required for this project!
- Milk jugs. As many as you need!
- A nail. To poke the holes in the bottoms of the jugs!
Step-By-Step Guide to Creating the Drip Irrigation System
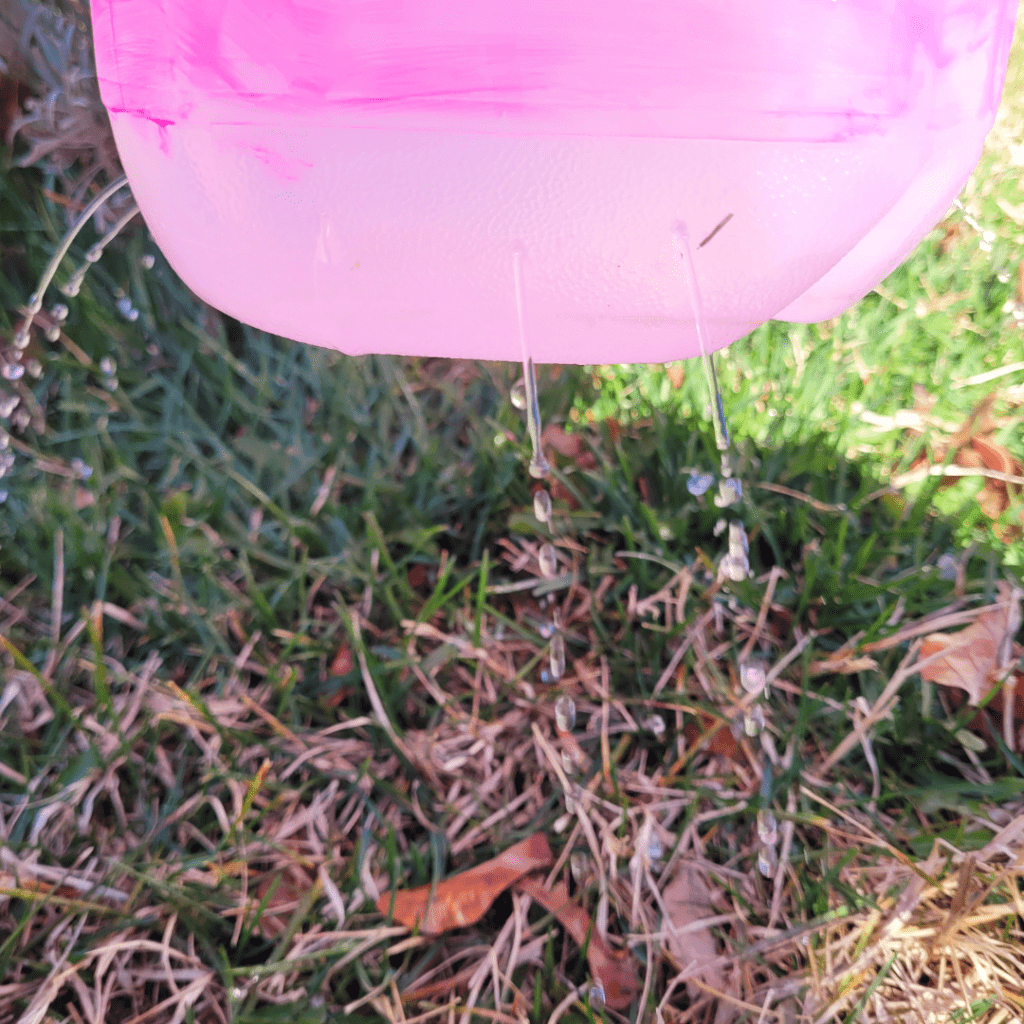
Creating the Drip Holes
Prick holes in the bottom of the jugs. You will need to keep the cap on it to prevent debris from falling into the jug and clogging the holes. You will also need the cap for filling the jug with water so you can hold it upside down until you get to the plants you want to water to prevent the water from dripping out, (trust me, I learned this the hard way when I filled a jug up for the first time realizing the water was already leaking before my trip back the garden and with a quick response, I tipped the jug upsidedown not realizing I did not have the cap because I tossed it in the garbage. I was then soaked with water, but it was okay because it was a hot day!)
These holes will be the MVPs, delivering water directly to your plants’ roots at a slow, steady pace and not all over you as it did me!
PRO TIPS!
- Fill the jug with a light layer of clean gravel just below the holes to help weigh down the jug when the jug becomes empty to prevent the wind from blowing it away.
- Lightly screw the cap on to allow the proper water flow you desire for that particular plant.
Creating as Many Milk Jug Drip Irrigations Your Garden Needs!
Let’s dive into the world of garden space and drip irrigation systems! Picture this: rows of vibrant plants stretching out before you. Now imagine strategically placing jugs between them, ensuring each plant gets the hydration it craves. Even for container plants, a single milk jug can be a lifesaver. And for those bushy beauties, you can tuck the jug away amidst the lush foliage. It’s a game-changer! So, why wait? Start stocking up on milk and tea jugs today and get ready to revolutionize your gardening routine!
Tips for Proper Installation and Maintenance
Placement of Drip Lines
Let’s fine-tune your drip irrigation setup for optimal plant happiness! Make sure those drip lines are snugly nestled near your plants’ roots, delivering hydration right where it’s needed most. But here’s the trick: keep them at just the right distance to avoid turning your soil into a soggy mess. It’s all about finding that sweet spot for your garden’s perfect balance.
Regular Maintenance Practices
Show your system some love with a bit of tender, loving care! Keep an eye out for any clogs, leaks, or other pesky hiccups that might disrupt the flow. Clear out any debris, ensure that water flows smoothly, and watch as your plants bask in the glow of your attentive touch. With just a little bit of upkeep, your DIY drip irrigation system will transform your garden into a vibrant oasis, fresher than a rose kissed by morning dew!
Maintaining a milk jug water drip irrigation system involves several practices to ensure its effectiveness and longevity. Here are some maintenance practices for a milk jug drip irrigation system:
- Regular Inspection: Periodically inspect every milk jug for any signs of damage, clogging, or leaks. Address any issues promptly to prevent water waste and ensure proper functioning.
- Cleaning: Clean the milk jugs regularly to prevent clogging due to algae, sediment, or debris. Flush the system with clean water to remove any buildup that may obstruct the flow of water.
- Replace Jugs: Check the jugs for clogs or damage, and replace any faulty jugs that show signs of breakdown to maintain consistent water flow to your plants. Plastic jugs can break down over time, especially when sitting in the sun or if there is sediment buildup in the bottom. Remove all plastic breakage from the garden to prevent soil contamination from the plastic particles.
- Adjustment: Monitor the water flow and adjust the positioning of the milk jugs as needed to ensure that water is evenly distributed to the plants’ root zones. Proper placement is essential for effective irrigation and plant health.
Considering Temperature Fluctuations
- Protection from Freezing: If you live in an area where temperatures drop below freezing, take measures to protect the milk jugs from freezing damage. Drain water from the milk jugs before winter, and store the milk jugs indoors to prevent cracking.
- Mulching: Apply mulch around the base of plants to help retain moisture in the soil and reduce evaporation. This can complement the drip irrigation system by improving water efficiency and reducing the frequency of watering.
- System Flushing: Periodically flush the milk jug holes with clean water to remove any accumulated debris or sediment that could affect performance. This can help maintain optimal flow rates and prevent clogging.
- Seasonal Adjustments: Adjust the frequency and duration of watering based on seasonal changes in weather and plant water requirements. Plants may need more water during hot, dry periods and less water during cooler, rainy seasons.
By following these maintenance practices, you can ensure that your milk jug water drip irrigation system remains efficient and effective in delivering water to your plants while minimizing water waste and promoting healthy growth.
Benefits of Using a Milk Jug Drip Irrigation System
Water Conservation
A clever milk jug drip irrigation system that not only saves water, but also ensures your plants receive a gentle, continuous flow right at their roots is something to feel good about. Say goodbye to wasted water from runoff or evaporation. Instead, say hello to a garden filled with content, hydrated plants thriving under your thoughtful care!
Cost-Effectiveness
Who needs pricey irrigation systems when you can DIY with milk jugs? Say goodbye to draining your wallet and hello to a flourishing garden on a budget! Grab those empty jugs, and a trusty nail, and unleash your inner DIY green thumb—it’s time to make magic happen in your garden without breaking the bank!
Fertilizing Your Garden
Adding fertilizer and compost tea to your milk jug drip system is a great way to give your plants an extra boost of nutrients. By using a mix of water, fertilizer, and compost tea in the milk jugs, you’re creating a supercharged liquid that your plants will love. The slow drip system ensures that the roots get consistent access to these nutrients without any waste. The added organic matter from the compost tea also helps improve soil health and encourages beneficial microbial activity. Plus, it’s super easy to set up and maintain – just fill up those jugs and let gravity do the work for you. Your plants will thank you with lush foliage and vibrant blooms in no time!
Incorporating Fertilizer and Compost Tea
- Mix Fertilizer Solution:
- Prepare a water-soluble fertilizer solution by diluting the fertilizer according to the manufacturer’s instructions. Use a concentration suitable for your plants and growth stage.
- Prepare Compost Tea:
- If using homemade compost tea, brew it according to the instructions provided with your compost tea brewer or recipe. If using commercially available compost tea, follow the package instructions.
- I fill a 5-gallon bucket with water and add coffee grounds, fruits and vegetable scraps, grass clippings, or whatever I may have on hand to the bucket and allow it to steep in the sun for several hours. I then strain the tea into a nutrient-rich liquid that I will use in the milk jug drip irrigation system. The pulp will be dumped into the compost pile.
- Fill Milk Jugs:
- Fill each milk jug with the prepared fertilizer solution and compost tea.
- Position System:
- Place the milk jugs near the plants. You may need to elevate the milk jugs to create enough pressure for the solution to flow through the holes. Just prop up the milk jugs with a little bit of mulch under it.
By following these steps, you can create a milk jug drip irrigation system that delivers both fertilizer and compost tea to your plants, promoting healthy growth and vitality. Adjust the nutrient concentrations and watering frequency based on your plants’ needs and growth stage.
Troubleshooting Common Issues
Dealing with Clogs
So you’ve set up your milk jug drip irrigation system, and suddenly it’s playing hard to get by clogging up on you. Don’t panic! Grab a trusty paper clip or toothpick, channel your inner detective, and unclog those tiny water highways. Regular maintenance and keeping an eye out for blockages will have your system flowing smoothly in no time.
Adjusting Water Flow
Ah, life’s like that, isn’t it? Sometimes we need a little extra or a touch less, and guess what? Our plants feel the same way! So, if your milk jug drip system is drowning your succulents when they’re craving just a delicate mist, don’t sweat it!
Let me paint you a picture of DIY gardening bliss! Picture this: a collection of uniquely customized milk jug drip irrigation systems, each tailored to meet the specific watering needs of your beloved plants. With various jugs sporting different hole configurations, you have the power to fine-tune the flow of water to perfection, ensuring every plant gets precisely what it craves. It’s like having a personalized hydration plan for your green companions, curated by none other than yourself!
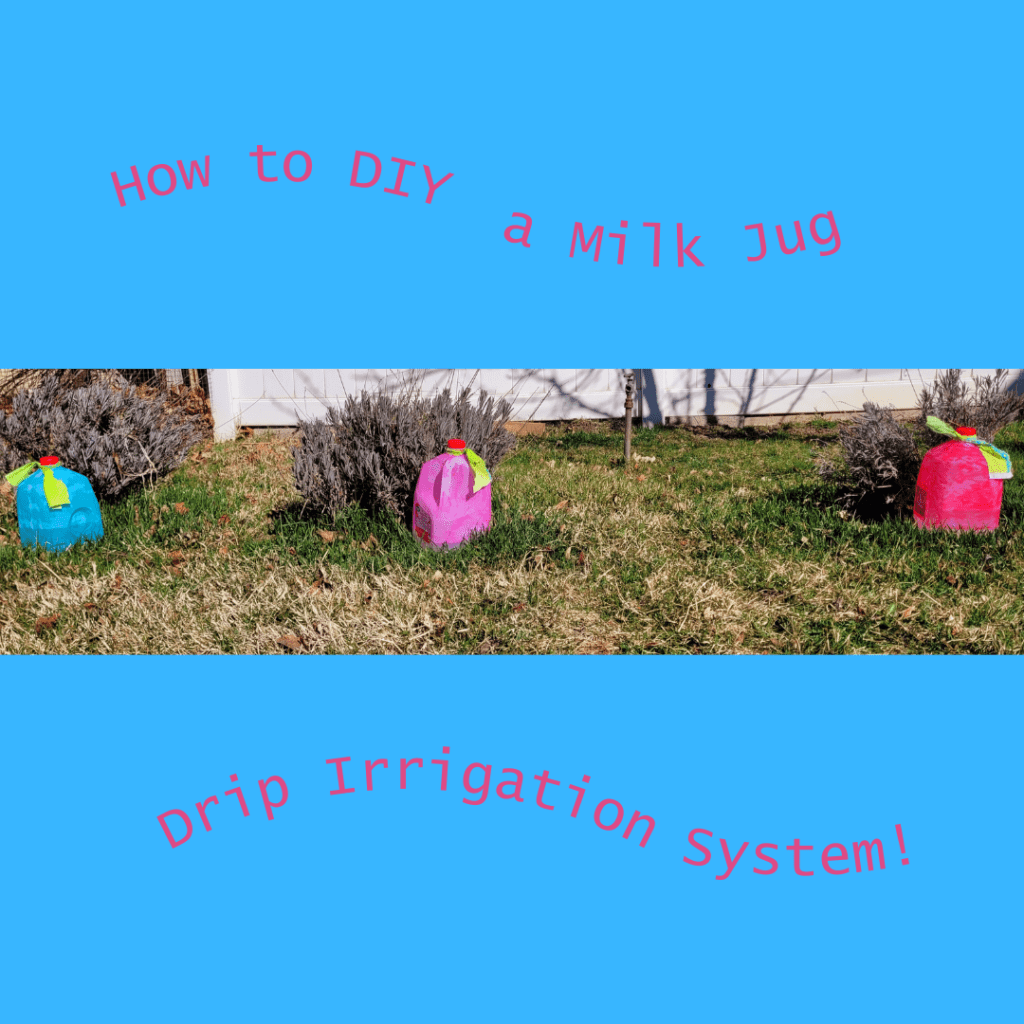
For instance, depending on the maturity of the plant the milk jug will be sitting next to, you want to make sure that the plant will have the proper amount of water flow without drowning the tender root system below. I will not put a full jug of water with a ton of drip holes next to a baby start plant, but I will place it next to my mature lavender bushes or fruit trees. I will then place a milk jug with fewer holes and half filled with water next to a baby start plant.
Creative Ideas for Customizing Your System
Decorative Options
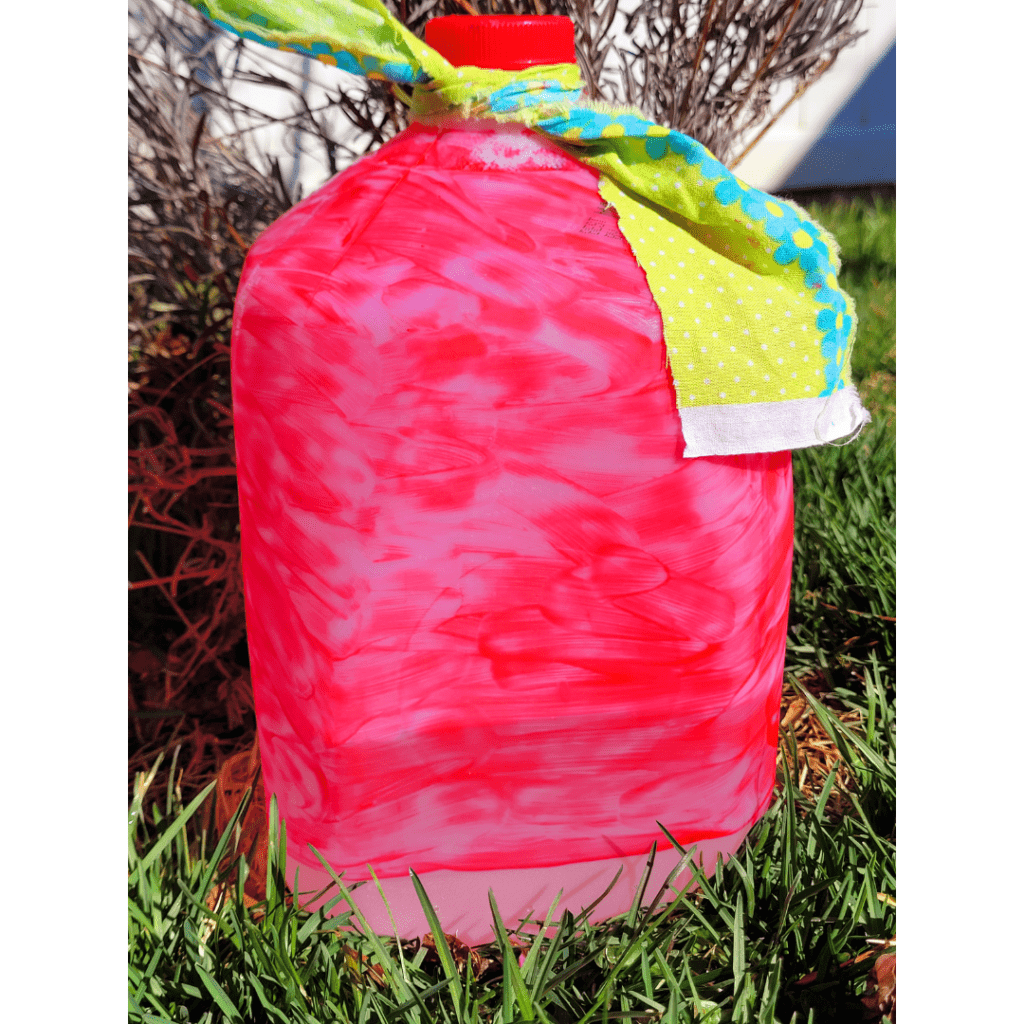
Who says watering cans get to have all the fun? Get crafty and turn your milk jug drip irrigation system into a work of art! Paint the jugs in vibrant colors, add some stickers or stencils, or even wrap them in twine for a rustic look. Your garden will thank you for the extra flair, and your neighbors will wonder where you got such a stylish irrigation system.
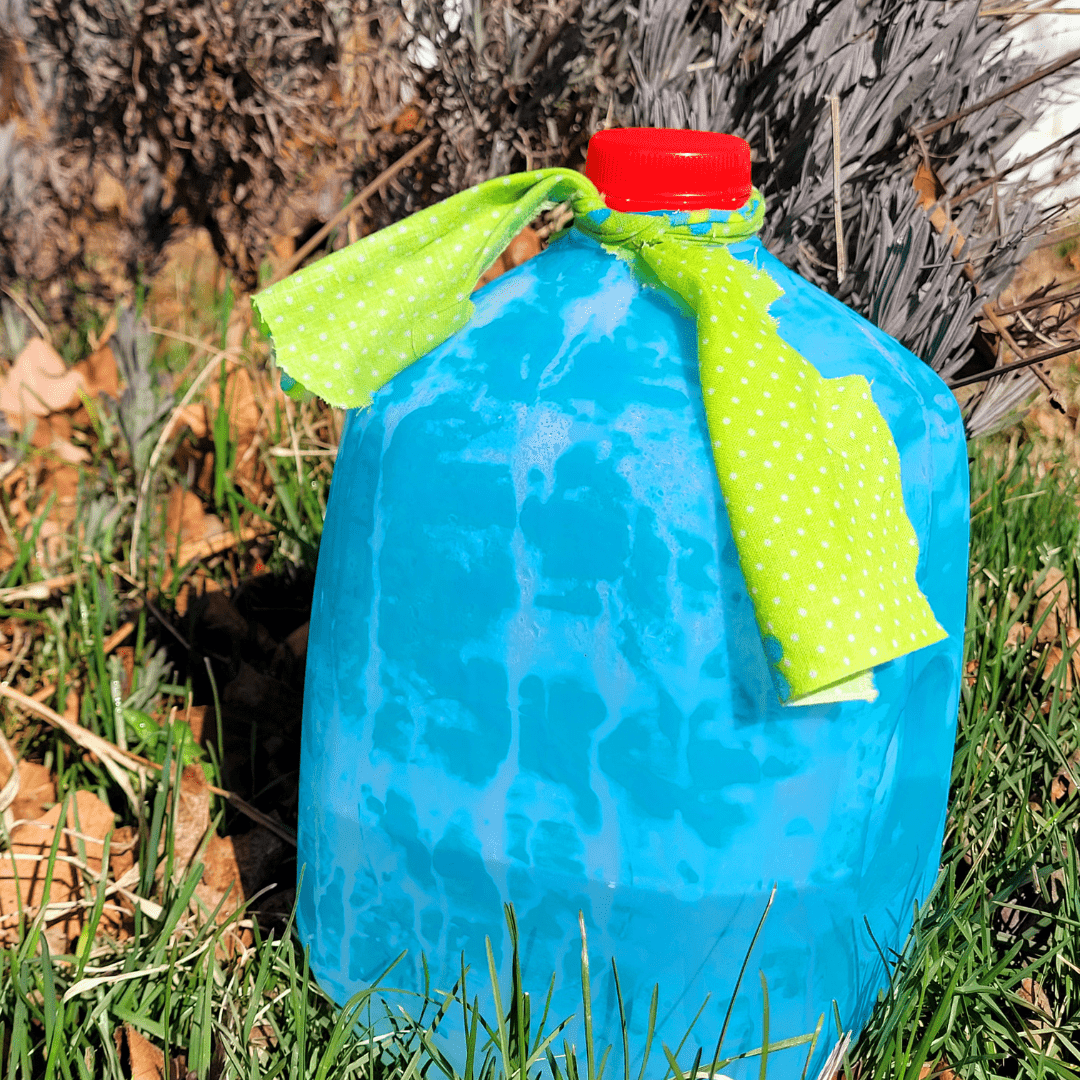
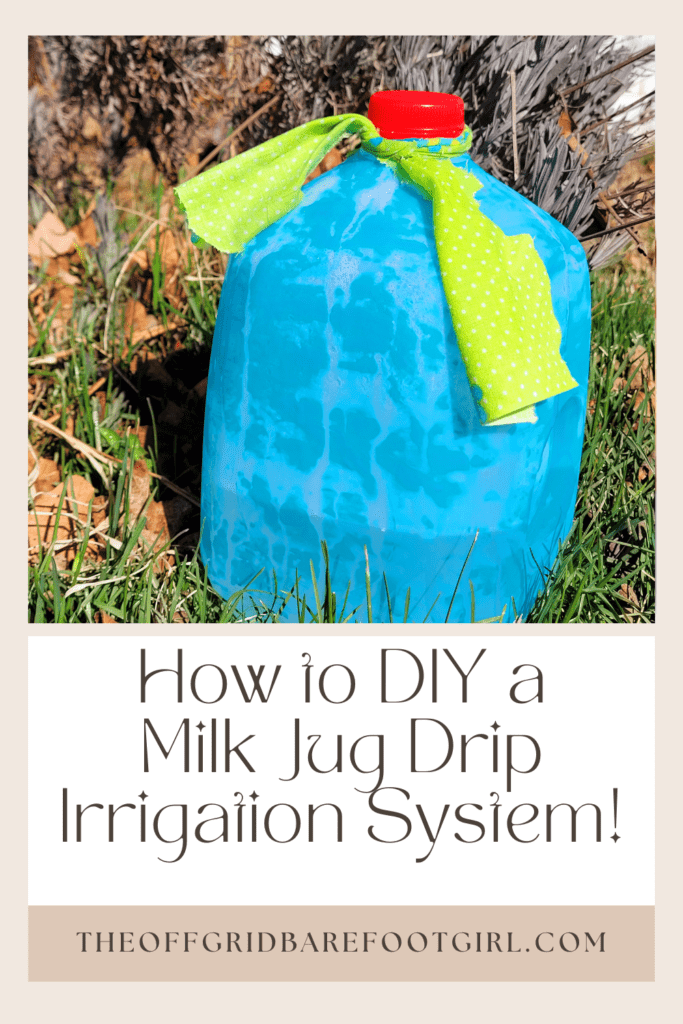
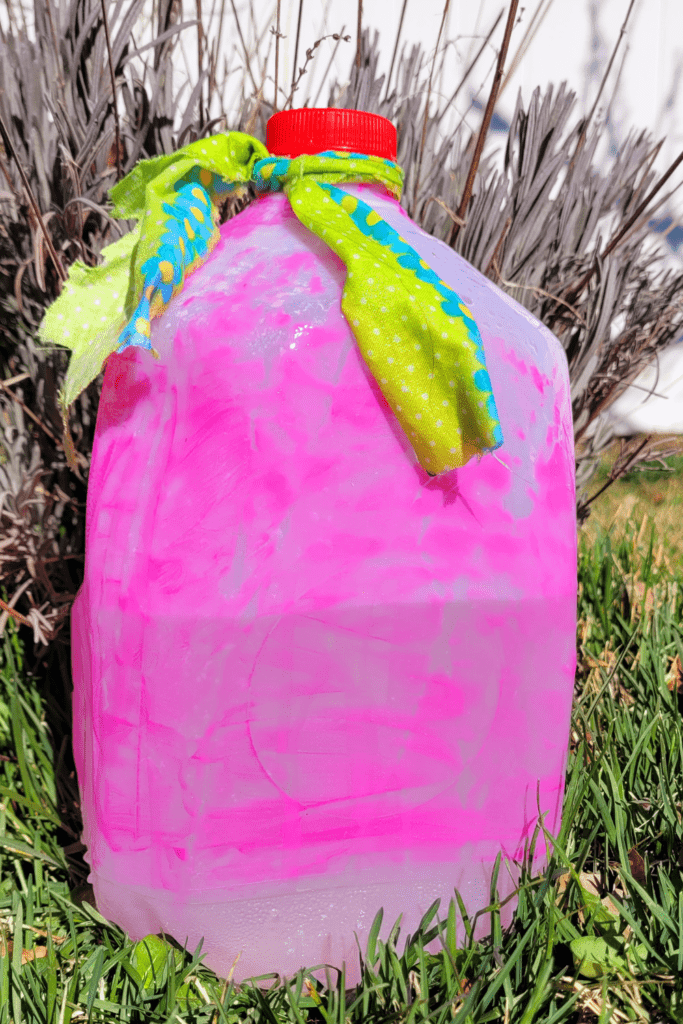
I just finger-painted a light paint wash onto my jugs to give them a splash of color with a whimsical transparent vibe and tied them with a cute fabric scrap.
Scaling Up for Larger Gardens
Got a green thumb the size of a giant and a garden to match? No worries, mate! You can easily scale up your milk jug drip irrigation system to cover a larger area. Just place multiple jugs that reach every corner of your garden, and watch your plants thrive without you lifting a finger. Well, maybe just to refill those jugs, but that’s it!
Conclusion
By implementing a DIY milk jug drip irrigation system in your garden, you can enjoy the convenience of automated watering while reducing water waste and promoting plant health. With the step-by-step guide provided and the tips for installation and maintenance, you can create a customized irrigation system that suits your garden’s needs. Embrace the creativity and sustainability of DIY projects like this one to enhance your gardening experience and contribute to a greener environment. Start building your milk jug drip irrigation system today by saving all of your milk jugs and watch your garden flourish with efficient and targeted watering.
For more ways to use milk jugs in your garden, check out my FREE Winter Sowing Academy where you can turn milk jugs into tiny cozy greenhouses to start seeds during the winter months!
Winter Sowing Academy – By ME! The Off Grid Barefoot Girl (Head to my menu!)
- Resources: Here are some more resources for you to check out!
- DIY Drip Water Plants Using Milk Jugs – By Birds and Blooms
- DIY Self-Watering Milk Jug – By Montana Homesteader
- Portable Drip Irrigation with a Recycled Milk Jug – By Desert Gardening 101
Frequently Asked Questions
1. Can I use any type of milk jug for this DIY drip irrigation system?
Sure, you can definitely use any type of milk jug for your DIY drip irrigation system! When choosing a milk jug, it’s important to consider the size and shape of the container. Larger jugs will hold more water, allowing for longer periods between refills, while smaller jugs may work better for smaller plants or containers. Additionally, clear jugs are ideal because they allow you to easily monitor the water level inside. Just be sure to thoroughly clean out the jug before repurposing it for your irrigation system to avoid any bacteria or mold growth. With a little creativity and resourcefulness, you can repurpose old milk jugs into an efficient and sustainable watering solution for your garden or plants.
2. How often should I check and adjust the flow of water in the system?
You should check and adjust the flow of water in your system every time you refill the jug to ensure everything is running smoothly. By monitoring the flow regularly, you can catch any potential issues early on and prevent bigger problems down the line. Factors like changes in weather or usage can affect the flow rate, so it’s important to stay proactive. Additionally, adjusting the flow of water will help maintain optimal efficiency and save you money on energy bills in the long run. It may seem like a small task, but taking the time to check and adjust your system regularly can make a big difference in its performance and longevity.
3. Can I use multiple milk jug drip irrigation systems for a larger garden?
Yes, you can definitely use multiple milk jug drip irrigation systems to cover a larger garden area. Just make sure to adjust the flow rate of each milk jug to ensure even watering across all areas of your garden. This DIY approach to drip irrigation is cost-effective and eco-friendly, utilizing recycled materials while promoting water conservation in your garden. So go ahead and get creative with using those milk jugs for an effective irrigation solution for your expansive garden space!
Summary
I hope I have inspired you to use water milk jugs in your garden with these tips and products.
If you were encouraged by this post, I invite you to check out my FREE Printables Page for fun free printables, planners, and charts.
ENTER MY FREE Printables Page HERE
Here are some more of my gardening inspiration posts to check out!
Why Cedar Mulch Is The Perfect Natural Weed Barrier
Onions: How to Grow Onions for Storage
Peas: How to Grow Garden Peas for a Bumper Crop
Carrots: How to Grow Carrots for a Bountiful Harvest
Prep Your Garden for Spring Planting with These Expert Tips!
How to Grow a Prepper Garden to Survive and Thrive
The Best Garden Tools You Need for a Productive Season
Fastest Growing Vegetables for Your Survival Garden
How to Grow Marigolds As Pest Control In Your Vegetable Garden
Must-Have Tools for a Successful Balcony Vegetable Garden
How to Effectively Combat Powdery Mildew in Your Garden
The Best Tips for Organic Gardening
How to Release Ladybugs In Your Garden for Organic Pest Control
The Best Garden Snail Control Strategies
The Best Spring Vegetables to Grow in Your Garden
Seed Starter Mix: How To Make Your Organic Seed Starter Mix At Home
How to Grow a Productive Canning Garden
How to Plant and Grow a Salsa Garden
Easiest Heirloom Vegetable Seeds to Grow Now
How to Use the Hand Twist Claw Tiller: Tackling Tough Soil
More Fun Gardening Posts to Check Out!
Planning Your Garden: How to Plan a Vegetable Garden: Expert Green Thumb Tips!
Winterizing the Garden: How to Winterize Your Vegetable Garden: Step-by-Step Checklist
Mulching the Garden: How to Make Leaf Litter Mulch
Grow a Pumpkin Patch: How to Grow a Pumpkin Patch in Your Backyard
How to Grow a Fall Garden: 9 Best Fall Crops
Clever Ways to Incorporate Indoor Composting into Your Home
How to Start Composting for the Garden: A Step-by-Step Guide
The Ultimate Guide to Composting in Your Suburban Backyard
Why I Built A Survival Garden in My Backyard
16 Best Medicinal Herbs to Grow in Your Garden Now
Blessings,
The Off Grid Barefoot Girl

