Grow lights.
I remember the first time I decided to start seeds indoors. I was excited, but I quickly realized how overwhelming it felt to set everything up. When I looked into grow lights, and while they seemed effective, the price tag and energy requirements left me wondering if it was even worth it for me.
However, I tried to make do with what I had—placing trays in front of windows, moving them around to catch the sunlight, and crossing my fingers. It wasn’t perfect, but it showed me that I didn’t need fancy equipment to grow strong, healthy seedlings. Sometimes, all we need is a little creativity and determination!
This is a pinnable post. Tap or hover over any image in this post to pin to your Pinterest Boards.
A Budget-Friendly and Sustainable Solution
The beauty of starting seeds without grow lights is that it’s so much more affordable and sustainable. I didn’t have to buy expensive shelves and grow lights or worry about my electricity bill skyrocketing. Instead, I used what I already had: some upcycled containers, a sunny windowsill, and a bit of patience. This approach fits perfectly into a frugal, self-sufficient lifestyle.
Plus, I can reuse most of these supplies year after year, saving even more money while reducing waste. It’s amazing how much you can accomplish with simple tools and a resourceful mindset!
Why This Off-Grid Method Works So Well
This method is all about working with what nature provides. By using natural sunlight and maintaining a warm, humid environment, I can give my seeds the ideal conditions to sprout and thrive—without relying on electricity or expensive setups.
This approach is a revolutionary breakthrough for anyone living off-grid or looking to reduce their dependence on power. It’s not just about growing plants; it’s about embracing a way of life that’s simpler, more sustainable, and surprisingly effective. You don’t need a high-tech setup to enjoy the satisfaction of growing your own food from seed!
Why I Chose to Start Seeds Without Grow Lights
Why Affordability and Sustainability Matter to Me
For me, gardening has always been about working with what I have and staying true to a self-sufficient lifestyle. Spending hundreds of dollars on grow lights just didn’t fit into my vision or my budget.
Plus, I wanted a method that was not only affordable, but also sustainable—something I could rely on year after year without depending on electricity or complicated setups. Living off-grid has taught me to think creatively and find joy in simplicity, and this approach to starting seeds reflects that perfectly for me.
Grow Lights Are Great, But This Works Too!
I want to be clear—grow lights are a fantastic tool for many gardeners. They’re effective and can produce amazing results. But they’re not the only way to start seeds, and that’s what I love about my method.
If you’re like me and can’t justify the cost of a grow light setup or simply want a low-tech, low-cost alternative, this approach is for you. It’s proof that you can still grow healthy seedlings without breaking the bank or relying on electricity.
The Joy of Reusing Supplies Year After Year
One of the best things about my seed-starting method is that it doesn’t involve disposable materials. The clear plastic totes, bins, and trays I use are durable and reusable, which means I’m not constantly buying new supplies.
At the end of the season, I clean everything up, store it away, and pull it out again when it’s time to start planting. There’s something so satisfying about knowing that my setup is not only cost-effective, but also environmentally friendly.
I totally understand that many set-ups with grow lights are also reusable and that is great too!
My Greenhouse Tower: A Space-Saving Solution
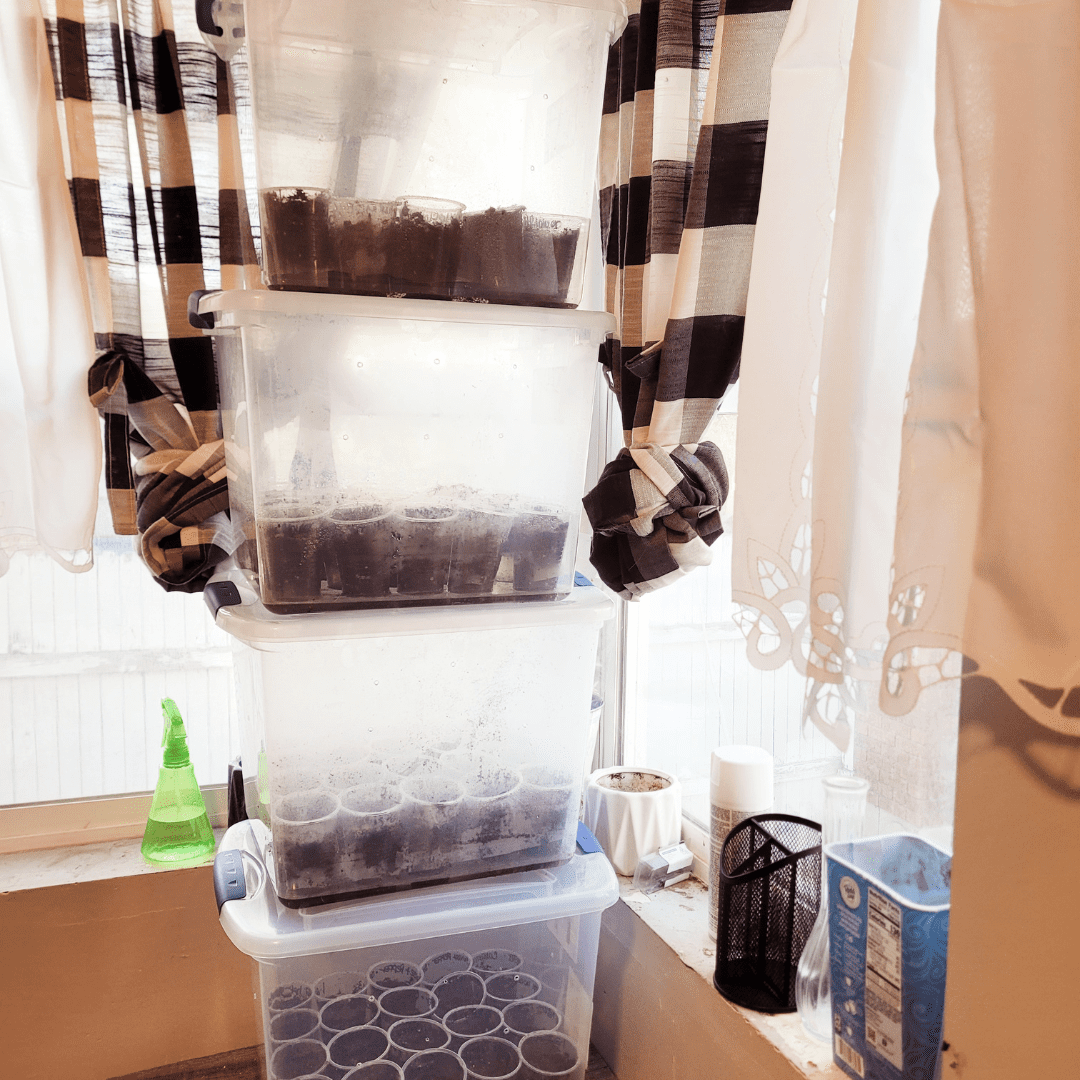
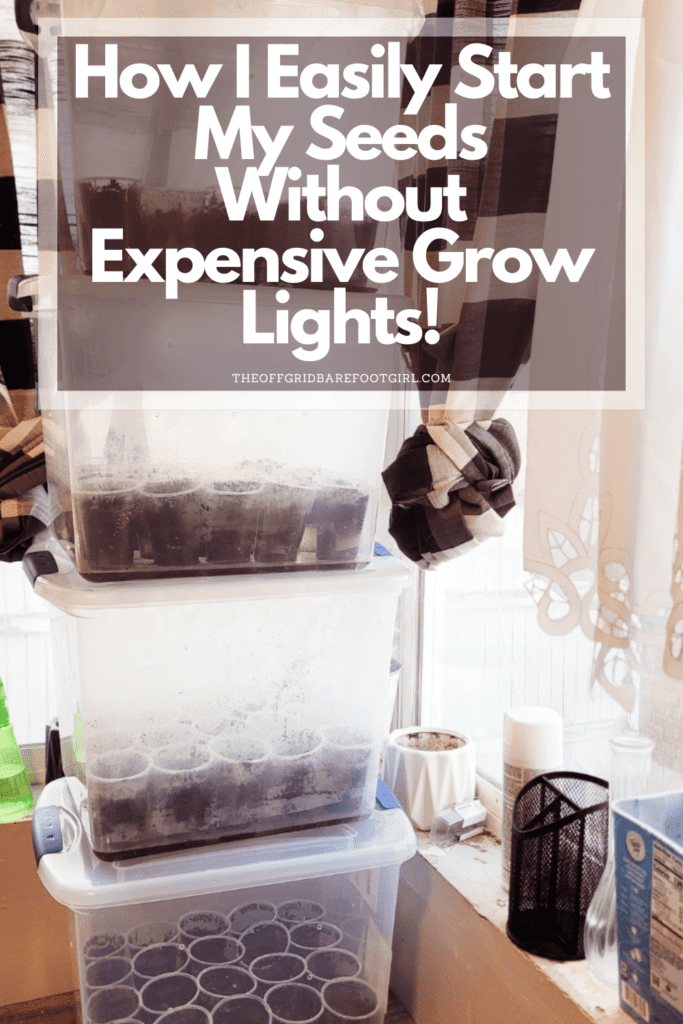
One of my favorite discoveries was using clear plastic totes and bins with lids to create a stackable greenhouse tower in my sunny window. By drilling small holes in the sides for airflow and stacking the totes, I maximize the amount of sunlight my seedlings get while saving precious space.
It’s incredible how many plants I can fit into just one sunny spot! This setup is perfect for anyone with limited room or who wants to grow as much as possible without taking over the entire house!
Easy Care for Every Seedling
The best part of my greenhouse tower is how easy it is to care for each seedling. Taking down each tote is quick and effortless, so I can water or check on my plants without any hassle.
Once I’m done, I stack the totes back up in the window, and they’re ready to soak up more sunshine. This system has been a fantastic success for me—not only is it effective, but it also keeps my gardening routine simple and manageable. I can rotate the totes to ensure all seedlings get the sunlight requirements from all angles.
It also keeps my indoor seedlings safe from my curious kitties who are notorious for knocking over pots of plants in the past! Not this time, Kitties!
The Essential Supplies for My Seed-Starting Method
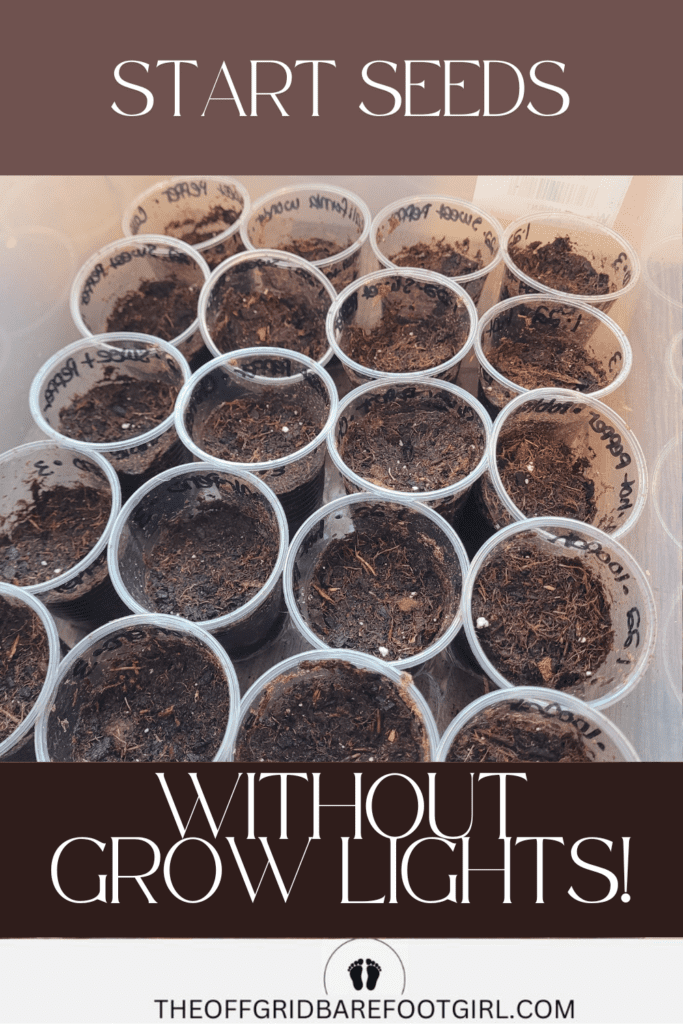
The Supplies I Use to Start My Seeds
When it comes to starting seeds, having the right supplies makes all the difference. For me, this includes seed trays, small cups, and high-quality soil to give my seeds the best start possible. I also rely on clear covers—like plastic totes with holes drilled in them—to create a warm, humid environment for germination.
A sunny window acts as my main light source, and if I need to move outdoors, I’ll use a simple cold frame to protect the seedlings from harsh weather. These basics are easy to find and work perfectly for my off-grid method.
Reusable and Eco-Friendly Options
One thing I love about my seed-starting setup is how many items I can reuse season after season. Instead of buying new containers, I upcycle yogurt cups, egg cartons, or other household items to hold my seedlings.
I also like using compostable pots that can be planted directly into the ground—great for both the plants and the planet! This approach keeps my gardening sustainable and minimizes waste, which aligns with my self-sufficient lifestyle. I have used compostable pots many times over the years. While they are great, this year I started with plastic reusable cups.
Tips for Sourcing Supplies on a Budget
If you’re looking to keep costs down, there are so many ways to source seed-starting materials affordably. Thrift stores and dollar stores often have containers or trays that can be repurposed. Local gardening groups or online marketplaces are also great for finding gently used supplies.
You might even have everything you need at home—clear storage bins, plastic food containers, or old Tupperware can make excellent mini-greenhouses. With a little creativity, you can build an effective setup without spending a fortune!
My Step-by-Step Seed-Starting Process
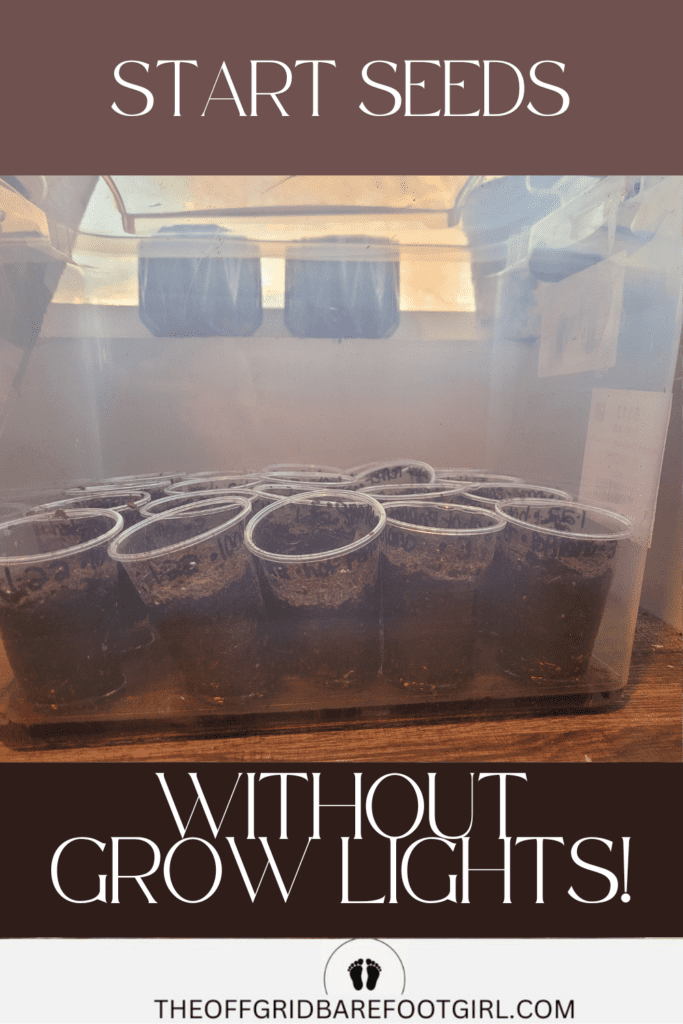
Preparing Containers and Soil
The first step in my seed-starting process is to prepare my containers and soil. I use small cups with holes in the bottom for drainage, which fit perfectly into my clear plastic totes. For soil, I choose a high-quality, light, and airy mix designed for seed starting.
Before planting, I make sure the containers are clean and the soil is lightly moistened. This creates the ideal environment for seeds to germinate, giving them a healthy and strong start.
Selecting and Soaking Seeds
Once my containers are ready, I focus on selecting seeds that suit my growing conditions and goals. Some seeds benefit from soaking in water for a few hours before planting—this softens the seed coat and helps speed up germination. If I’m planting larger seeds like peas or beans, I’ll soak them overnight the night before I plan to plant them outdoors.
For smaller seeds, I skip this step and sow them directly. Taking the time to read the seed packet for specific instructions is always a good idea!
Sowing Seeds at the Right Depth
Sowing seeds is simple once you know the proper depth. As a rule of green thumb, I plant seeds at a depth about twice their size. Tiny seeds get a light dusting of soil on top, while larger seeds go a bit deeper.
I gently press the soil down to ensure good contact between the seed and the soil, but I’m careful not to compact it too much. Proper depth and contact are key to strong, even germination.
Creating a Warm, Humid Environment
To create the perfect environment for my seeds, I rely on sunlight and a clear plastic tote with a lid that has small holes for ventilation. After placing my seeded cups inside, I position the tote in a sunny window to soak up as much natural light as possible.
The clear lid helps trap heat and moisture, mimicking the conditions of a greenhouse. This warm, humid environment gives my seeds the boost they need to sprout quickly and healthily.
Practical Tips for Seed-Starting Success
One trick that has made a huge difference for me is bottom watering. By adding water to the bottom of the tote, the cups absorb moisture through the holes at their base. This method keeps the soil evenly moist without overwatering or disturbing the seeds.
I also keep an eye on the temperature, ensuring it stays warm but not too hot—seedlings thrive around 65–75°F. Checking daily for moisture levels and gently misting if needed helps keep everything on track. These simple steps have made seed starting a breeze for me!
Benefits of an Off-Grid Seed-Starting Approach
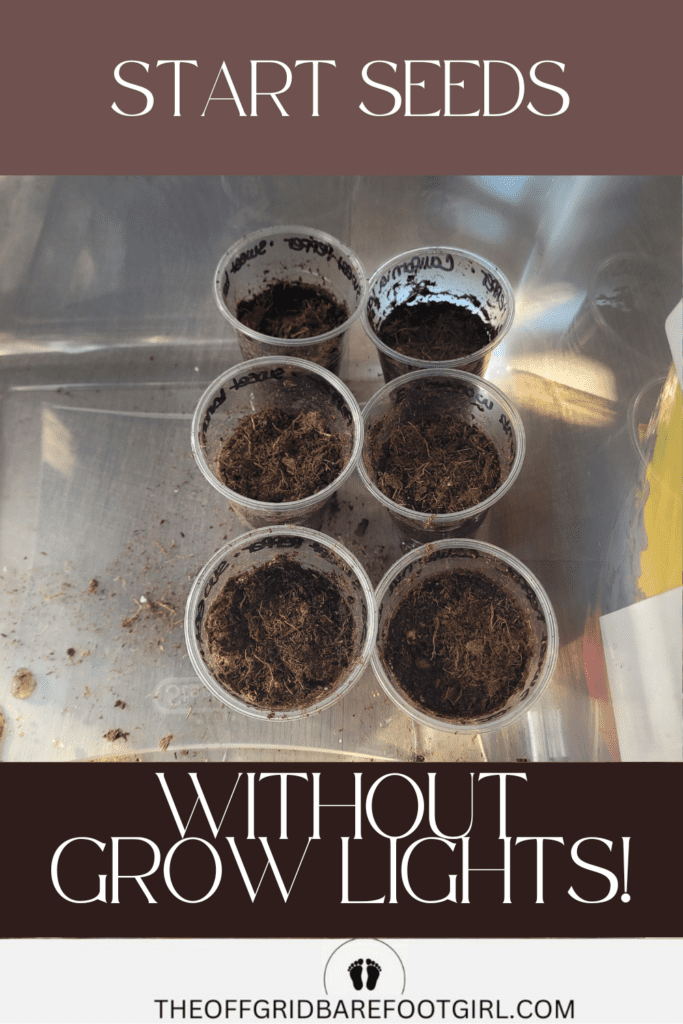
Sustainability with Natural Light and Minimal Resources
One of the things I love most about starting seeds this way is how sustainable it is. By using natural sunlight instead of relying on grow lights, I’m taking full advantage of what nature provides for free.
My setup requires minimal resources—just clear plastic totes, some soil, and a sunny window—and all of these can be reused year after year. It feels good to know I’m reducing waste and working in harmony with the environment while nurturing new plants.
Energy Savings and Independence from Electricity
Skipping grow lights doesn’t just save money—it also saves energy. Relying on sunlight means I don’t have to plug in extra equipment, which keeps my electricity bill down and reduces my carbon footprint.
It also gives me peace of mind during power outages, knowing my seedlings won’t be affected. This independence from electricity makes my gardening more resilient and less reliant on modern systems, which is a win in my book!
A Perfect Fit for a Self-Sufficient Lifestyle
Starting seeds this way feels like a natural extension of my self-sufficient lifestyle. It’s simple, cost-effective, and doesn’t tie me to any expensive equipment or ongoing expenses. Plus, it aligns with my goal of living more off-grid and reducing my reliance on external systems.
Every time I see my seedlings thriving in their sunny window setup, I’m reminded that self-sufficiency doesn’t have to be complicated—it just takes a little creativity and a lot of love for the process.
How I Maintain and Grow Healthy Seedlings
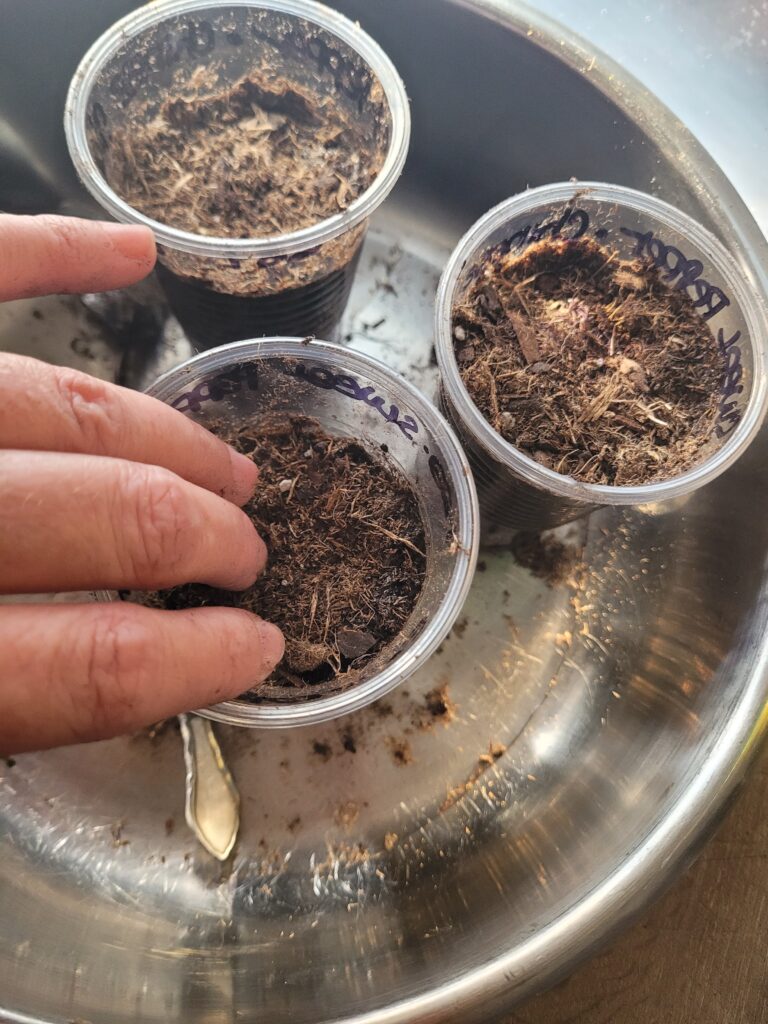
Rotating for Even Sunlight Exposure
One thing I’ve learned the hard way is how important it is to rotate your trays or cups daily. Even in a sunny window, seedlings can stretch toward the light, causing them to grow unevenly or become “leggy.”
To prevent this, I make a habit of turning each tray or tote a little bit every day. This ensures all sides of the seedlings get equal exposure to sunlight, helping them grow strong and straight. It’s a simple step, but it makes a world of difference!
Strengthening Seedlings with Airflow and Outdoor Exposure
Once my seedlings are a bit bigger, I start focusing on strengthening them. To mimic natural conditions, I increase airflow by gently running my hand over the tops of the plants or placing a small fan nearby. This encourages sturdier stems. When they’re ready, I gradually introduce them to the outdoors.
I start by placing them outside for an hour or two in a sheltered spot, then increase the time each day. This process called hardening off, toughens them up for life outside and reduces transplant shock.
On some days when I am feeling a bit lazy, especially on warm spring days, I simply open the window by my greenhouse tower. I then turn the lids sideways to keep them stacked, but not completely covered, to allow natural airflow and outdoor elements to reach them.
Tackling Common Challenges
Every gardener faces challenges, and starting seeds is no exception! One issue I often deal with is legginess, which happens when seedlings grow tall and spindly from a lack of light. As mentioned, keeping them close to the sunny window and rotating trays helps solve this.
Another challenge is pests, like fungus gnats, which can pop up in damp conditions. To manage this, I let the top layer of soil dry out a bit between waterings and use sticky traps if necessary. These little tweaks have helped me overcome obstacles and grow healthy seedlings.
I wrote all about my indoor gnat wars in my helpful guide.
Say goodbye to fungus gnats for good and learn how to permanently get rid of them with these effective tips and tricks!
Got Fungus Gnats? How to Destroy Them for Good!
Using These Supplies Year-Round
Versatility for Other Growing Projects
One of the things I adore about my seed-starting supplies is how versatile they are. Beyond starting garden vegetables, I’ve used the same setup to grow herbs indoors and even experiment with microgreens.
With a sunny window and a few containers, I can have fresh basil or spicy radish greens all year round. This flexibility means I’m not just preparing for the growing season but enjoying fresh, homegrown food no matter the time of year.
Durable and Reusable Tools Save Money
The tools I use—like clear plastic totes, small cups, and seed trays—are incredibly durable. I’ve been using some of the same containers for years, which has saved me a ton of money. Unlike single-use items, these supplies hold up season after season, making them a smart investment.
Knowing I can reuse them every year gives me confidence in my setup and reinforces my commitment to sustainability.
Tips for Storing and Caring for Supplies
To make sure my supplies last, I take the time to clean and store them properly after each season. I wash my seed trays and cups with mild soap and rinse them thoroughly to remove any dirt or residue.
Once dry, I stack them neatly in a cool, dry place to avoid cracking or warping. The totes double as storage bins for my smaller supplies, keeping everything organized and ready for next year. With just a little care, these tools can last indefinitely, making seed-starting even more rewarding.
Conclusion
Simple, Affordable, and Sustainable Seed Starting
When I look at my sunny window setup, I’m reminded of how simple, affordable, and sustainable this method truly is. It doesn’t require fancy equipment or hefty investments—just a few basic supplies and a little creativity.
Not only does this approach fit perfectly into my off-grid lifestyle, but it also helps me stay connected to nature while keeping my budget intact. It’s proof that you don’t need a lot to grow something amazing.
Start Small and Find What Works for You
If you’re new to seed starting, don’t worry—you don’t have to dive in all at once. It’s completely okay to start small and build your setup as you go. Begin with a single tray or tote and see how it works for your space and needs.
Gardening is a journey, and what works for me might inspire your own unique approach. It’s all about experimenting and finding what fits your life.
Embrace Self-Sufficiency and Off-Grid Gardening
Starting seeds without grow lights is more than just a gardening hack; it’s a step toward self-sufficiency and independence. Whether you’re living off-grid, on a budget, or just curious about a simpler way to grow plants, this method is a great way to start.
It’s empowering to know you can grow your own food with minimal resources, and it’s so rewarding to see those first sprouts pop up!
Join the Conversation
I’d love to hear about your seed-starting adventures! Have you tried a similar method, or are you thinking about giving it a go? Share your experiences, tips, or questions in the comments—I’m here to help and learn alongside you. Let’s grow something wonderful together!
Resources: Here are some helpful resources for further information.
- Starting Seeds Indoors without Grow Lights – By From Scratch Farmstead
- Starting Seeds without Electricity – By Homestead Honey
- How to Start Seeds Indoors without Using a Grow Light – By Sunnydaze Decor
Frequently Asked Questions
1. Can I really grow healthy seedlings without grow lights?
Absolutely! By using natural sunlight from a bright, sunny window and creating a warm, humid environment with clear plastic totes, you can grow strong, healthy seedlings. Rotating your trays for even light exposure and providing proper care ensures great results.
2. What are the benefits of starting seeds this way?
This method is budget-friendly, sustainable, and doesn’t rely on electricity. It’s perfect for those who live off-grid or want to avoid the cost of grow lights. Plus, the supplies can be reused year after year, making it a long-term, eco-friendly solution.
3. What supplies do I need to get started?
You’ll need seed trays or small cups, quality soil, clear plastic totes with holes for airflow, and a sunny window. Many of these items can be repurposed or upcycled, like using yogurt cups or compostable pots.
4. How do I prevent seedlings from becoming leggy?
Rotate your trays daily so all sides of your seedlings get equal sunlight. Place your containers as close to the window as possible and ensure they get plenty of light throughout the day. Proper airflow and gradual outdoor exposure also help seedlings grow sturdy and strong.
Summary
I hope I have inspired you to plant your garden with these tips and products.
If you were encouraged by this post, I invite you to check out my FREE Printables Page for fun free printables, planners, and charts.
ENTER MY FREE Printables Page HERE
Here are some more of my gardening inspiration posts to check out!
How to Create a Smart Garden: Tech Meets Nature!
The Best Cheap Raised Vegetable Garden Beds
How to Grow Artichokes: Plant Once and Harvest for 5 Years!
The Best 8 Fast-Growing Vegetables In Just 45 Days!
From Snow to Sow: Plan Your Spring Garden Now!
11 Fun Ways to Brighten Your Spring Garden with Personality
Top 10 Spring Garden Crops to Harvest in 30 Days and Eat Now!
The Best Survival Crops for Caloric Survival
My Victory Garden: What I Learned from 5+ Years
Why Every Family Should Have a Victory Garden in Their Backyard Now!
The Best Perennials for a Long-Term Survival Garden
The Best Essential Oils for Plants That Repel Garden Bugs
How to Grow Green Garden Peas: Perfect Plump Peas!
Hugelkultur: Does This Epic Pioneering Method Actually Work?
9 Ways to Celebrate Earthing Day in Your Garden!
Gardening Indoors: Secrets of Growing Your Food Inside!
How to DIY a Milk Jug Drip Irrigation System!
Why Cedar Mulch Is The Perfect Natural Weed Barrier
Gardening Projects
Onions: How to Grow Onions for Storage
Peas: How to Grow Garden Peas for a Bumper Crop
Carrots: How to Grow Carrots for a Bountiful Harvest
Prep Your Garden for Spring Planting with These Expert Tips!
How to Grow a Prepper Garden to Survive and Thrive
The Best Garden Tools You Need for a Productive Season
Fastest Growing Vegetables for Your Survival Garden
How to Grow Marigolds As Pest Control In Your Vegetable Garden
Must-Have Tools for a Successful Balcony Vegetable Garden
How to Effectively Combat Powdery Mildew in Your Garden
The Best Tips for Organic Gardening
How to Release Ladybugs In Your Garden for Organic Pest Control
The Best Garden Snail Control Strategies
The Best Spring Vegetables to Grow in Your Garden
Seed Starter Mix: How To Make Your Organic Seed Starter Mix At Home
How to Grow a Productive Canning Garden
How to Plant and Grow a Salsa Garden
Easiest Heirloom Vegetable Seeds to Grow Now
How to Use the Hand Twist Claw Tiller: Tackling Tough Soil
More Fun Gardening Posts to Check Out!
Planning Your Garden: How to Plan a Vegetable Garden: Expert Green Thumb Tips!
Winterizing the Garden: How to Winterize Your Vegetable Garden: Step-by-Step Checklist
Mulching the Garden: How to Make Leaf Litter Mulch
Grow a Pumpkin Patch: How to Grow a Pumpkin Patch in Your Backyard
How to Grow a Fall Garden: 9 Best Fall Crops
Clever Ways to Incorporate Indoor Composting into Your Home
How to Start Composting for the Garden: A Step-by-Step Guide
The Ultimate Guide to Composting in Your Suburban Backyard
Why I Built A Survival Garden in My Backyard
16 Best Medicinal Herbs to Grow in Your Garden Now
Blessings,
The Off Grid Barefoot Girl

