Learn how to repurpose everyday items into winter sowing containers and give your seeds a head start without spending a fortune. From milk jugs to takeout boxes, these creative container ideas provide excellent drainage, insulation, and protection for hardy seedlings. Discover simple, eco-friendly ways to recycle while growing a thriving spring garden.
Winter sowing is a fantastic method to kickstart your gardening season, allowing you to sow seeds outdoors during the colder months. One of the exciting aspects of winter sowing is the opportunity to repurpose everyday items into creative and functional containers for your plants. Not only does this practice save money and reduce waste, but it also adds a unique touch to your gardening experience.
In this article, I will explore the art of repurposing everyday items into winter sowing containers and discover the numerous benefits it offers. From plastic bottles to milk jugs, get ready to transform ordinary objects into extraordinary gardening tools.
This is a pinnable post. Tap or hover over any image in this post to pin to your Pinterest Boards.
Introduction to Winter Sowing and Its Benefits
What Is Winter Sowing?
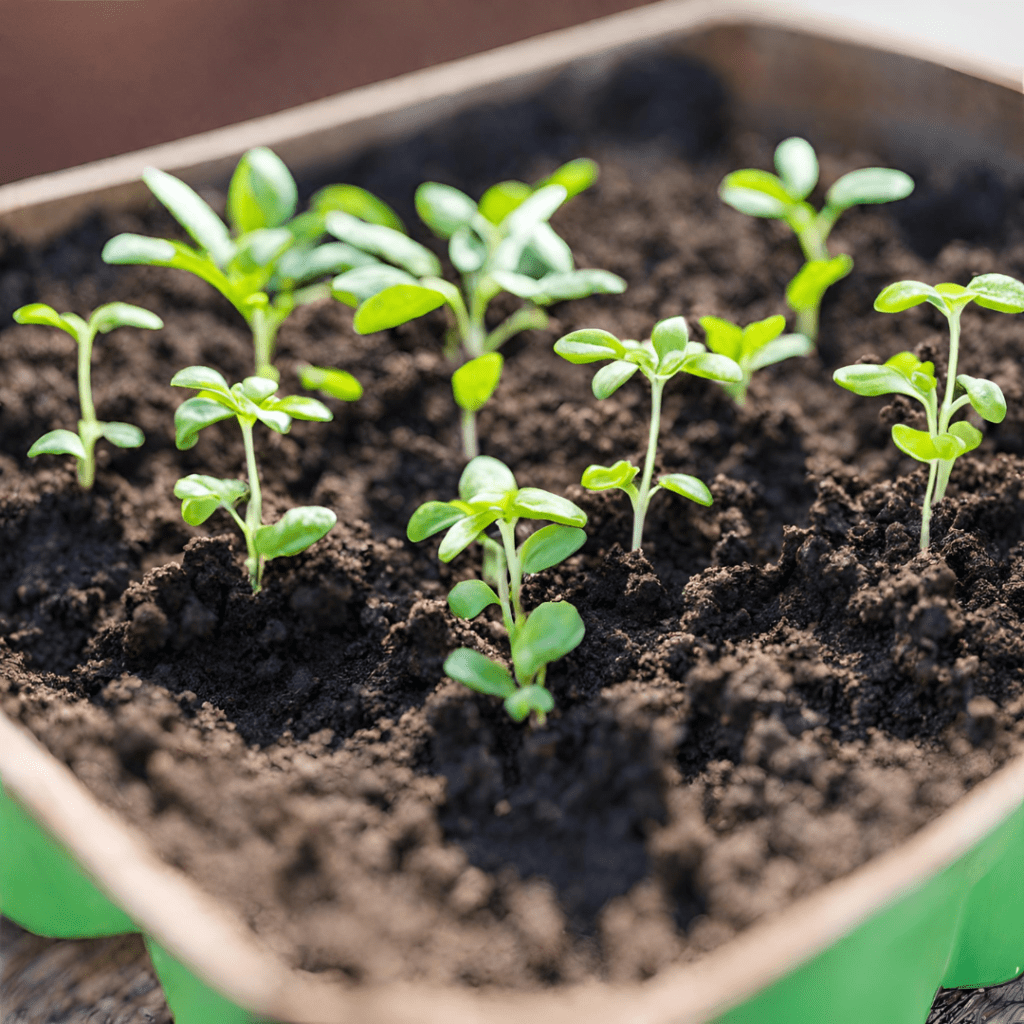
Winter sowing is a gardening technique where you start seeds outdoors during winter, using containers that act as mini-greenhouses. Instead of waiting for the warmer weather, you can get a jumpstart on your garden by taking advantage of the natural cold stratification process.
Advantages of Winter Sowing
Winter sowing offers several benefits for gardeners. Firstly, it’s an affordable alternative to indoor seed-starting setups. Plus, it’s a great way to repurpose everyday items lying around your house. Secondly, winter sowing allows plants to experience natural temperature fluctuations, which can result in stronger and more resilient seedlings. Finally, it requires minimal maintenance since the containers create a self-contained environment, reducing the need for frequent watering and monitoring.
Choosing the Right Everyday Items for Winter Sowing Containers
Considerations for Selecting Suitable Containers
When choosing containers for winter sowing, it’s essential to consider a few factors. Look for items that are shallow, but still provide enough space for root growth. Additionally, consider materials that can withstand outdoor conditions, such as plastic or sturdy cardboard.
Examples of Common Household Items for Repurposing
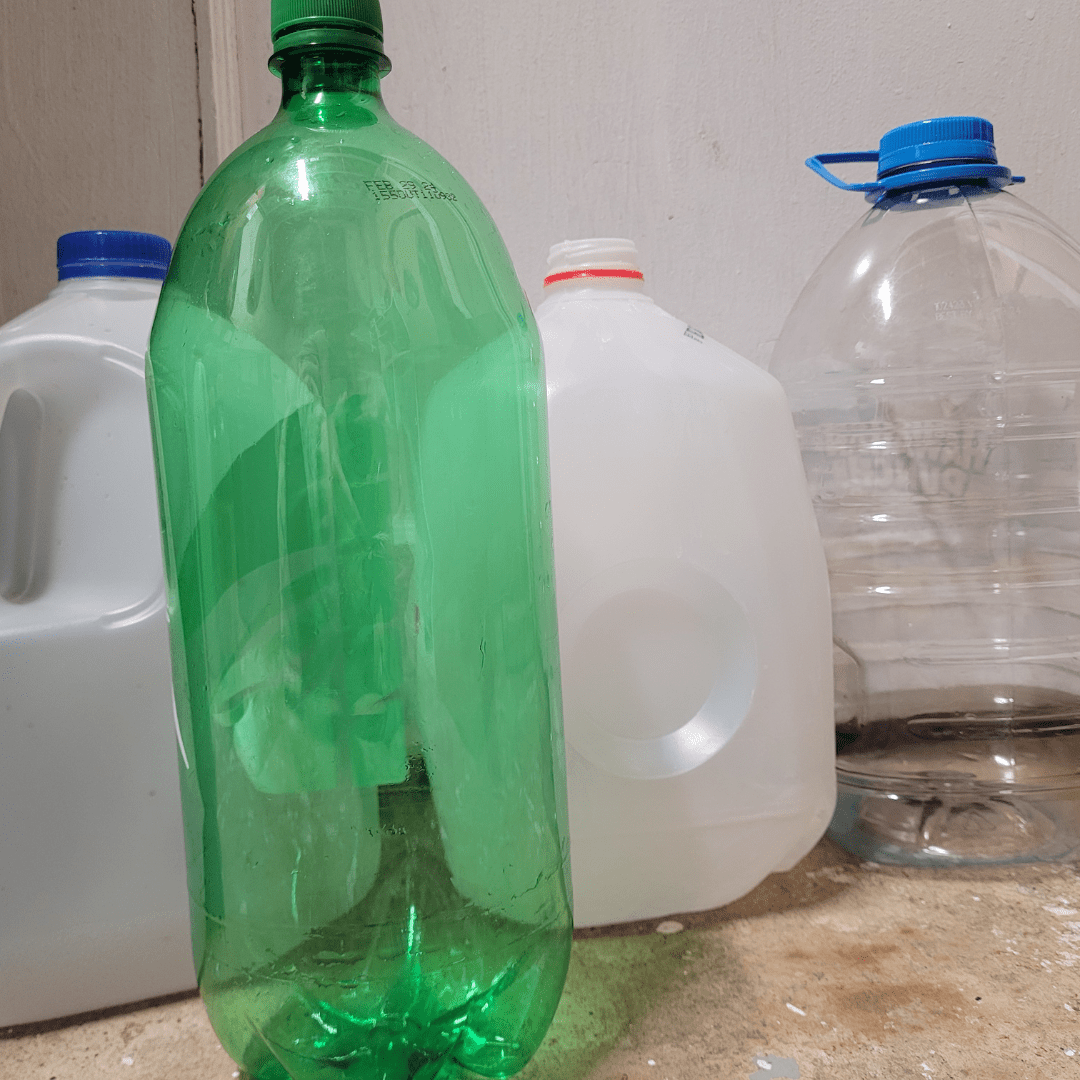
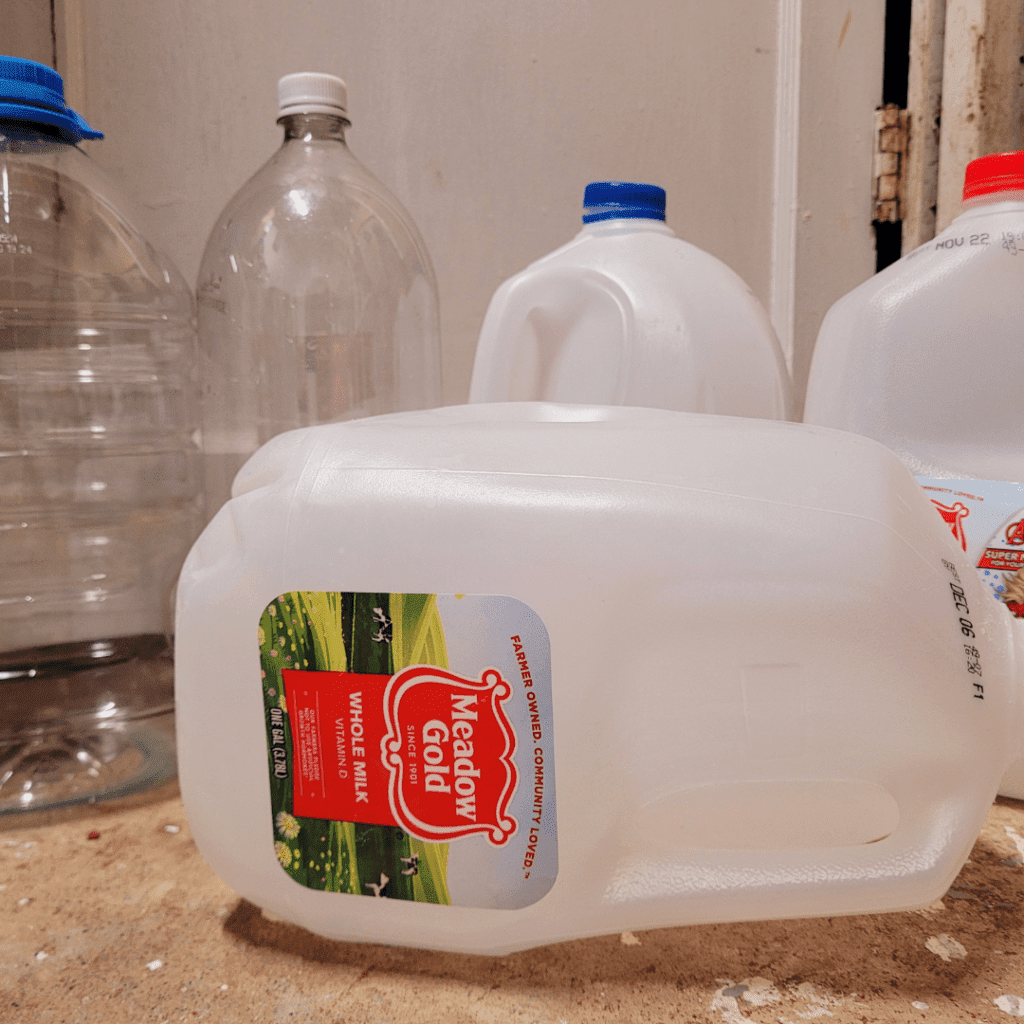
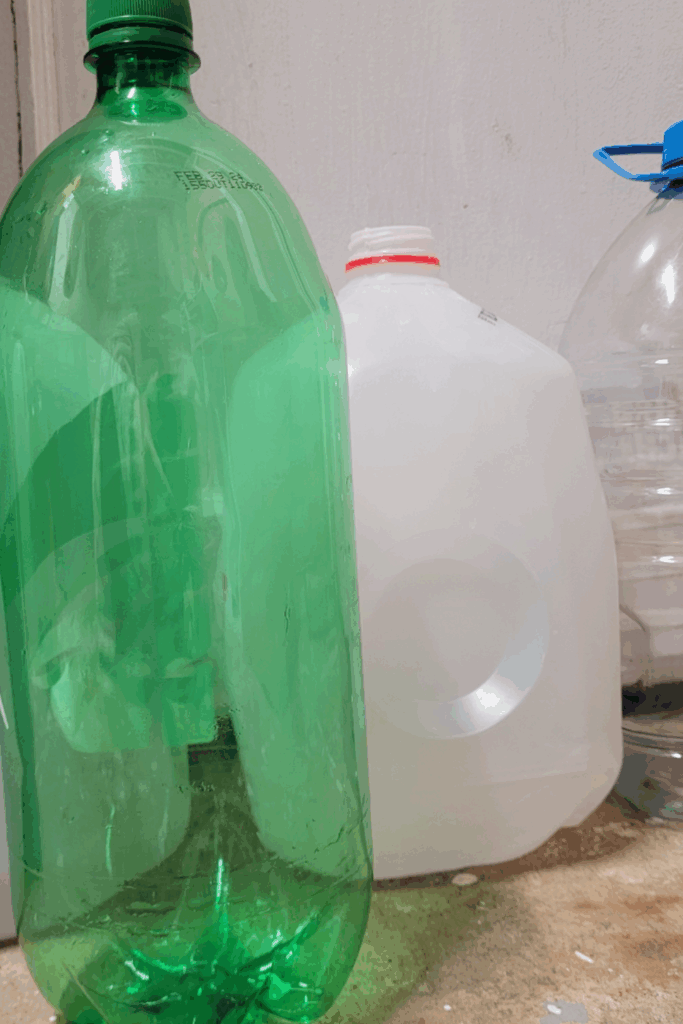
The beauty of winter sowing is that you can repurpose all sorts of everyday items, giving them a new lease on life. Some excellent containers include milk jugs, soda bottles, yogurt cups, takeout containers, and even old pet food trays. So, before you toss those items in the recycling bin, think about transforming them into functional seed-starting containers.
Preparing and Modifying Everyday Items for Sowing
Cleaning and Sanitizing the Containers
Before using any repurposed containers, make sure to clean and sanitize them. Give them a good wash with soap and water, and rinse thoroughly. You can also use a mixture of bleach and water (1 part bleach to 9 parts water) to disinfect the containers, but be sure to rinse them well afterward.
Creating Drainage Holes and Ventilation
Proper drainage and ventilation are crucial for successful winter sowing. Using a sharp tool like a knife or a drill, create several small drainage holes at the bottom of each container. Additionally, make a few ventilation holes near the top or sides to allow for proper airflow. This will prevent waterlogging and create a healthy environment for seedlings.
Step-by-Step Guide to Winter Sowing Using Repurposed Containers
Gather Necessary Materials and Seeds
Before beginning your winter sowing adventure, gather all the materials you’ll need. This includes your repurposed containers, potting soil, seeds suitable for winter sowing, labels or markers for identification, and a watering can or spray bottle for moistening the soil.
Preparing the Containers for Sowing
Fill the containers with moistened potting soil, leaving about an inch of space at the top. Gently firm down the soil to create a flat, even surface for sowing. If your chosen container doesn’t have a lid, cover it with plastic wrap or a clear plastic bag to create a greenhouse effect.
Sowing the Seeds and Labeling the Containers
Sow your seeds according to the recommended depth and spacing for each plant variety. After sowing, gently press the seeds into the soil to ensure good seed-to-soil contact. Don’t forget to label each container with the plant’s name and date of sowing. This will help you keep track of your seedlings later on.
Proper Placement and Care of the Containers
Find an outdoor location that receives partial sunlight or bright shade. Place your containers in this spot, making sure they are protected from harsh winds or extreme weather conditions. Check the moisture level regularly and water as needed. Mother Nature will take care of the rest, providing the necessary cold stratification and gradual warming for your seeds to germinate.
Tips for Successful Winter Sowing with Everyday Items
Winter sowing is a fantastic way to start your garden early without the need for expensive equipment. By repurposing everyday items, you can create inexpensive and effective containers for your winter sowing needs. Here are a few tips to ensure successful winter sowing:
Providing Adequate Moisture and Sunlight
When repurposing containers for winter sowing, it’s essential to ensure your seeds receive enough moisture and sunlight. Plastic containers, such as milk jugs or clamshell containers, are great options as they retain moisture while allowing sunlight to penetrate. Make sure to punch a few holes in the bottom for drainage.
To provide moisture, water your containers thoroughly before planting the seeds. Afterward, cover the containers with plastic wrap or a clear lid to create a mini greenhouse effect. This will help trap moisture and create a warm, humid environment ideal for germination.
Additionally, it’s crucial to place your containers in a location where they will receive ample sunlight. A sunny patio or a well-lit porch are excellent choices. Just remember to monitor the temperature—seedlings can overheat if they get too much direct sunlight.
Protecting the Containers from Extreme Weather Conditions
While winter sowing is a hardy technique, extreme weather conditions can pose a challenge. Protect your repurposed containers by placing them in a sheltered area during severe cold snaps or storms. An unheated garage or a covered porch can provide some insulation and protection against harsh elements.
You can also use additional insulation materials, such as bubble wrap or old blankets, to cover the containers during the coldest nights. Ensure there is still enough airflow to prevent excessive moisture buildup, which could lead to fungal issues.
Remember, winter sowing is a resilient method, but a little extra care can go a long way in safeguarding your repurposed containers.
Creative Ideas for Repurposing Unconventional Containers
Part of the charm of winter sowing is discovering unexpected containers that can serve as excellent plant homes. Here are a couple of creative ideas to inspire you:
Repurposing Plastic Bottles and Containers
Plastic bottles are versatile and can be easily transformed into mini greenhouses. Cut off the top portion of a plastic bottle, leaving the bottom half as a container for your seeds. The removed top can serve as a ventilated dome that can be placed on top.
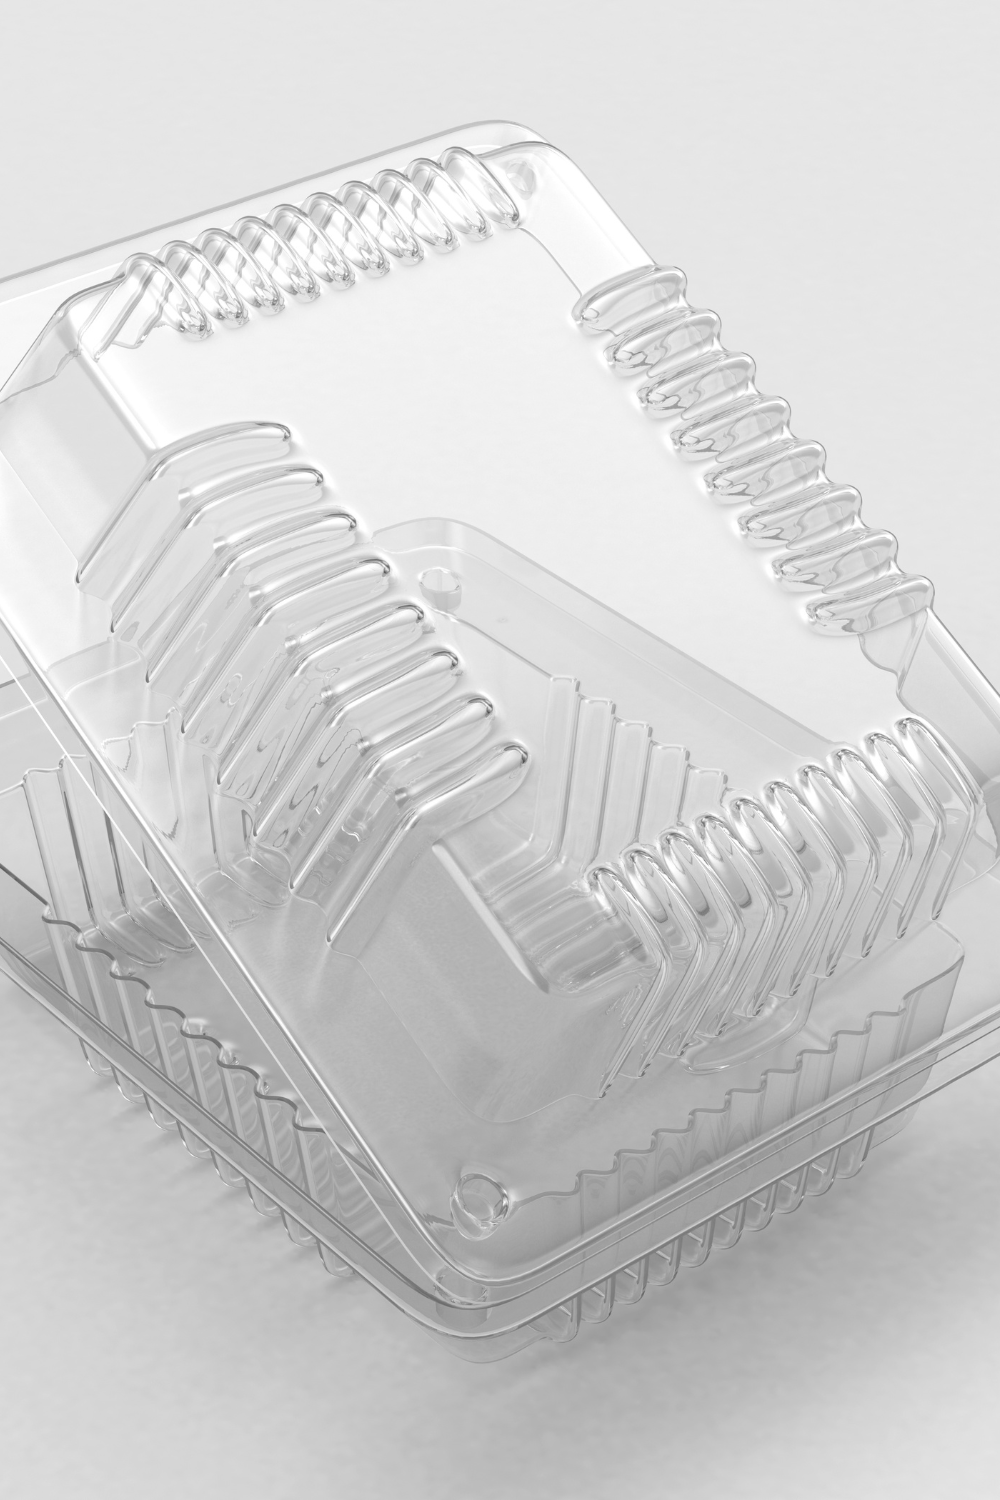
You can also repurpose plastic yogurt containers, takeout containers, or even plastic egg cartons. Just ensure you provide proper drainage by poking holes in the bottom.
Unusual Items That Can Make Excellent Winter Sowing Containers
Get creative with your repurposing adventures! Consider using old shoeboxes, eggshells, milk jugs, or even toilet paper rolls. The possibilities are endless! Just remember to make necessary modifications, such as adding drainage holes or creating makeshift lids, to ensure optimal growing conditions.
Common Challenges and Troubleshooting Techniques for Winter Sowing
While winter sowing can be a rewarding gardening method, it’s not without its share of challenges. Here are a few common issues you may encounter and some troubleshooting techniques:
Dealing with Fungal Diseases and Pests
Fungal diseases and pests can occasionally plague winter-sown containers. To prevent fungal issues, ensure proper airflow by removing the plastic covering during warmer days. If fungal growth already appears, sprinkle a bit of cinnamon on the affected area—believe it or not, cinnamon has anti-fungal properties!
To combat pests, keep a close eye on your containers and remove any unwanted critters manually. You can also create natural pest deterrents, like placing crushed eggshells around the containers or using a mixture of water and dish soap to repel invaders.
Addressing Issues with Germination and Growth
Sometimes, seeds may struggle to germinate or experience slow growth. To assist germination, you can try scarifying the seeds by gently scratching their surface with sandpaper or soaking them in water overnight. Additionally, planting a few extra seeds per container can increase your chances of success.
If growth seems sluggish, ensure your containers receive adequate sunlight and adjust their position accordingly. You can also try bottom watering by placing the containers in a tray filled with water. This method allows the soil to absorb moisture from the bottom, encouraging root growth.
Ultimate List of Winter Sowing Containers
These containers act as mini-greenhouses, protecting the seeds and seedlings from harsh weather while still allowing them to experience natural temperature fluctuations. Here’s a list of various containers you can use for winter sowing:
- Milk Jugs or Plastic Bottles:
- Cut the bottom off and create a hinged lid. These are popular and easy to obtain.
- Soda Bottles:
- Similar to milk jugs, cut the top off and create a hinged lid. These work well for individual plants.
- Clear Plastic Tubs or Bins:
- Drill or poke holes in the bottom for drainage and in the top for ventilation. These can be larger and accommodate multiple plants.
- Plastic Salad Containers:
- Transparent clamshell containers from pre-packaged salads can be repurposed as mini-greenhouses.
- Disposable Roasting Pans:
- The aluminum foil pans with clear plastic lids work well. Make sure to add drainage holes.
- Plastic Takeout Containers:
- Clear plastic containers with lids, like those from takeout, can be repurposed for winter sowing.
- Clear Plastic Strawberry or Berry Containers:
- These often have individual compartments and can be useful for separating different plant varieties.
- Seed Starting Trays with Domes:
- These can be purchased specifically for seed starting and often come with clear plastic domes.
- Egg Cartons:
- Cut individual sections, fill with soil, and close the lid for a small, biodegradable option.
- Gallon-sized Ziplock Bags:
- Plant seeds in small pots or directly in soil inside the bag, then seal it. The clear plastic acts as a greenhouse.
- Wooden Wine Boxes:
- Line them with plastic and fill them with soil for a more decorative option.
- Clear Plastic Cups:
- Make drainage holes in the bottom and create a small greenhouse by placing a clear plastic lid or wrap over the top.
- Clear Plastic Bakery Containers:
- Large, shallow containers from bakeries can be repurposed for sowing seeds.
- Shoeboxes:
- Line with plastic and use as a mini-greenhouse.
- Plastic Seed Starting Trays:
- Purpose-built trays with individual cells, often with a clear plastic lid.
Conclusion and Final Thoughts on Using Repurposed Items for Winter Sowing
Winter sowing is a fantastic way to get a head start on your gardening journey while embracing sustainability through repurposing. By using everyday items as containers, you not only save money, but also reduce waste.
So, raid your recycling bin, get creative, and transform those unconventional containers into homes for your future plants. With a little care, you’ll soon enjoy the fruits of your repurposing labor—plants thriving in repurposed containers, and a garden that’s both eco-friendly and full of personality.
Repurposing everyday items into winter sowing containers not only benefits the environment, but also adds creativity and excitement to your gardening journey. By utilizing items that would otherwise end up in the landfill, you can save money and reduce waste while successfully starting your plants for the upcoming season. Whether it’s repurposing plastic bottles, egg cartons, or even old shoeboxes, the possibilities are endless. Embrace the art of repurposing and enjoy the satisfaction of witnessing your seeds grow and thrive in containers that have been given a second life.
Frequently Asked Questions
1. Can I use any type of everyday item as a winter sowing container?
While many everyday items can be repurposed as winter sowing containers, it’s important to consider certain factors. Look for items that are sturdy, have drainage holes, and provide enough space for plant growth. Avoid containers made of materials that may leach harmful substances into the soil.
2. Do I need to prepare the repurposed containers before using them for winter sowing?
Yes, it is recommended to prepare the containers before sowing seeds. This may involve cleaning and sanitizing the containers to remove any residue or potential contaminants. Additionally, you may need to create drainage holes or provide ventilation to ensure proper air circulation within the containers.
3. Can I use unconventional items as winter sowing containers?
Absolutely! One of the joys of repurposing items for winter sowing is the opportunity to get creative. Unconventional items like milk jugs, yogurt containers, or even 2-liter bottles can serve as unique and charming containers for your seeds. Just make sure to modify them appropriately to meet the needs of your plants.
4. What are the advantages of using repurposed items for winter sowing?
Using repurposed items for winter sowing offers several benefits. It is cost-effective as you can avoid purchasing expensive seed-starting trays. By repurposing items, you are also reducing waste and giving new life to objects that might have otherwise been discarded. Additionally, repurposed containers can add a touch of creativity and uniqueness to your garden, making it a more personalized and enjoyable space.
Summary
I hope I have inspired you to try your skills at winter sowing with these tips and products.
If you were encouraged by this post, I invite you to check out my FREE Printables Page for fun free printables, planners, and charts.
ENTER MY FREE Printables Page HERE
Here are some more of my winter gardening inspiration posts to check out!
Root Vegetables That Thrive in Winter Sowing: Ultimate List
How to Grow Cold Hardy Greens for Winter Sowing
Top Winter-Sowing Vegetables for a Head Start in the Garden
Getting Started with Winter Sowing: The Ultimate Guide
The Benefits of Successful Winter Sowing for Vegetables in Containers
The Ultimate Guide to Choosing the Best Soil for Winter Sowing
Planning Your Garden: How to Plan a Vegetable Garden: Expert Green Thumb Tips!
Winterizing the Garden: How to Winterize Your Vegetable Garden: Step-by-Step Checklist
Mulching the Garden: How to Make Leaf Litter Mulch
How to Grow a Fall Garden: 9 Best Fall Crops
Blessings,
The Off Grid Barefoot Girl

