Learn how to make your own organic seed starter mix at home using simple, natural ingredients. Perfect for nurturing strong, healthy seedlings, this DIY mix saves money, avoids chemical fertilizers, and gives your garden a natural head start.
Starting plants from seeds is an exciting and rewarding experience for gardeners. To give your seeds the best chance of success, using a high-quality seed starter mix is crucial. While there are many commercially available options, making your organic seed starter mix at home can be a cost-effective and environmentally friendly alternative.
In this article, I will explore the benefits of creating your seed starter mix, discuss the essential ingredients needed, provide a step-by-step guide for making it, and offer valuable tips and troubleshooting advice. Whether you are a seasoned gardener or a beginner, this guide will help you create a nutrient-rich and sustainable seed starting medium for optimal plant growth and development.
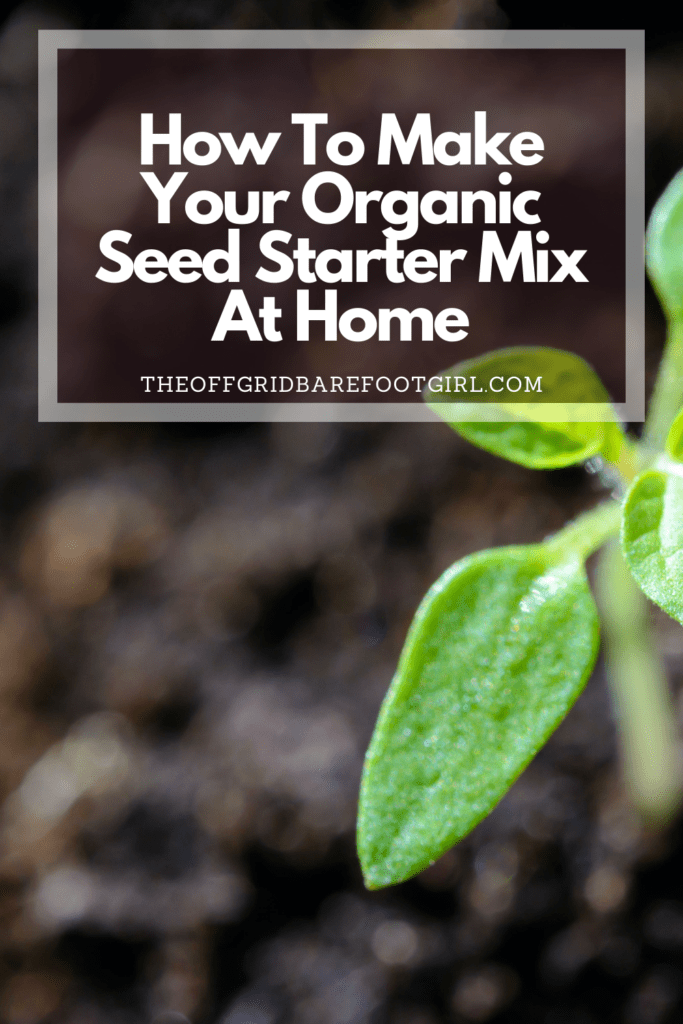
This is a pinnable post. Tap or hover over any image in this post to pin to your Pinterest Boards.
Introduction to Organic Seed Starter Mix
What Is a Seed Starter Mix?
Starting your garden from seeds is a fulfilling and cost-effective way to grow a variety of plants. But to give those tiny seeds the best chance of germination and growth, you need a good seed starter mix. A seed starter mix is a specially formulated blend of materials that provides the ideal conditions for seeds to sprout and develop into healthy seedlings.
Why Choose an Organic Seed Starter Mix?
Nowadays, many gardeners are opting for organic gardening practices, and using an organic seed starter mix follows this environmentally-friendly trend. Organic seed starter mixes are made from natural ingredients that are free from synthetic fertilizers, pesticides, and other harmful chemicals. By choosing organic, you ensure that your seedlings get a healthy, chemical-free start in life.
Benefits of Making Your Seed Starter Mix
Cost-Effectiveness of Homemade Seed Starter Mix
Store-bought seed starter mixes can be quite pricey, and if you’re starting numerous seedlings, the costs can add up quickly. Making your seed starter mix not only saves you money but also allows you to customize the recipe to suit your specific needs.
Control Over Ingredients and Quality
When you make your seed starter mix, you have complete control over the ingredients that go into it. You can choose high-quality materials, such as compost and organic matter, to ensure that your seedlings receive the nutrients they need for healthy growth. Plus, you can avoid any additives or chemicals that you might not want in your garden.
Reduced Environmental Impact
Homemade garden soil mixes can contribute to reducing environmental impact in several ways compared to commercial or conventional options. Here are some ways in which homemade garden soil mixes can be environmentally friendly:
- Reuse of Materials:
- Homemade mixes often involve reusing materials from your own garden or kitchen. For example, composting kitchen scraps and yard waste for homemade compost helps divert organic matter from landfills and reduces the need for disposal.
- Reduced Packaging:
- Commercial soil mixes often come in plastic bags or other packaging materials. By making your own soil mix, you can reduce the amount of plastic and packaging waste associated with store-bought products.
- Local Ingredients:
- Using locally sourced ingredients for your homemade soil mix reduces the environmental impact associated with transportation. Local materials generally require less energy to transport, contributing to a lower carbon footprint.
- Avoiding Harmful Chemicals:
- Homemade mixes allow you to control the ingredients and avoid harmful chemicals or synthetic fertilizers that may be present in some commercial products. This promotes healthier soil and reduces the risk of introducing harmful substances into the environment.
- Sustainable Practices:
- Incorporating sustainable gardening practices, such as composting, mulching, and using organic amendments, helps build healthy and resilient soils. This, in turn, supports a more sustainable and environmentally friendly gardening approach.
- Reduced Energy Consumption:
- The production and transportation of commercial soil mixes can be energy-intensive. By making your own mix with locally sourced materials, you can reduce the overall energy consumption associated with the production and distribution of bagged soil products.
- Soil Health and Biodiversity:
- Homemade soil mixes that focus on organic and natural ingredients contribute to better soil health. Healthy soils support a diverse ecosystem of microorganisms, insects, and other beneficial organisms, promoting biodiversity in the garden.
- Water Conservation:
- Homemade mixes can be tailored to improve water retention and drainage, reducing the need for excessive watering. This contributes to water conservation and a more efficient use of this valuable resource.
When creating a homemade garden soil mix, consider using a variety of organic materials, such as compost, well-rotted manure, and locally available amendments. Additionally, practicing responsible gardening techniques, such as water conservation and minimal use of synthetic inputs, can further enhance the environmental benefits of homemade soil mixes.
Essential Ingredients for Homemade Organic Seed Starter Mix
Choosing the Right Base Material
One of the key components of a seed starter mix is the base material. This can be a lightweight material such as peat moss, coconut coir, or vermiculite. These materials provide good aeration and moisture retention, creating an ideal environment for seed germination.
Compost and Organic Matter
Adding compost and organic matter to your seed-starter mix provides essential nutrients for the seedlings. Compost helps improve soil structure and fertility, while organic matter adds beneficial microbes that aid in the breakdown of nutrients and promote healthy root growth. Plus, making your own compost is relatively easy and an economical and sustainable home practice everyone should be doing. To learn more about how to compost at home, I have written other articles to help you get started, even if you live in a small space or an apartment.
- Clever Ways to Incorporate Indoor Composting into Your Home
- How to Start Composting for the Garden: A Step-by-Step Guide
- The Ultimate Guide to Composting in Your Suburban Backyard
Additives for Improved Soil Structure and Drainage
To ensure proper drainage and prevent soil compaction, you can add perlite or sand to your seed-starter mix. These additives create air pockets in the soil, allowing roots to breathe and preventing waterlogging.
Step-by-Step Guide to Creating Your Seed Starter Mix
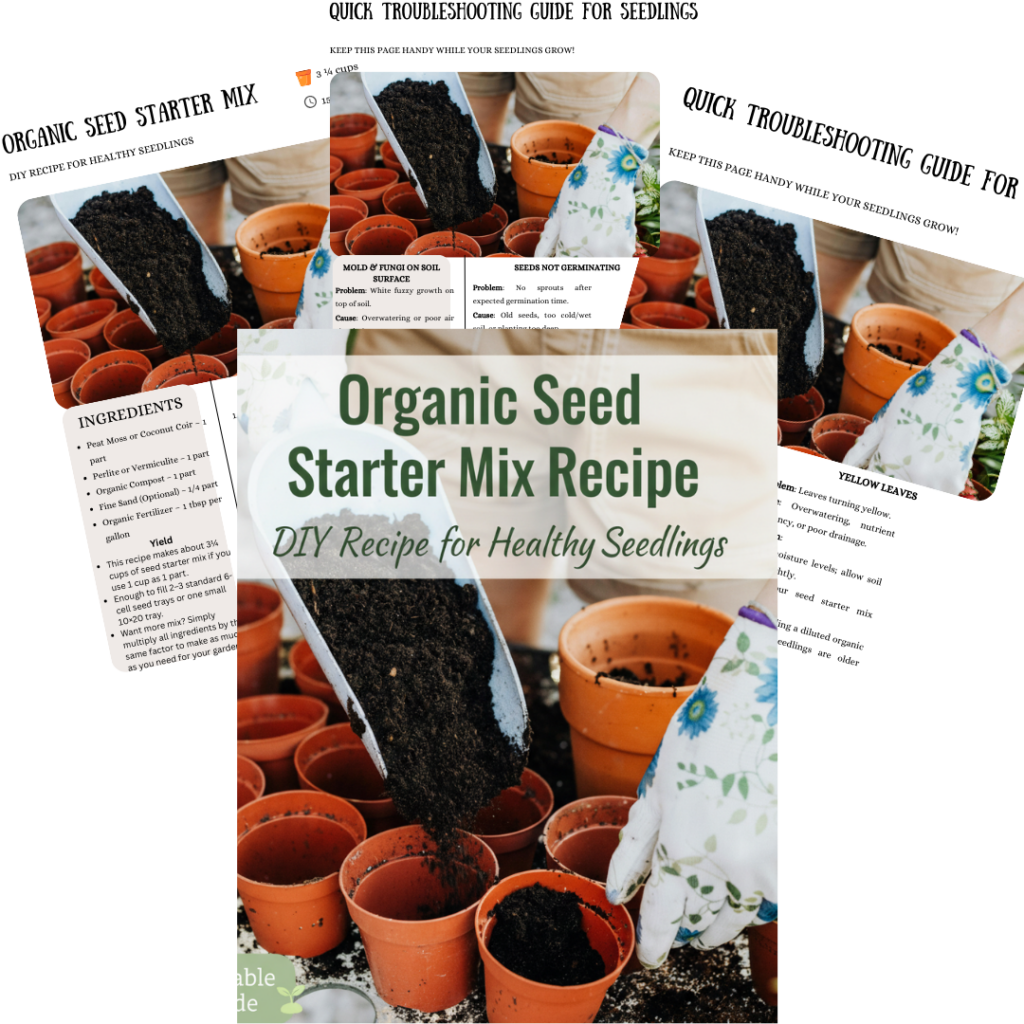
Click here for the free printable recipe and guide for this project!
Gathering the Necessary Materials and Tools
Creating the perfect organic seed starting mix involves balancing components that provide good aeration, moisture retention, and nutrients for seedling development. Here’s a basic recipe for an organic seed starting mix:
Ingredients:
- Peat Moss or Coconut Coir:
- 1 part
- Peat moss is a common choice, but if you want a sustainable alternative, you can use coconut coir. Both provide good water retention.
- Perlite or Vermiculite:
- 1 part
- These materials help with aeration and drainage, preventing the mix from becoming too compact.
- Organic Compost:
- 1 part
- Provides nutrients for seedlings. Make sure the compost is well-aged and free from diseases or weed seeds.
- Fine Sand:
- 1/4 part (optional)
- Improves drainage in the mix. Use builder’s sand or horticultural sand, not beach sand.
- Organic Fertilizer:
- 1 tablespoon per gallon of mix
- Choose a balanced organic fertilizer suitable for seedlings. You can also add a small amount of worm castings for additional nutrients.
Measuring and Mixing the Ingredients
Instructions:
- Measure Ingredients:
- Use a bucket or container to measure parts. For example, if you choose one part to be a cup, then use a cup to measure each ingredient.
- Mix Dry Ingredients:
- Combine peat moss or coconut coir, perlite or vermiculite, and fine sand (if using) in a large container. Mix thoroughly to ensure an even distribution.
- Add Compost:
- Mix in the organic compost. This provides essential nutrients for your seedlings.
- Incorporate Fertilizer:
- Add the organic fertilizer and mix well. Ensure that the fertilizer is evenly distributed throughout the mix.
- Moisten the Mix:
- Before filling seed trays or pots, moisten the mix with water until it’s uniformly damp, but not waterlogged.
- Fill Seed Trays or Pots:
- Fill your seed trays or pots with the seed starting mix, leaving a little space at the top for easy watering.
- Plant Your Seeds:
- Plant your seeds according to the recommended depth for each type of seed.
This basic recipe provides a good balance of aeration, drainage, and nutrition for seedlings. Adjust the proportions based on your specific needs, and consider experimenting with different amendments such as kelp meal, bone meal, or other organic additives based on your preferences and the requirements of the plants you are starting from seeds. Always ensure that your ingredients are sourced organically for a truly organic seed starting mix.
Moistening and Testing the Seed Starter Mix
Once the ingredients are mixed, moisten the seed starter mix with water until it reaches a damp, but not soggy, consistency. To test if the mix is ready, squeeze a handful—if it holds its shape without releasing excess water, it’s good to go. Adjust the moisture level if necessary by adding more water or base material.
Tips for Using and Storing Homemade Seed Starter Mix
Proper Seed Sowing Techniques
When using your homemade seed starter mix, it’s important to sow your seeds properly for the best results. Make sure to follow the seed packet instructions for depth and spacing. Gentle patting or covering with a thin layer of mix helps to create good seed-to-soil contact without burying them too deep.
Watering and Maintaining Moisture Levels
Watering is crucial for germination, but be careful not to overdo it. Using a spray bottle or a watering can with a fine spout can help prevent displacing or drowning your seeds. Keep the soil consistently moist, not soggy, by checking regularly and misting as needed.
Effective Storage Methods for Leftover Mix
Properly storing leftover seed starter mix helps maintain its quality and prevents it from drying out or becoming contaminated. Here are effective storage methods for leftover seed starter mix:
- Air-Tight Containers:
- Transfer the remaining seed starter mix into air-tight containers. This helps prevent exposure to air, which can dry out the mix and reduce its effectiveness.
- Sealable Plastic Bags:
- Place the leftover seed starter mix in sealable plastic bags, squeezing out excess air before sealing. This method helps keep the mix moist and ready for use.
- Storage Bins with Lids:
- If you have a larger quantity of leftover mix, consider using plastic storage bins with tight-fitting lids. These bins provide protection from moisture, pests, and contaminants.
- Keep in a Cool, Dry Place:
- Store the containers or bags in a cool, dry location away from direct sunlight. Exposure to sunlight and heat can affect the quality of the mix over time.
- Label the Container:
- Clearly label the container or bag with the date of preparation and the contents. This helps you keep track of how long the mix has been stored and ensures you use it within a reasonable time frame.
- Moisten Before Sealing:
- Before sealing the container or bag, moisten the leftover mix with water to ensure it stays hydrated during storage. Mix it thoroughly to distribute the moisture evenly.
- Regularly Check Moisture Levels:
- Periodically check the moisture levels of the stored seed starter mix. If it starts to dry out, you can moisten it slightly to restore its original consistency.
- Store in a Dark Place:
- If possible, store the containers or bags in a dark place. Darkness helps prevent the growth of algae on the surface of the mix.
- Use a Reusable Sealable Bag:
- Consider using a reusable, zip-top storage bag designed for gardening or seed storage. These bags are durable and provide a good seal to keep the mix fresh.
- Store in Original Packaging:
- If the seed starter mix comes in a resealable bag, you can store the leftovers in the original packaging. Roll down the top and secure it with a clip or binder to keep the mix protected.
By following these storage methods, you can extend the shelf life of your leftover seed starter mix and ensure that it remains effective for future use. Always check the stored mix for any signs of mold, pests, or unusual odors before using it for new seedlings.
Troubleshooting Common Issues with Homemade Seed Starter Mix
Dealing with Fungal Growth or Mold
Fungal growth and mold can be common challenges when starting seeds, but there are several strategies you can employ to prevent or address these issues. Here are some tips:
Prevention:
- Use Sterile Containers:
- Ensure that the containers and trays you use for starting seeds are clean and sterile. Wash them thoroughly before use to eliminate any potential sources of contamination.
- Sterilize Soil Mix:
- If you’re using a homemade seed starting mix, consider sterilizing it before planting seeds. This can be done by baking the mix in the oven at a low temperature for a period of time.
- Provide Good Air Circulation:
- Adequate air circulation helps prevent the buildup of humidity, which can create conditions favorable for mold growth. Use a fan or open a window to ensure proper ventilation.
- Watering Practices:
- Water the seedlings from the bottom rather than overhead to minimize moisture on the soil surface. Avoid overwatering, as excessive moisture can contribute to fungal growth.
- Use a Clean Water Source:
- Use clean, sterile water for watering your seedlings. Avoid using water that may be contaminated with fungi or other pathogens.
- Proper Spacing:
- Ensure proper spacing between seedlings to allow air circulation. Crowded conditions can create a more humid environment, promoting fungal growth.
Treatment:
- Remove Infected Seedlings:
- If you notice fungal growth or mold on individual seedlings, remove them immediately to prevent the spread of the problem to healthy plants.
- Increase Air Circulation:
- Improve ventilation by placing a fan near the seedlings. This helps reduce humidity and discourages the growth of mold.
- Adjust Watering:
- Allow the soil surface to dry out slightly between watering to reduce moisture levels. Adjust your watering schedule based on the specific needs of your seedlings.
- Apply Cinnamon Powder:
- Cinnamon has antifungal properties. Dusting a small amount of cinnamon powder on the soil surface may help control fungal growth. Be cautious not to apply too much, as excessive cinnamon can be harmful to plants.
- Neem Oil:
- Neem oil is a natural fungicide and can be effective against some types of fungal infections. Dilute neem oil according to the manufacturer’s instructions and apply it to the affected areas.
- Provide Ample Light:
- Ensure your seedlings receive adequate light. Proper lighting can help inhibit the growth of mold, as it prefers dark, damp conditions.
- Use a Commercial Fungicide:
- As a last resort, consider using an organic, seedling-safe fungicide. Follow the product instructions carefully and use it sparingly.
By incorporating these preventive measures and addressing fungal growth promptly, you can increase the likelihood of successful seed starting without being hindered by mold-related issues.
Addressing Drainage Problems
If you notice that your seed starter mix is not draining well, it might be too compacted. Adding perlite or vermiculite to your mix can improve drainage and create a lighter texture. Alternatively, you can also try increasing the amount of organic matter, like compost or coconut coir, to promote better water flow.
Preventing Nutrient Deficiencies
Seedlings require essential nutrients for healthy growth. To prevent nutrient deficiencies, you can enrich your homemade seed starter mix by incorporating organic fertilizers or compost. This way, your little plant seedlings will have all the nutrients they need to thrive.
Alternative Options for Organic Seed Starting
Purchasing Pre-Made Organic Seed Starter Mixes
If you prefer a hassle-free option or want to compare results, pre-made organic seed starter mixes are available for purchase. Look for reputable brands that use high-quality organic ingredients.
Exploring Other DIY Seed Starting Mediums
Besides homemade seed starter mix, there are other DIY options you can experiment with. Coconut coir, peat moss, or a blend of different organic materials can all serve as effective seed-starting mediums. Don’t be afraid to get creative and find what works best for you.
Conclusion and Final Thoughts on Making Your Seed Starter Mix
Making your organic seed starter mix is not only cost-effective, but also gives you control over what goes into it. By following the tips provided and troubleshooting common issues, you’ll be well on your way to successfully starting your seeds and nurturing them into thriving plants. Remember, gardening is all about experimentation and learning, so don’t be afraid to get your hands dirty and have fun with it!
Creating your own organic seed starter mix at home not only allows you to have full control over the ingredients and quality, but it also offers numerous benefits for your plants and the environment. By following the step-by-step guide and incorporating the tips provided, you can ensure healthy seed germination and robust plant growth right from the beginning. Experiment with different ingredients and techniques to find the perfect mix that suits your needs. So, why rely on store-bought options when you can make your own sustainable and nutrient-rich seed starter mix? Start your gardening journey on the right foot by giving your seeds the best possible start with your homemade organic seed starter mix.
Frequently Asked Questions
1. Can I use regular garden soil as a seed starter mix?
Using regular garden soil as a seed starter mix is not recommended. Garden soil tends to be heavier, may contain pests or diseases, and may not provide the optimal conditions for seed germination. It is best to create a specific seed starter mix that is light, well-draining, and nutrient-rich.
2. How long can I store homemade seed starter mix?
If stored properly in an airtight container, homemade seed starter mix can be stored for several months. It is important to keep it in a cool, dry place to prevent mold or fungal growth. Before using the stored mix, ensure it is still moist and hasn’t dried out completely.
3. Can I reuse my seed starter mix for multiple planting seasons?
Yes, you can reuse seed starter mix for multiple planting seasons. However, it is essential to replenish the nutrients in the mix before each use. Adding compost or organic matter and blending it well will help rejuvenate the mix. Additionally, ensure that you inspect the mix for any signs of disease or pests before reusing it.
4. Can I use homemade seed starter mix for all types of seeds?
Homemade seed starter mix is suitable for most types of seeds. However, some seeds may have specific germination requirements or prefer a different type of growing medium. It is recommended to research the specific needs of the seeds you plan to sow and adjust the seed starter mix accordingly.
Summary
I hope I have inspired you to plant and mix your organic seed starter mix with these tips and products.
If you were encouraged by this post, I invite you to check out my FREE Printables Page for fun free printables, planners, and charts.
ENTER MY FREE Printables Page HERE
Here are some more of my composting and gardening inspiration posts to check out!
How to Grow a Productive Canning Garden
How to Plant and Grow a Salsa Garden
Easiest Heirloom Vegetable Seeds to Grow Now
How to Use the Hand Twist Claw Tiller: Tackling Tough Soil
Planning Your Garden: How to Plan a Vegetable Garden: Expert Green Thumb Tips!
Winterizing the Garden: How to Winterize Your Vegetable Garden: Step-by-Step Checklist
Mulching the Garden: How to Make Leaf Litter Mulch
Grow a Pumpkin Patch: How to Grow a Pumpkin Patch in Your Backyard
How to Win a Giant Pumpkin Contest
How to Grow a Fall Garden: 9 Best Fall Crops
Clever Ways to Incorporate Indoor Composting into Your Home
How to Start Composting for the Garden: A Step-by-Step Guide
The Ultimate Guide to Composting in Your Suburban Backyard
Why I Built A Survival Garden in My Backyard
How to Grow A Foodscape Garden From Scratch
16 Best Medicinal Herbs to Grow in Your Garden Now
Blessings,
The Off Grid Barefoot Girl

